Overview
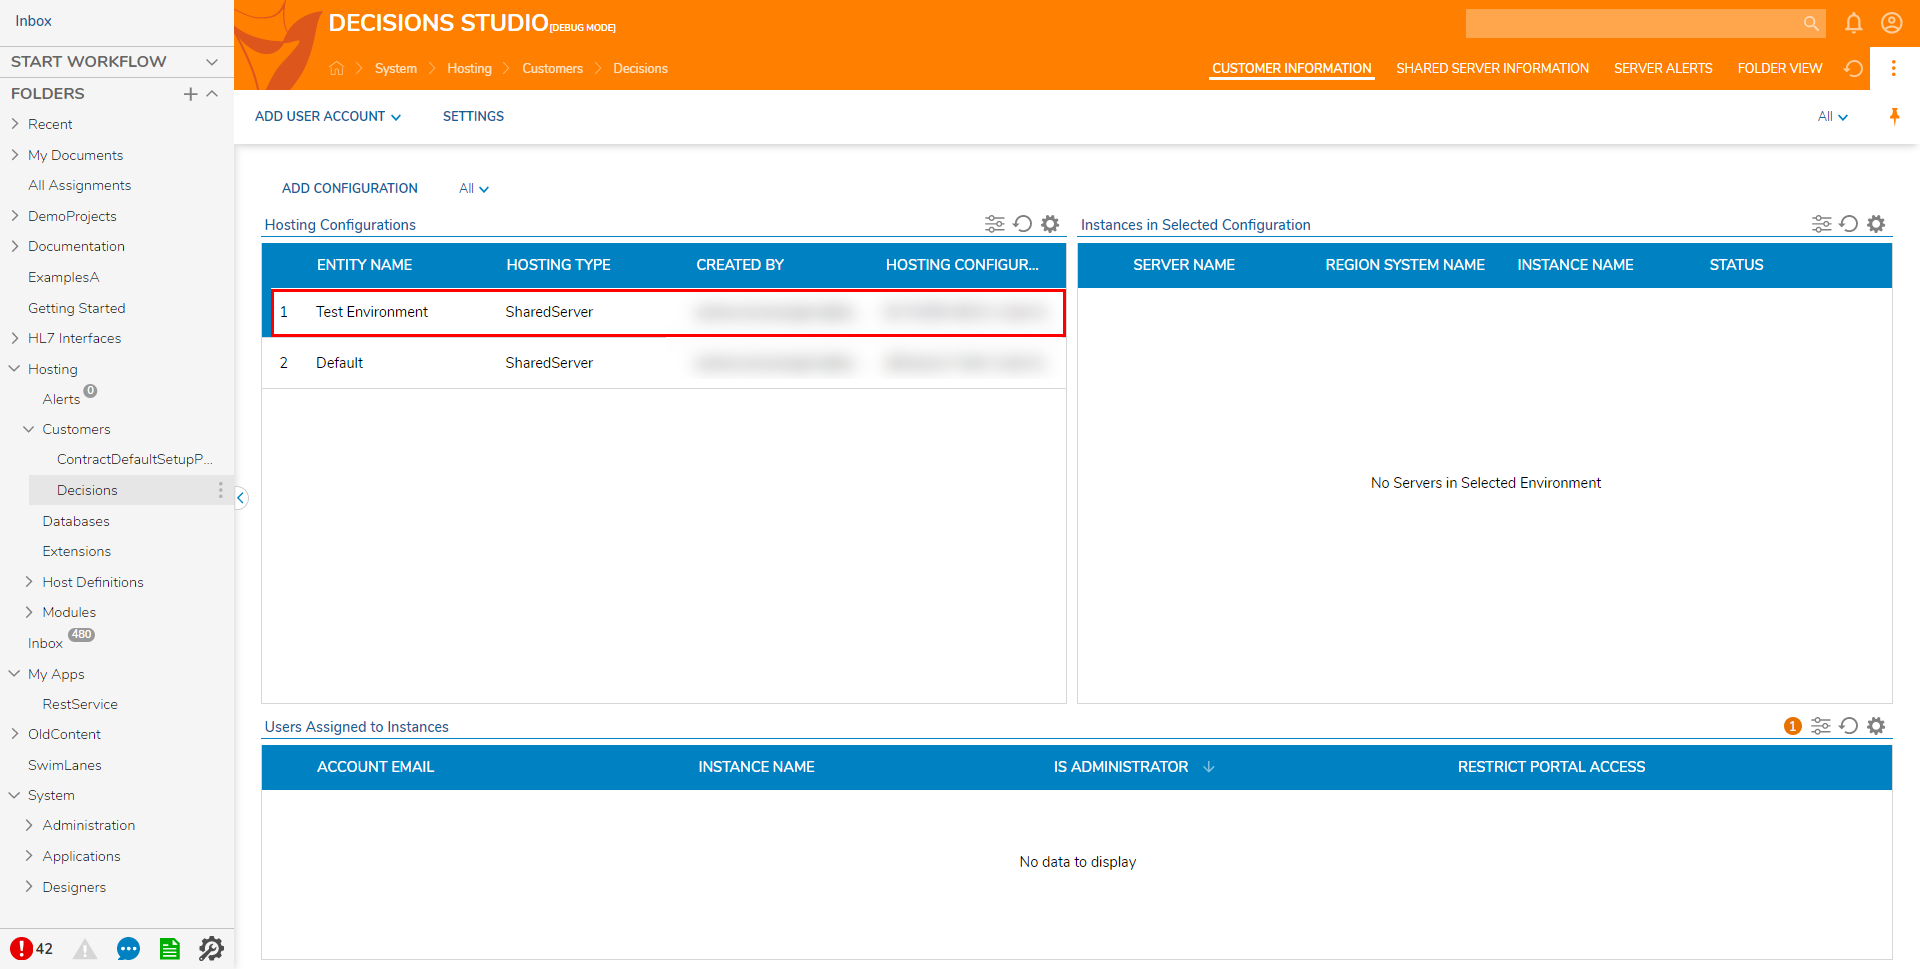
Enabling Multi-Tenancy automatically creates a Database connection and a Default Hosting Definition. Hosting Configurations are points where Modules and instances are added for the Customer (Tenant).
After a Hosting Configuration is added, the instance will be added, allowing the Tenant to login to their environment.
Multi-Tenant Article Series
This article is part of a Mult-Tenant article series and requires pre-requisite configurations. To configure a Multi-Tenant environment, please start by checking About Multi-Tenancy article and follow with the series.
Example A: Database Connection
The following example demonstrates how to create both a Database Connection and Default Hosting Definition in a Multi-Tenancy.
To add a Database to the Hosted environment:
To add a Database to the Hosted environment:
- Navigate to System > Integrations > Databases and select the Folder for the desired Database to be added.
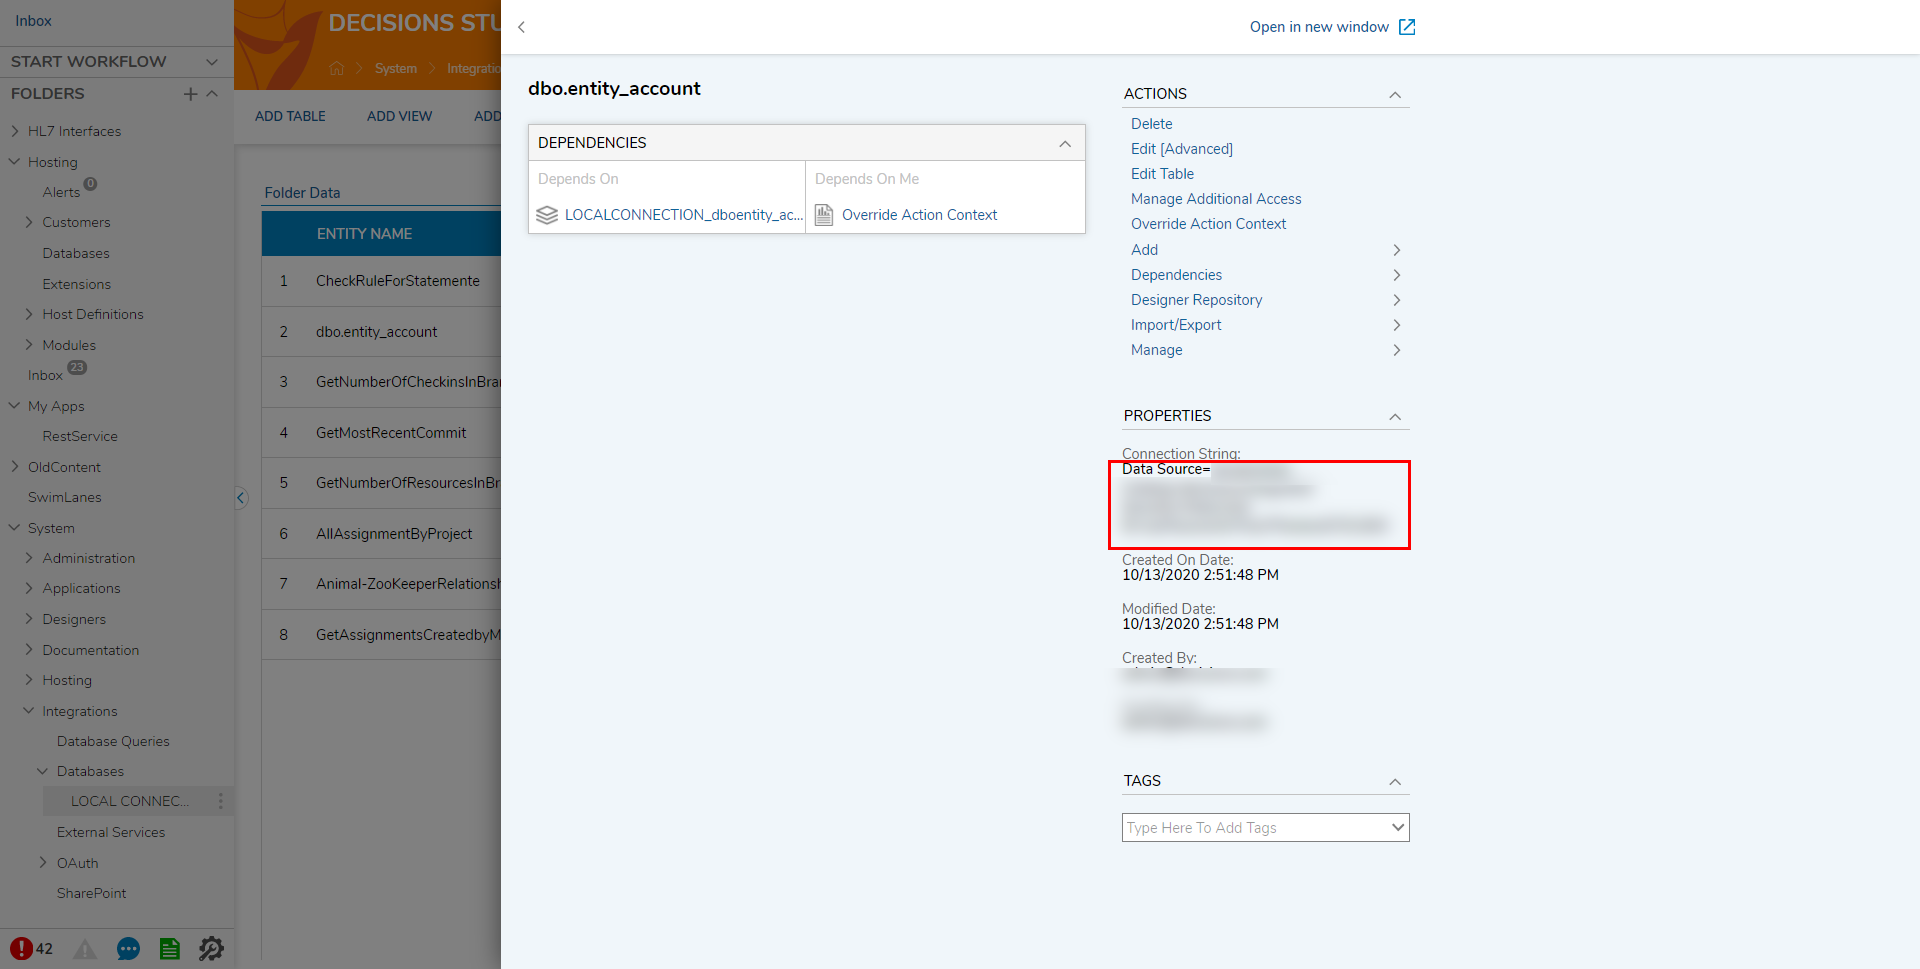
- Upon selection, from the Database's Properties, copy the Connection String.
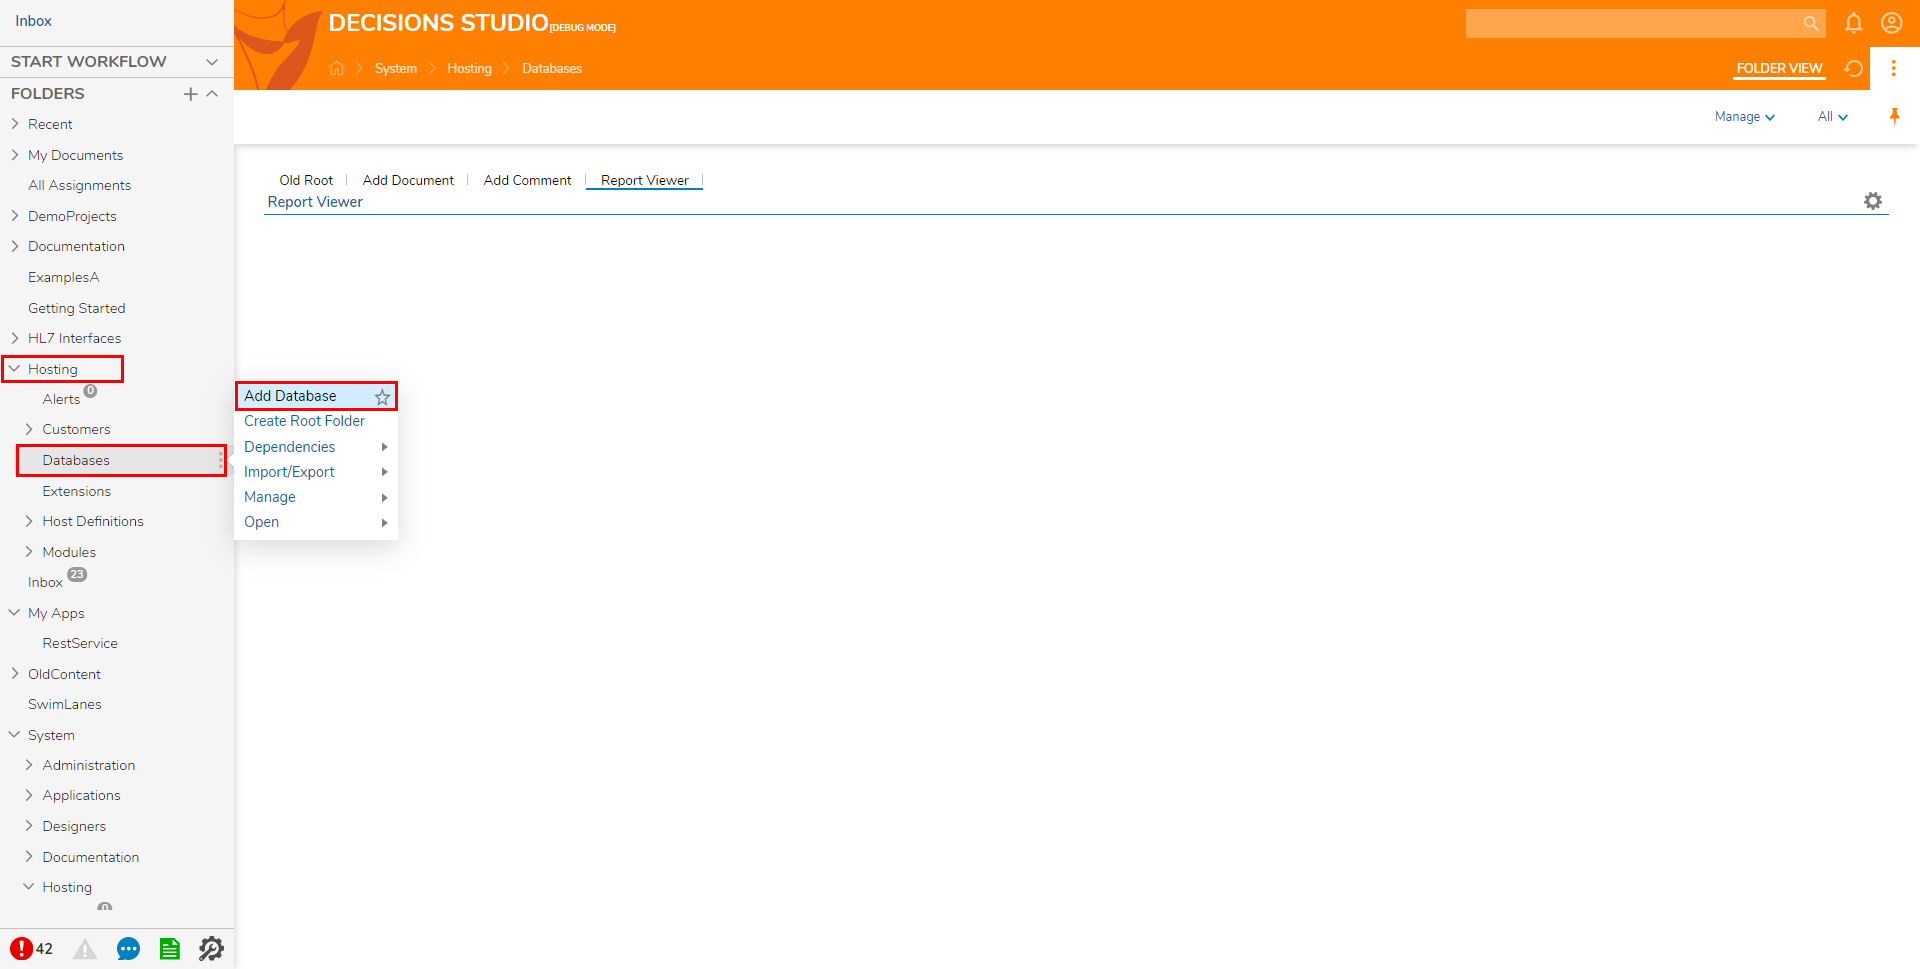
- Navigate to and right-click Hosting > Database, then select Add Database.
- From the Add Database window, provide the corresponding DatabaseConfigurationName and paste the Connection String in the DatabaseConnectingString box, then click SAVE.
.png)
Adding a Hosting Configuration
Since a Database Connection is made automatically when Multi-Tenancy is enabled, the Connection String does not need to be configured when creating a Hosting Definition.
To add a Hosting Configuration:
To add a Hosting Configuration:
- From the Decisions Studio, navigate to Hosting > Customers > [Customer Name] and select the ADD CONFIGURATION button at the Report.
.png)
- Define the Configuration Name and select an appropriate Type of Hosting from the dropdown menu, then click Continue.
.png) Selecting Continue will result in the Hosting Configuration appearing/being available in the Hosting Configurations list.
Selecting Continue will result in the Hosting Configuration appearing/being available in the Hosting Configurations list.