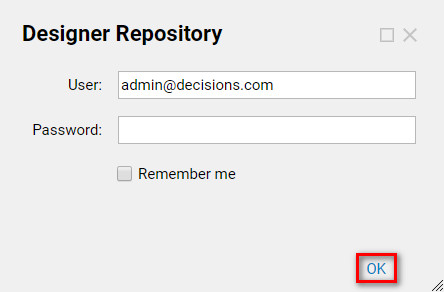
The Repository has all shared designer projects stored and saved. These projects can be accessed and a user can check out a project or a user can also add a project to the Decisions Repository. In order to take full advantage of the Repository Actions, assign the entity to the correct project and add a designer Folder to the project.
Add a Project to the Repository
Add and Attach Entities to Project
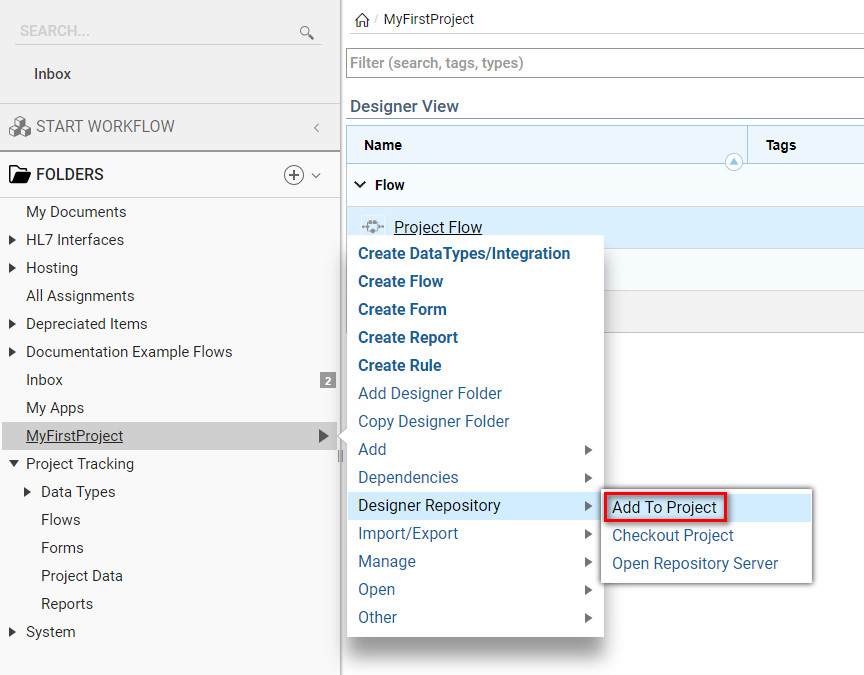
Navigate to the designer Folder, right-click and select the Designer Repository, choose and Add to Project.
Next, select the project to assign the entity to, or create a new one if one doesn’t exist. In this example, a new project name should be created for MyFirstProject or assign the project to an existing entity. Assign this to the project created earlier (My First Project), then select Continue.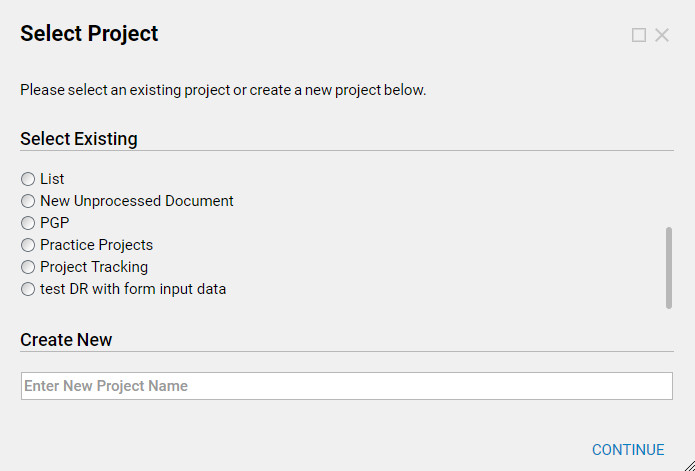
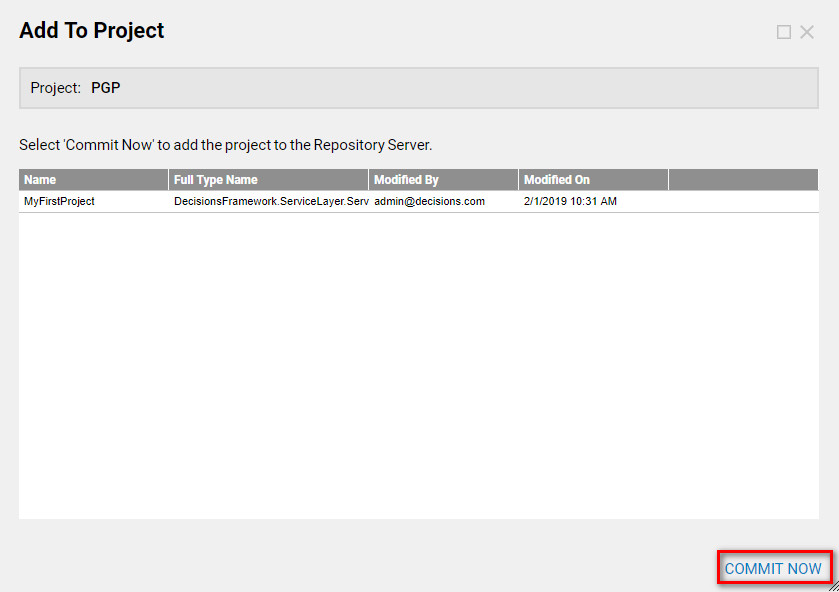
Next, select any additional controls to include/exclude. Some of these options include Sub-Folders, History Folders, Hidden items, and Dependencies. A dd any dependencies to the project, examples of these are anything related to the selected project, for example, folder permissions. In this configuration make sure to include all dependencies as any left undeclared may cause conflict & issues. Once Dependencies have been added & declared, add the Entity to the Project. Select next. Last a dialog with a list of all of the items that have been added/updated to the Project is displayed.
Check out Project
The designer Repository allows you to check out a project. This action opens up the repository and all projects are then visible. First, log into the Designer Repository.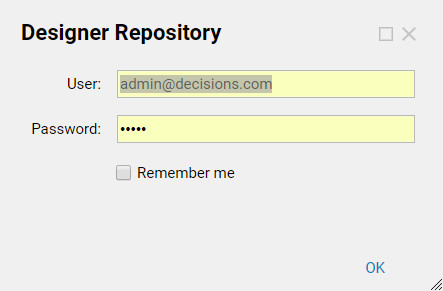
Log in and select the Project, (check out the project) from the repository.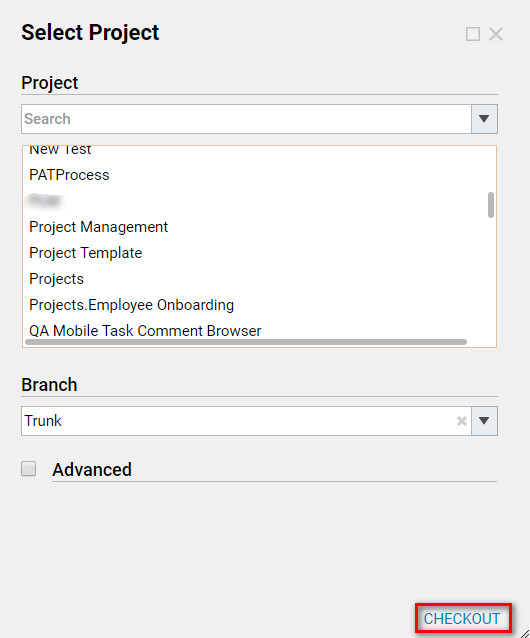
After the project is checked out, the Designer Repository will show all of the project data, now select update. 
After the project has been checkout from the Designer Repository the project will be available in Designer Folders. This is an image of the selected project. 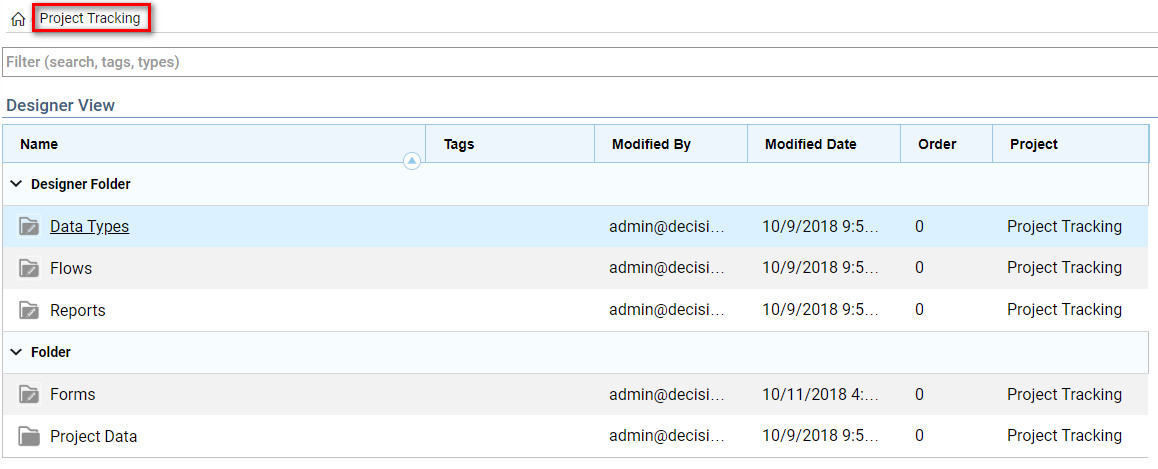
Removing/Detaching Entities From Project
To remove an Entity from a Project, simply Right Click it, hover over to the Designer Repository drop down and select Remove From Project. This will then prompt to confirm the Removal, and upon selecting yes a list of items currently associated with what will be removed. After the selection to remove all related entities is made, select remove and the entities selected will no longer be associated with the project.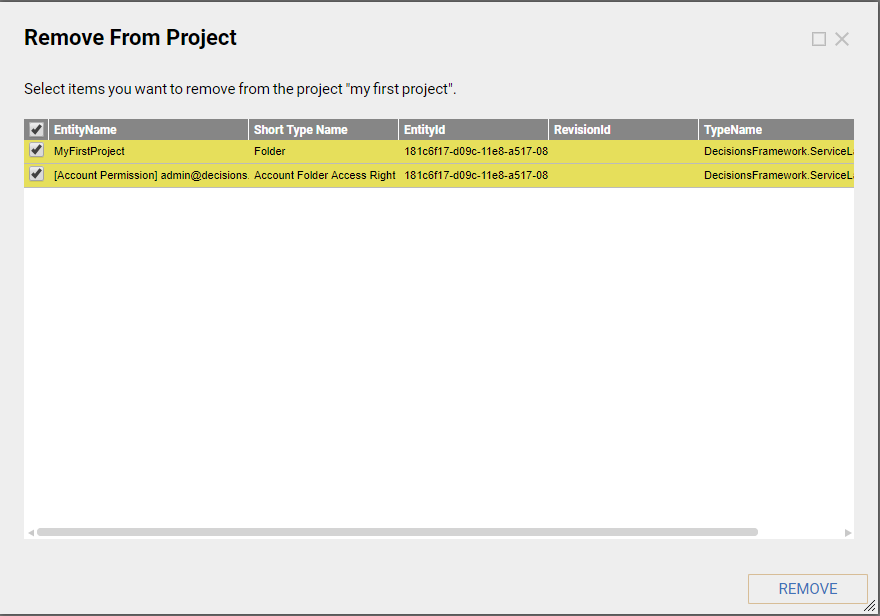
Committing/Sending Project Changes To Repository
Any Project changes that have been made to the Repository Server can be manually sent forward. Do so by Right clicking the desired Entity, hovering over to Designer Repository drop-down, then select Send Changes For Project.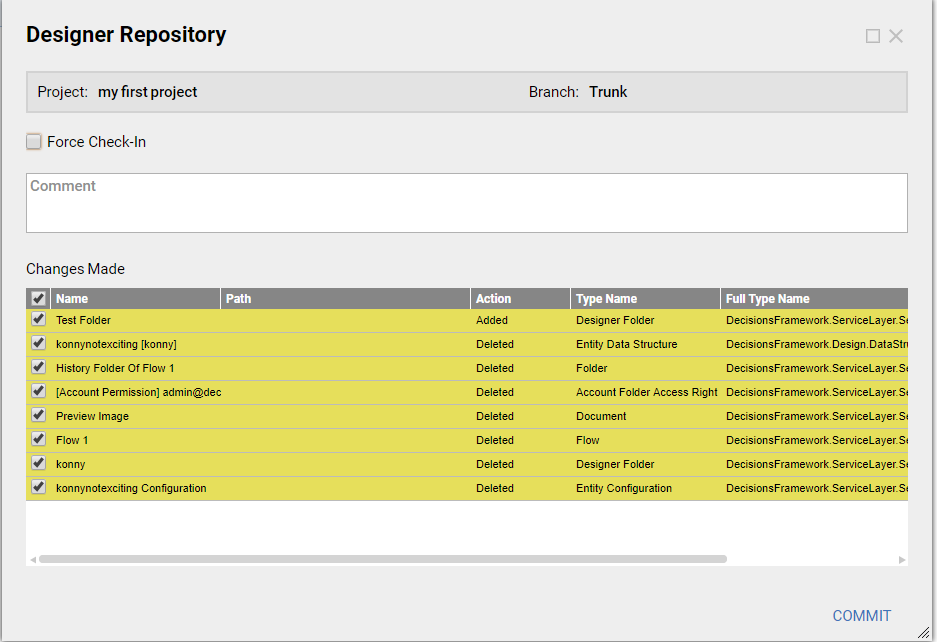
A new dialog asks to select all of the entities that need to be updated on the Project. After a selection is made and the changes are commented on. Last a confirmation box shows whether the Commit has been successful, select Close.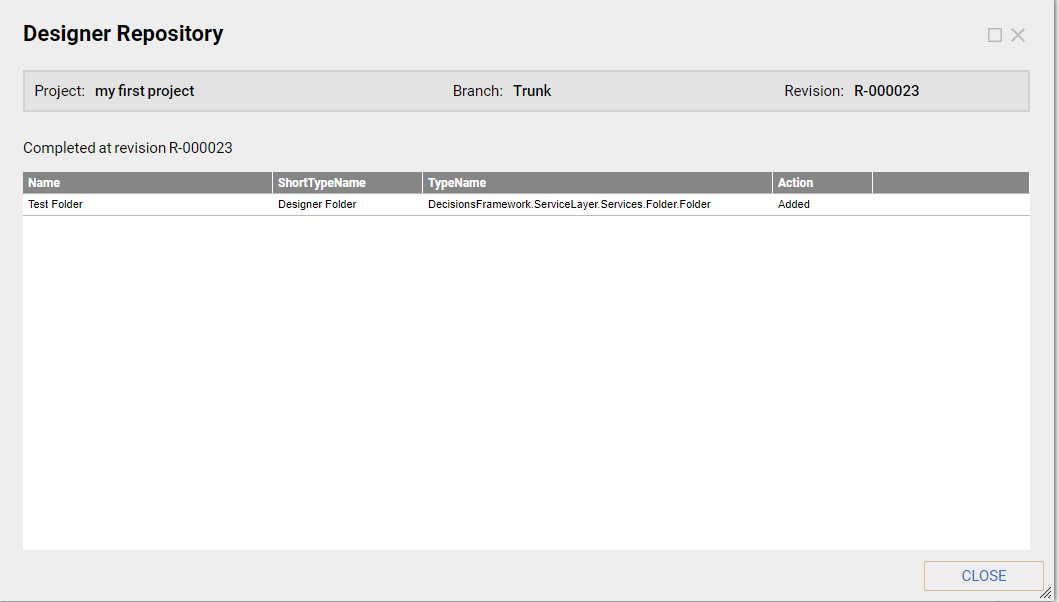
Updating Project From Repository
This action pulls the latest state of the project from the repository. If the project has been updated by someone, or there is a new version ready to be downloaded pull the entire project and its state from the repository. To do so, select the desired entity and go over to the designer repository drop down, then select an update project from the repository. A dialog shows which Revision will be updated, select update.
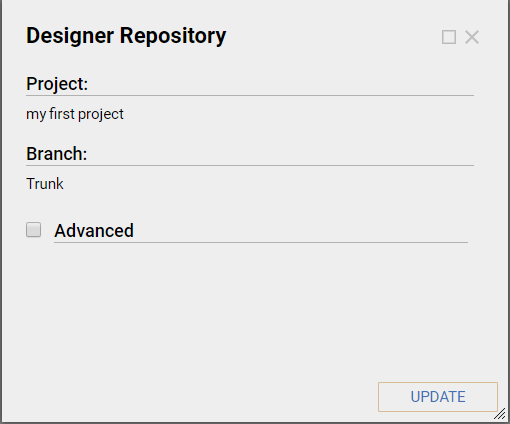
A list view of all of the things that are in the project shows what’s happening with the items and what changes are being made to which entities.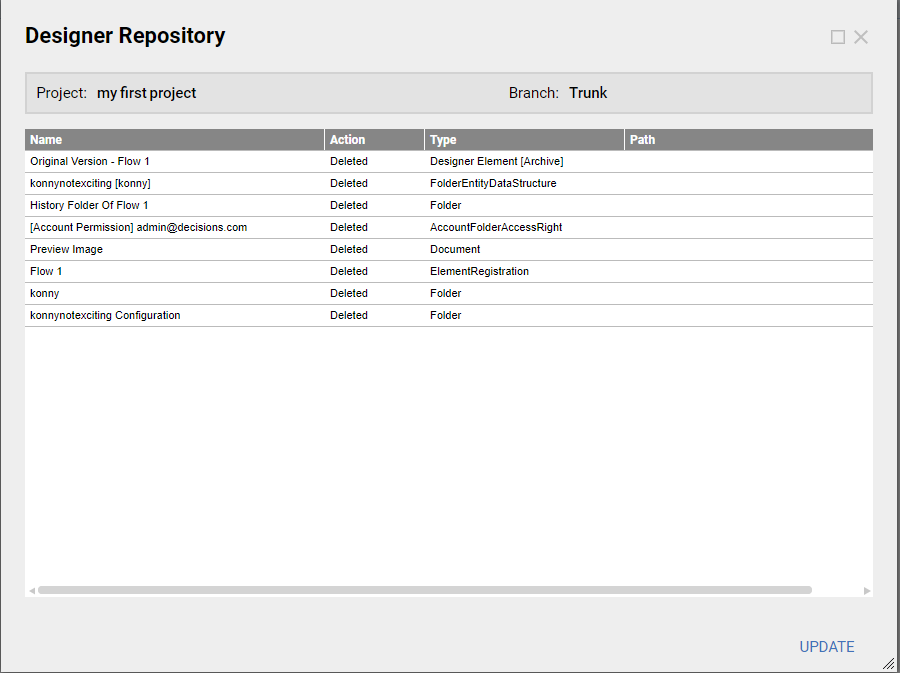
Reverting Changes In Project
This option allows the option to revert back any changes that may have been made in the Project. This will bring up a list of Resources that can be selected to Revert Changes from. Make the selection and select Revert.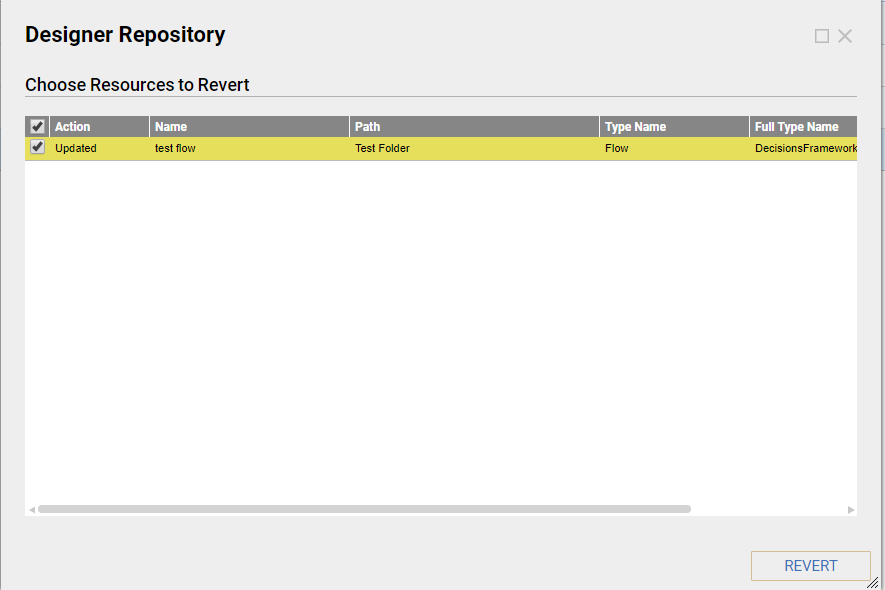
Check out Project
Start by navigating to Systems>Designers>Repository in the folder tree. Here check out and update the repository. Select Checkout/Update project. and use the username and password to sign into the Repository.
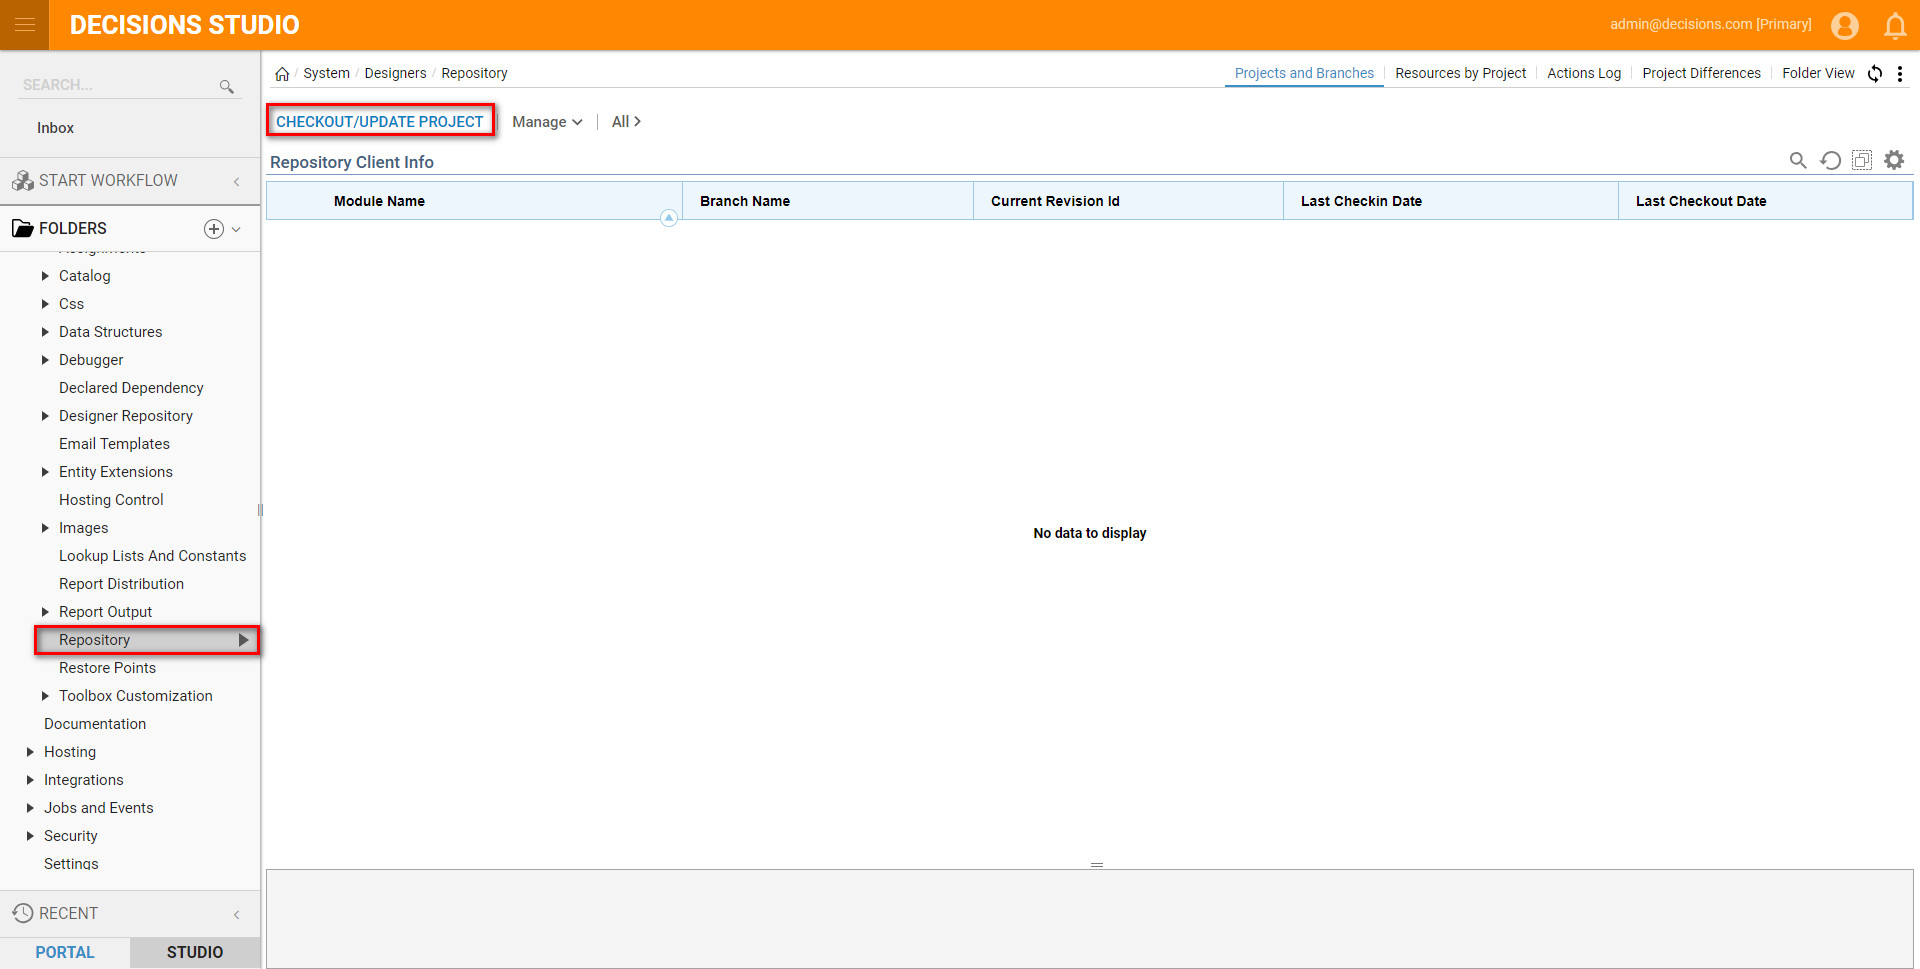
In the next window use your username and password to sign into the Designer Repository. This is the option to initially pull the project from the repository. Once the project has been checked out on the server, all the other options are available. Start checkout project, this will bring up a selection menu of available projects. Select the project needed and select a checkout. This will get the entire project from the repository. 