Overview
A Form outcome Rule evaluates data provided by a control in the Form, and when the rule is true, it causes the Form to take a path. This document discusses how to create a Form outcome Rule and how to apply it to a Form.
Example
In this example, a drop-down list has three values: "Very Interested," "Somewhat Interested," and "Not Interested." If the "Not Interested" value is selected, the Form automatically exits.
There are three entities created for this scenario:
- A Rule that evaluates the user selection in the Form. The Rule is a logical Rule that simply makes a true/false determination if a string matches the value "Not Interested."
- A Form that contains the drop-down list, and has the outcome Rule applied.
- A Flow that contains the Form.
User Selection Rule
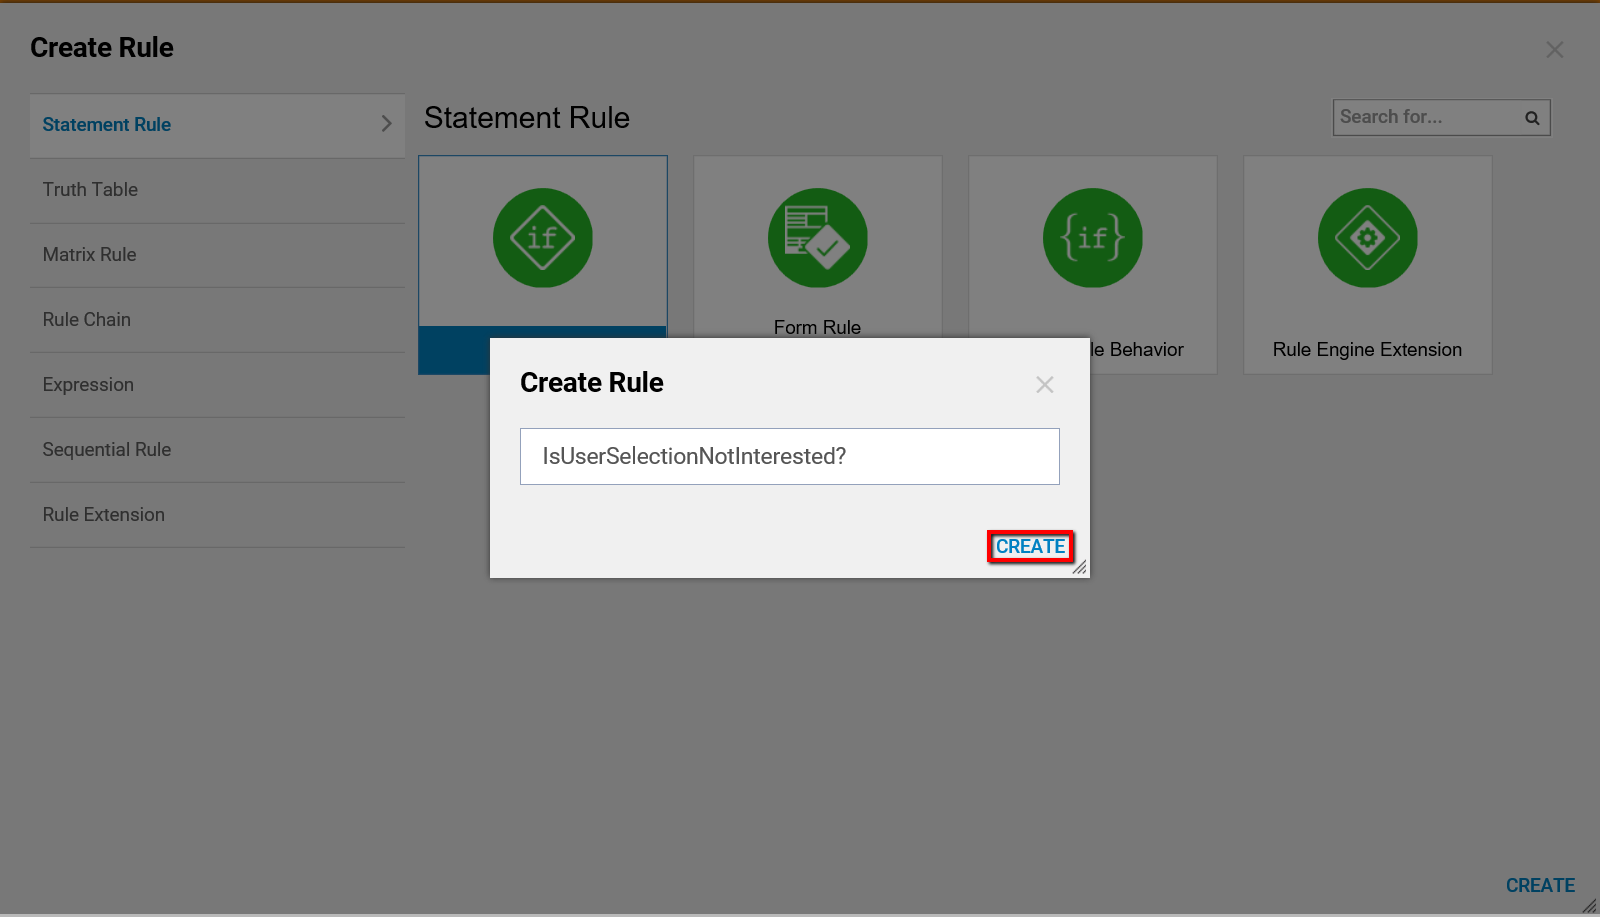
This Rule is a logical Rule that simply makes a true/false determination if a string matches the value "Not Interested." In a Designer Projects folder, click on Create Rule > Create Rule. Name the Rule. Click 'Create'.
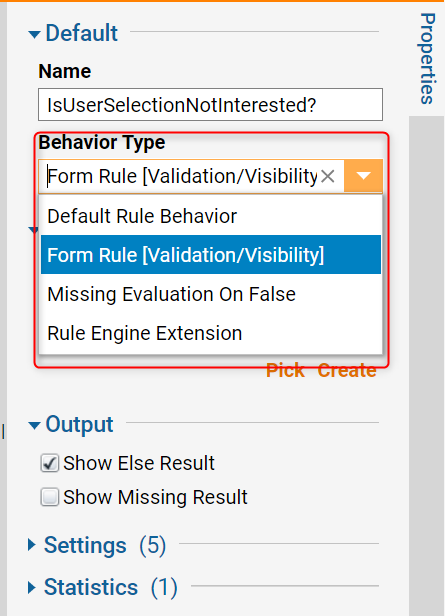
Set the Rule behavior to Form Rules [Validation/Visibility] in the Behavior Type drop-down list in the properties tab in the Rule Designer.
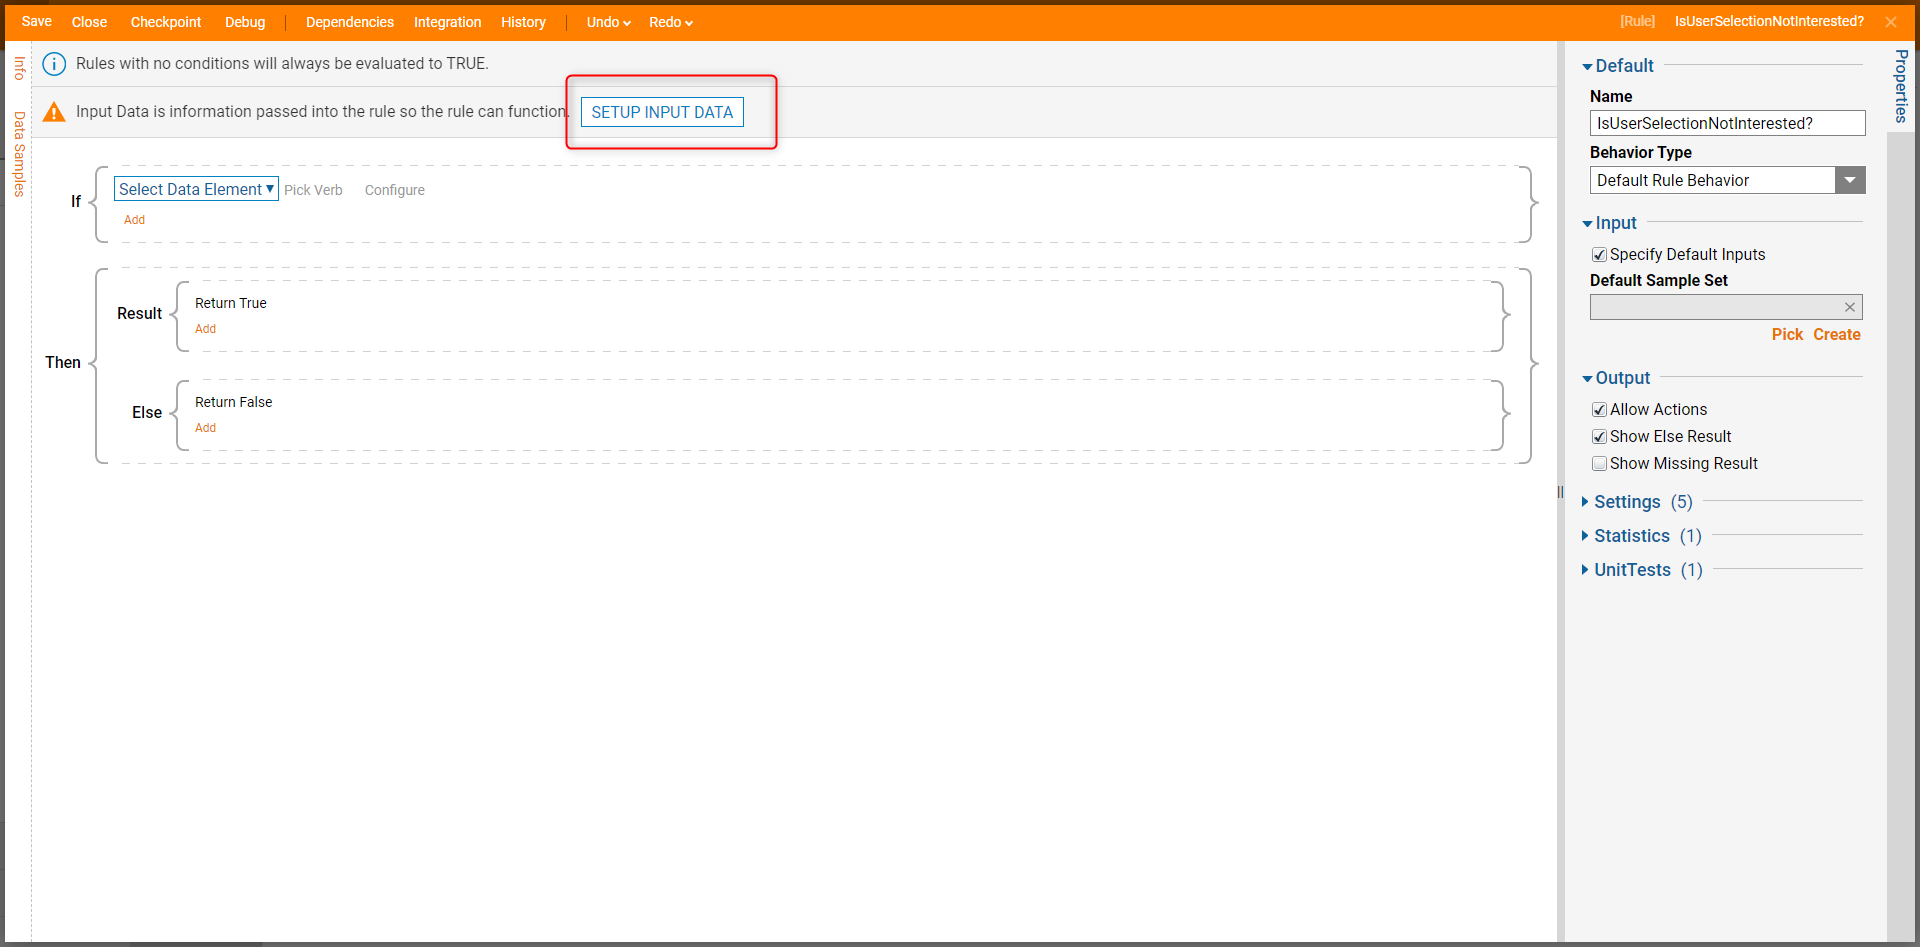
Input Data
Set the Input Data for the Rule, which in this example, is a single text value for the user's selection from the drop-down list. In the Rule Designer, locate and click the "setup Input Data" button. This will open a Data Definition window.
Enter "UserSelection" as the name for the input data, and set its type to string.
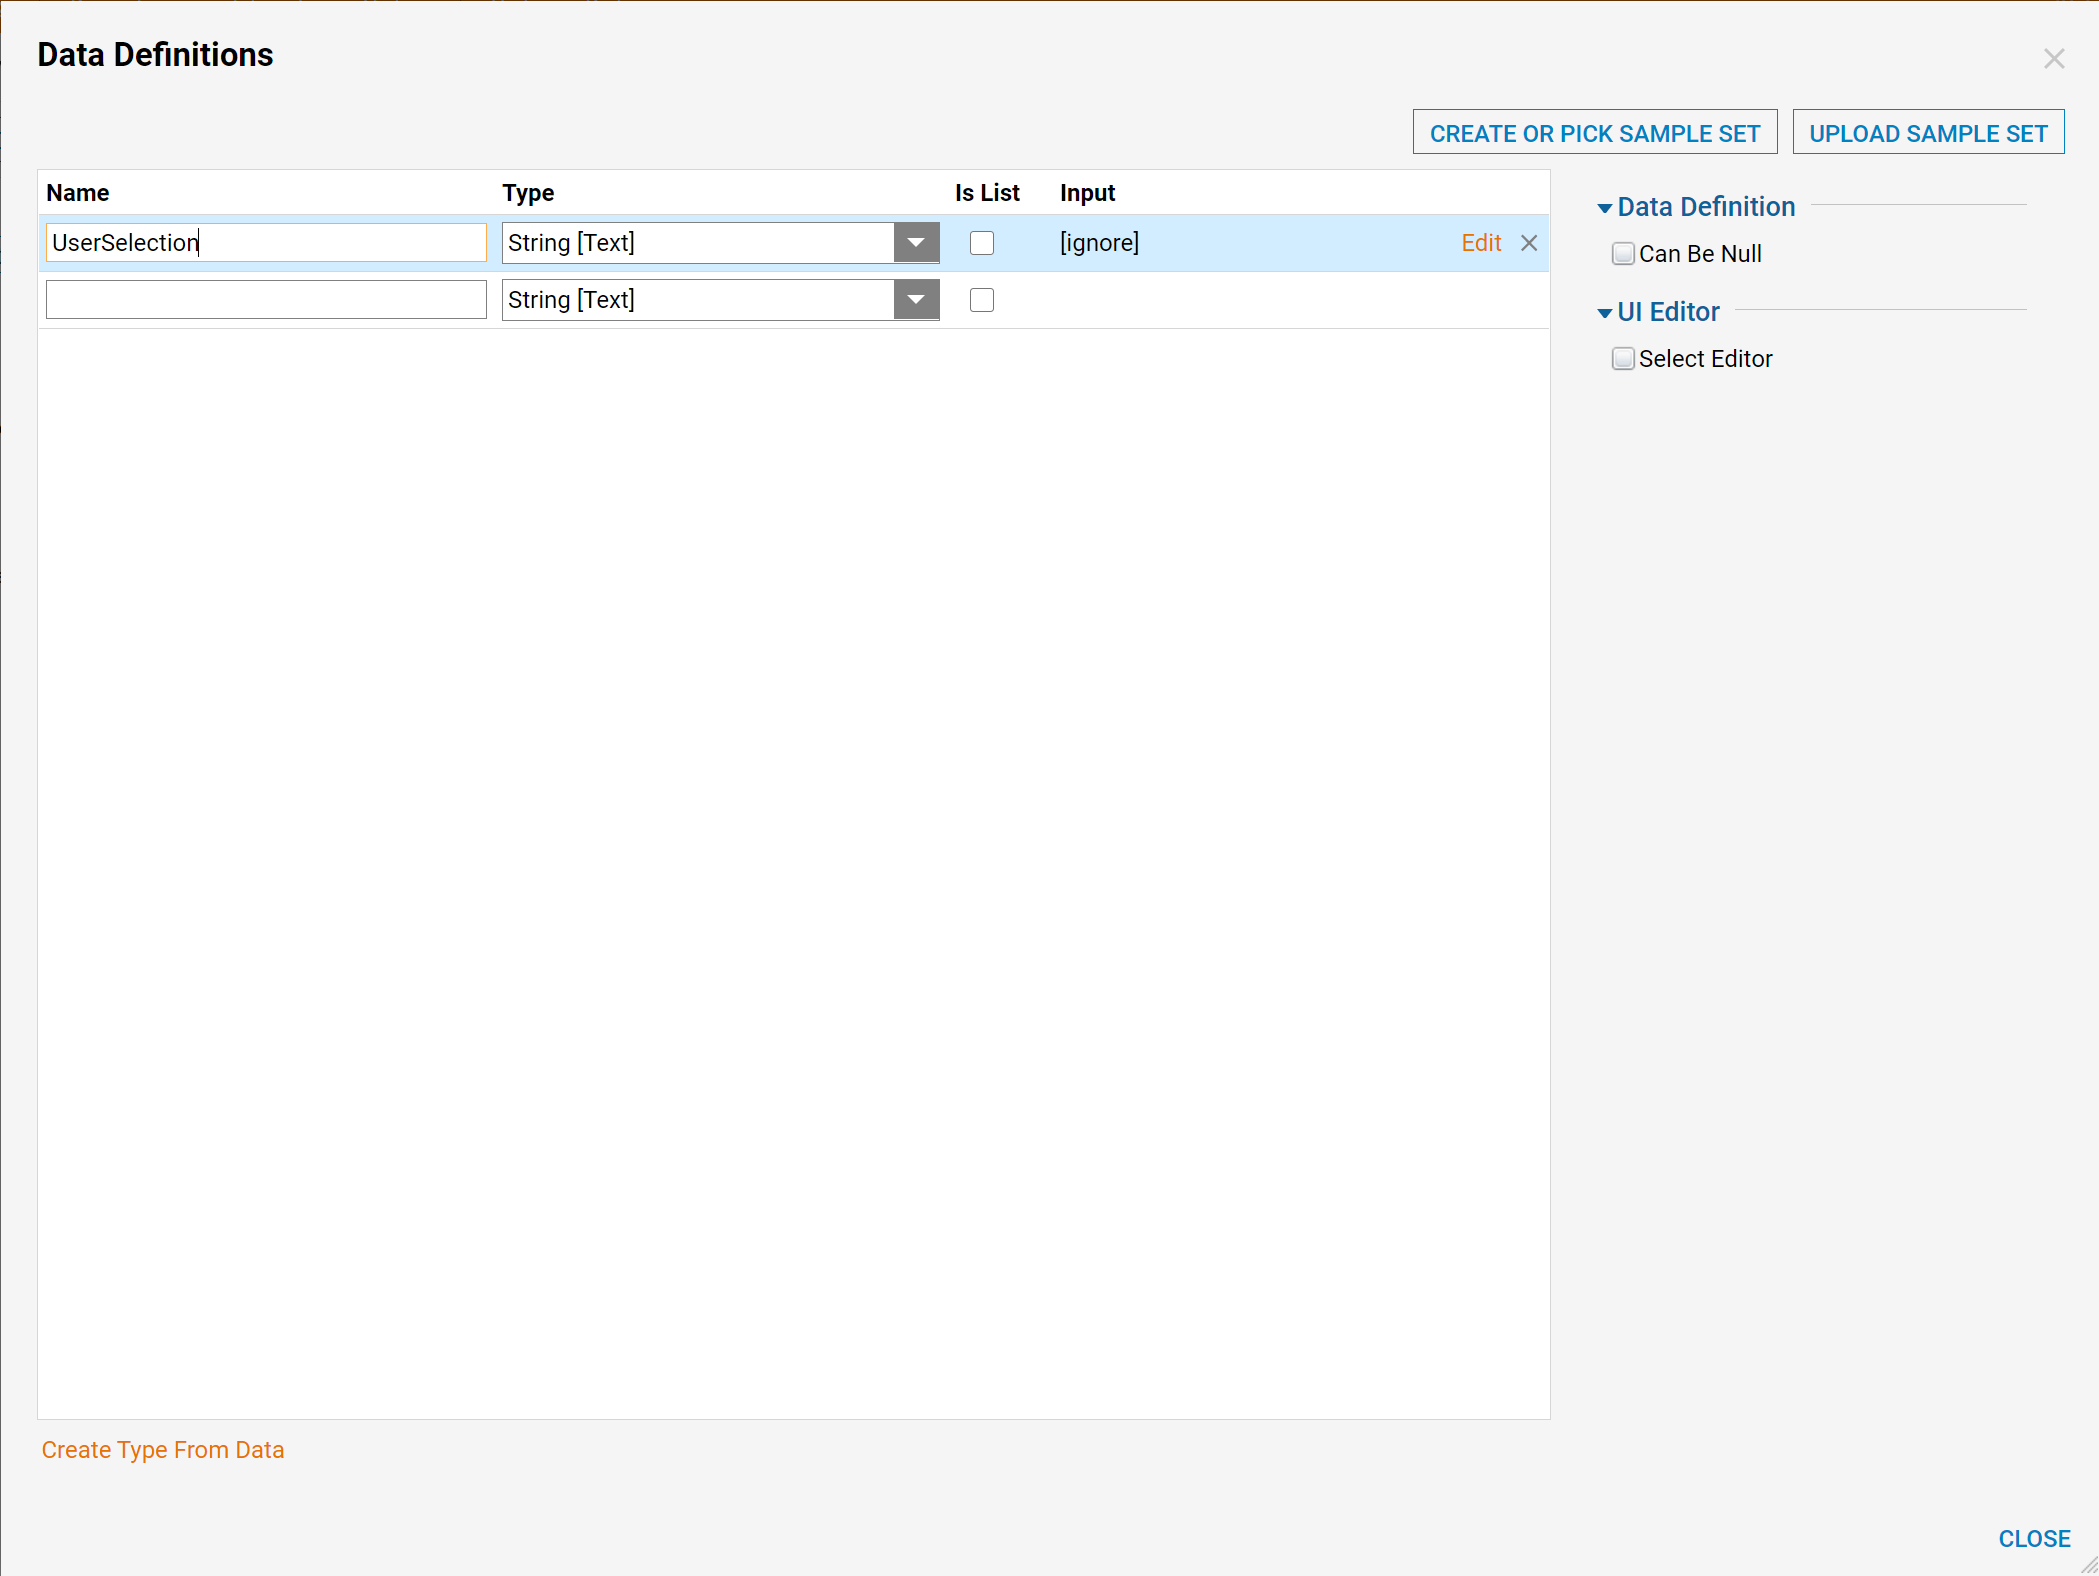
Click 'Close'.
In the Rules Designer Start Rule window, select the Select Data Element button. Select UserSelection and click 'Next'. Expand the Text Rules category and click on Equals. Click 'Next'.
Leave the mapping type as Constant, and enter "Not Interested" in the value field. Click 'done' and 'close'. The rule should resemble:
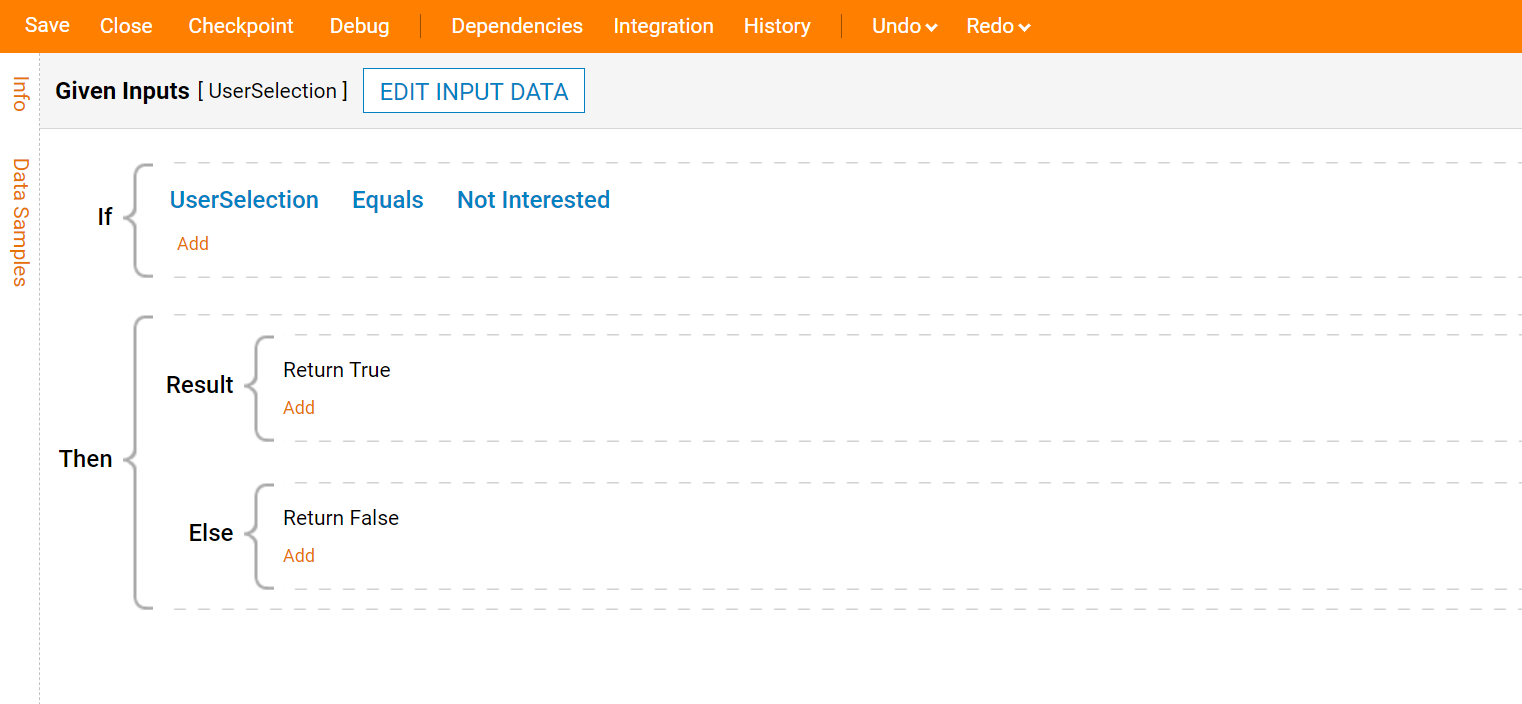
The rule configuration is complete. Save and close the rule.
User Selection Form
In a Designer Projects folder, click on Create Form > Create Form. Name the form and click 'Create'.
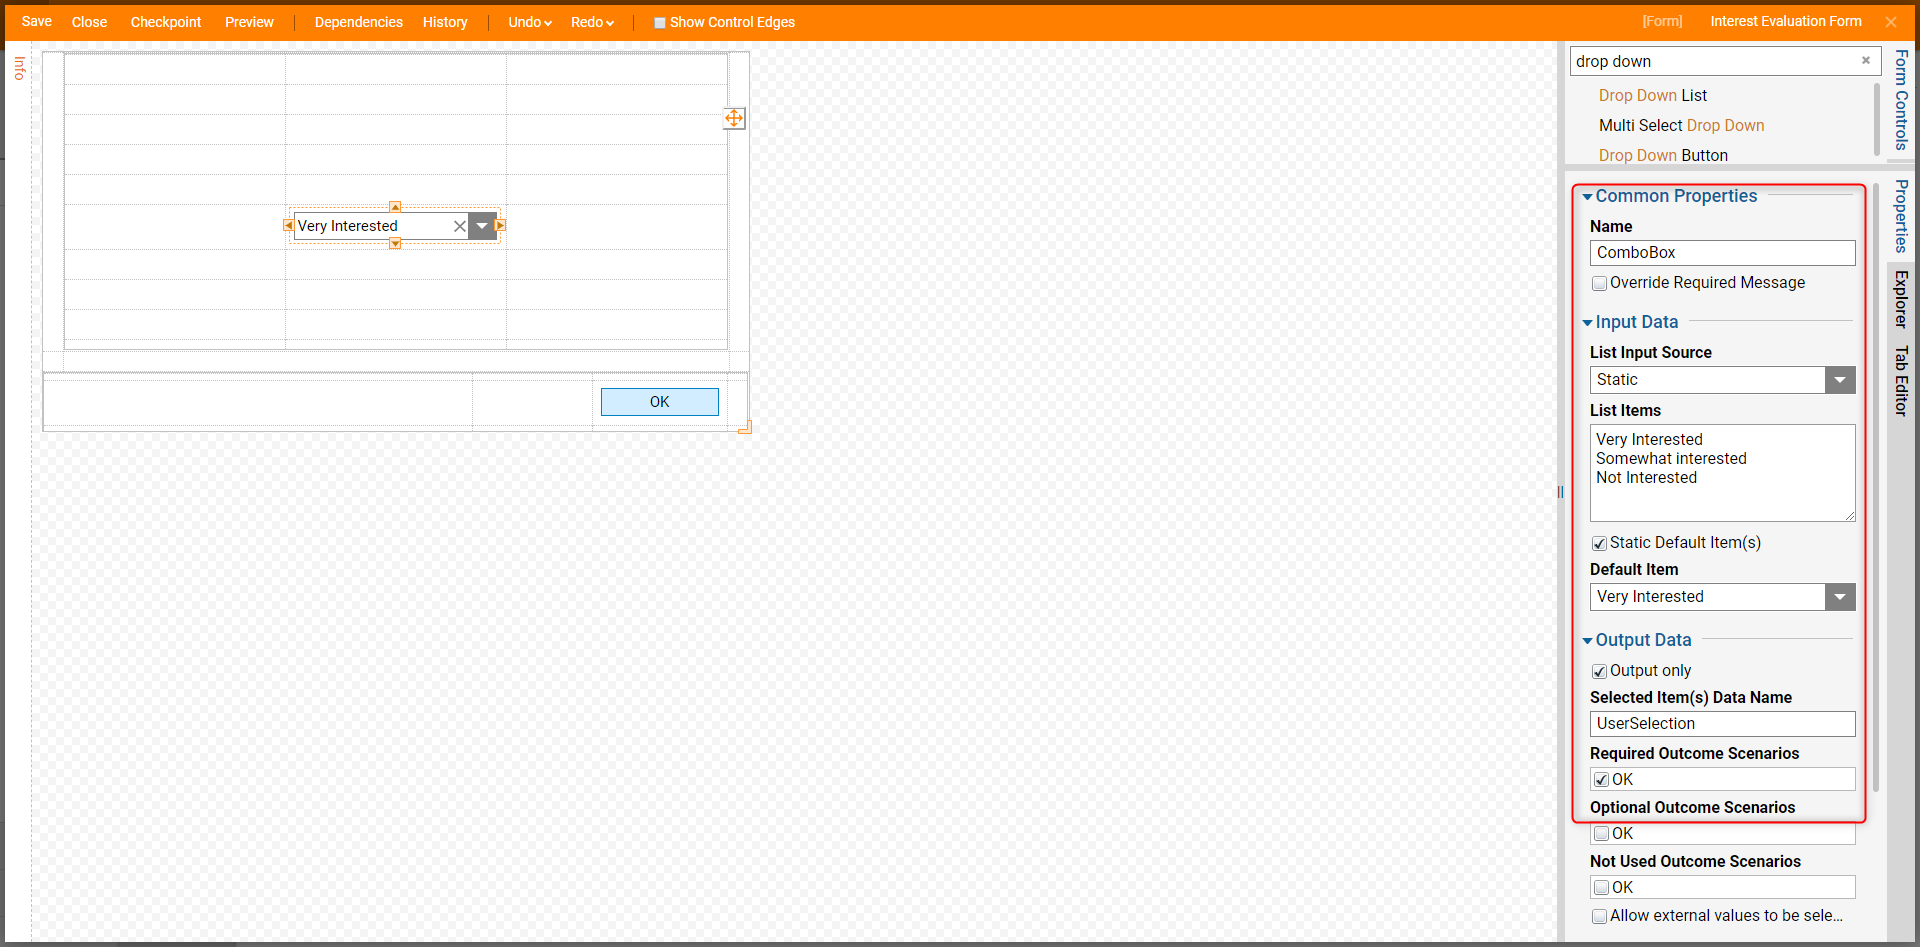
in the Form Control tab on the upper right side of the Form Designer, Expand the Actions category and drag and drop a Button element into the Form. Name the button "OK." Back in the Form Control tab, search for "Drop down list" and drag and drop that element into the Form.
Expand the List category and drag and drop a Drop Down List component into the form.
From the Properties panel, configure the Drop Down List component. Set the input data type to String, and set up the list of static values: "Very Interested," "Somewhat Interested," and "Not Interested." Set the default selection to "Very Interested." Set the output data to Output Only, and enter the output data-name "UserSelection." Check the Required Outcome Scenario checkbox for the "OK" outcome so that a selection is required.
Configuring the Rule into the Form
Now the Rule can be applied to the Form. This is done at the Surface level of the Form. Click on the surface of the Form Designer, then click on the Explorer tab, and click on the Surface level.
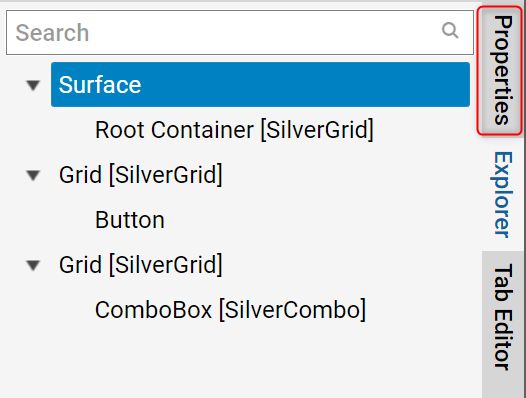
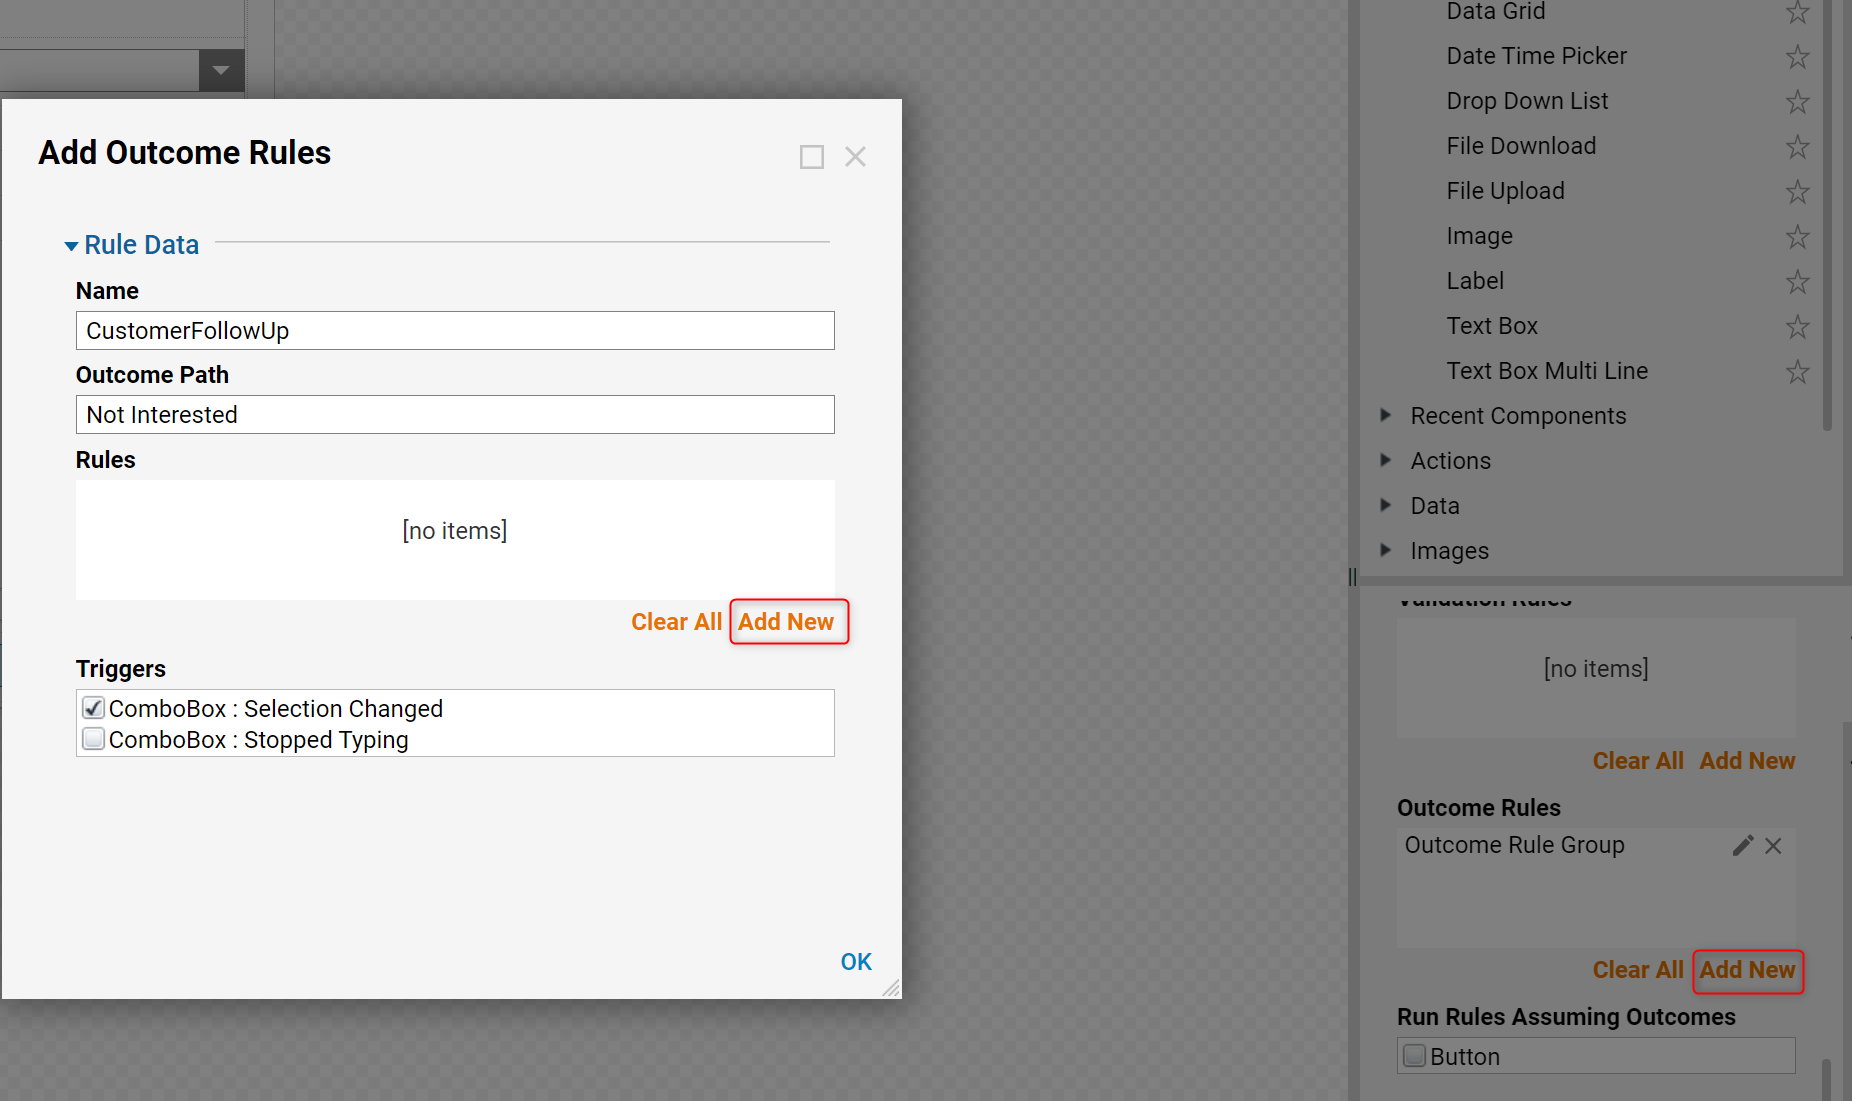
Click on the Properties tab. The surface-level properties for the Form appear. Scroll down to find the Outcome Rules section. Click on 'Add New'.
Enter the group name that represents the set of rules (this example includes only one rule), determine the name of the outcome path and select what event will trigger the running of the rule group.
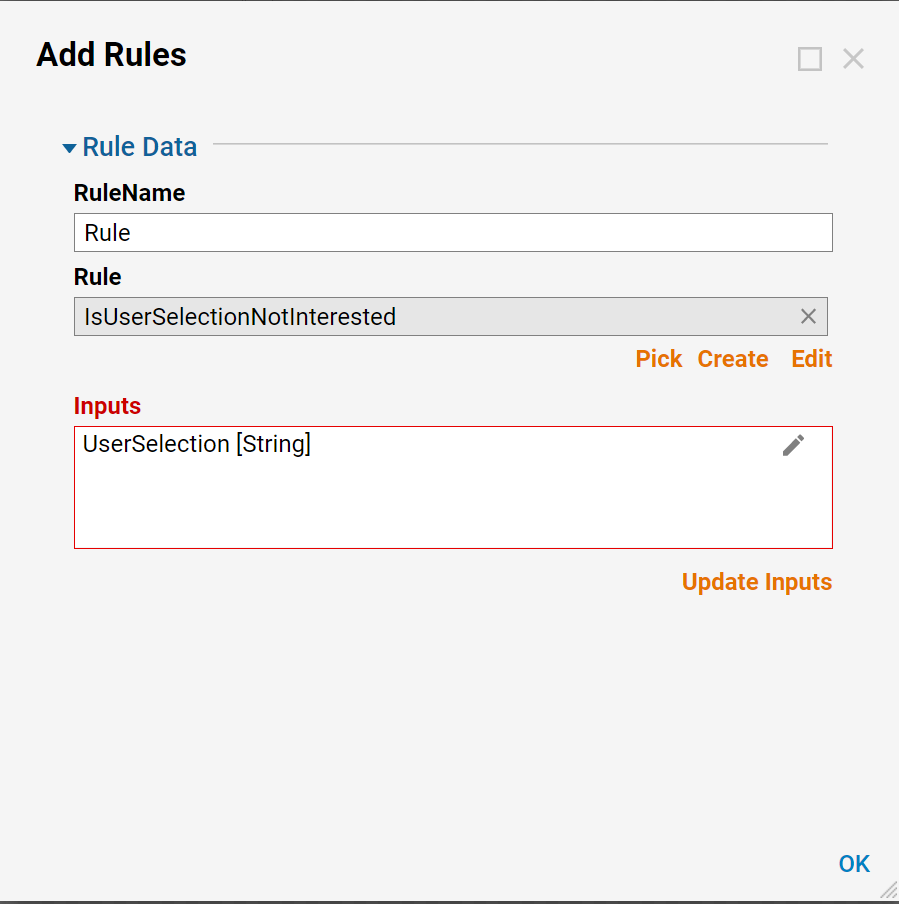
Under Rule Data, click on 'Add New'. Enter a name for the rule, and click on the 'Pick' button. Navigate to and select the rule. After selecting the Rule, click the "update Inputs" button. The inputs will appear in the box.
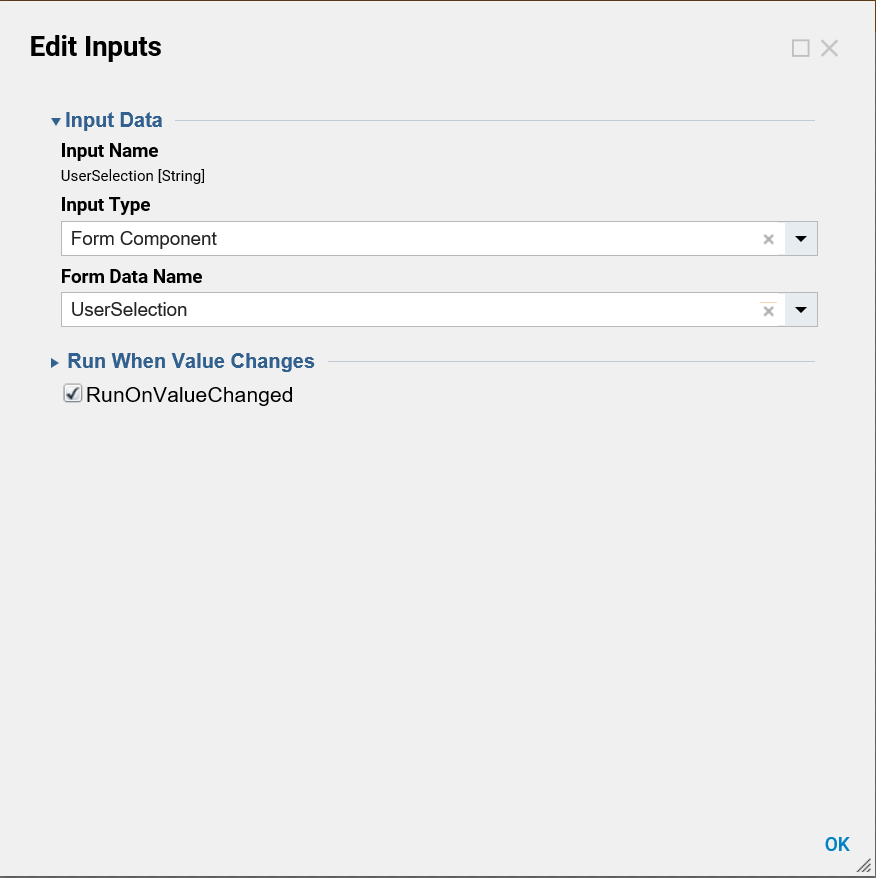
Under Inputs, click on the UserSelection input and click Edit. Change the InputType field value to Form Component, and select UserSelection as the data from the Form that is providing that input.
Click 'OK'.
Click 'OK' to close the Rule Data screen, then click 'OK' again to close the Rule Group screen.
Save and close the Form.
Customer Inquiry Flow
In a Designer Projects folder, click on Create Flow. Name the Flow and click Create.
The Flow will begin by the user browsing to the Form just created.

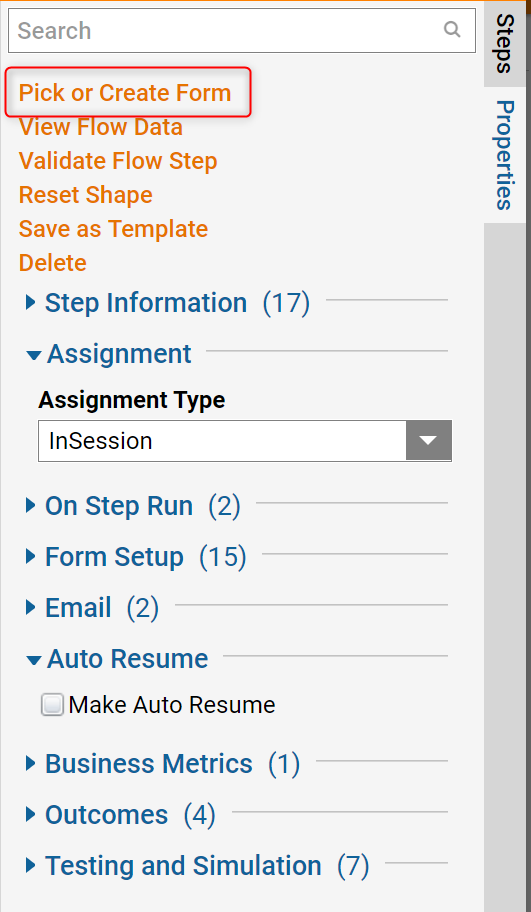
From the Steps tab in the Flow Designer, search "Create Form", select and drag the "Pick or Create Form" step to the Flow designer. When the Step is selected, Click "Pick Or Create Form" in the top left" of the properties panel, navigate and select the Form that was created.
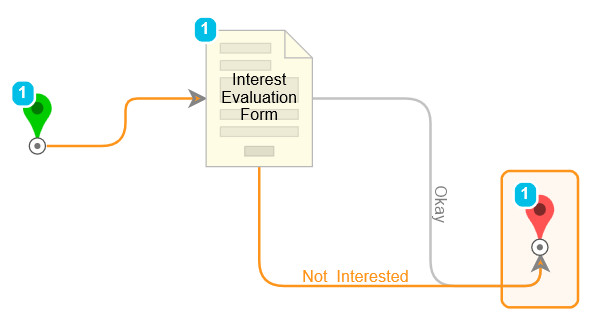
Notice the two outcomes from the form, OK and Not Interested.
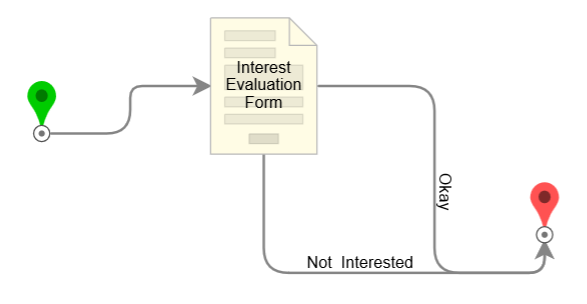
Connect the two outcome paths to the End Step. Save and Run the flow. Notice when the user picks "Not Interested," the Form exits on the Not Interested path.
