Overview
A Data Flow is a flow used in a form to dynamically calculate or fetch data without leaving the form. Data Flows are triggered by certain events on a form (e.g., a user changing a value in the text box).
A Data Flow behaves exactly like a typical flow in Decisions but with a few limitations (e.g. it must have at least one piece of output data and it cannot contain a form itself). The Data Flow is triggered by an event in the form such as user input into a field or clicking a button.
Use a Data Flow when you want to create a form that updates dynamically while the user interacts with it.
Example
This advanced example will demonstrate how to use a Data Flow to create a simple invoice form that updates dynamically as the user enters data. The Data Flow will calculate a "Total Due" field by adding up the cost of multiple line items. For a simple example see Using Data Flow in Form.
Begin by creating the flow that will include the invoice form. Begin in a Designer Folder called "Data Flow - Invoice". For information on creating a Designer Folder, see Creating a Designer Folder.
Create a new flow by select the Create Flow icon.

In the New Flow dialog, we name our flow "Data Flow - Invoice" and select 'OK' (leaving all other settings default).
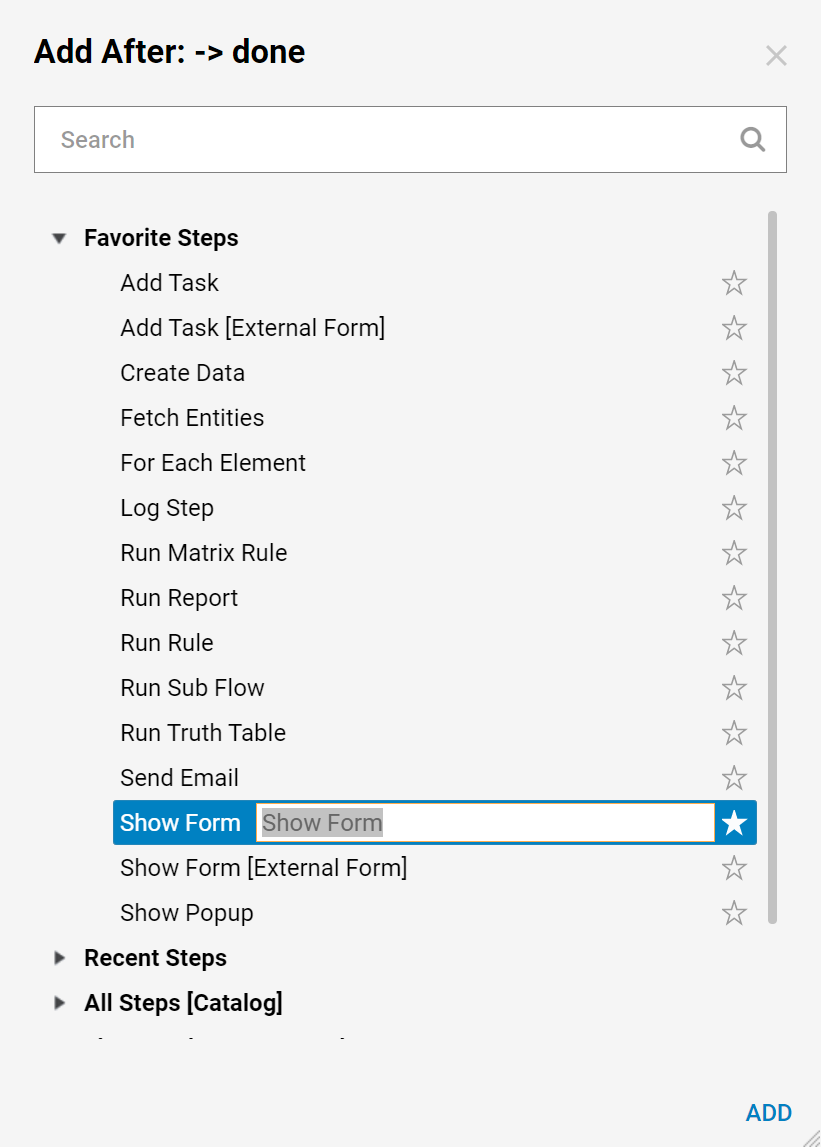
In the workspace, there is already a green Start step and a red End step. Add a new step that will become the invoice form. Select the arrow coming out of the green Start step. This opens the Quick Add for Step dialog. On the right side under Favorite Steps select Show Form and select 'ADD'.
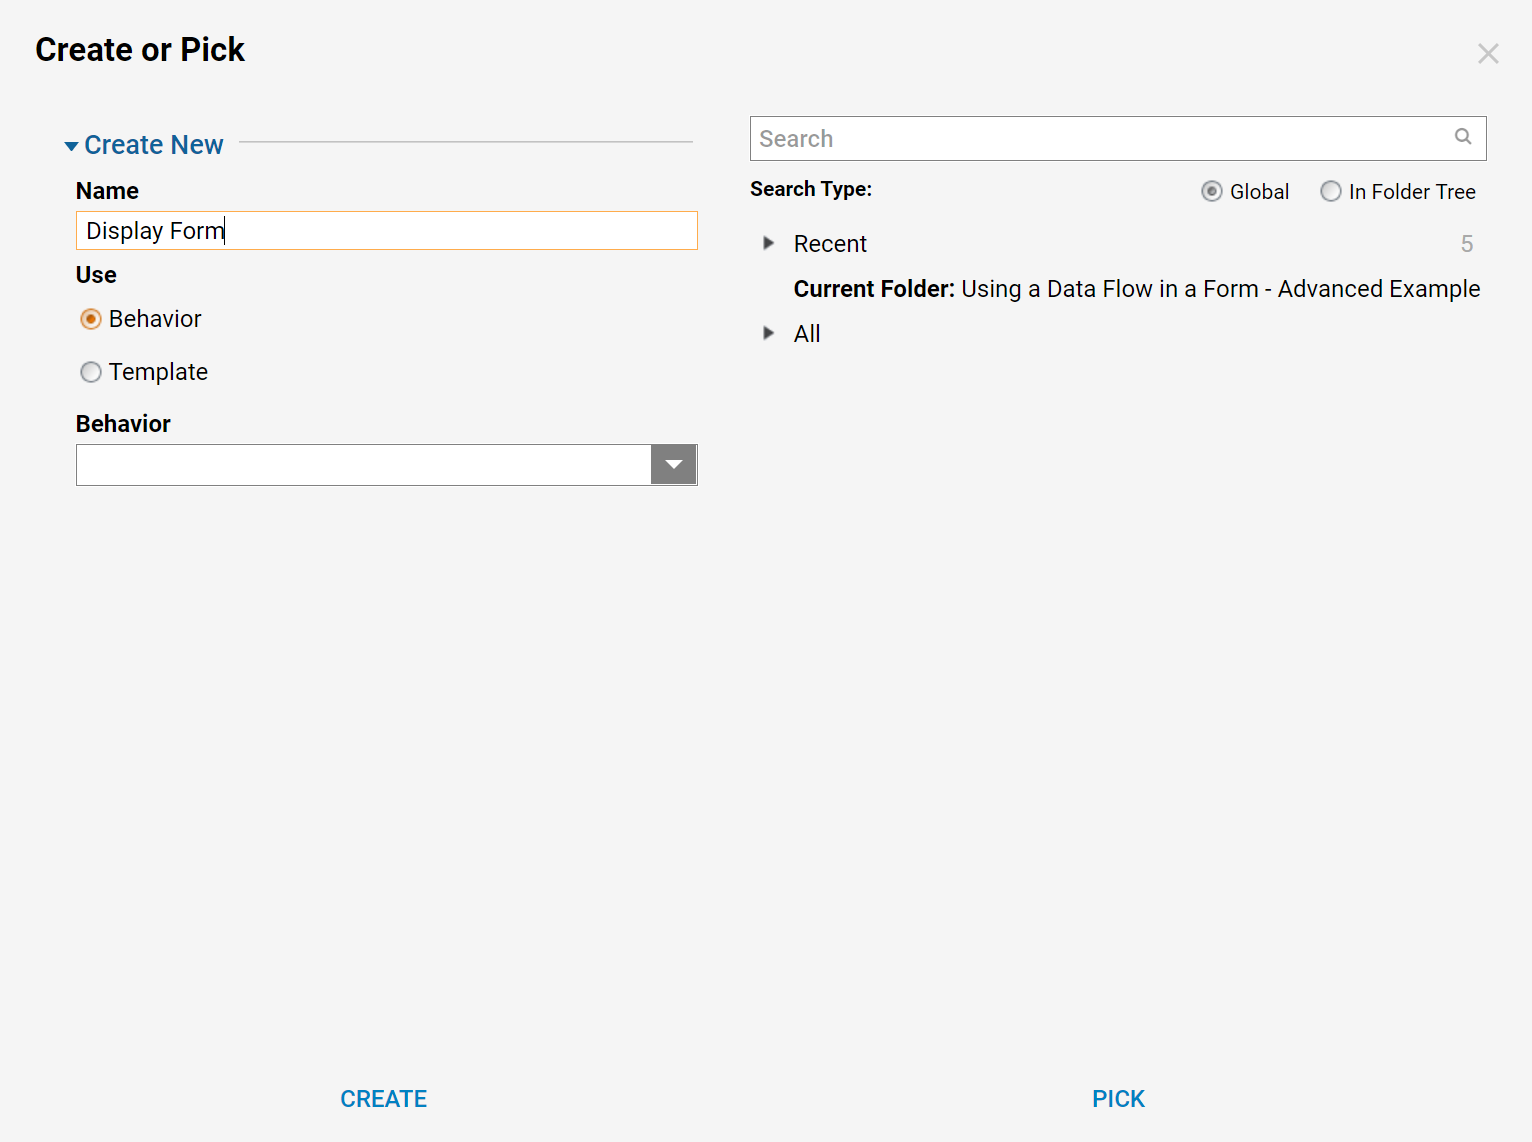
The Show Form step is added to the workspace and the Default Editor for Step dialog opens. Name the form "Invoice" and select Create (leaving other settings default).
Building the Invoice Form
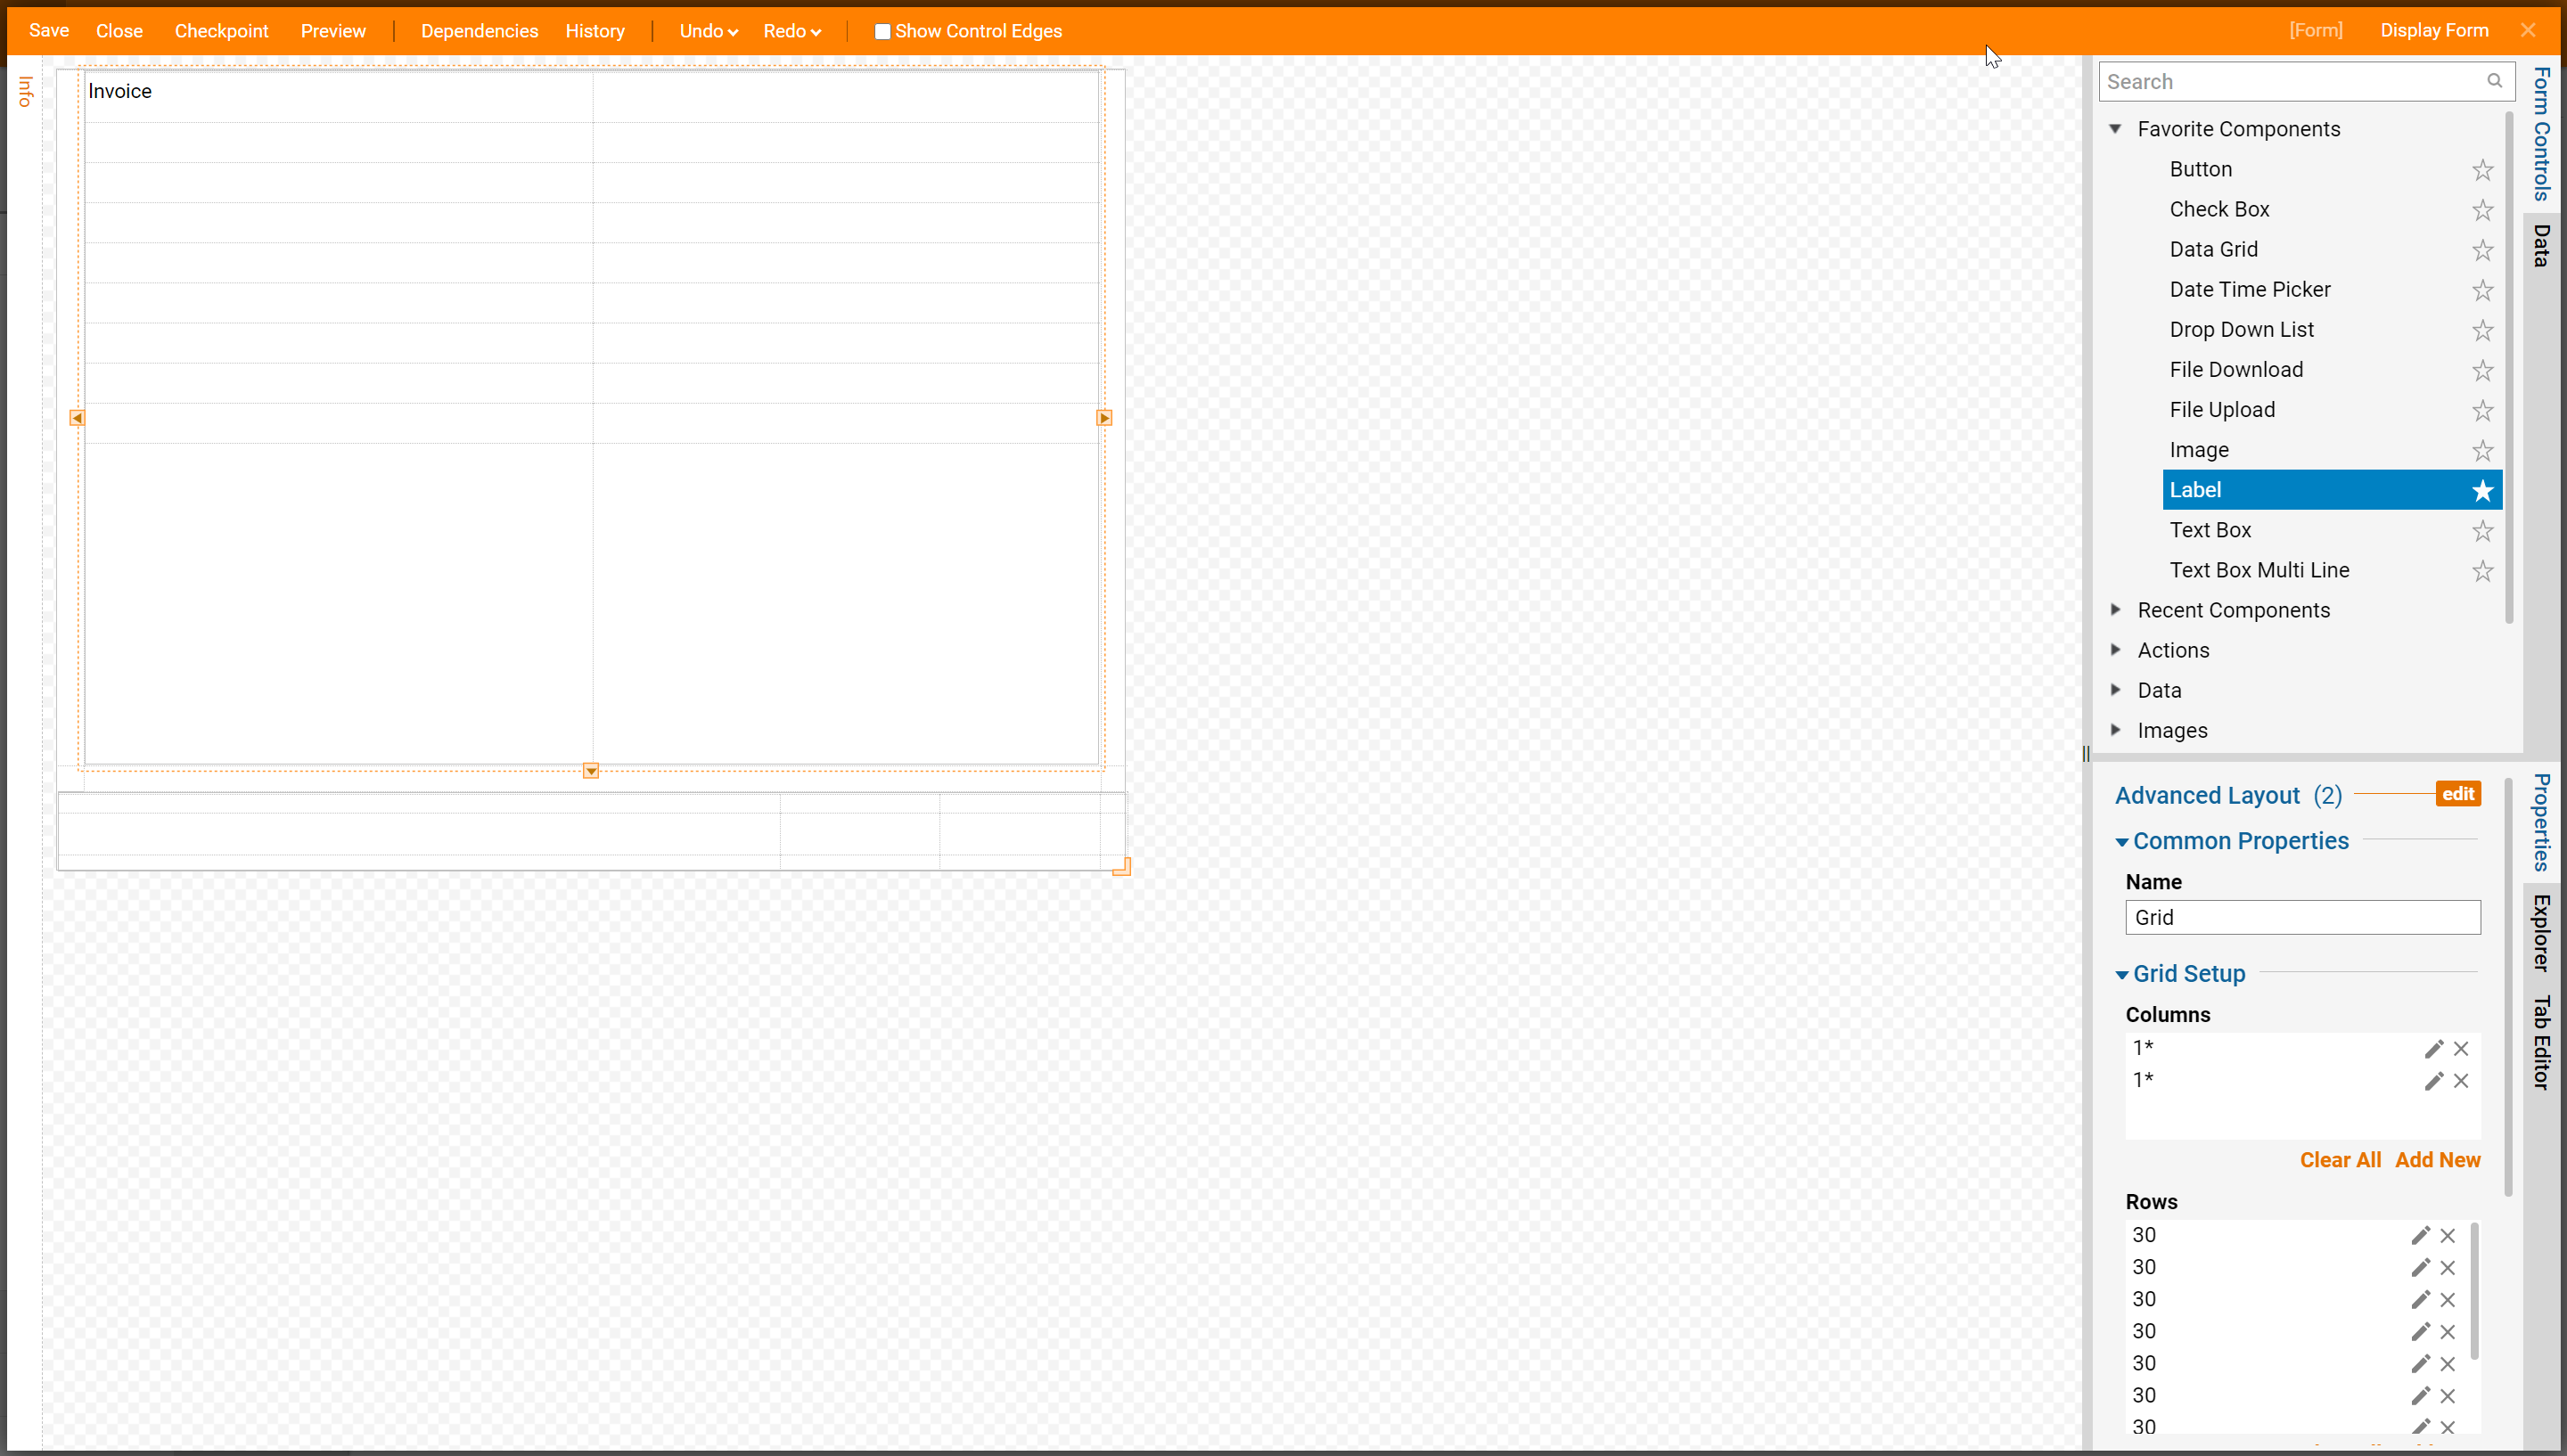
The Form Editor opens. This is the design screen we will now use to create our invoice form. In the Form Controls tab on the right side, under Favorite Components, select the Label component and drag it to the top of the form when prompted set the text to "Invoice" and select Enter.
As a best practice step, we enlarge and center the Label text. These properties are changed in the Properties tab on the right under View > Use Form Font > [...]. The alignment is set in View > Alignment.
Next, create fields for the user to input the names and prices of two line items. From the Form Controls tab on the right, select and drag over two Text Box controls in which the user will enter the names of the items and two Masked Text Box controls in which the user will enter the price for each item as shown in the screenshot below. When prompted by the Set Data Name dialog, name the output data for the Text Box controls "Item1" and "Item2" respectively. For the Masked Text Box controls name the output data "Item1Price" and "Item2Price" respectively. Also, add a Label for each as shown below.
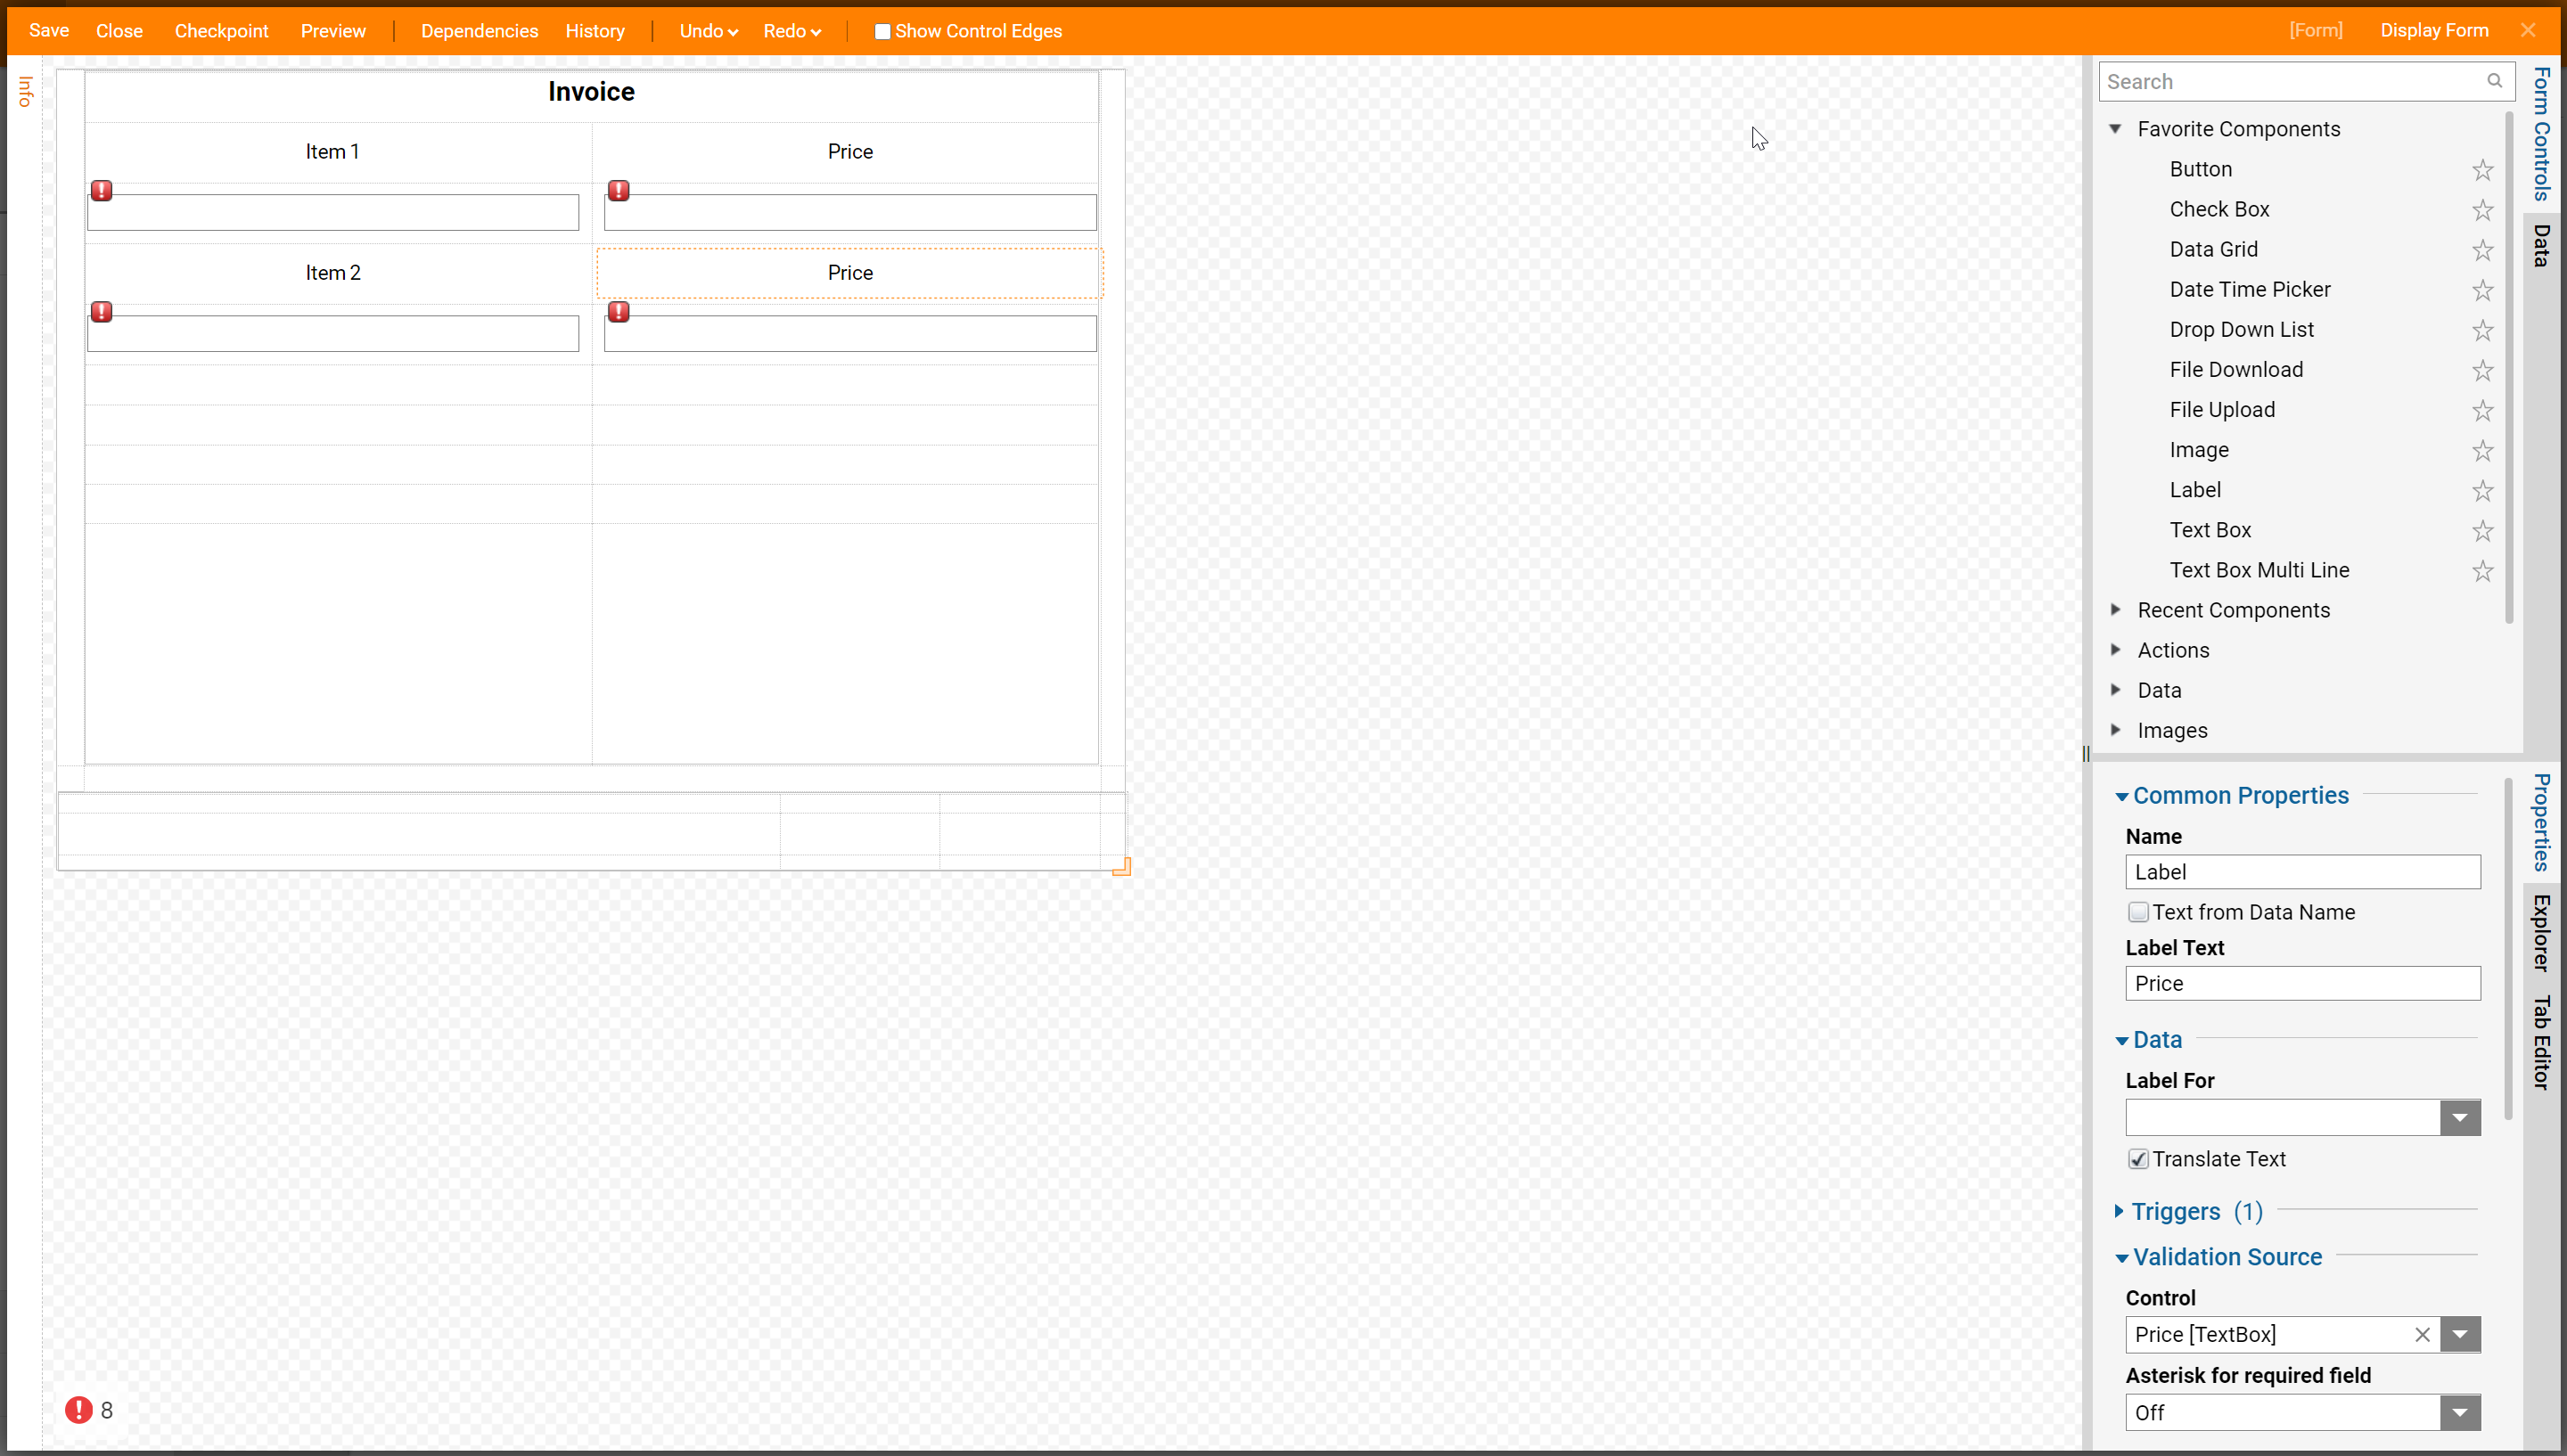
In this example, the user has two fields to input only items. In the real world, the user will enter more line items to create invoices. To do this design the form using Repeater Control. For more information on Repeater Controls, see Creating a Repeater Form Control).
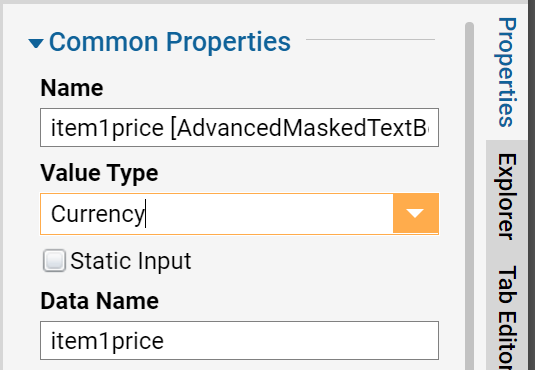
Configure the properties for the Masked Text Box controls to expect a currency entry. This will ensure the user enters a valid monetary value. To do this, click on the control to select it, then in the Properties tab on the right under Value Type select Currency.
Next, create a "Total Due" box that will display the calculated total. From the Form Controls tab on the right select and drag over two Label components as shown in the screenshot below. Notice also Cancel and OK buttons have been added.
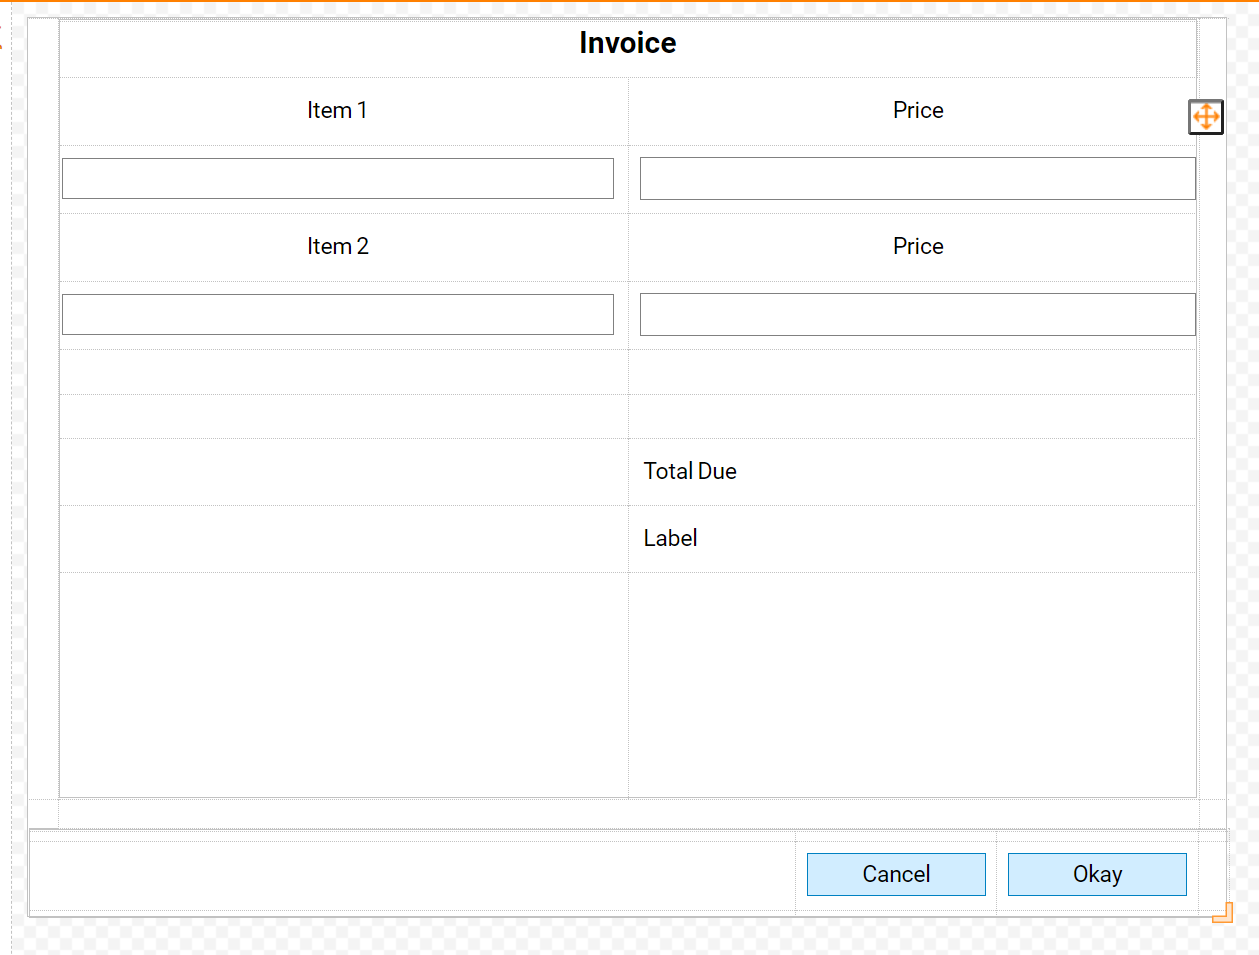
Set the top Label to display "TOTAL DUE". Return later to configure the bottom Label. After configuring it with the Data Flow created later, the bottom Label will contain the dynamically calculated total of items 1 and 2.
This concludes the basic form design. At the top left select Save Form and Close Form. Next, create the Data Flow that will add the prices of the items and create the "TotalDue" value.
Building the Data Flow
Back in the Designer Folder, select Create Flow. In the New Flow dialog, name the flow "Data Flow" and leave the other settings default, then select 'Create'.
The Flow Designer opens and shows a default flow layout with a start and end step. Select the green start step and, in the Properties tab on the right under Flow Data, select Show Editor.
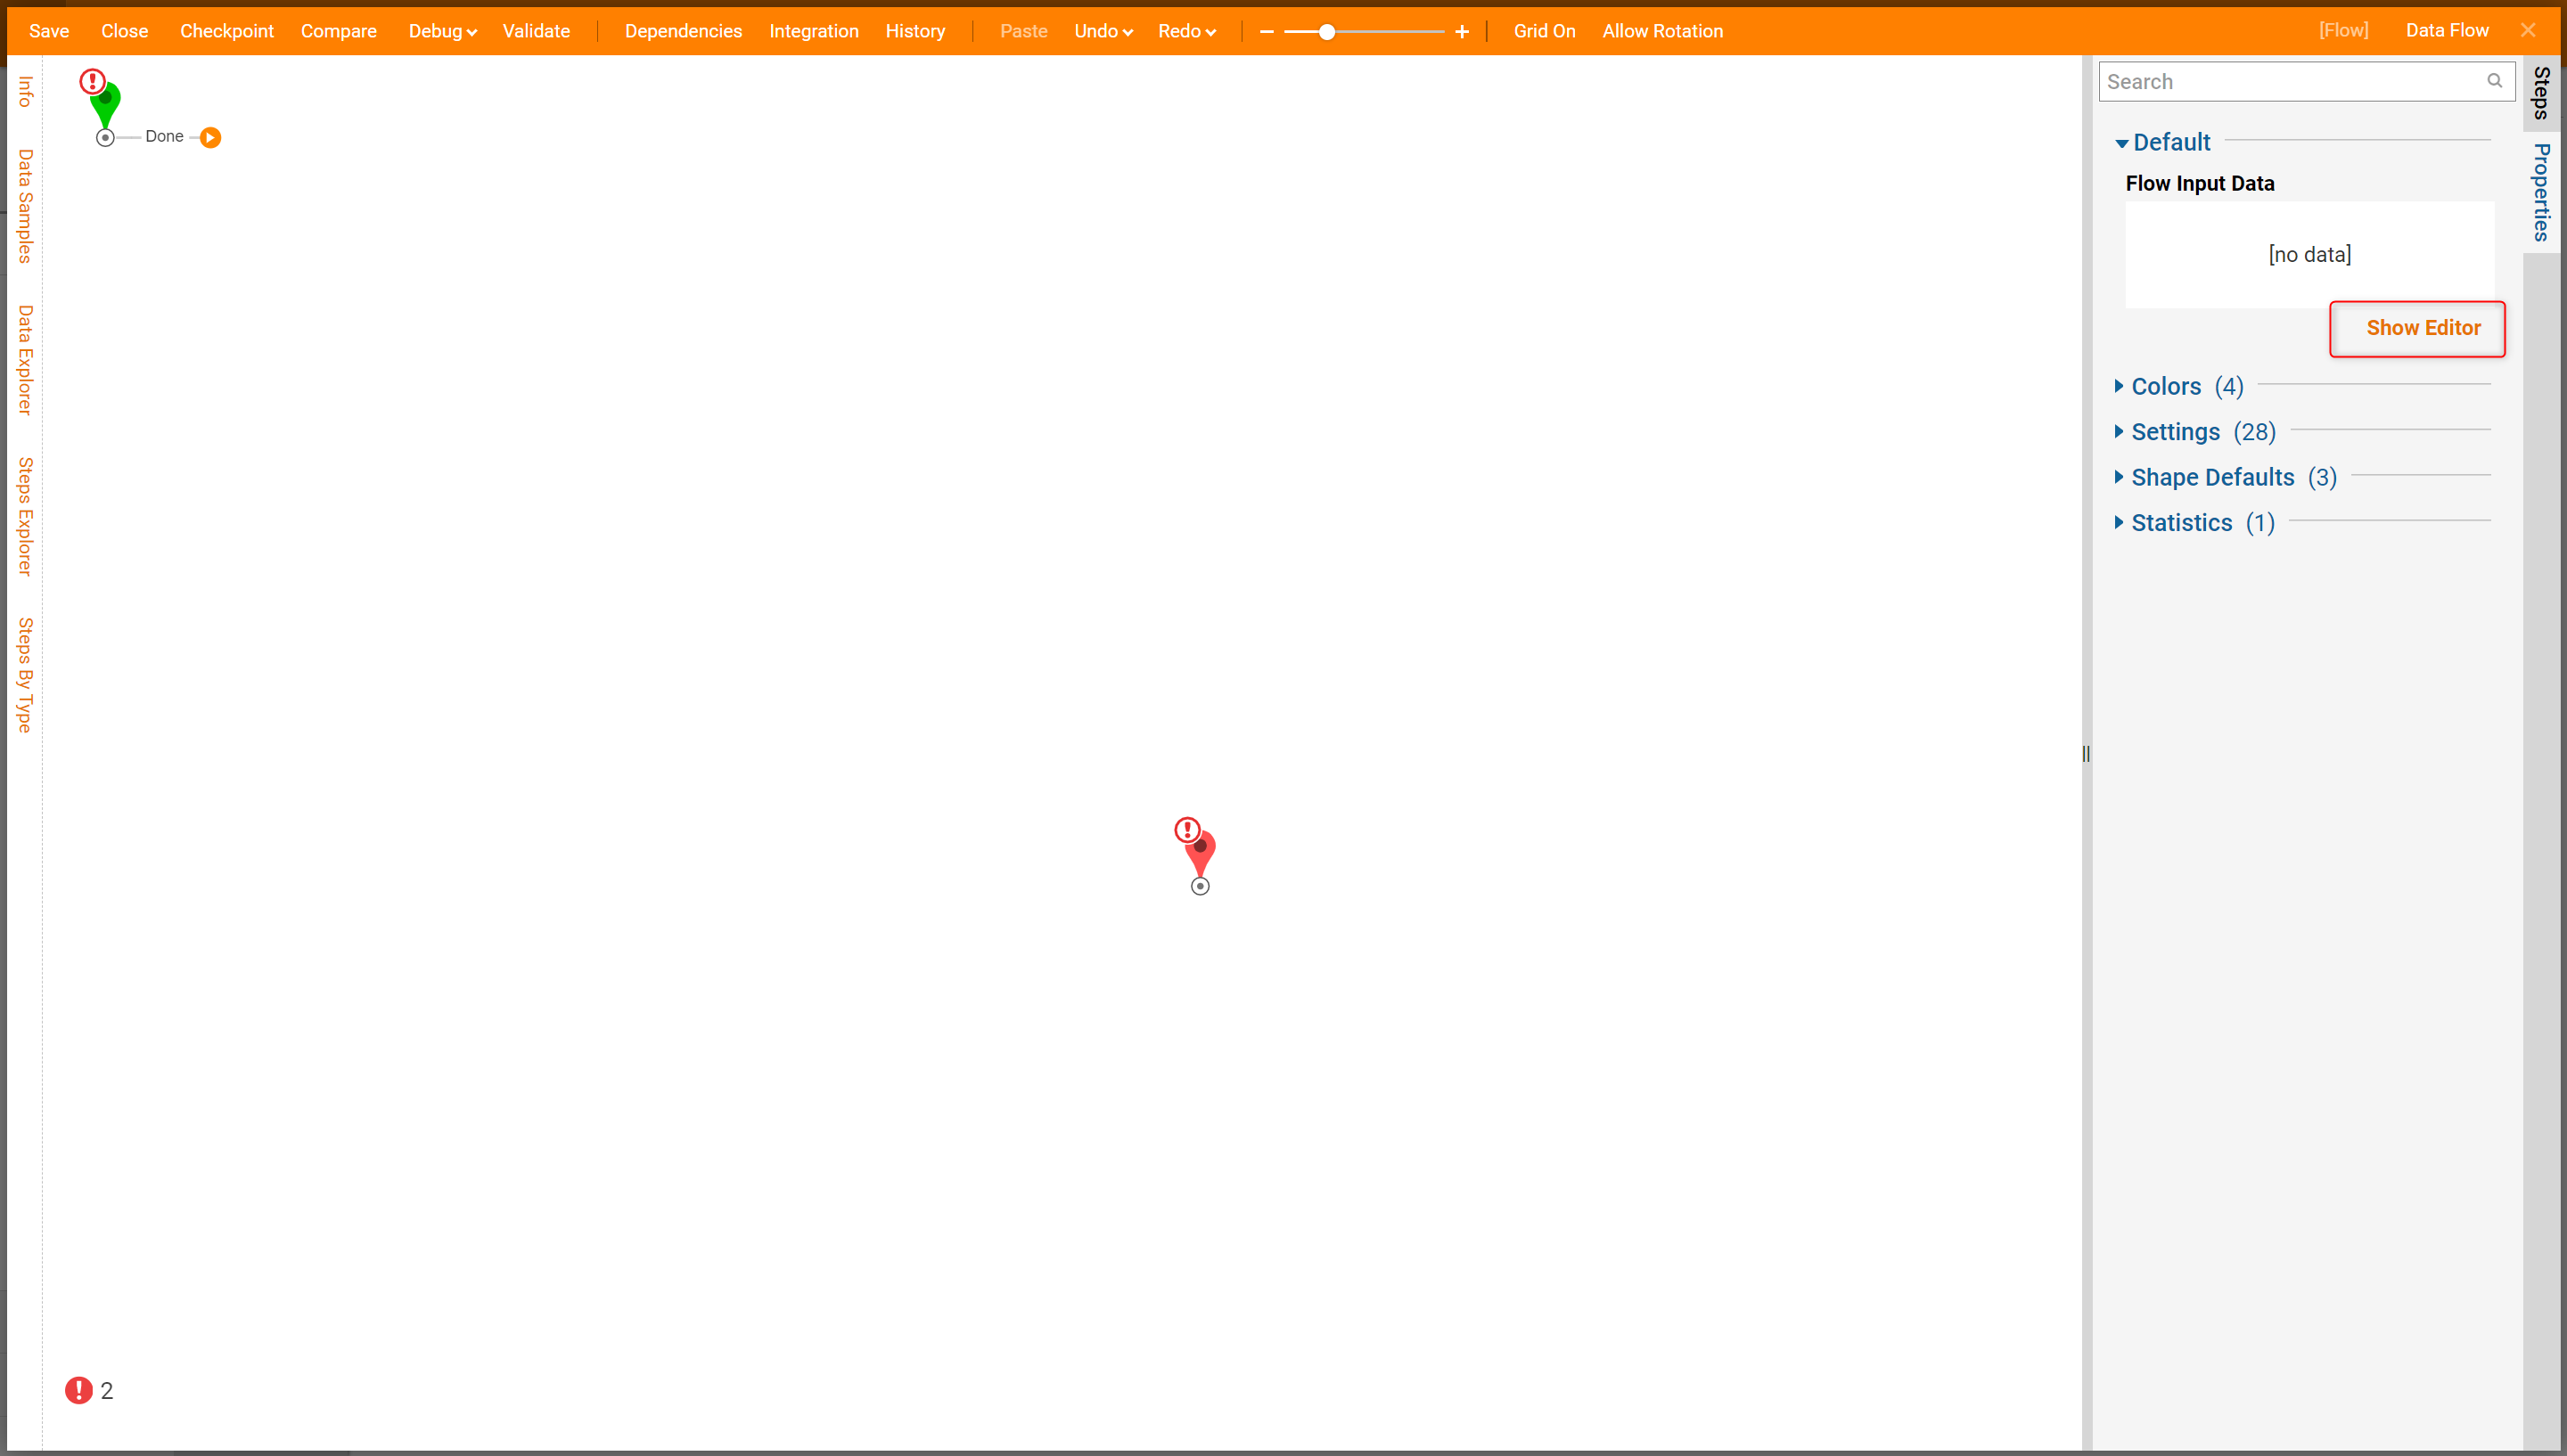
Create two input values named "Item1Price" and "Item2Price" and set them to String. For each value, under Mapping Type, click Select Value [From Flow] from the drop-down list, select Pick, then select the corresponding value for each. Then select Close.
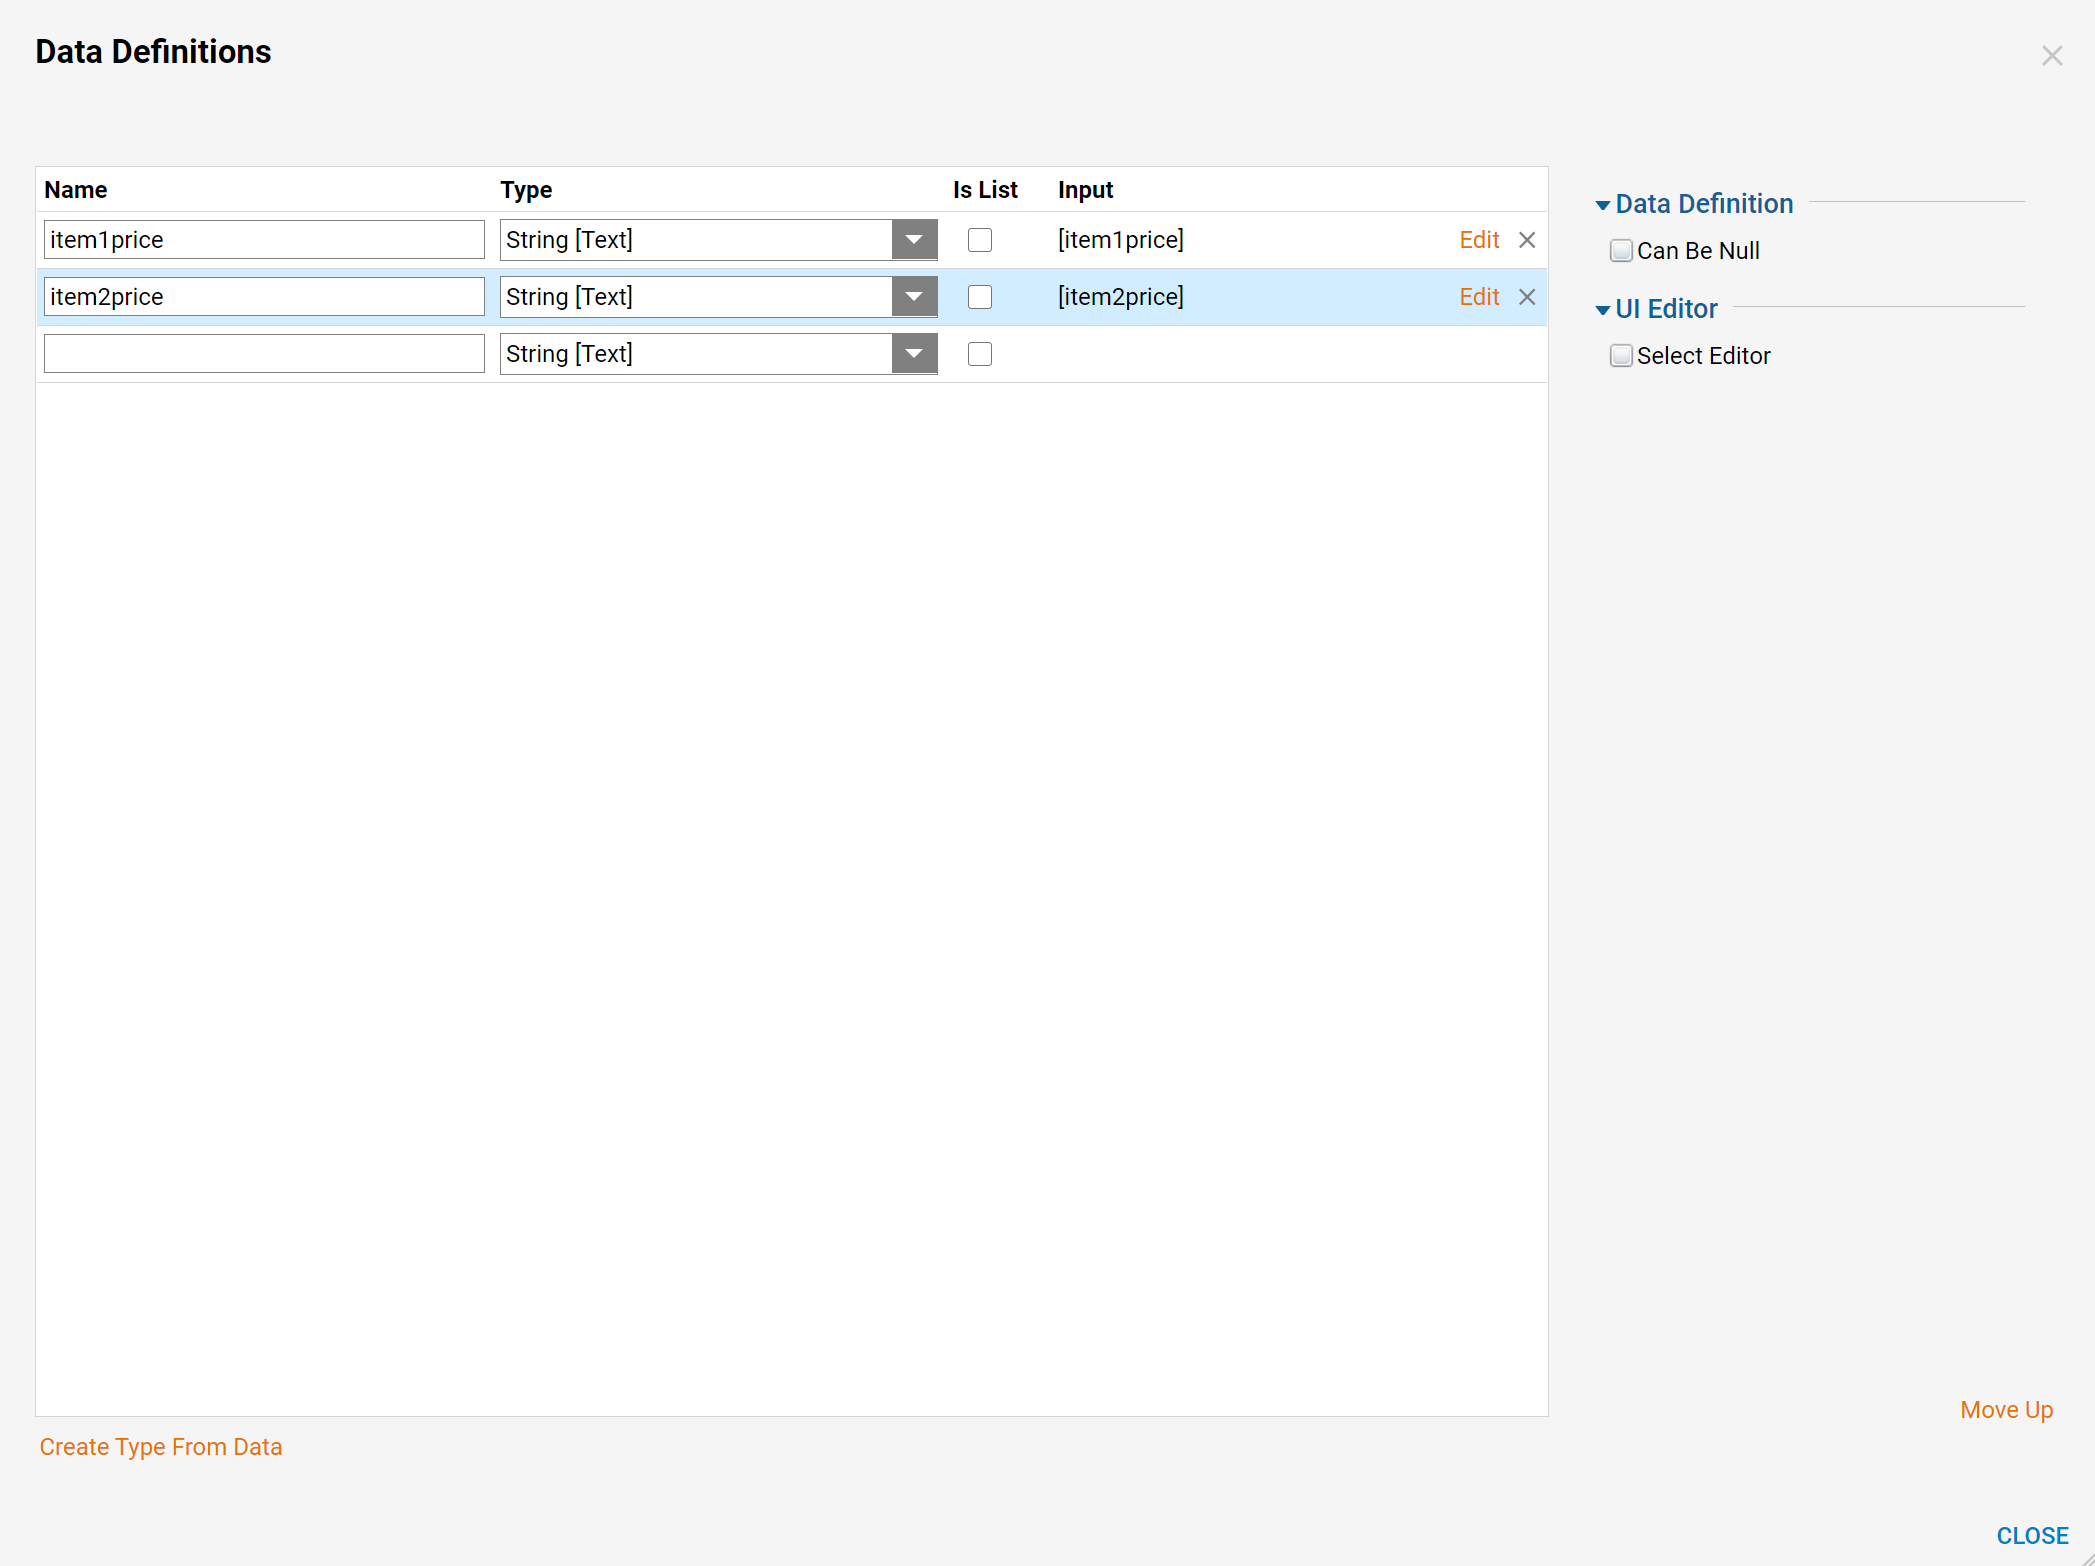
At this point, the price values have been mapped for each item into the Data Flow. Now add the values together. There's a problem: the values are currently String type data and need to be converted into Decimal type. To make this conversion add a Convert String to Decimal step from the Steps tab on the right - one for each value. These are sub-flow steps, meaning they behave like steps in your flow but each contains their own discrete flow.

In the Properties tab on the right, configure each Convert String to Decimal step as shown below. Notice the names that were given to the converted data ("Item1PriceConverted" and "Item2PriceConverted").
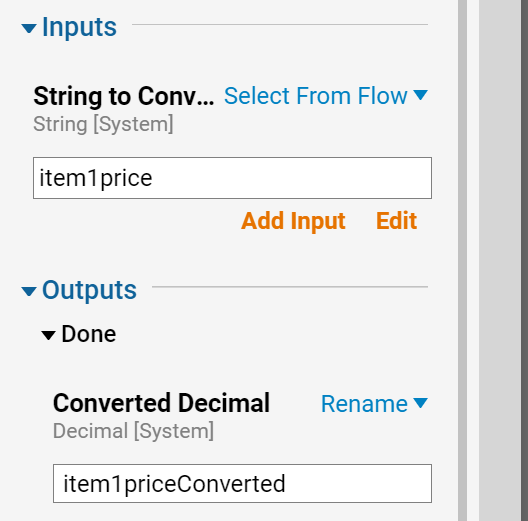
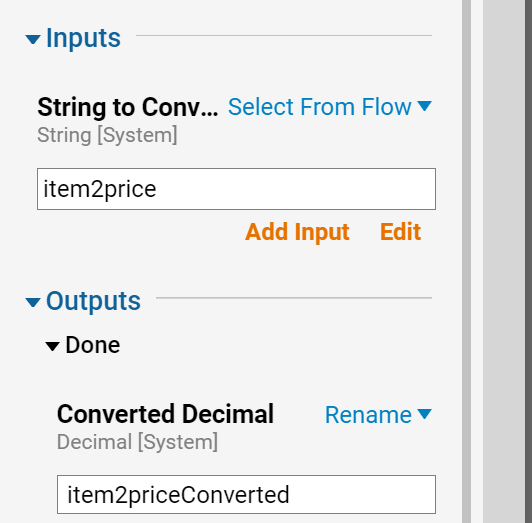
Now add these two converted values.
From the Steps tab on the right, under Data > Numbers, select and drag an Add step onto the workspace.

Select Add step to select it, then in the Properties tab on the right set the two values to "Item1PriceConverted" and "Item2PriceConverted".
Under Outputs set the Mapping Type to Rename and the name to "PriceSum".
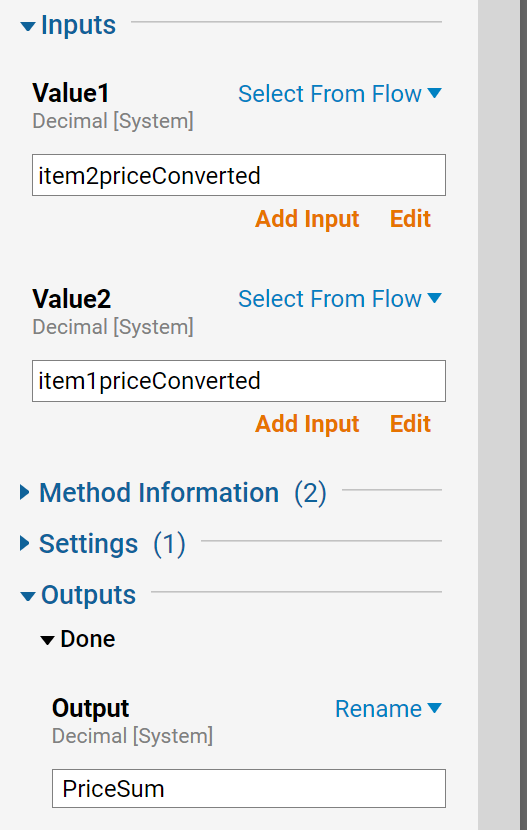
Next, configure output data that the Data Flow will pass back to the form. Select the red End step to select it, then in the Properties tab on the right under Data, select Show Editor.
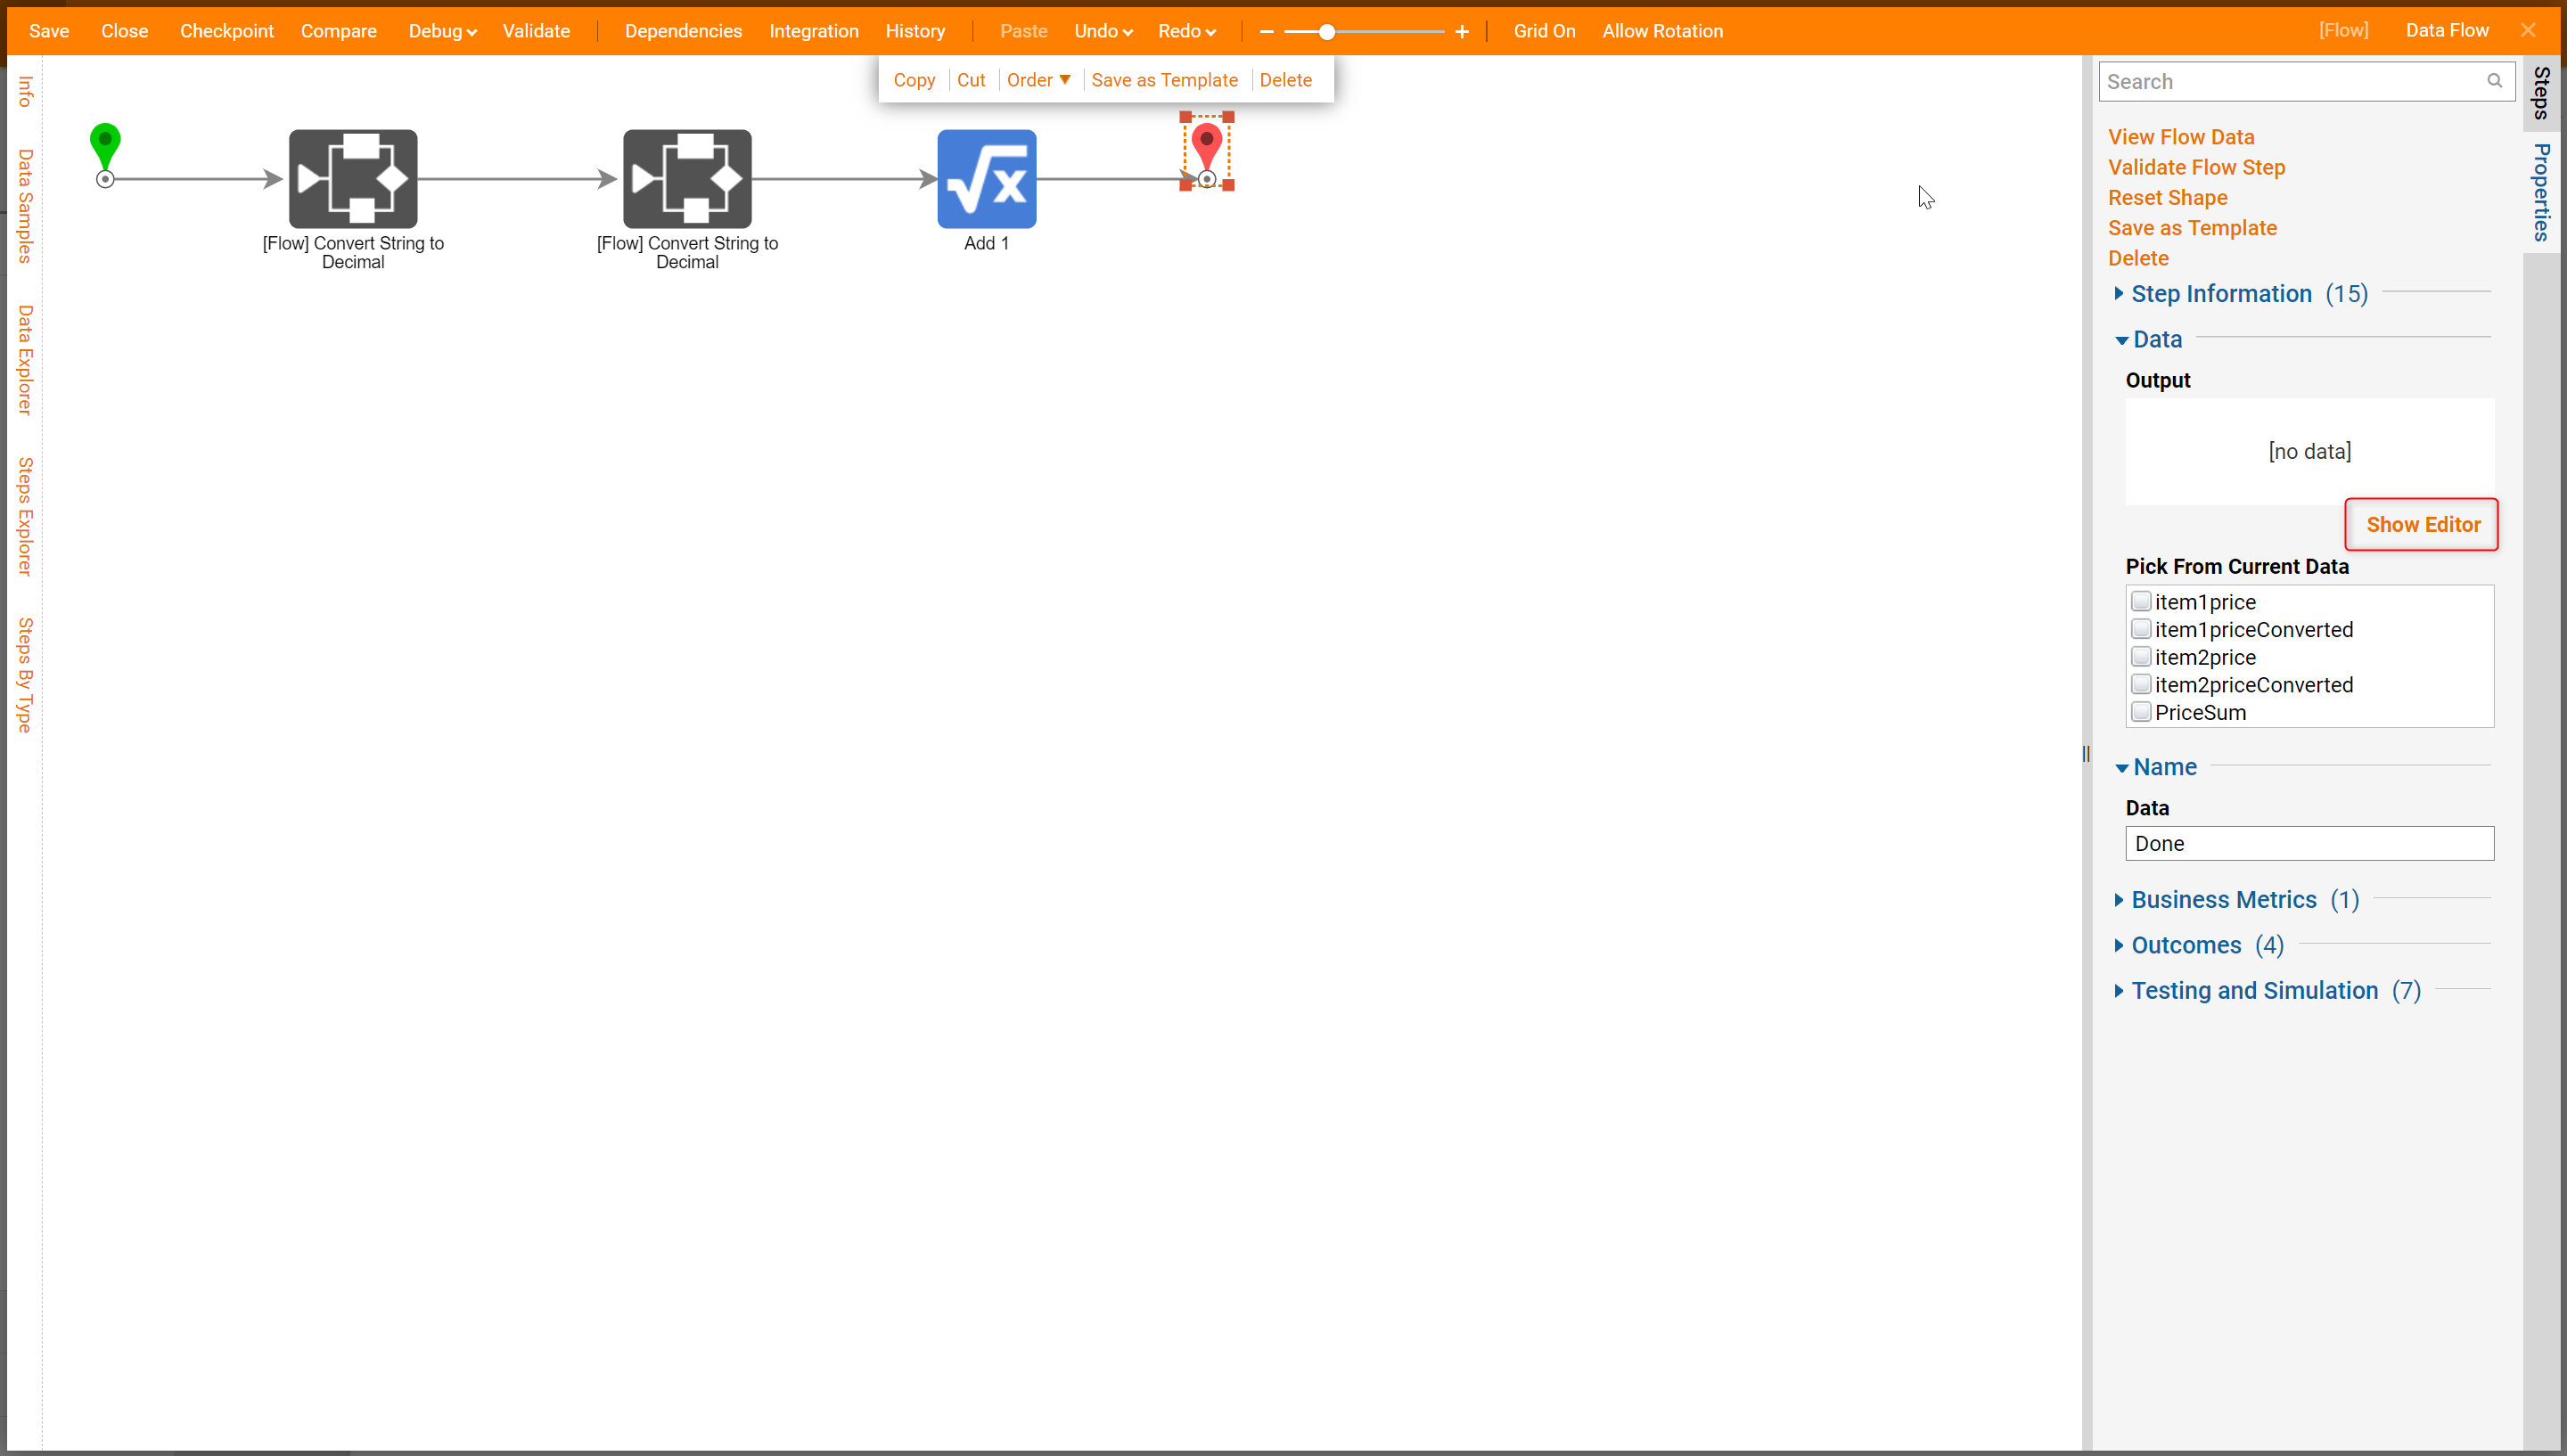
Create an output value called "PriceSum", configure it as follows then select Close.
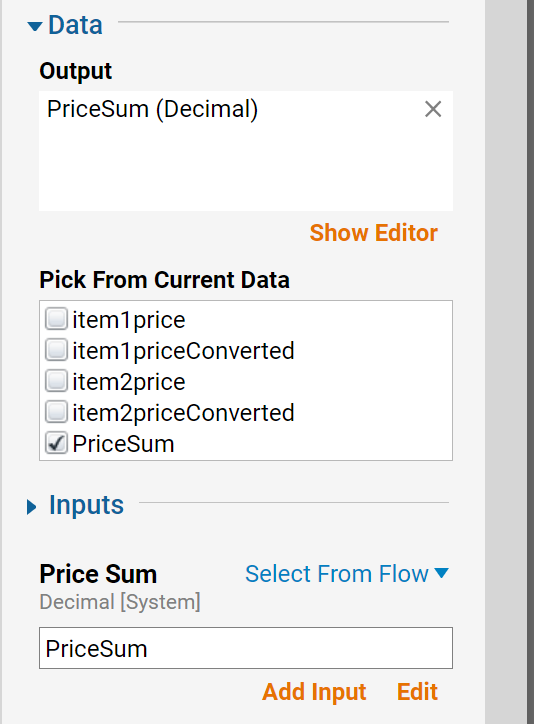
In the upper left corner, save and close the flow.
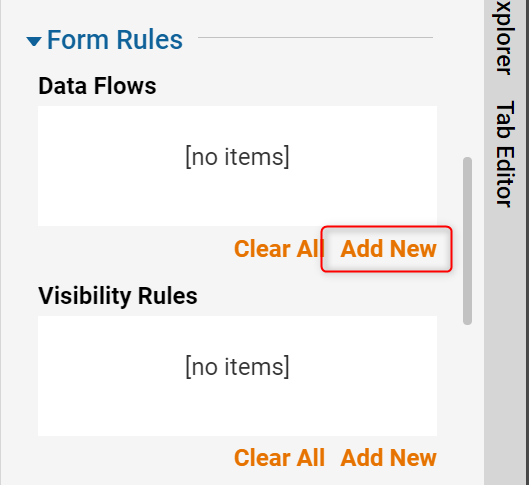
Open the form again. In the Form Designer, select the blank checkered space then select the Properties tab on the right to open the form properties. Under Form Rules > Data Flows, select Add New.
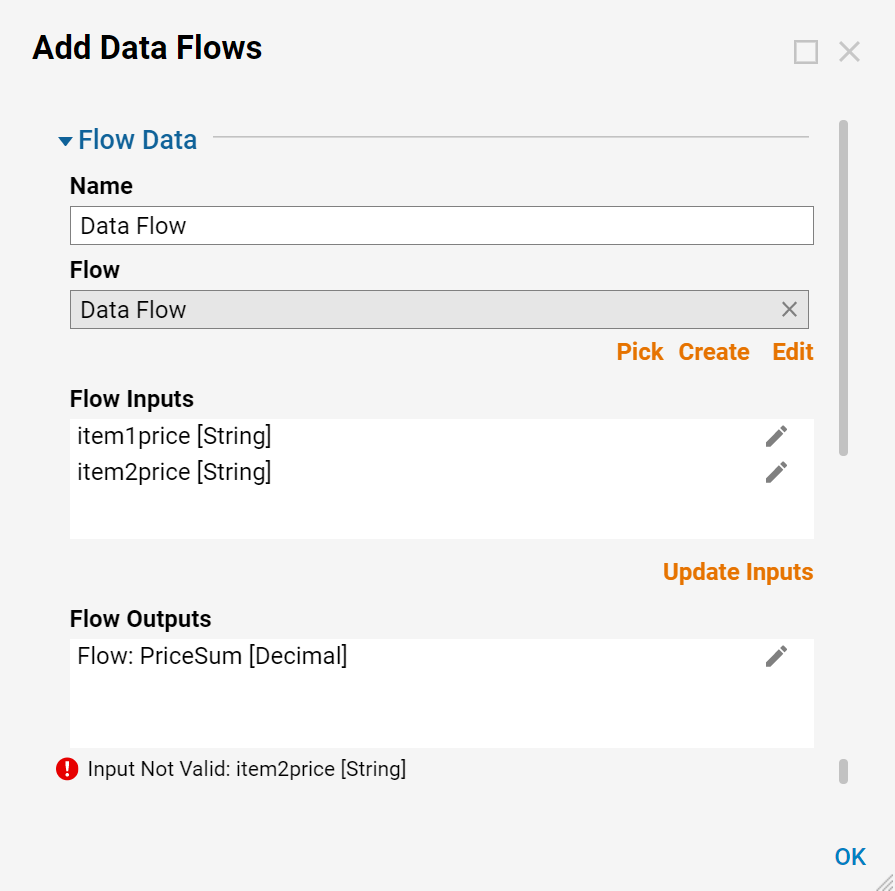
Name the flow "Data Flow" then select Pick and choose Data Flow, then select 'OK'.
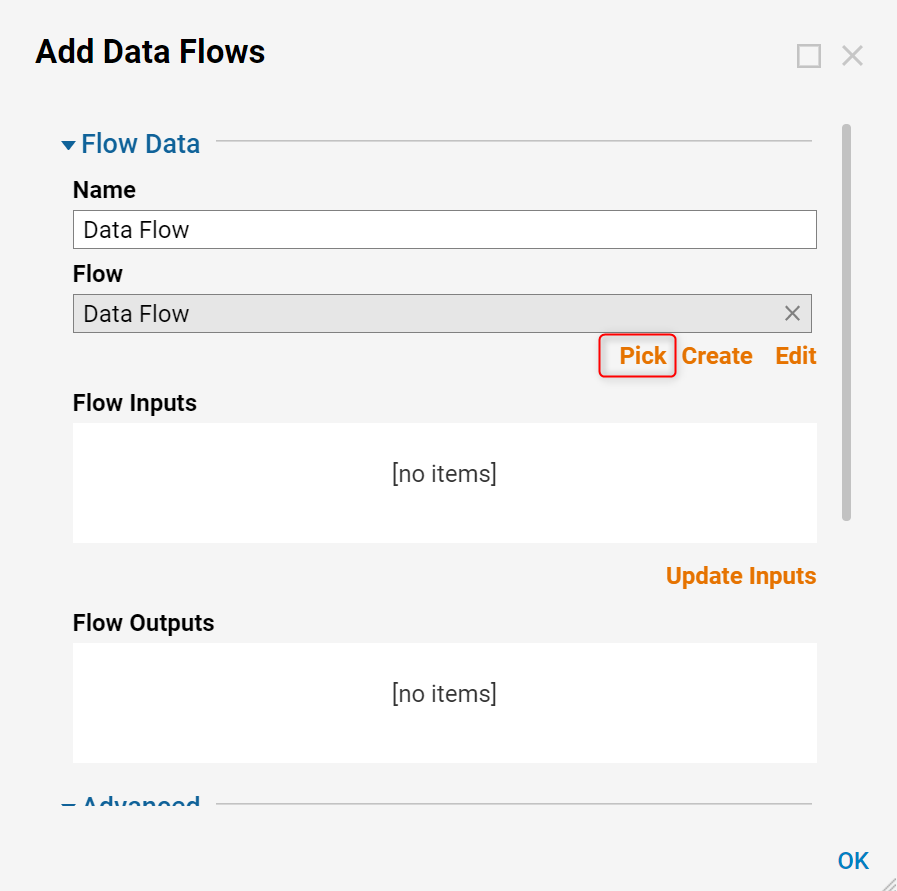
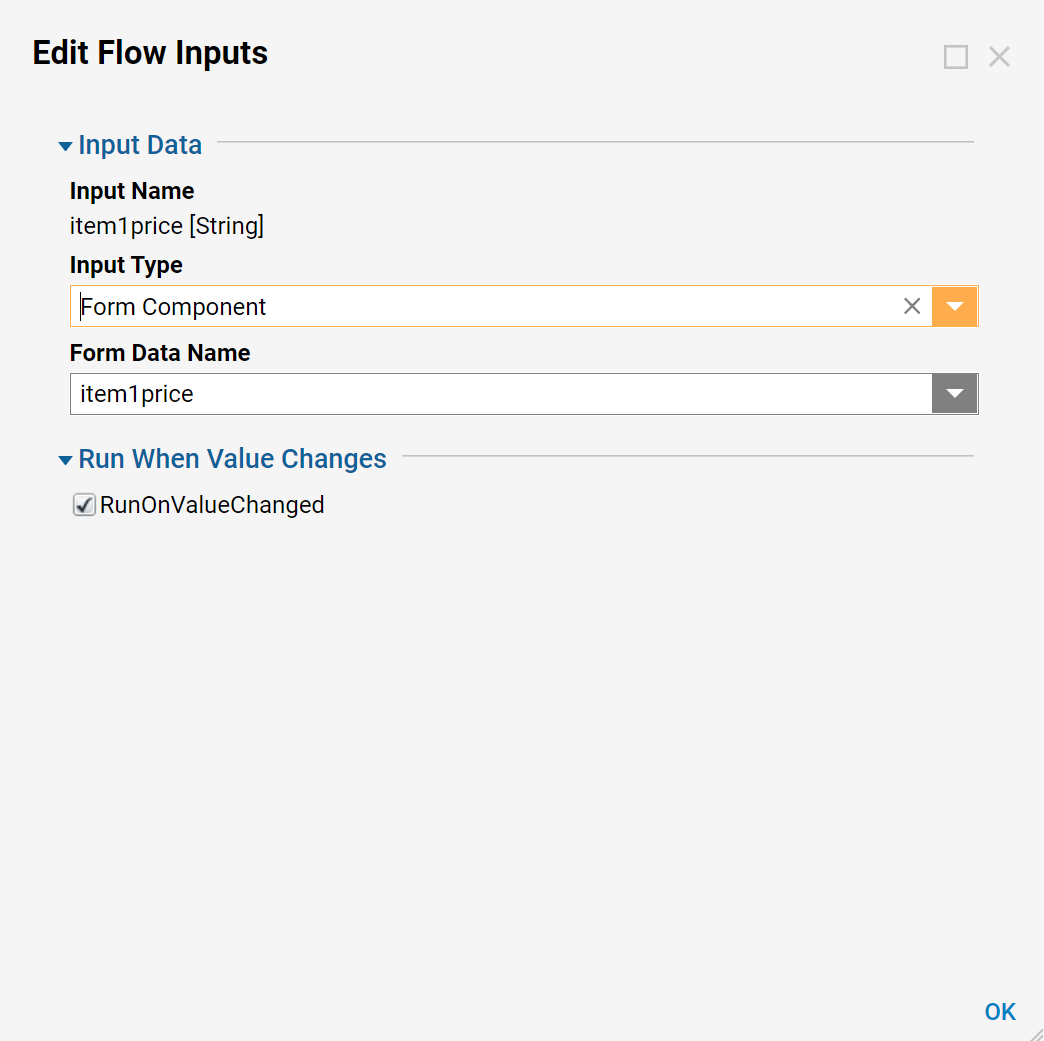
If there is an error warning about invalid inputs, select the pencil edit icon for each input and manually set them to Form Component and the appropriate value. If you see no values under Flow Inputs or Flow Outputs, select Update Inputs.
Configure each input as shown below and select 'OK'.
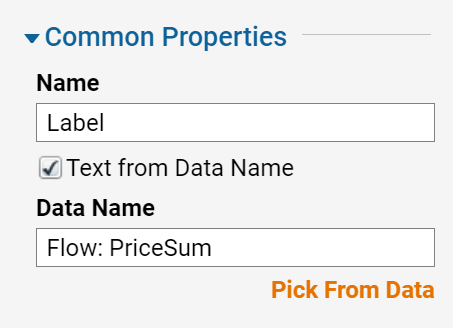
Next, select the bottom "Total Due" label to select it. In the Properties tab on the right under Common Properties, select the Text from Data Name checkbox. Select Pick From Data, then select Flow: PriceSum, and select 'OK'.
In the upper left corner, save and close the form.
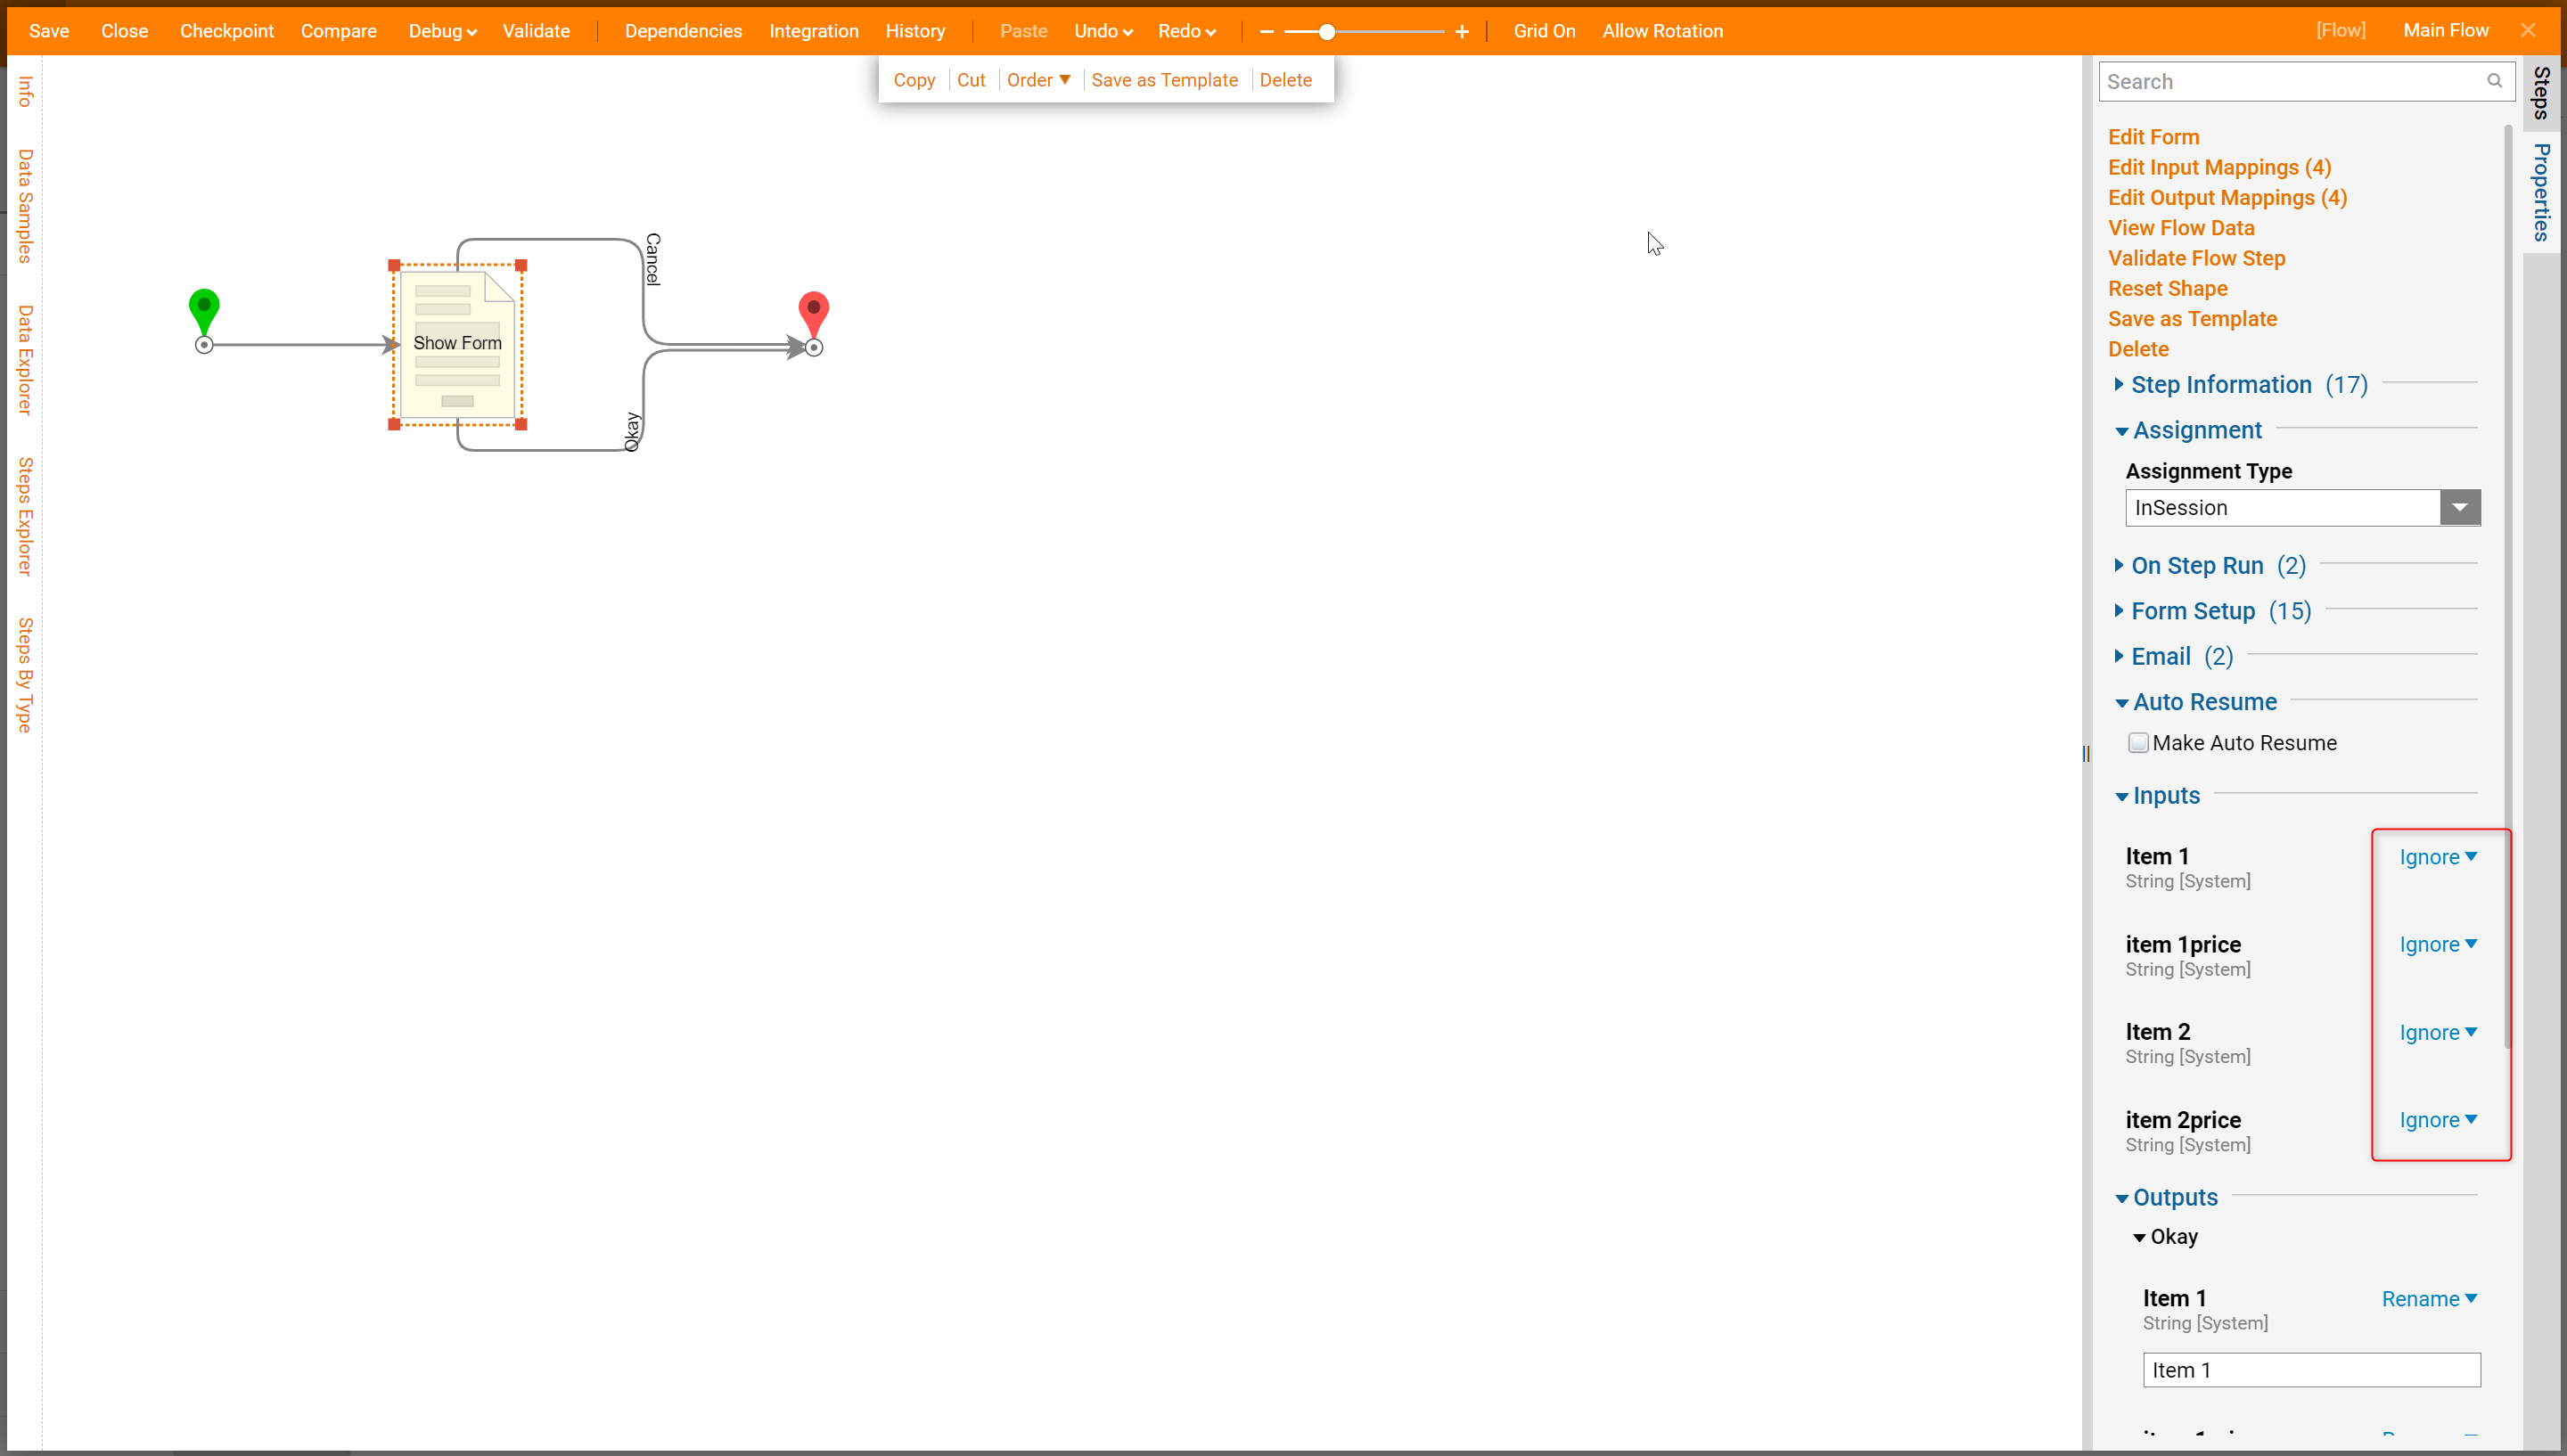
Back in the main flow, the form step may show error warning because of the input mapping type. Select this step to select it, then in the Properties tab on the right under Inputs, set the mapping types to Ignore. This tells the step not to expect any value for these data because they will receive input value from the user.
Debugging
The final step is testing. Above the main flow workspace, select Debug Flow.
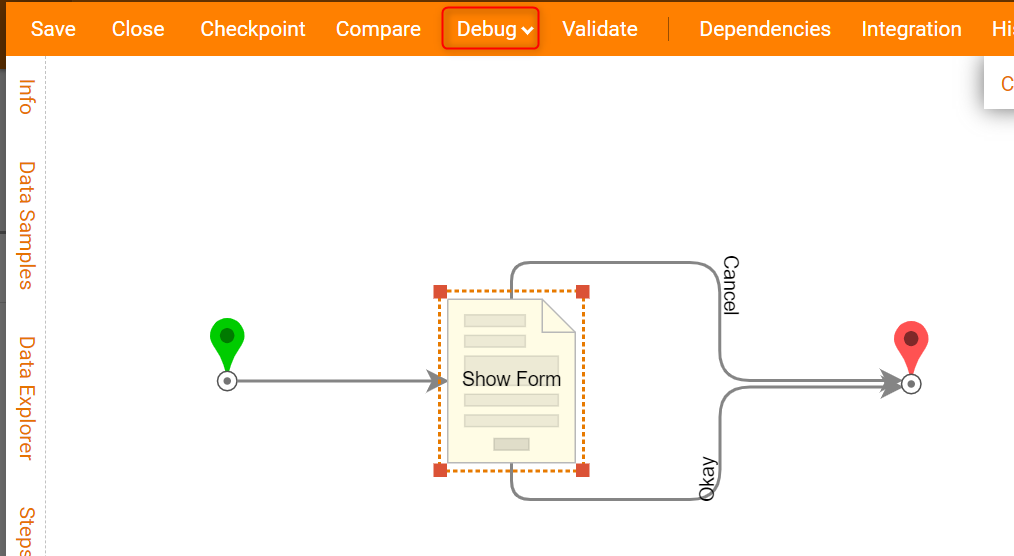
Click the start arrow to begin the test. The "Invoice" form will appear with blanks for items and their prices. Fill these fields with test values.
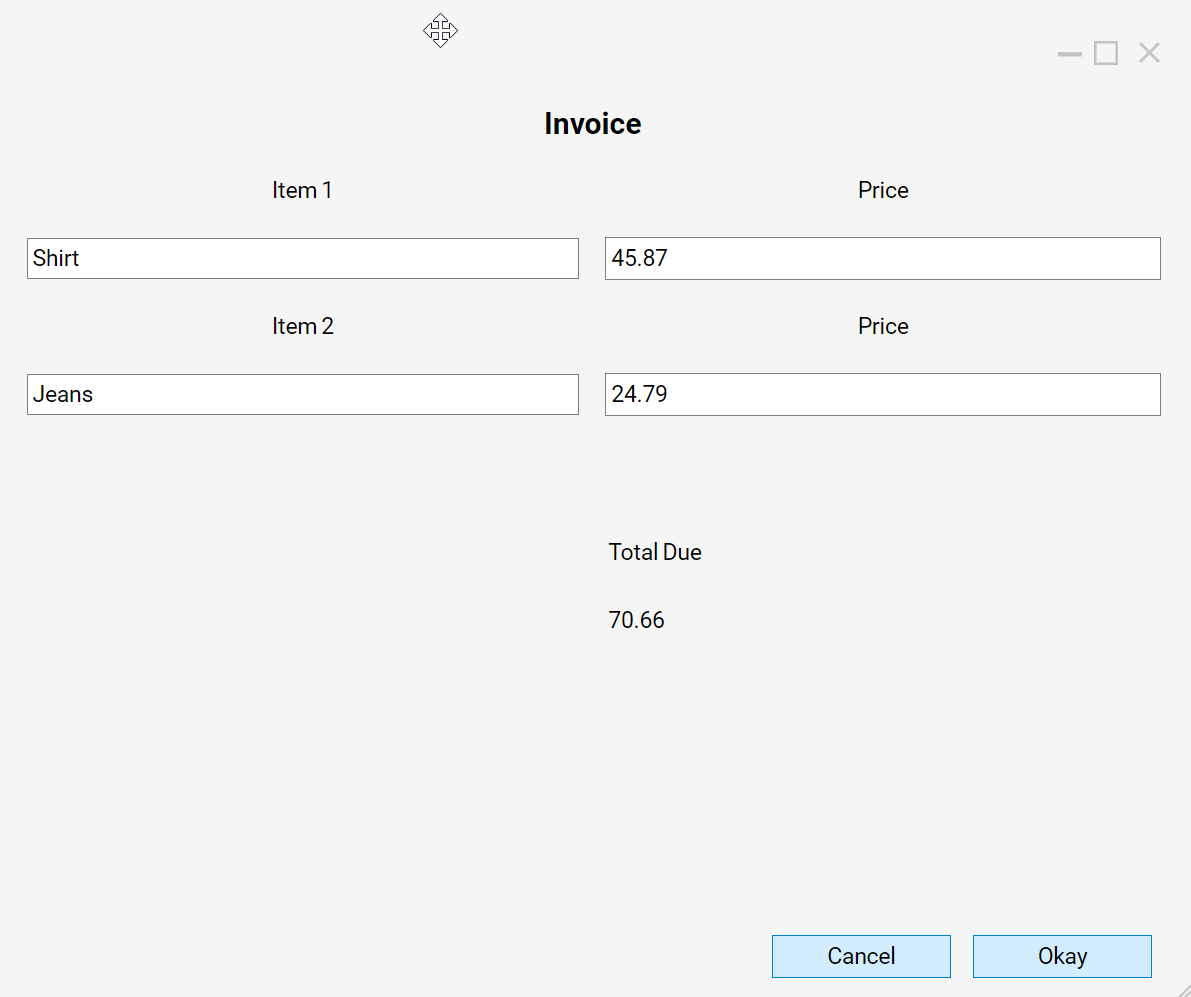
The "TOTAL DUE" field should automatically display the summed values.
Notice on the left how the Data Flow is running multiple times. This is because the Data Flow runs each time the user changes the values in either price field.
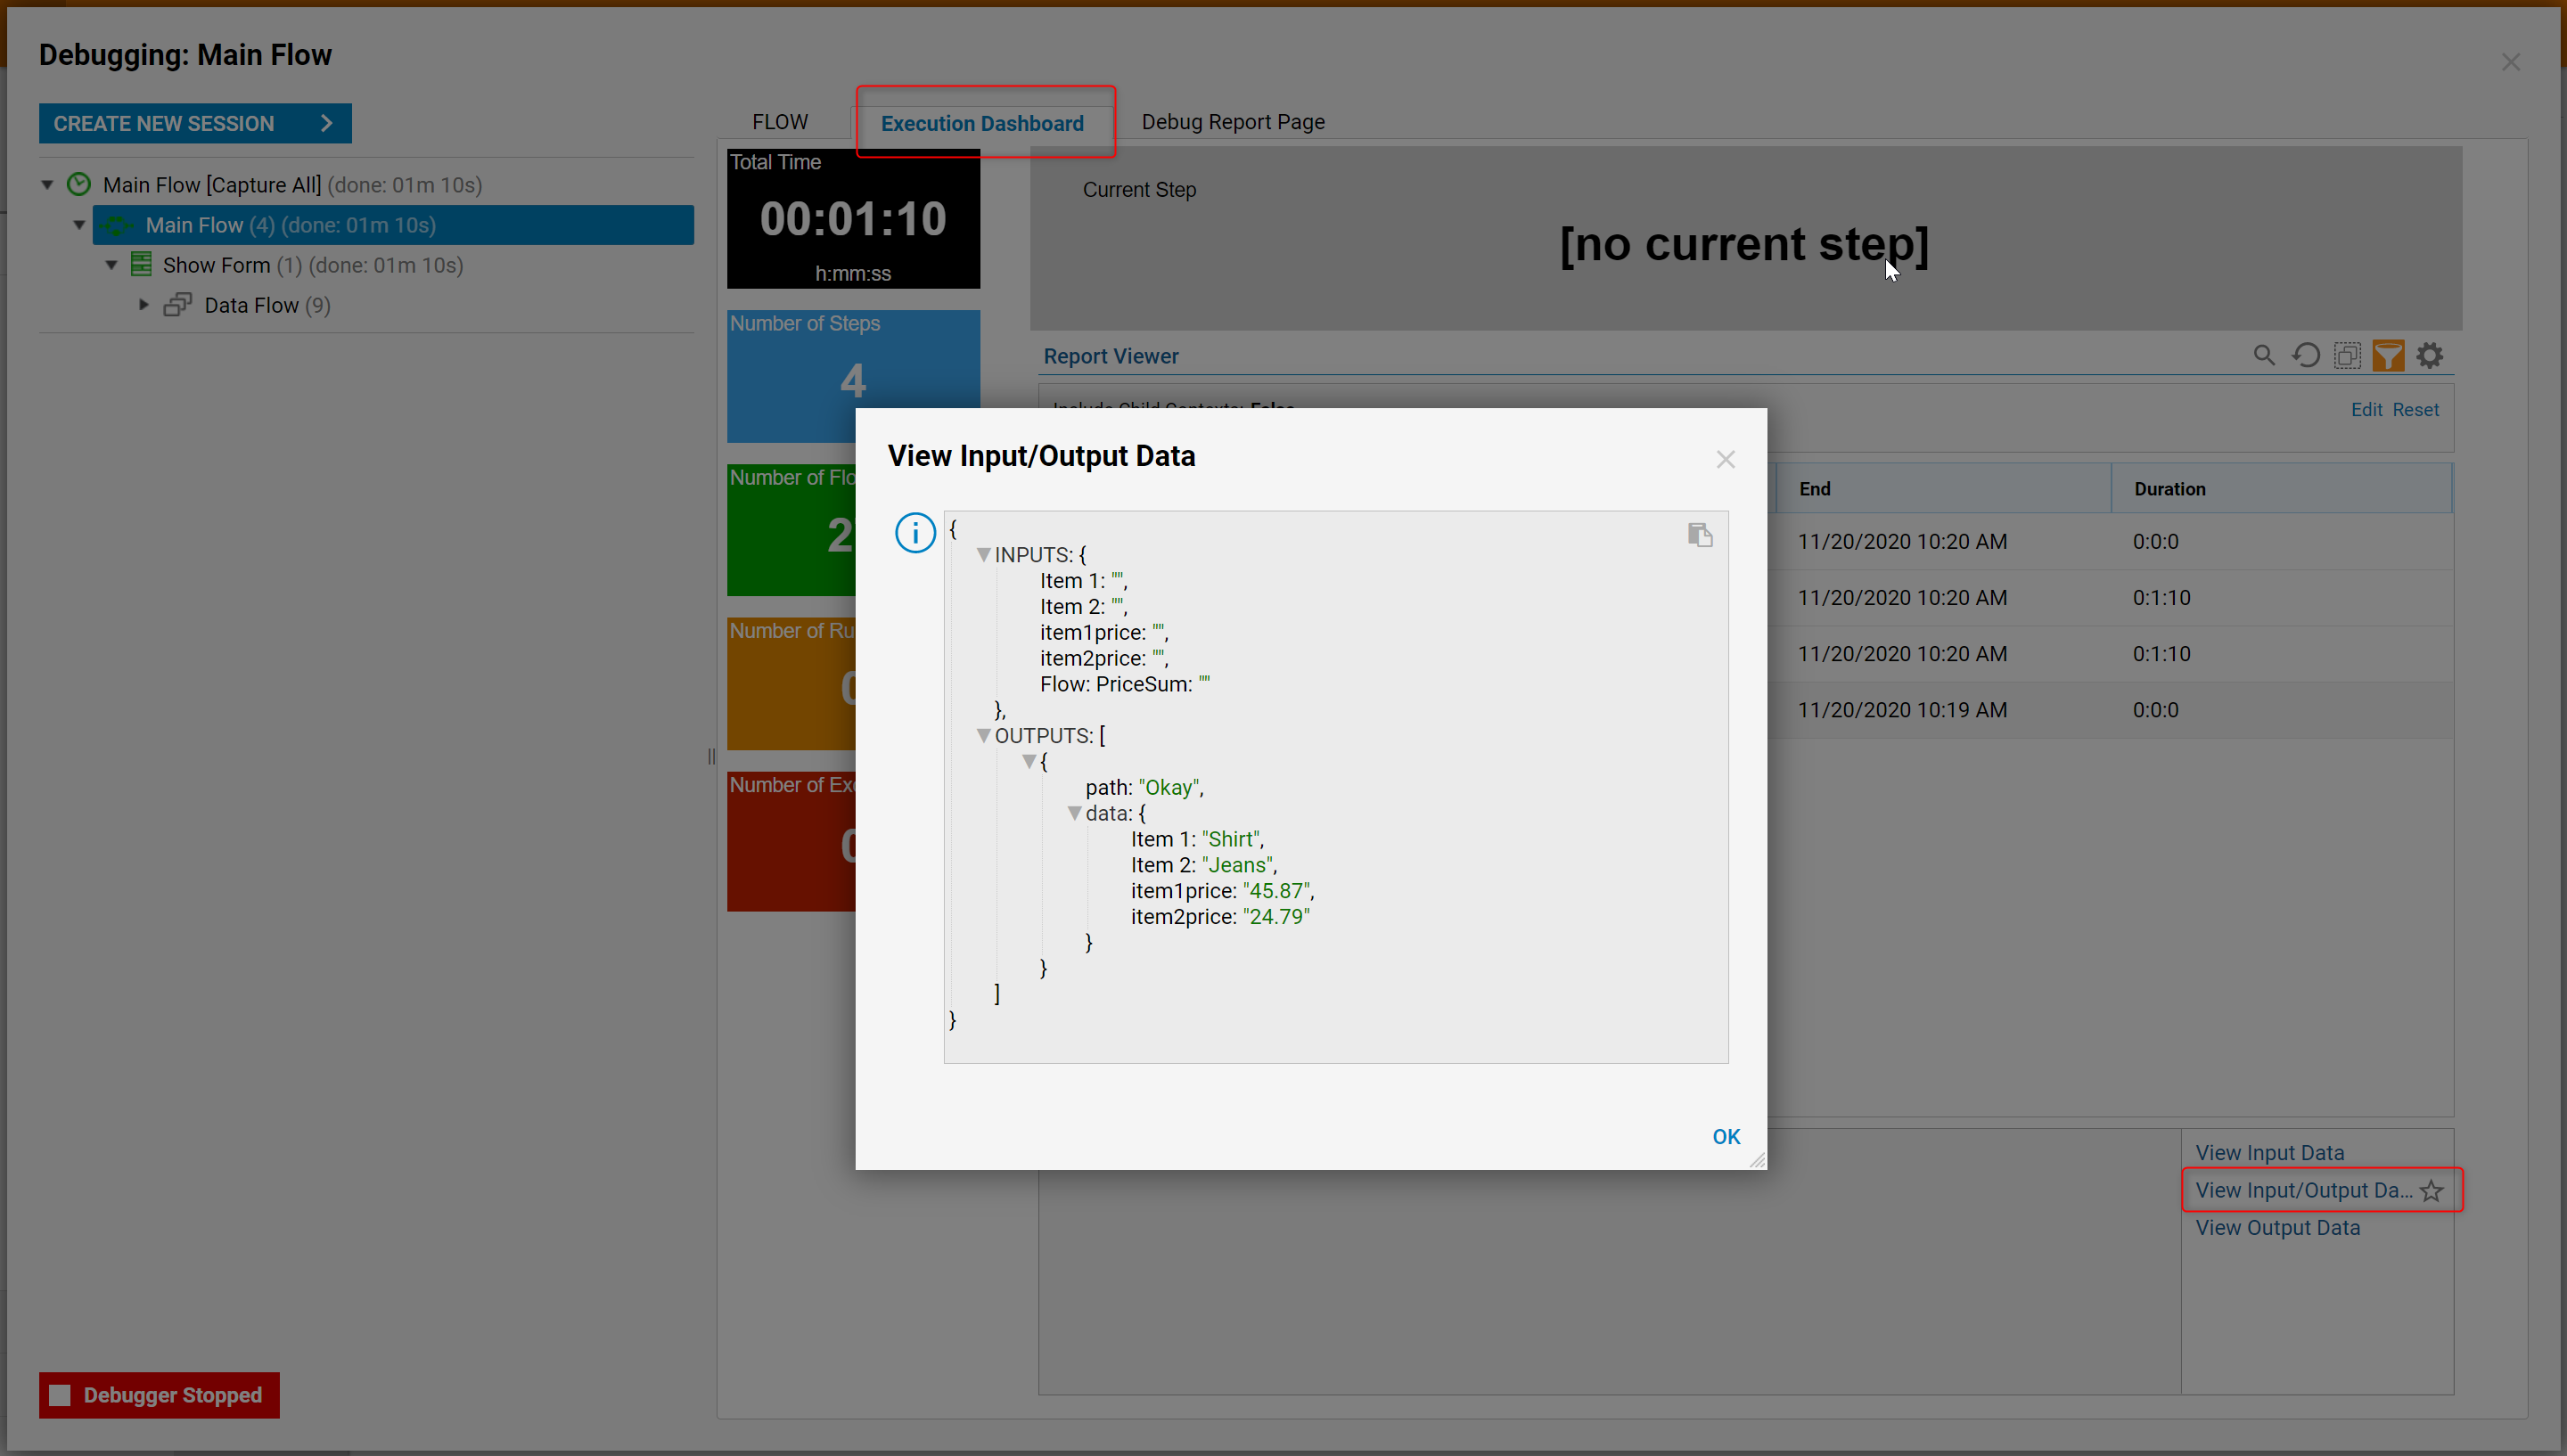
If there are errors, the most likely cause is improperly configured input or output data from the Data Flow. To troubleshoot, on the left side of the debugger expand the instances of the Data Flow and click on an instance to open it. Right-click on any of the steps, select Execution 1 > View Input/Output Data. This lets you see exactly what data the step was doing with the data and may help you pinpoint the problem.
