Overview
Data Flows allow user to execute Flow logic and push data back into the Form.
These can be triggered automatically or run based on user interaction. For example, a control's value may change based on the user inputs of a different control.
Example
The following example Data Flow converts a String input dates such as month, day, and year from a TextBox to a Date that then appears in a Date Picker.
- In a Designer Folder, create a Flow. It will automatically open in the Flow Designer.
- After the Start step, add a Show Form step from the Favorite Steps category and create a new Form. It will automatically open in the Form Designer.
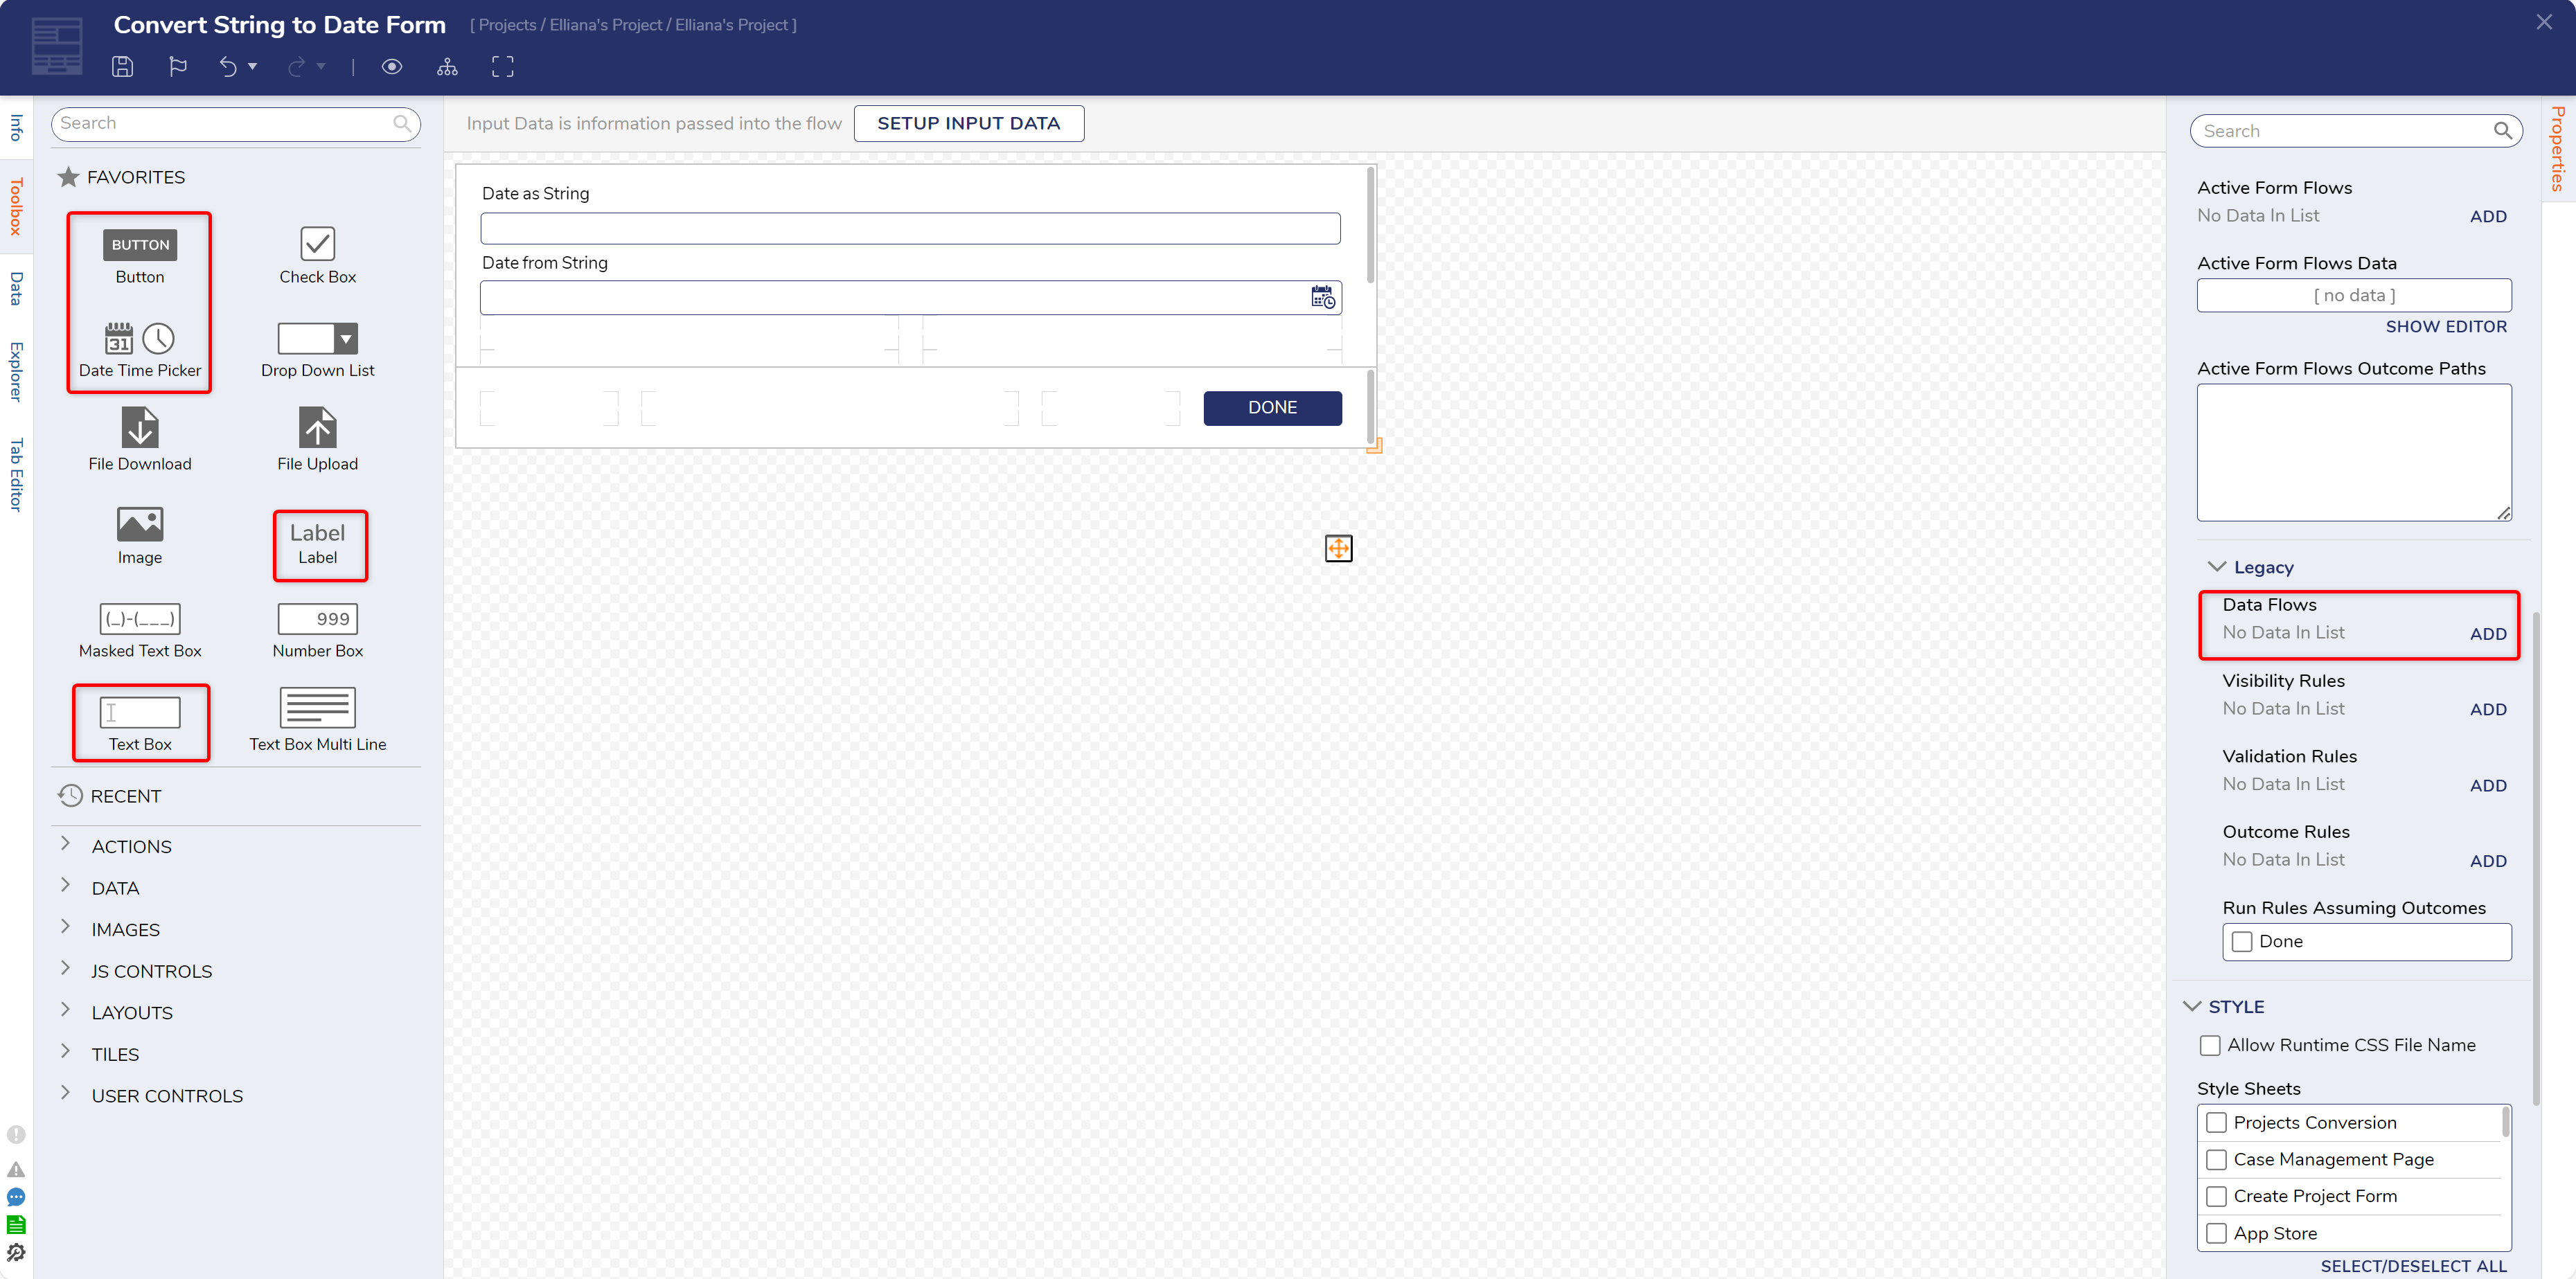
- Add the following controls to the Form: one Button (Done), two Labels (Date as String, Date From String), one Text Box (Date as String), and finally one Date Time Picker (Date From String).
- Open the Form's Properties panel to navigate to the FORM RULES section. Expand Legacy then select ADD next to Data Flows.
- The Add Data Flows dialog will appear. Name the Flow Data then select PICK OR CREATE FLOW to create a new Data Flow.
- For the Data Flow, add the Convert String to Date step after the Start step. Connect it to the End step.

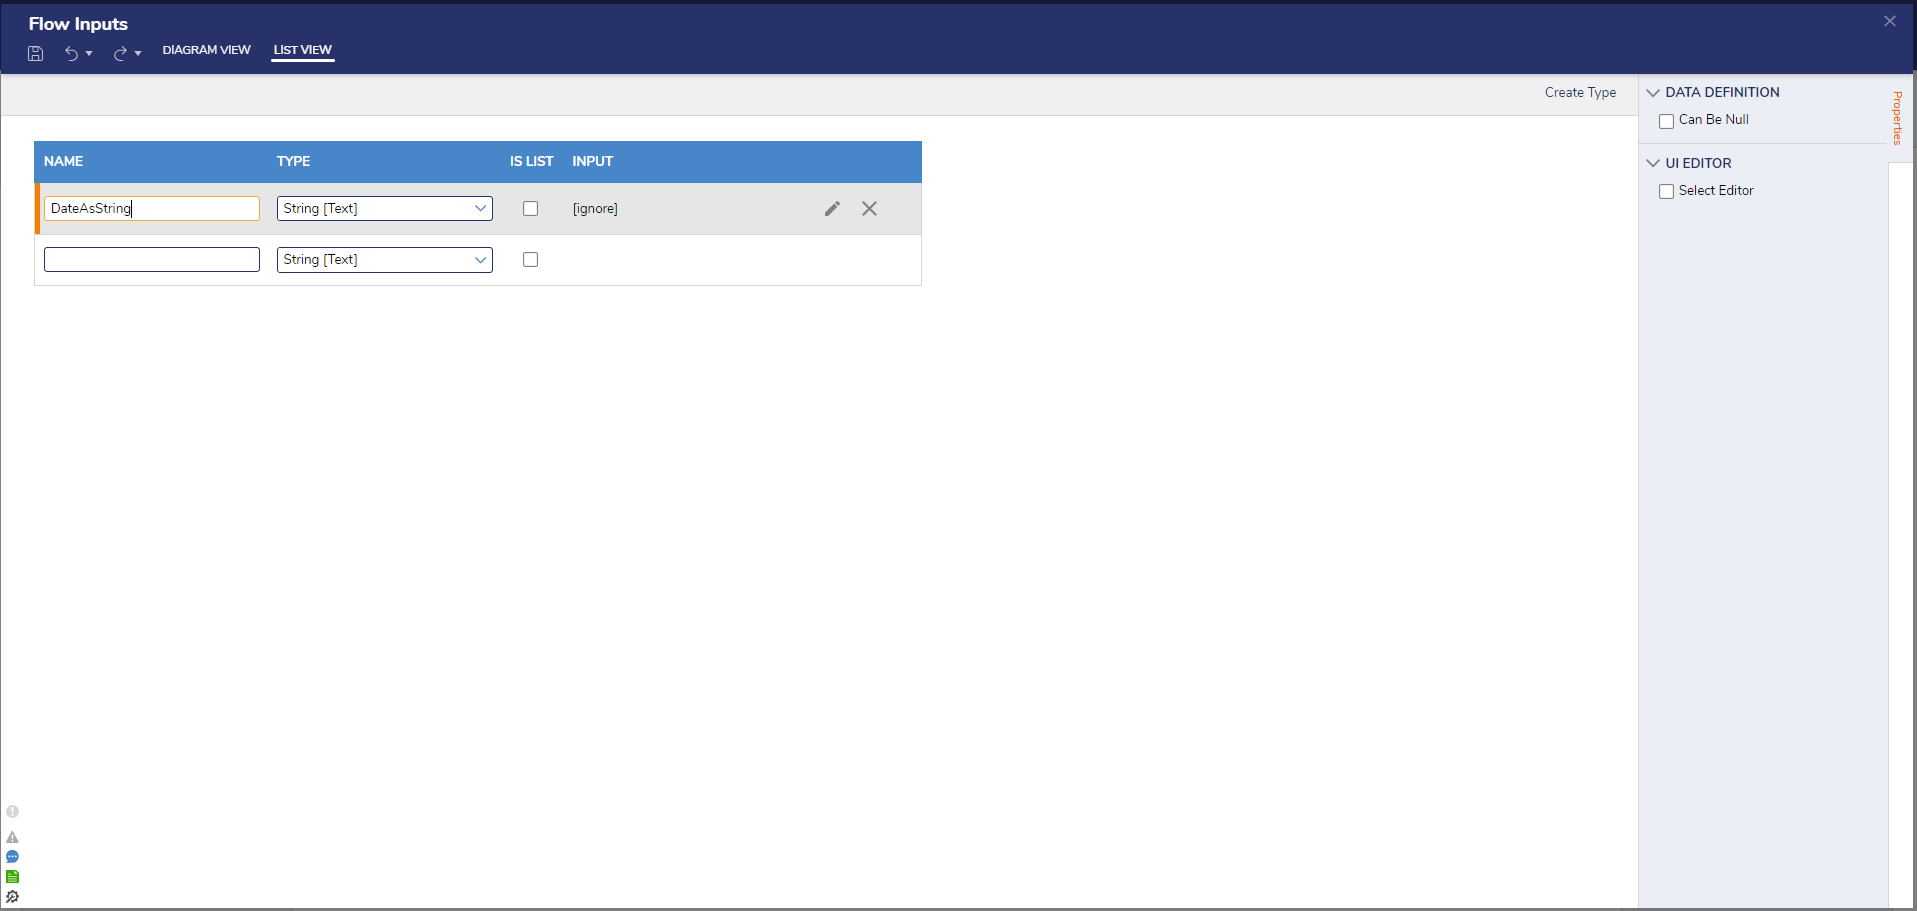
- Select the Start step. In the Properties panel, under Flow Inputs, select SHOW EDITOR.
- In the Data Definitions dialog, type DateAsString and leave the Type as String. Select CLOSE to save and close.
- Select the Convert String to Date step in the workspace. Under Inputs > String to Convert, select Pick and choose Date As String. Select DONE.
Notice under the Outputs section, the mapping type is set to Rename, and the Name is Converted Date.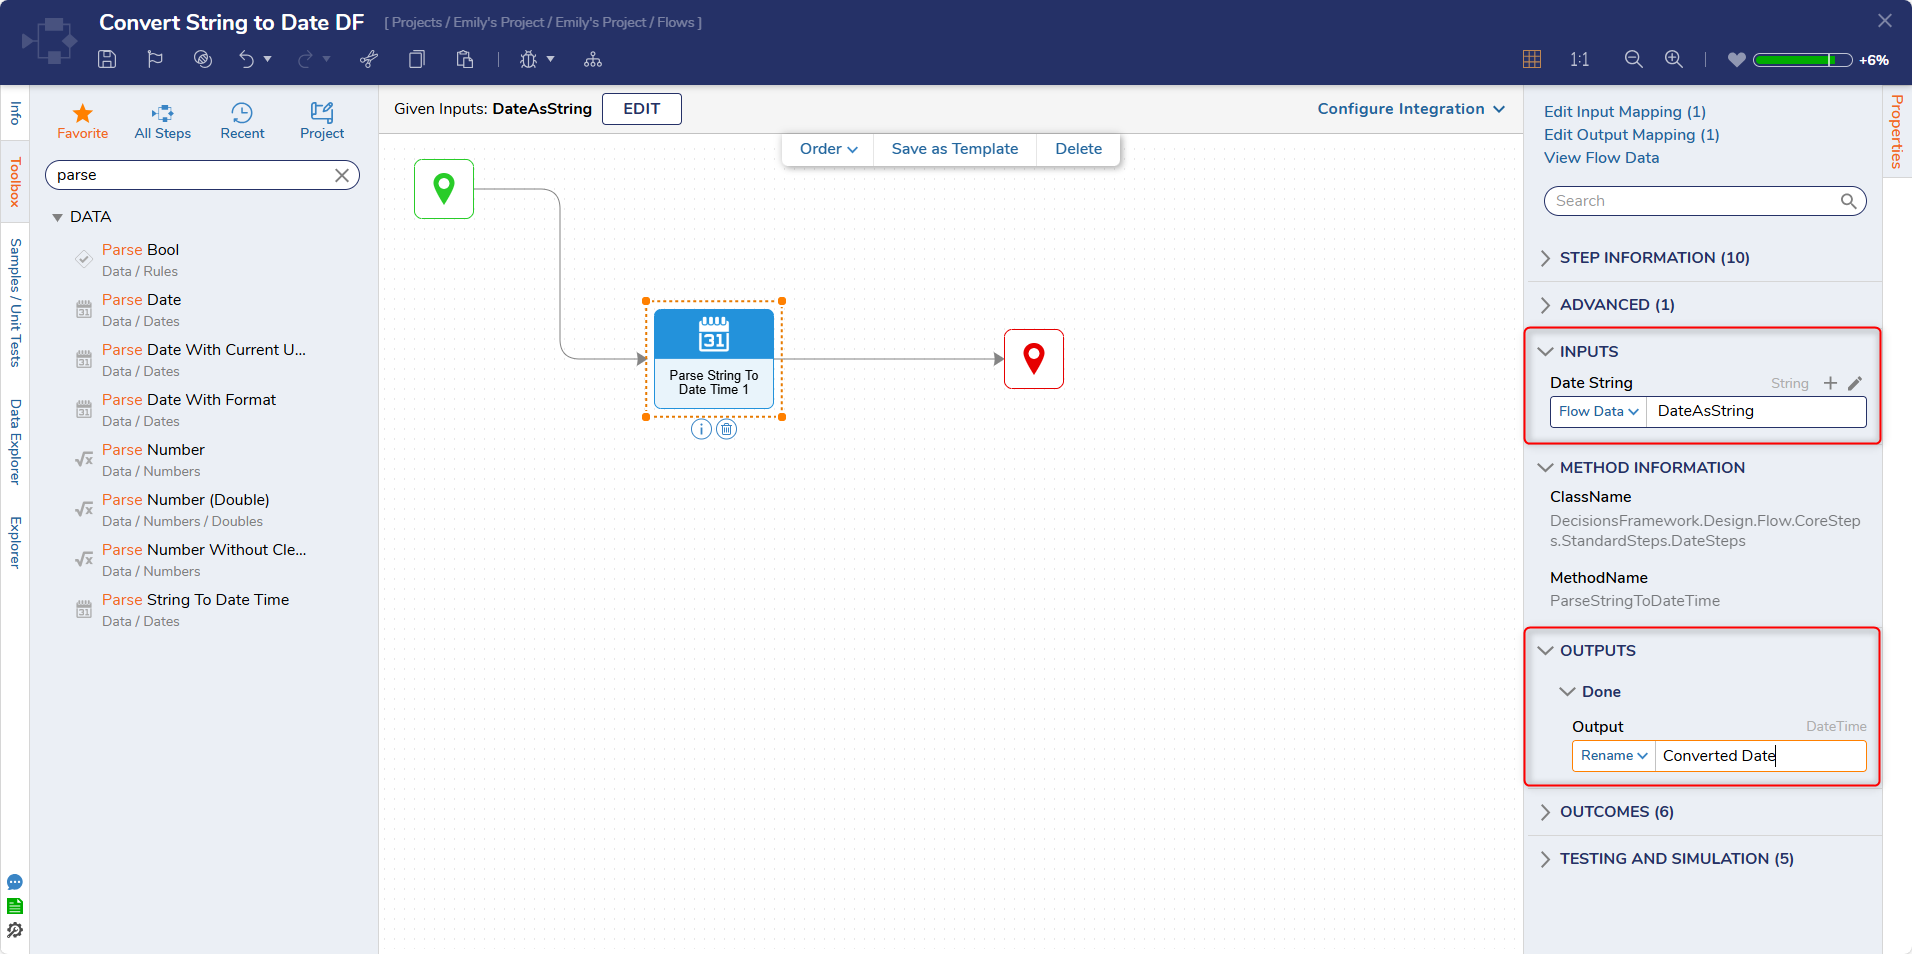
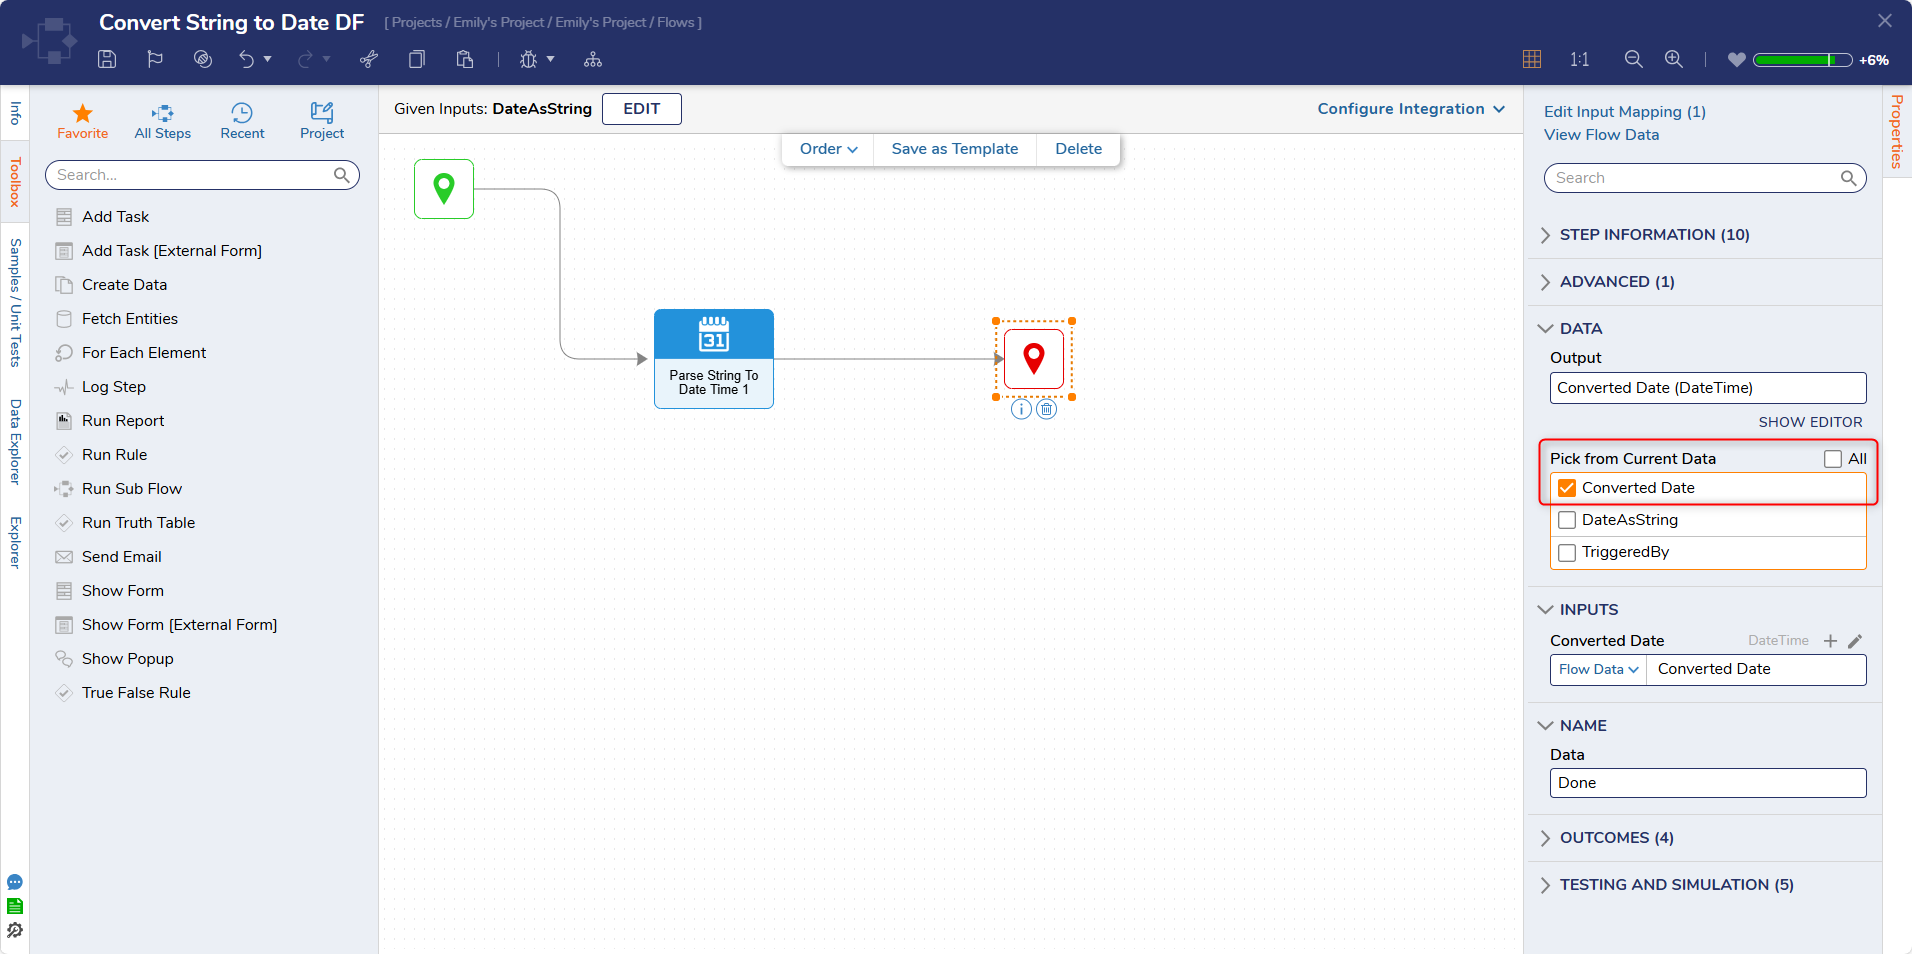
- Select the End step, under Data > Pick From Current Data select Converted Date.
- Save and close the Data Flow.
- In the Add Data Flows dialog, select UPDATE INPUTS.
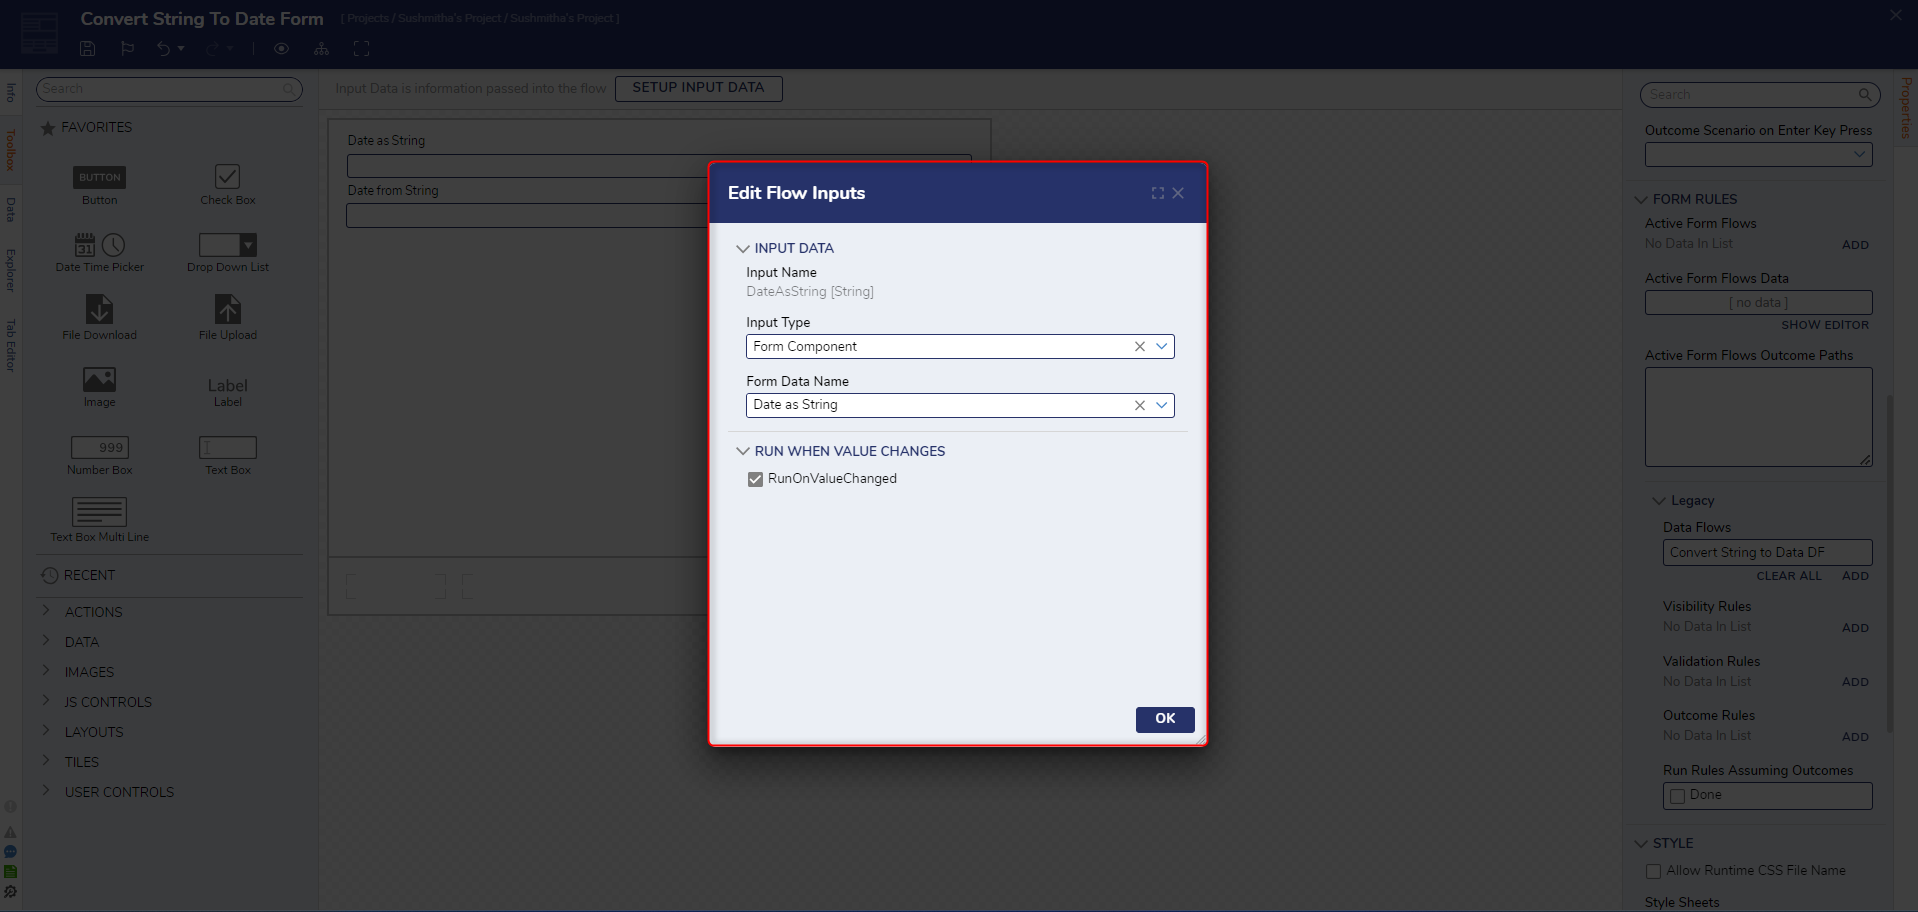
- Under Flow Inputs, select the pencil icon next to DateAsString. Change the Input Type to Form Control. Under Form Data Name, select the Date as String Textbox. Select OK.
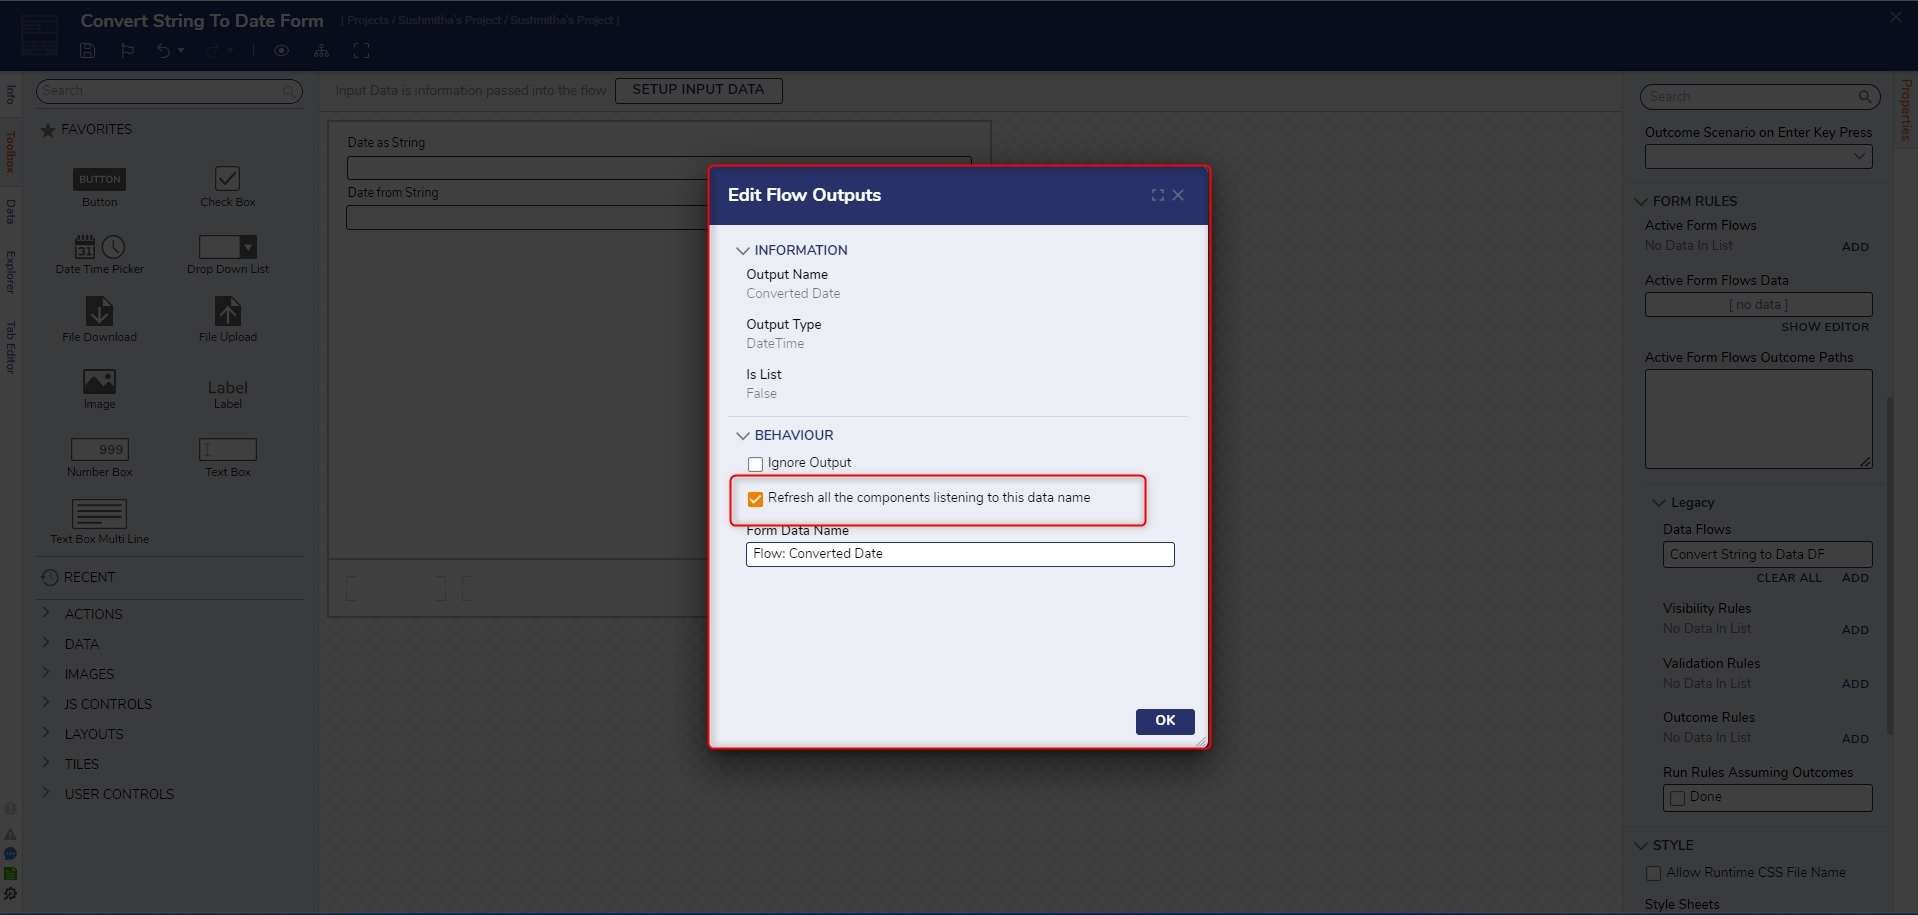
- Under Flow Outputs, select the pencil icon next to Flow: Converted Date. Select Refresh all the components listening to this data name. Select OK.
- In the Add Data Flows dialog, select OK.
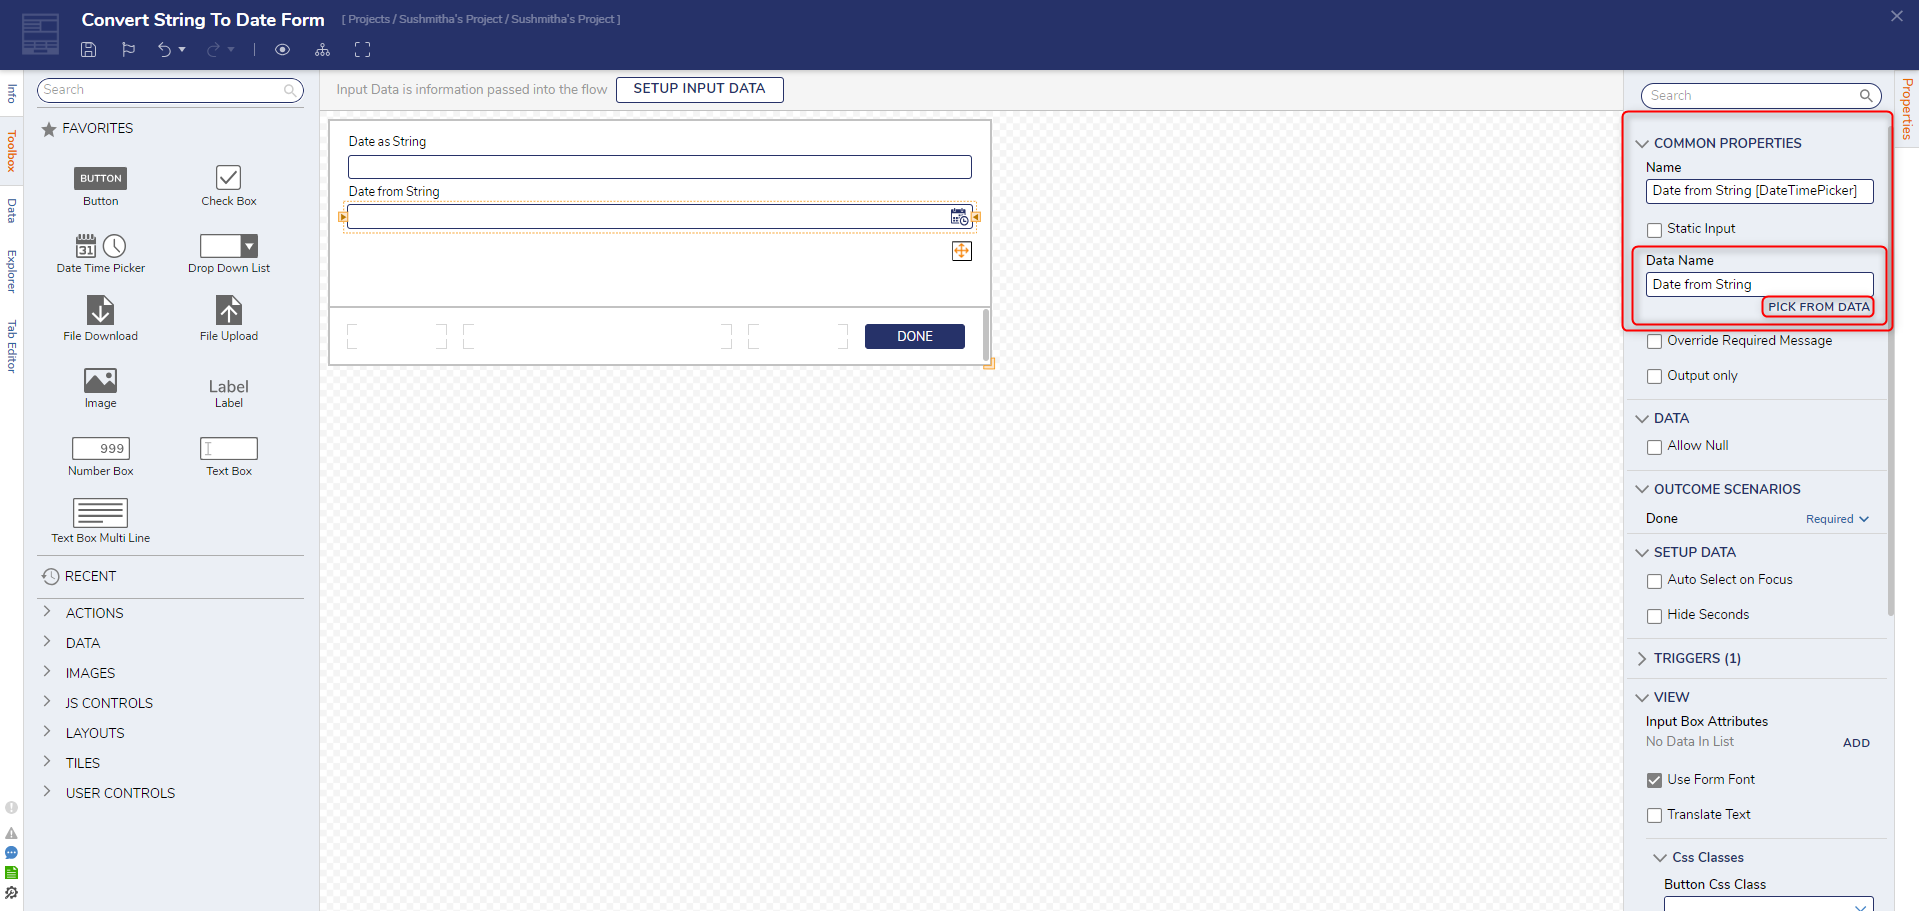
- In the Form, select the Date Time Picker. In the Properties panel, navigate to Common Properties > Data Name and select PICK FROM DATA.
- In the Pick Data dialog, choose Flow: Converted Date, select PICK.
- Save and Close the Form Designer.
Debug
- In the Flow Designer, select Debug on the top panel.
- Select the START DEBUGGING.
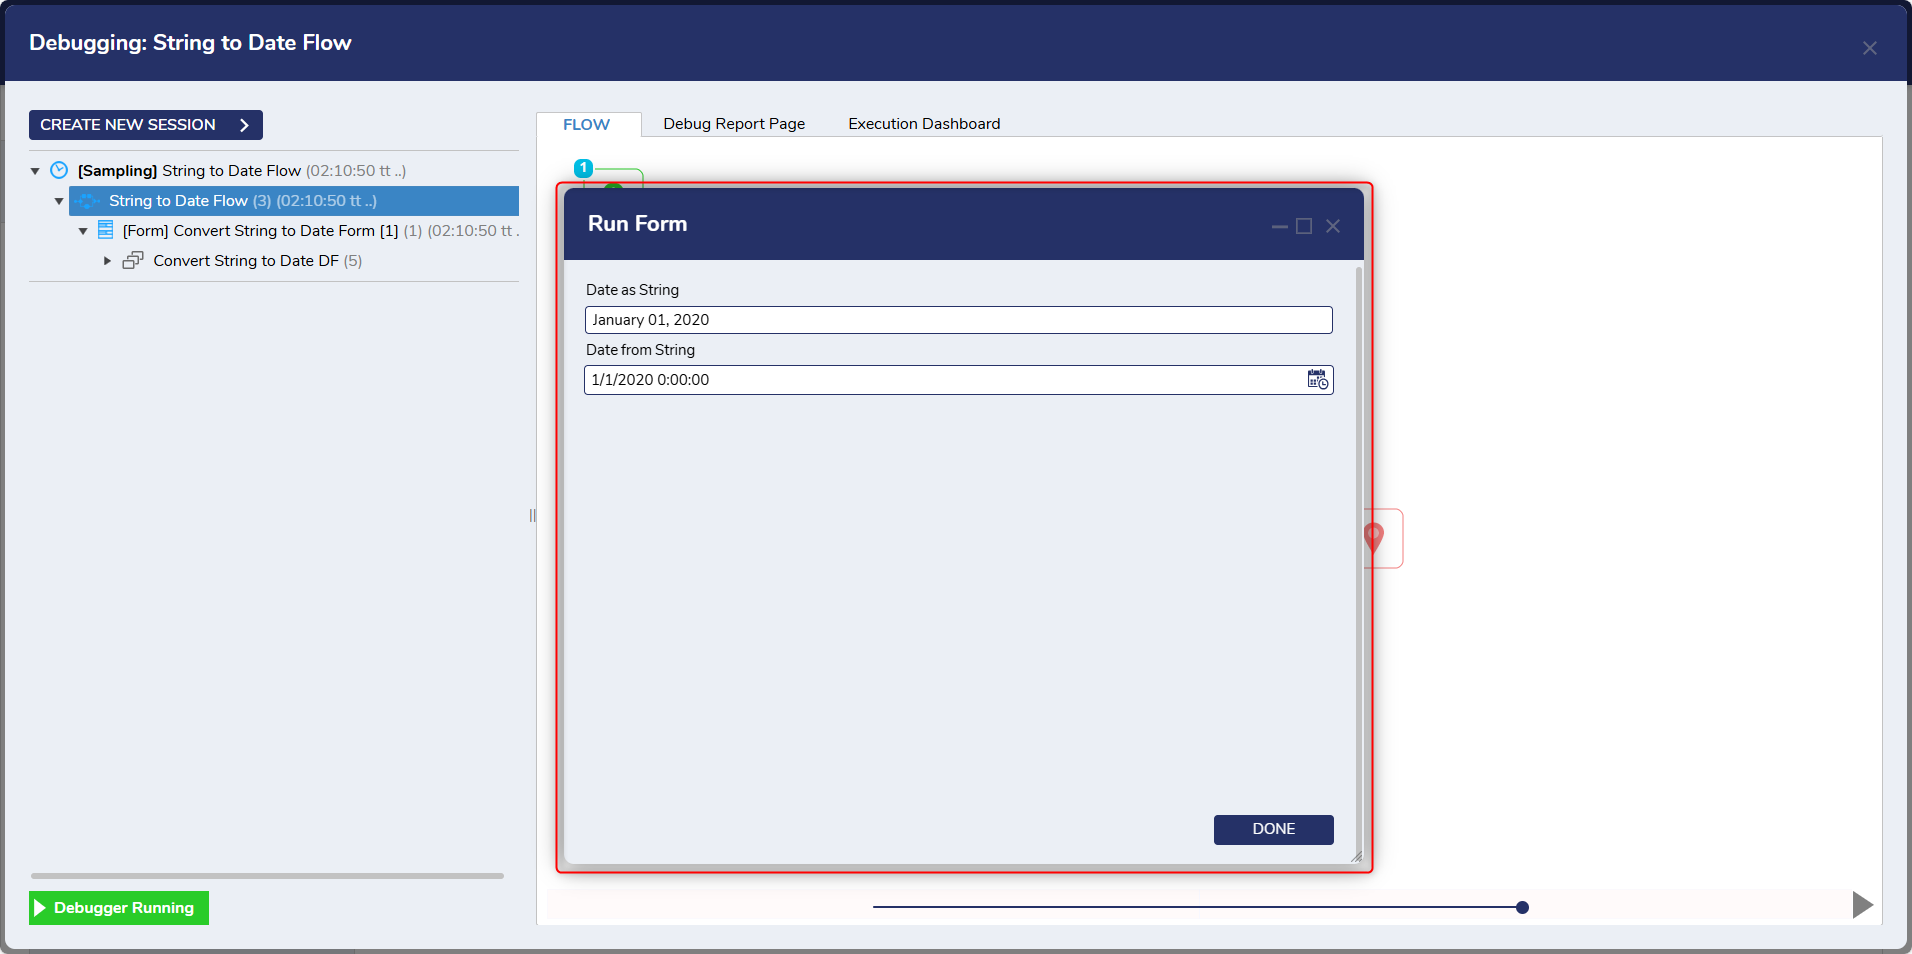
- The Form will appear allowing users to type a date. The Date As String date picker will automatically change on based on the user's date value in the Textbox.

For further information on Forms, visit the Decisions Forum.