Overview
Visibility Rules can be applied to Rules, Forms, Pages, Flows, and Reports. Visibility Rules can also be set to a Designer's Toolbox. Setting up a Rule for the Toolbox will restrict viewers' ability to see specific categories. The Rule can be set so that the administrator's toolbox will not have the filters in place.
The following document demonstrates how to limit which categories are visible in the Report Designer, as well as how to hide a specific category within the Flow Designer Toolbox.
Example A: Report Designer
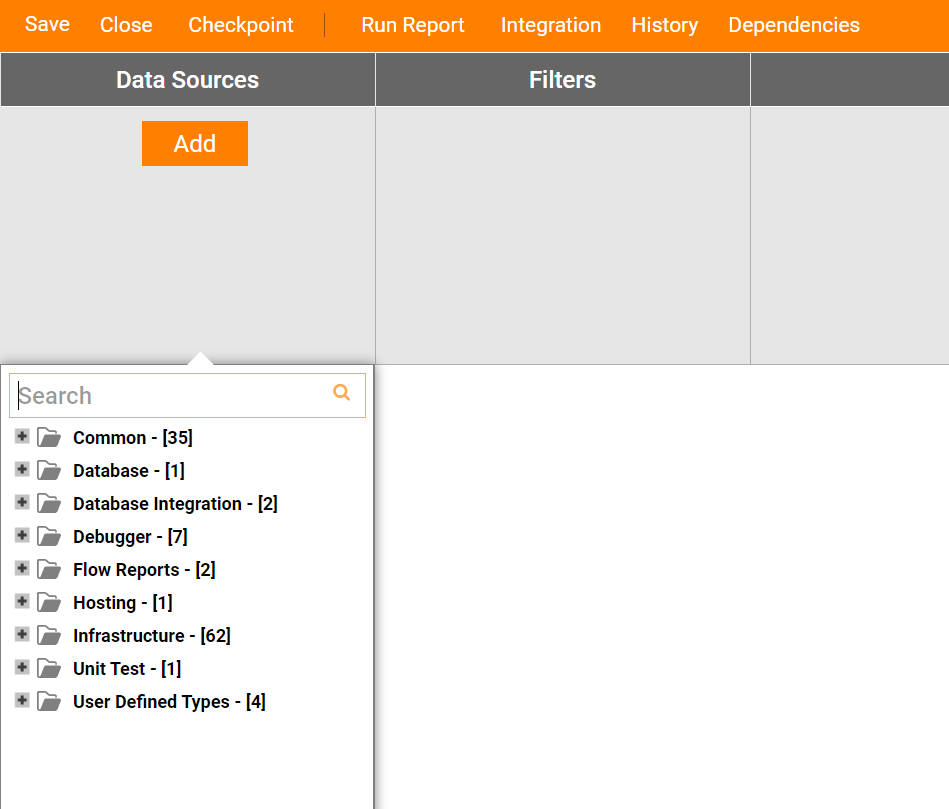
The following example demonstrates how to create a Toolbox Rule for the Report Designer. With this Rule enabled, users should only be able to see Categories that start with “C ” and Subcategories that start with “Account ” in the Report Designer’s Toolbox.
In order for the Administrator to see changes when Toolbox Rule are applied, make sure that Disable Filtering For Administrators setting is unchecked.
To do so:
- Navigate to Settings > Designer Studio Settings in Portal.
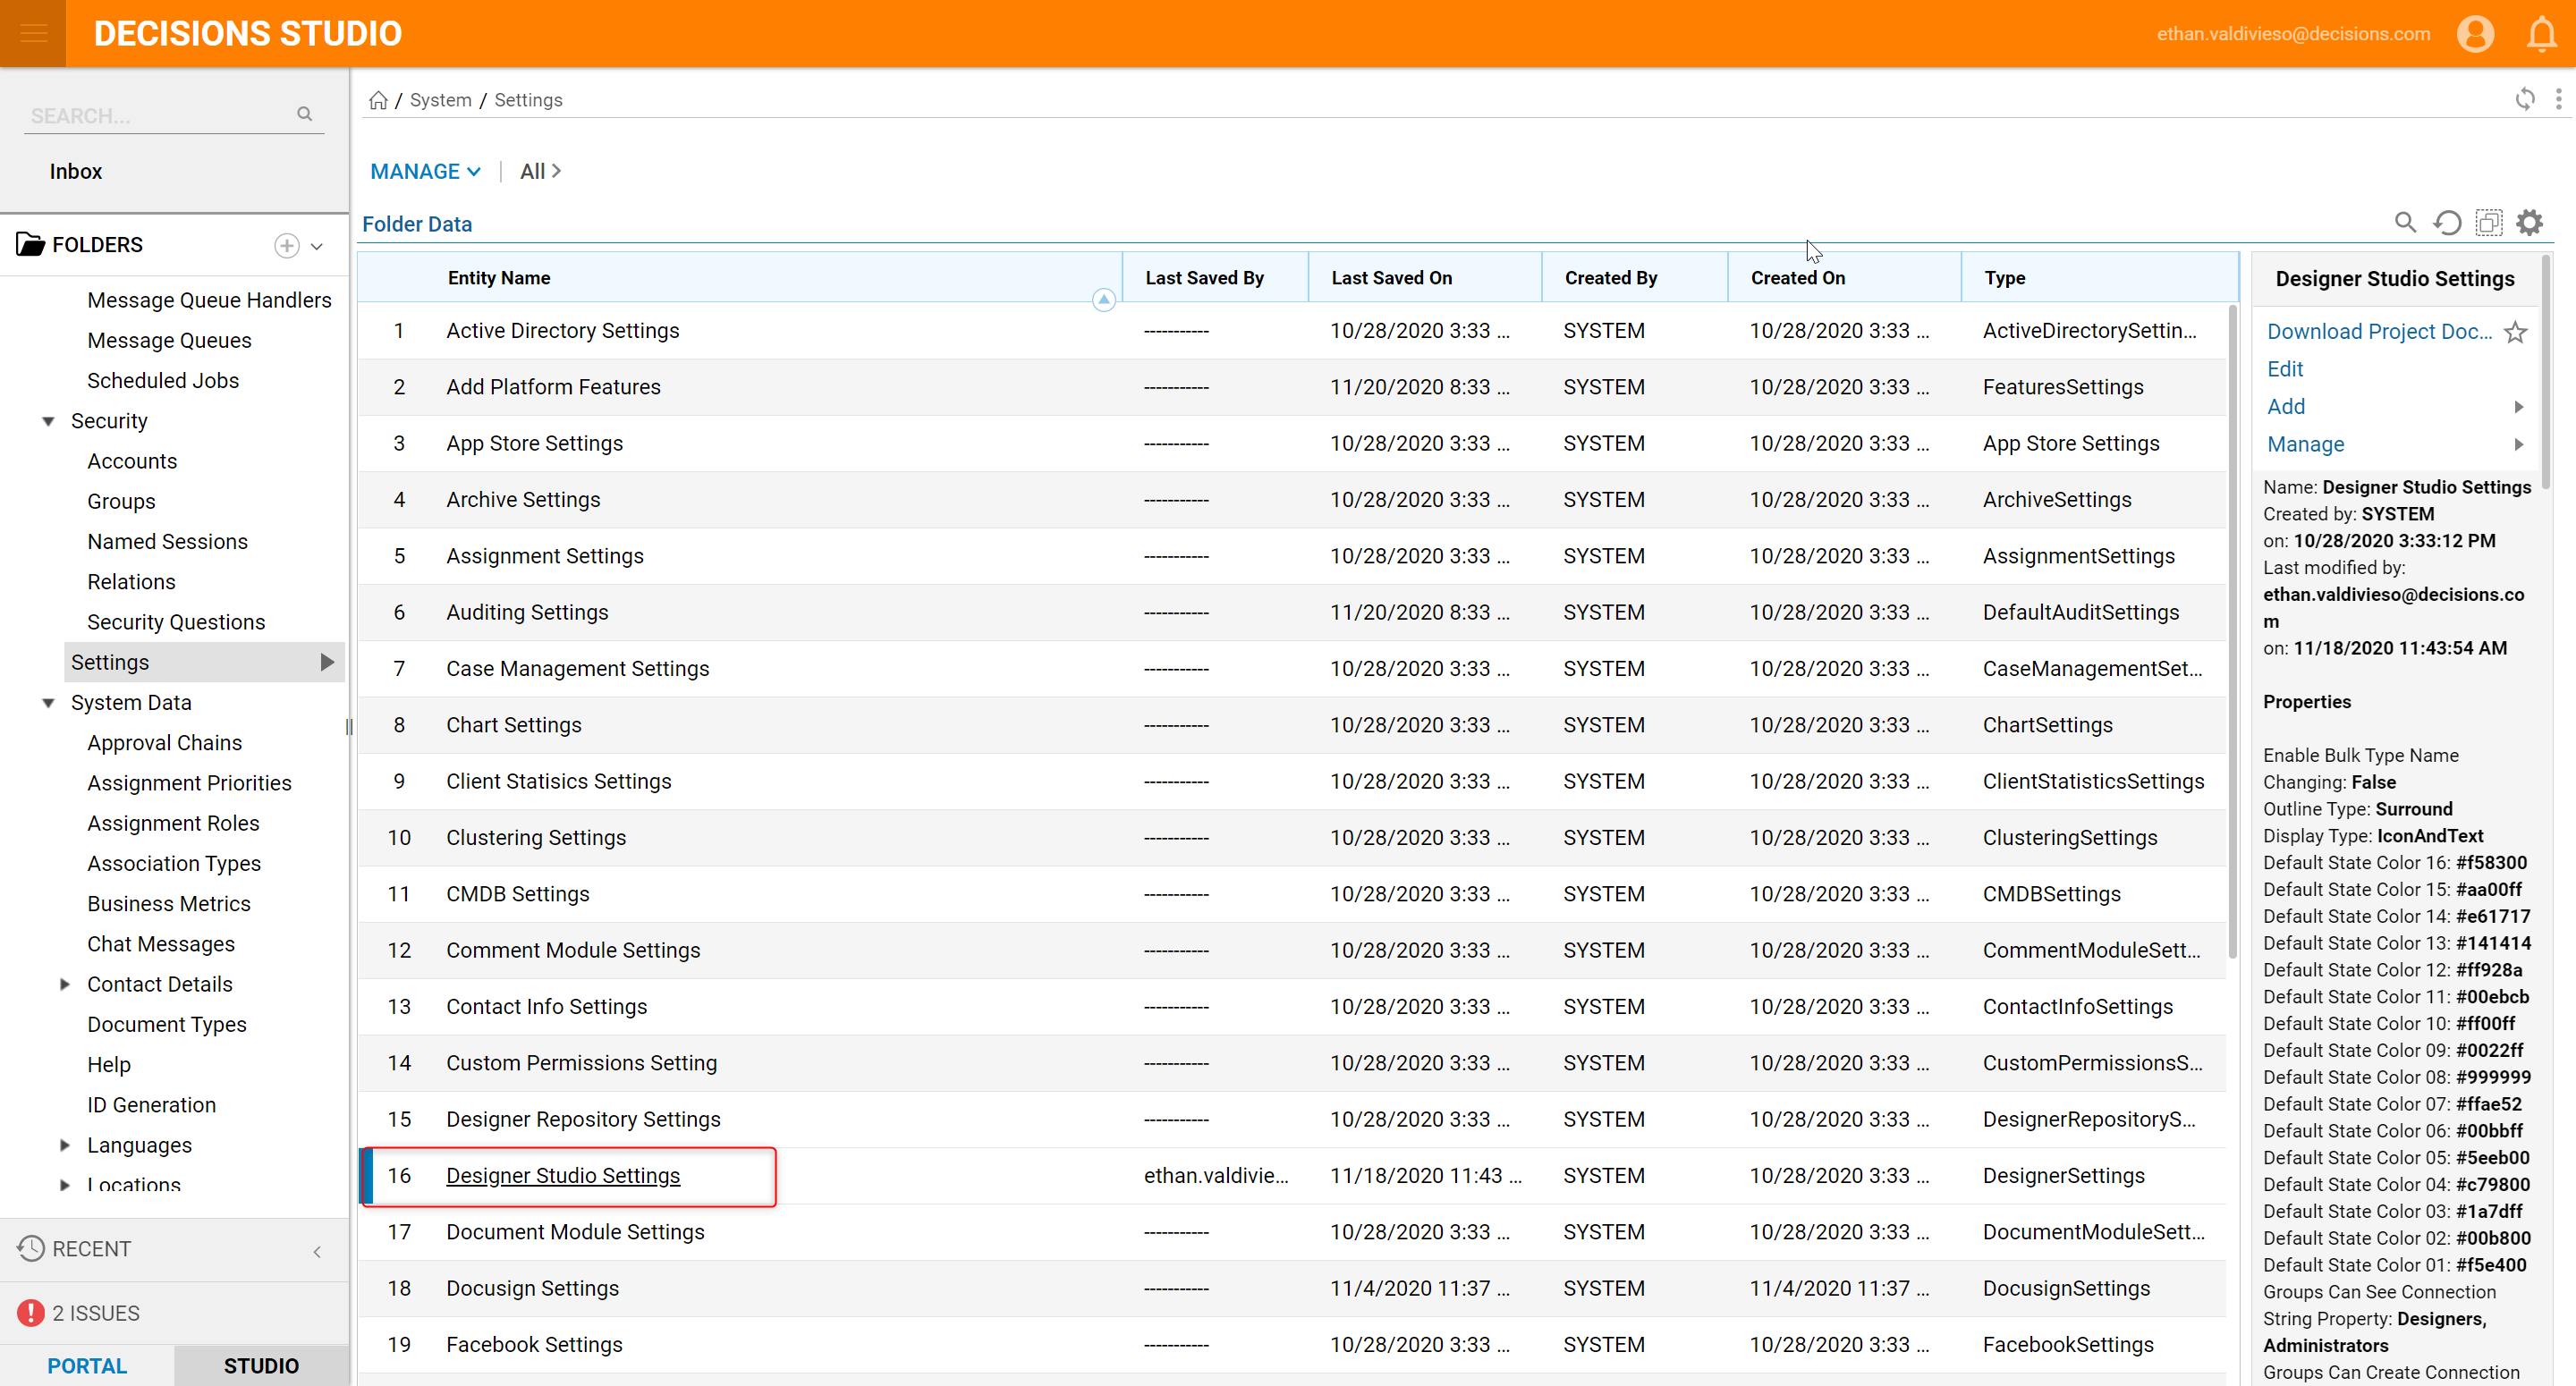
- From the Edit Designer Settings window, locate the All Designers category and uncheck Disable Filtering For Administrators checkbox. Then, click SAVE to save and close the Designer Settings window.
- Navigate to Designers > Toolbox Customization > Element Rules.
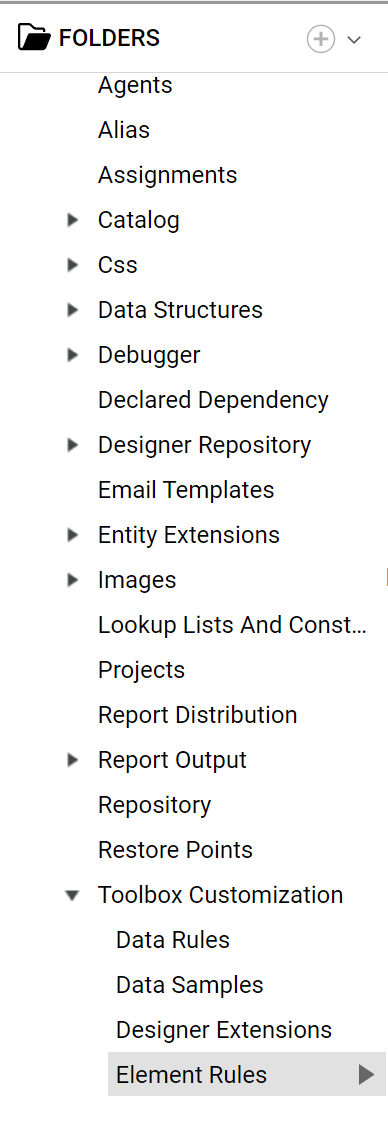
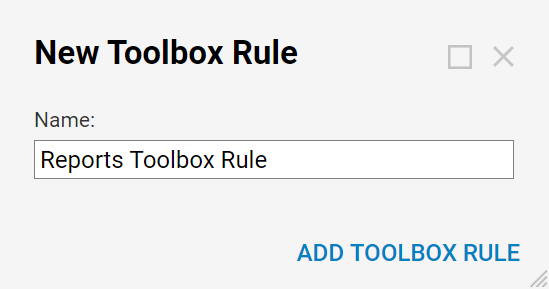
- Click the ADD TOOLBOX RULE button on the Folder Actions Panel. In the resulting pop-up window, Name the Rule then click ADD TOOLBOX RULE.
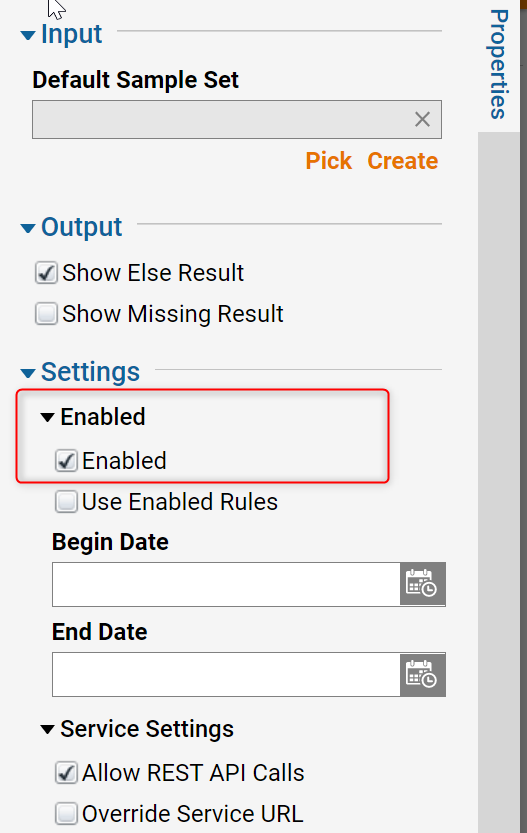
- Select the Rule to open the Rule Designer. Then, under the Properties tab, ensure that the Rule is Enabled by checking Enabled under the Settings category.
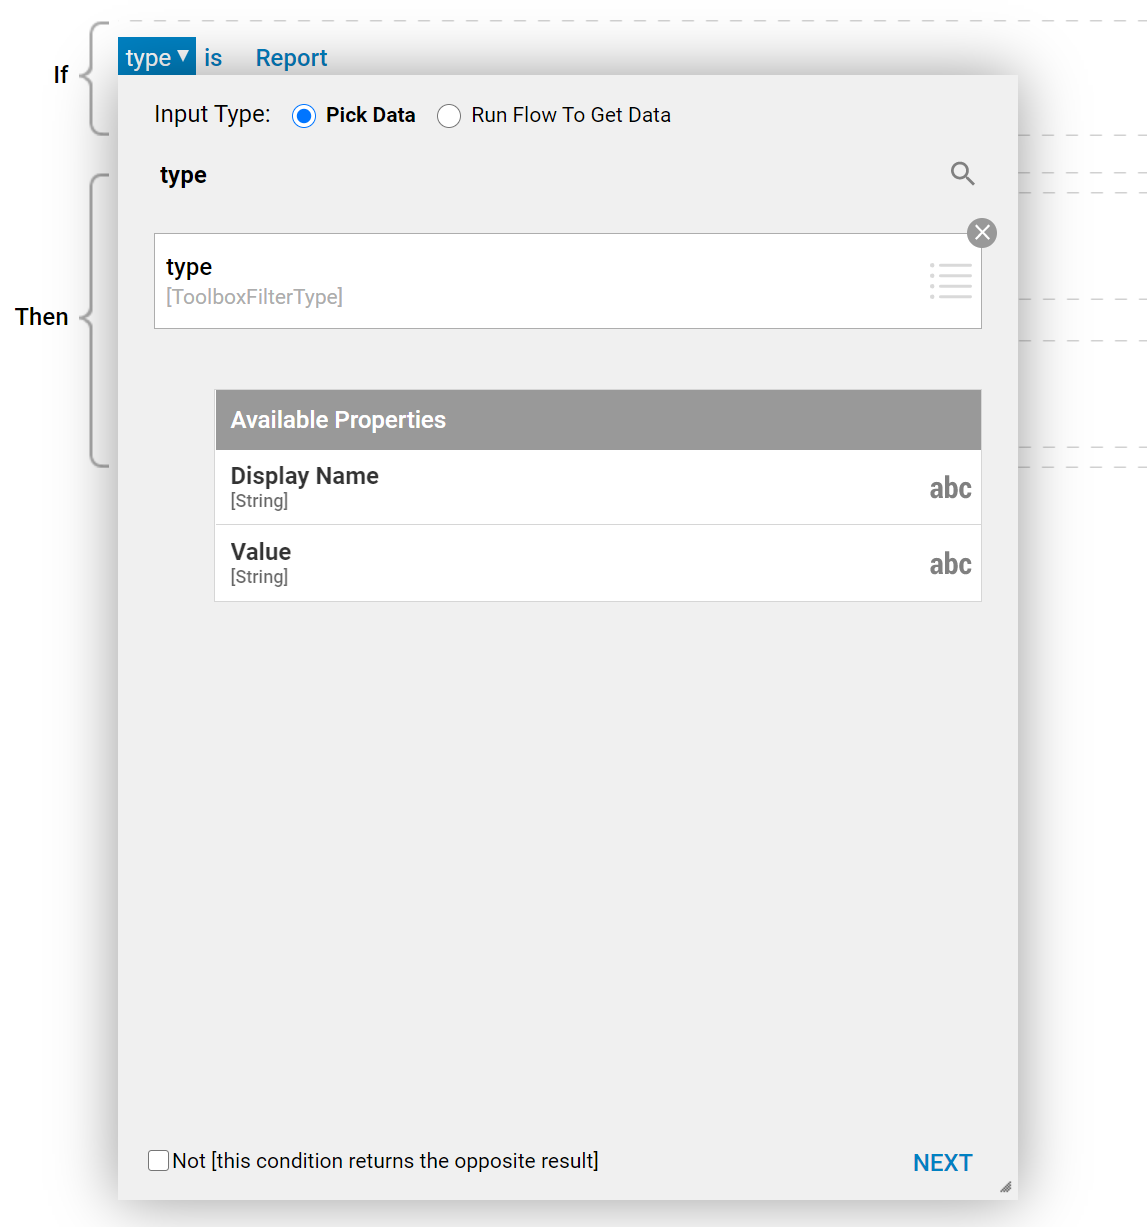
- Create a Phrase for this Rule that defines which Designer to use the Rule for by picking type, then click Next.
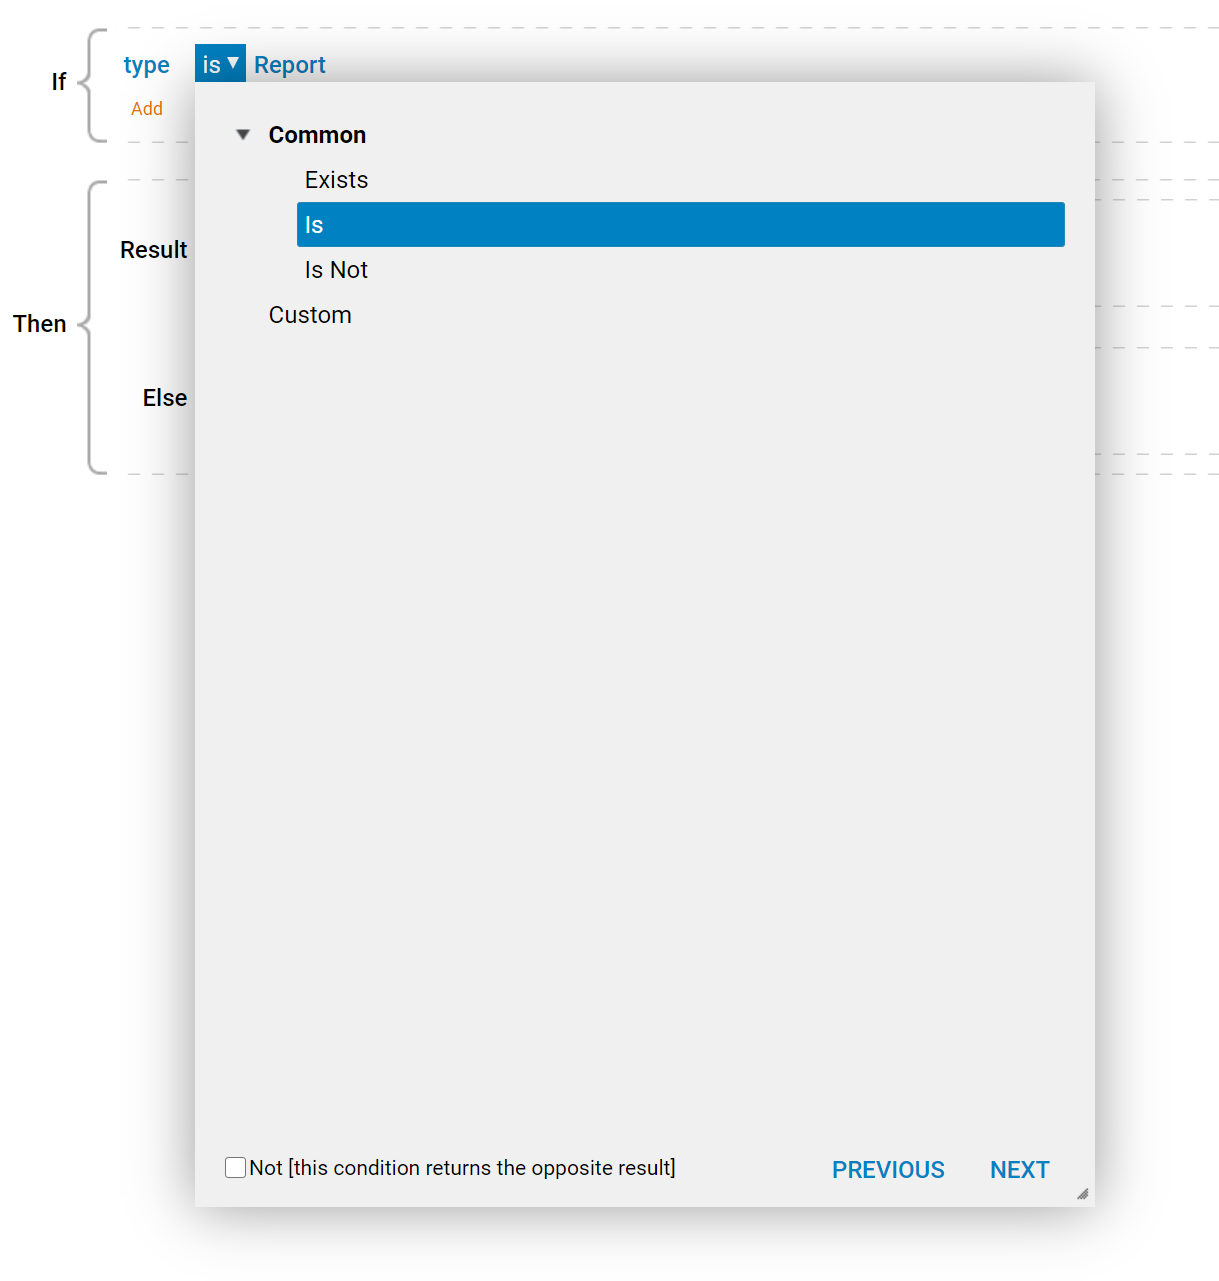
- In the resulting Verb definition window, select Is and click Next.
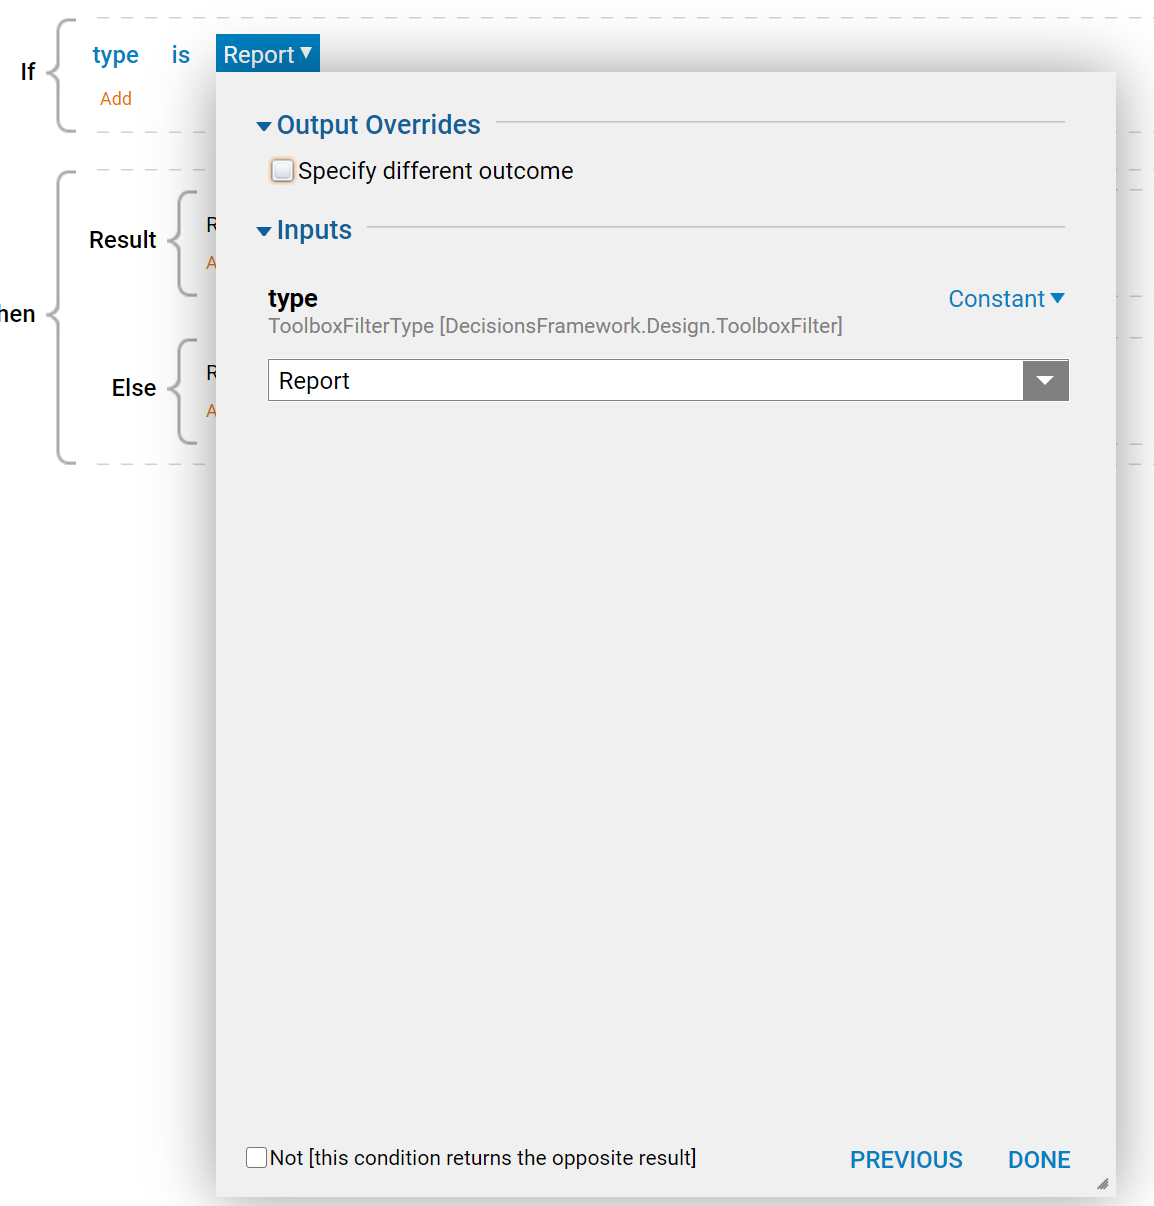
- Select Report under the Inputs > type, then click DONE.
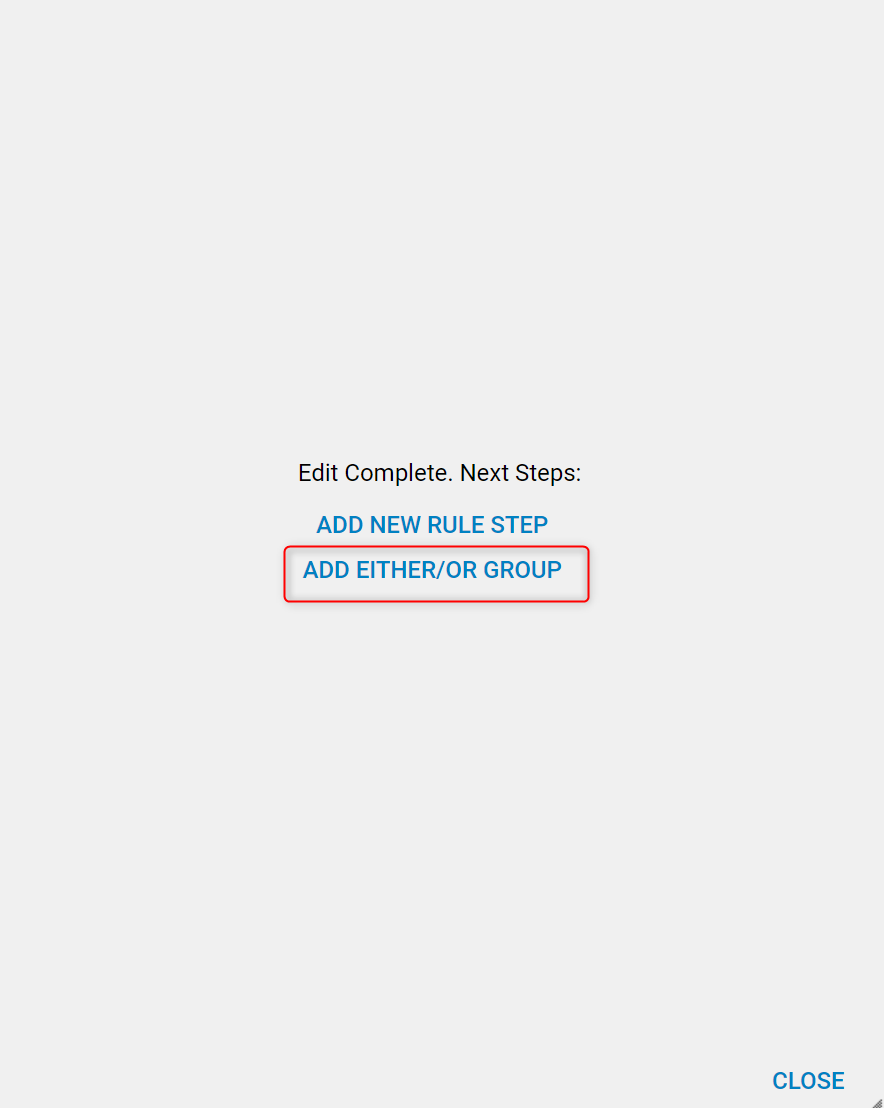
- Add an Either/Or Group for the Rule.
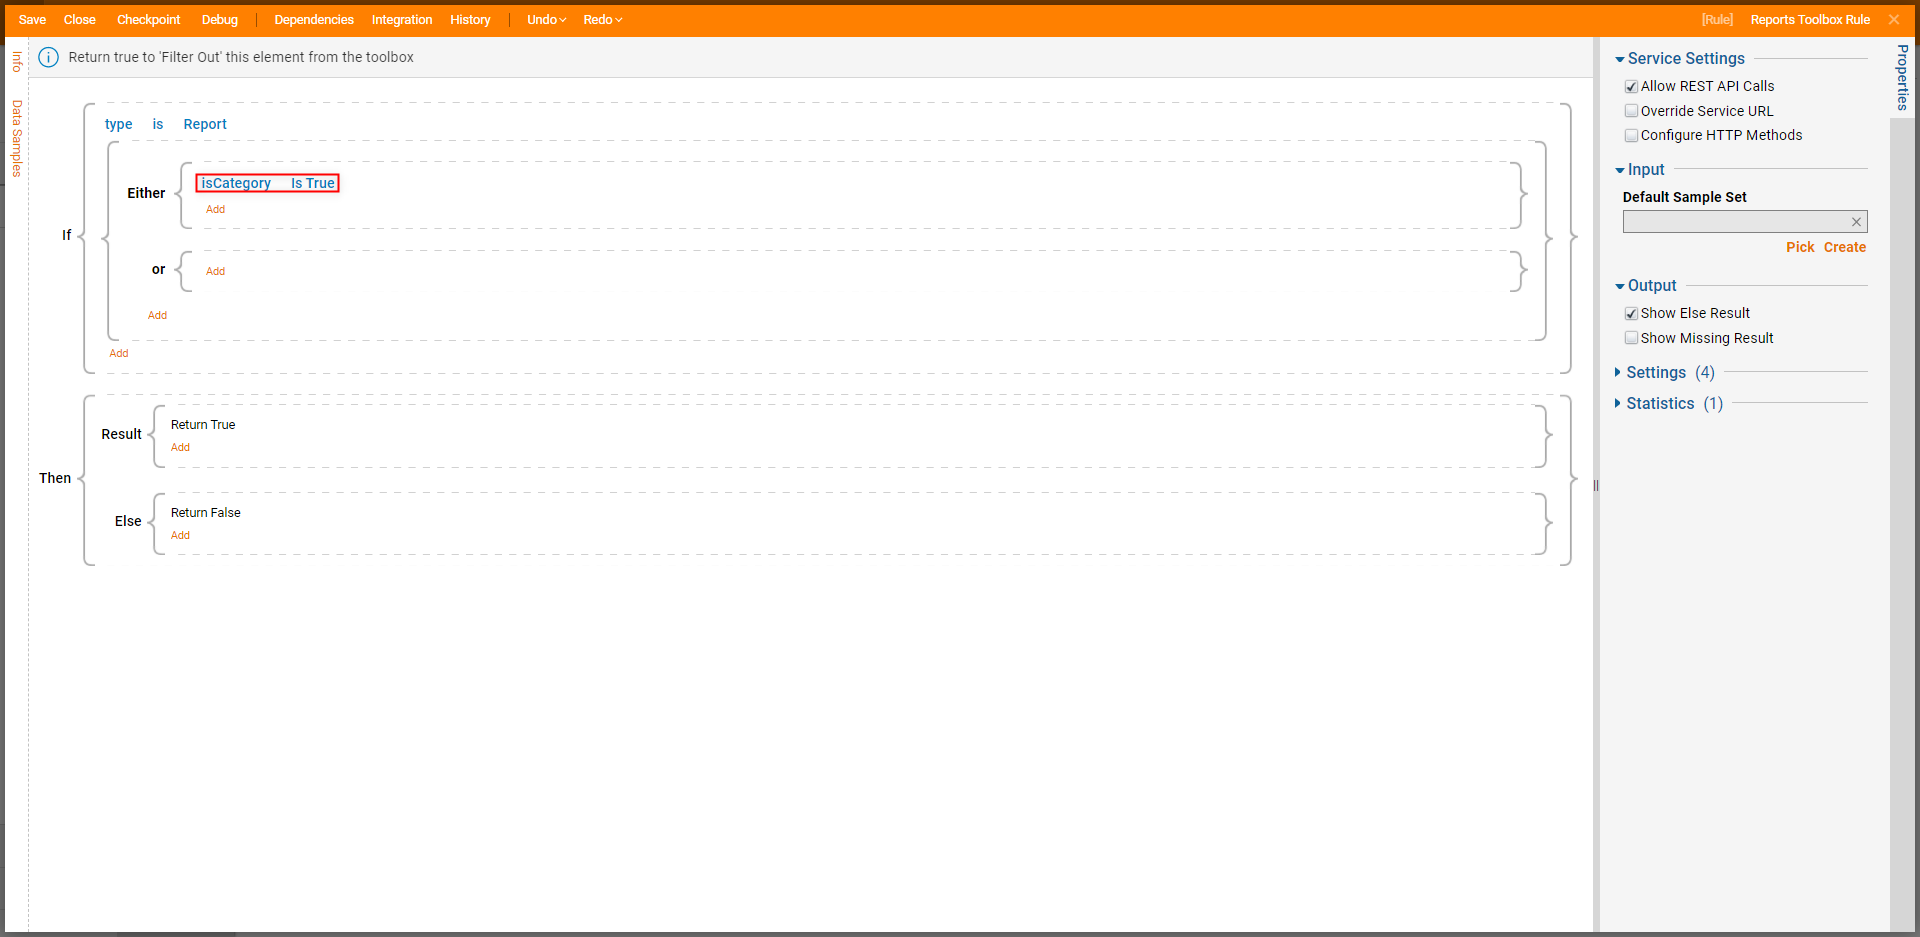
- Select Add Condition for the Either part of Either/Or Group in the Rule.
- In the Phrase builder, we pick isCategory variable and click NEXT. From the Verb definition window, under Logic Rules, select Is True. Then, click Done to complete the Phrase.
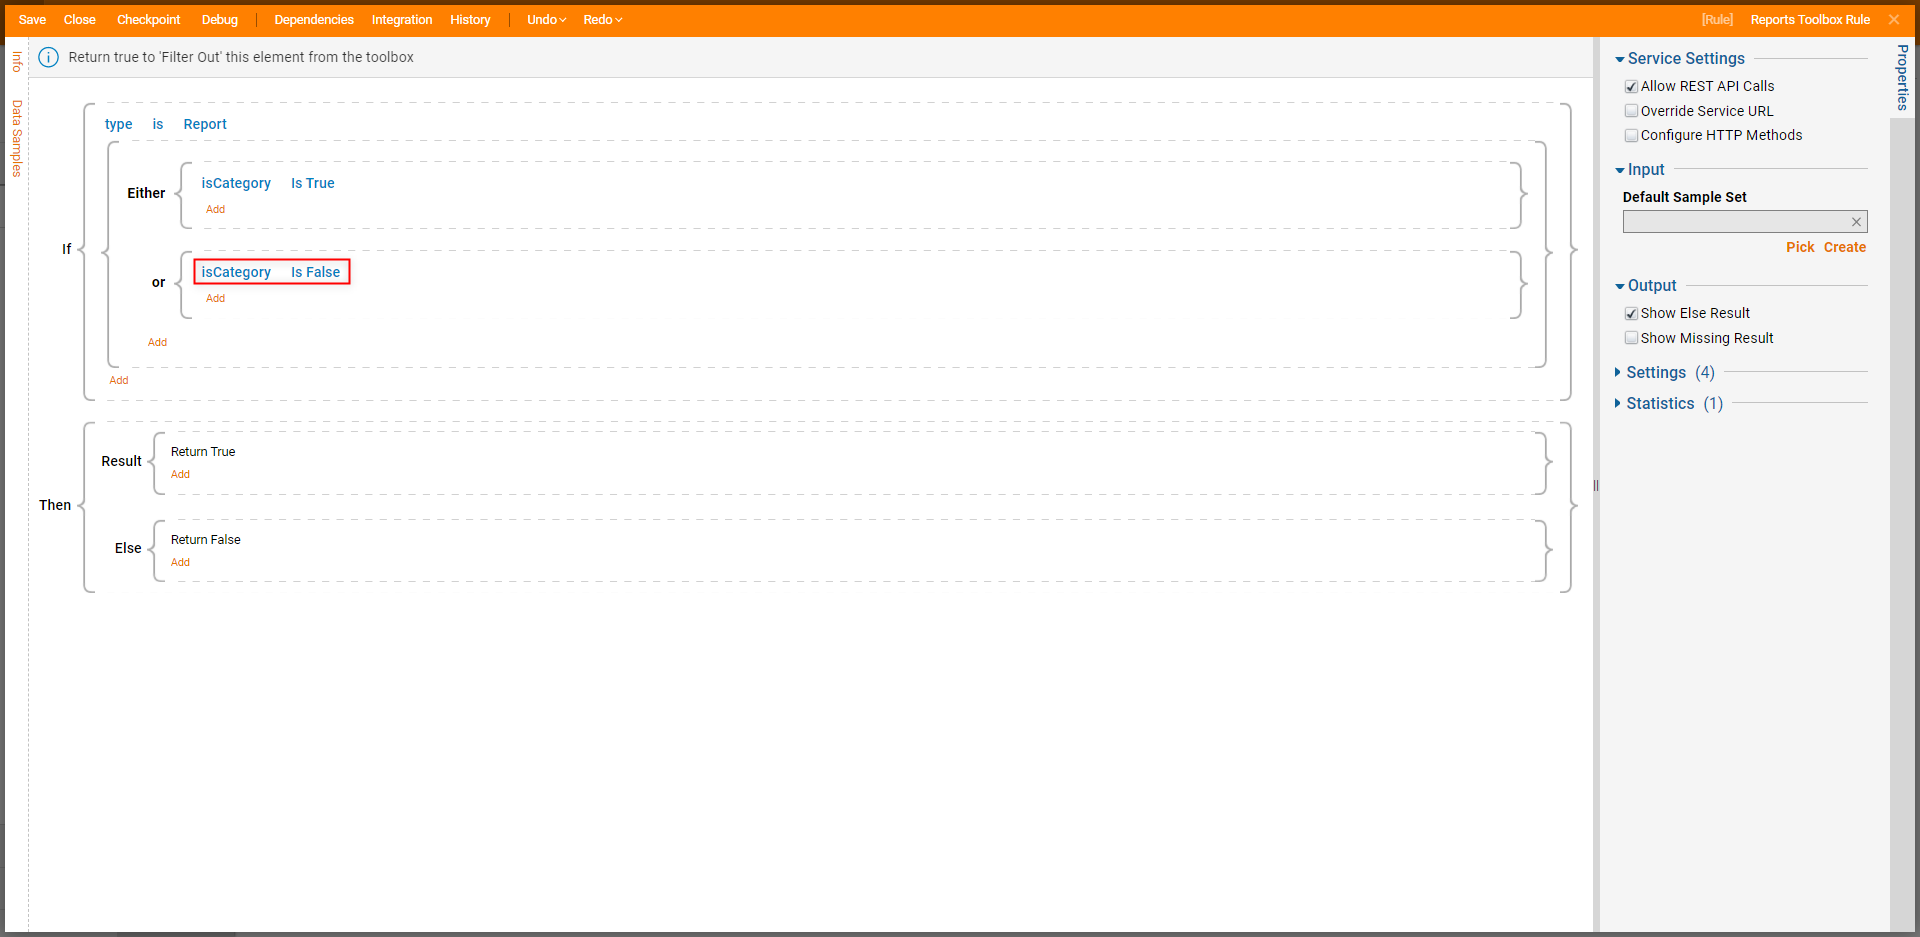
- Select Add Condition for the or part of Either/Or Group in the Rule; select isCategory click NEXT, then select Is False.Note on Rule ConfigurationThis logic allows the Rule to work within the Report Designer. Then, the Rule will filter Categories (isCategory Is True ) and Subcategories (isCategory Is False ). However, the Rule requires further Conditions for the Either and or sections of the Rule, to dictate how to Filter the Categories/Subcategories.
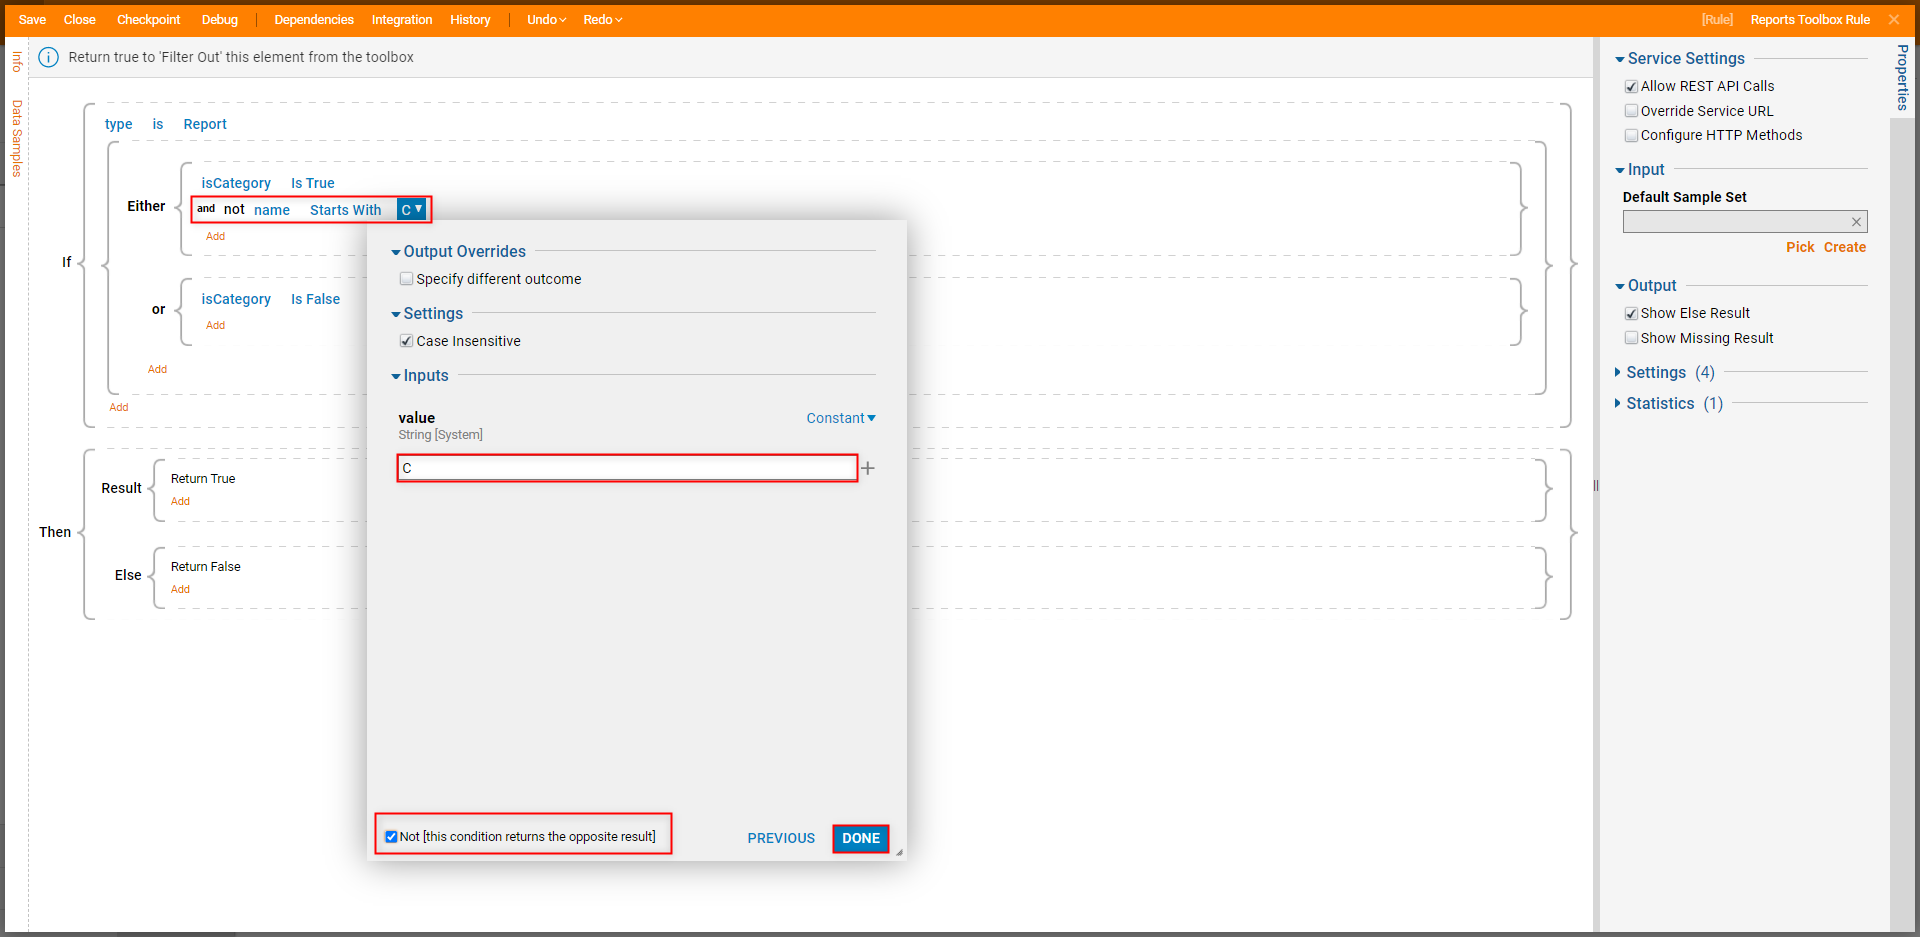
- Under Either, select Add > Add Condition and select name. From the Pick Verb options, select Starts With. Then, input "C" in the value field; check the Not box before clicking DONE.
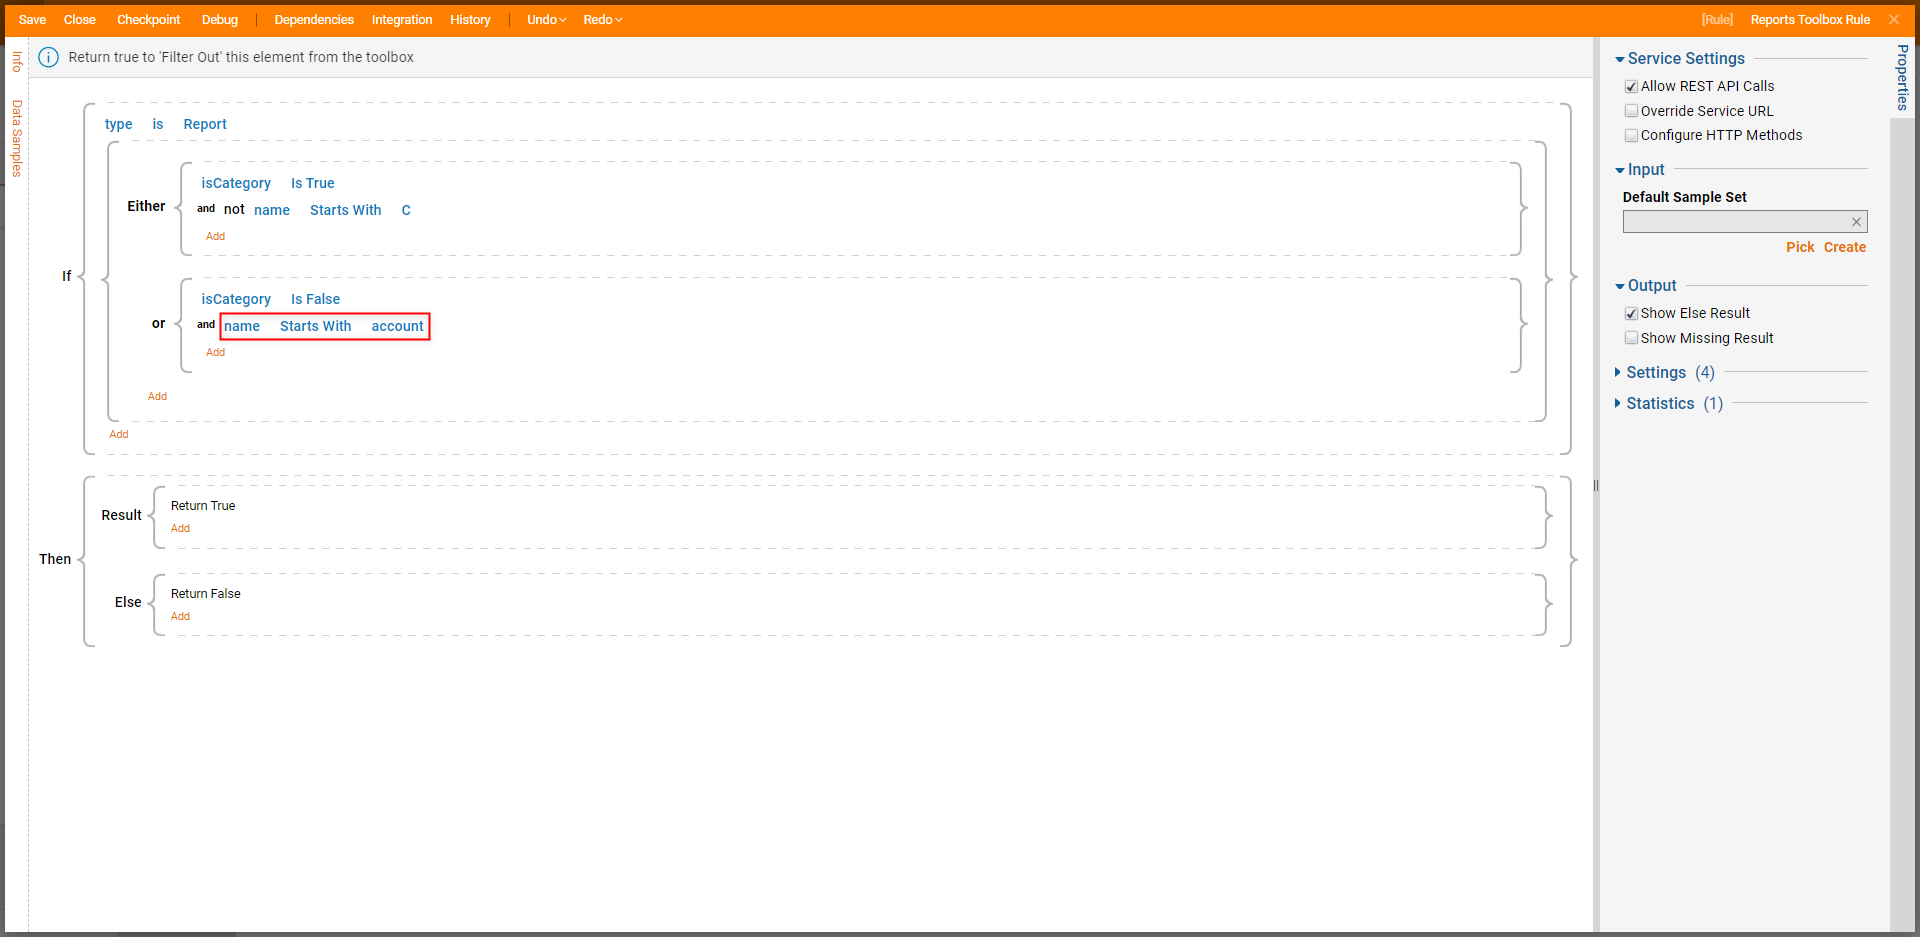
- Under or, Add a new Condition. Configure it as name Starts With account, then click DONE.
- Save and Close the Rule Designer. Then open the Report Designer.
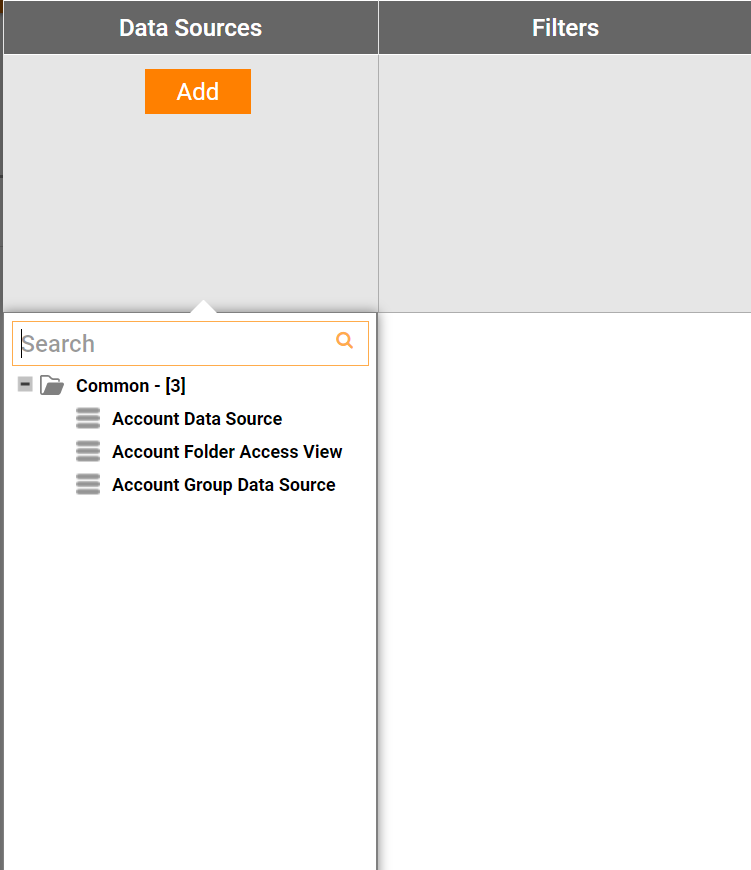
- Expand Data Sources in the Toolbox, and confirm that only Categories that start with “C ” are displayed; expand the Common category and validate that only Subcategories that start with “Account ” are made available.
Example B: Flow Designer
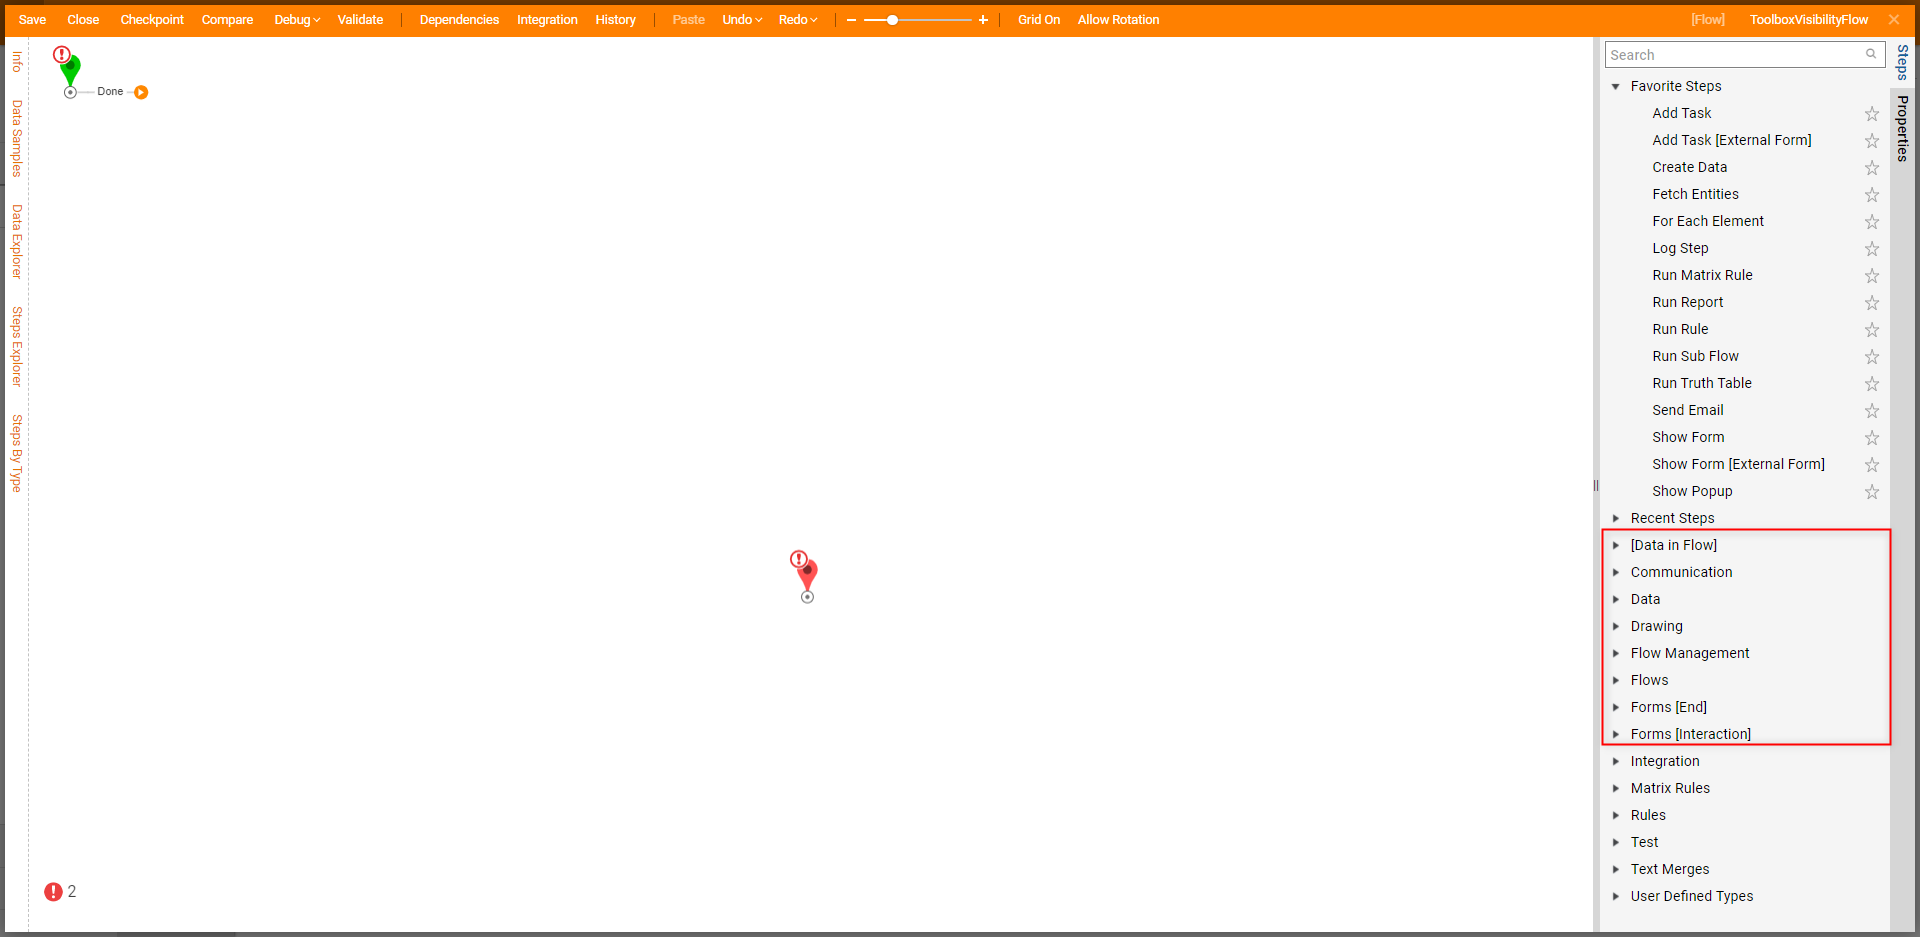
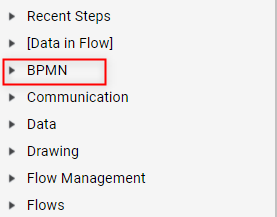
The following example demonstrates how to hide a specific category in the Flow Designer.
To do so:
- From the Decisions Studio, navigate to System > Designers > Toolbox Customization > Element Rules and select ADD TOOLBOX RULE; provide a Name, then click ADD TOOLBOX RULE once more. Select the Rule to open the Rule Designer.
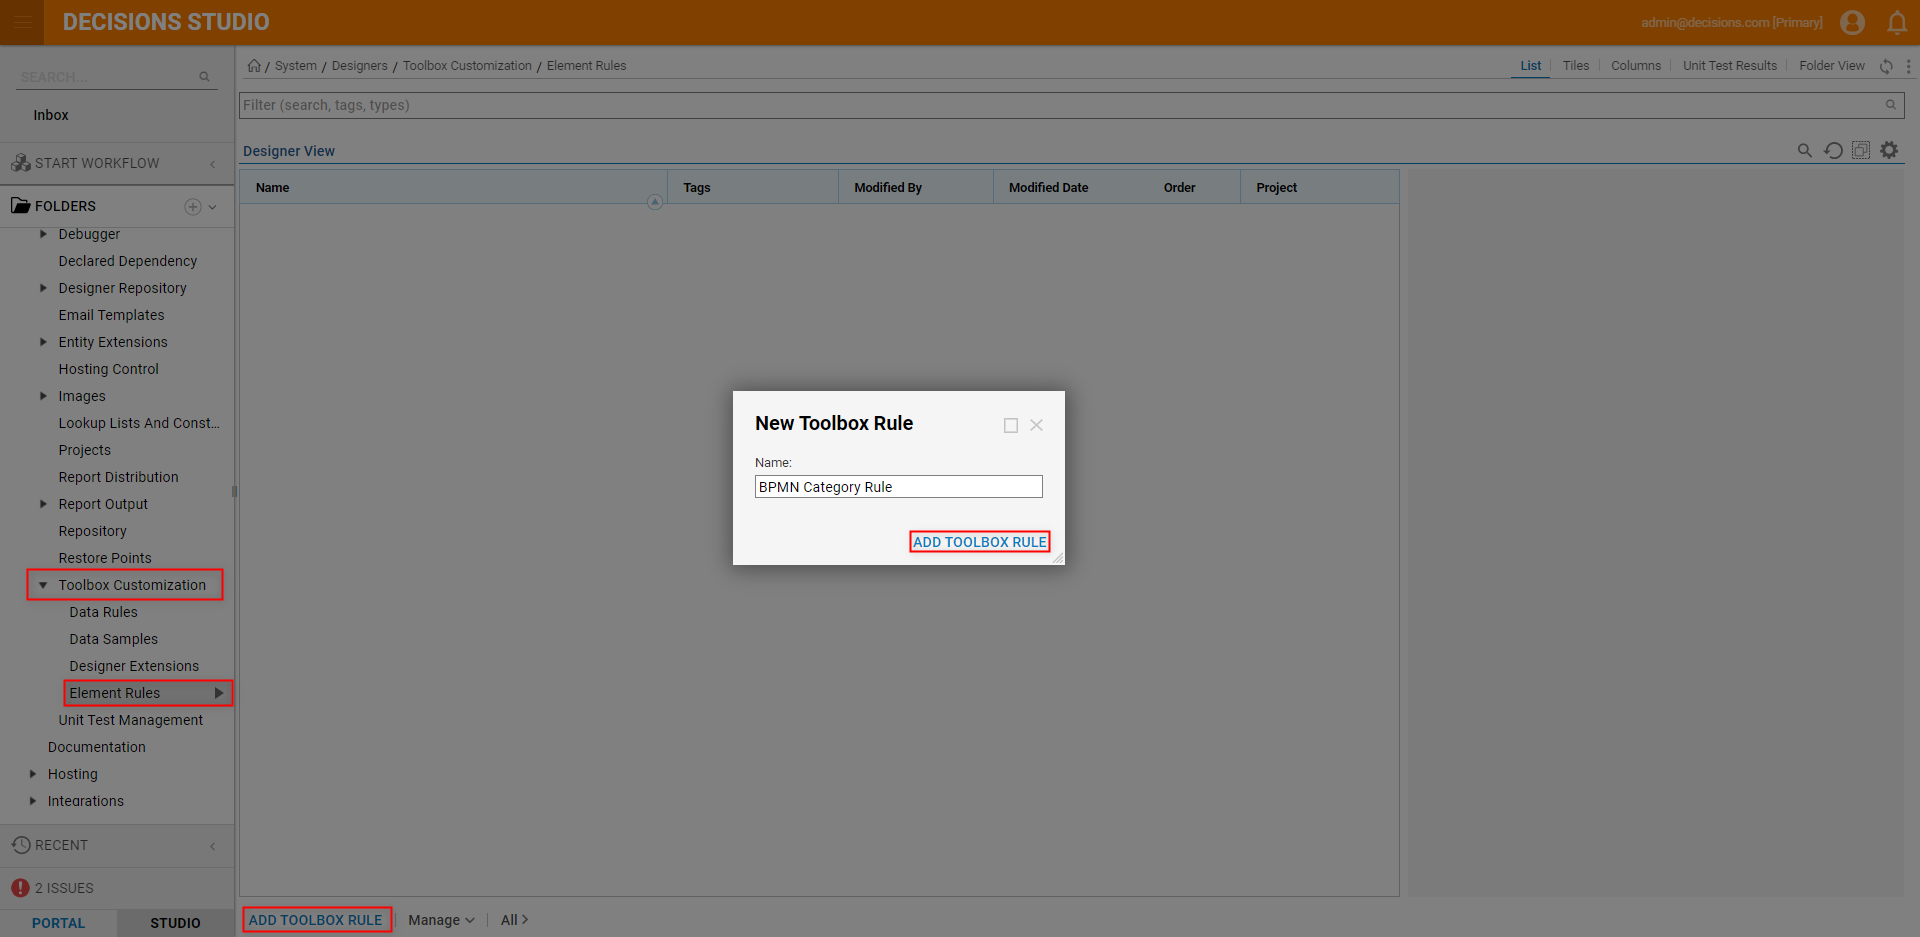
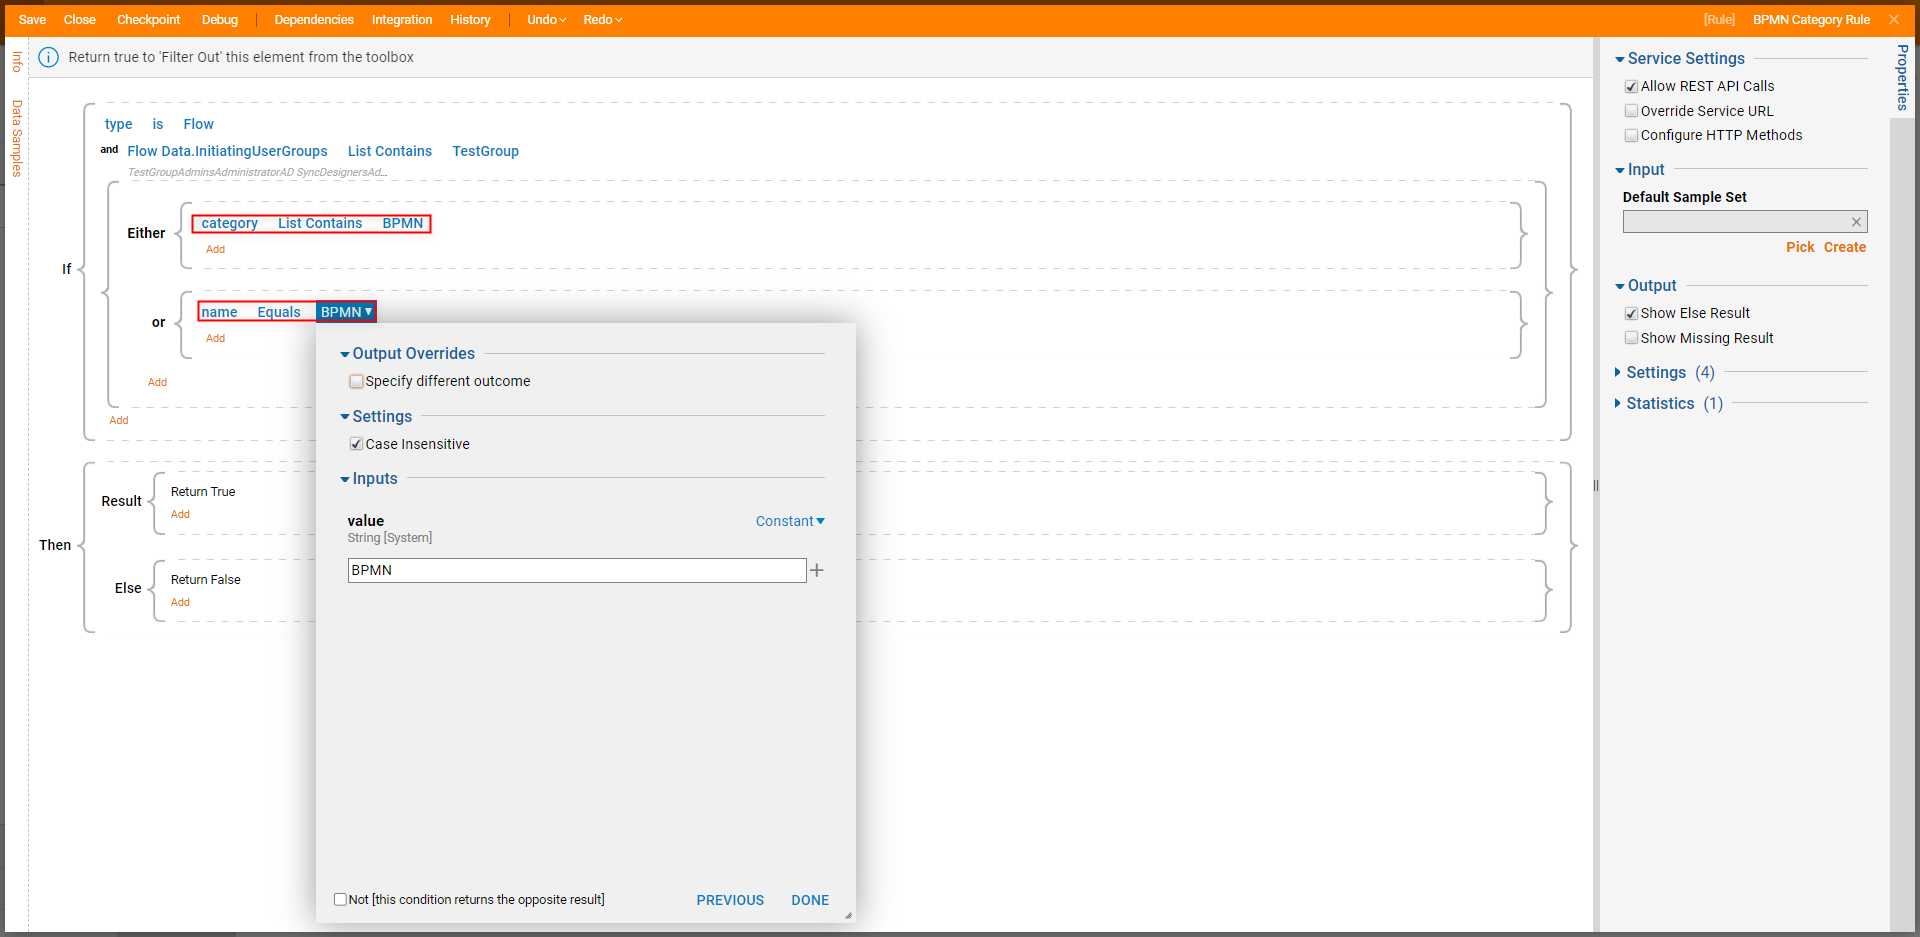
- Begin defining the rule by setting the If statement to type is Flow.
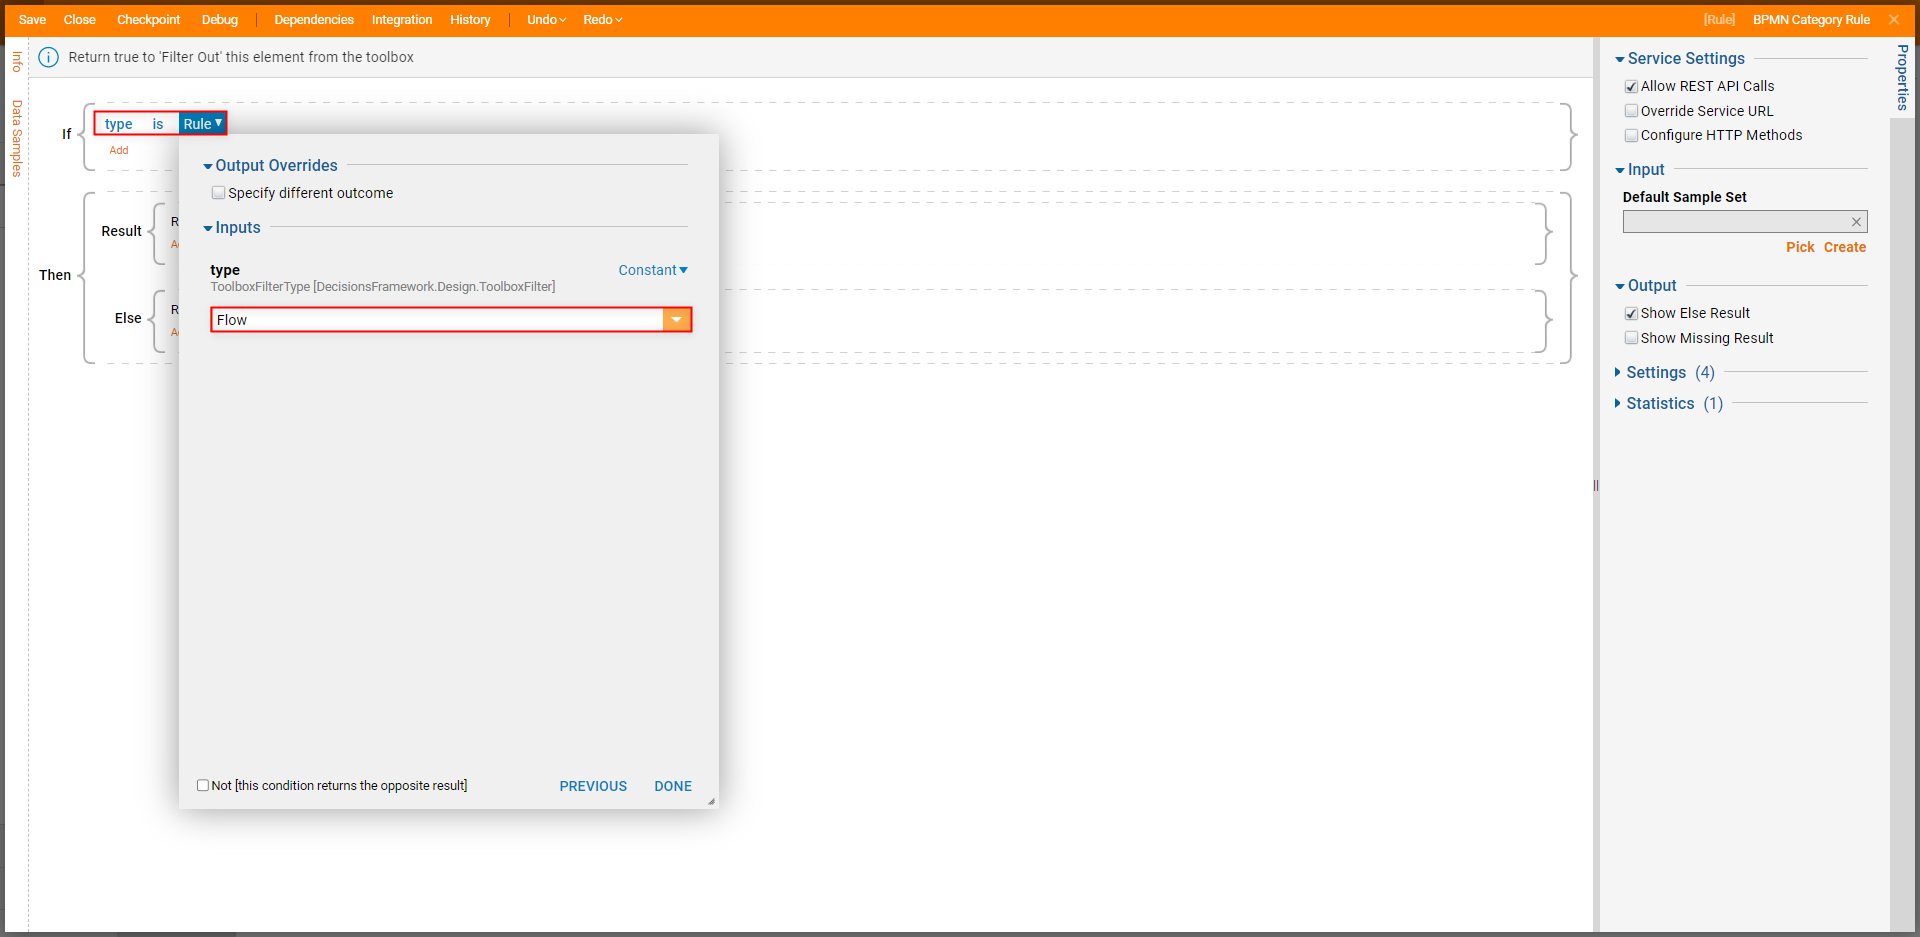
- Click Add > Add Condition, then configure the new Condition as Flow Data.InitiatingUserGroups, List Contains, then input the desired User Group Name.
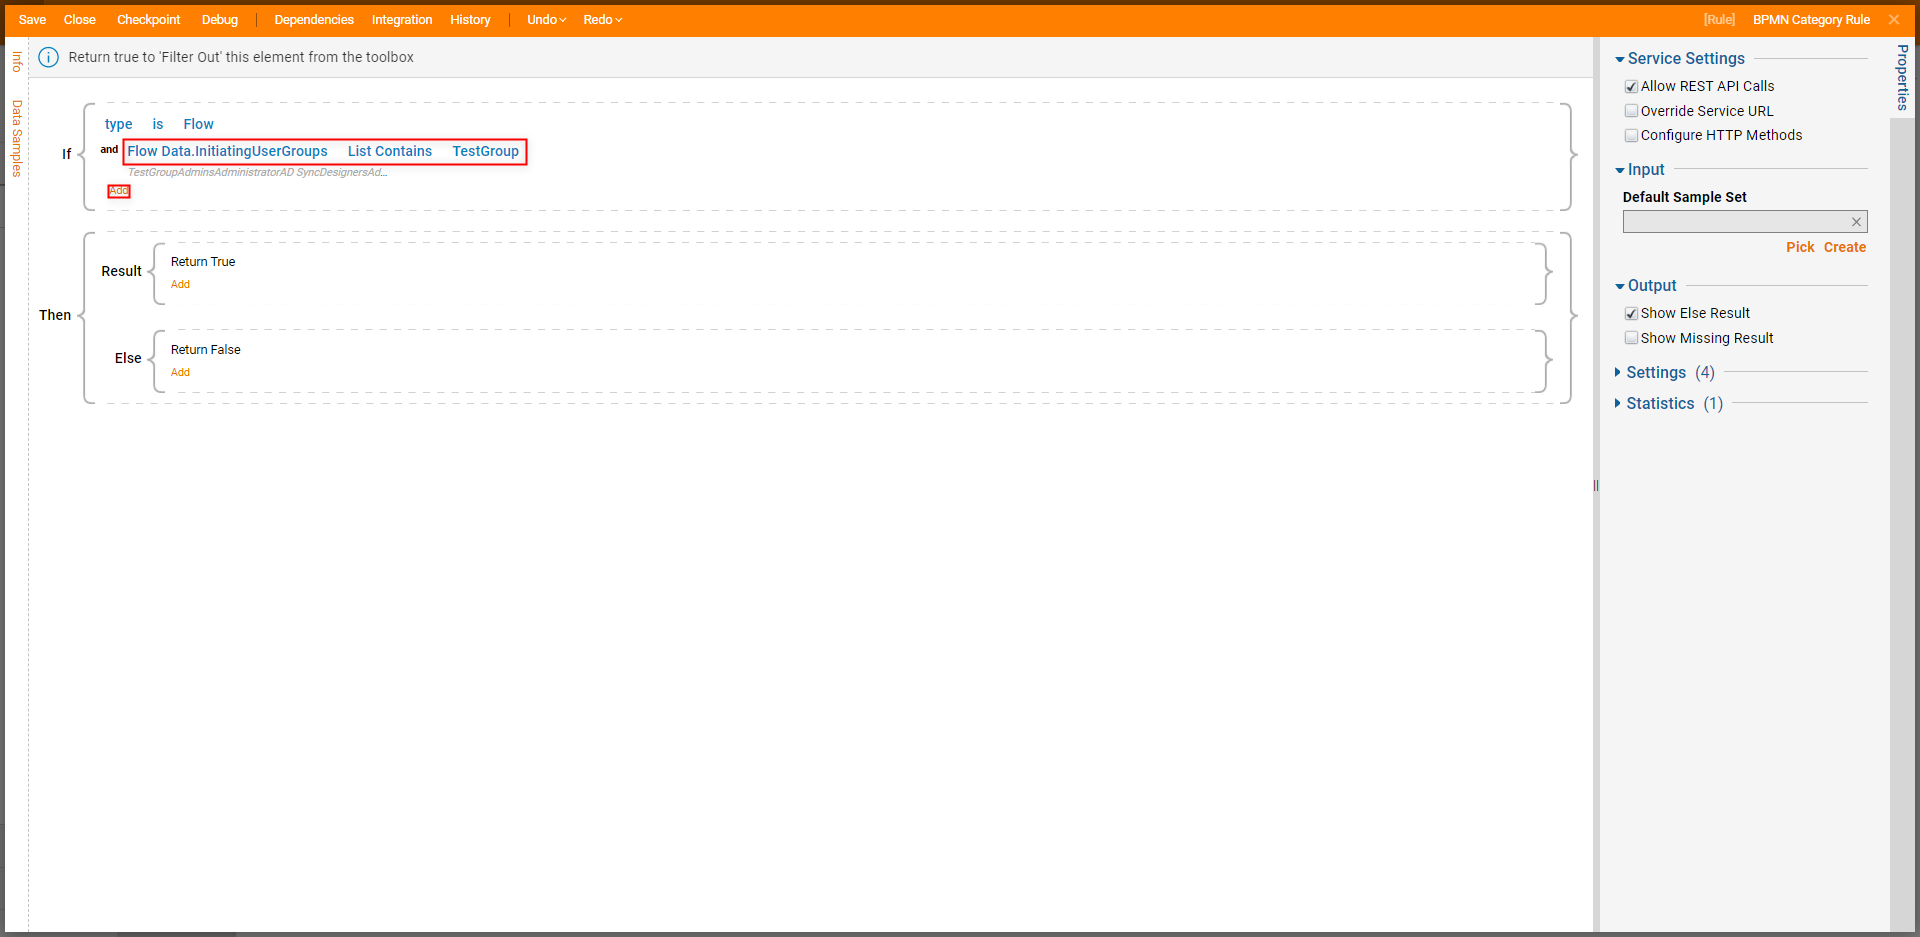
- Click Add once more, then select Add Either/Or Group.
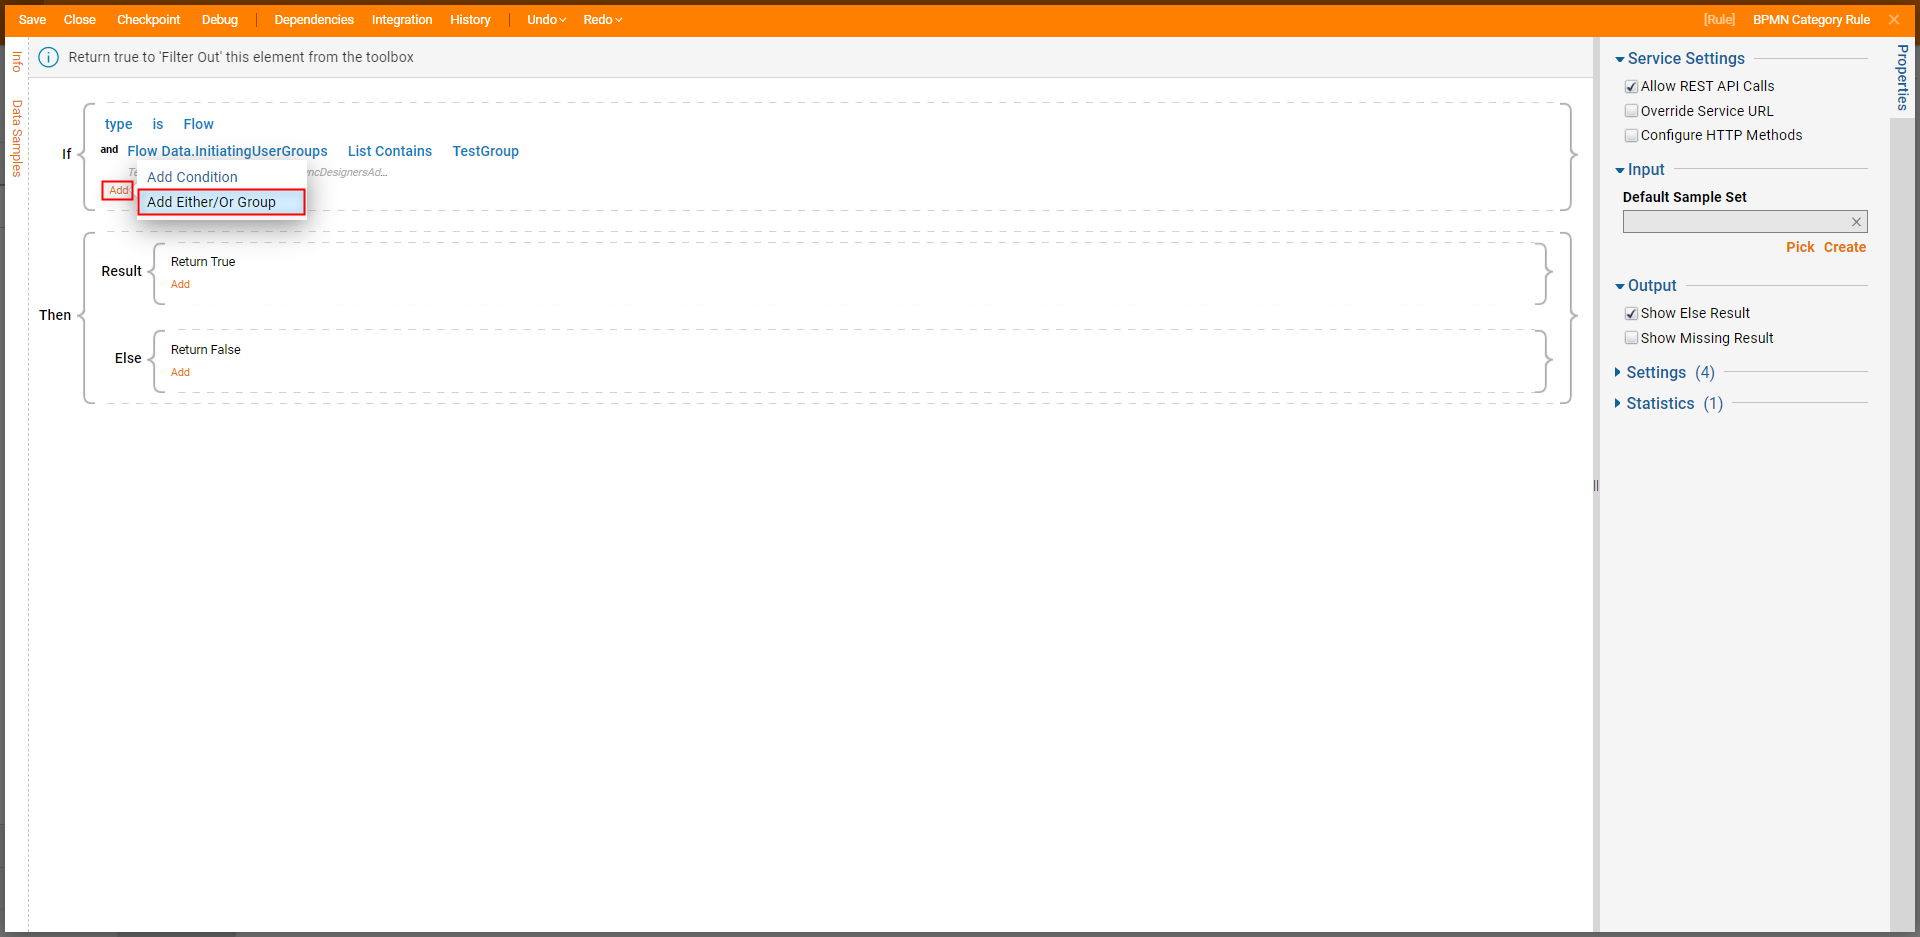
- Under Either, select Add > Add Condition; configure the Either element as category List Contains [Name of Category]. Under or, select Add > Add Condition; configure the or value as name Equals [Name of Category].
- Save the Rule, then Close the Rule Designer.
- Log into any Account from the designated Group.
- Open the Flow Designer and verify that the category has been hidden.Example ResultsIf properly configured, the designated category will not appear for any Account under the chosen Group.
