Overview
The Tile Source Flow Behavior sources an actionable Page Tile with dynamically mapped data from a Flow. Furthermore, it may also initiate another Flow, navigate to a Folder, open a link, or send parameters to another Page and/or Form components to filter or update an ongoing process. A typical use case of this Behavior involves creating Dashboards with Tiles displaying dynamically updated key performance indicators.
The Tile Source Flow sources data for other tile options as well. The function is universal as long as TileData is being provided to the component. Some components require TileReturn data instead of TileData. TileReturn data uses a similar step with different configuration options for counter, text, and media data.
Example:
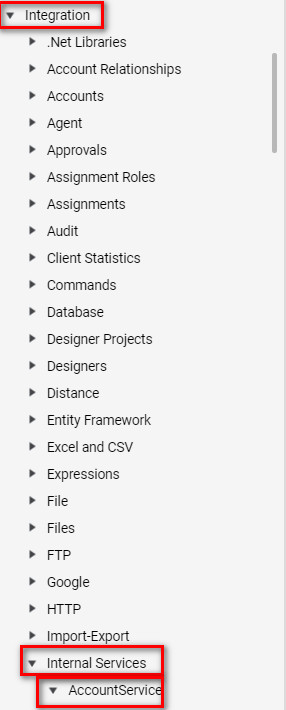
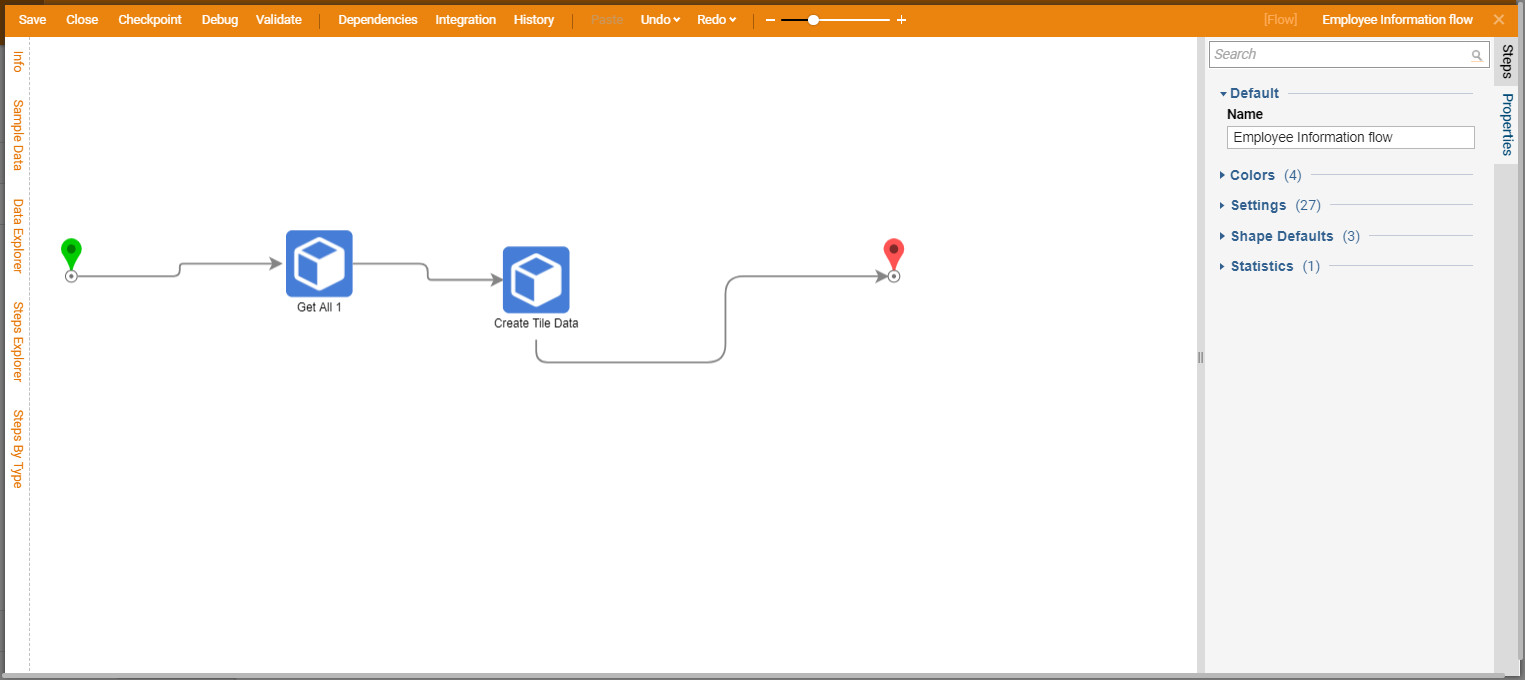
In this example, we are going to create a dynamic Page with Tiles. This Page will display the number of accounts already existing currently in decisions using Integration > Internal Services > Account Services > Get All 1 (Step).
- First, create a new Flow that will serve as a source for the Tile. Select Create Flow on the Folder Actions Panel.

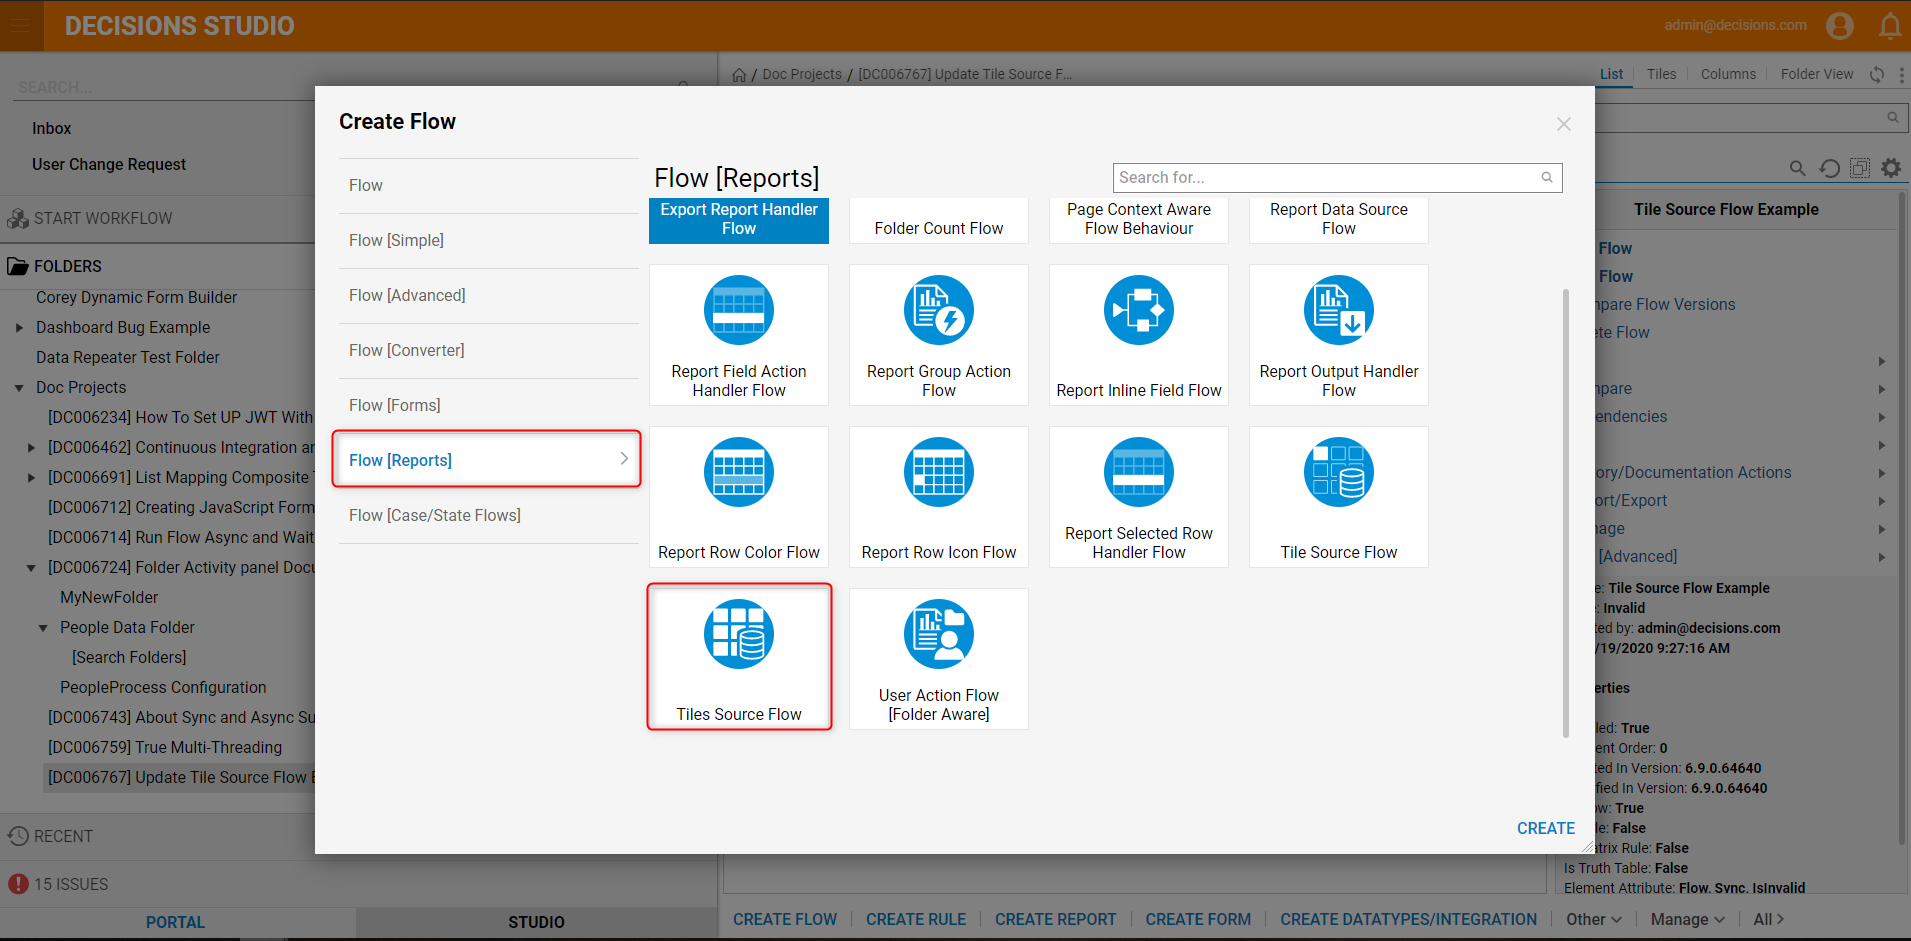
- In the resulting window choose Flow (Reports) to select a Flow type. Scroll down and choose Tile Source Flow, then select Create and then Name the new Flow. Select Create again and and proceed to the Flow Designer.
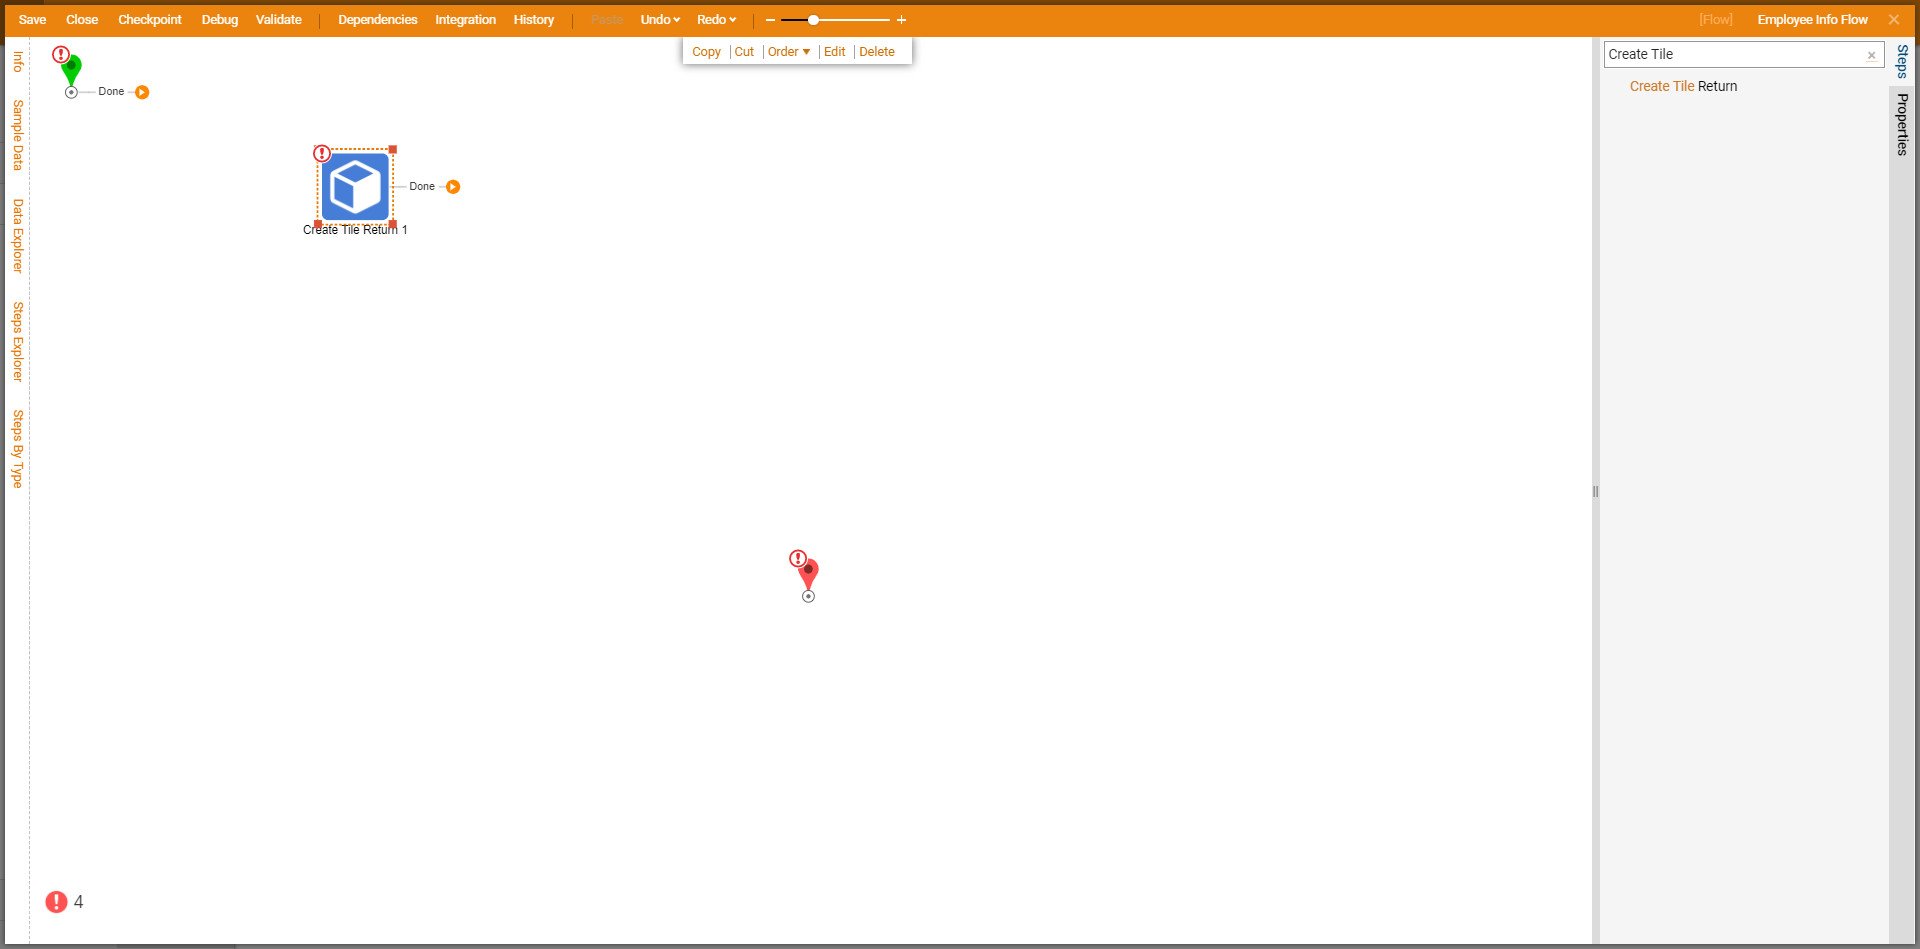
- In the Flow Designer in the steps properties select Create Tile Return 1 step. You can drag the step into the Flow Designer.
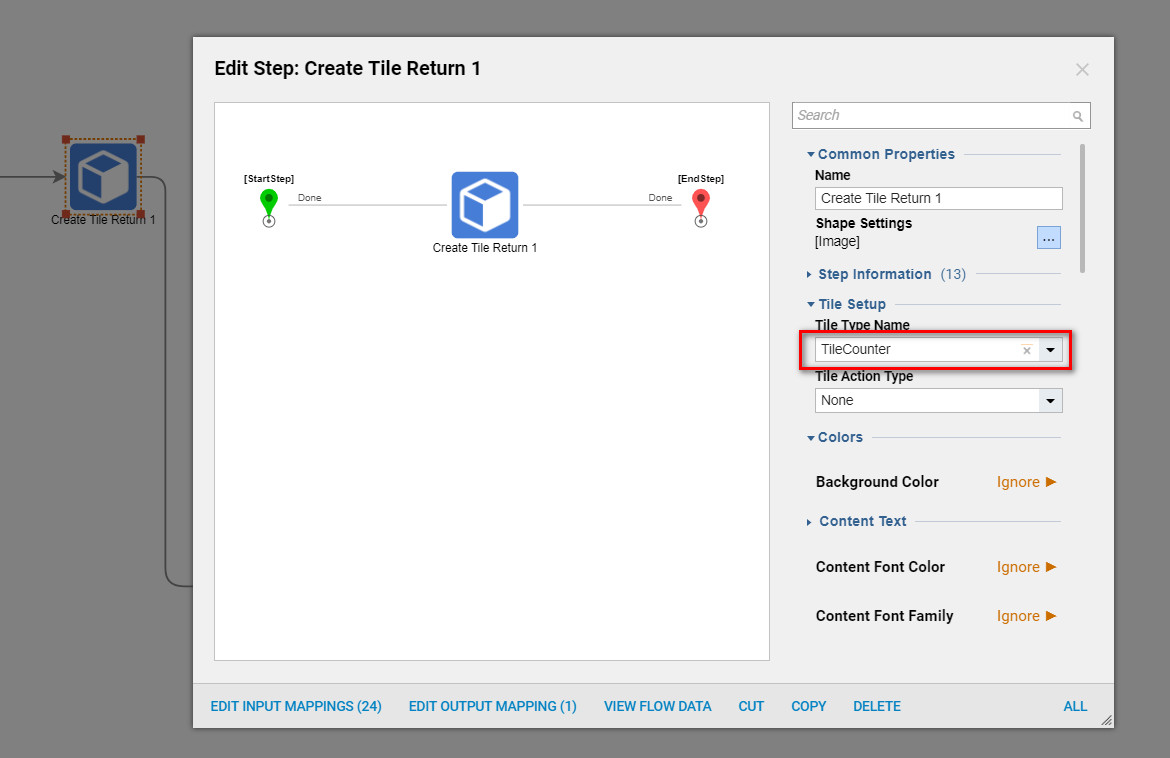
- Select the Create Tile Return step and set the Tile type name to Tile counter.
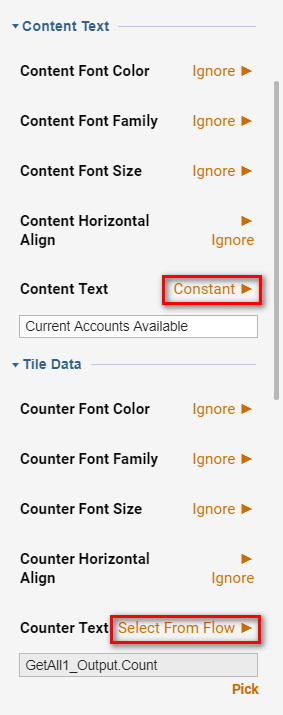
- Next, select the Create Tile Return 1 and navigate to the Properties tab. For this example, under Content Text in the Properties tab, set Content Text to Constant and name it 'Current Accounts Available'.
- Under Tile Data of the Properties tab, choose Select from Flow and pick GetAll1 > Output >Count.
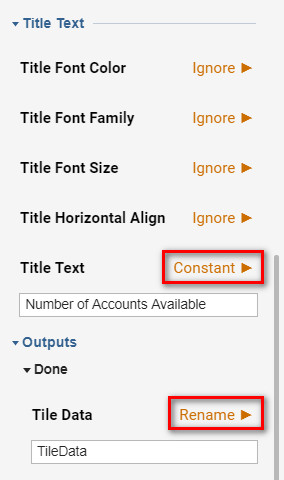
- Lastly, choose Title Text as a Constant and name it 'Number of Accounts Available'.
- Next, in the Steps Tab navigate to Integration > Internal Services > Account Services and then select Get All 1 (step).
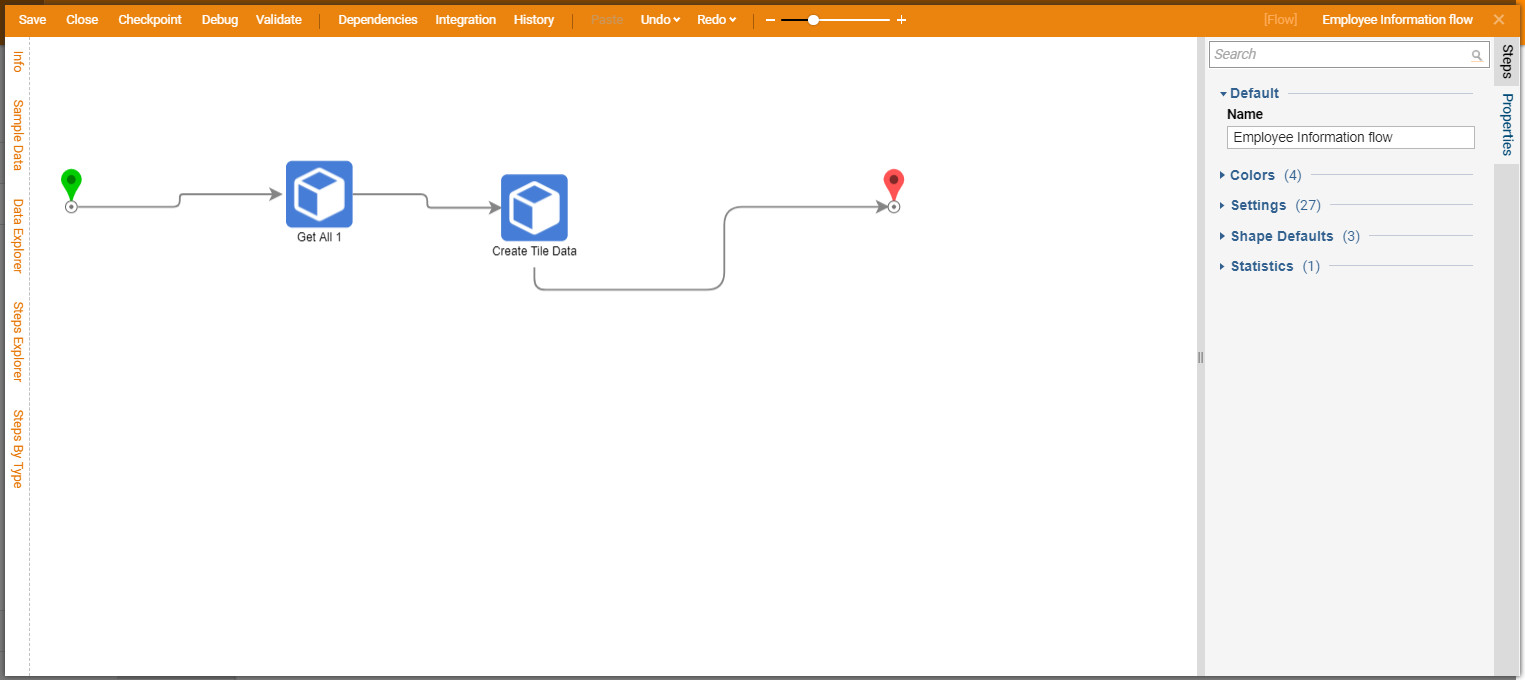
- The Get All 1 Step will fetch all of the accounts available within Decisions.
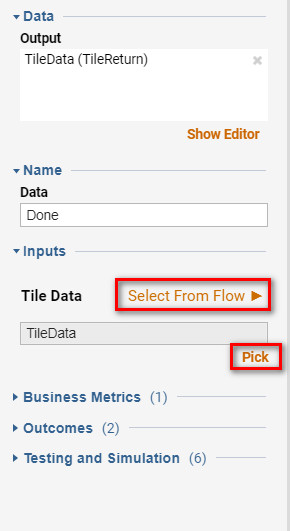
- In the Flow Designer, select Show Editor from the Tile Data output from the Create Tile Data step and select TileData (TileReturn). From the Tile Data inputs choose Select from Flow and then pick Tile Data.
- Save the Flow and close Flow Designer.
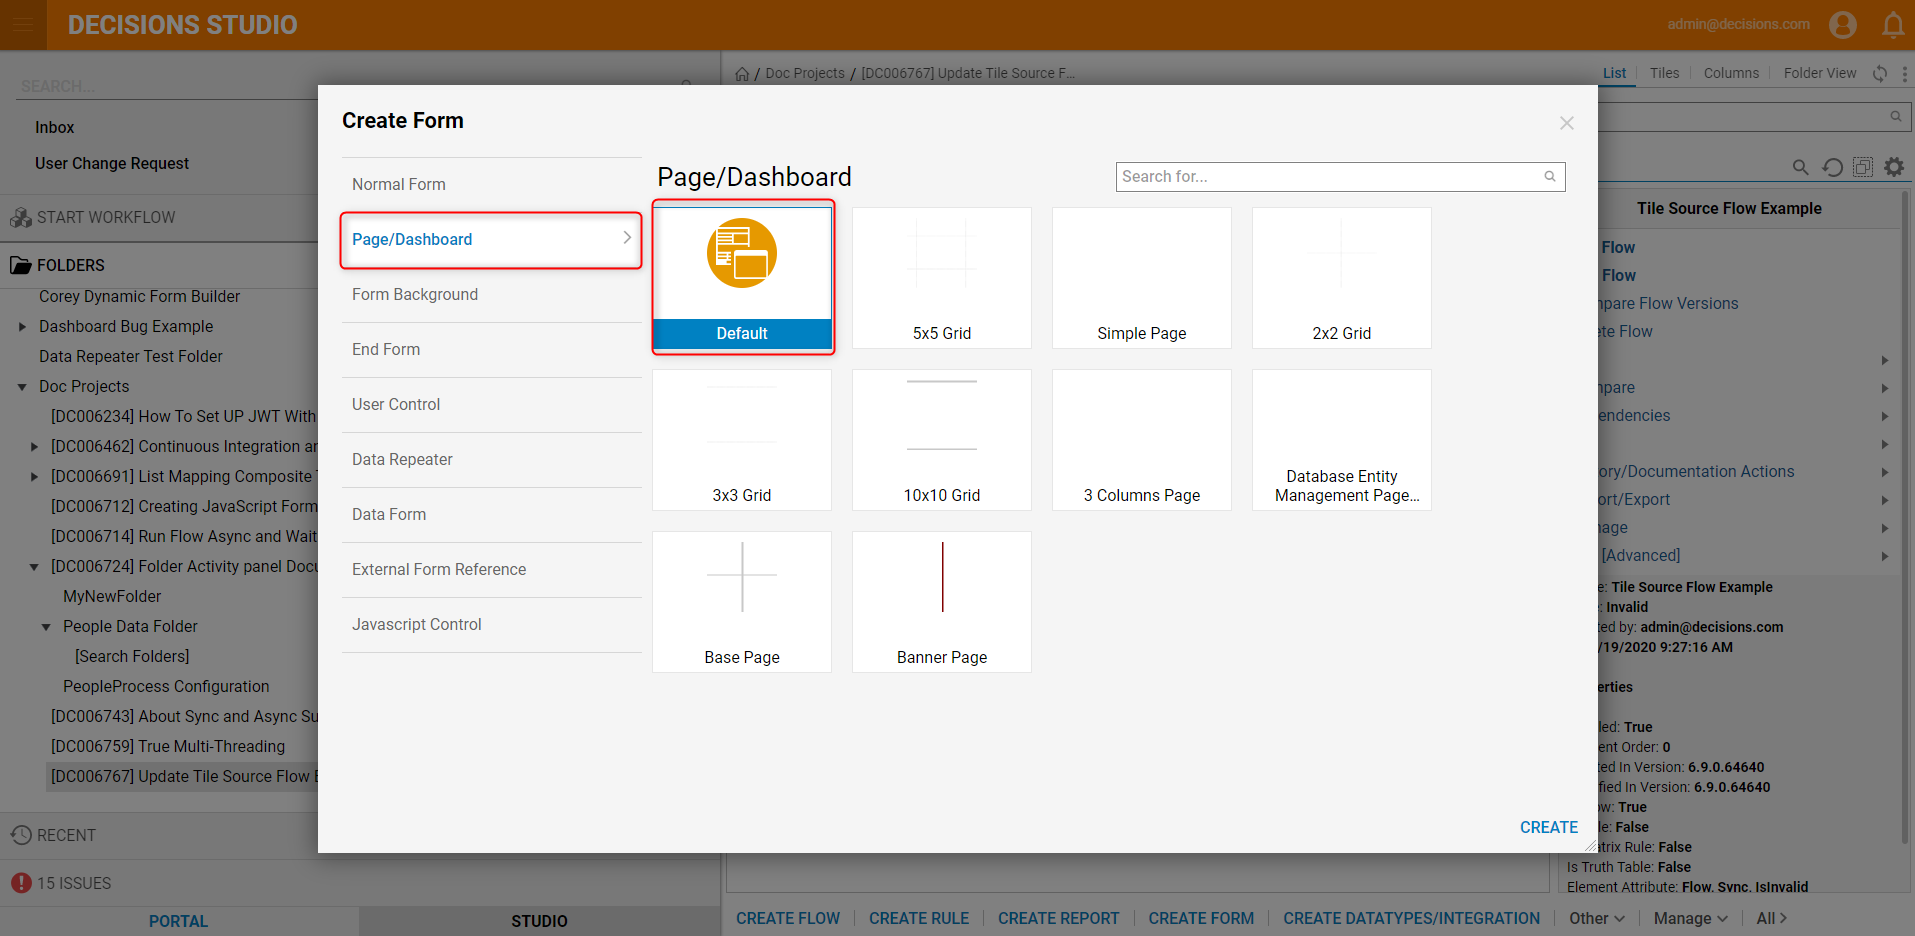
- Back in the Designer Folder, select Create Form in the Action panel on the bottom of the Designer Studio. This will create the Page displaying the new Tile Data part.

- Select Page, choose your Page type and select Create.
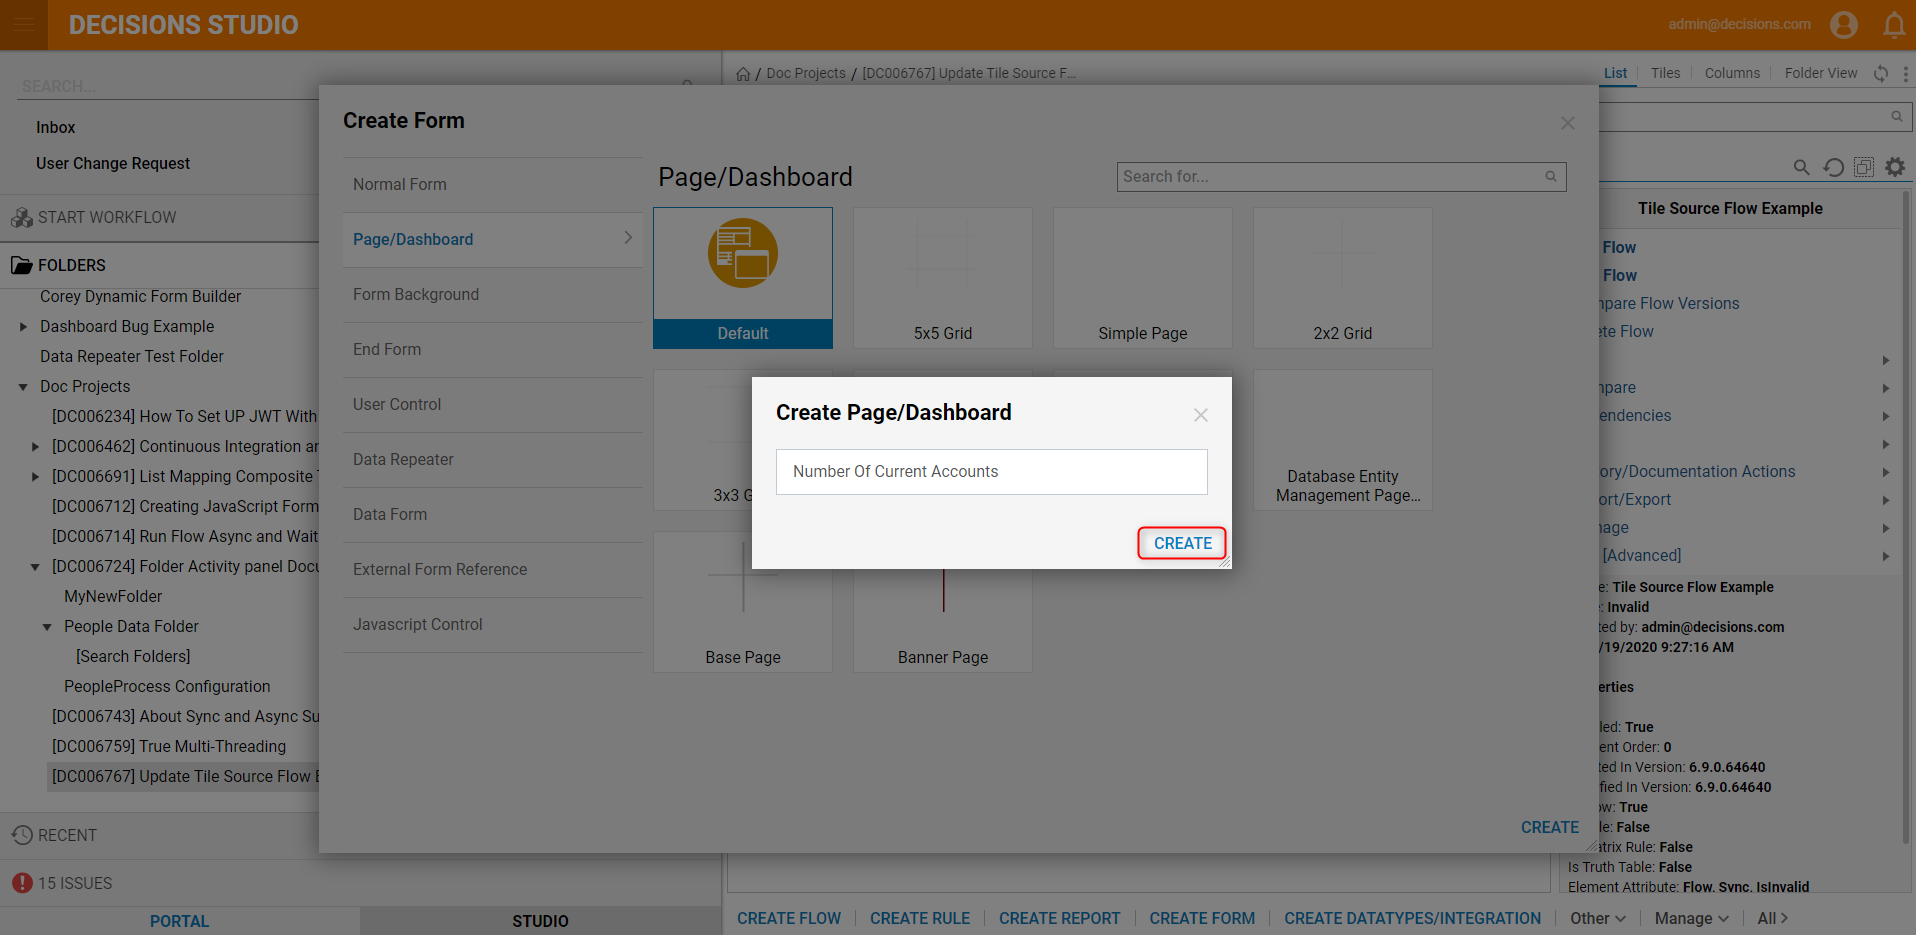
- Name your Page and select Create. It will then open in the Page Designer.
- Select the Simple Tile component from Tiles > Simple Tile category and drag it onto the Page Designer.
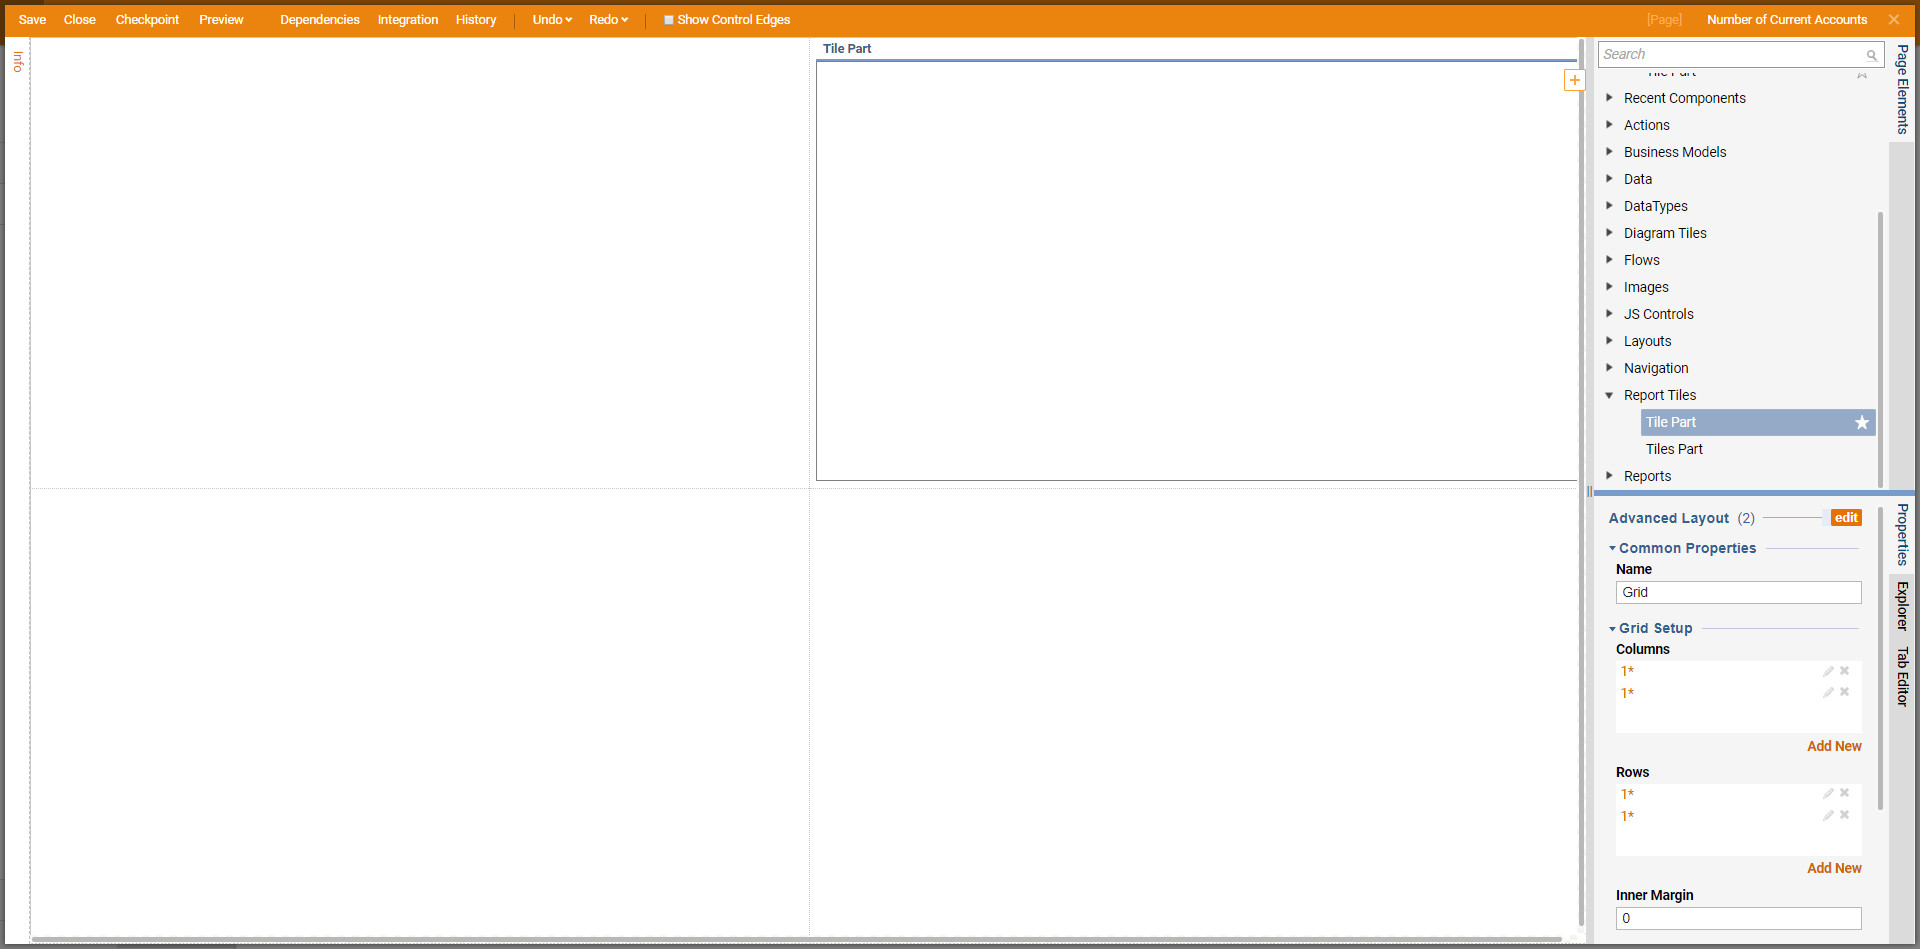
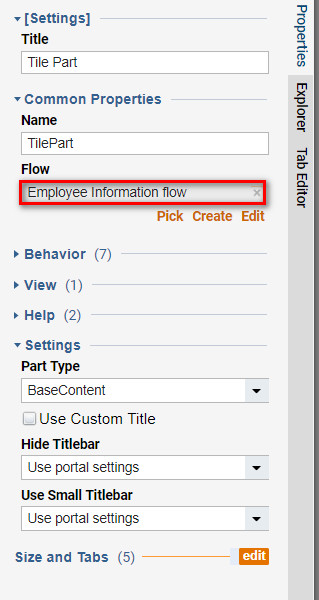
- Select the 'Employment Information flow' created previously.
- To test the functionality of the Simple Tile, click 'Preview' located at the top of the orange banner.
