Overview
Report Row Color Flows allow the user to define complex logic in order to apply different colors to a row in a Report. The Flow will evaluate the Report column data as an input and add a specified color to the row when the reported data meets the Color Rule’s condition. Similarly, a Report row can be customized with a Color Rule by using a Rule.
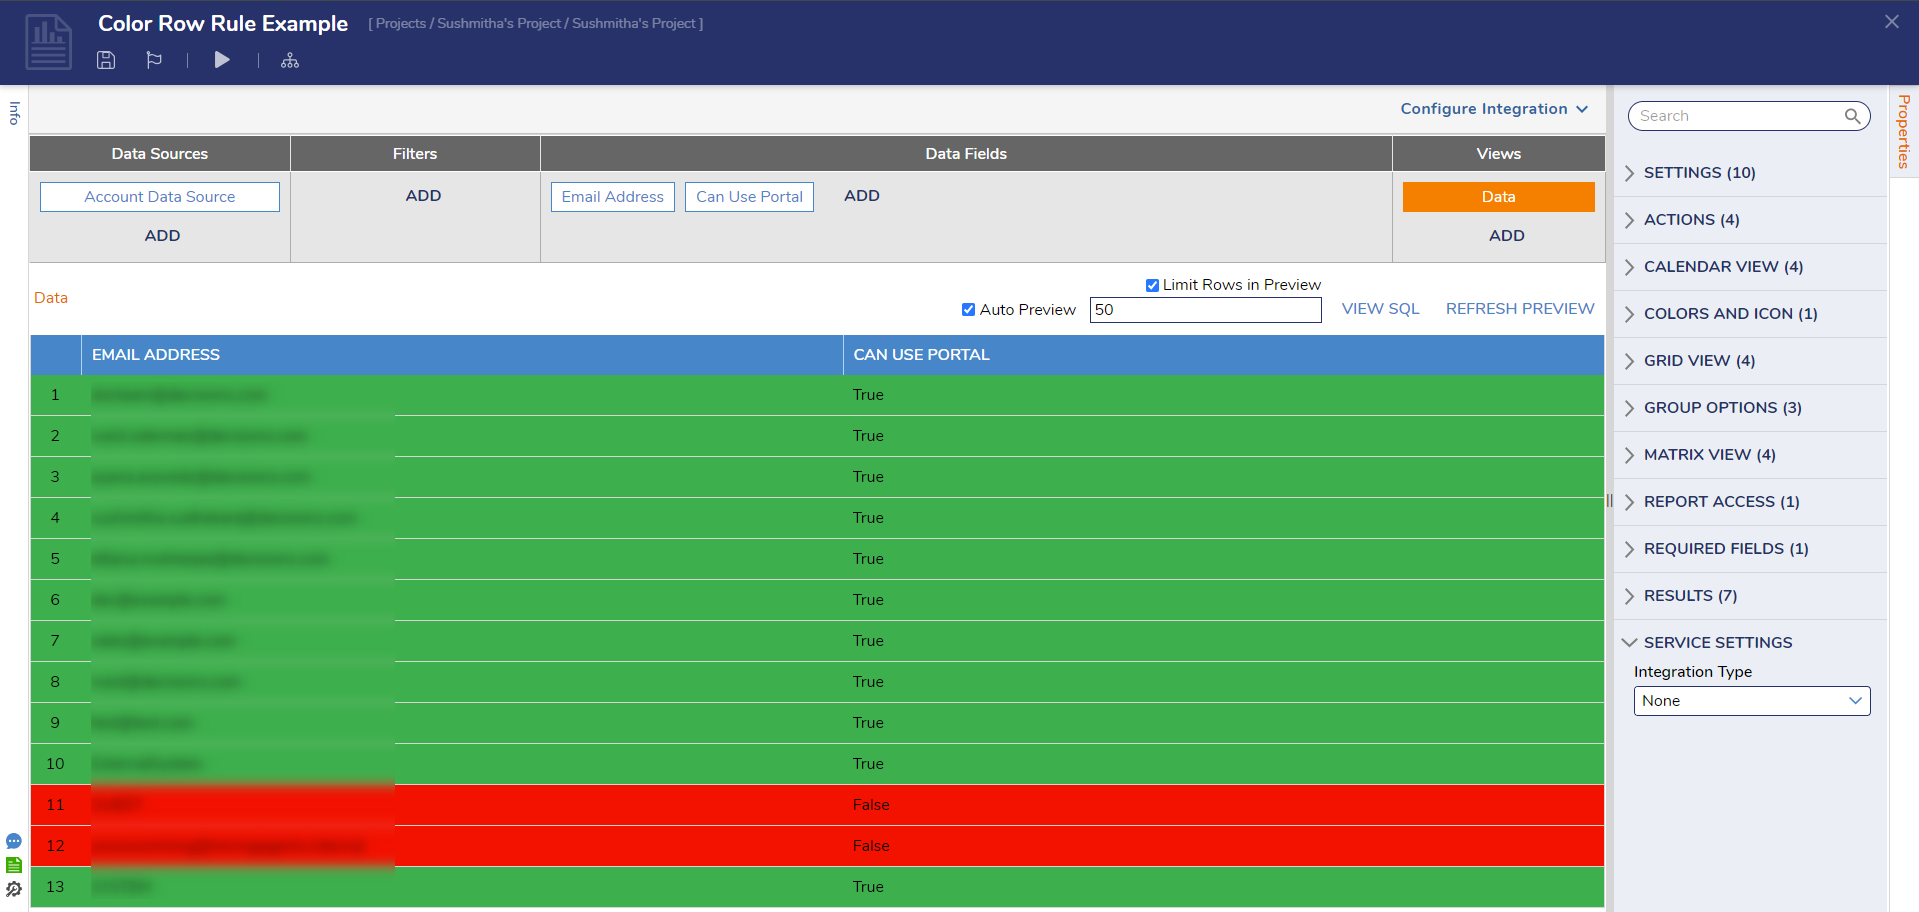
In the following example, a Report Row Color Flow will be created on a Report that contains Account Data. The Report Color Flow will evaluate if the accounts can use the platform Portal by highlighting the accounts that do meet the Color Rule criteria in green and the accounts that do not meet the criteria in red.
Example
- In a Designer Project, create a Report.
- Add a data source to the report. Under the Data Sources column select Add. Go to Common and select Account Data Source. Then, for the data fields, add the 'EmailAddress' and the 'CanUsePortal' fields.
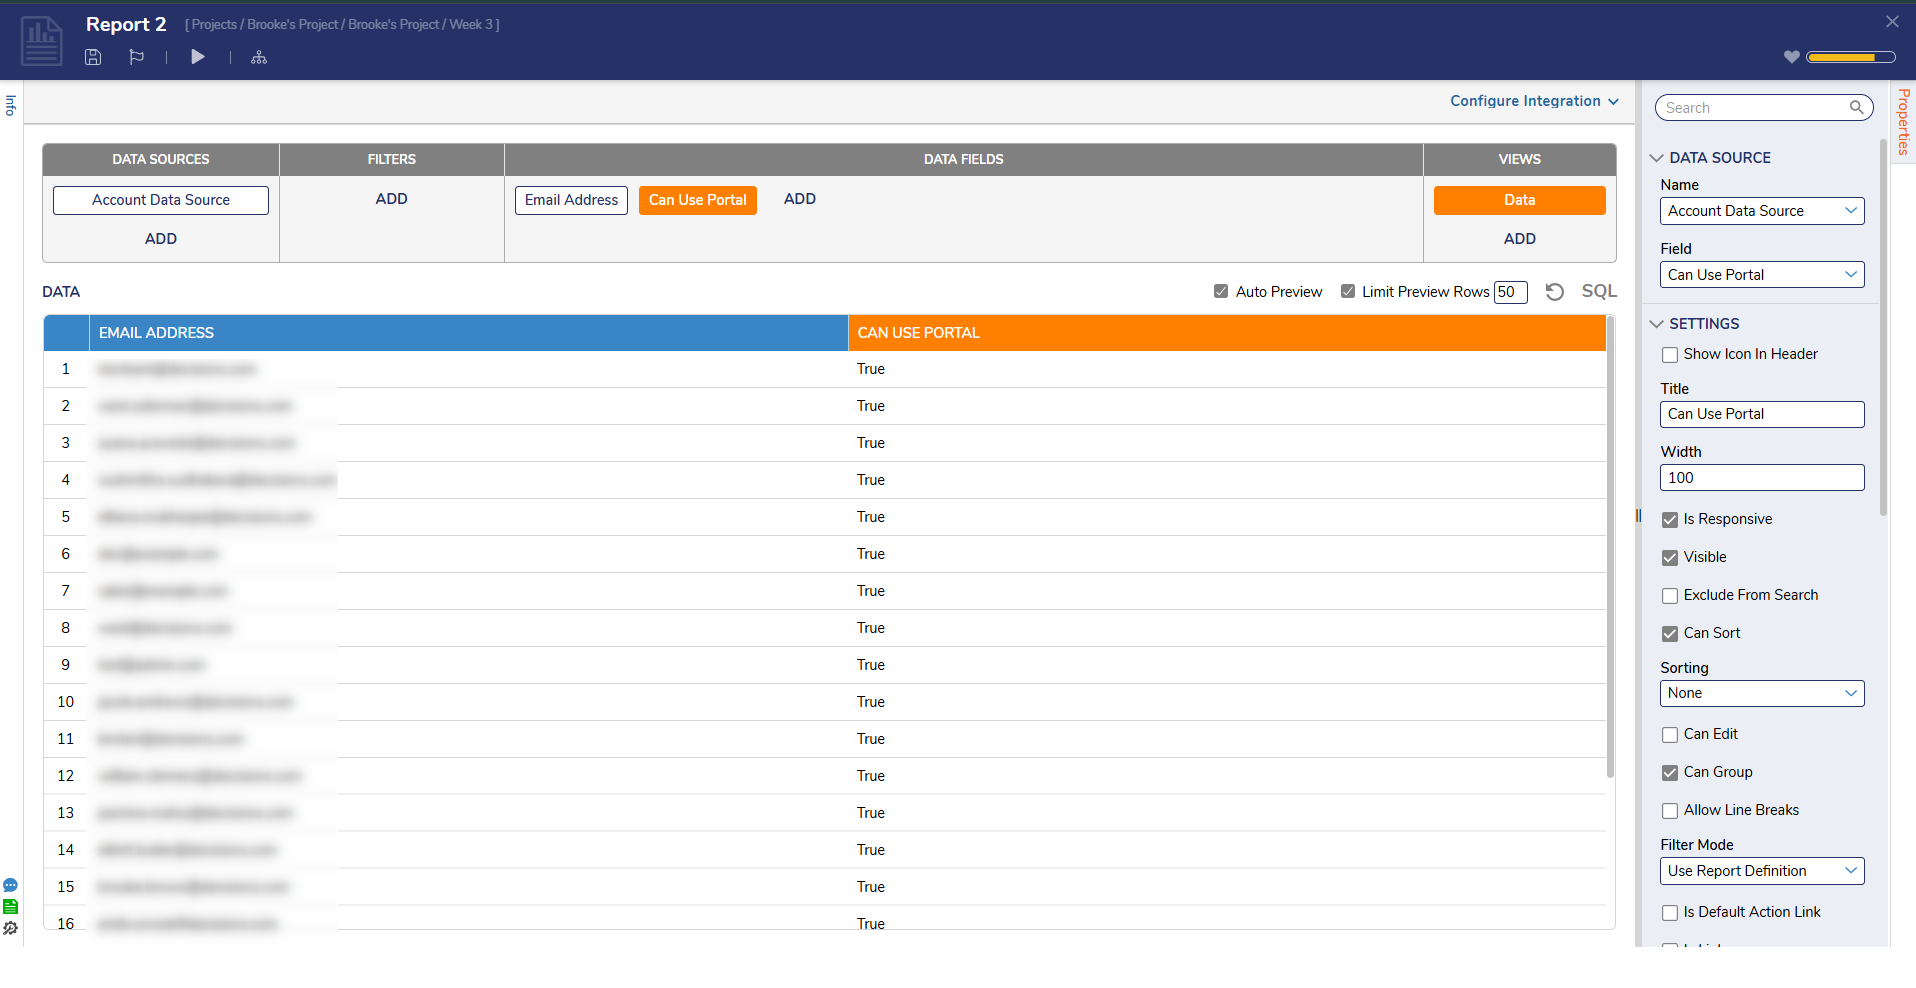
In the Properties panel under the Colors and Icon section, select Add in the Color and Icon Rules properties.
.png)
Click 'PICK OR CREATE COLOR FLOW' and then select 'Create New'. This is the color Flow that will color the rows that have the 'CanUsePortal' set to False.
.png)
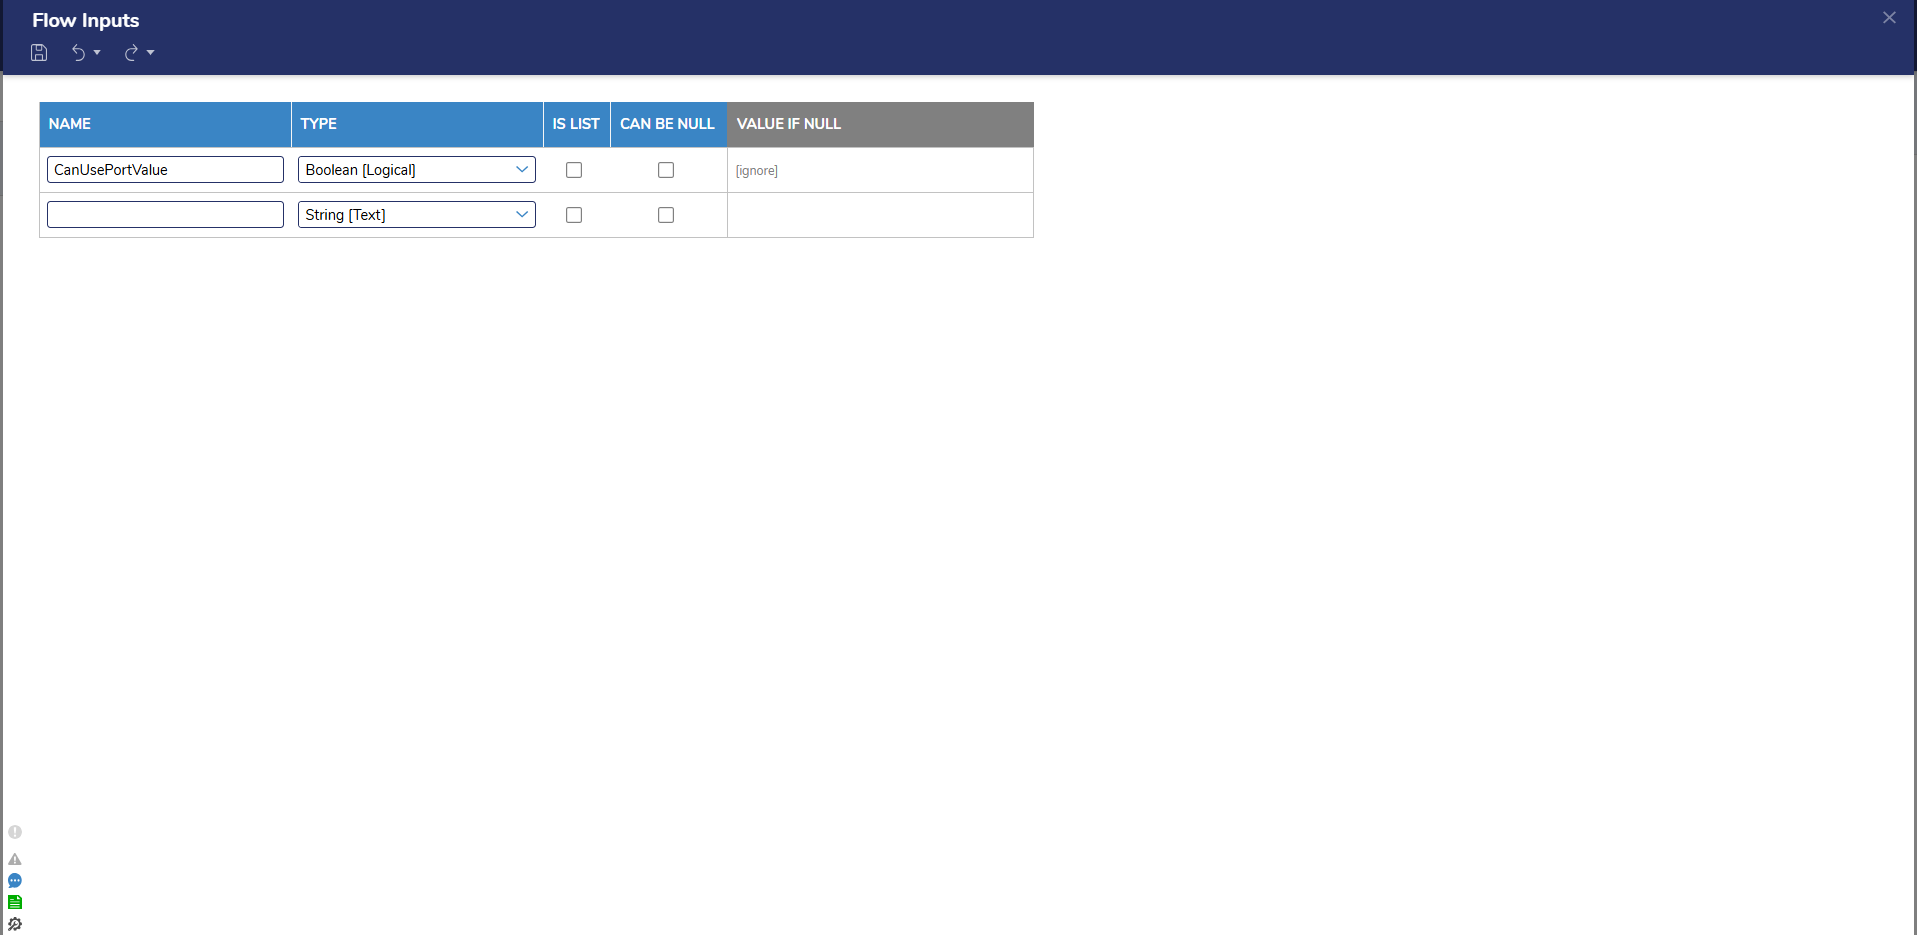
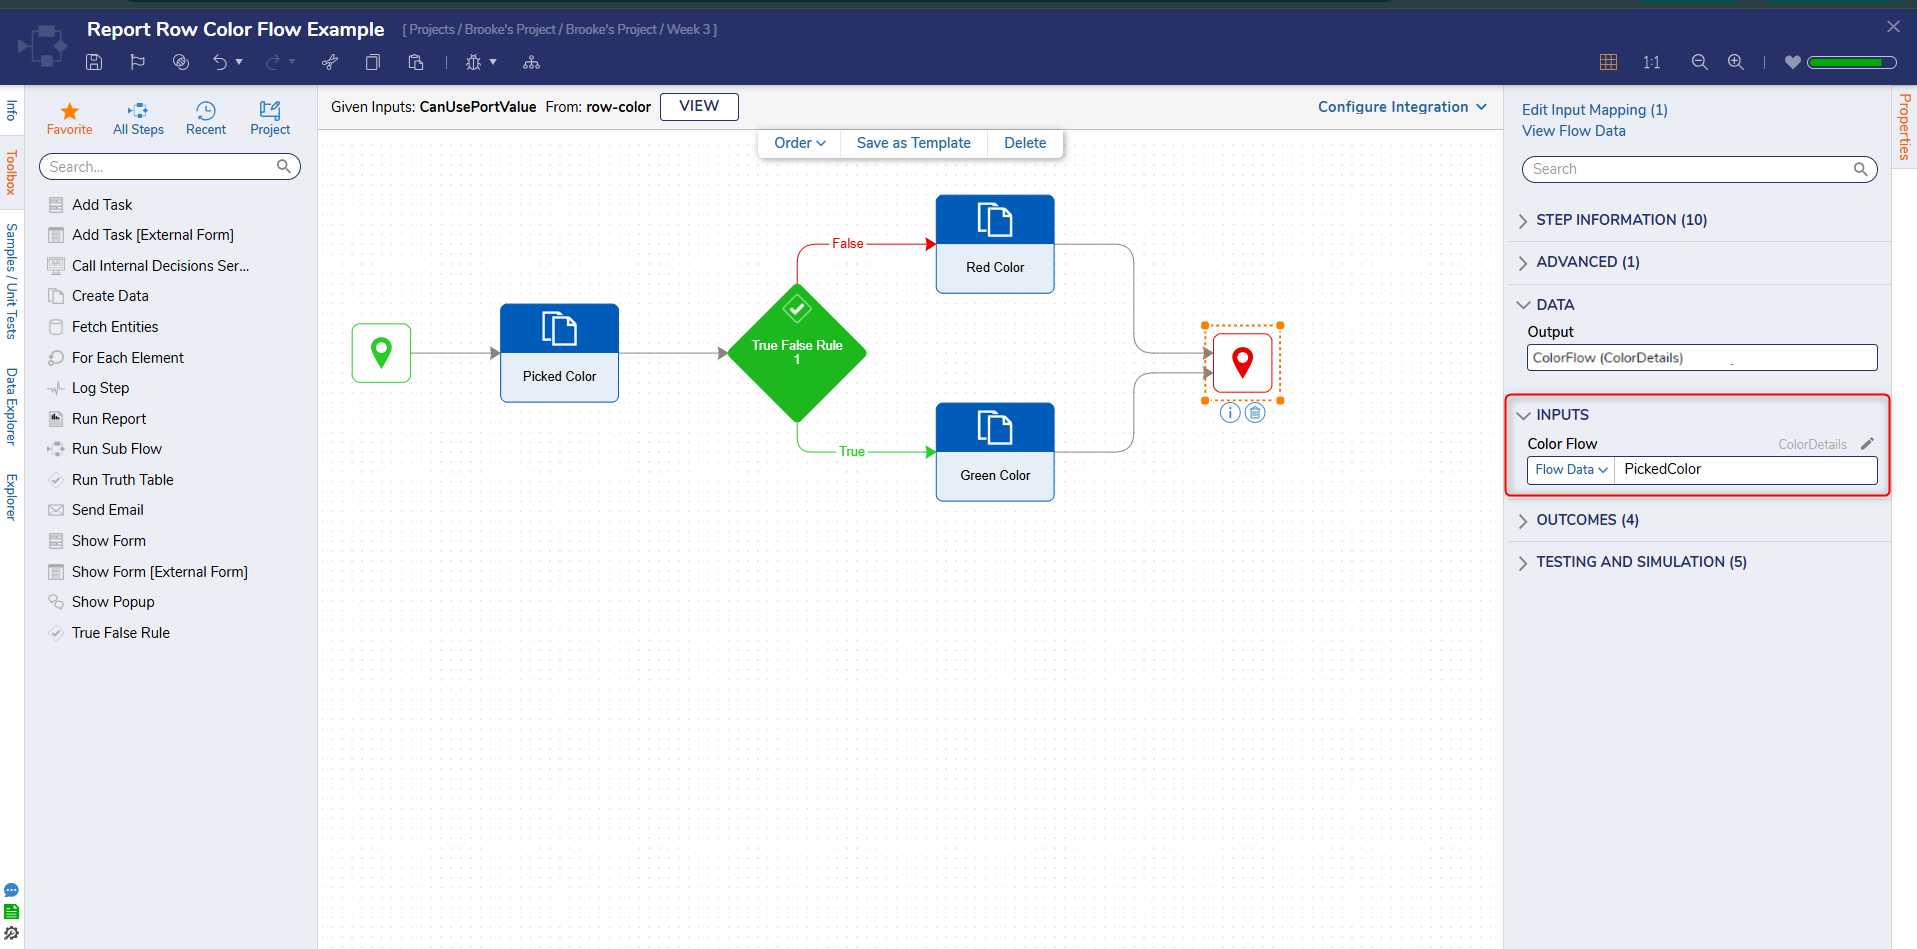
In the Flow Designer, on the start step configure an input called 'CanUsePortalValue' of the Boolean type.
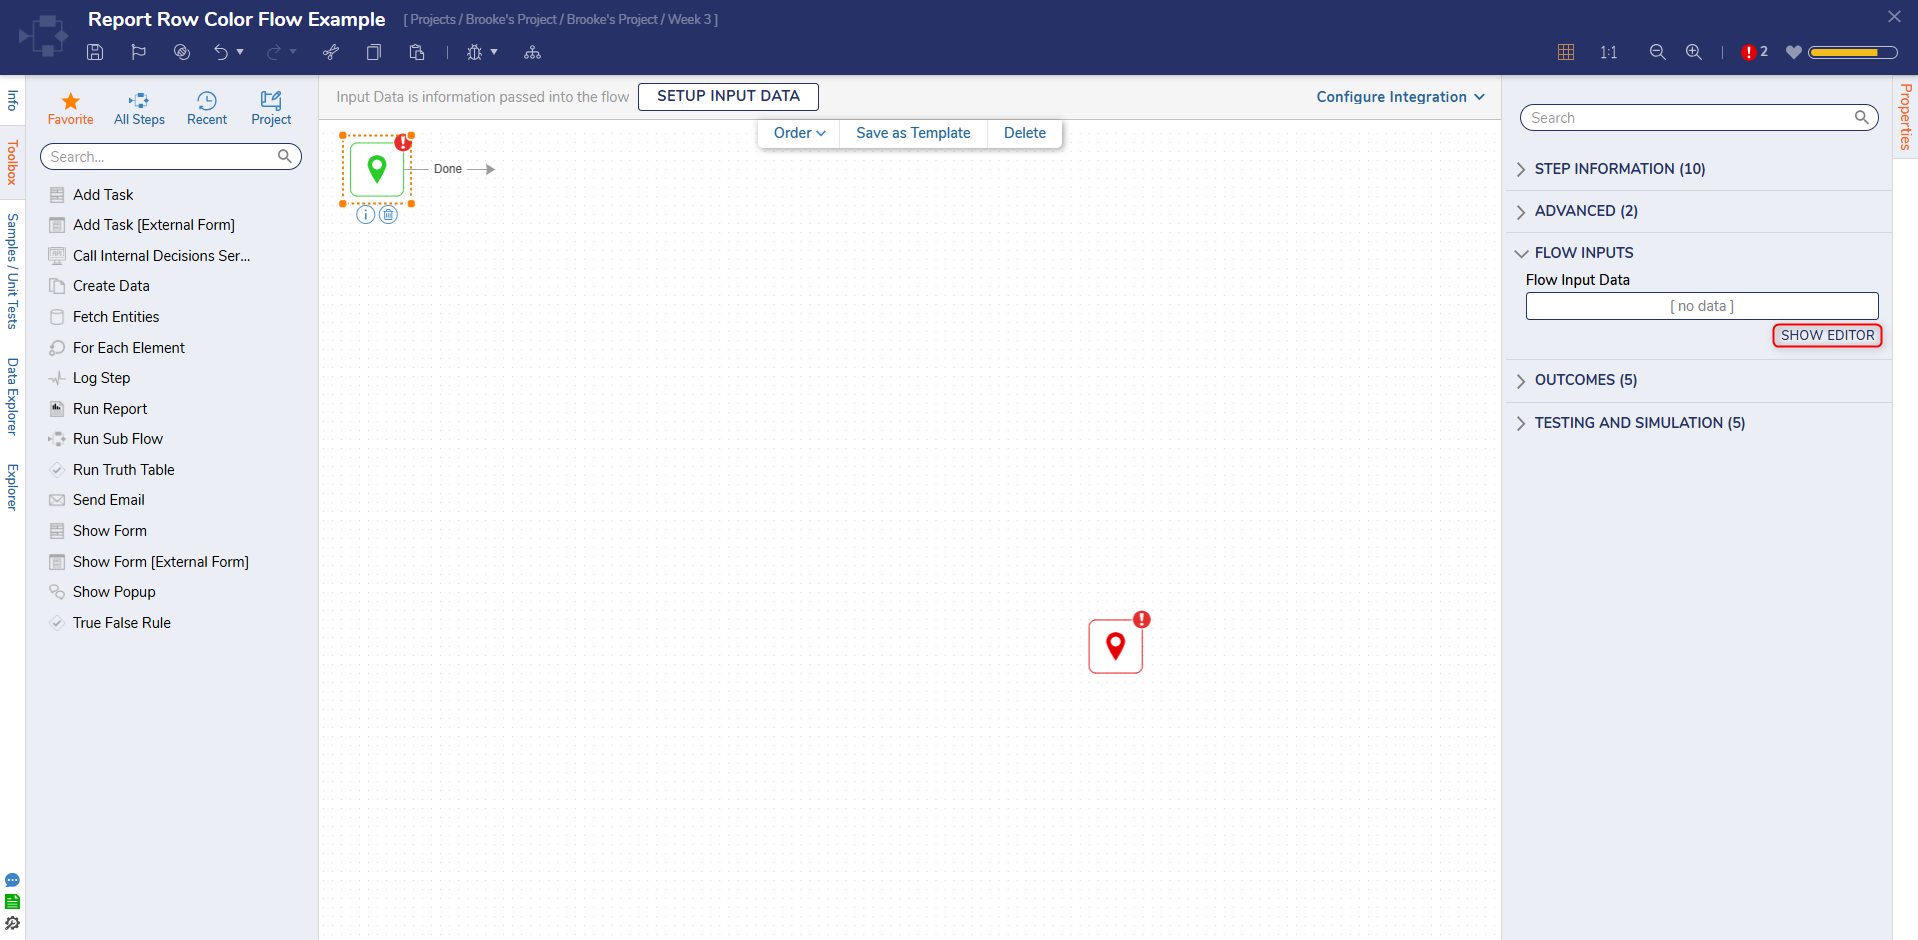
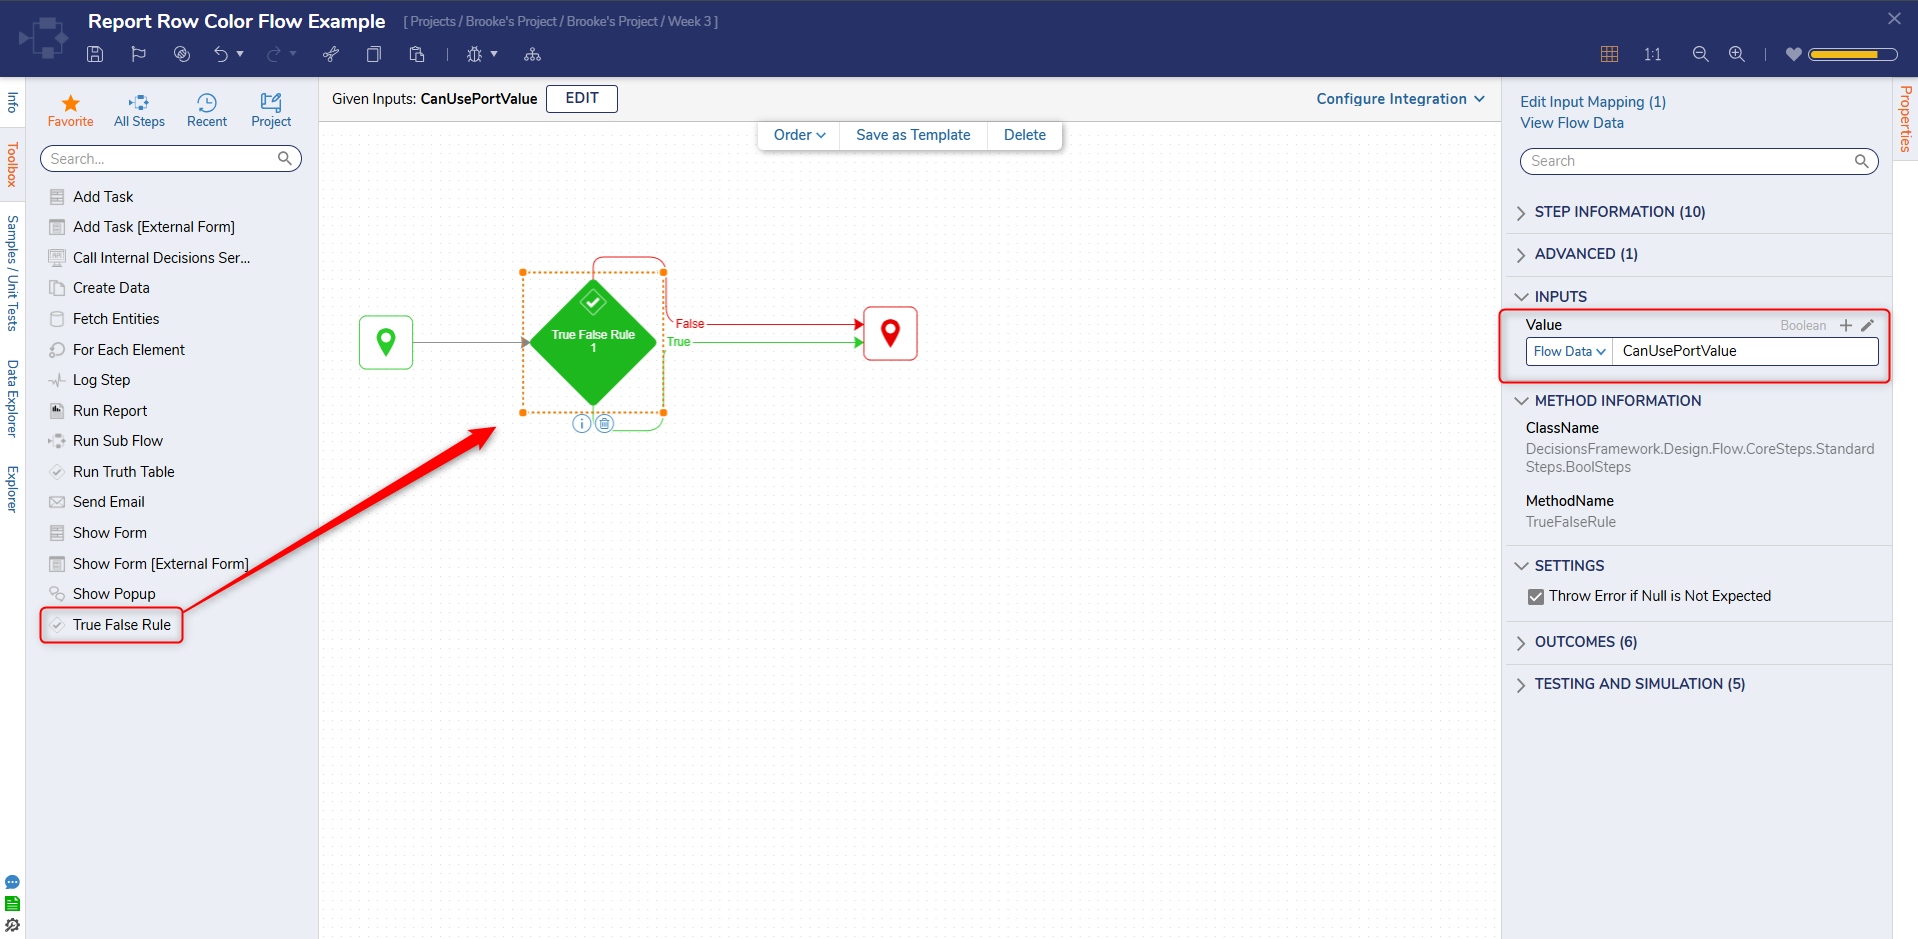
On the Flow canvas, drag over the 'True False Rule' step. Map in the 'CanUsePortalValue' into the rule's input step. Save and close the Flow to return to the Report Designer.
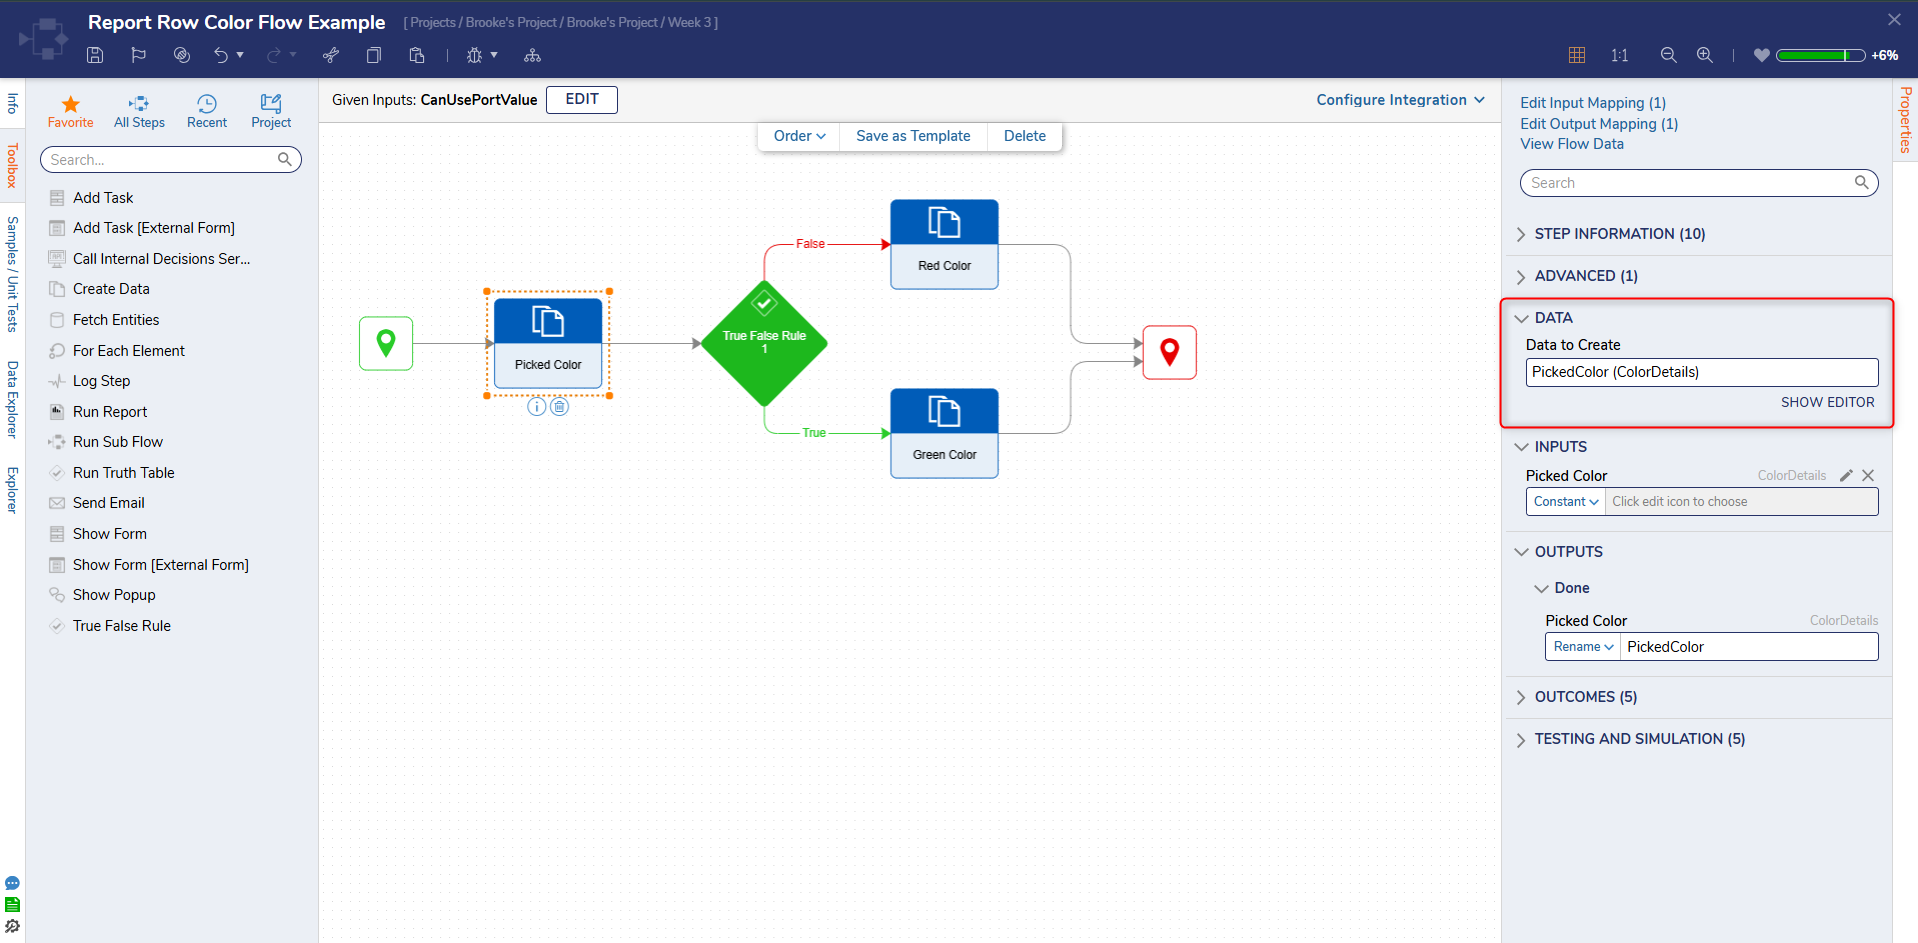
Add 3 'Create Data' steps onto the canvas. One before the rule and one for each path. Then create a variable called 'PickedColor' of the type 'ColorDetails'.
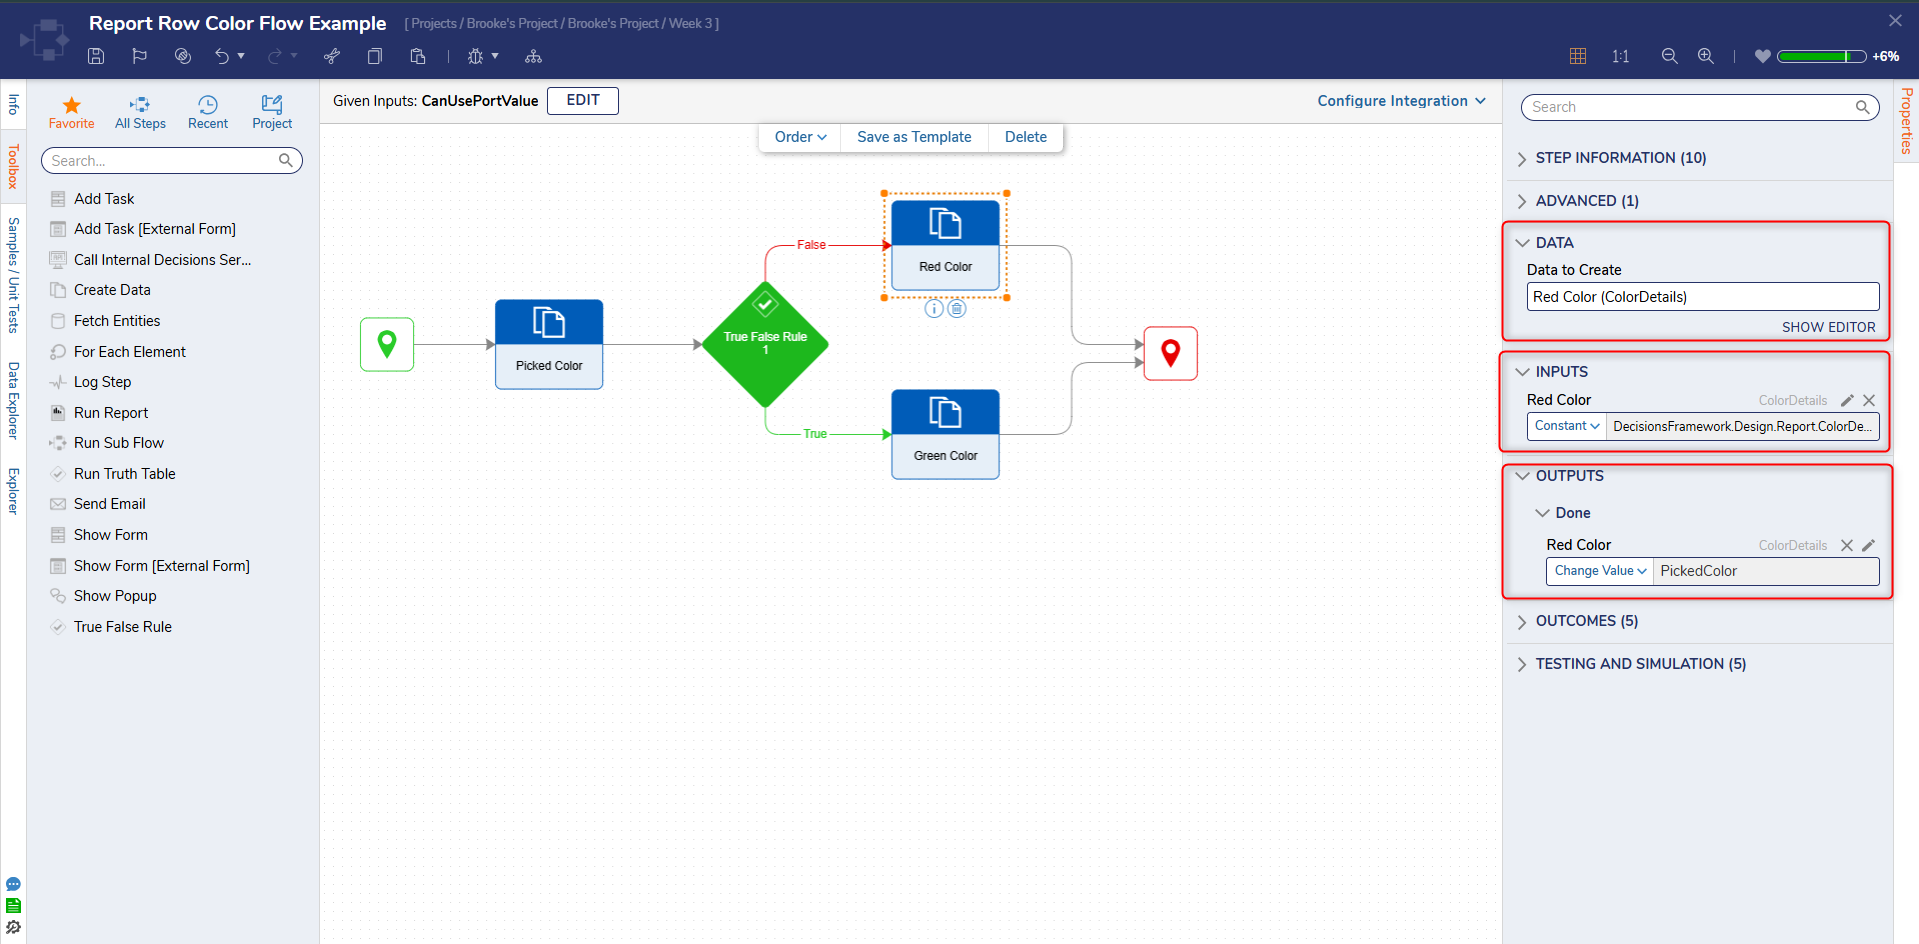
On the False path create a variable called 'Red Color' of the type 'Color Details'. Set its input to a constant value of Red, and set the output to change the value of the 'Picked Color variable'
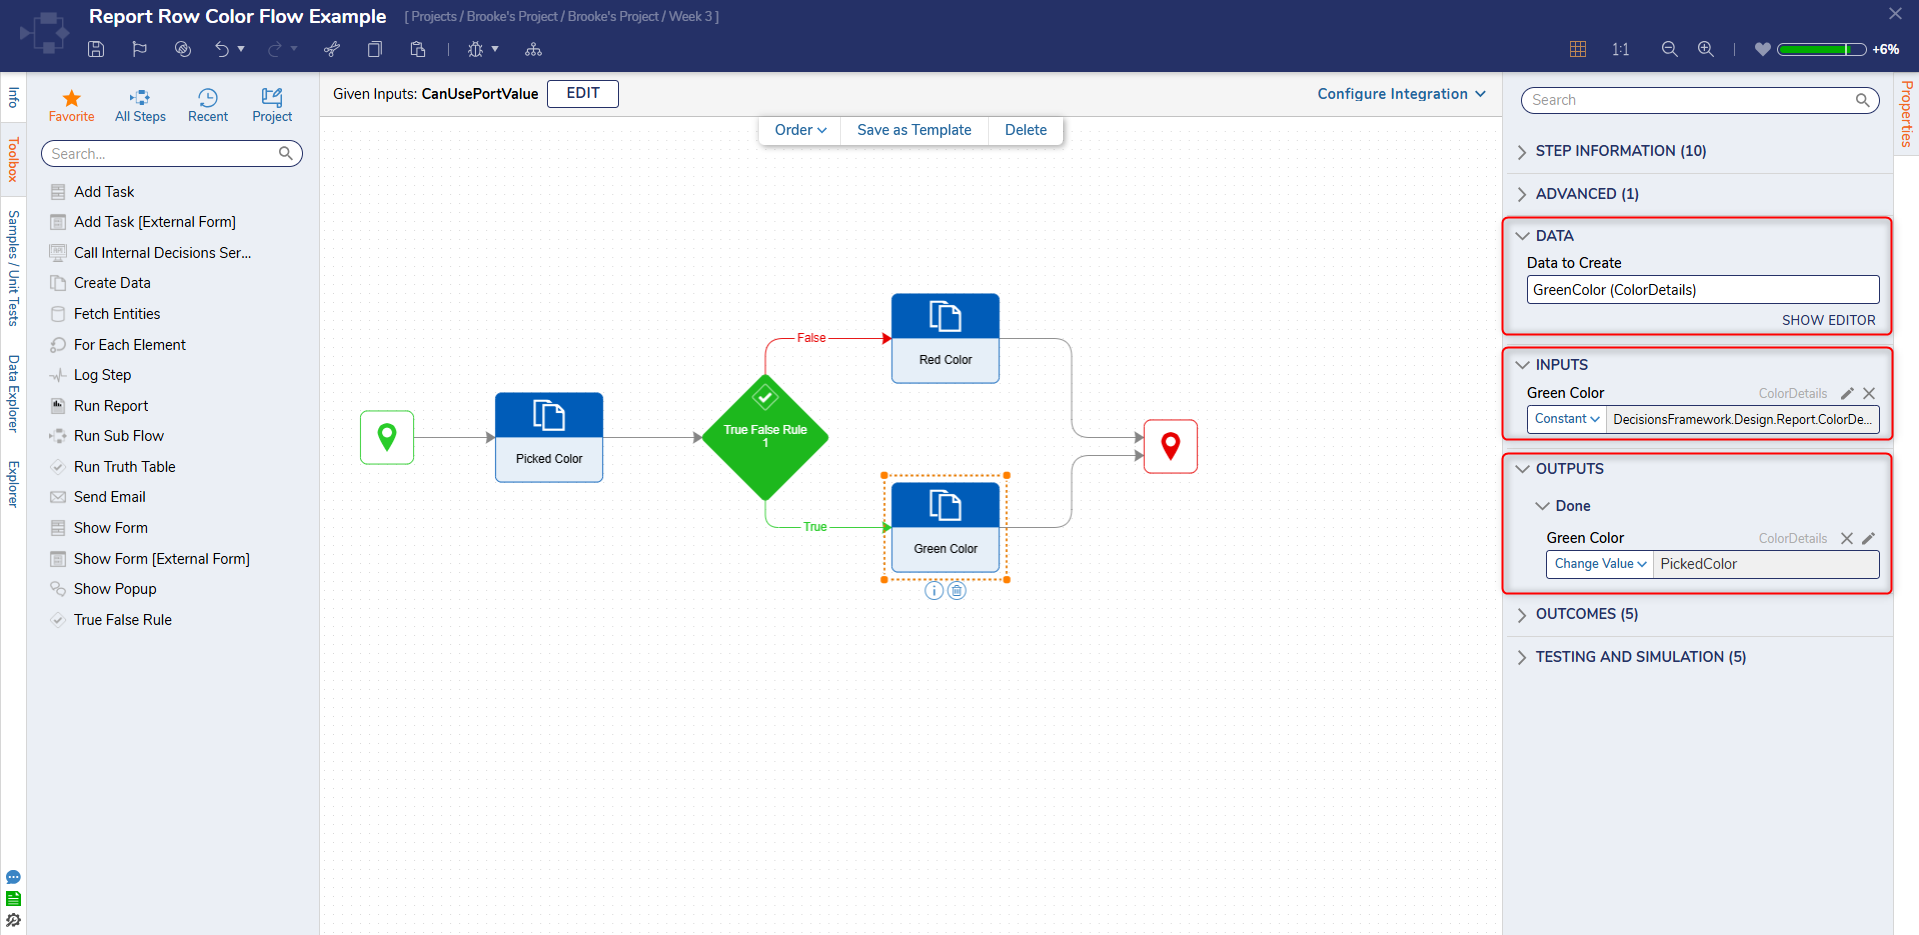
Perform the same steps on the 'Create Data' step on the true path, but set its constant value to green.
On the red End step, map in the 'PickedColor' for the steps input. Then, save and close the Flow.
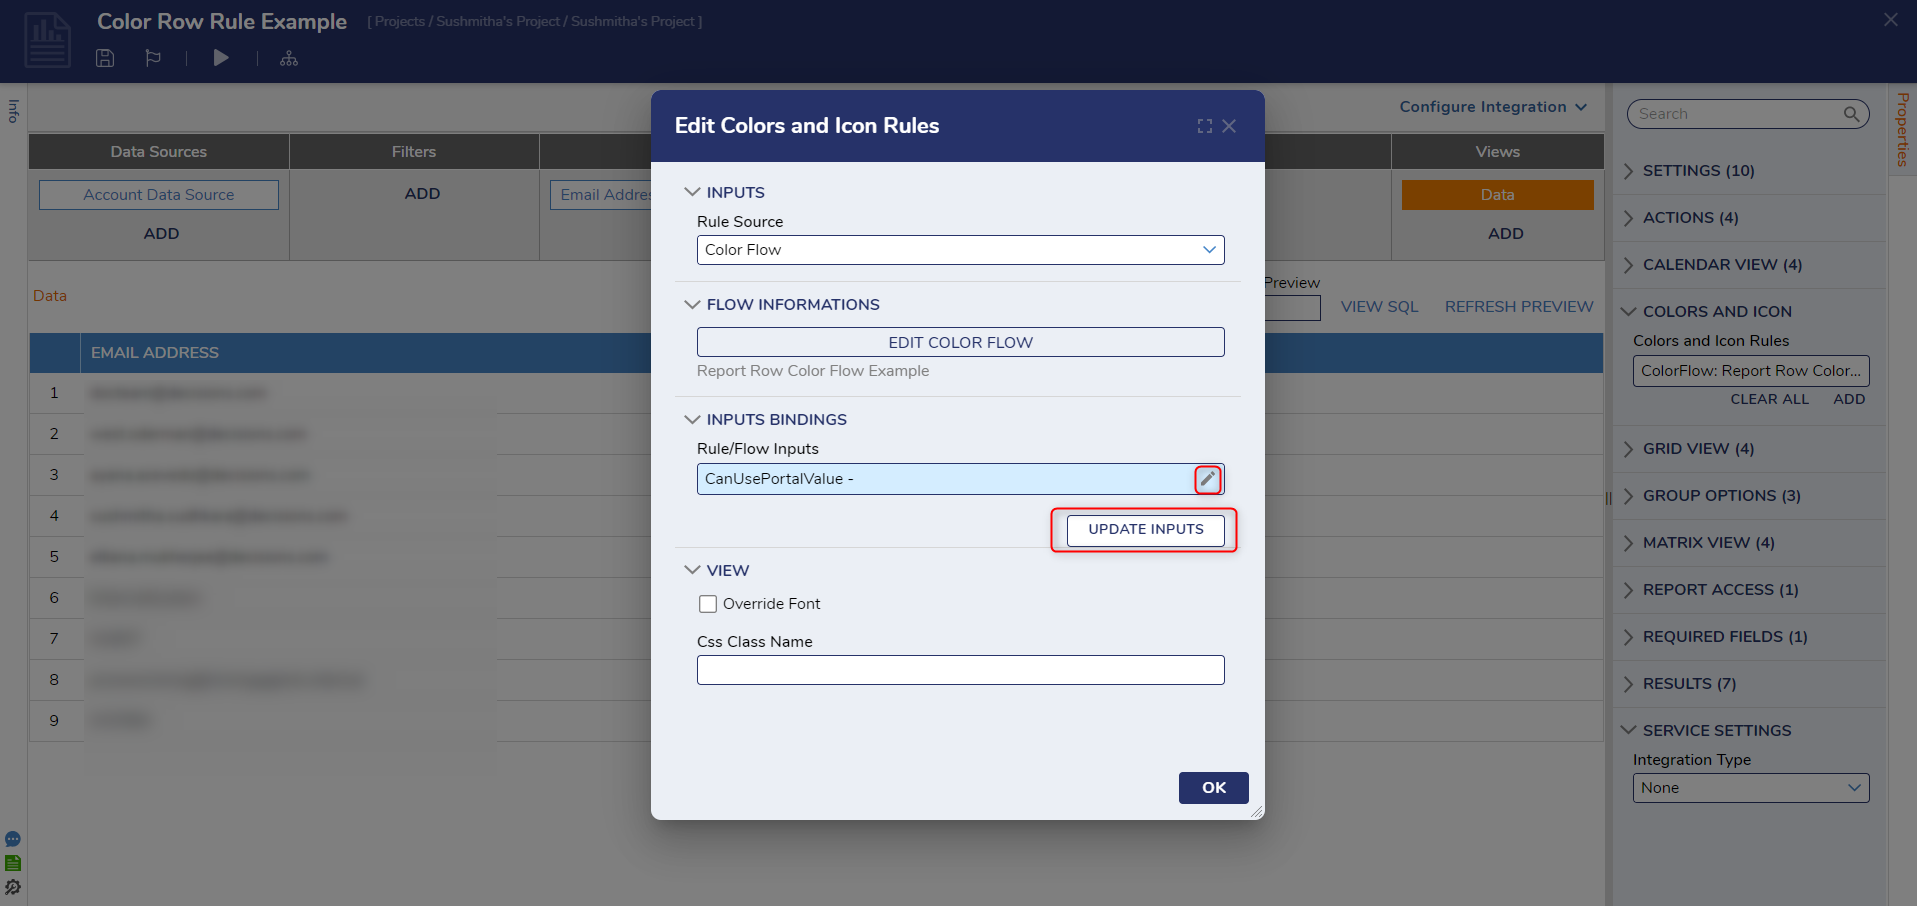
In the Report Designer, click the 'UPDATE INPUTS' and then click the pencil.
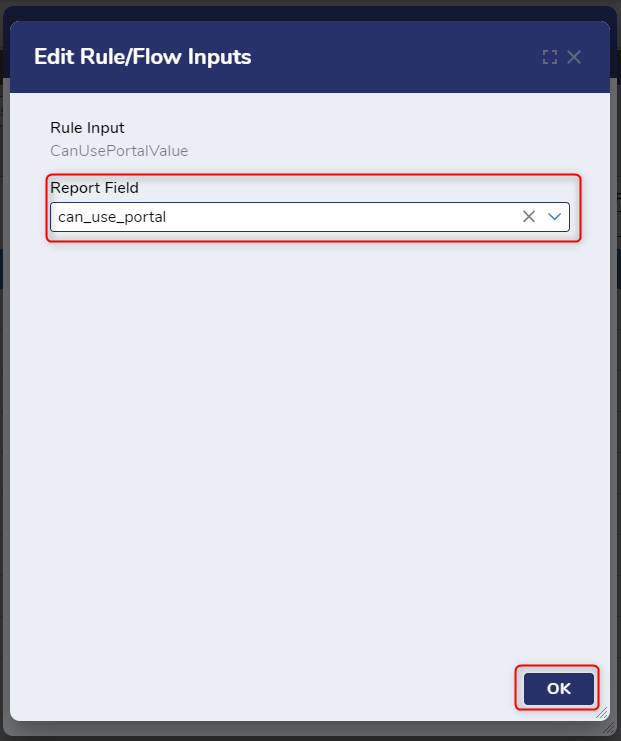
Set the Report Field to the 'CanUsePortal', click 'Ok'
Finally, click 'Ok' and then run the report. The rows should be displaying the specified colors based on their Flow evaluation.
