Overview
Like Flow Input Data is configured on the Start step to pass data into a Flow, Flow Output Data can be configured to pass data out of a Flow. This data can be reached in another Flow or via an API call.
The following document demonstrates how to set Output Data and use it as Input for a separate Flow.
Set Flow Output Value
The Set Flow Output Value step can be used with the same functionality as mapping Output Data on the End step, except this step ensures that data is always sent as an output when a Flow is called via API. This allows the service to return data regardless of what happens inside the Flow. This step can be found in the Flow Designer Step Catalog and configured the same way in the following example.
Example
This example will walk through Flow Output Data in another Flow and via a GET URL.
- Select the CREATE FLOW button from a Designer Project from the top Action bar.
- Select Flow, provide a Name, then click CREATE.
- Connect the Start step to the End step.
- Select the End to step to navigate to its Properties tab.
- Under DATA > Output, select SHOW EDITOR.
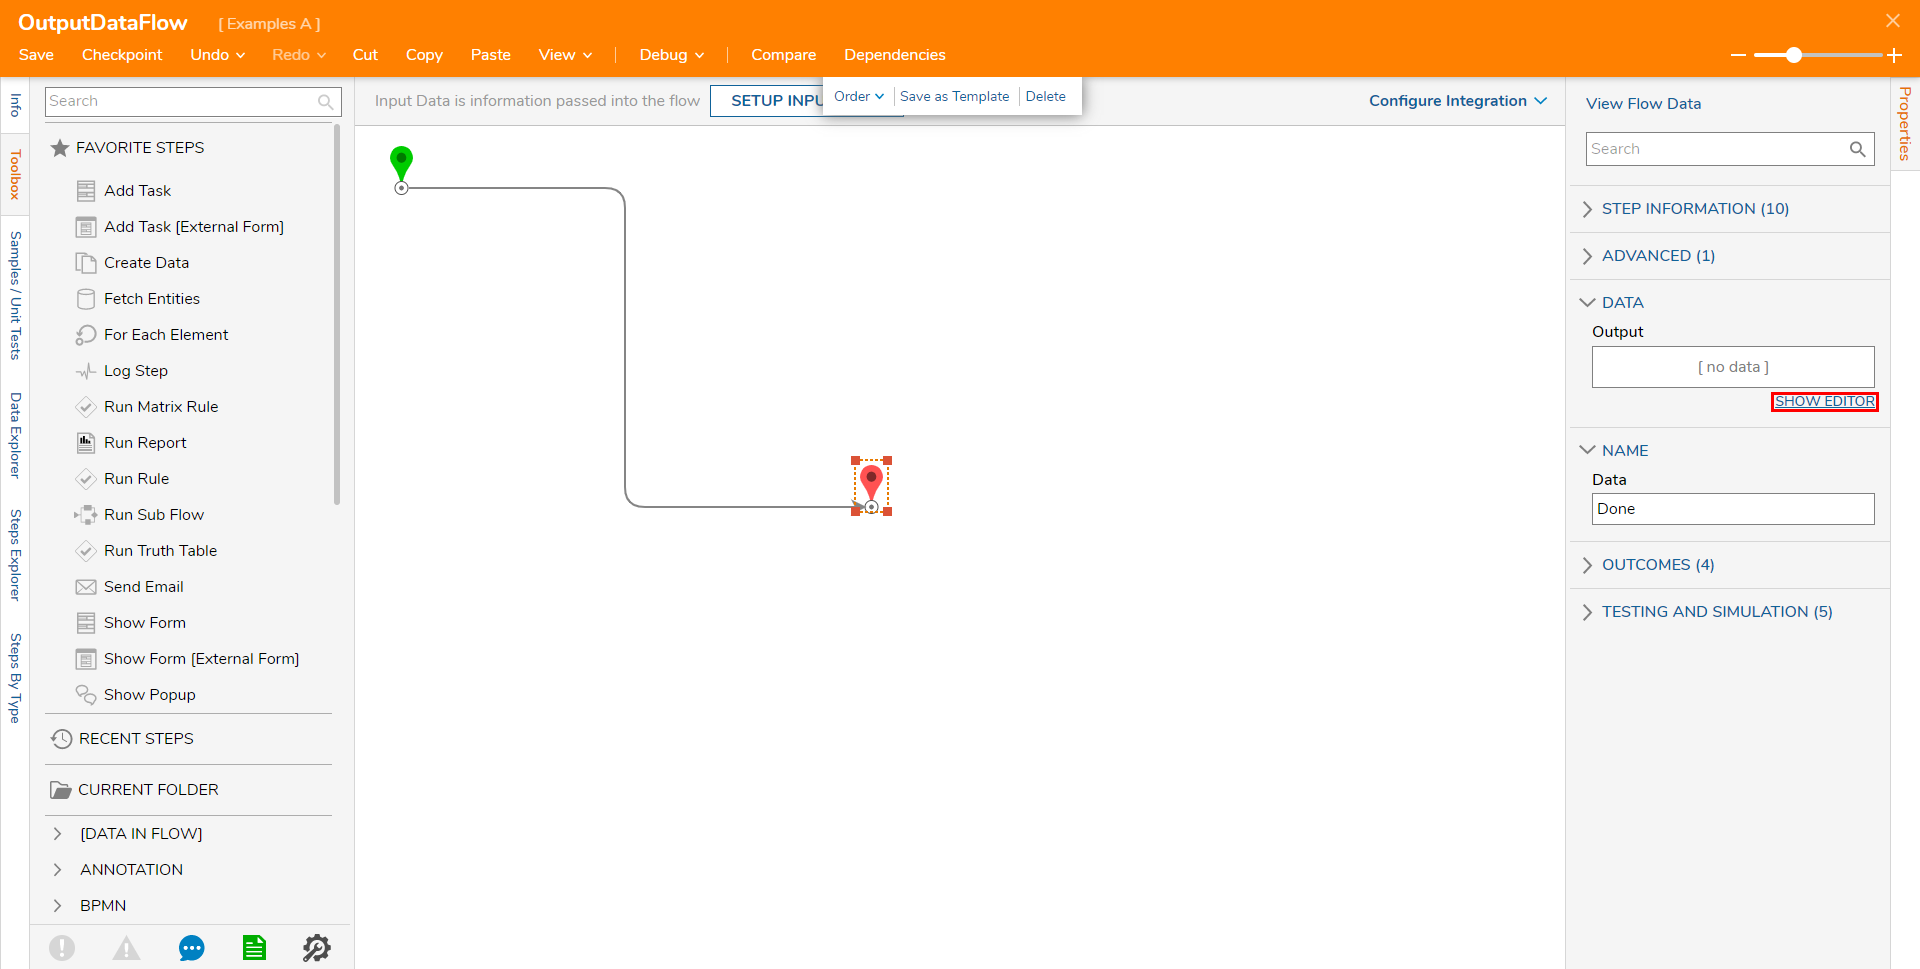
- Under DATA > Output, select SHOW EDITOR.
- From the Data Definitions window, configure two String [Text] Type Data Definitions; one with the Name "Name", and one named "Email Address".
- Constant map an Input value for each then click CLOSE.
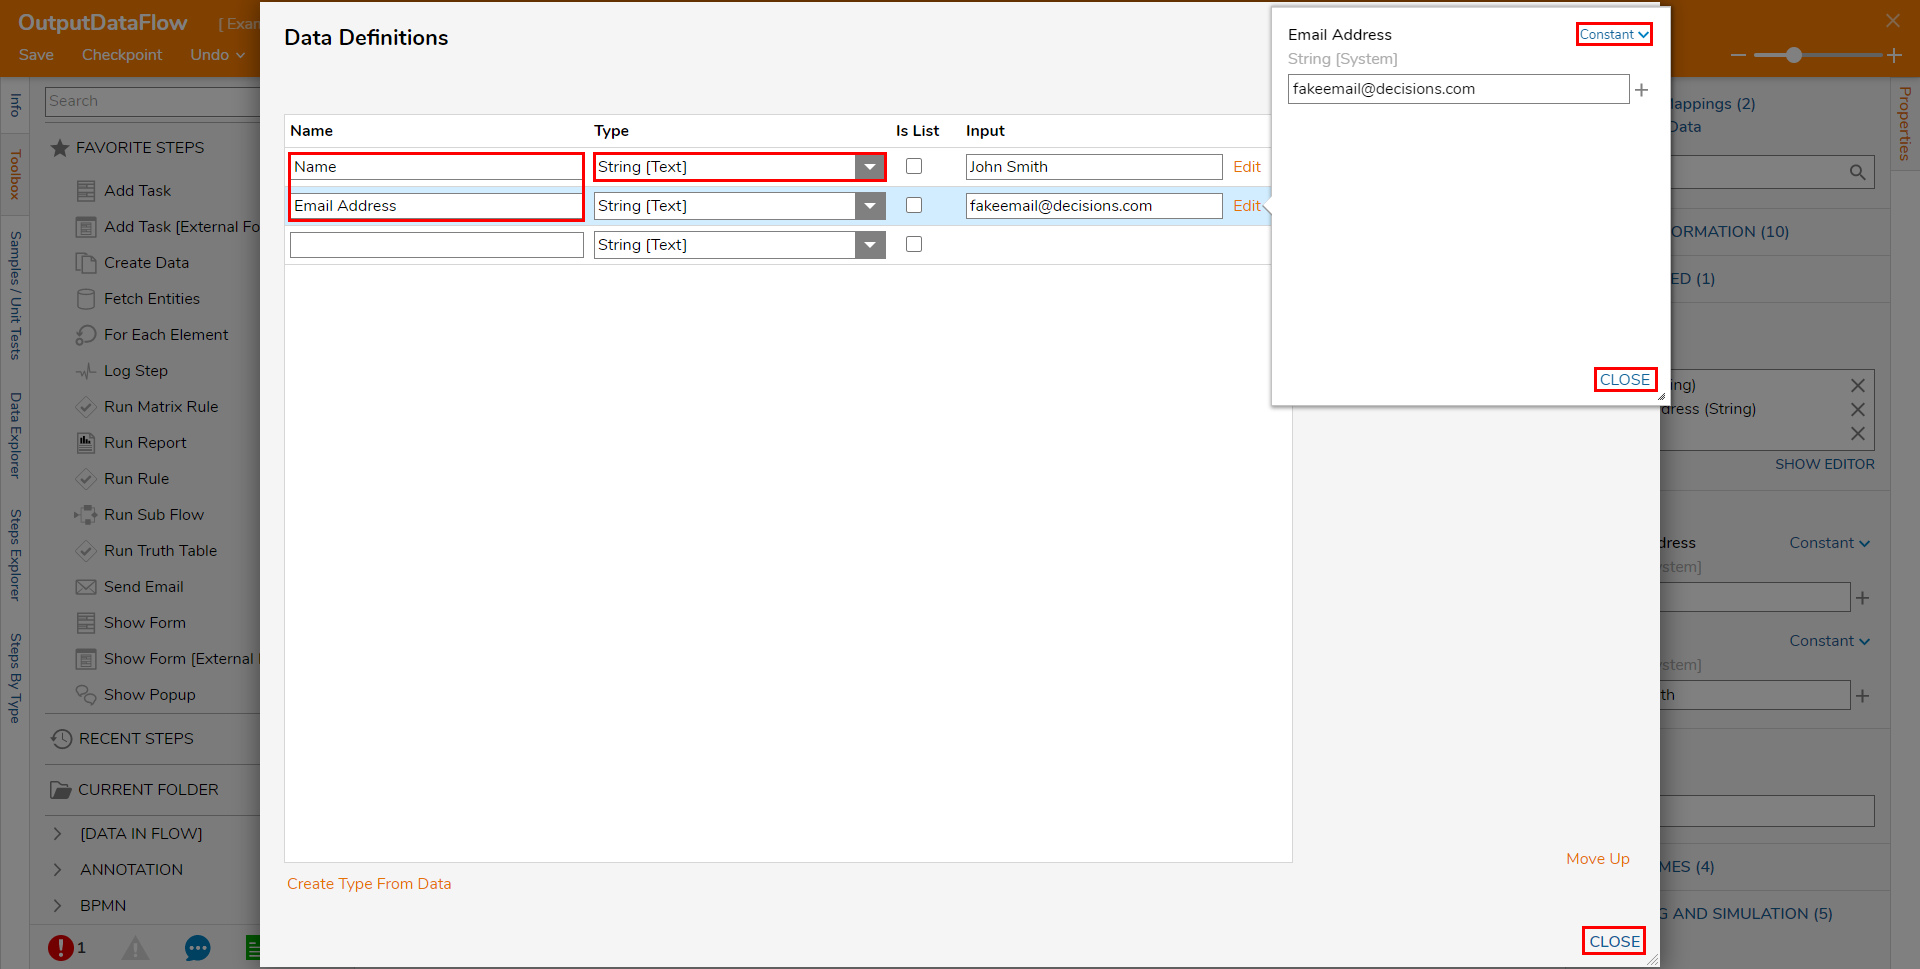
- Constant map an Input value for each then click CLOSE.
- Save the Flow.
Output Data Via API
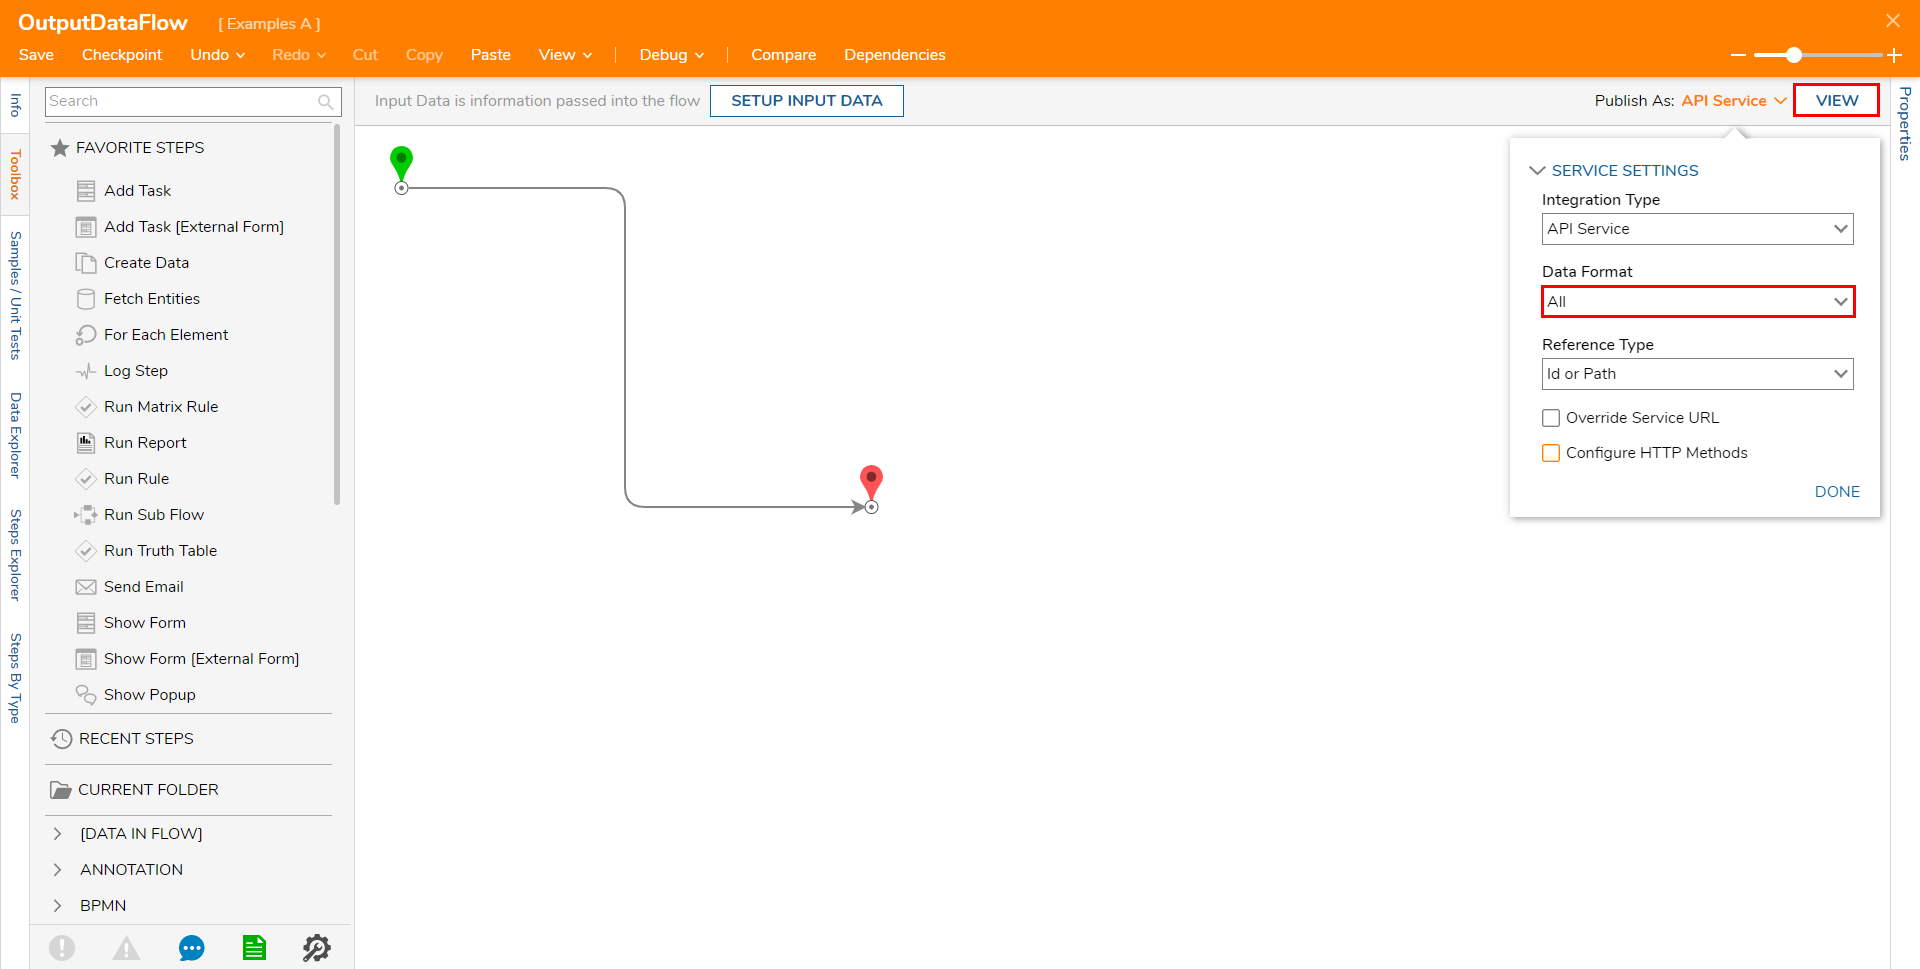
- From the Flow Designer, click the Configure Integration link.
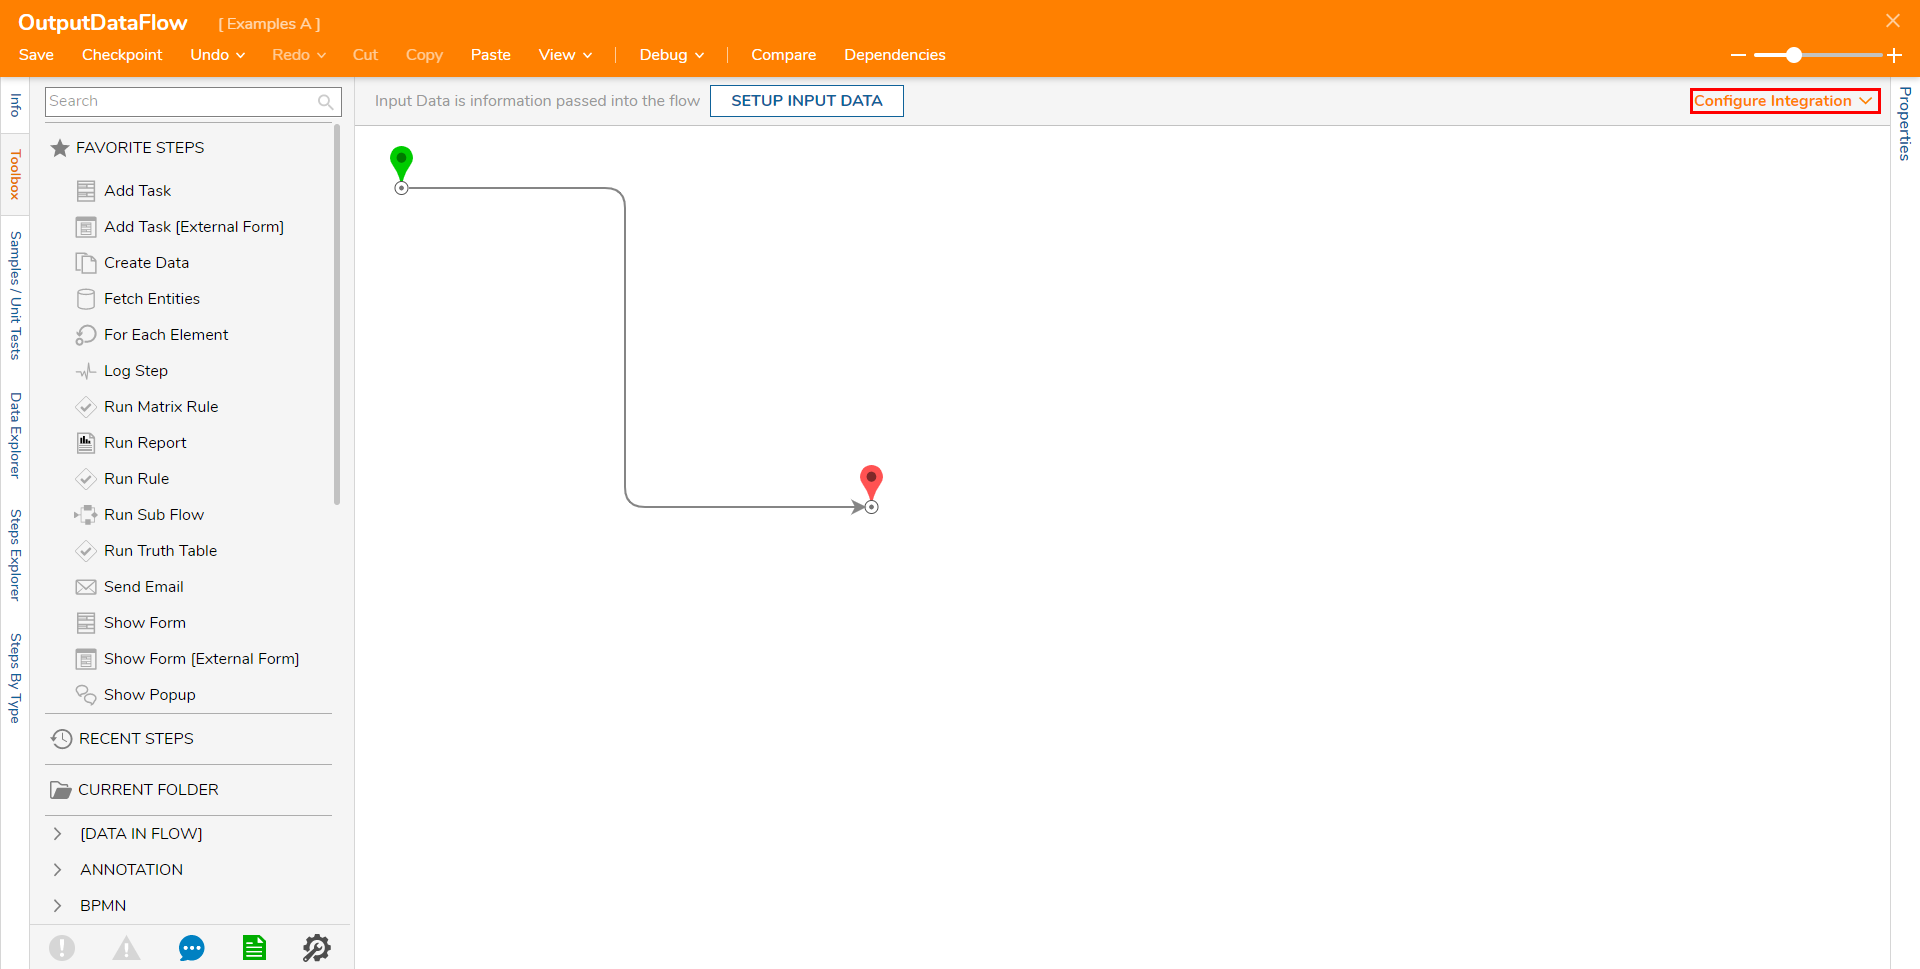
- Under SETTINGS > Integration Type, select API Service.
- Click the VIEW button. Selecting the View button will open the Integration Details for the Flow in a separate window.
- Scroll down to Call via GET and click Execute GET Request.
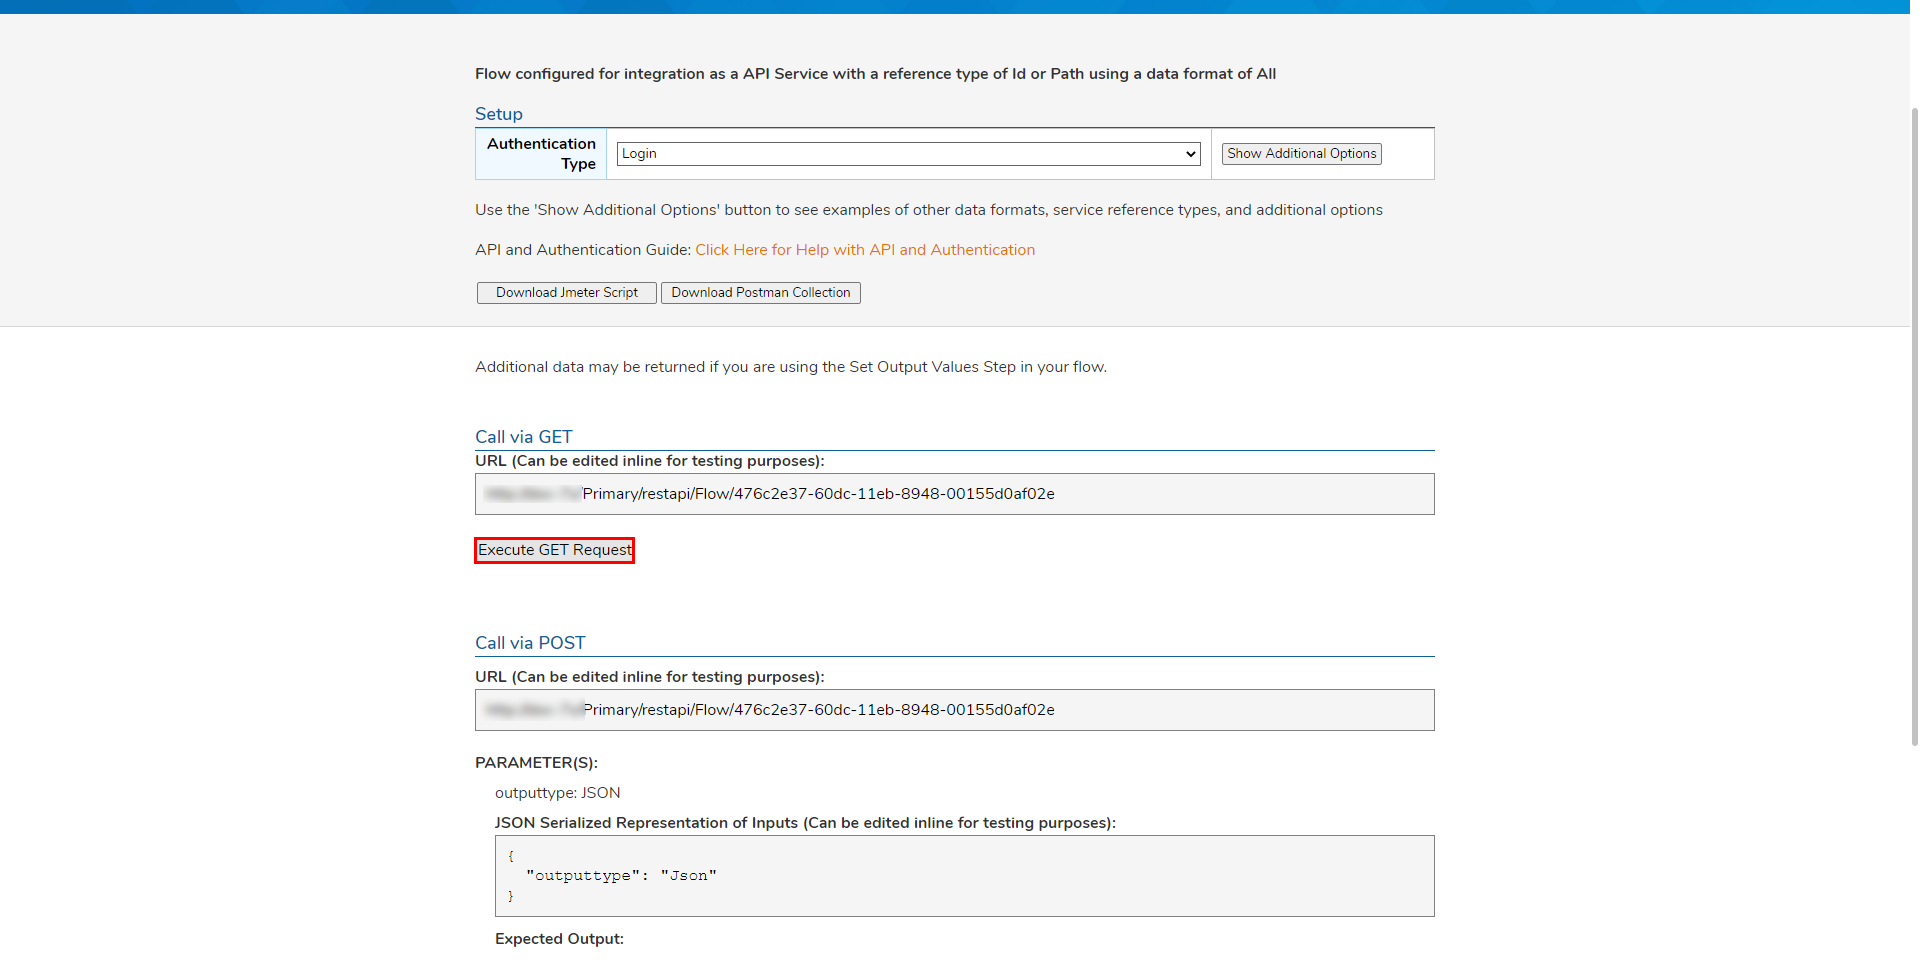 Selecting the Execute GET Request button will display the Output data's Constant mapped values.
Output Data Via Flow
- From a Designer Project, CREATE a new Flow via the CREATE FLOW button in the top Action bar.
- From the FAVORITE STEPS category of the Toolbox tab, attach a Run Sub Flow step to the Start step.
- Select the Sub Flow step to navigate to its Properties tab.
- Select PICK OR CREATE FLOW, then PICK the Flow used in the initial example. Selecting this Flow should add the pre-existing Flow as a Sub Flow with the same Output Data as previously configured.
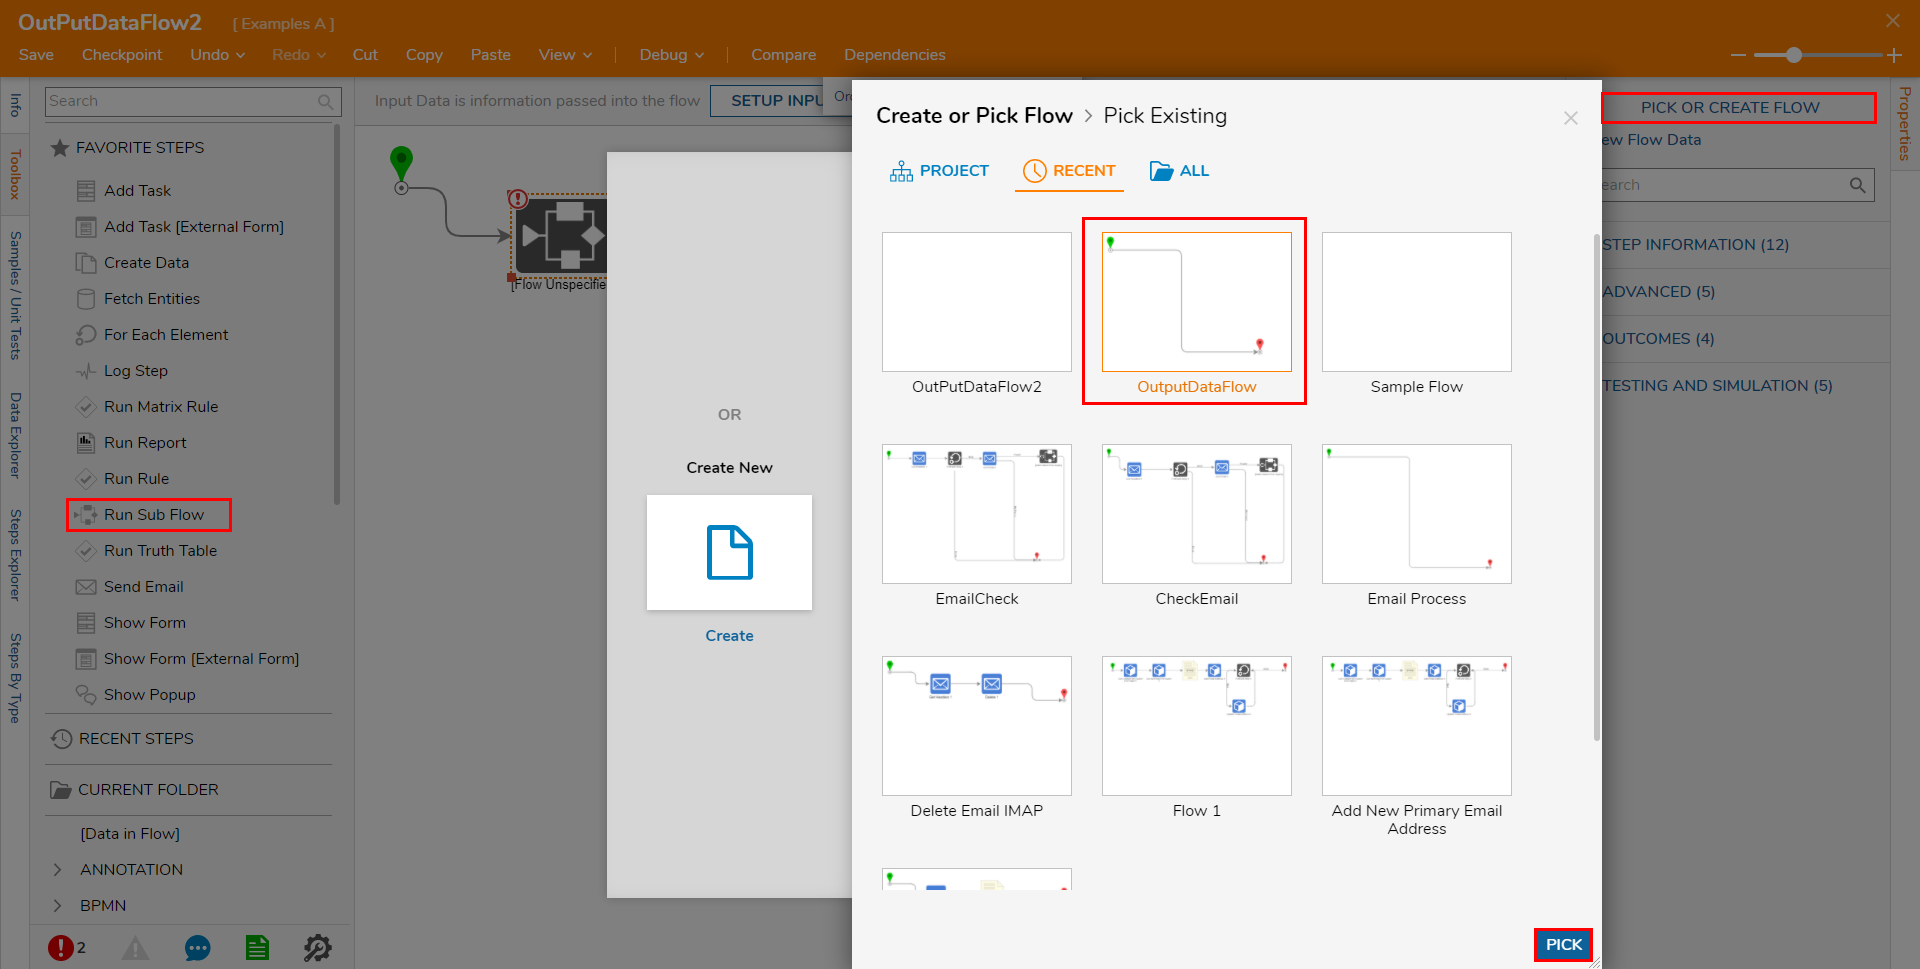
- Select PICK OR CREATE FLOW, then PICK the Flow used in the initial example.
- Attach a Show Form step from FAVORITE STEPS to the Run Sub Flow step.
- Navigate to the Show Form step's Properties tab and select PICK OR CREATE FORM, then CREATE a new Form.
- Design a Form that contains two Text Box components and a Button; then, Save and close the Form with X. Name and Label the Text Boxes: "Name" and "Email Address"; these boxes will act as recipients of the Output data from the Sub Flow.
Label the Button component "OK".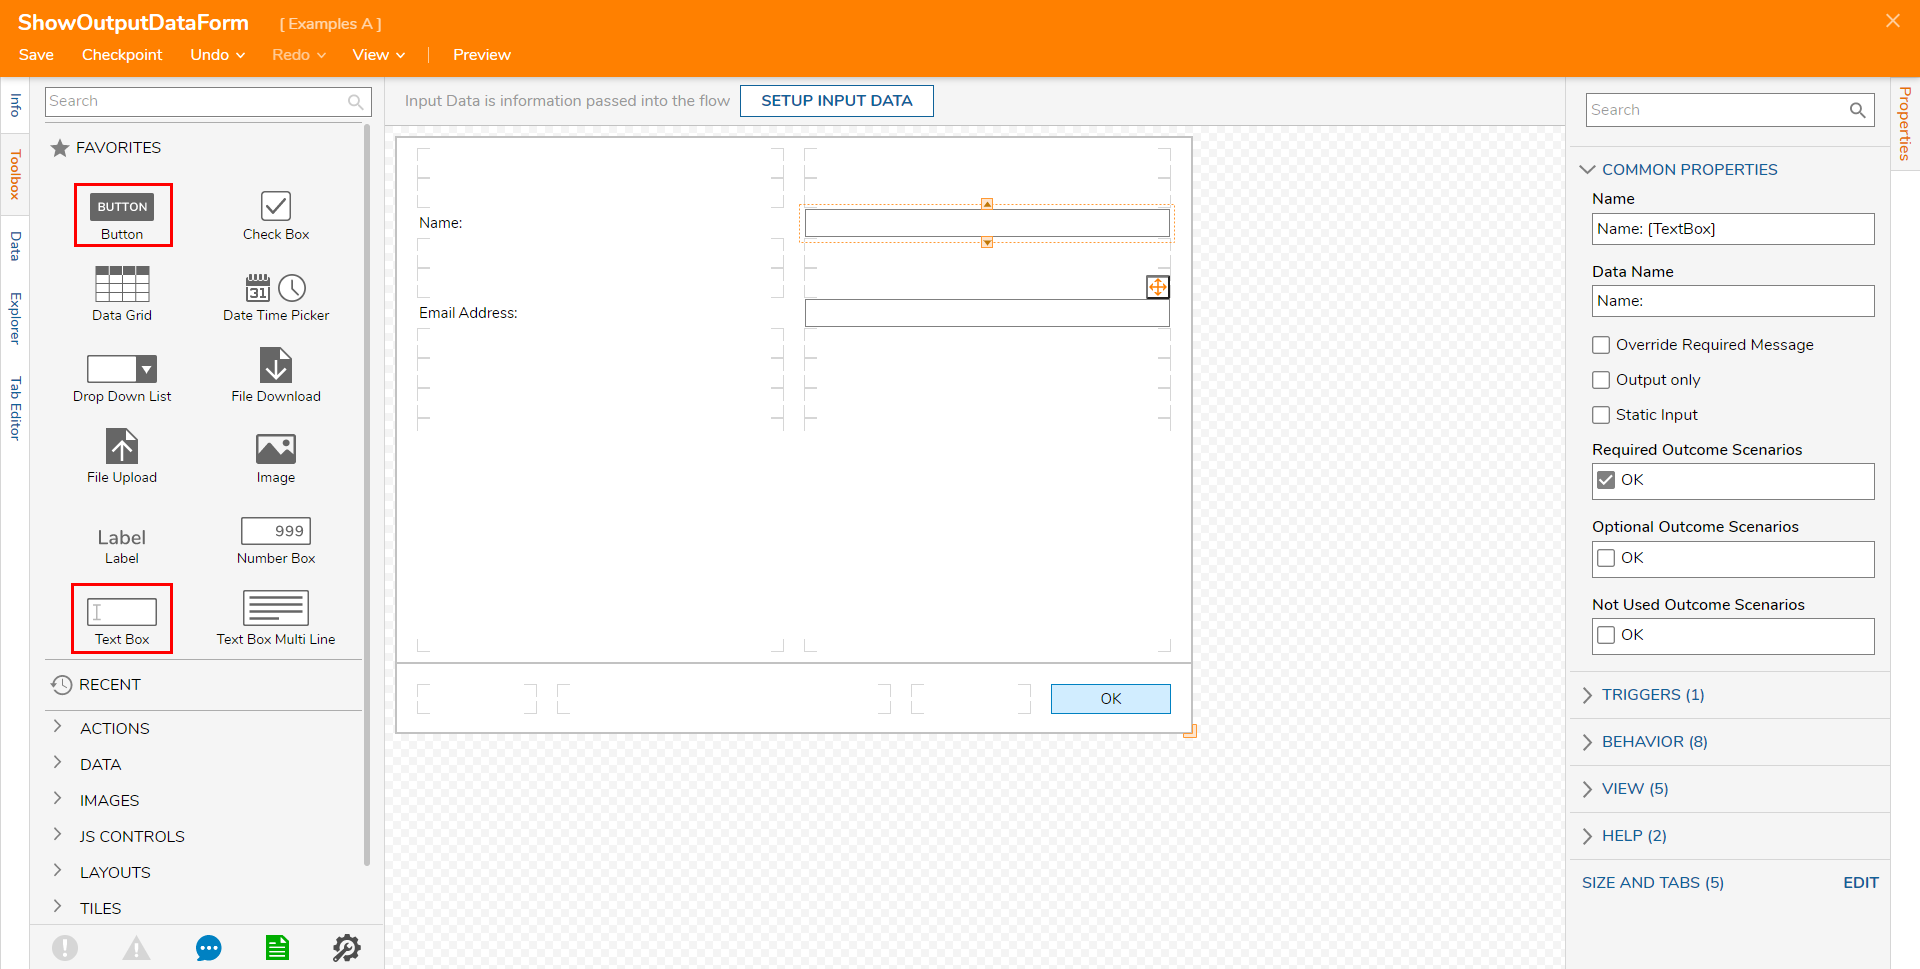
- Connect the Show Form step to the End step.
- From the Show Form step's Properties tab, map each respective Output from the Sub Flow to the Form step.
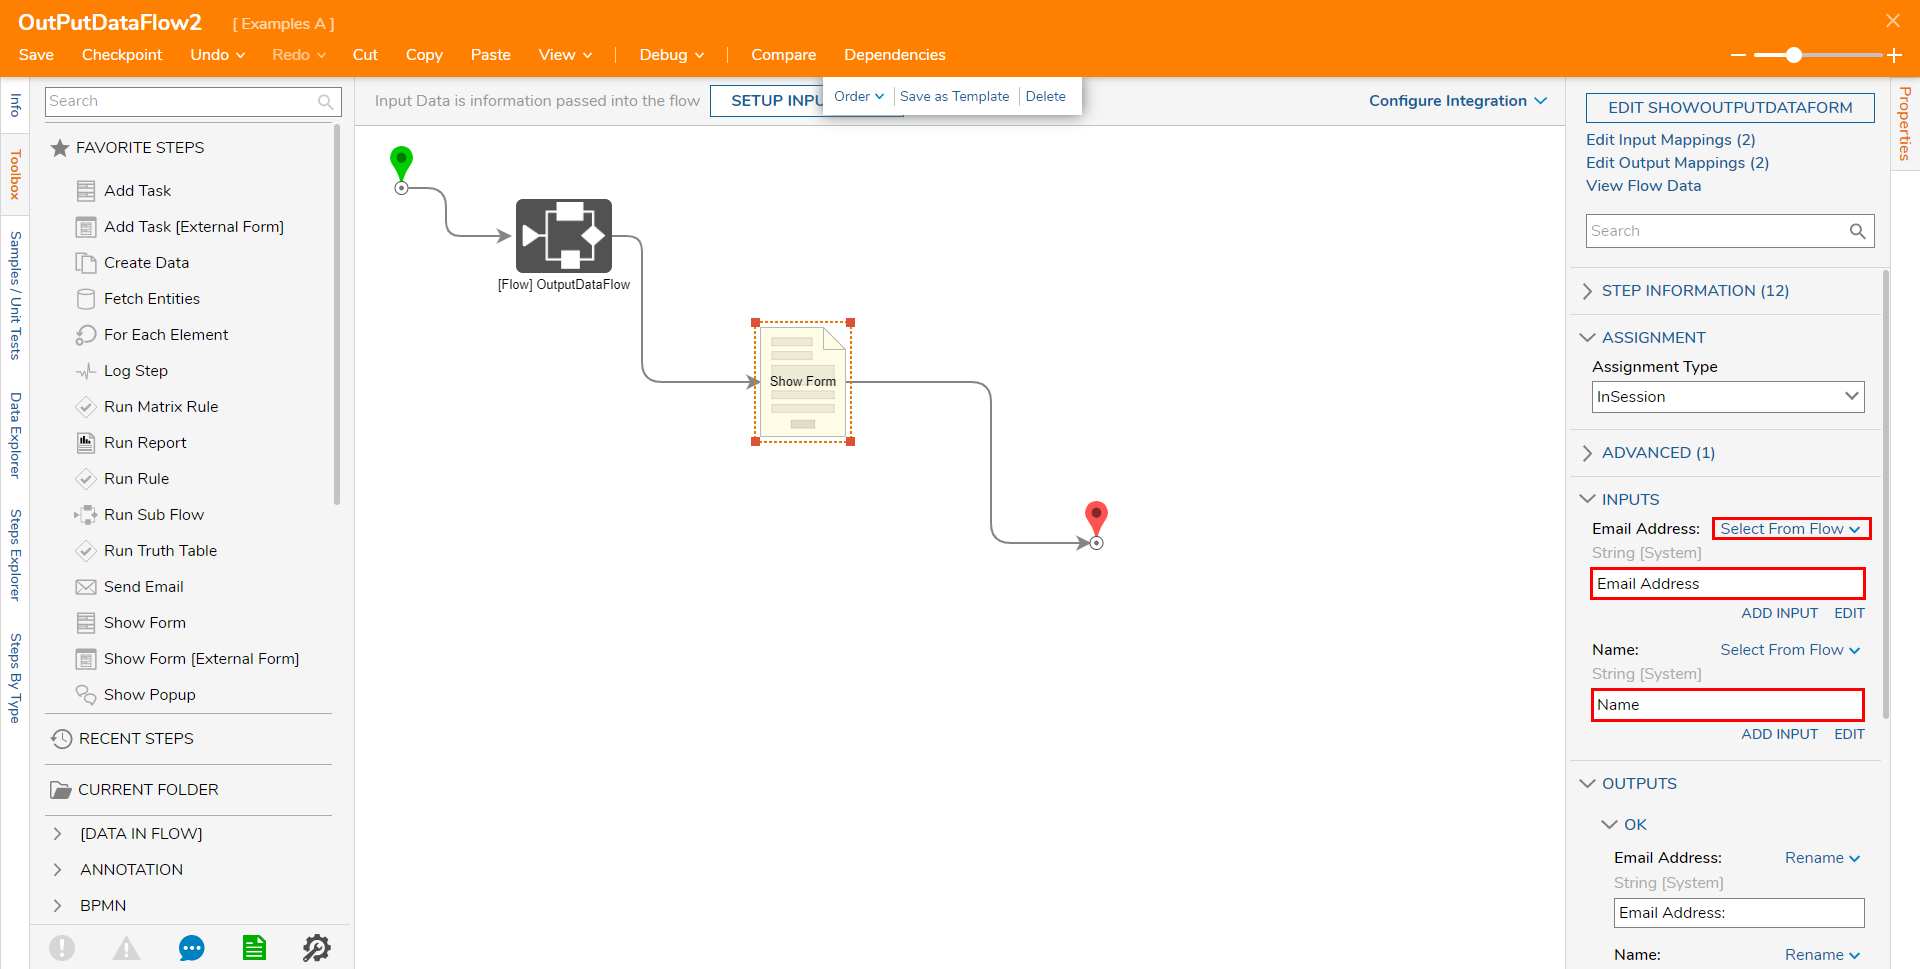
- Save the Flow, then close if desired.
Debug
- From the Flow Designer, select the Debug link.
- Click START DEBUGGING.Debugging the Flow will run the Flow and display the Output Data of the Sub Flow in the Form.
- Click the OK button.
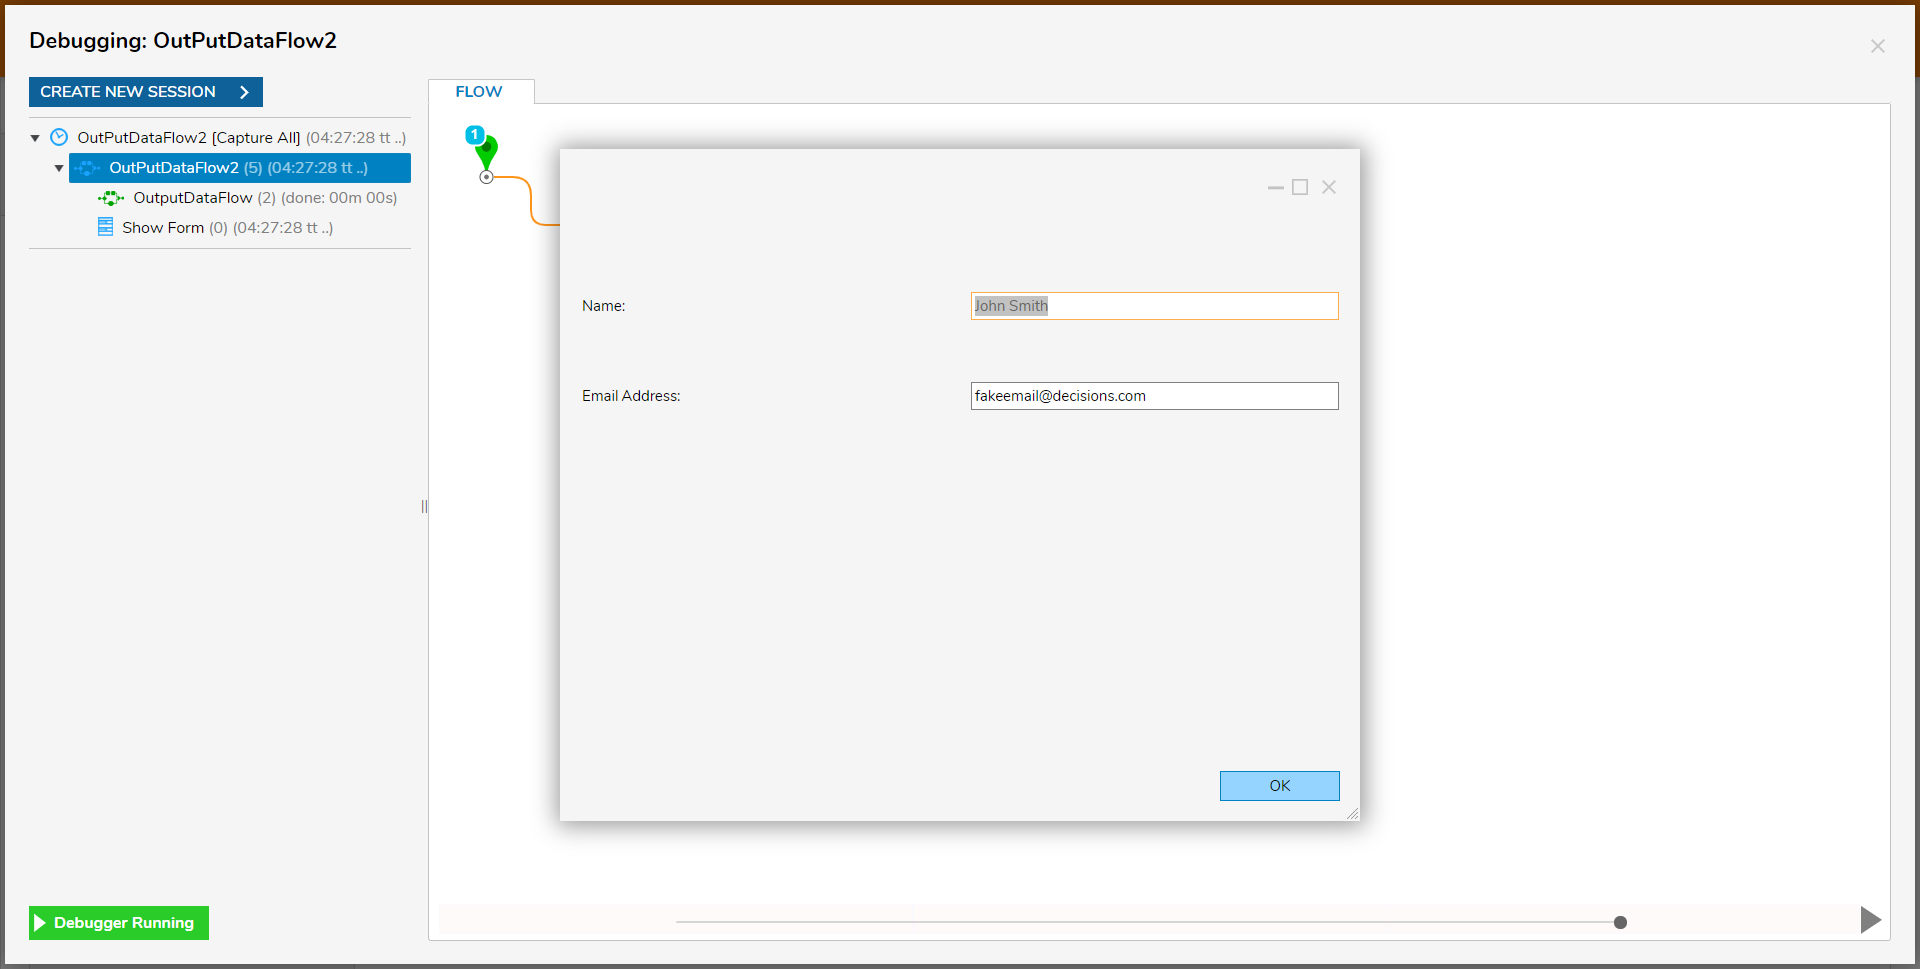
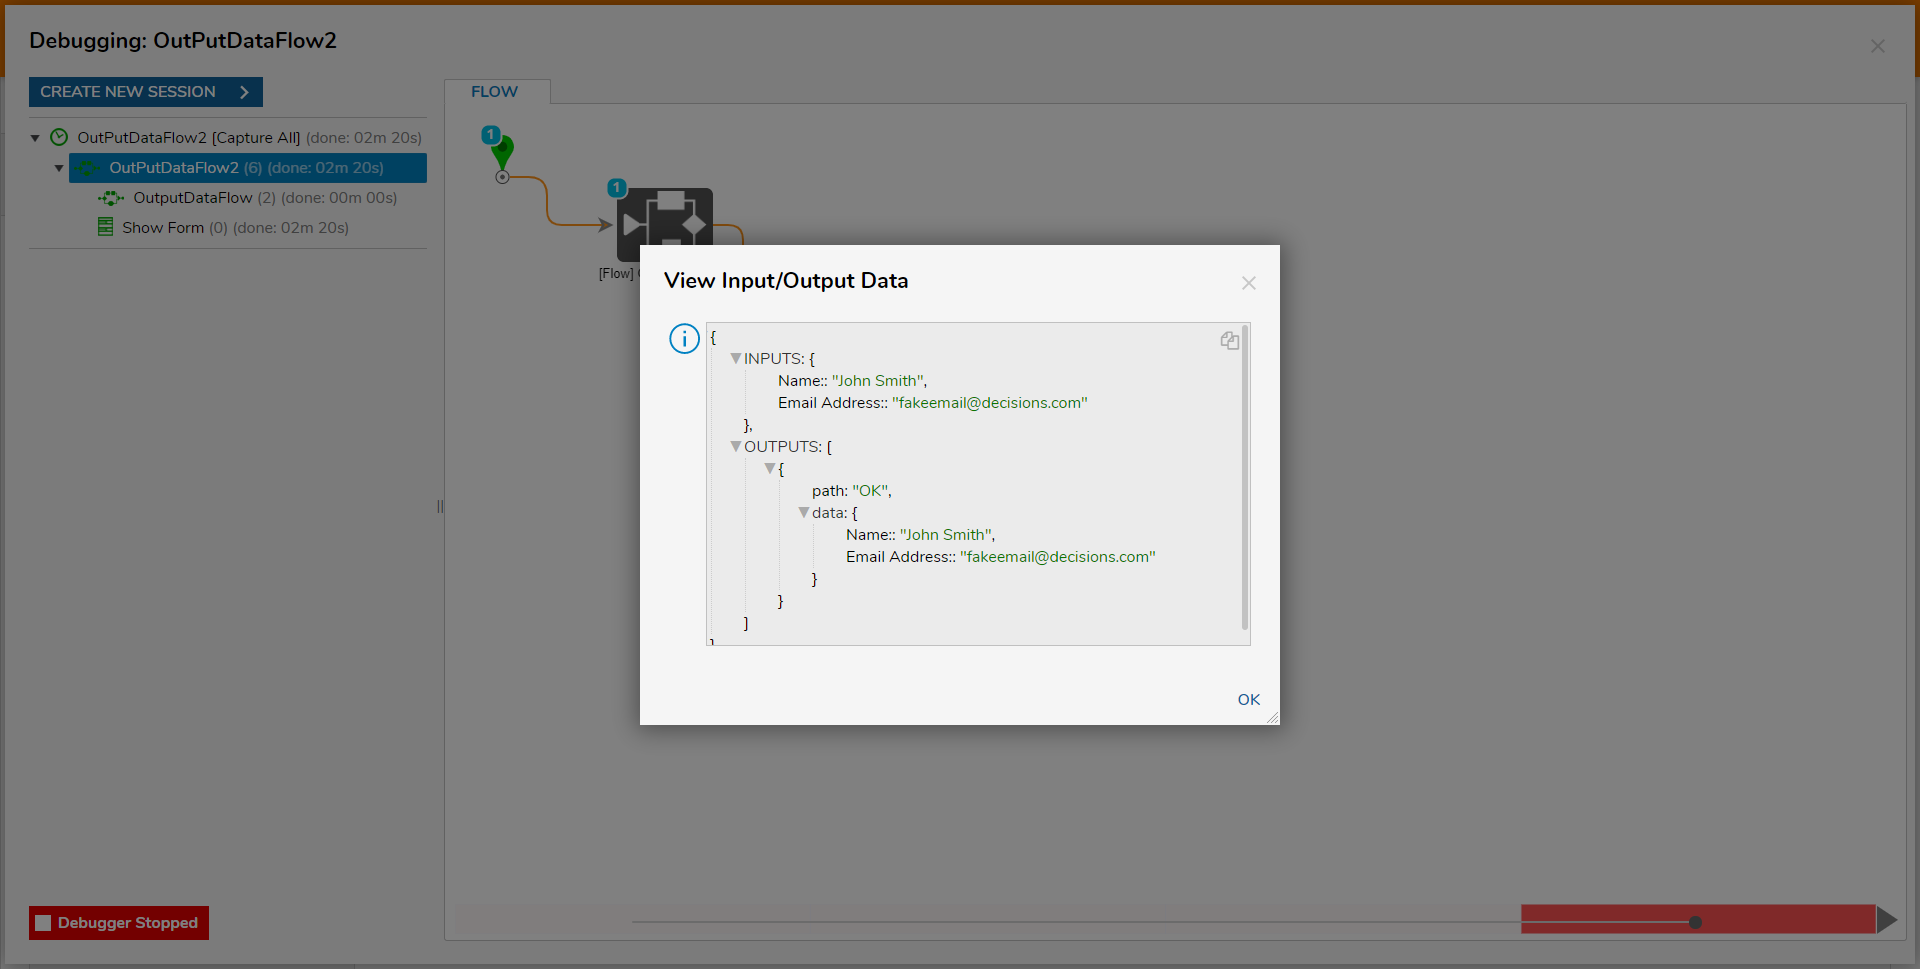
- View the Input/Output Data on the Form step. The Input/Output Data shows that the Output from the Sub Flow being used as the Input of the Form, and in turn being Output by the Form.
