Version 7.x .NET Architecture Change
- Versions 7.0.1 - 7.1 require .NET Core 3.1
- Versions 7.2 - 7.9 require .NET 5
- Versions 7.10+ require .NET 6
Custom modules are created by users to add or extend certain functionalities and to link together different types of custom functionality. While custom modules do not require .dlls, it is common to build custom code in a .dll. Use of custom module may involve grouping exported Decisions Objects, custom Flow behaviors, and/or step implementations together in one module, integrating custom Flow or step implementations with a third party library, etc.
If a custom module needs to be updated, refer to the Updating Custom Modules article.
Creating a Custom Module
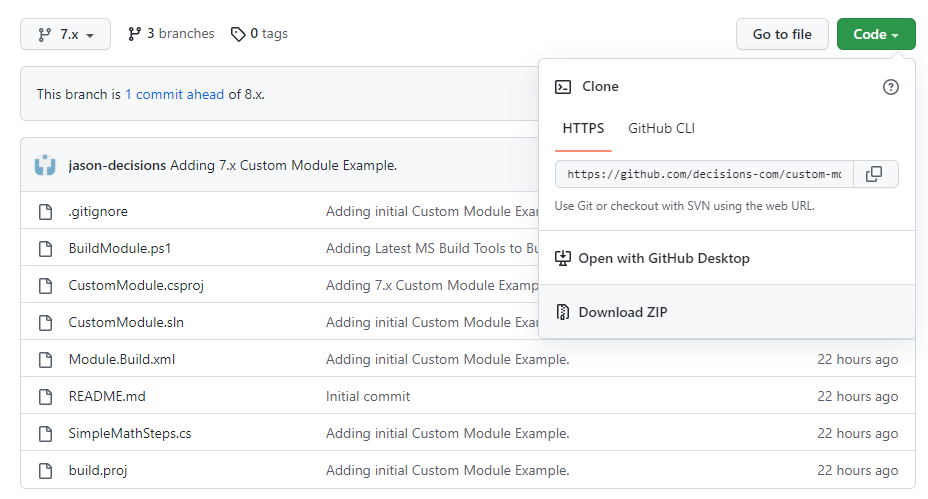
- Install Decisions 7 locally. Download the Custom Module by selecting Code > Download ZIP; use this as a guide to creating a Module.

- The example module is named "CustomModule." Rename files to match the name of the module that is being created.
- Open CustomModule.csproj, CustomModule.sln, Module.Build.xml, and build.proj and rename instances of "CustomModule" to match the module name.
- If needed, update the NuGet package reference in the CustomModule.csproj file to the correct version of the SDK.
- Add a reference to any external or third-party DLLs.
Module.Build.xml Element Use Relevance Description CoreServicesDlls Most commonly used This folder contains a DLL or multiple DLLs that define a project's Flow steps, Rule parts, customizations, behaviors, initializer code for setup, and more. If these files have any Web Services registered in this folder, the user will get corresponding ServiceClient DLLs in the ServiceClientDlls folder. These are created by the CreateModule.exe tool. ReferenceDlls Required if third-party dlls are used Used to store third-party dependencies for a module. CliDlls Most commonly used See note on CoreServicesDlls. This folder does not usually contain any custom assemblies, only those generated during module build. WebPages Not typically used HTML or ASPX pages go in the web host's root directory. This folder must contain zip files that are unpacked on module installation. The unpacked files become peers to the Login.aspx page. This folder may contain folders, and those folders will be maintained. MvcDlls Not typically used Folder for compiled Dlls of MVC views and controllers MvcViews Not typically used These are additional MVC Views that are hosted in the Decisions.Web. The host is the primary user interface. MvcViews can be used to add additional view controls for pages and forms. These files go to the installation's Web Host/HUI virtual directory. HUI is the virtual directory that serves the HTML portal to users. AgentDLLs Not typically used Extra DLL files for adding the capability to the Decisions Cloud to Site Agent. If not using the agent and extensions to the product do not need to be run through the agent, this folder can be safely ignored. SQLScript / MySQLScript / OracleScript / AzureScript Not typically used These are database scripts that will run when the module is deployed. These are often used to add tables or stored procedures that this module relies on. ObjectsToImport Commonly used Flows, Pages, Reports, Rules, and Folders that have been built by the Decisions designers and exported from Decisions using the Import/Export function. These should be .decObj files. - Implement the module functionality by adding class files or custom code.
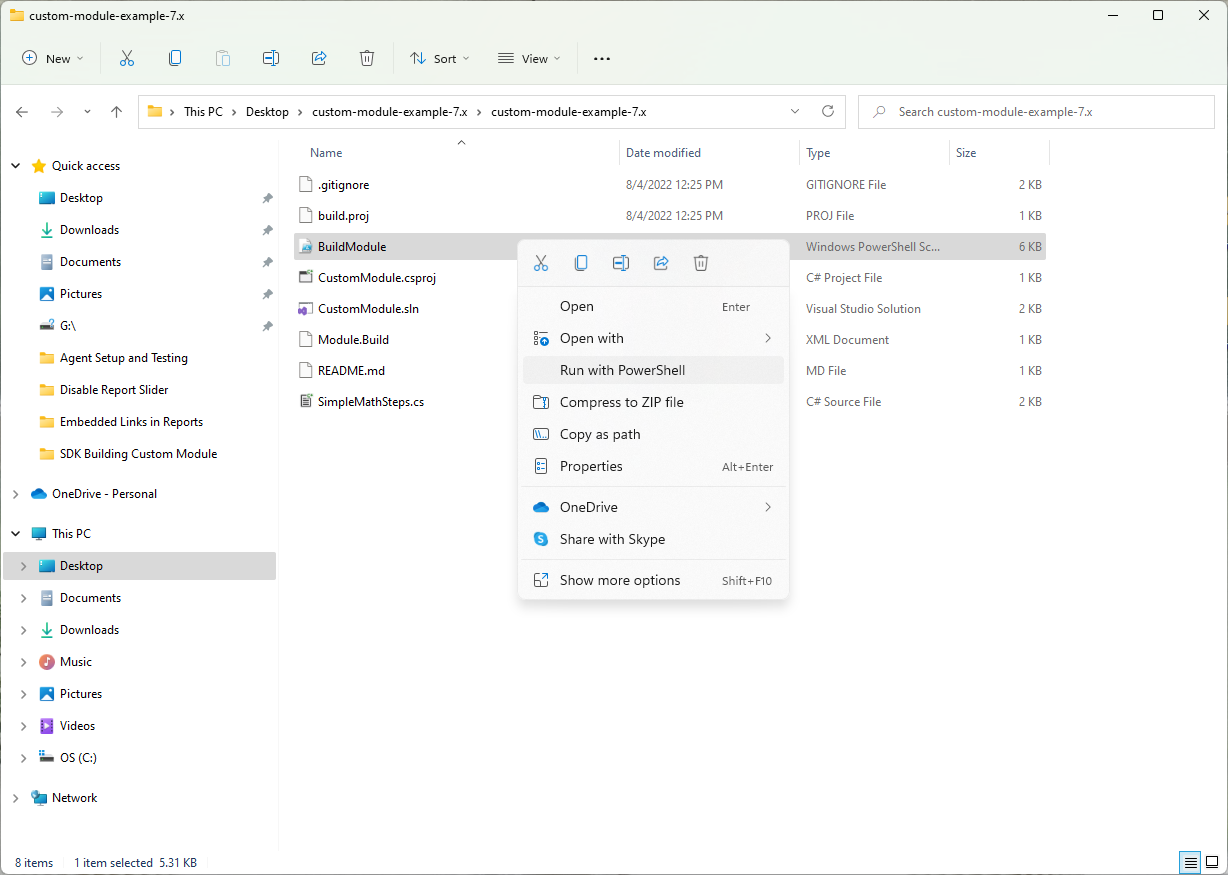
- Run BuildModule.ps1 to build DLL and create Module.zip. To build the project, MSBuild is required. this builds the DLL file and creates the required module zip file to be deployed in Decisions.
- This script will create the zip, stop the Decisions Server service, copy the zip into 'C:\Program Files\Decisions\Decisions Server\CustomModules', and starts the Decisions Server service.

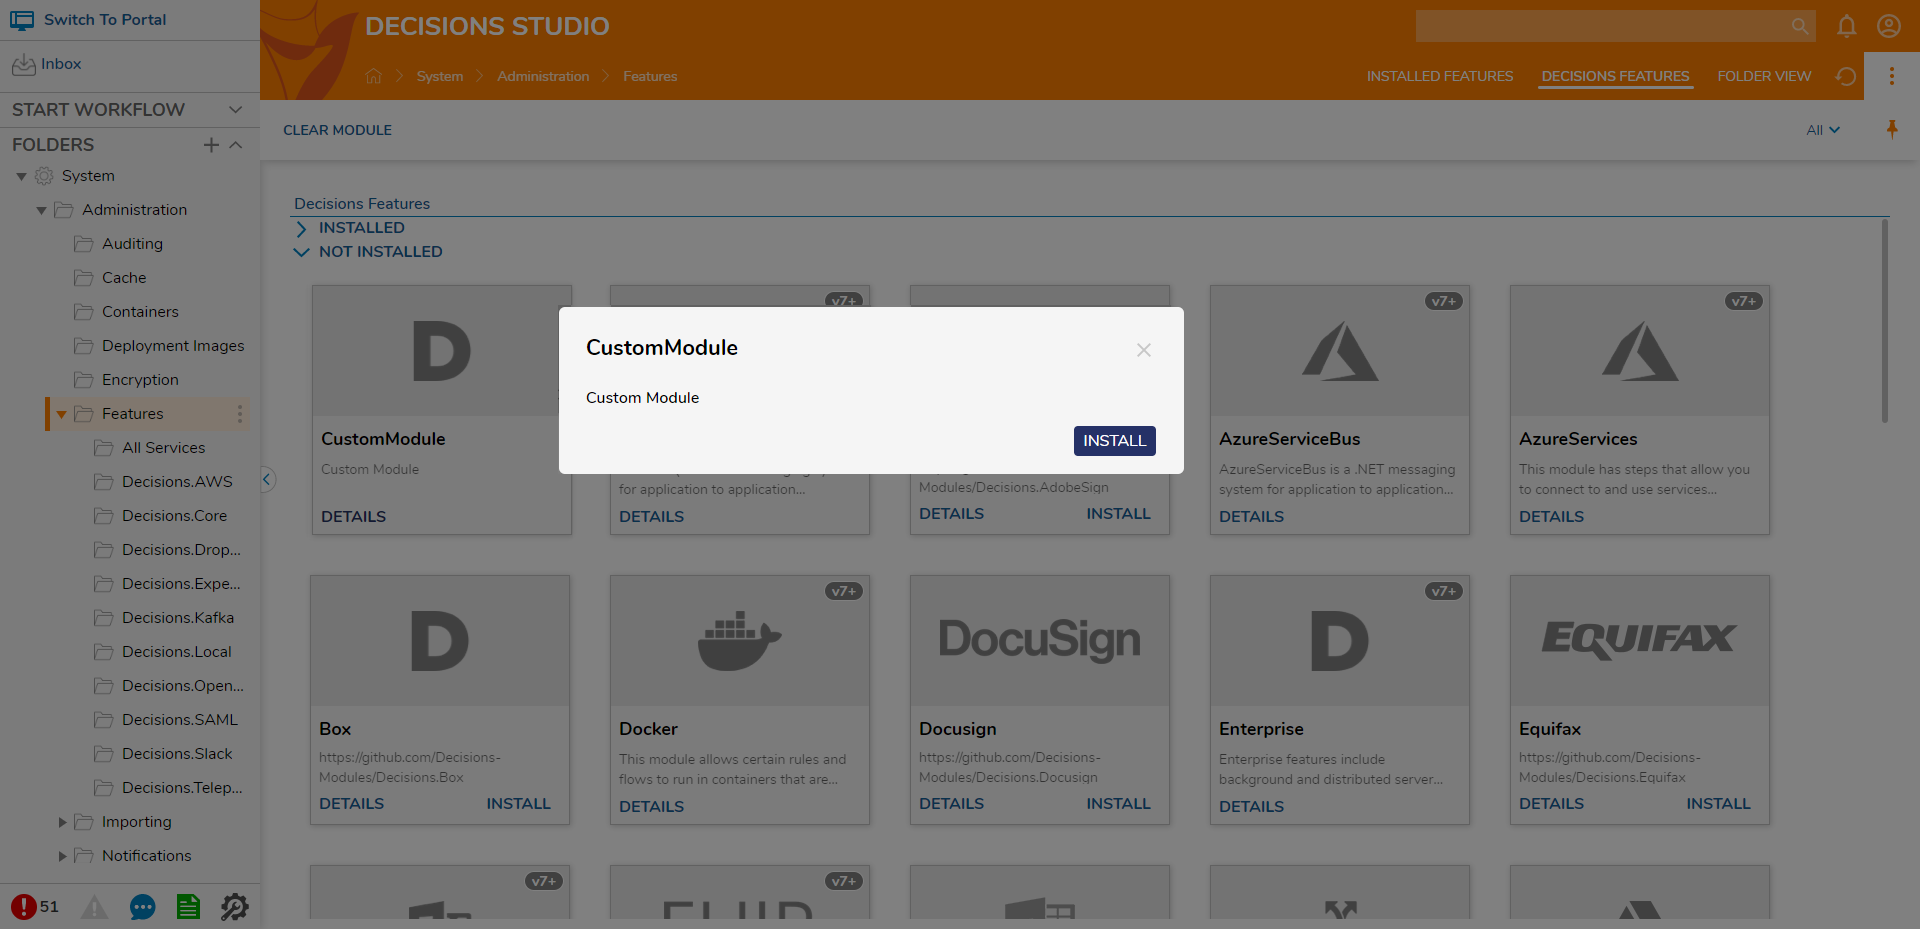
- Once the Module is deployed, log in to Decisions Studio and navigate My Apps >APP STORE> Modules.
- Find the custom module, click DETAILS and click INSTALL.
- If any changes are required, make the changes to the code.
- Run BuildModule.ps1 to deploy changes and repeat as needed.

Debug
- Attach IDE debugger to Decisions.Web.Core.exe process.
- Add breakpoints.
Best Practices
When creating a custom module, keep the following best practices in mind:
- Always version modules.
- If issues arise, please refer to C:\Program Files\Decisions\Decisions Server \Logs.
For further information on Modules, visit the Decisions Forum.