Overview
A Report can be configured to display data in a multitude of ways; this gives the user the freedom to choose a mode that is appropriate for the situation and information. The Calendar Summary mode displays the information in a standard calendar format based on user-selected settings.
Example
The goal of this example is to edit a Report to display the information in Calendar mode.
This example will use a pre-existing Report to set a Calendar Summary mode. Please navigate to Create a Report for more information on creating a Report.
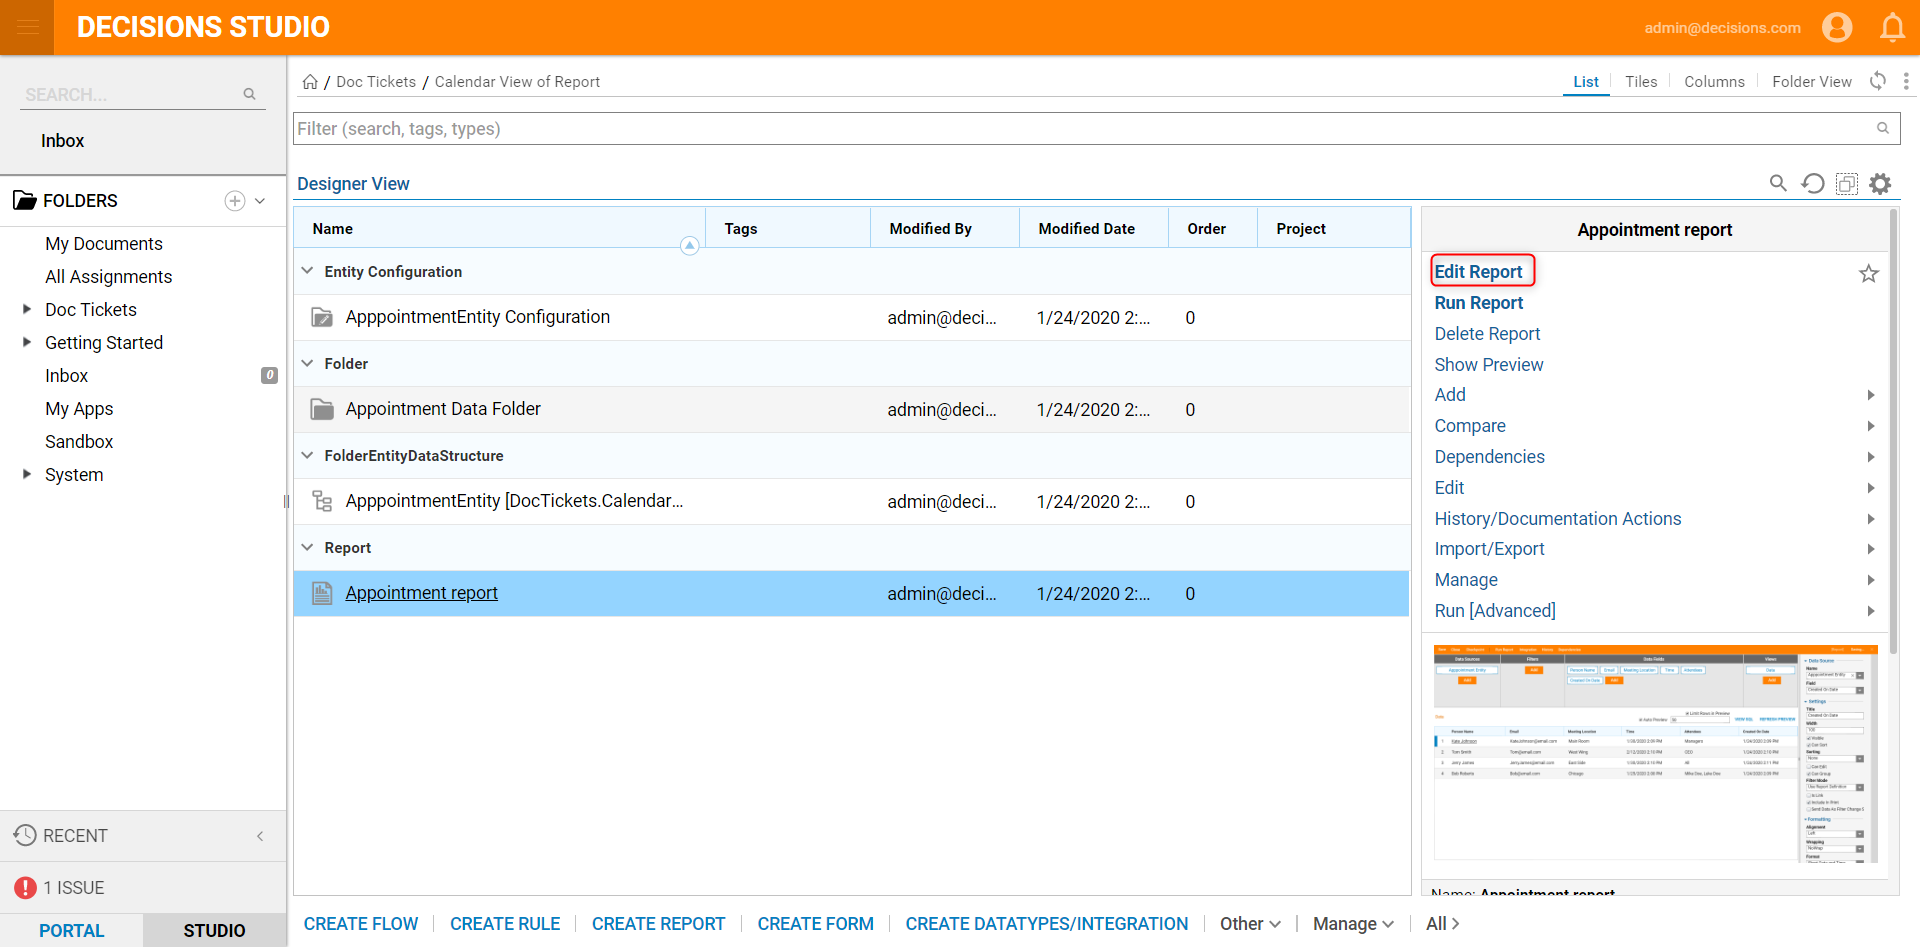
- Navigate to a Designer Folder, click on an existing Report, and select the Edit Report from the action panel.
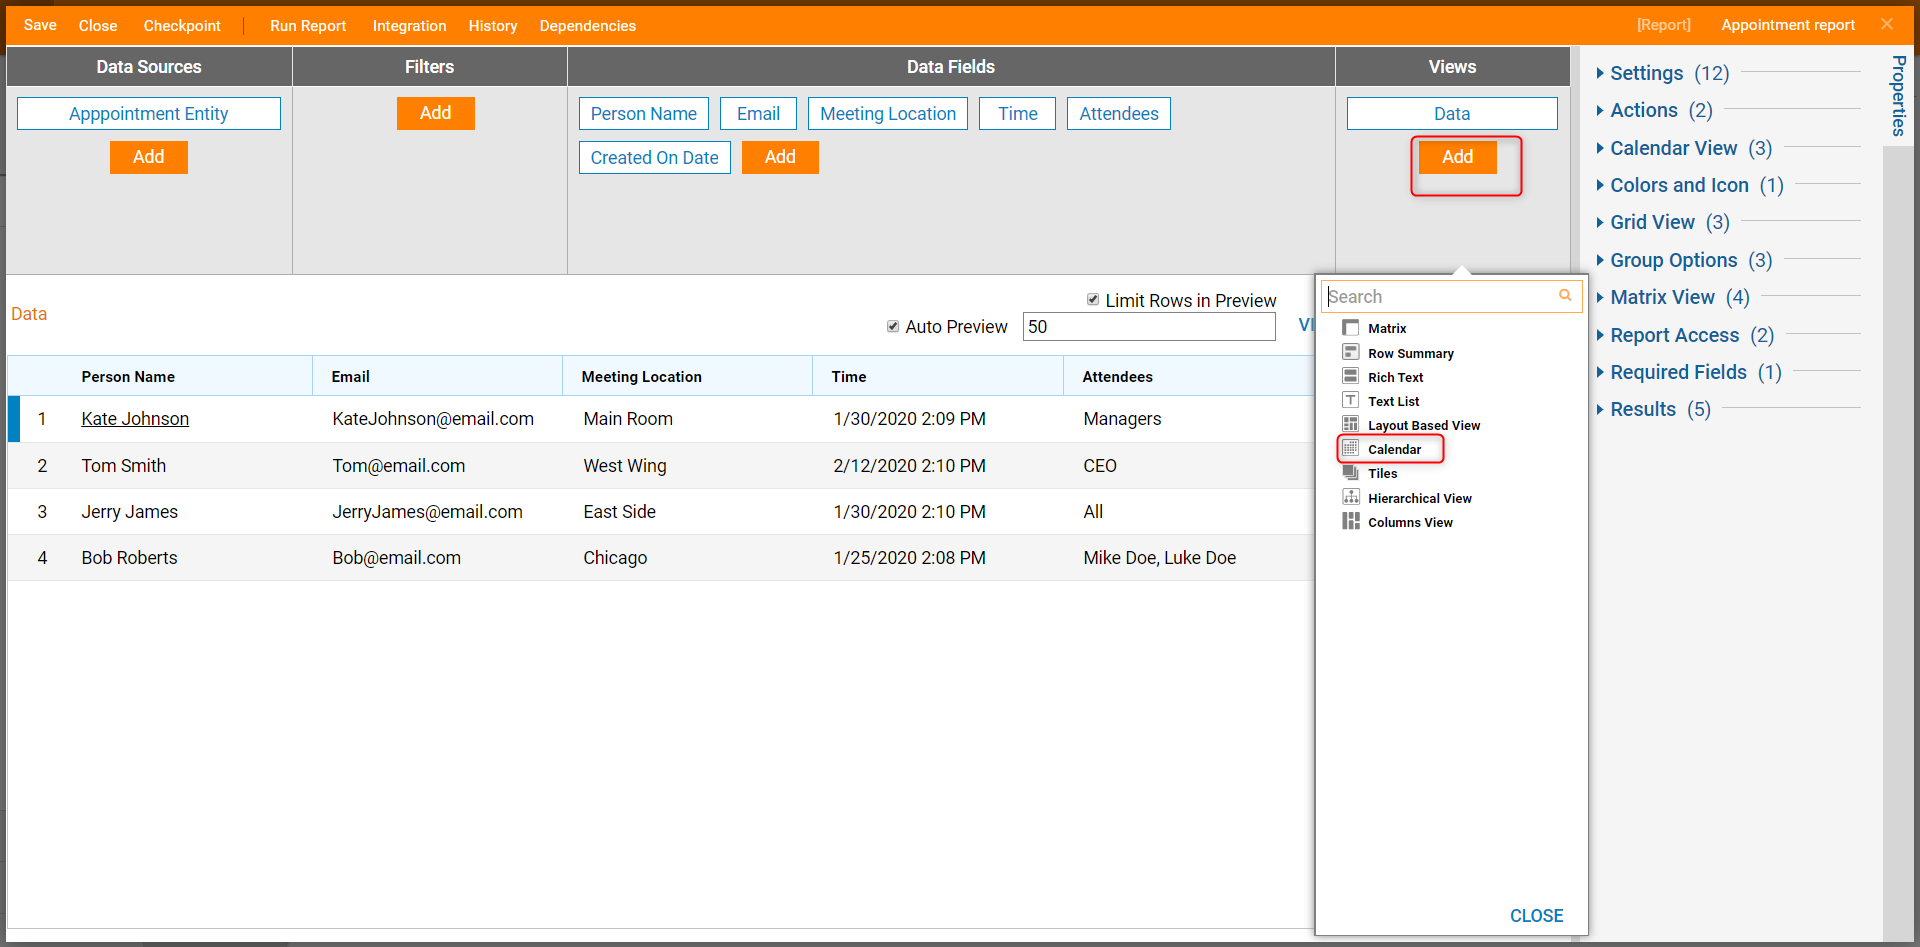
- In the Report Designer, locate the Views section, click the Add option to display the menu options.
- Select the Calendar option.
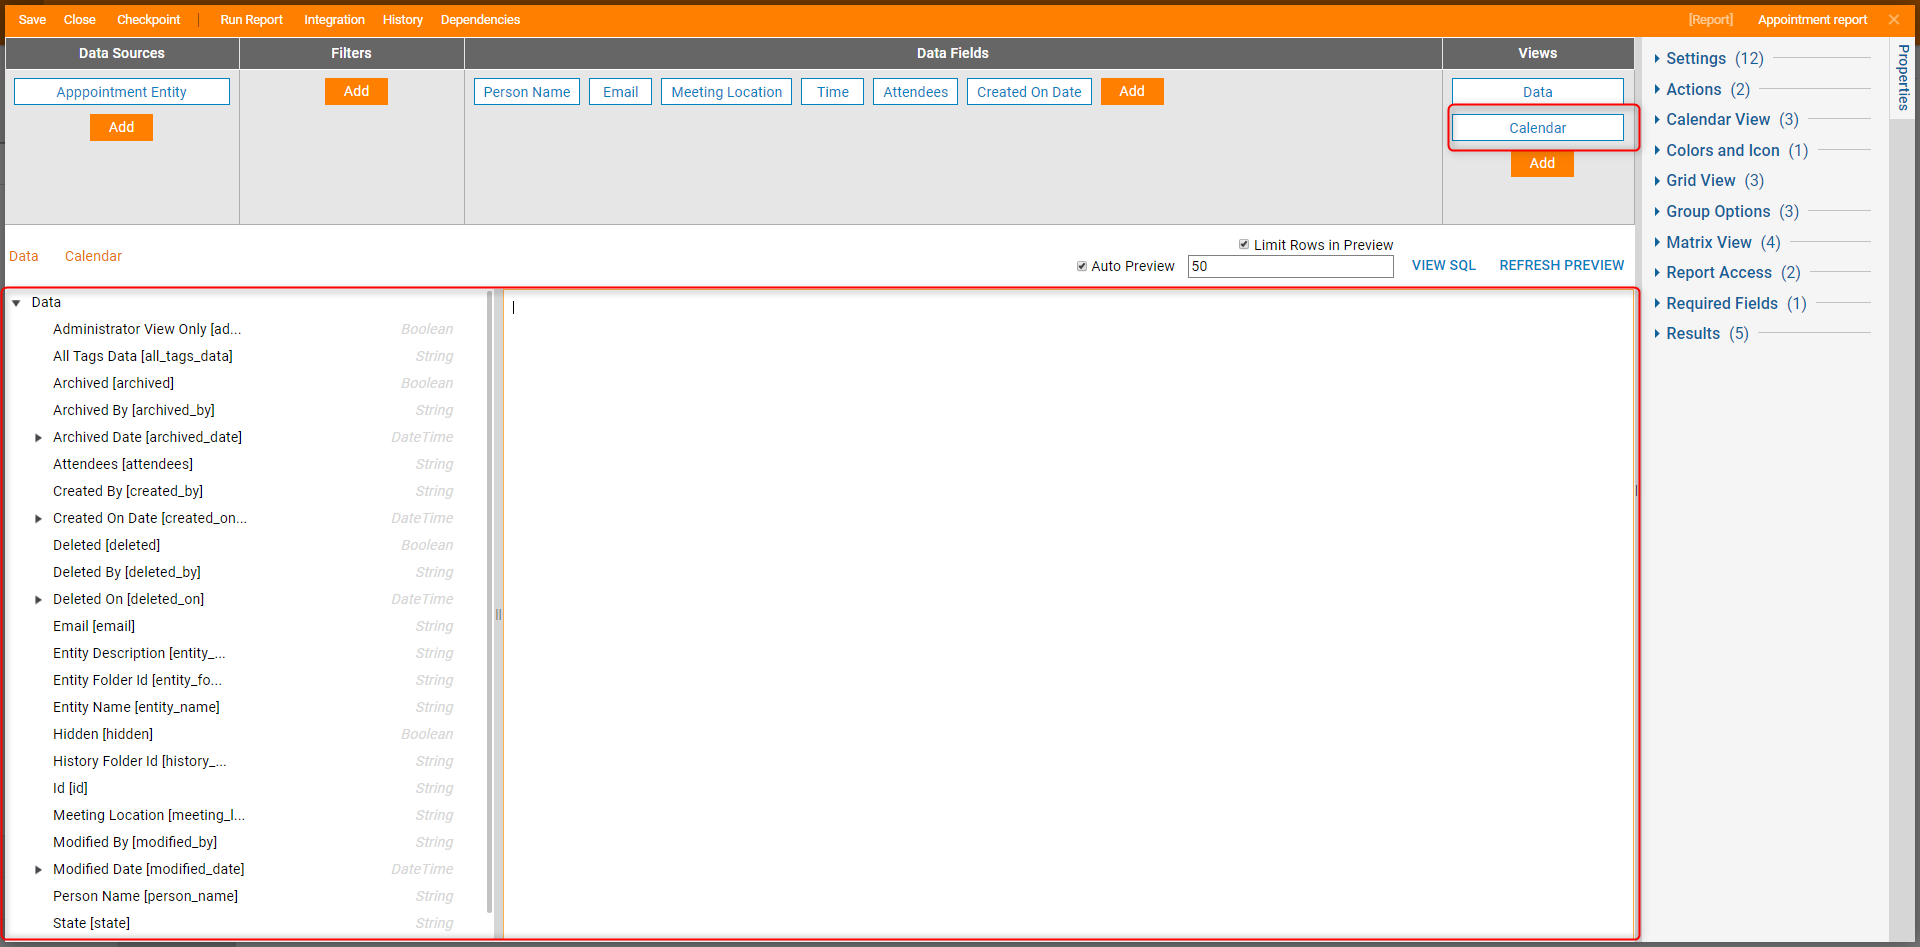
- The Calendar configuration workspace is displayed and a Calendar option is added to the menu bar.
- Next, configure the Calendar Summary to display the desired information from the Data menu.In this example, the Report is an appointment log, so the desired information will include the Data Fields: Person Name, Email, Meeting Location, Time, and Attendees. In the Calendar Summary mode, each of these Data Fields will be dragged into the workspace and labeled appropriately (e.g. Name: person_name, Email: email, Meeting Location: meeting_location, Appointment Time: time, Attendees: attendees).
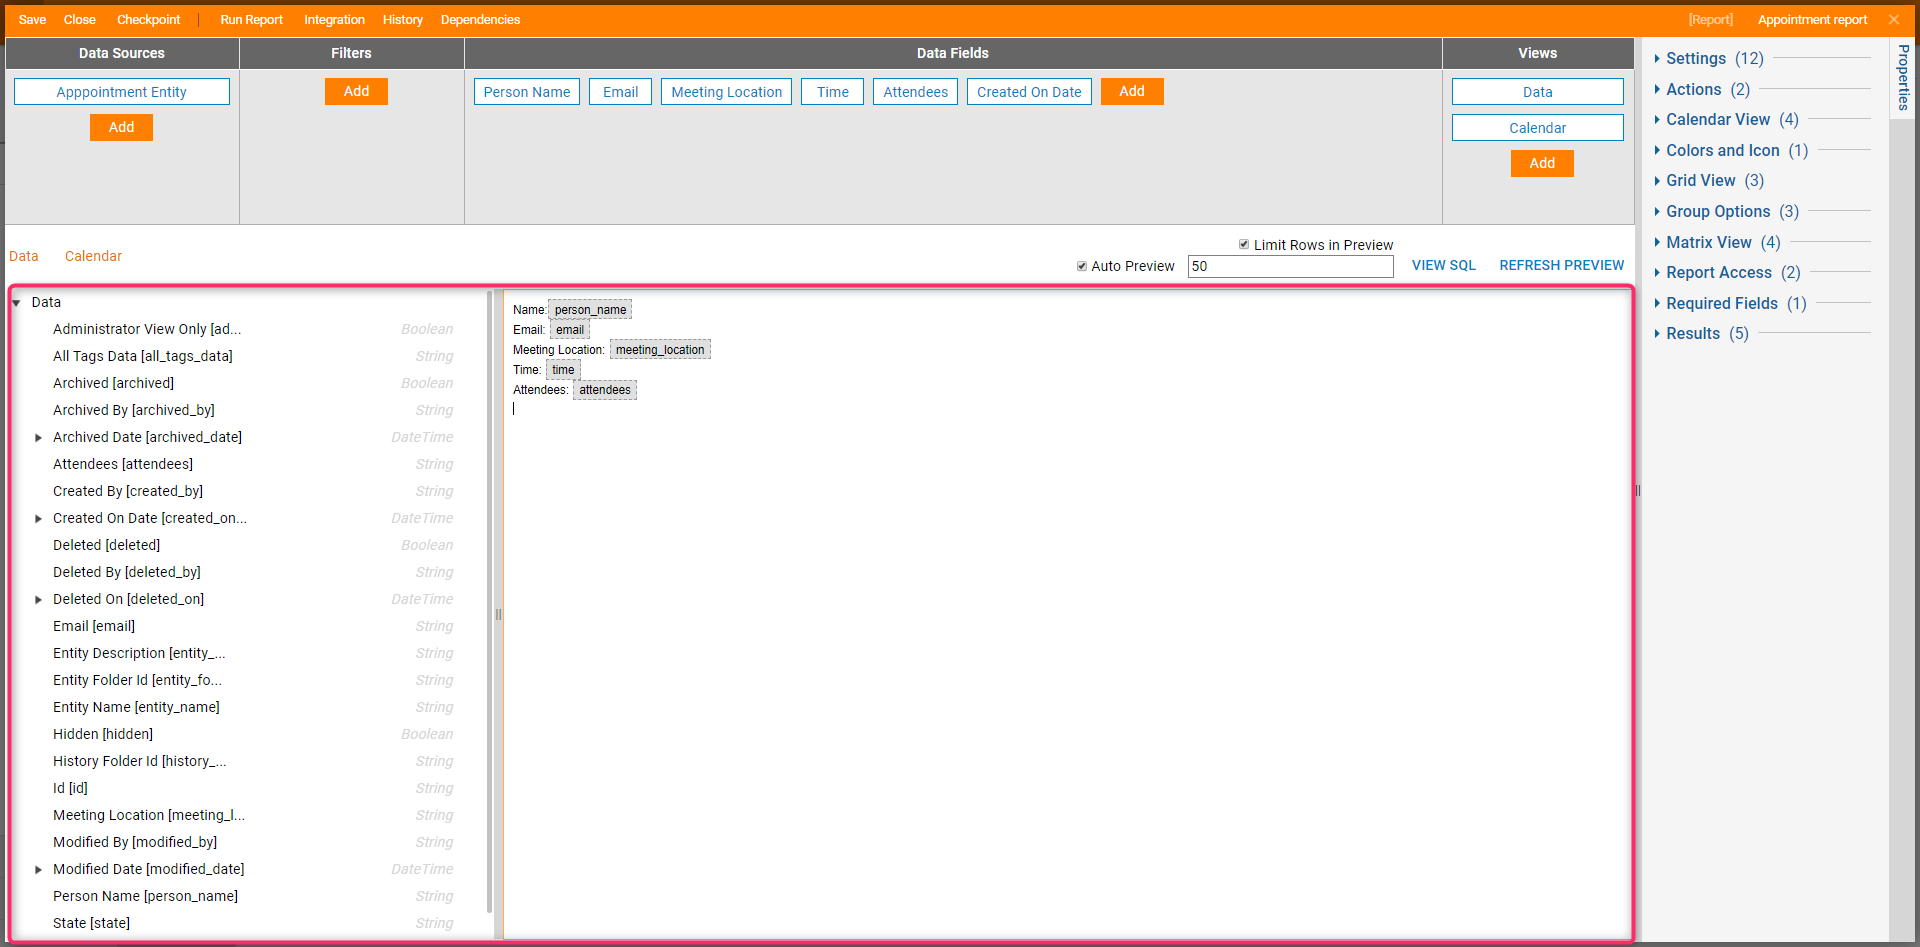
- In the Properties Panel > Calendar View, users can select how the calendar will display the information.
- Select the Primary Calendar Provider drop-down list and select the Time option; this option tells the Report to display the information at the time it is scheduled for.
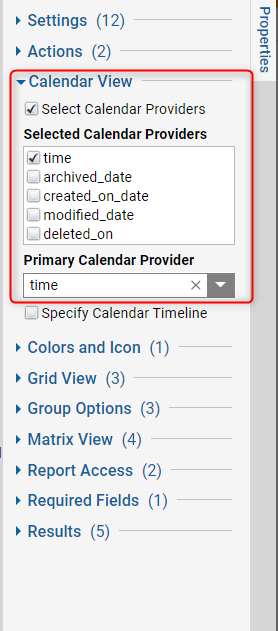
- The Report is now configured for the Calendar Summary view. Save it and close the Report Designer.
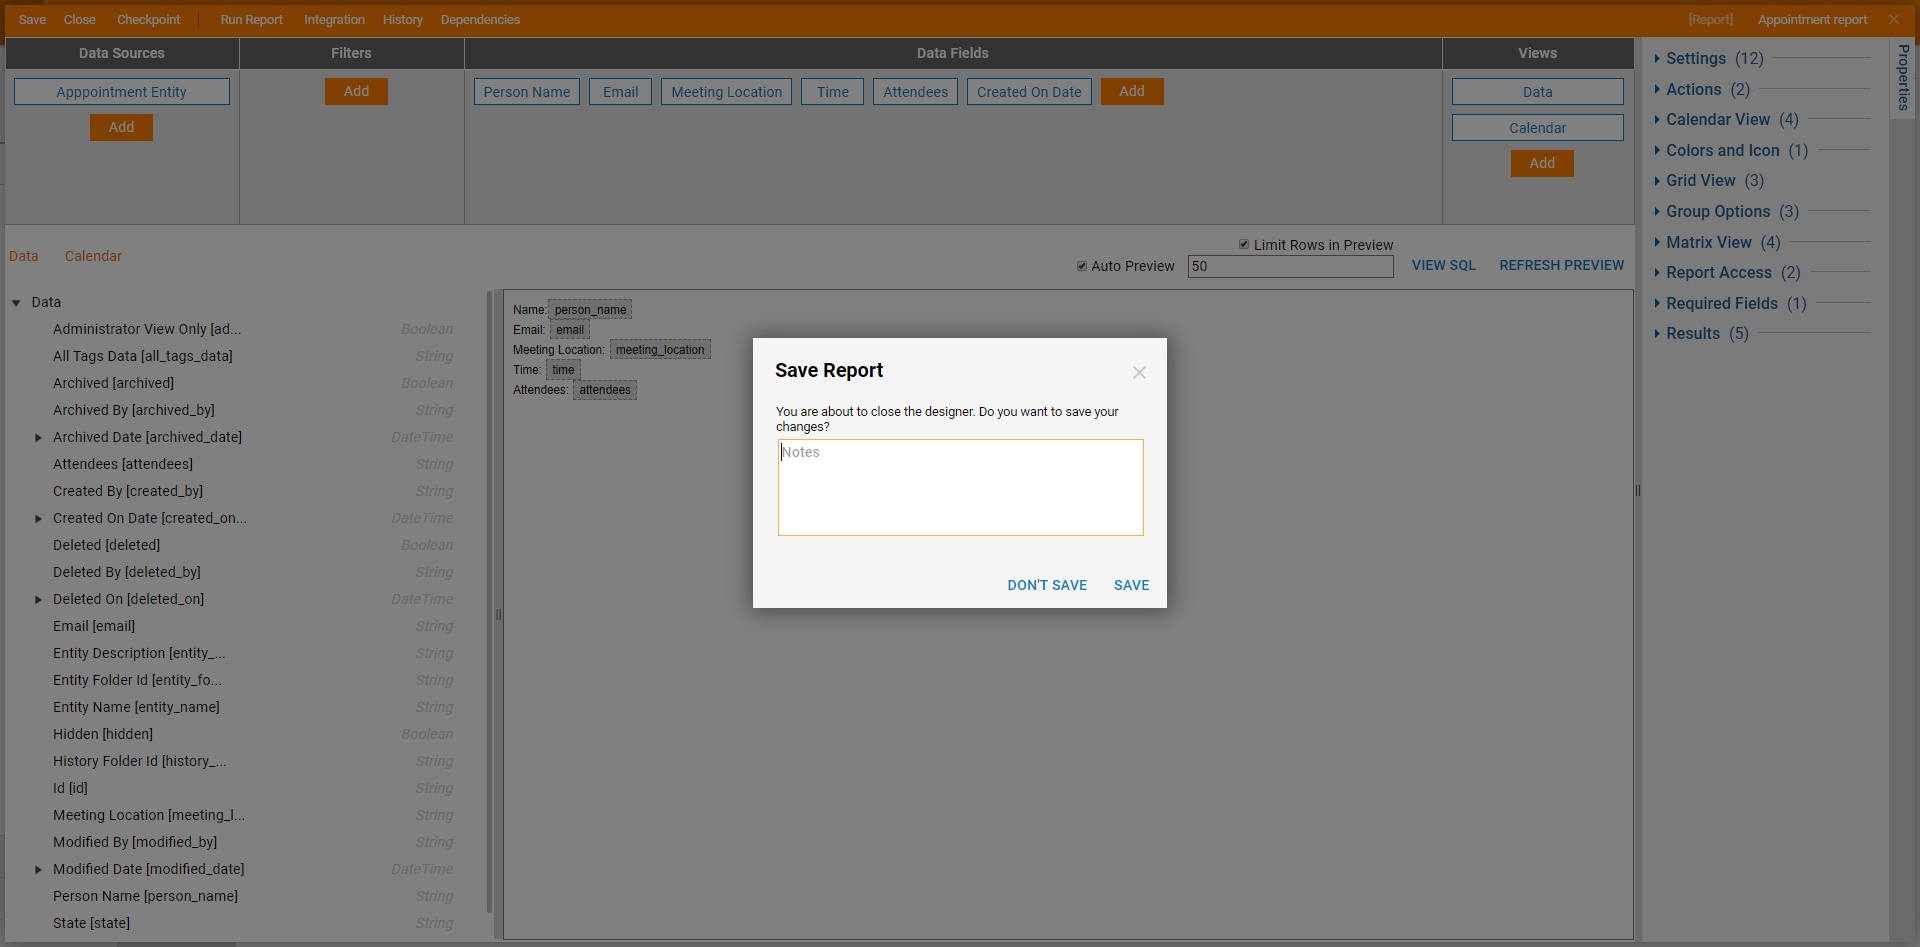
- In the Designer Folder, click the Report and select the Run Report option from the Action menu.
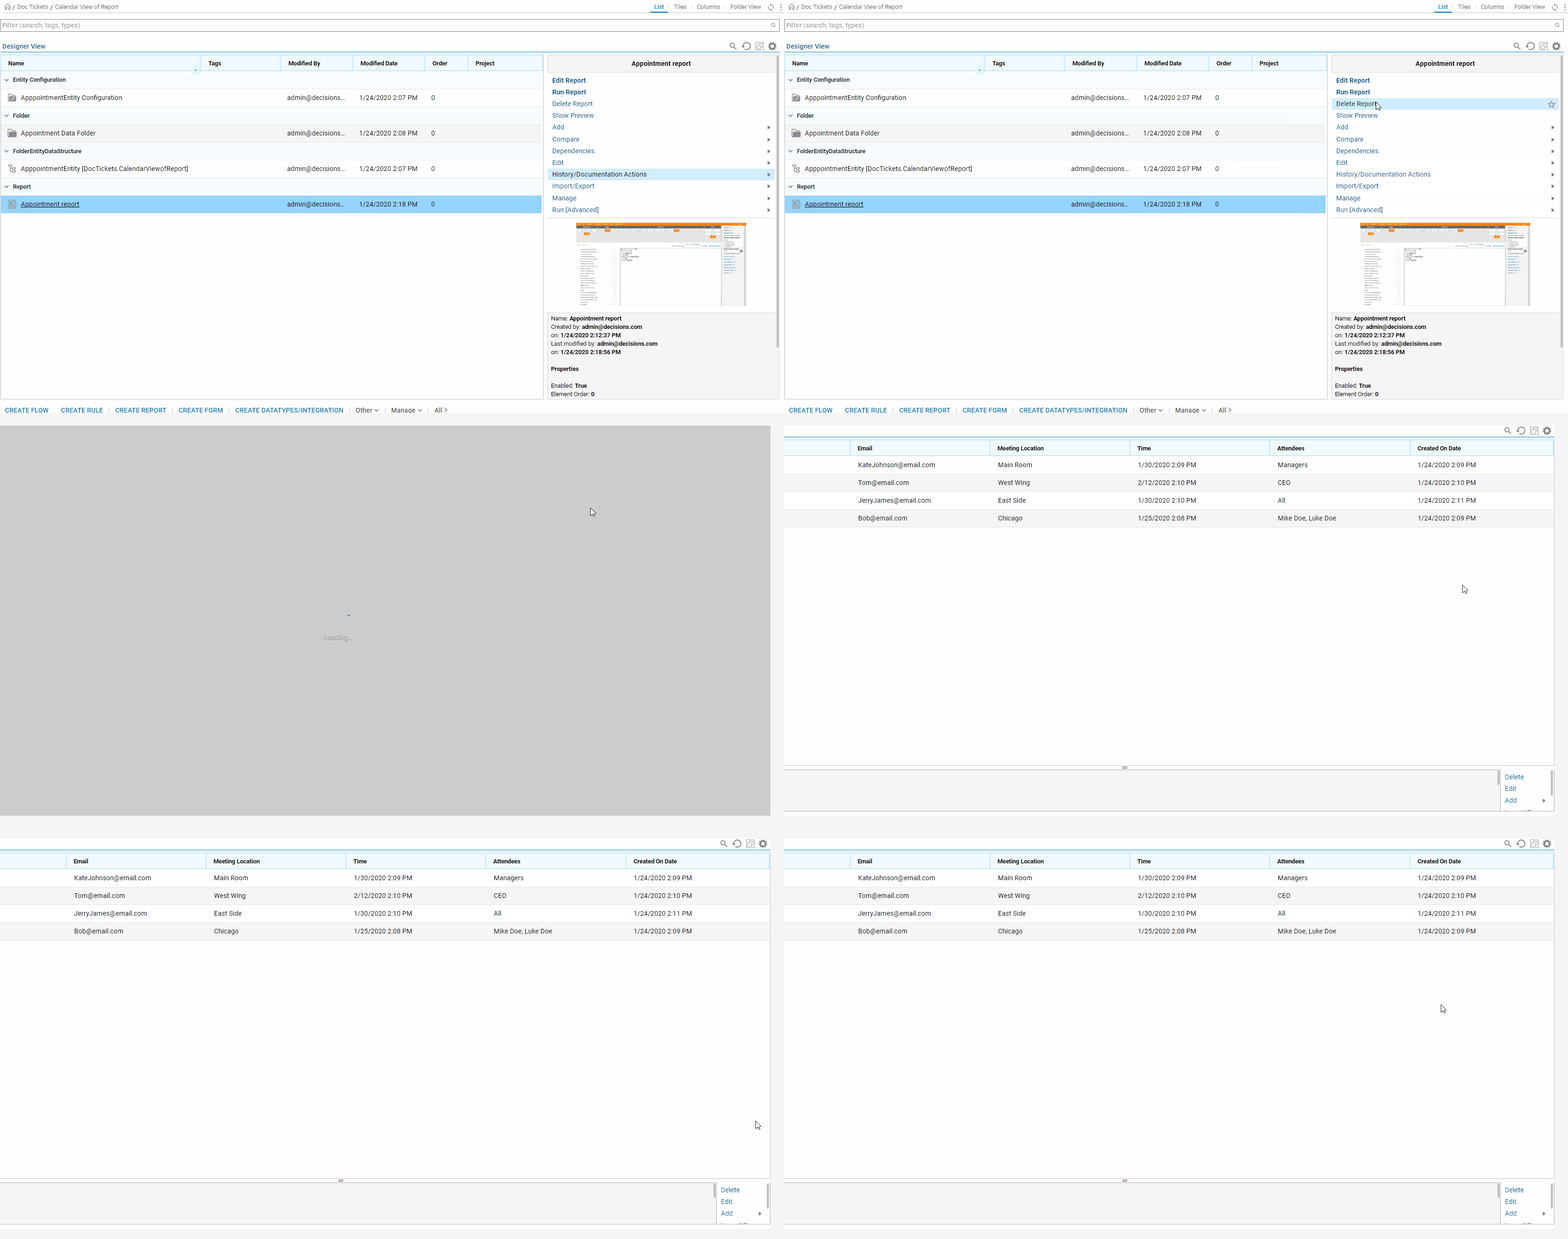
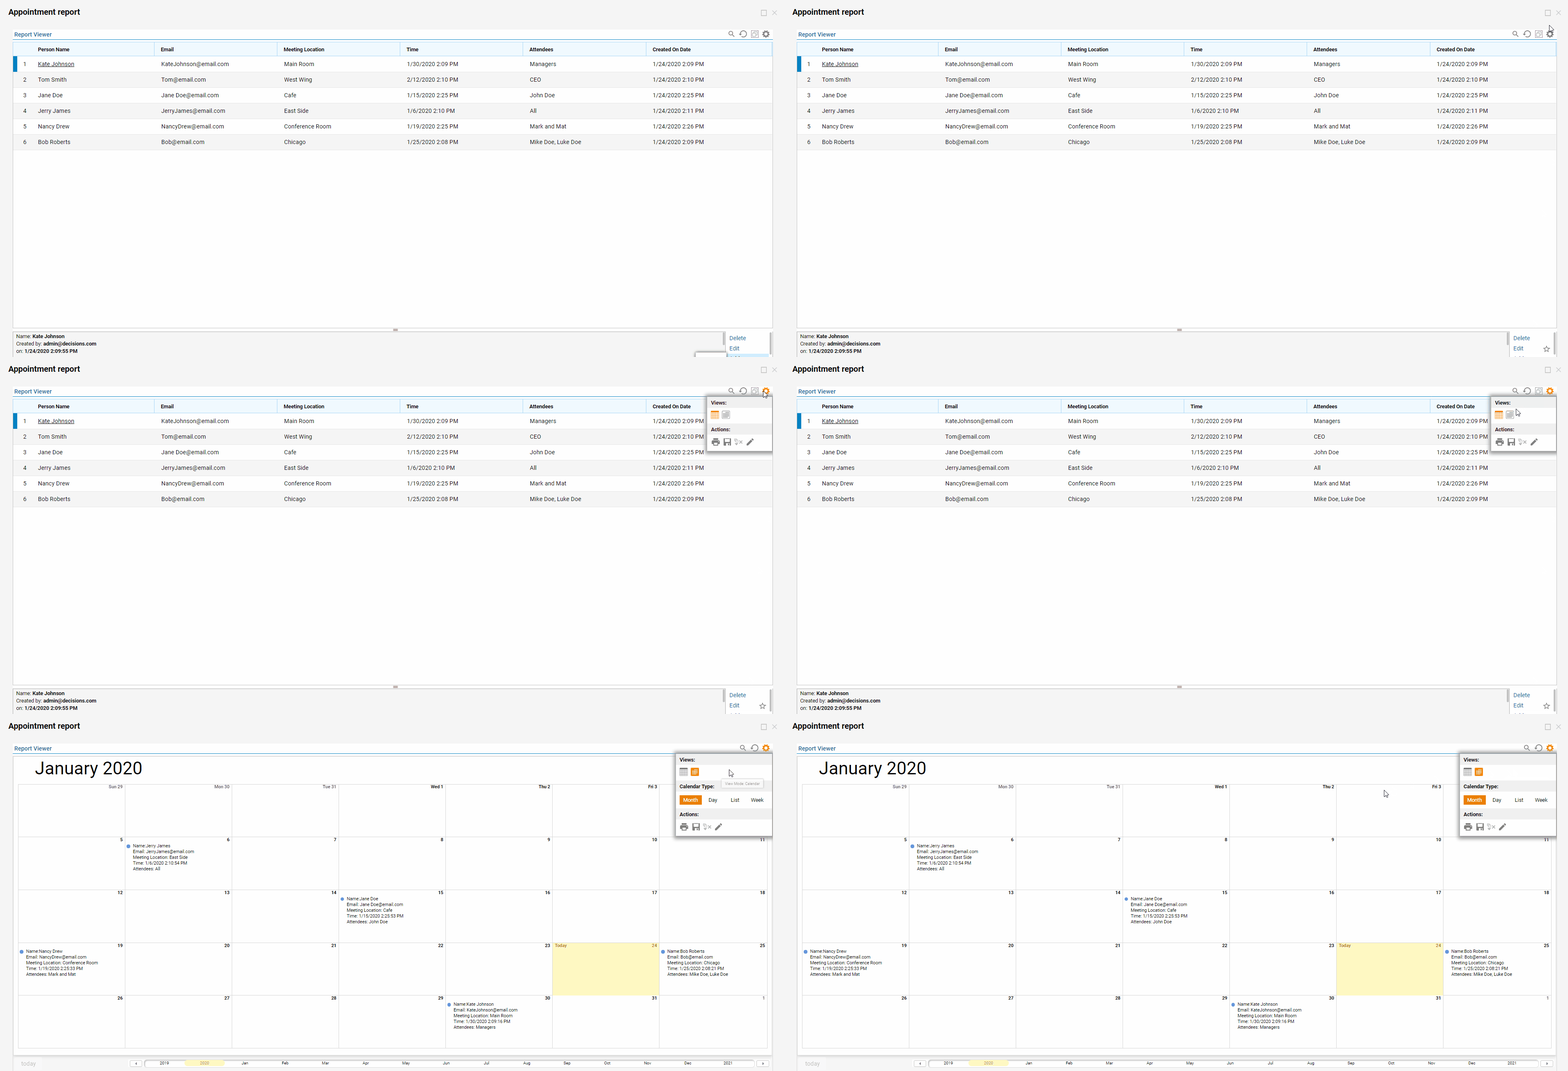
- By default, the Report will display in View Mode: Grid, however, by selecting the new View Mode: Calendar, the Calendar is available to view.View Mode: Calendar is also configurable to display events scheduled by week, day, or in a list.
