Overview
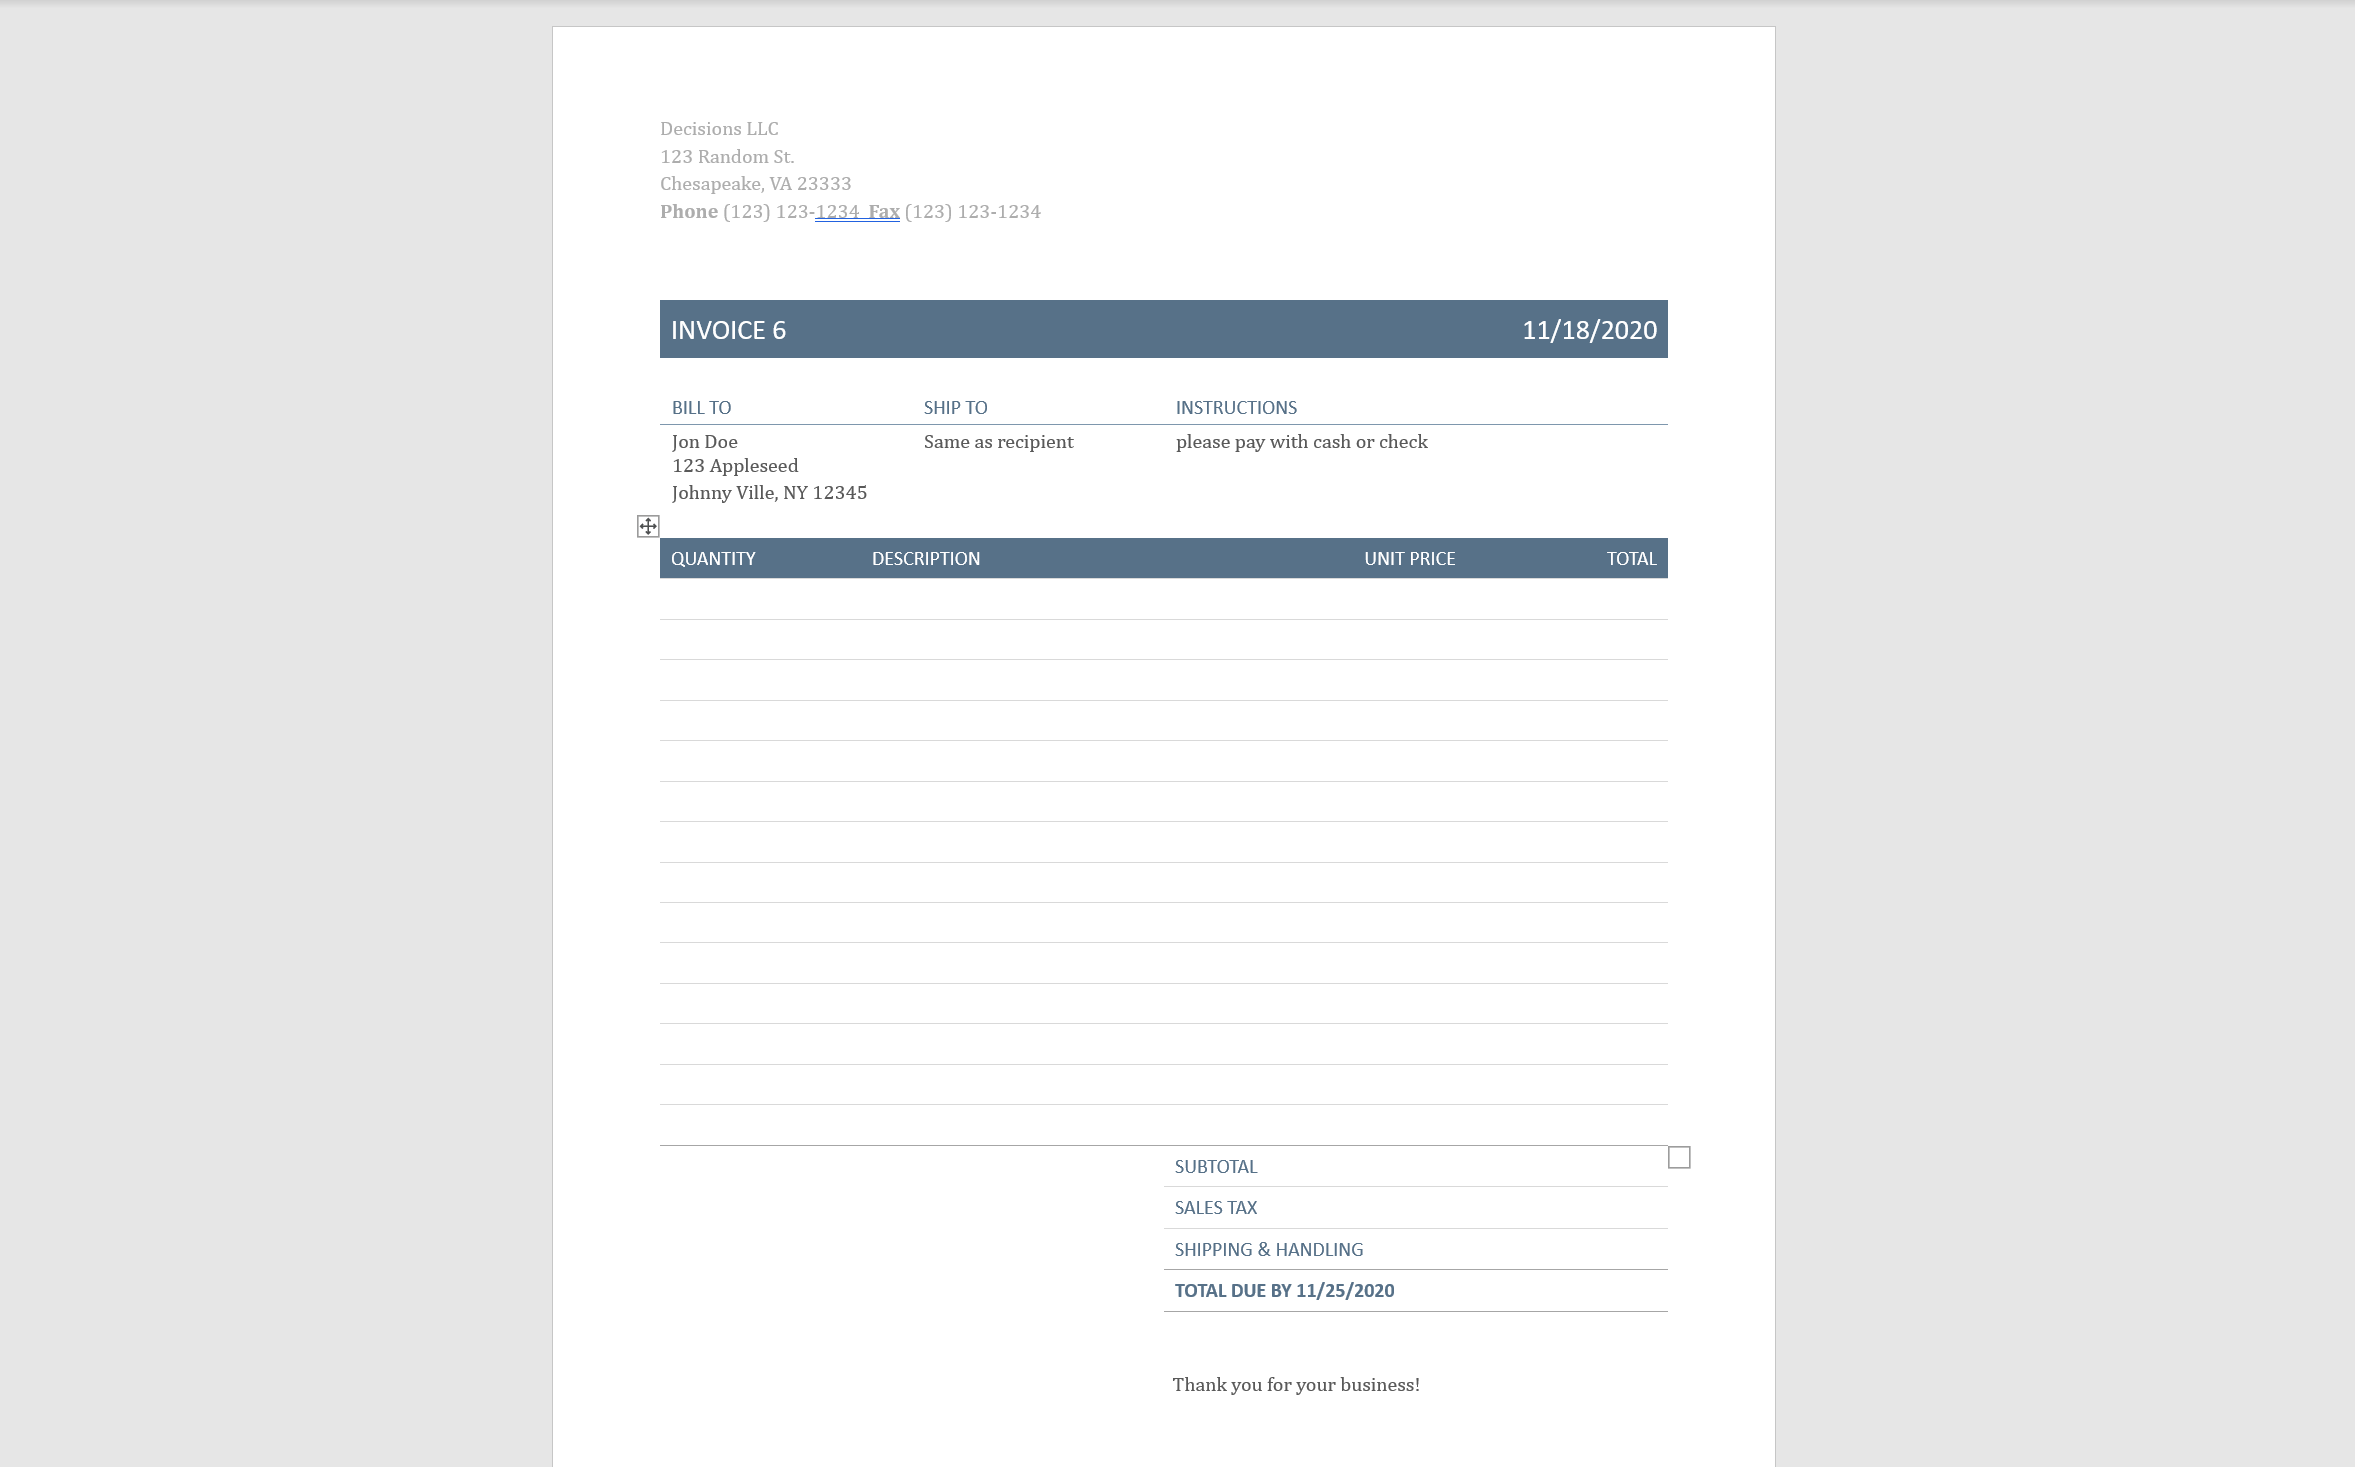
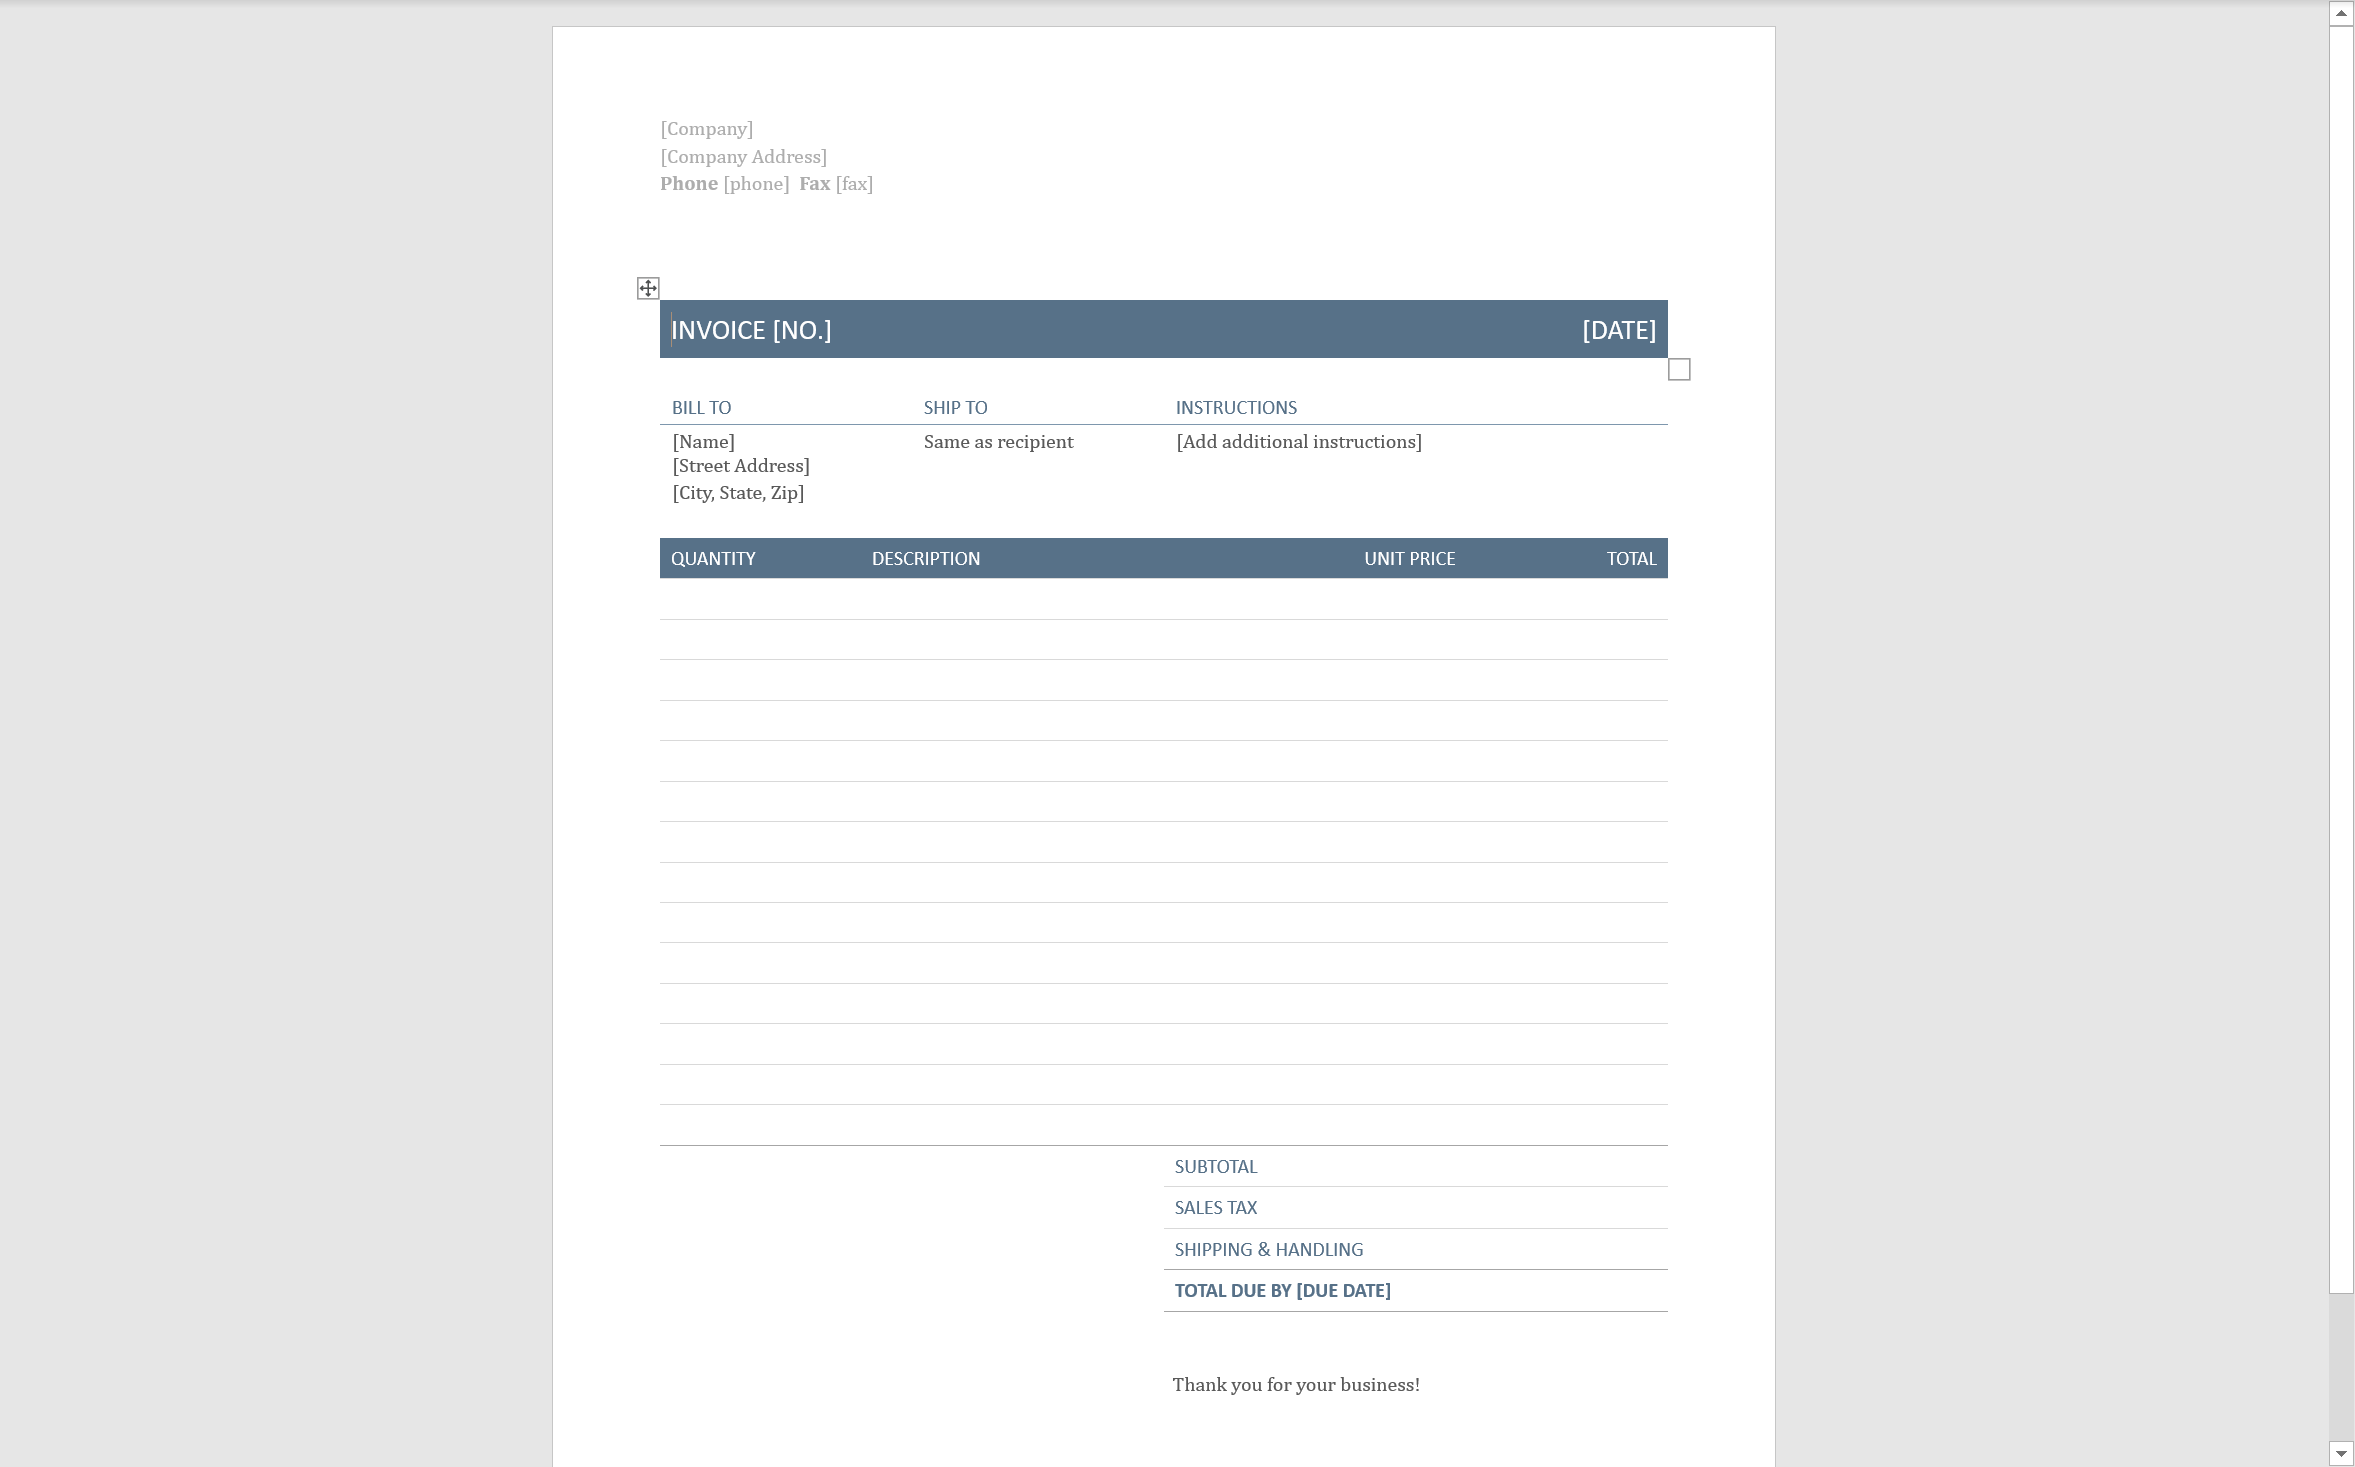
This tutorial shows how to replace Bookmarks in a Word Document with desired Text. The Step that can be used for this function is called a Replace Bookmark With Text (Dynamic) Step. A Word Document invoice template has been created for this example. The example demonstrates instances where Bookmarks are created in the template everywhere that the template has data in square brackets. Use this example to create a Flow with a Form, where the user will be able to enter information, and then, download the Invoice Template using their Information. See the Invoice Word Document below.
Invoice Word Document
Example
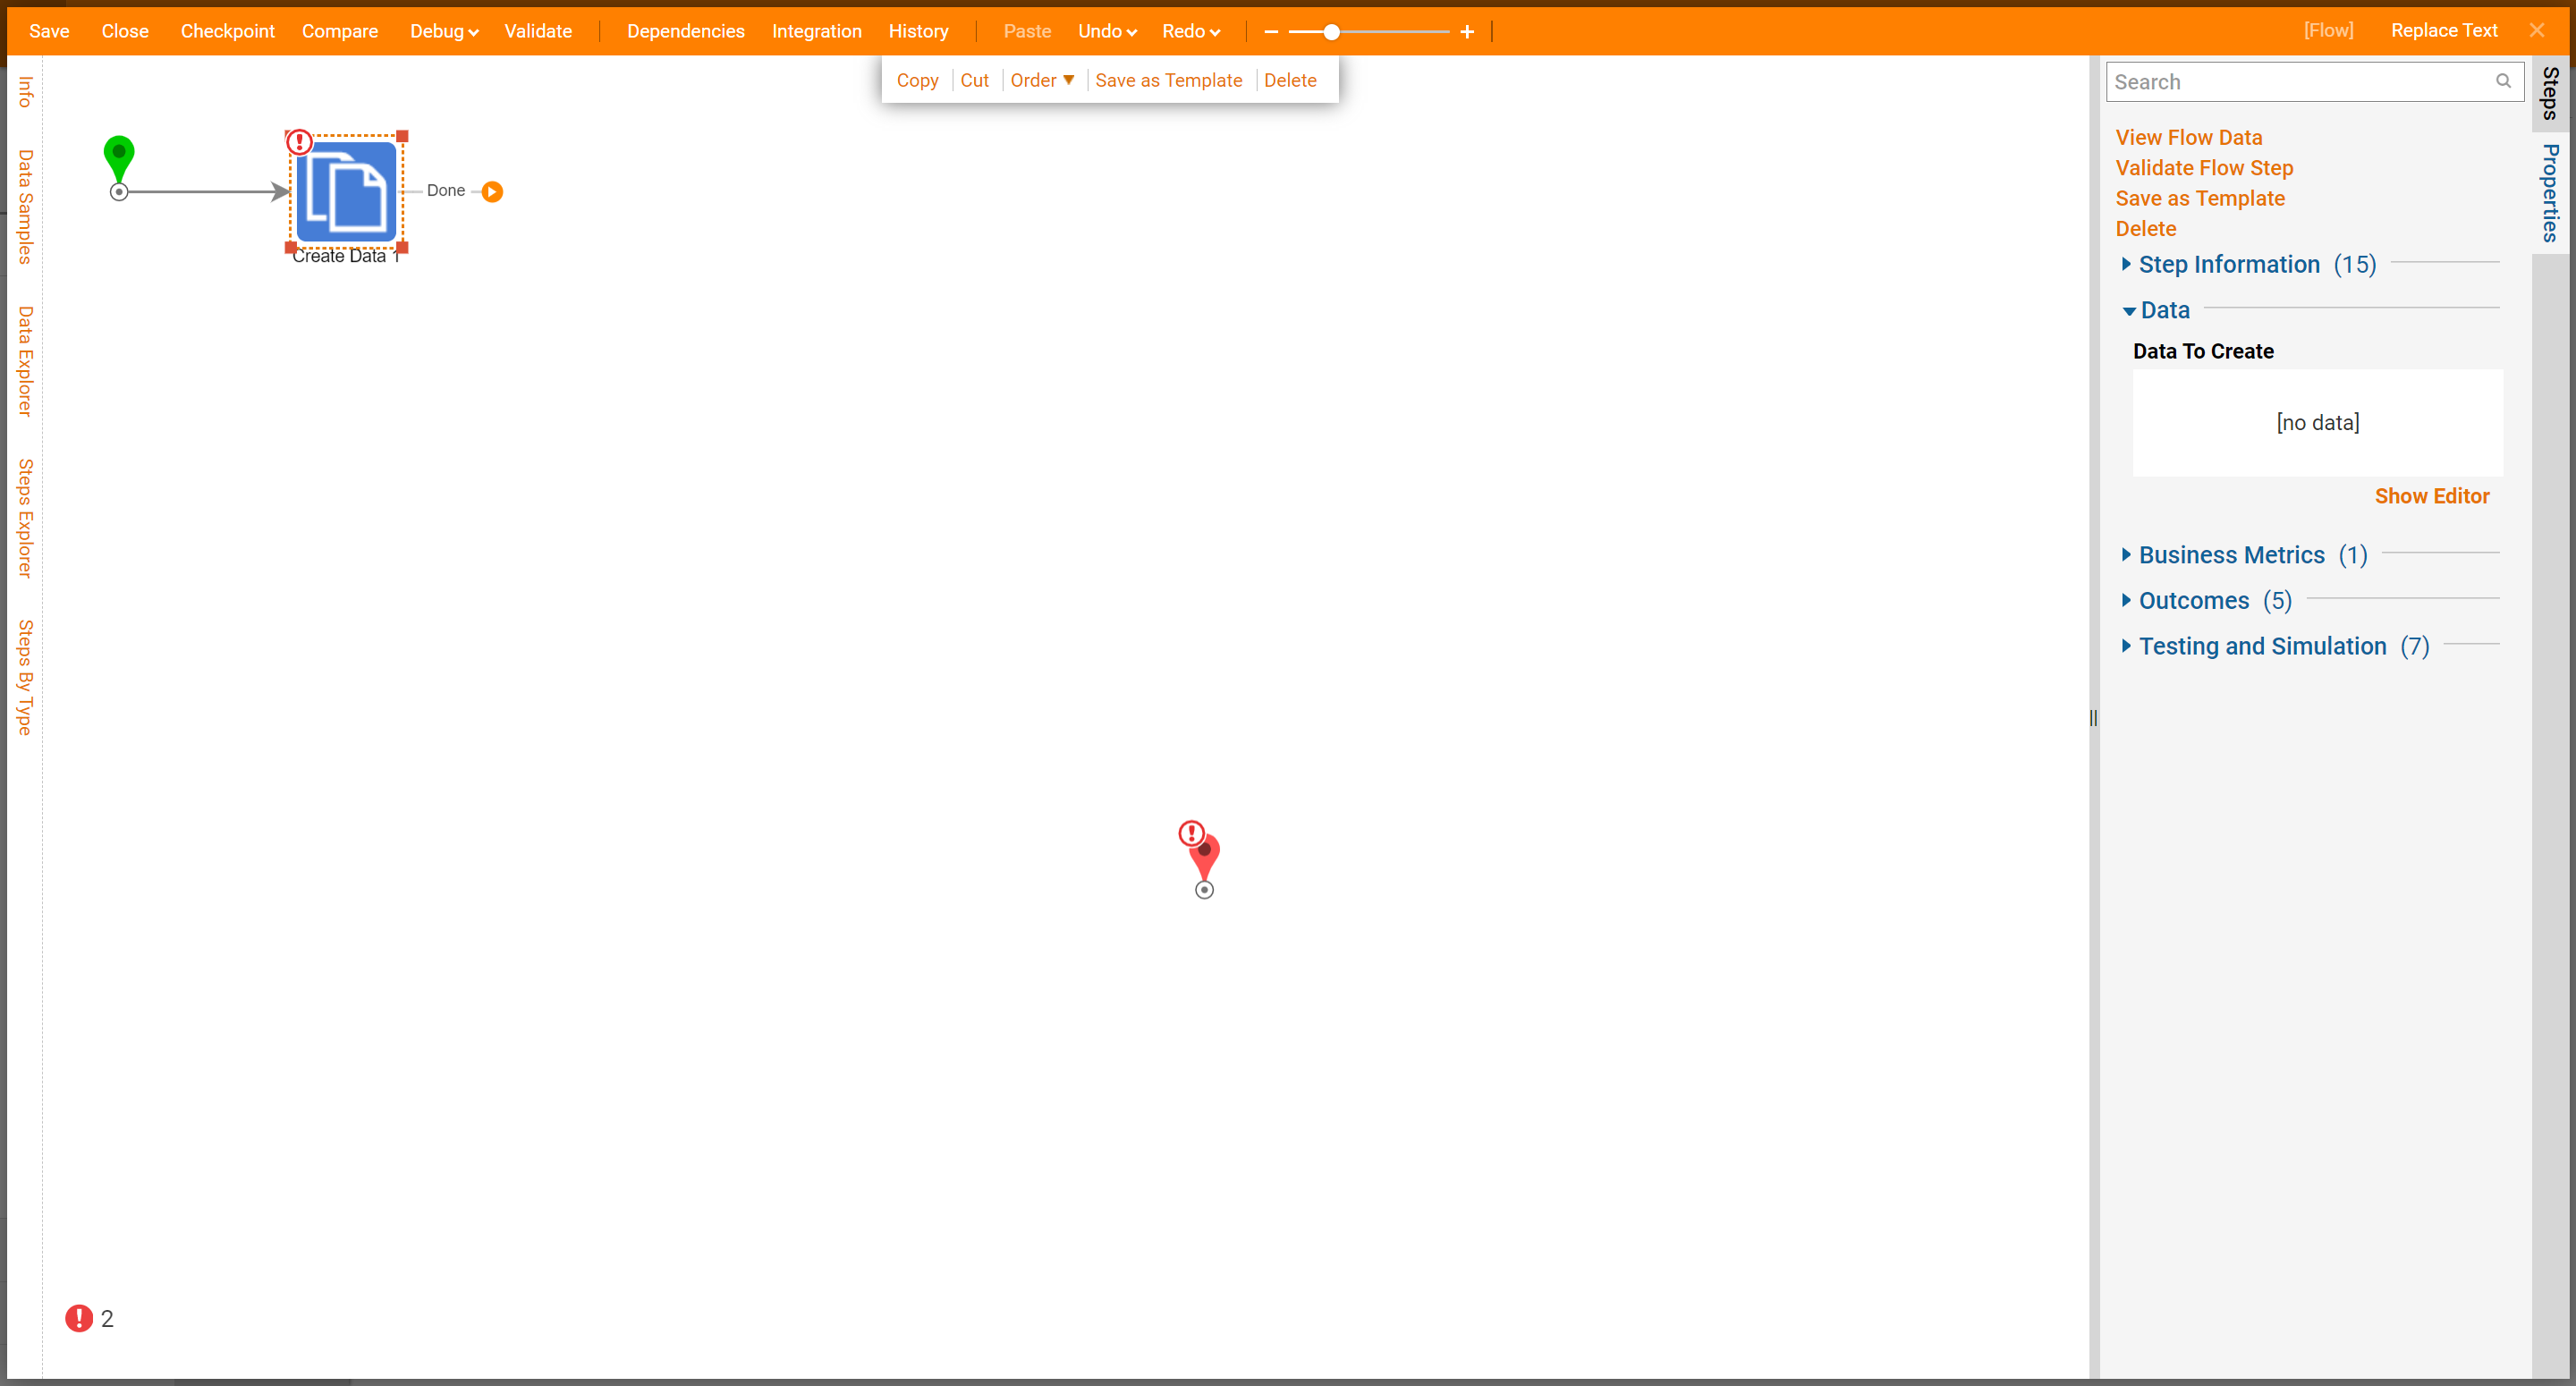
Begin the designer folder by creating and naming a Flow. In the Flow Designer, navigate to the Steps Tab or use the quick add and locate the Create Data Step from Favorite Steps category in the Quick Add Step dialog n the Create Data Step under Common Properties and under Data select Show editor to add data definitions.
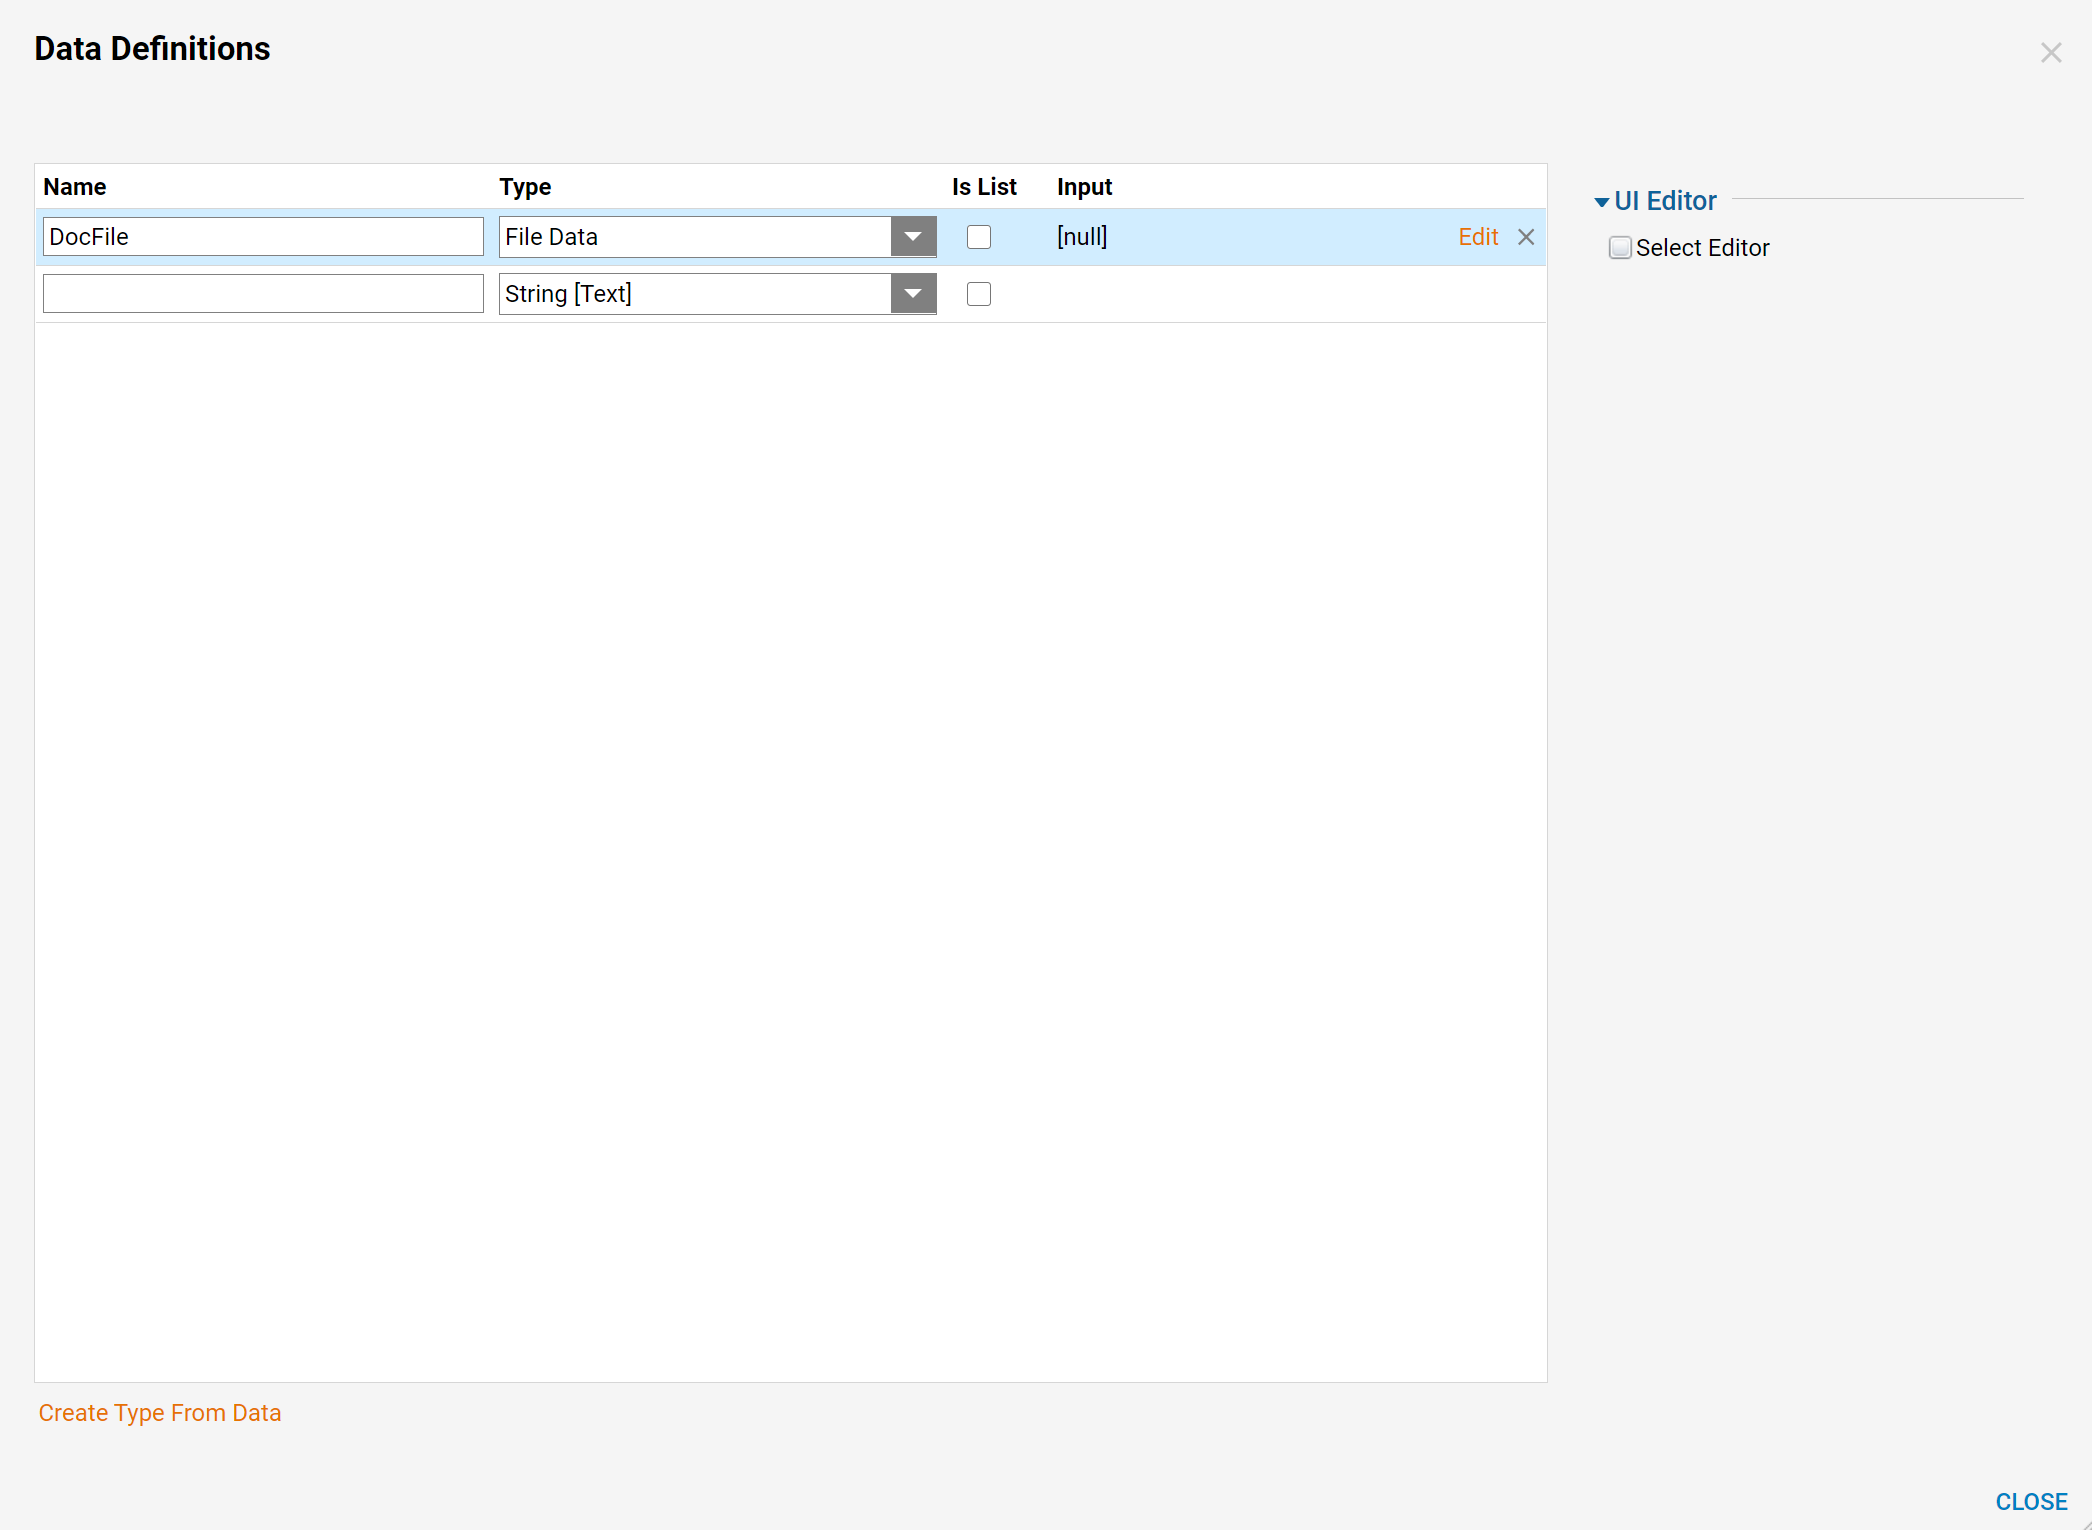
Add the Data definitions Name and Type. In the drop-down list under Type choose File Data. Next set Doc File underInputs to Constant and add the Invoice Template Document to the Data Definition.
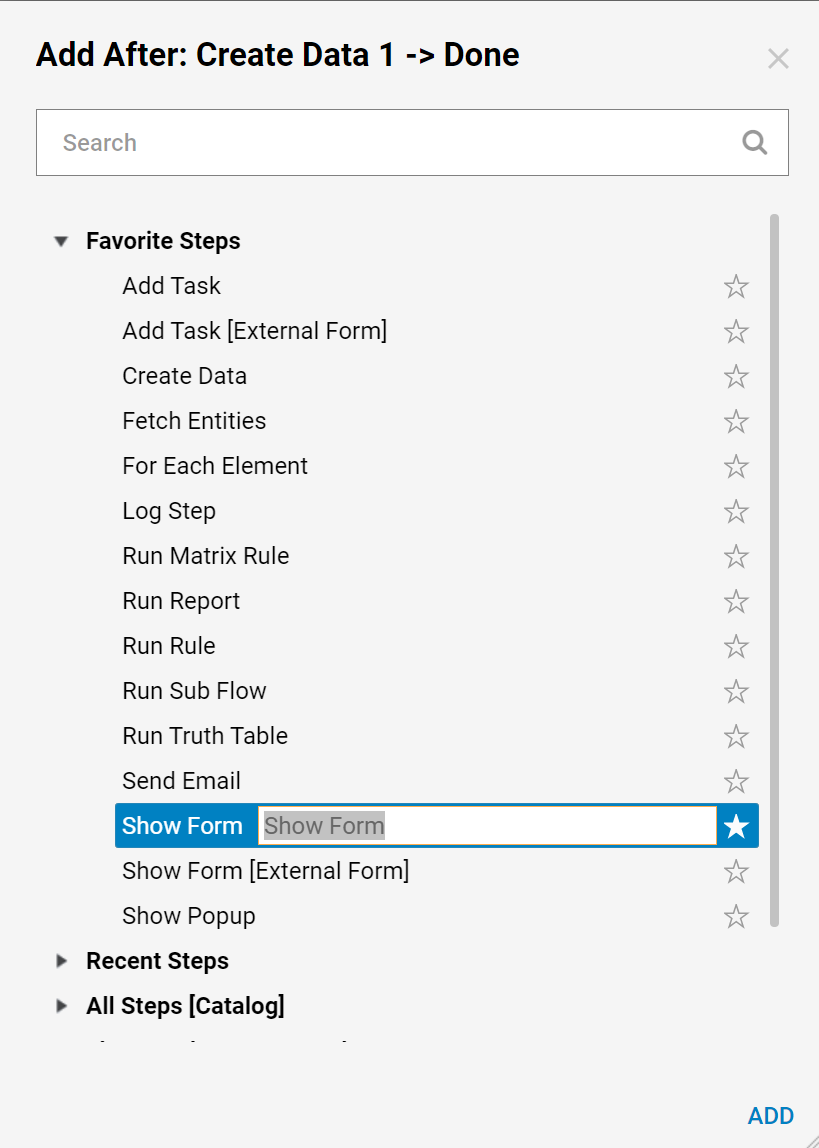
Next, add a Form to the Flow. In the Steps Tab locate a Show Form Step under Favorite Steps and Add or drag and drop the step in the Flow Designer. Select Show Form in the Flow Designer and then choose Pick or Create to Create and Name the Form. For this example, the Form will be given the name Invoice.
This Form is designed as following, it has numerous Labels and TextBoxes, a couple DatePickers, and Submit Button. When when the Form design is complete, Save and Close Form Designer.

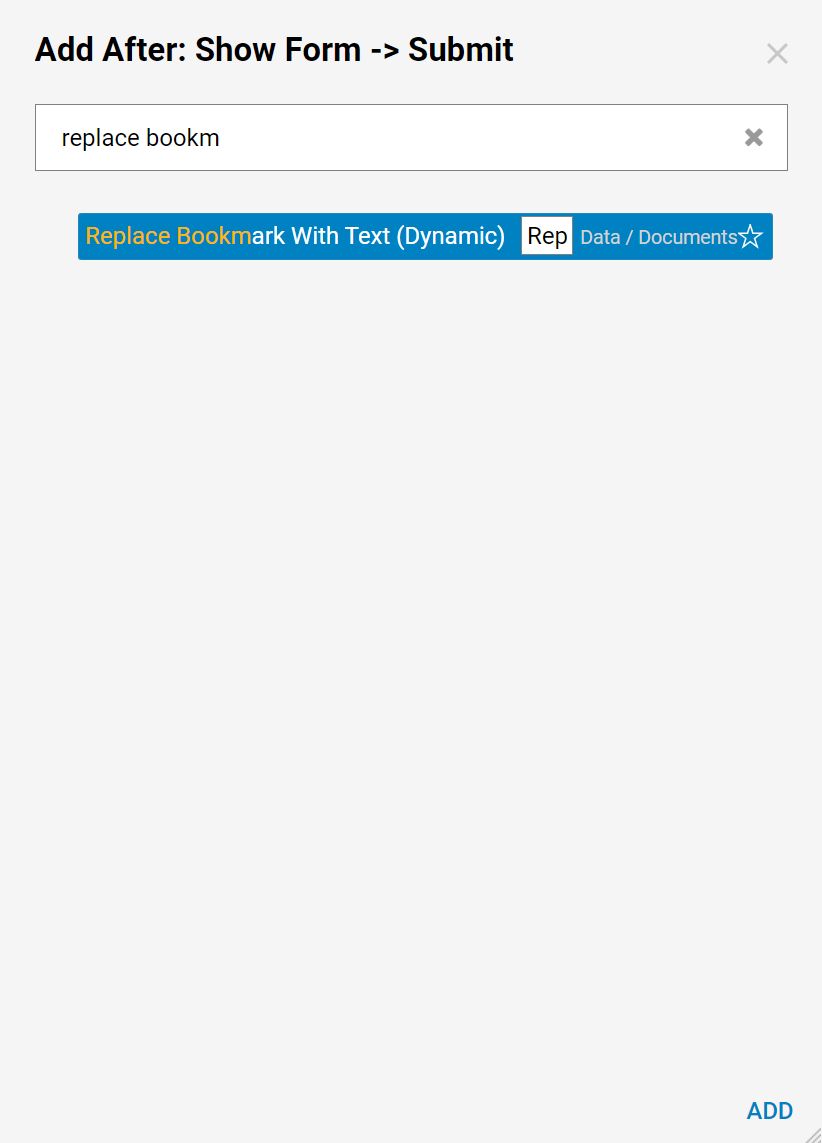
Next, add Replace Bookmark With Text (Dynamic) Step from the All Steps [Catalog] > Data > Documents category in the Quick Add Step dialog to the flow. Use user inputs on the Form as a Text for the Bookmarks in the Word Document.
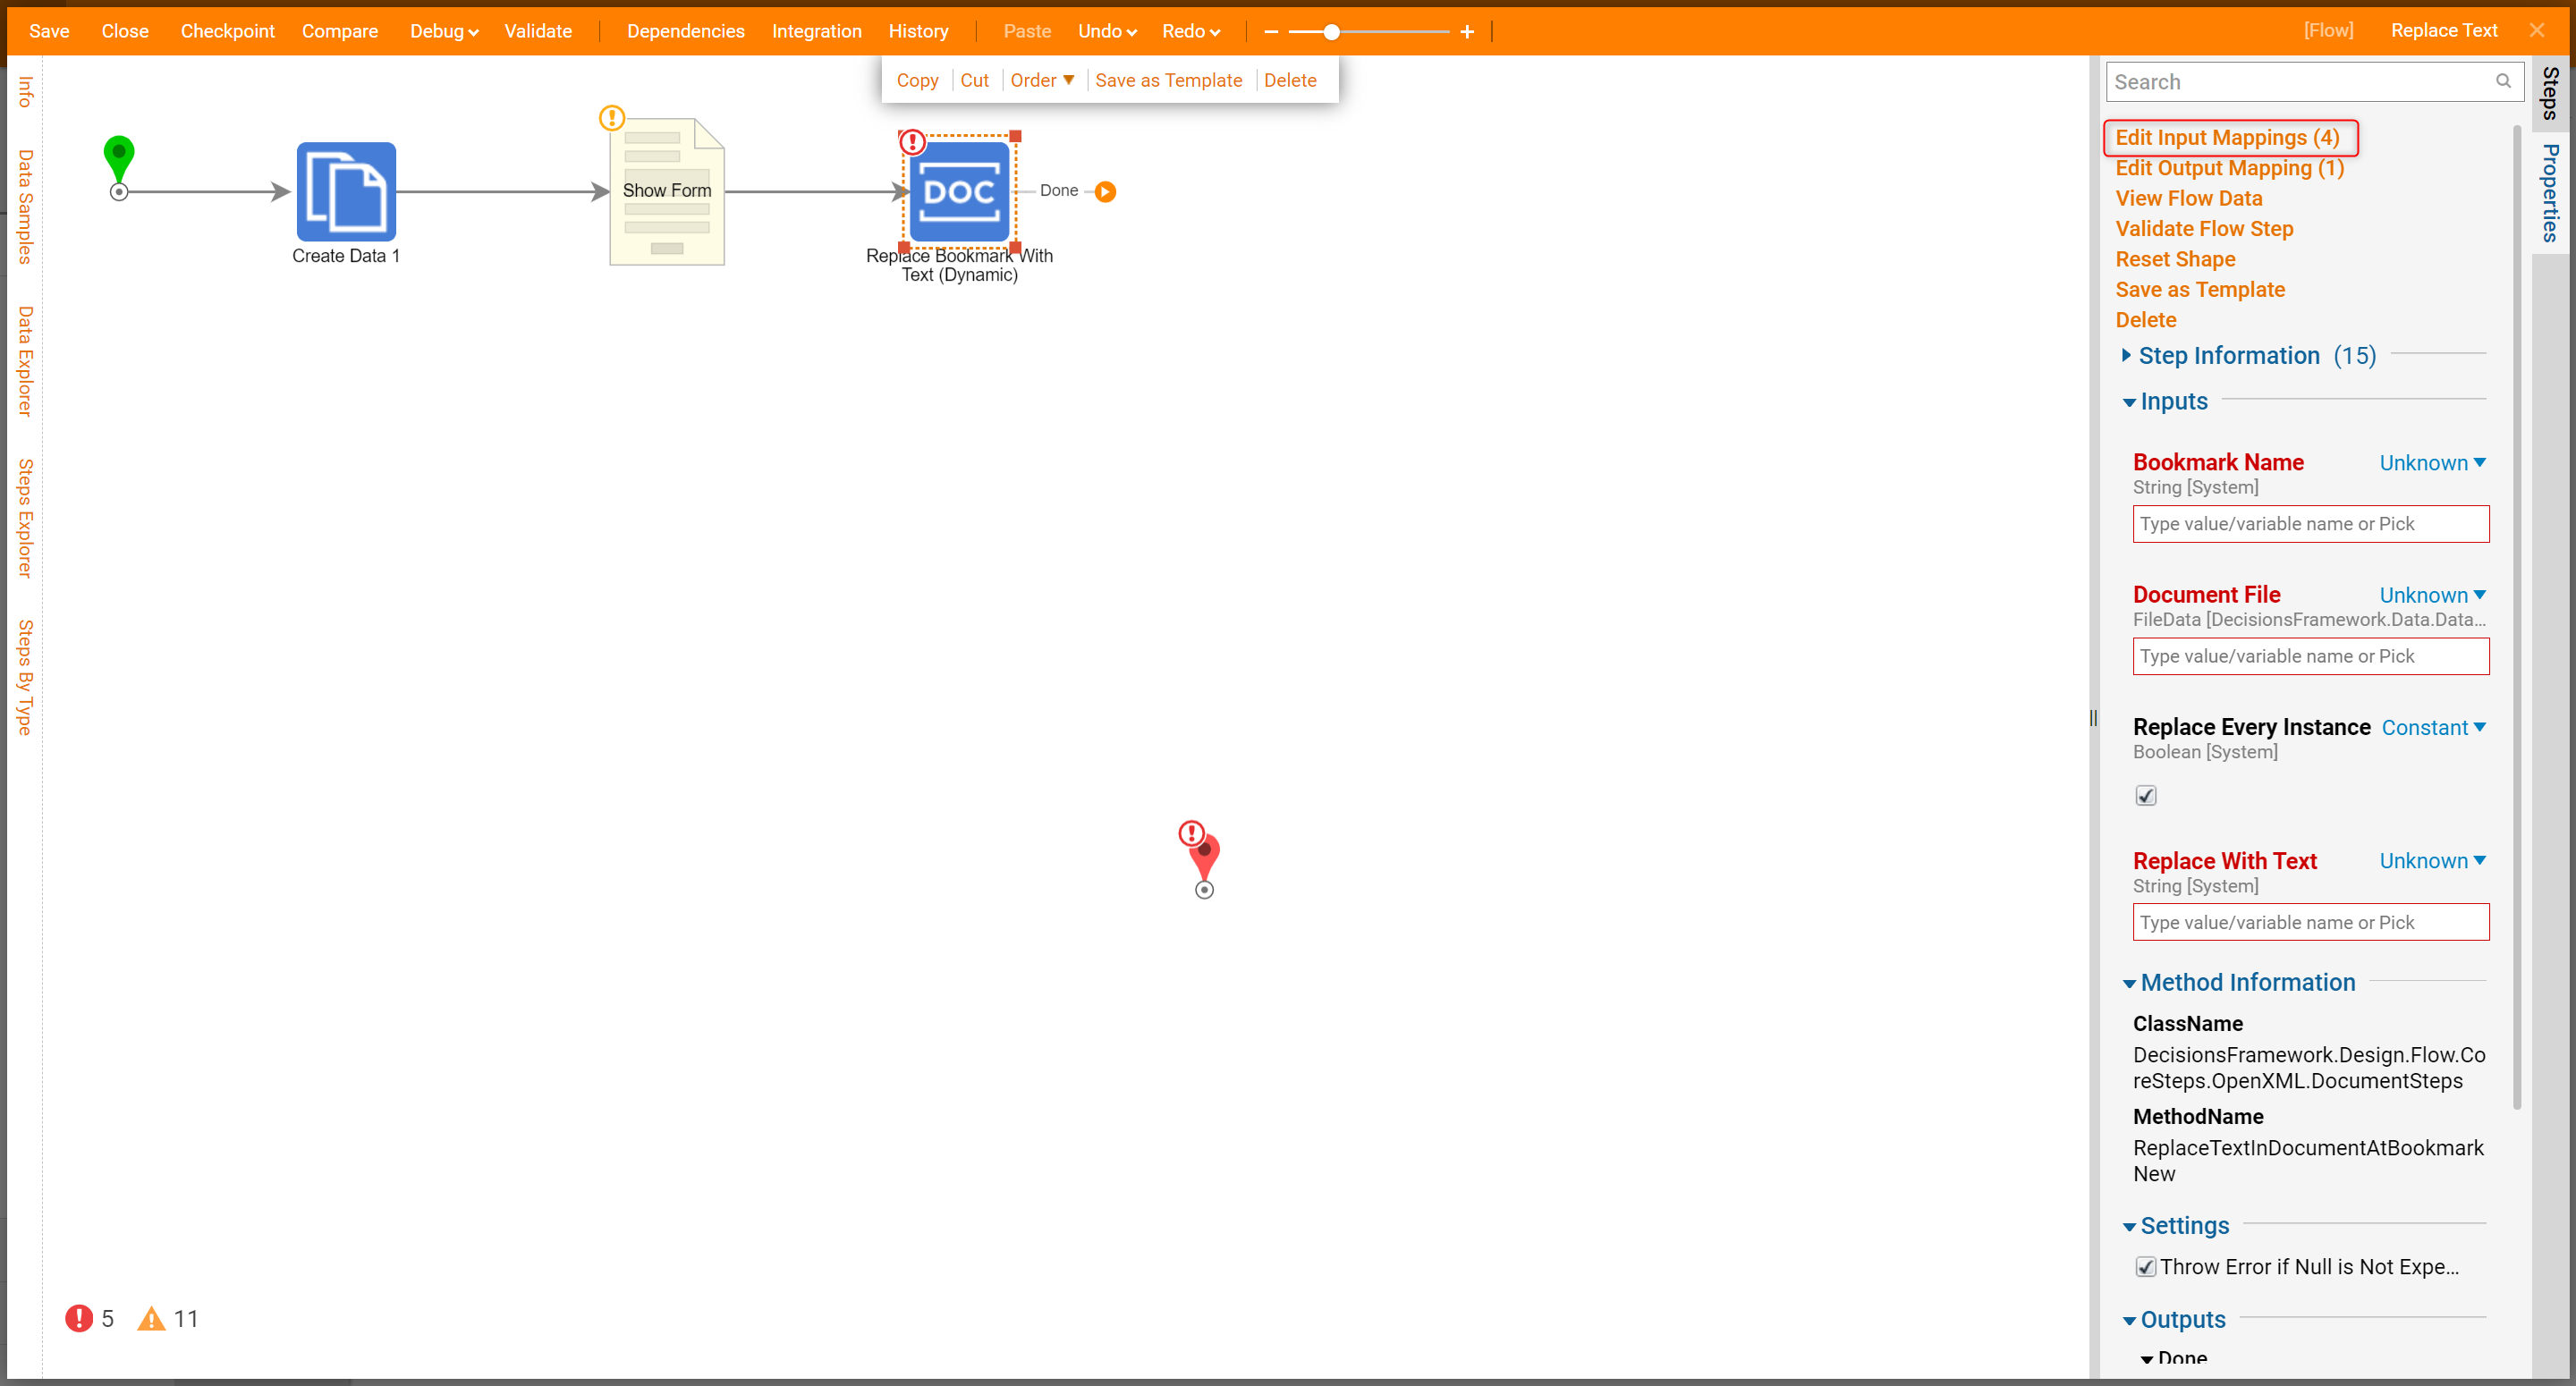
Now select Edit Input Mapping Option from this step’s Options. Define the Inputs, bookmark Name, Document File andreplace With Text.
In the Mapping Editor, connect DocFile to the documentFile field. Then define bookmarkName field and connect the respective outcome from the Form to the replaceWithText field.

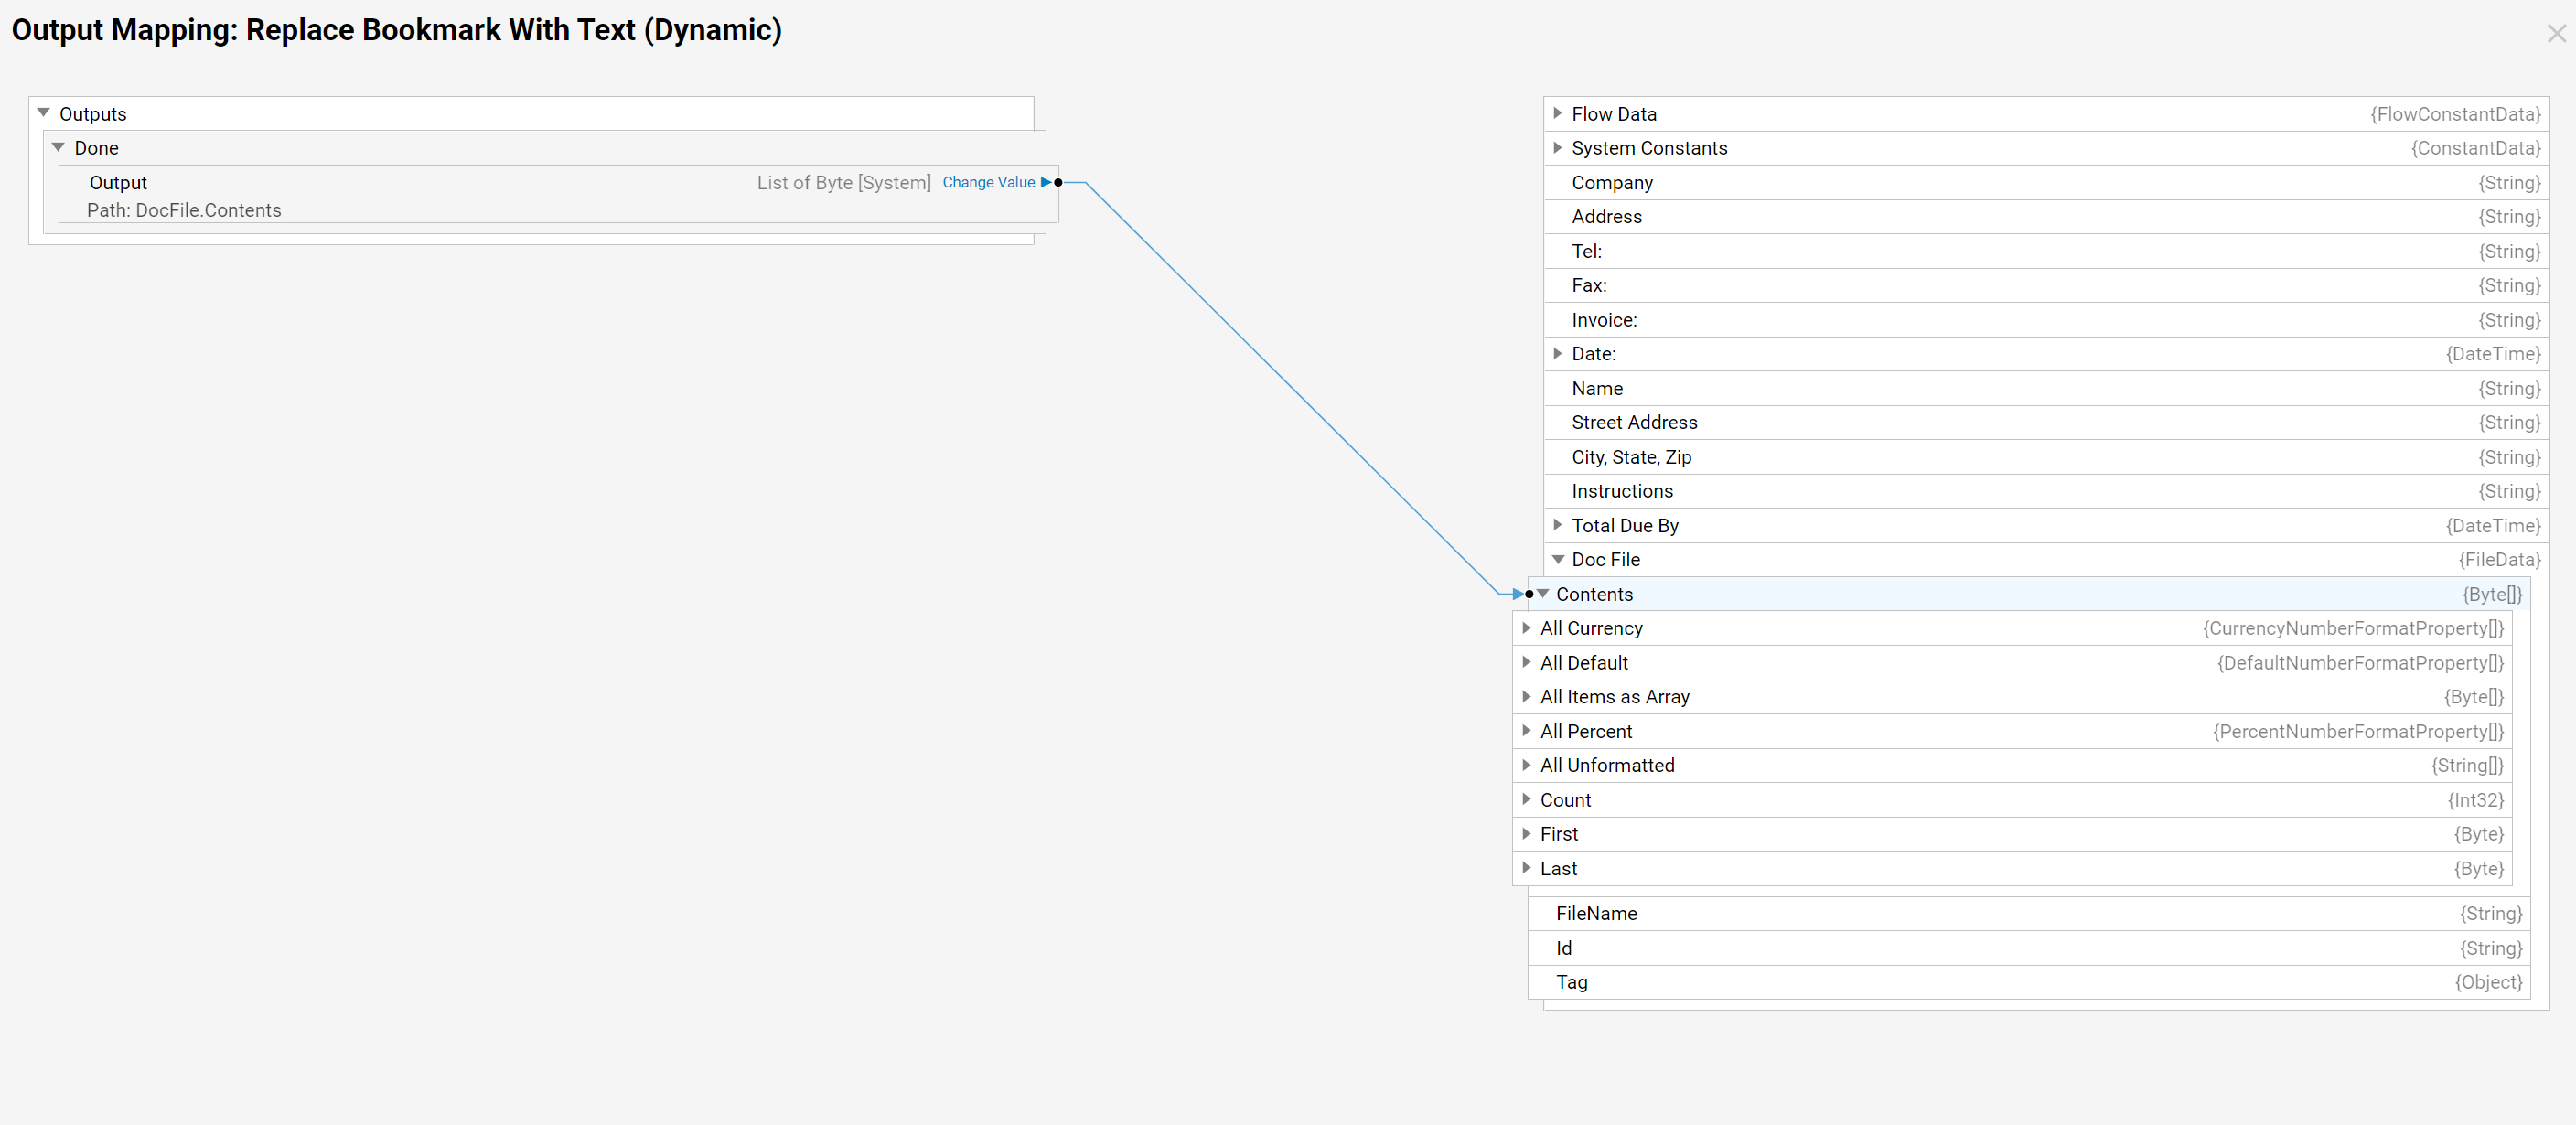
Navigate to EditOutput Mapping, choose Change Value. Then connect Output to the Contents field of the DocFile. This mapping step will update the Contents of the Word Document. Save and close Mapping Editor.
In the Flow designer, add another Replace Bookmark With Text (Dynamic) Step from the All Steps [Catalog] > Data > Documents category in the Quick Add Step dialog.
.png)
In the Mapping Editor, map data in a similar manner as the previous step. This time, use another bookmark Step and a different output value from the Form.

The Output configuration for this step is exactly the same as for the previous step.

Because there are eleven different bookmarks in the Invoice Template, ElevenReplace Bookmark With Text (Dynamic) steps from the All Steps [Catalog] > Data > Documents category will be used in the flow. The data for each Replace Bookmark With Text will all map in a similar manner using Bookmark Names and User Inputs from the Form. The Output configuration in Mapping Editor is the same for all these steps.
Finally, add another Show Form step from Favorite Steps in the Quick Add Step dialog to create a Download Form. In the resulting window, Name the Form and select Create to proceed to the Form designer.
.png)
This Form has a Title, which is a Label component from the Data category, a Button control from Actions category, and a File Download control from File Handling category. When the Form is complete save the Form and close Form designer.
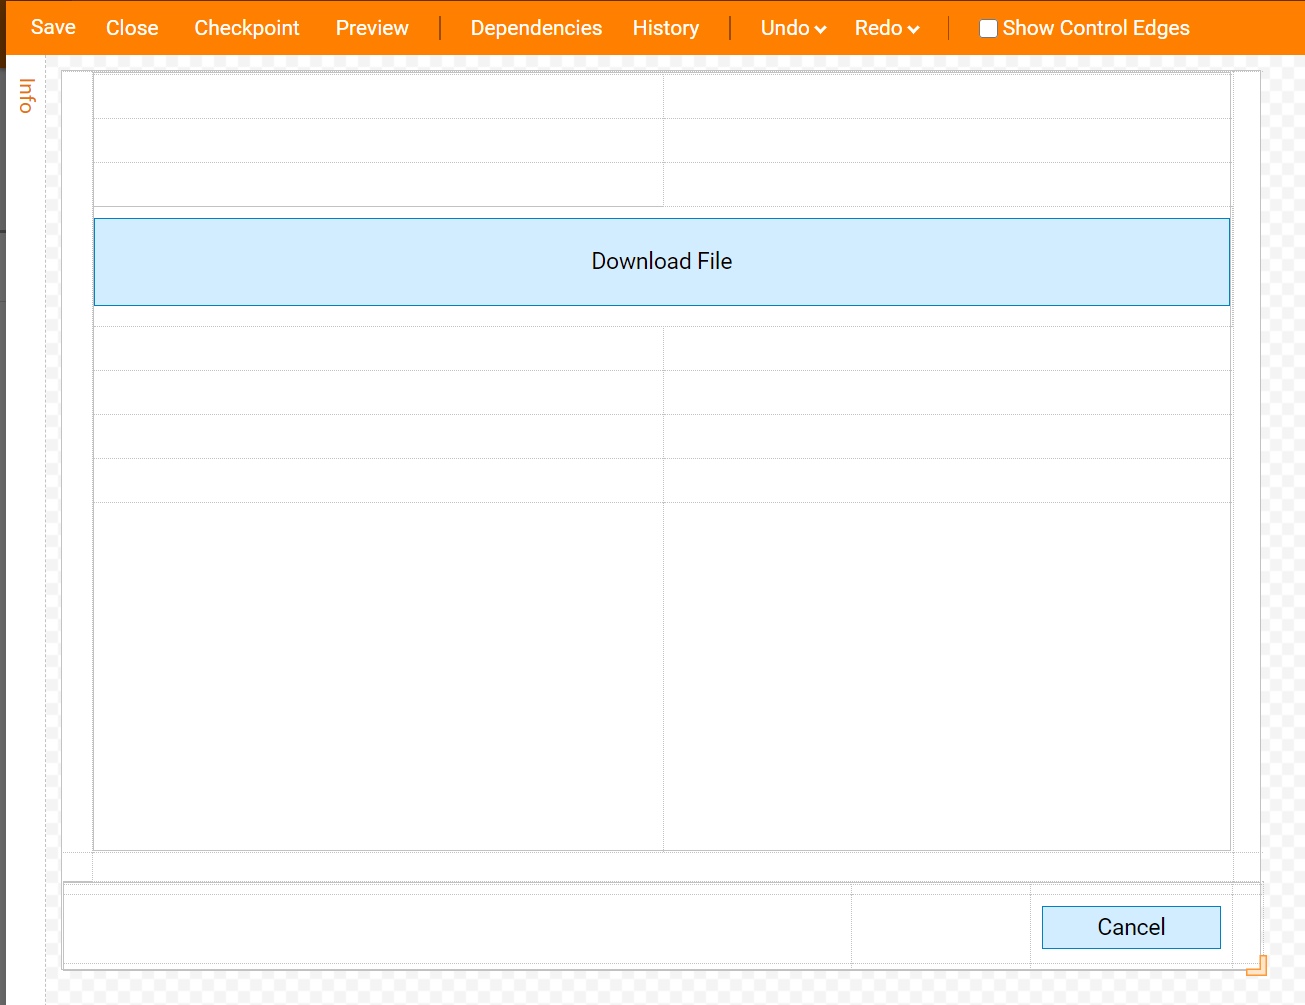
In the Flow designer connect the Outcome from the Download Form to the End Step in the Flow. Select the Edit Input Mapping for the Form step.
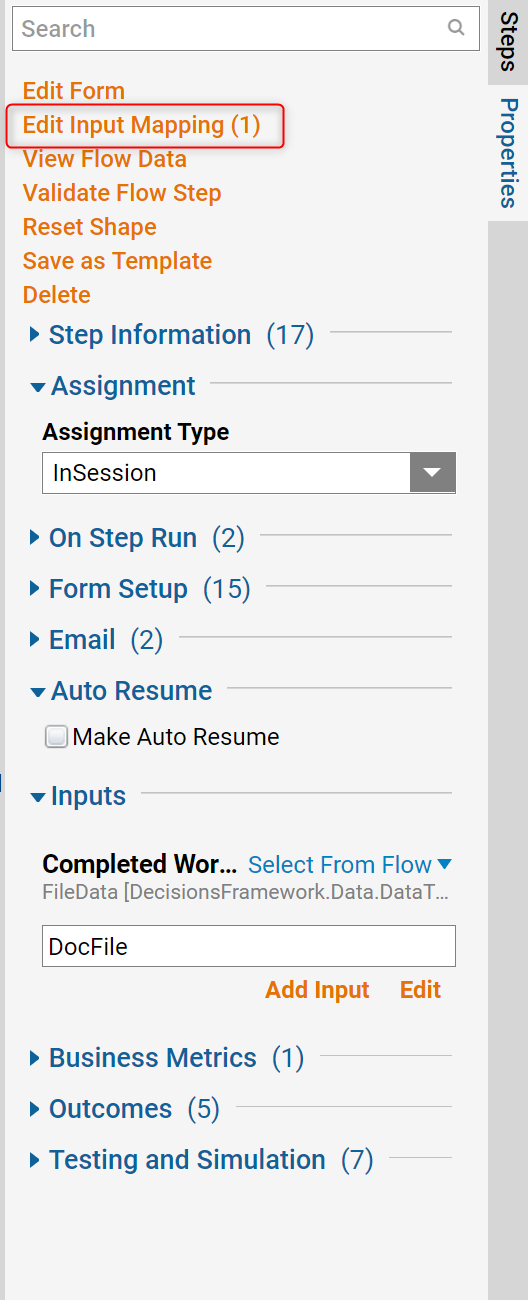
In the Mapping Editor, map the updated DocFile to the FileHere Download control on the Form. Then, save and close Mapping Editor.

This completes the Flow design,
Debug
Select Debug from the top action panel of the Flow Designer to test the Flow.
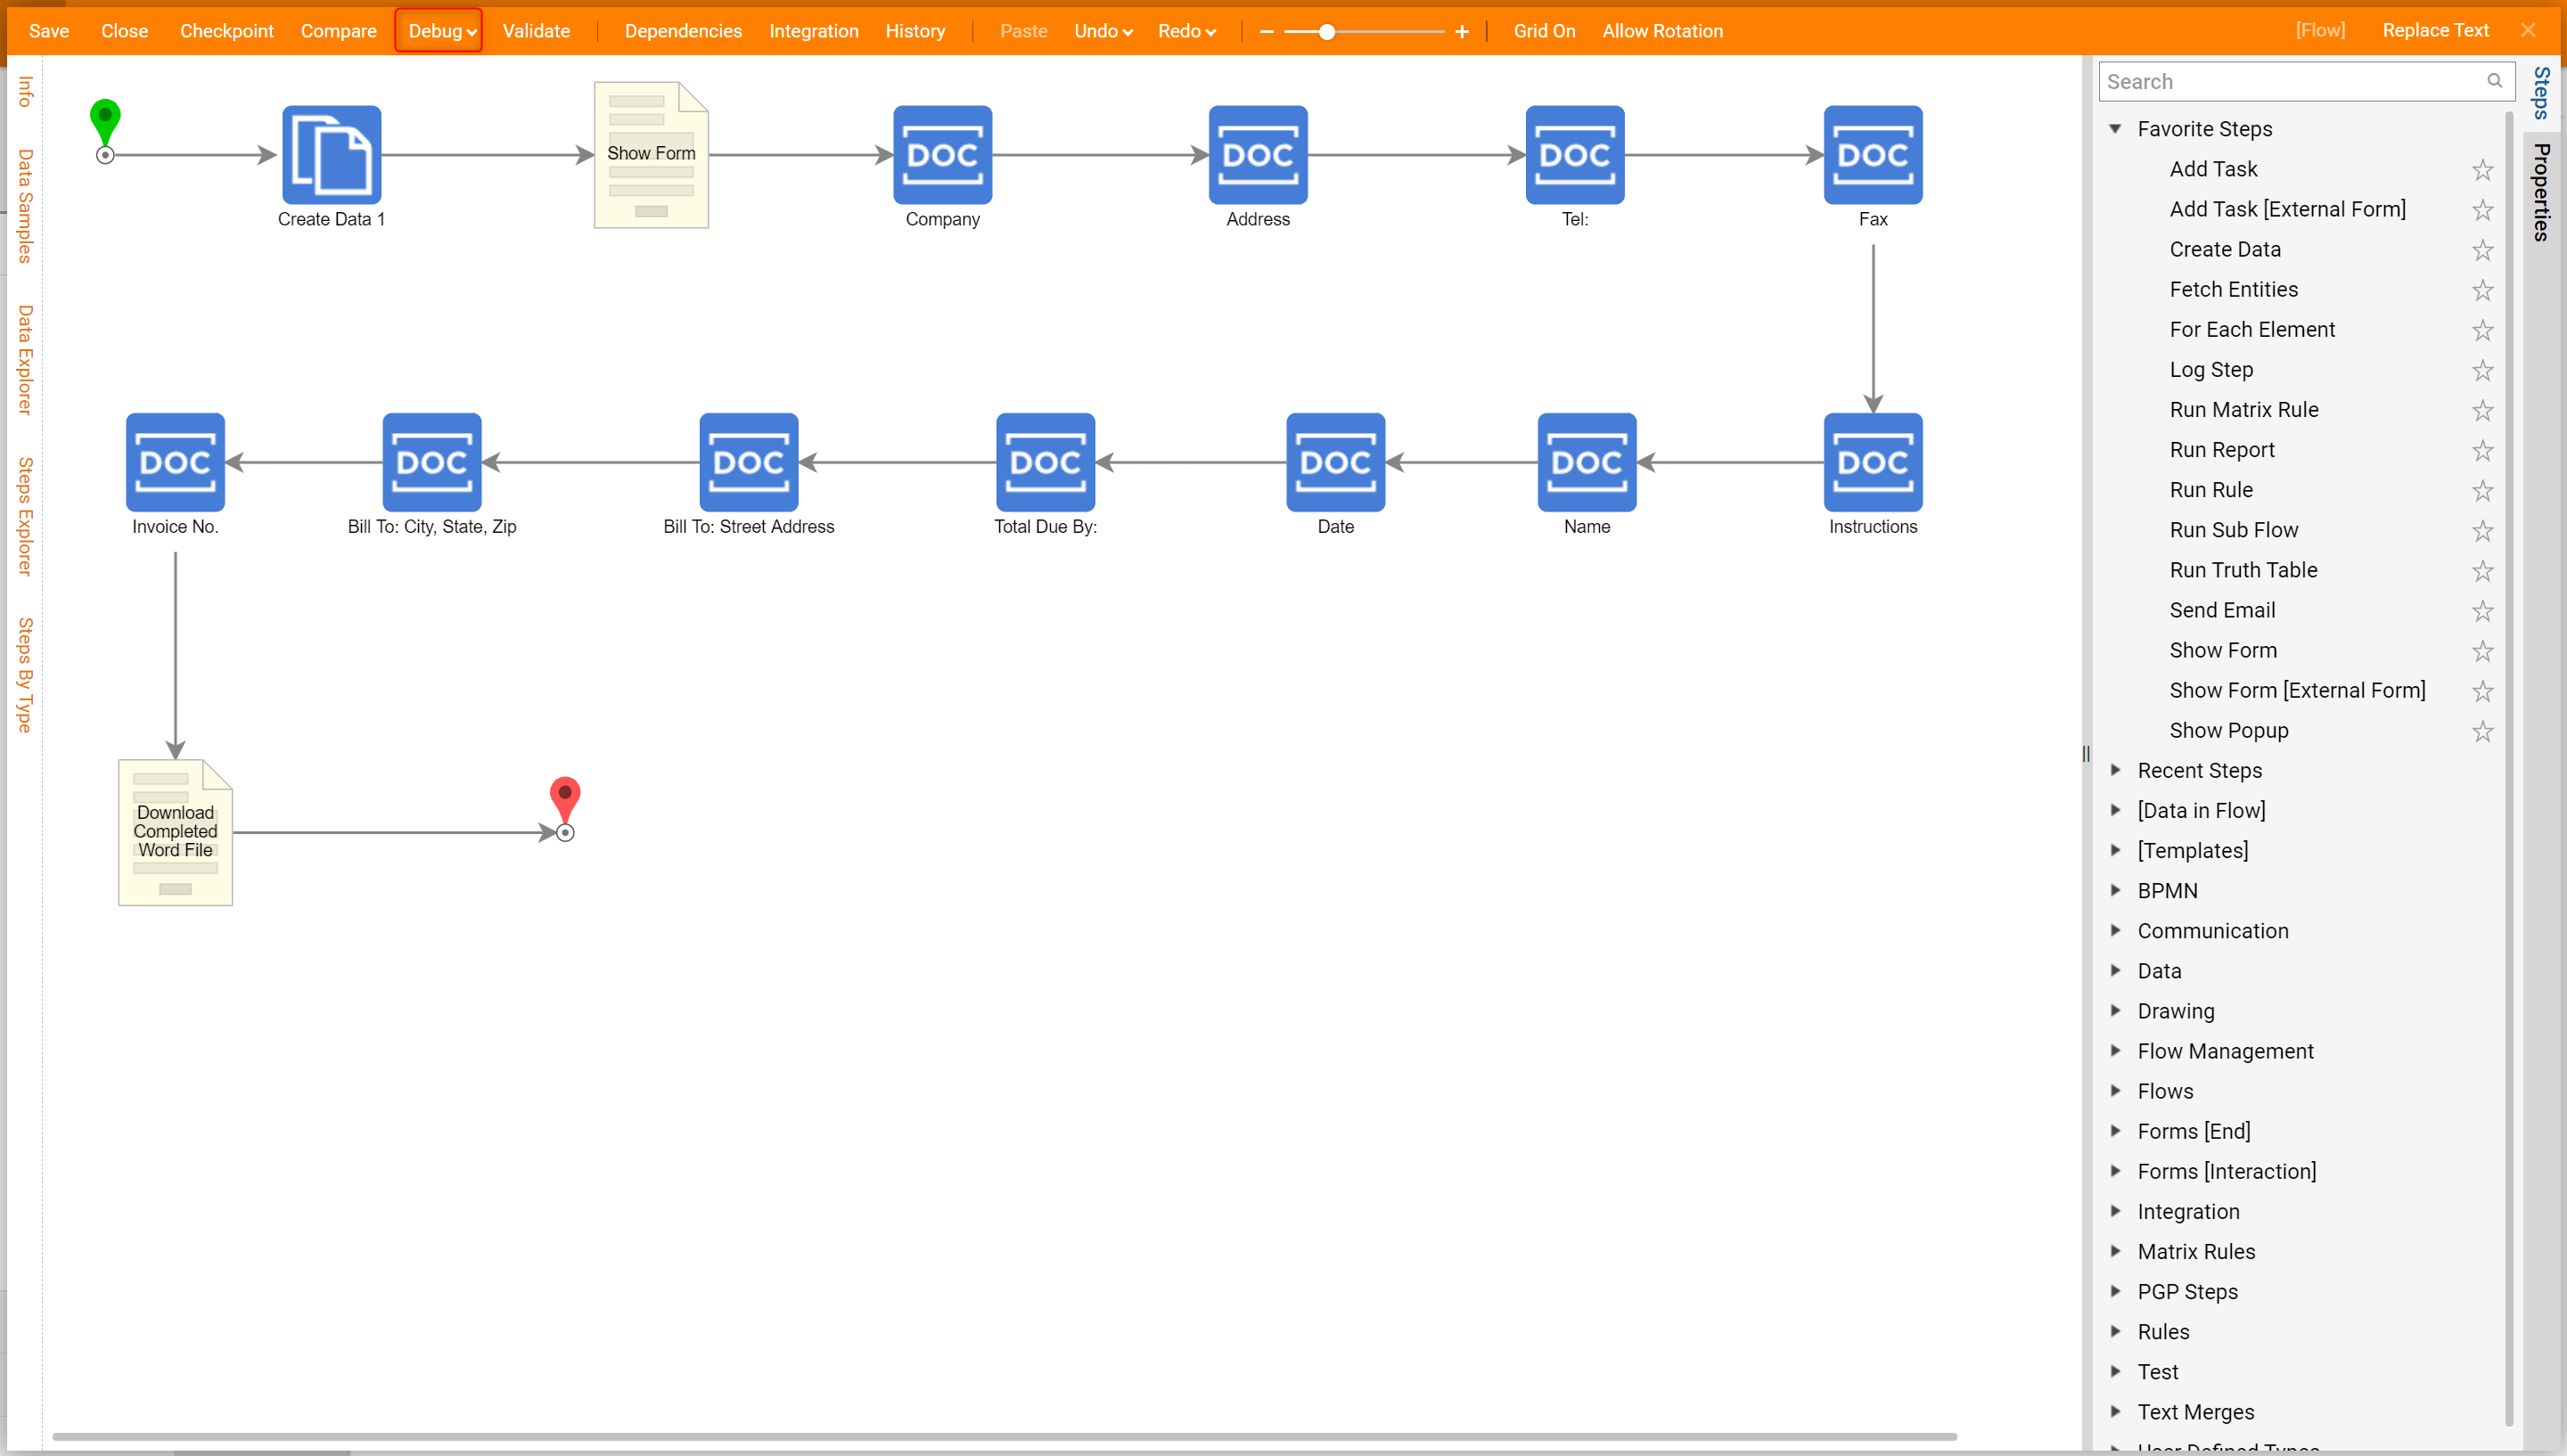
The Invoice Form opens in the Debugger. Fill in all required fields and select Submit.

Next, The Download Invoice Form opens. Select the Download File button.
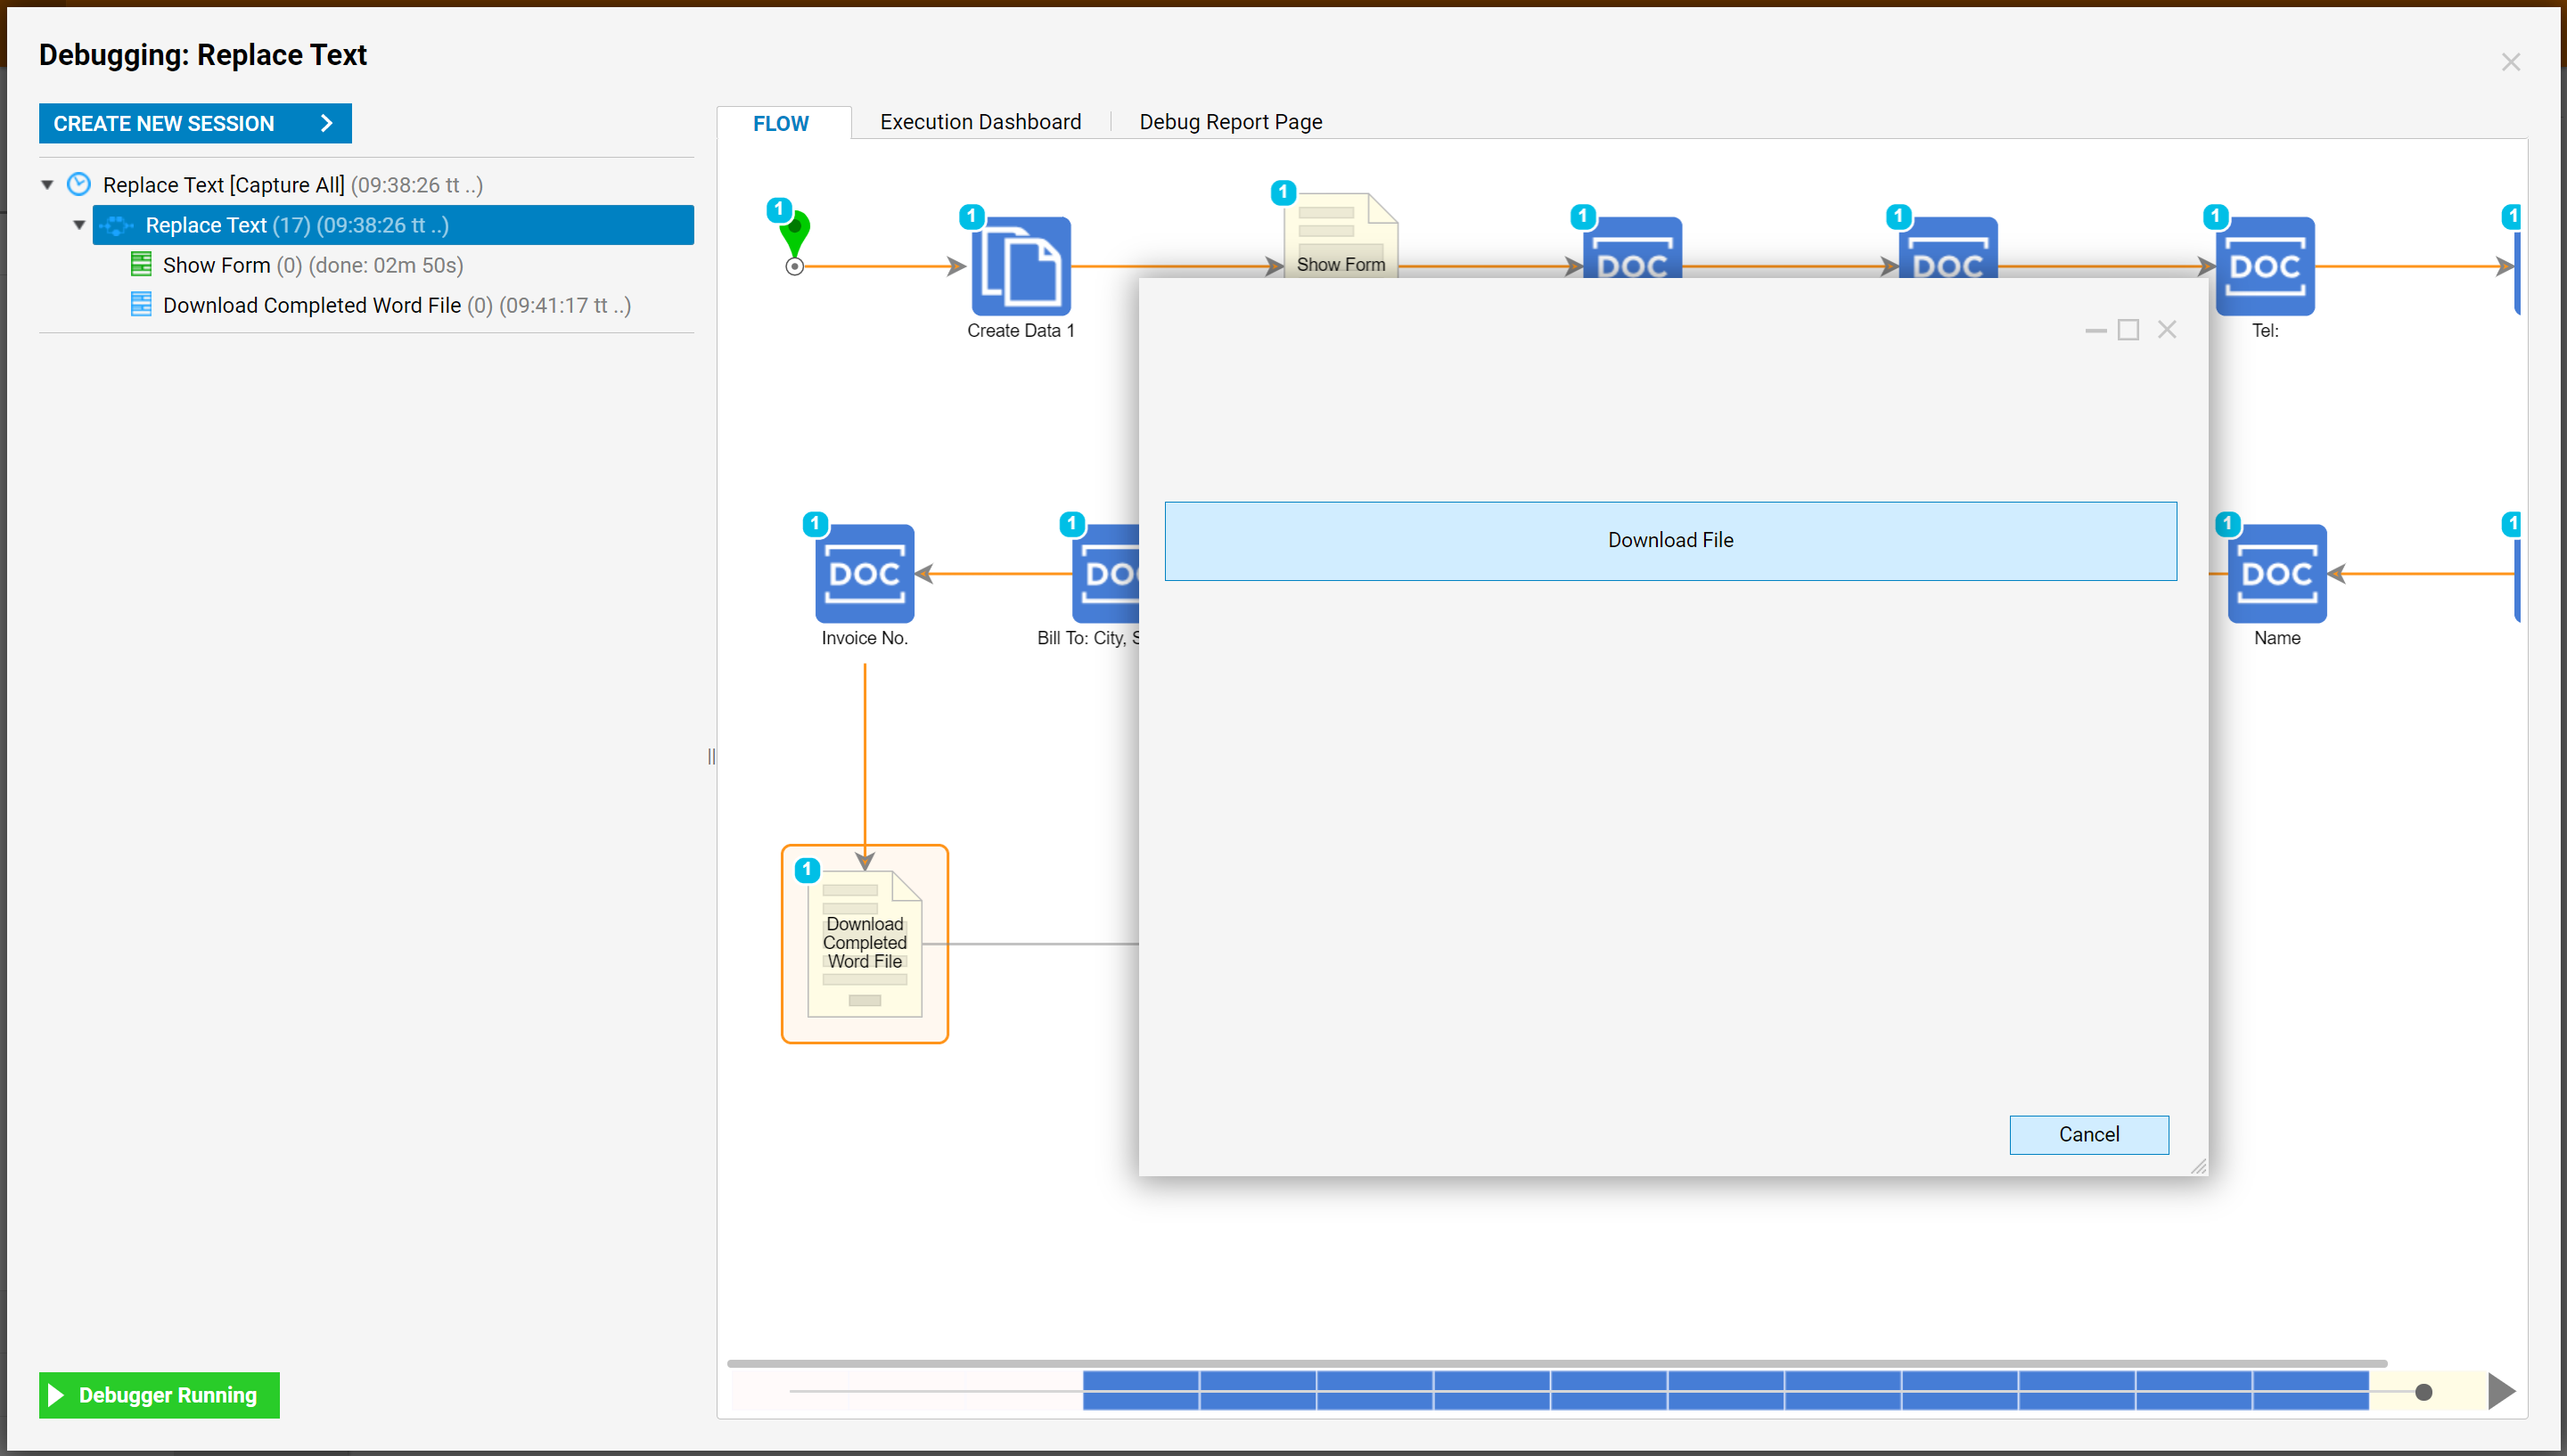
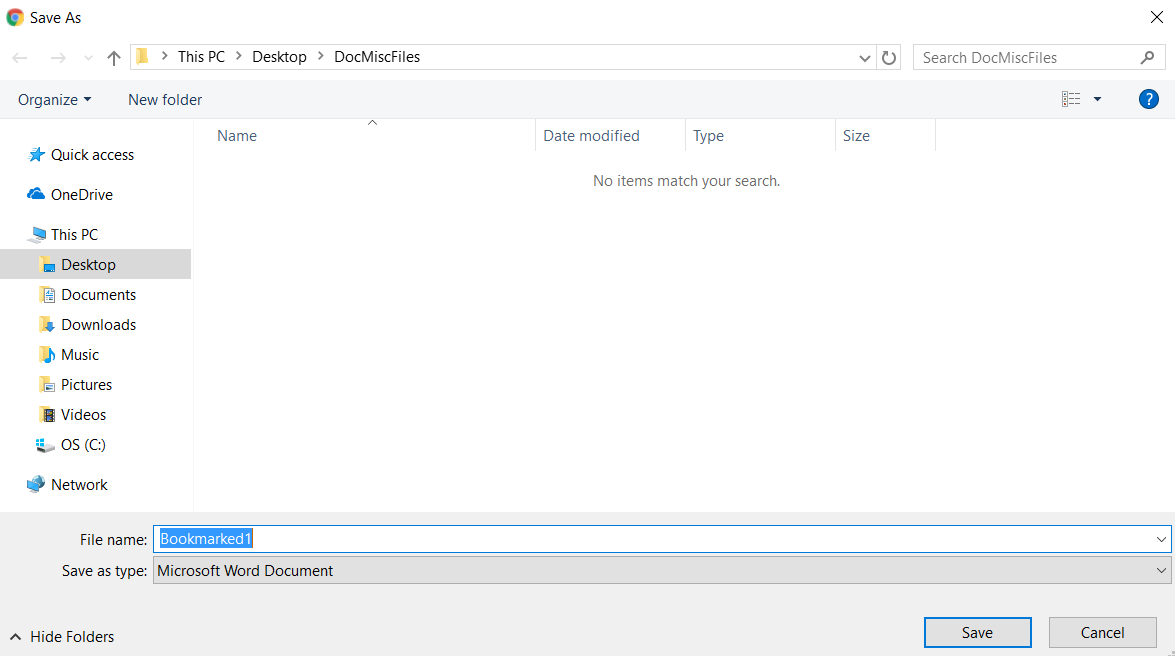
Next, confirm the Download process. Then Name the File and Save.
Back in the Debugger select Done on the Download Invoice Form.
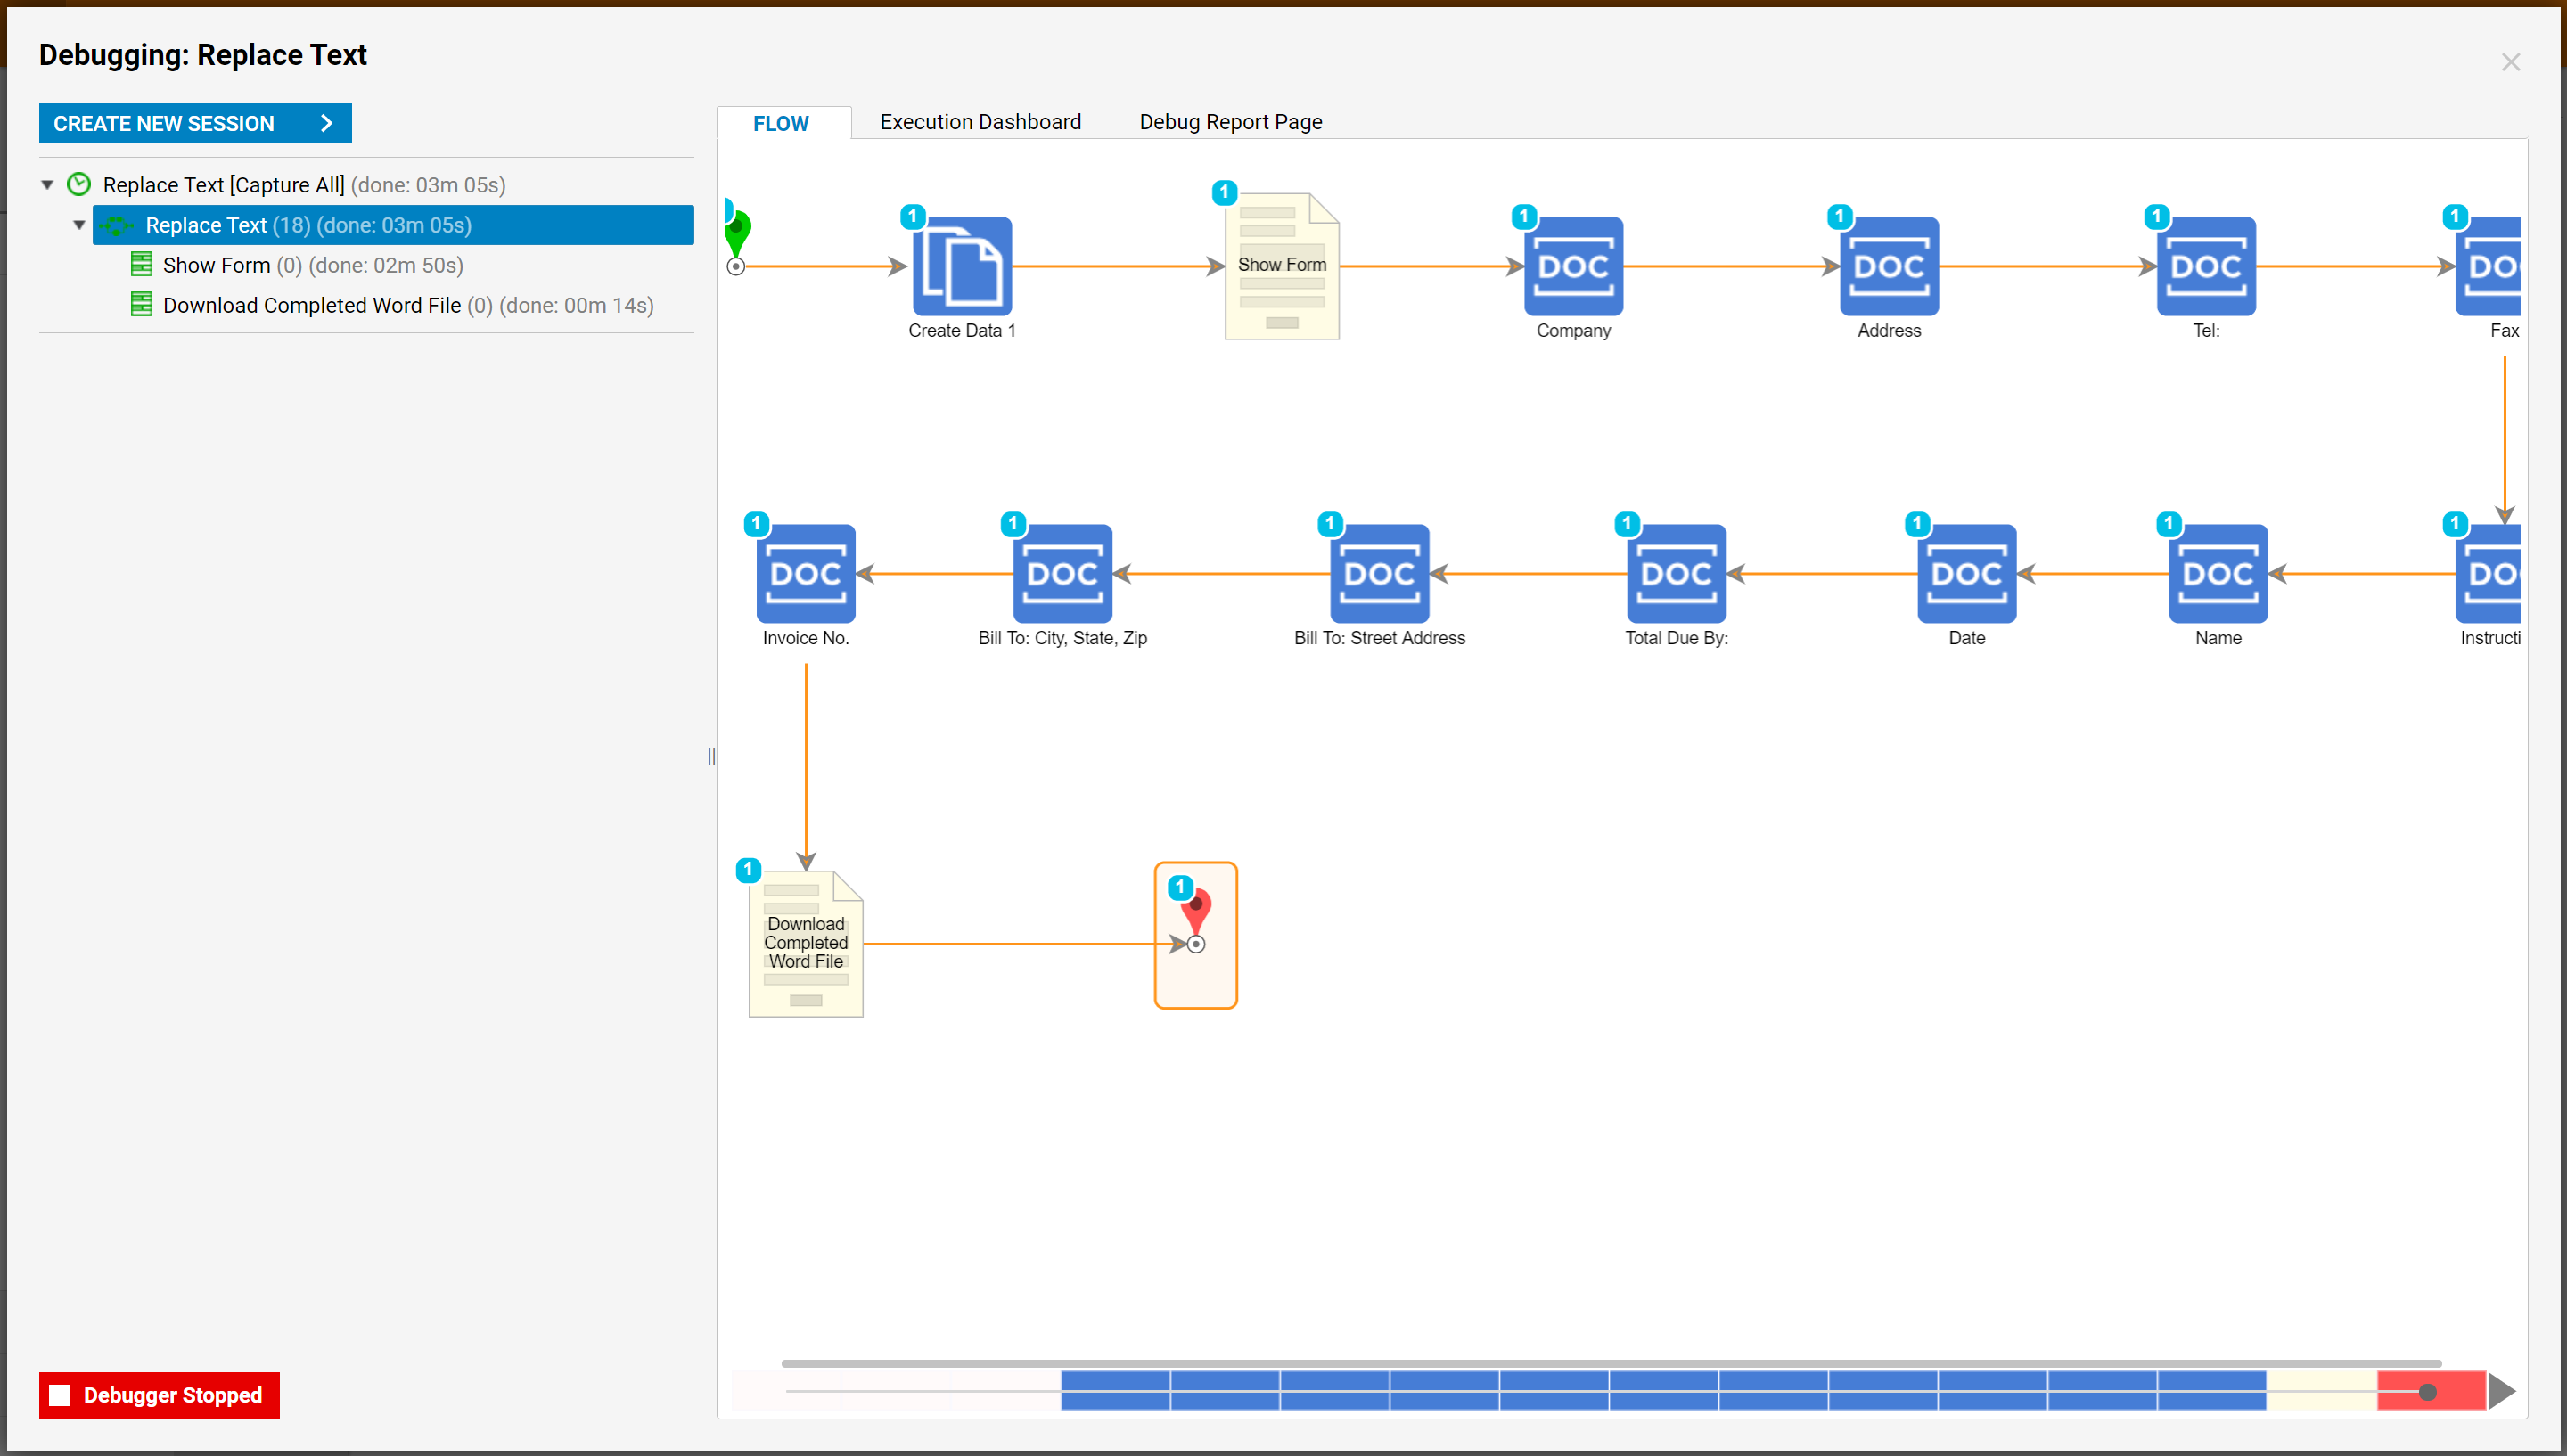
Locate the New Document file and open it. Confirm that all bookmarks on the Template were changed with user’s inputs.
