Overview
This tutorial demonstrates how to use Parameterized Queries in Decisions. Parameterized Queries are the best way to prevent SQL Injections. In these types of queries, Parameters are defined that become Variables when this Query is run in the Workflow process. This technology makes queries dynamic.
Example
This example demonstrates how to create and use Parameterized Queries.
- Create a Parameterized Query for SQL Server.The default Decisions database or another database can be integrated. For more information on integrating a database, see Integrating an External Database with a Flow.
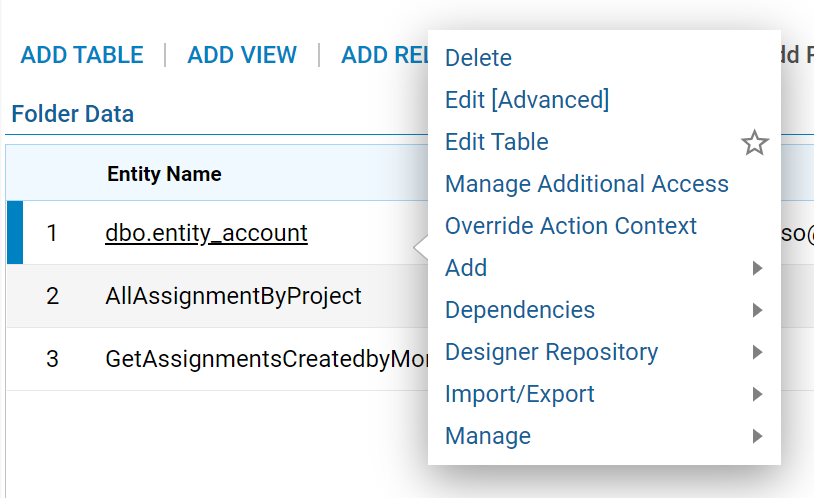
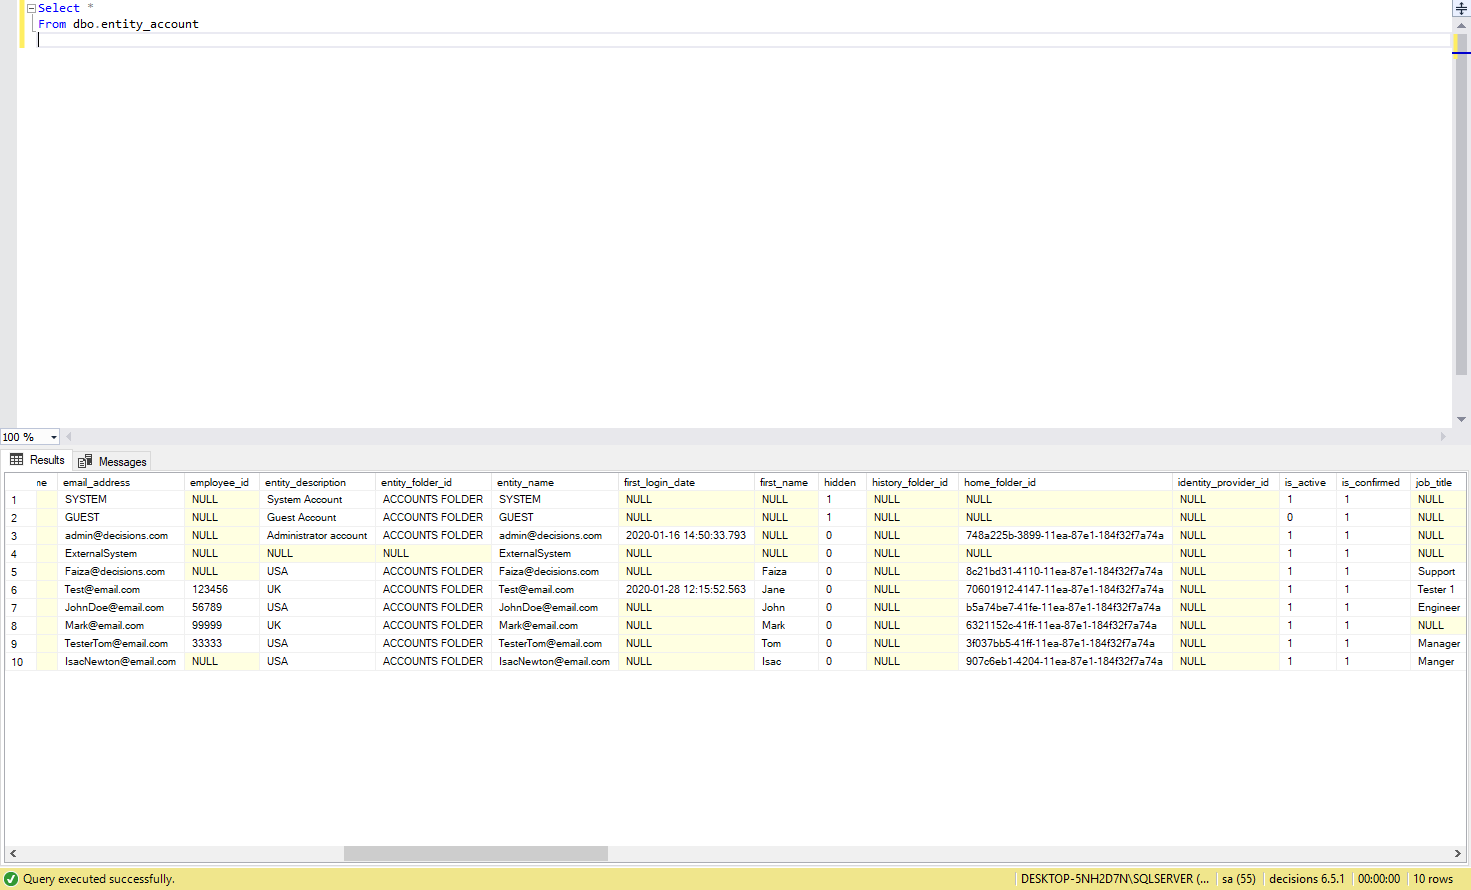
- In this example, an entity_account table will be queried in a Local Decisions database.
Create Query
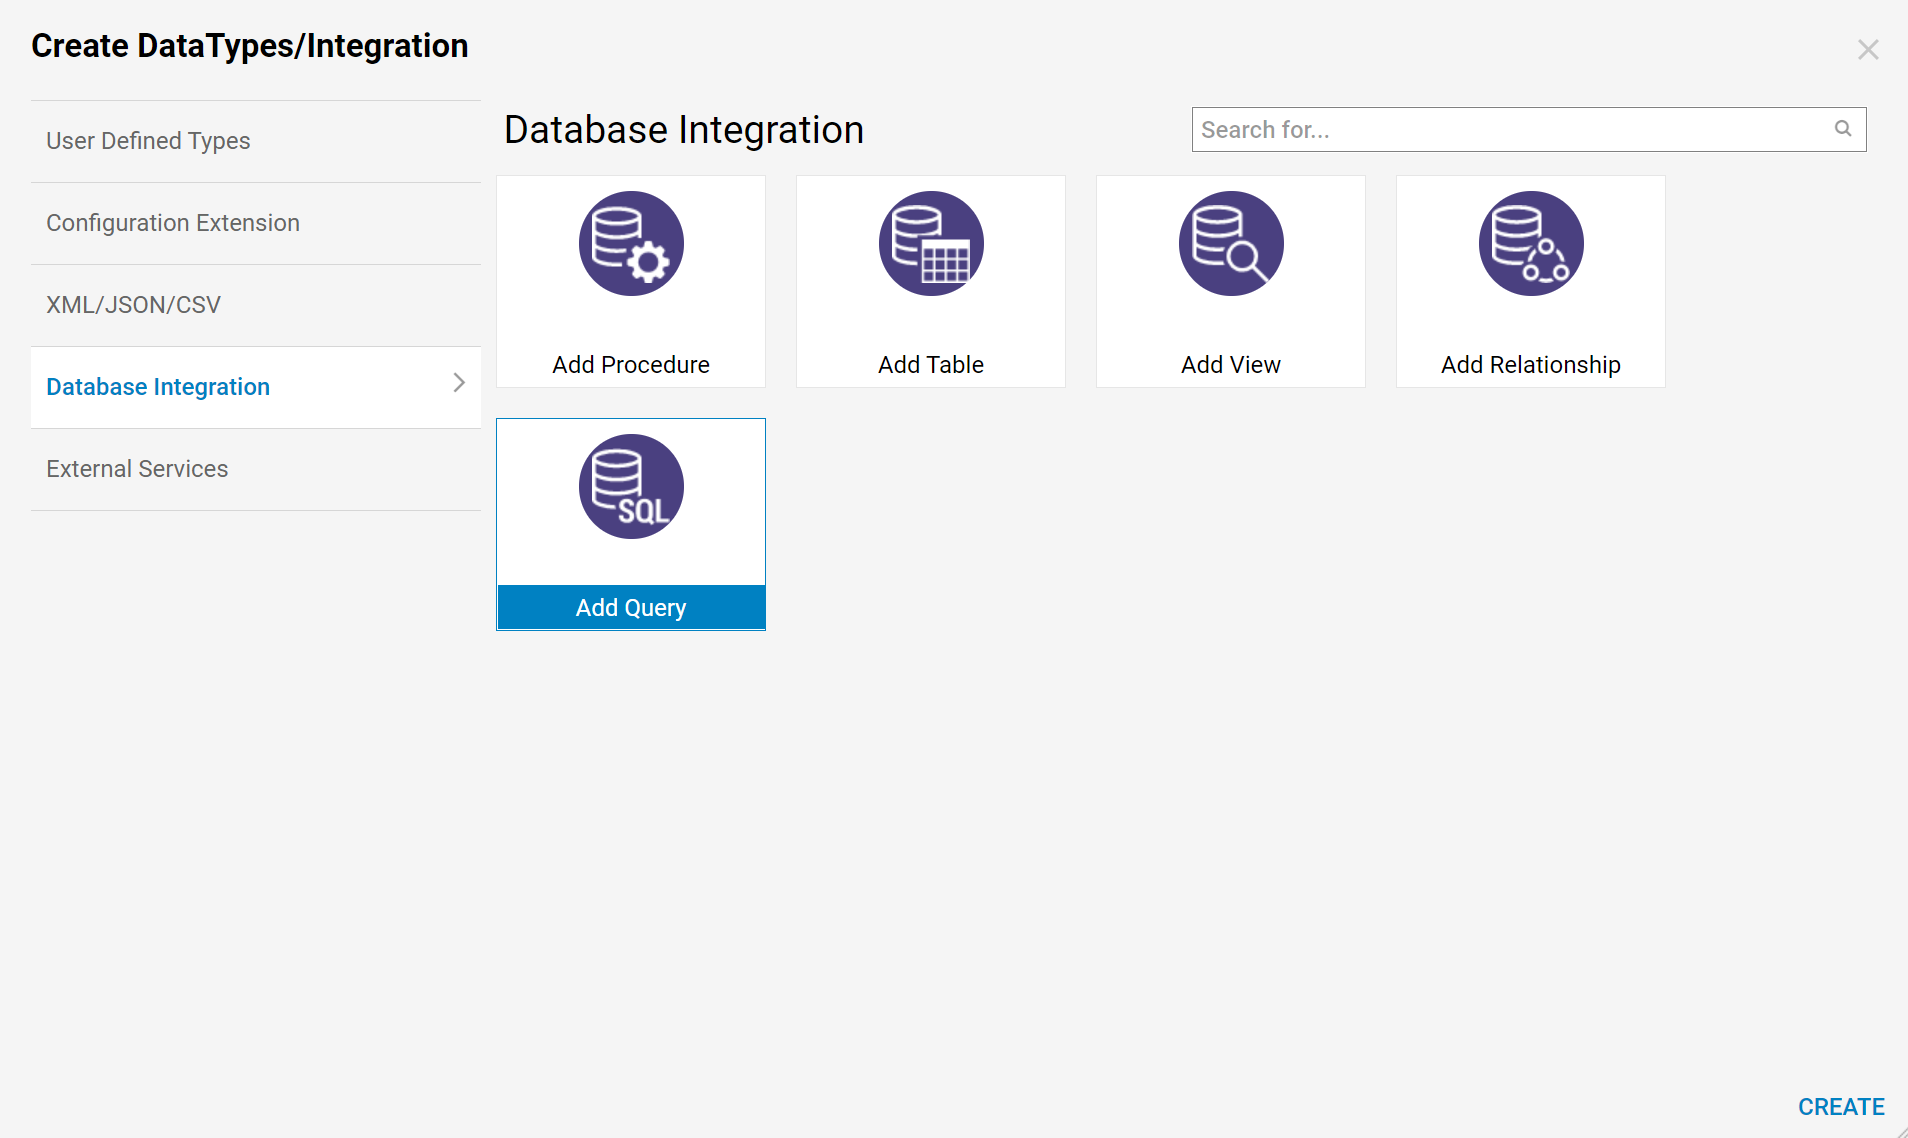
- In a Designer Folder, select DATATYPES/INTEGRATIONS > Database Integration > Add Query.
- A Database Integration window pops up. In the Query Settings, provide a desirable Name for the Query.
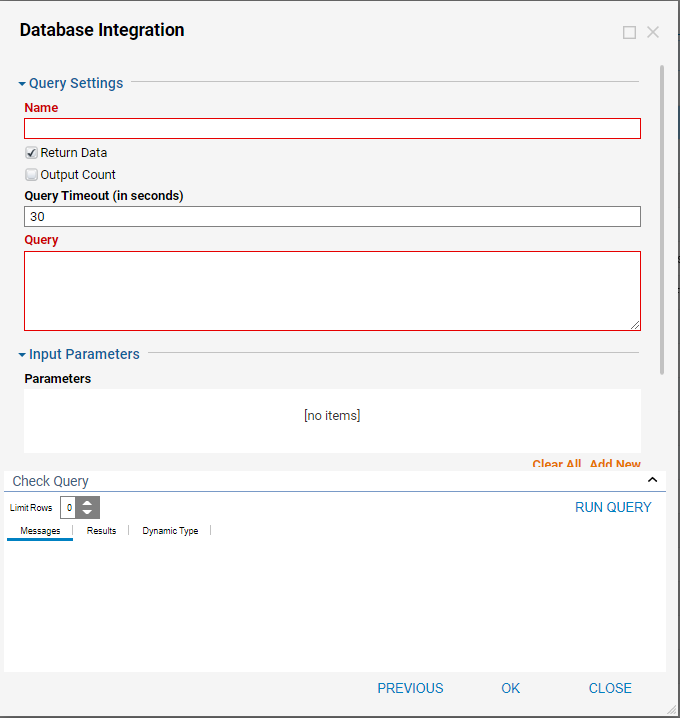
- If the Query needs to return data, check the Return Data Checkbox, as well as Output Count. Query Timeout (in seconds) can also be set.
- In the Query window, define the Query statement. The query will Get All Accounts by the Company field.
- Notice the last field of the Query definition states where Company = @Company. In this example, @Company will be the Parameter. The ‘@’ character defines a Parameter for the SQL Server Query.For different types of Database servers, the parameter syntax may vary (i.e. The parameter syntax in Oracle would be ':').
- Click the Run Query button to test the Query.
- Note that the Query did not fail, but returned 0 Rows.
- Also note that the System generated @Company parameter in the Input Parameters section.
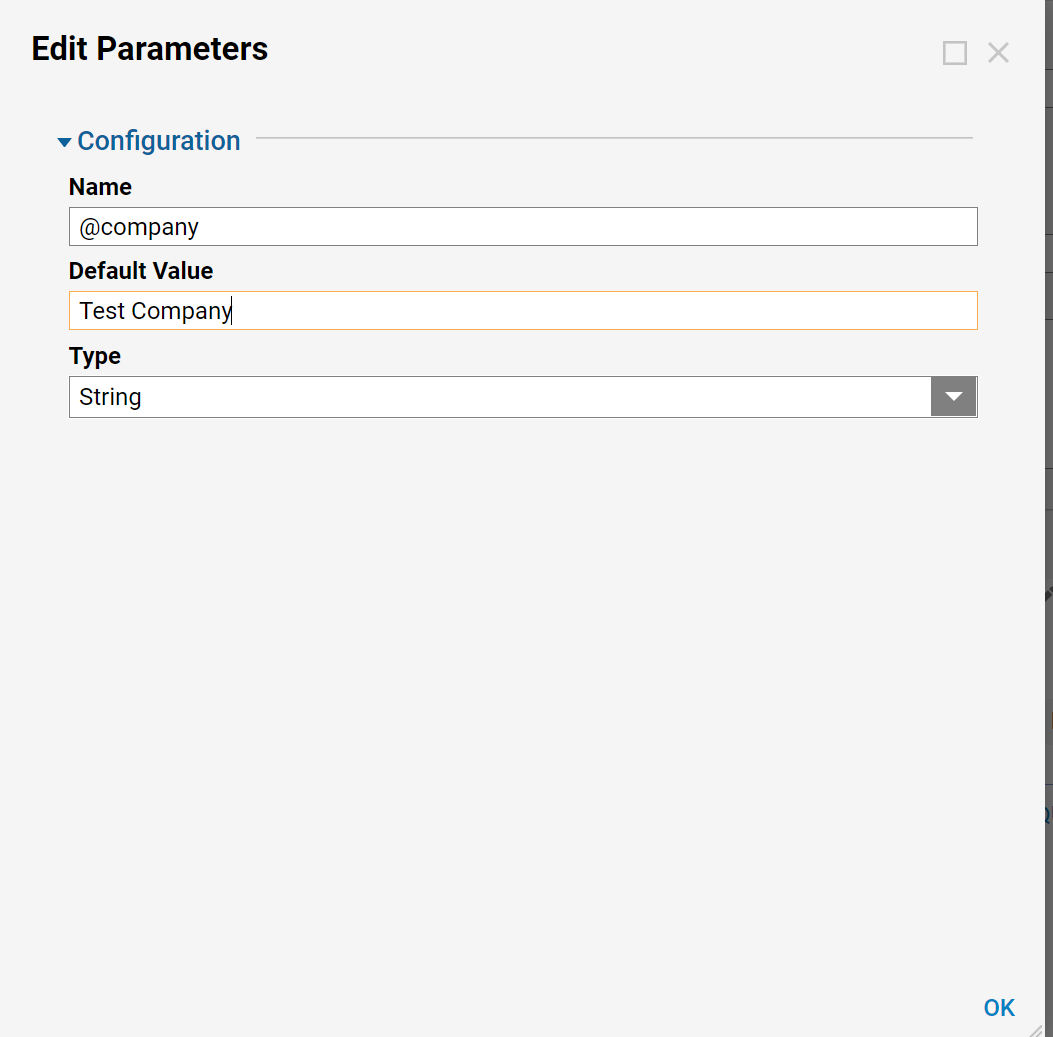
- This Parameter can be Edited by clicking the pencil icon.

- In the Edit Parameters window, define Name, Default Value, Maximum Value, and Type for this Parameter.
- Define the Default Value for the parameter and click OK to save and continue.
- Back in the Database Integration window, in Output Settings, it is possible to select different Return Data Options:
- Create Type (system creates new Type based on returned Fields)
- Select Type (to let the user pick existent Type)
- Data Rows (to output dynamic Data Rows structure)
- CSV Data Rows(to output comma-separated rows)
- In this example, leave the Return Data Option as Create Type.

- Next, Run the Query again. Since the Default Value for the Parameter (USA) has been defined, the Query returns all Customers that are located in the USA.
- Click OK to save and close the Database Integration window.
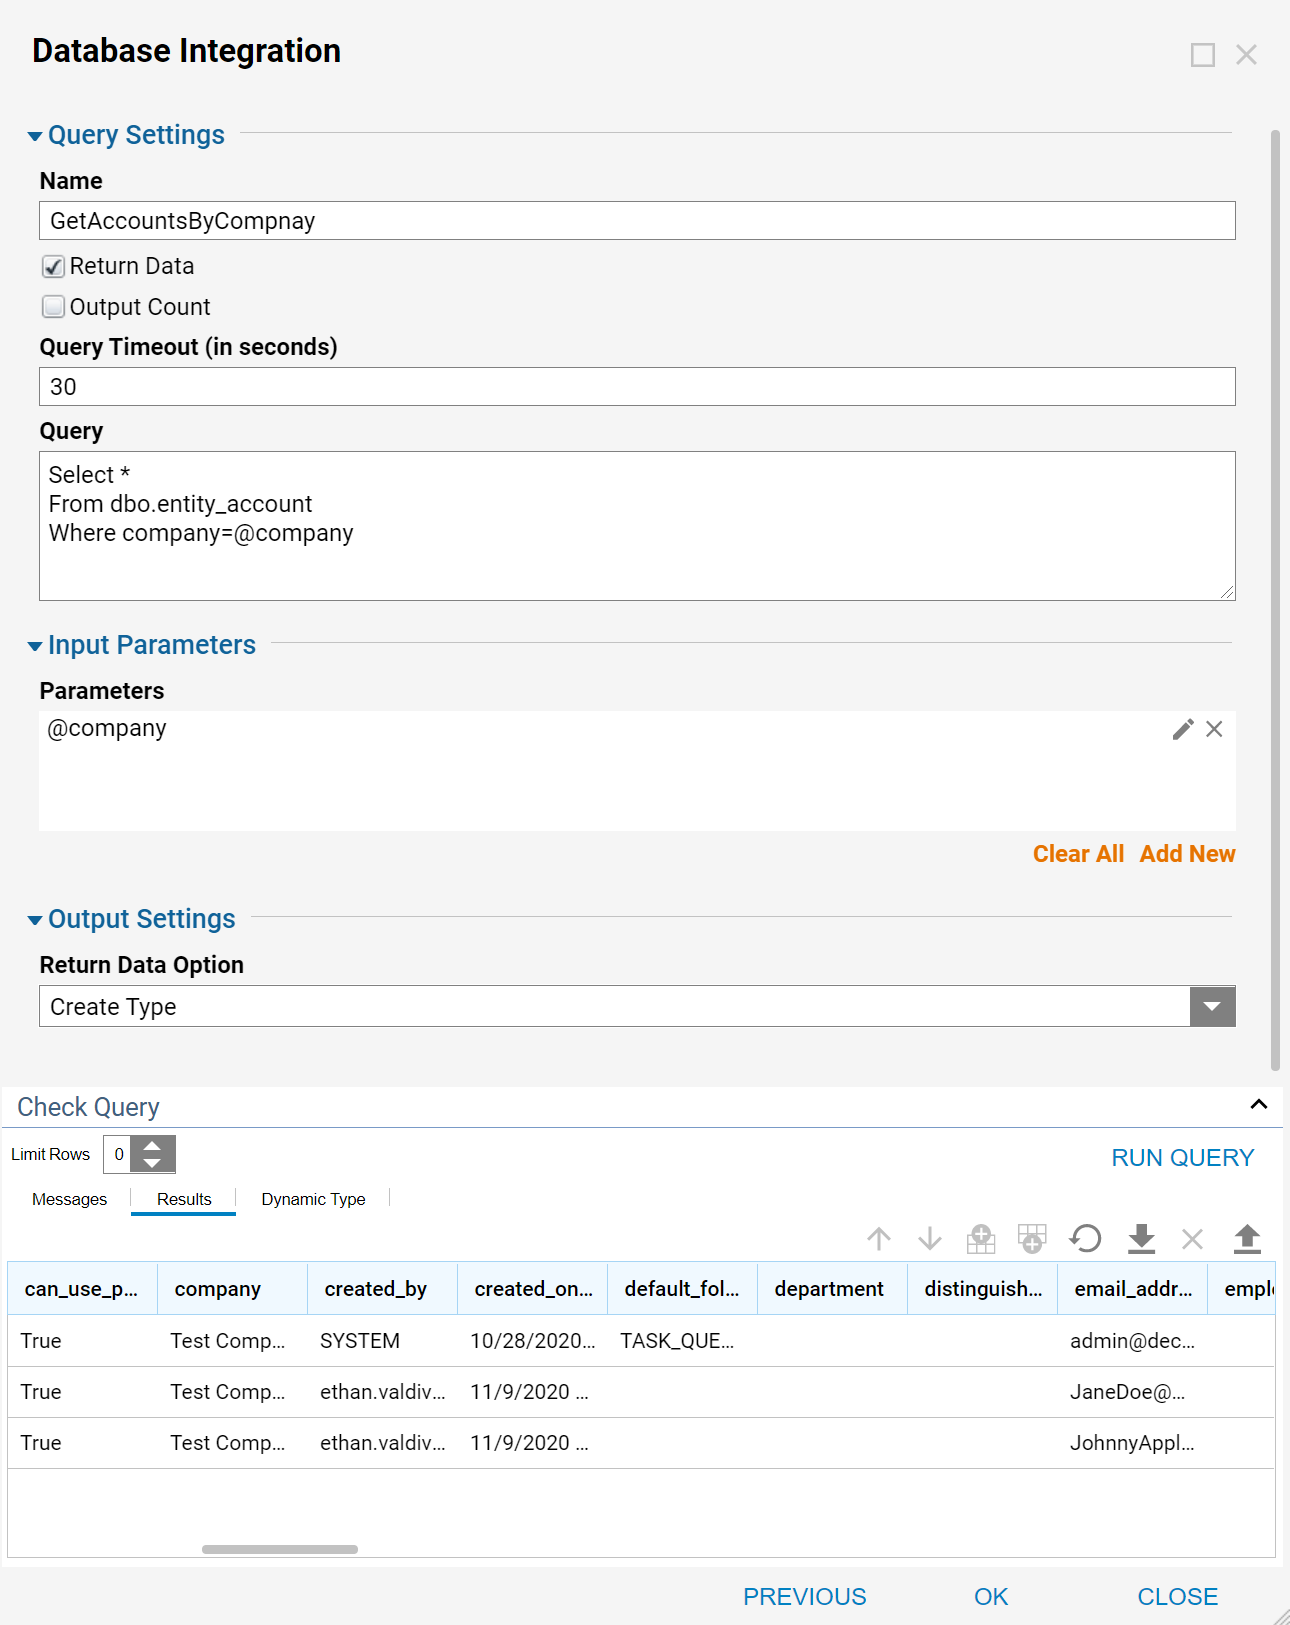
- Back in the Folder, view the Query definition.

Parameterized Query in the Workflow process
- In the Designer Folder, click CREATE FLOW on the Folder Actions Panel.

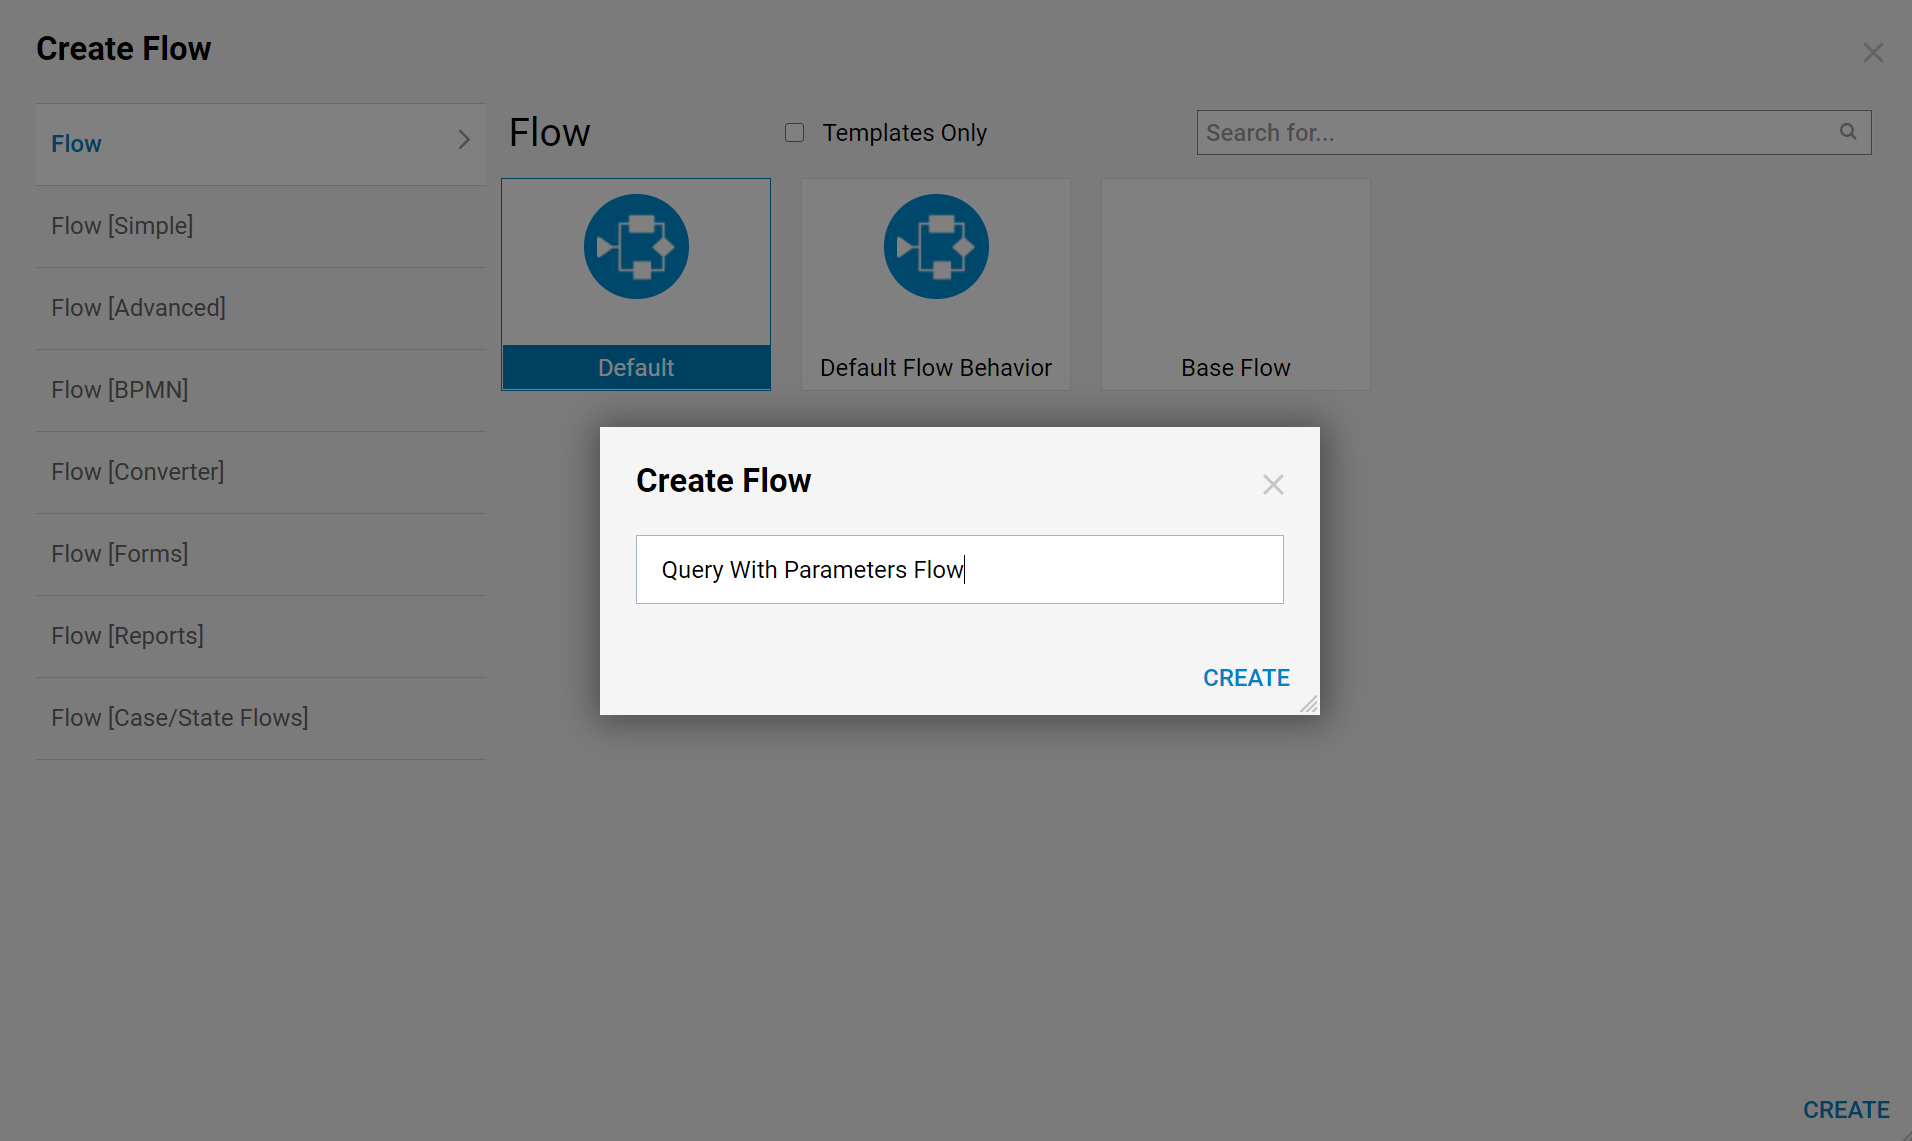
- In the resulting window Name the Flow and click CREATE to proceed to the Flow Designer.
- In the Flow Designer add a Show Form step from the Favorite Steps category.
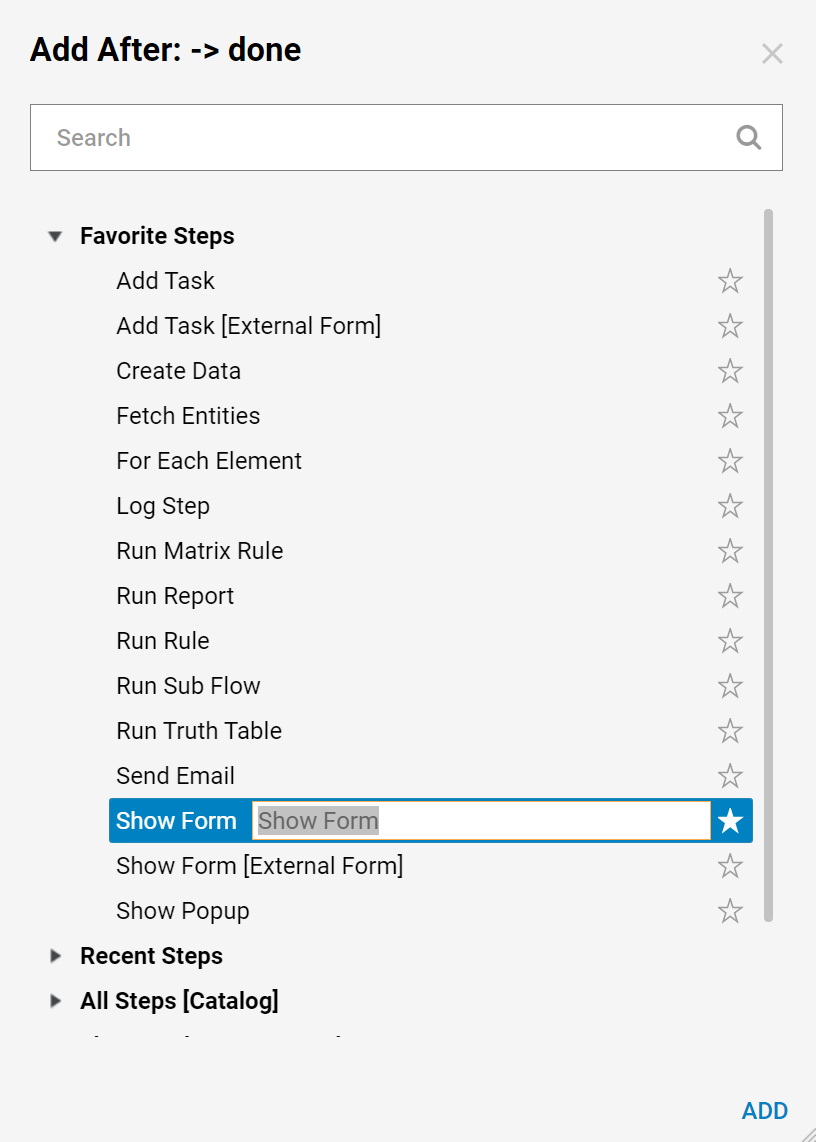
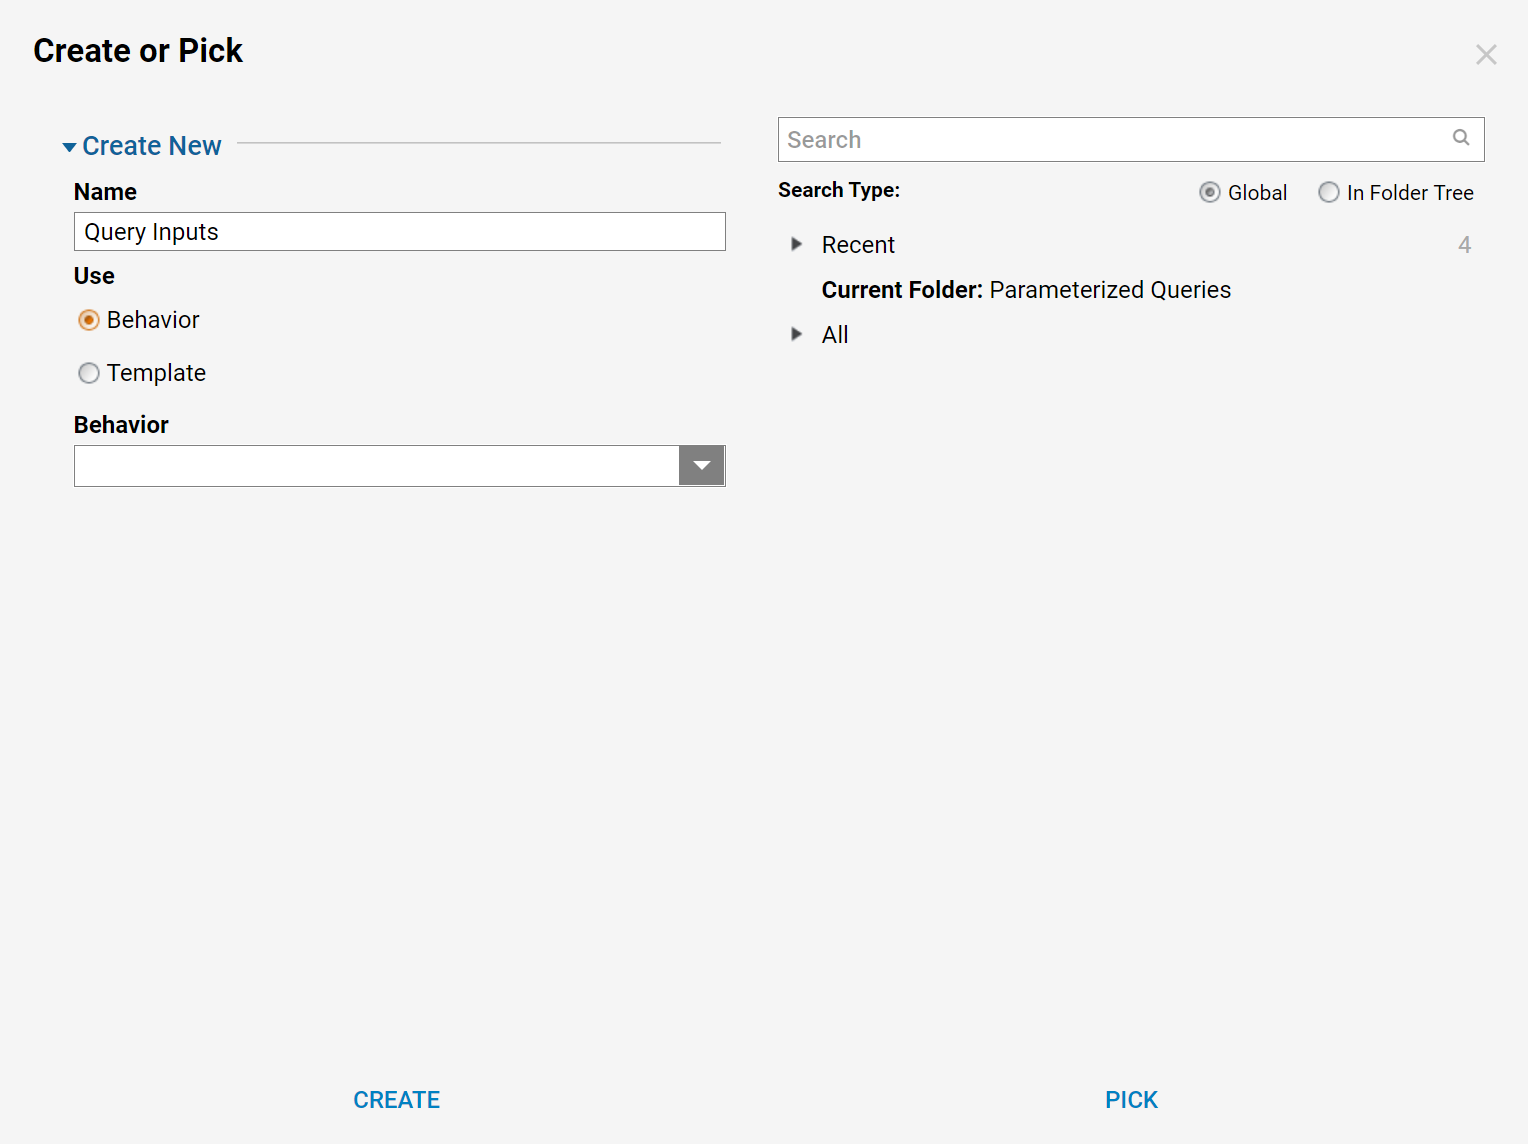
- Name the Form and click CREATE to proceed to the Form Designer.
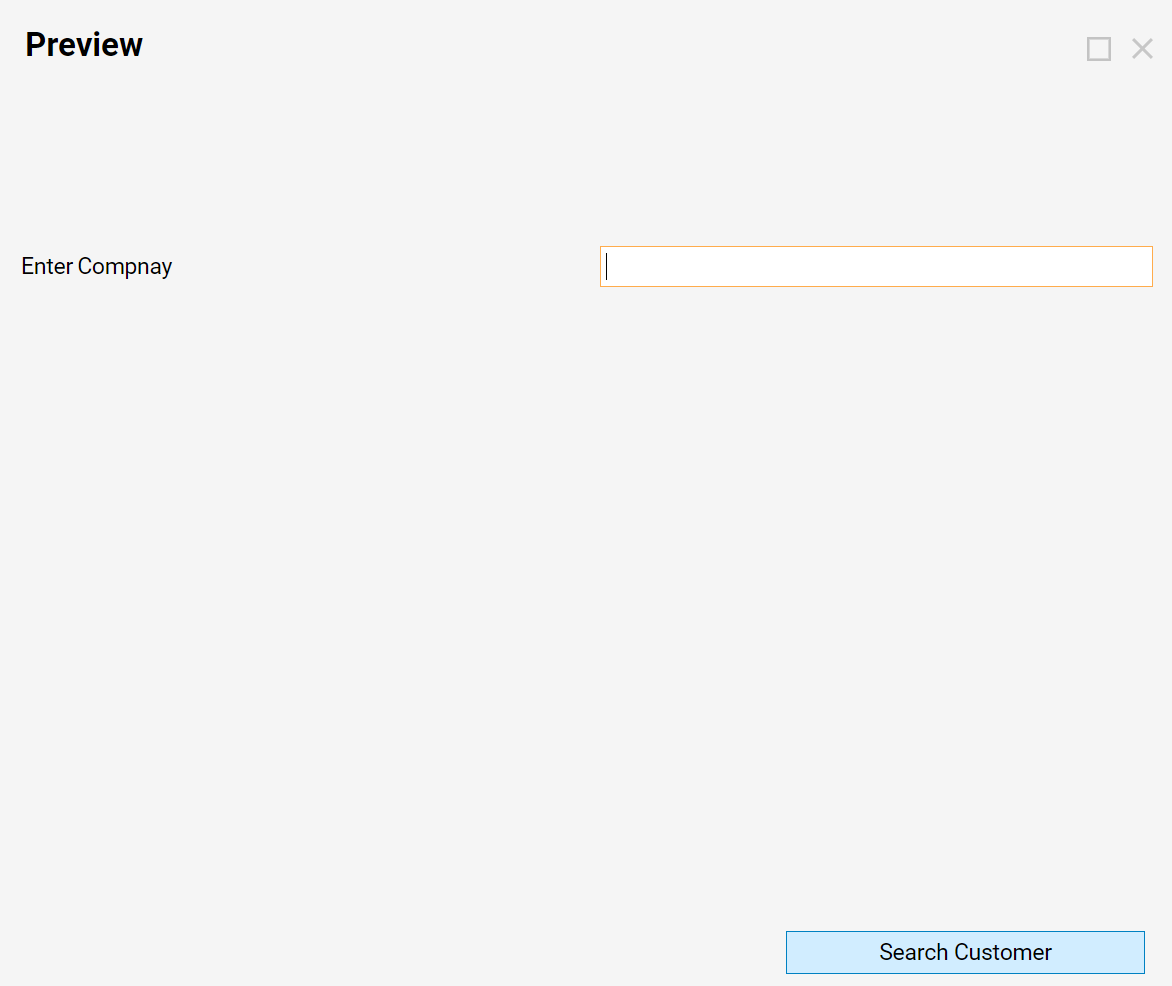
- This Form is designed with a Label, Textbox control (for a User t input the Country), and a Button to submit the Form.
- When finished, save and close Form Designer.
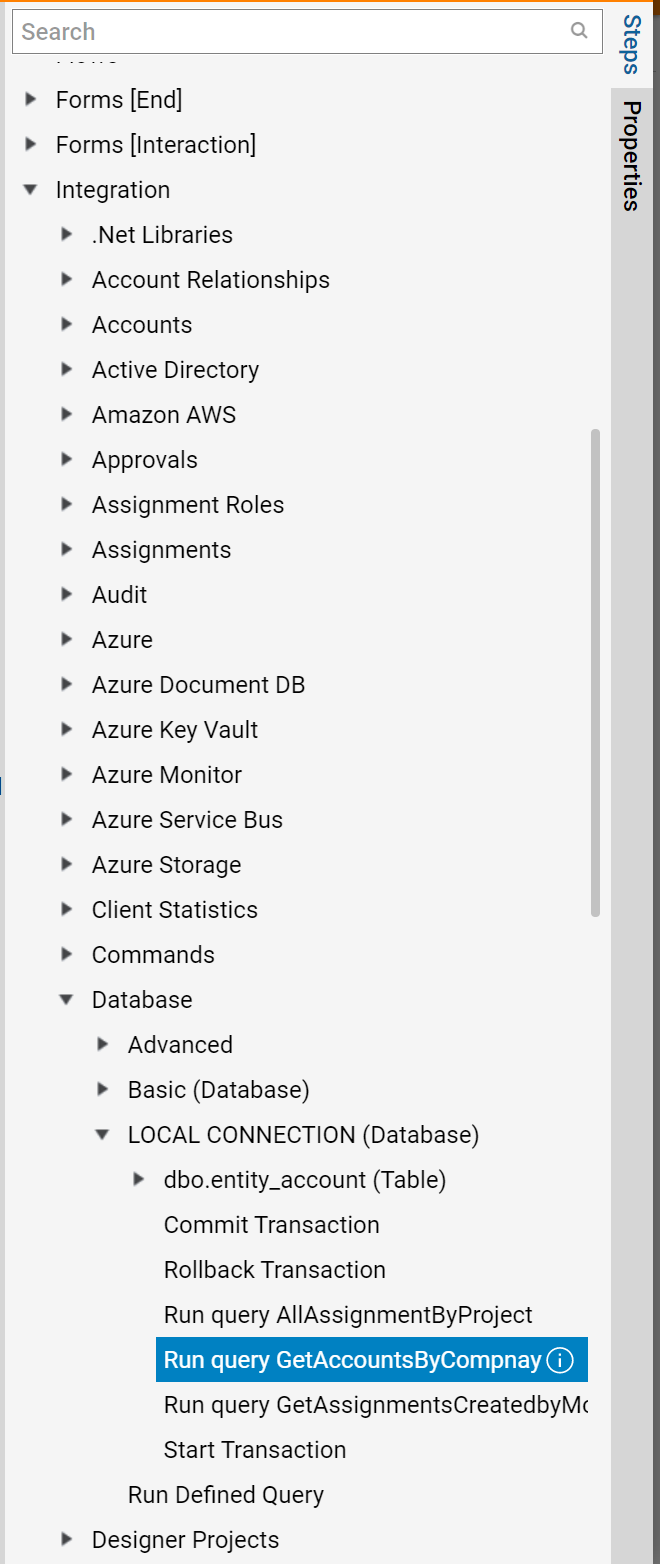
- Back in the Flow Designer, next to the Form step in the Flow, add a Run Query GetAccountByCompany step from the Integrations > Database > LOCAL CONNECTION (Database)category.
- Use the Form's output as the @Company input by utilizing the mapping type Select From Flow.
- Then, use 10 for the Limit count input.
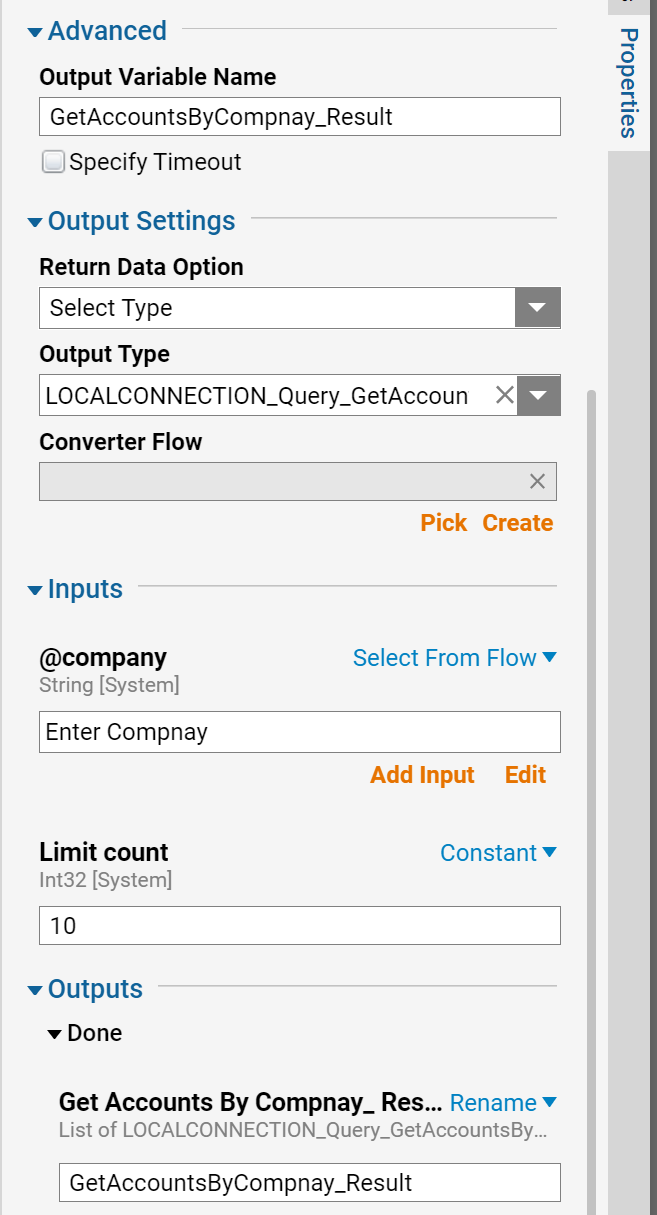
- Connect the Failed outcome from the Run Query GetAccountByCompany step to the End Step in the Flow.
- On the Done outcome, add another Show Form step from the Favorite Steps category.
- In the resulting window, Name the Form and click CREATE to proceed to the Form Designer.
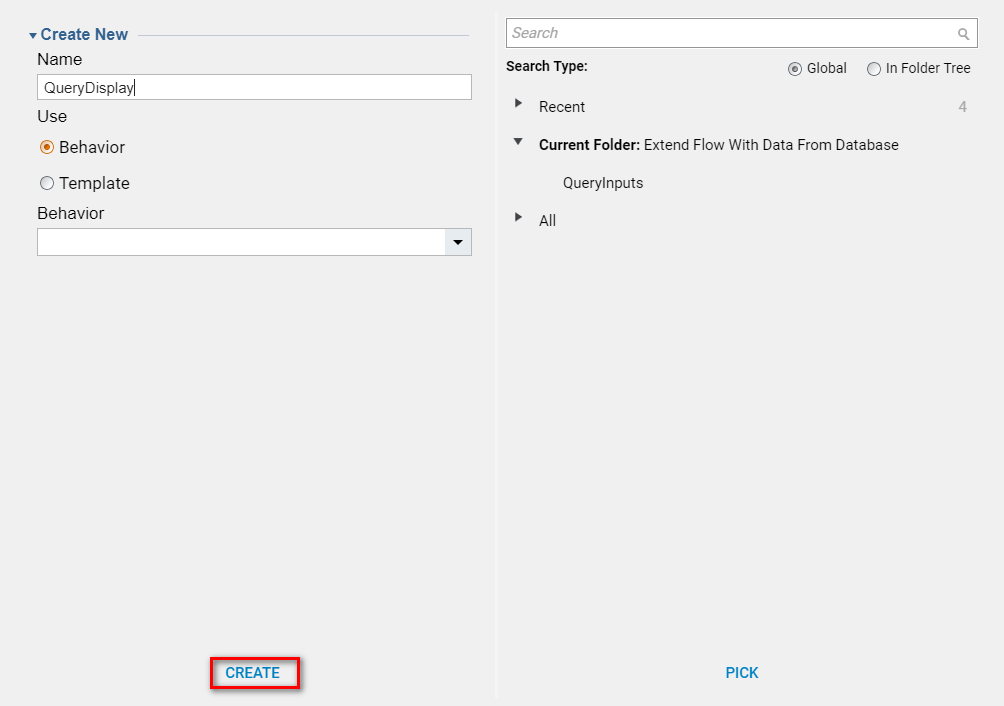
- This Form is designed to display the Query Results.
- It has a Label: Customers In and a Textbox that displays User input from the previous Form in the Workflow.
- Query Results will be displayed in a Data Grid control with LOCALCONNECTION_Query_GetAccountsBy Type.
- Finally, it has Button to submit and close the Form.
- When finished, save and close the Form Designer.
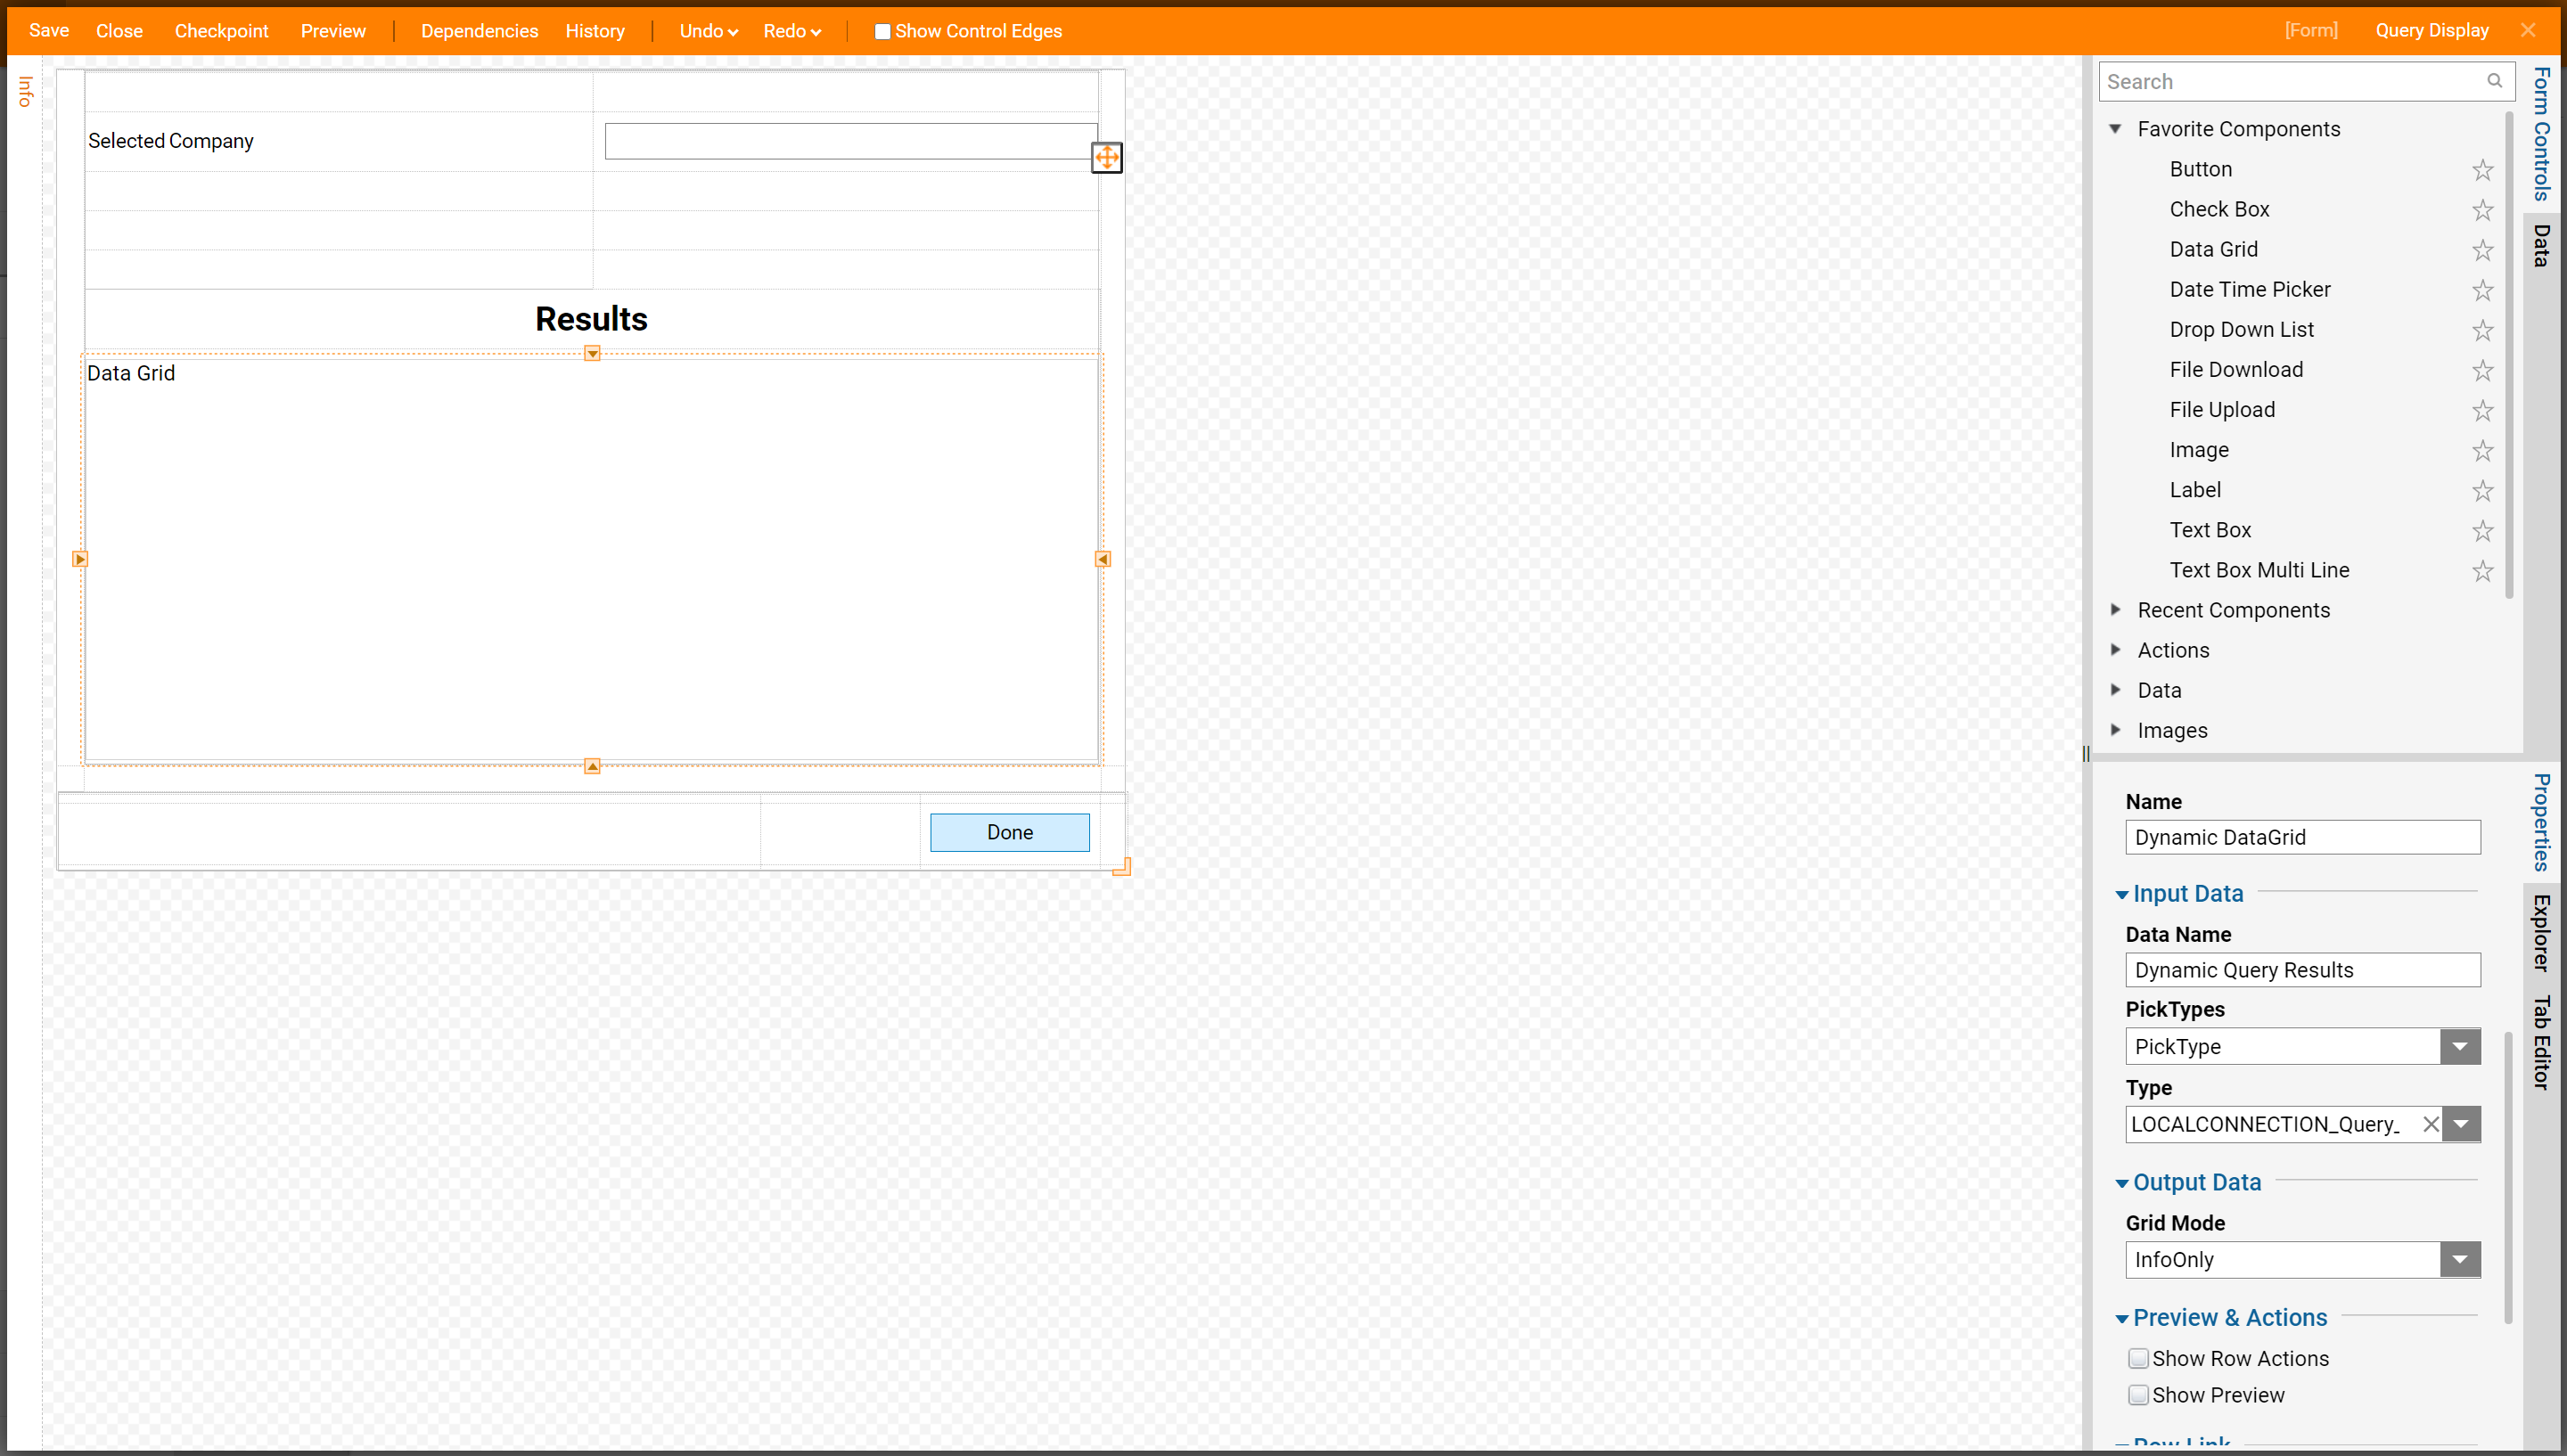
- Back in the Flow Designer connect the Done outcome from the Show Form step to the End Step in the Flow.
- In the Mapping Editor, map the Selected company Value output from the first Form to the Company (Textbox), and GetAccountsByCompany_Result to DynamicQueryResults (Dynamic Data Grid control).
- Save and close the Mapping Editor.

- This completes the Flow. Click Debug on the top Panel of the Flow Designer.
Testing
Important
Make sure that there are Accounts created with the Company field filled in. For more information, go to Adding a User Account.
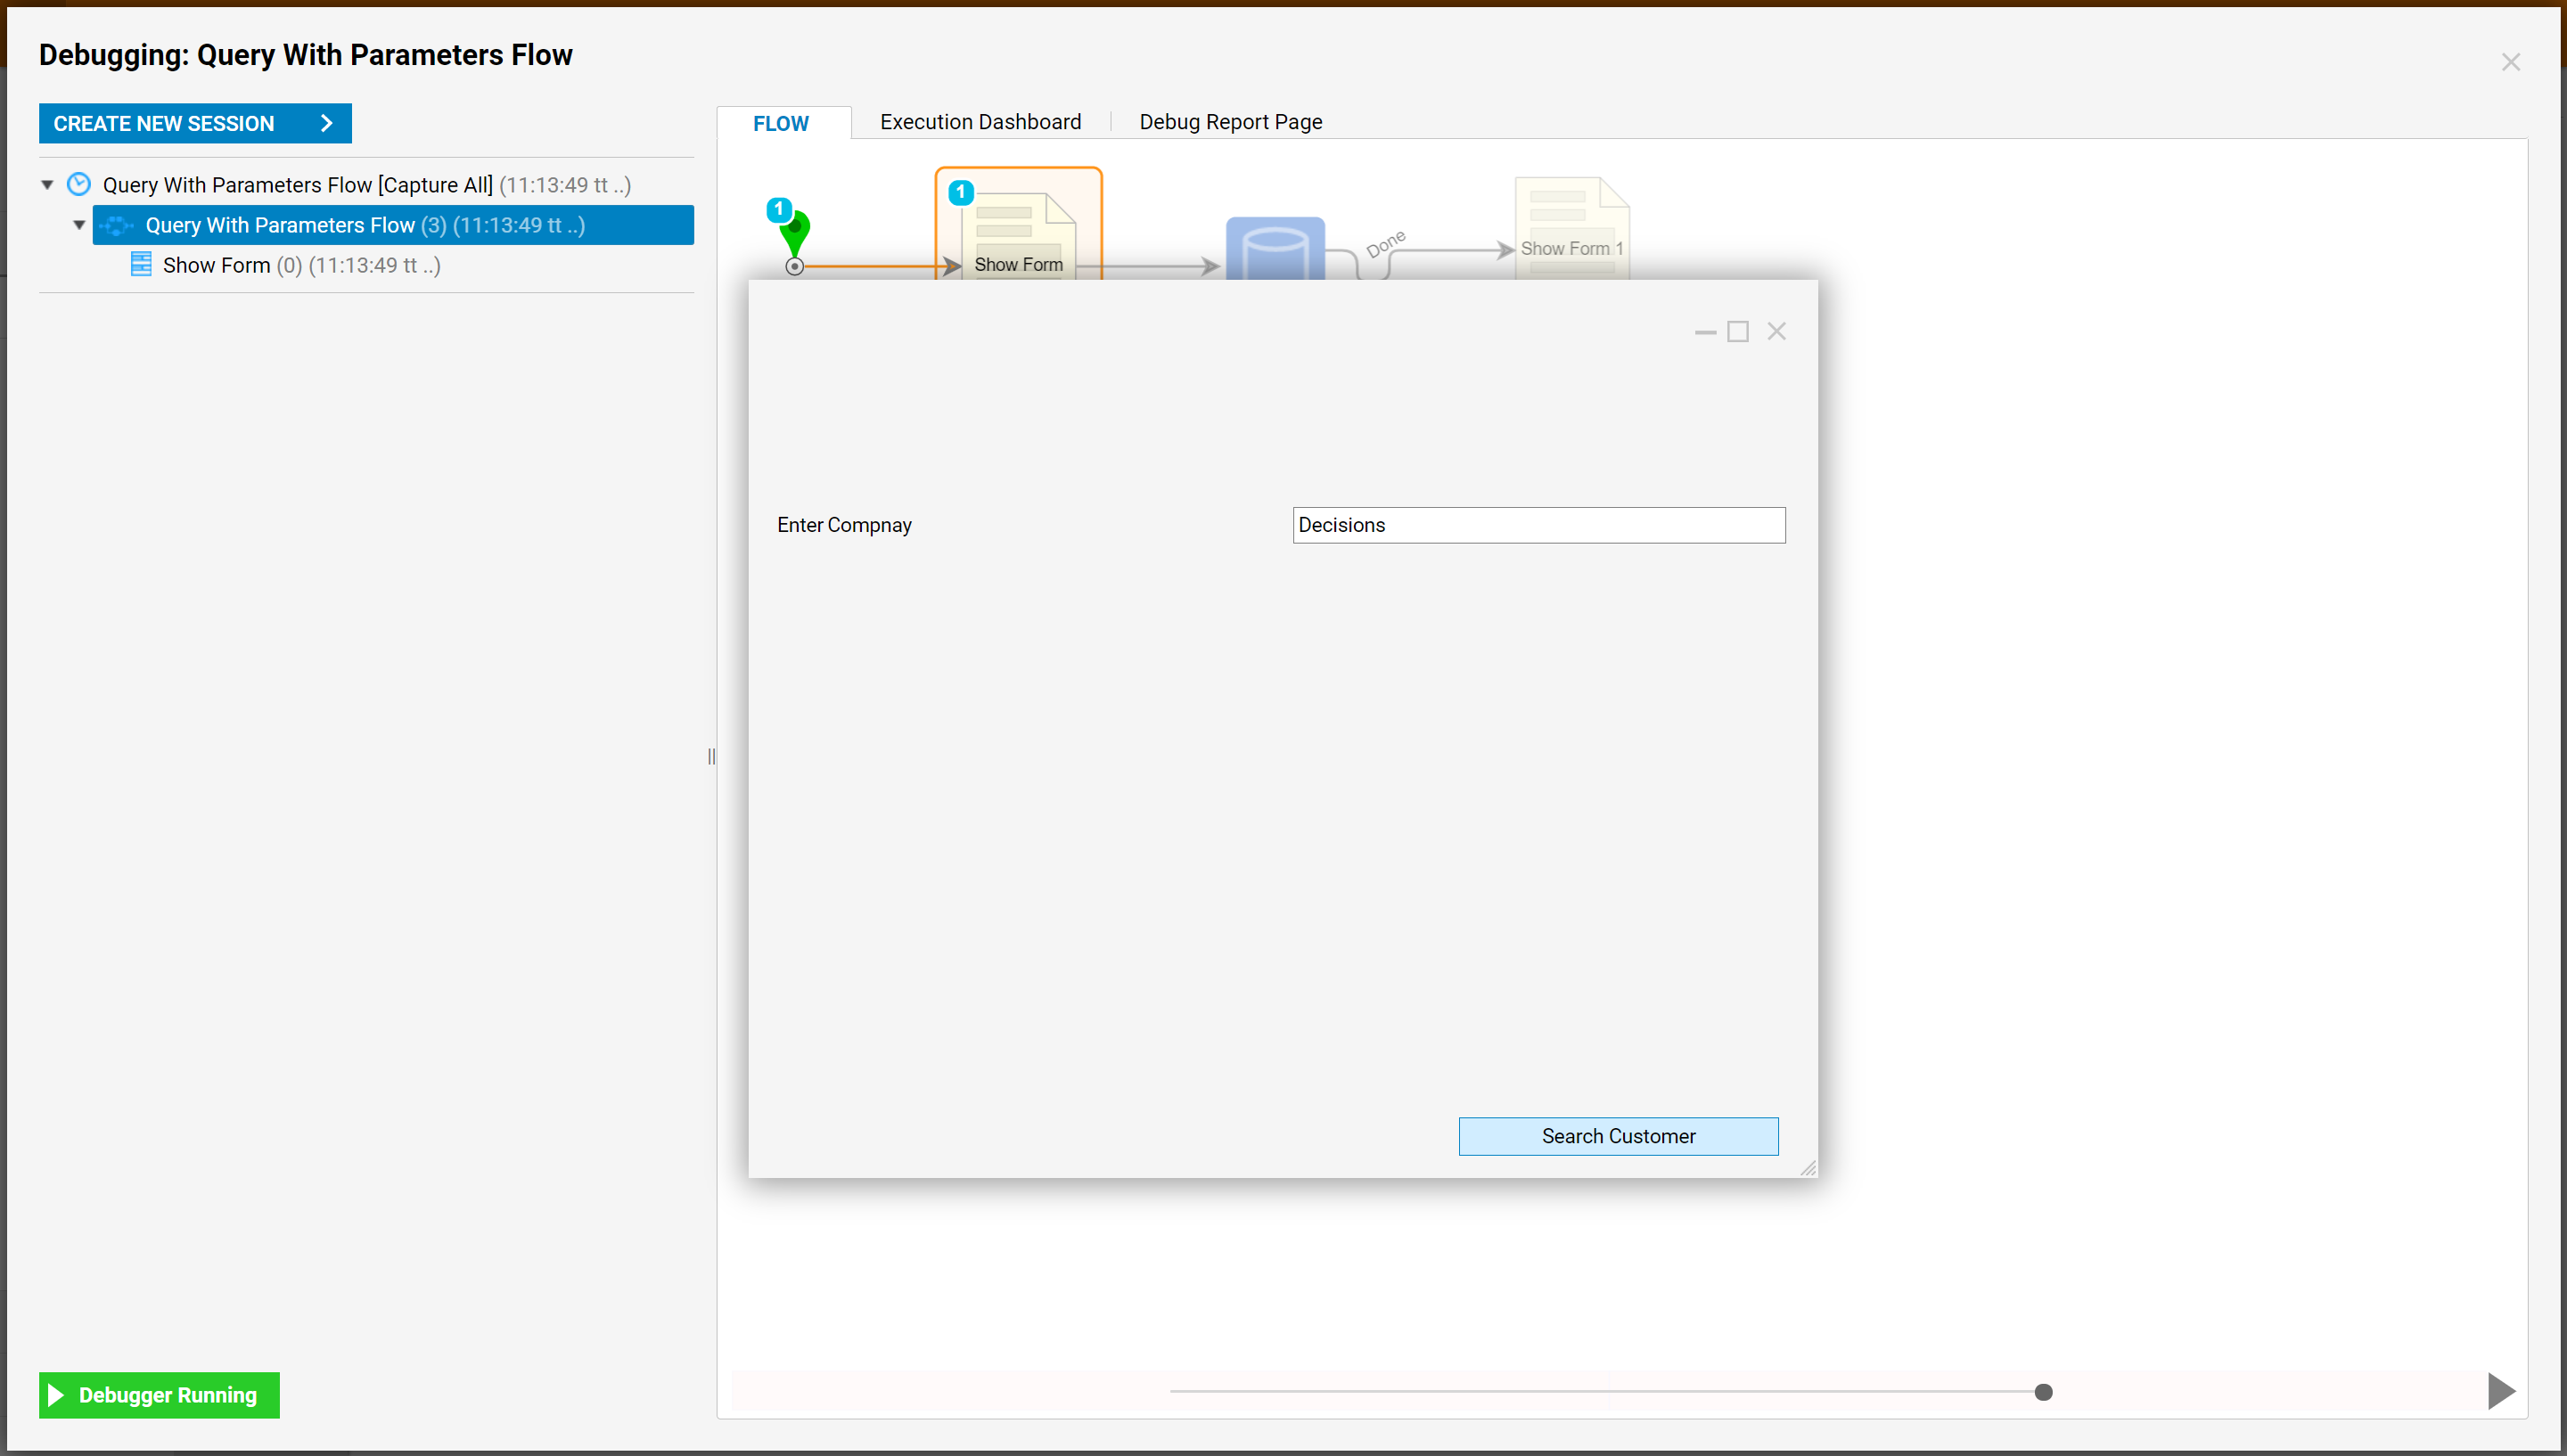
The first Form opens in the Debugger. Input the Company and click Search Customer.
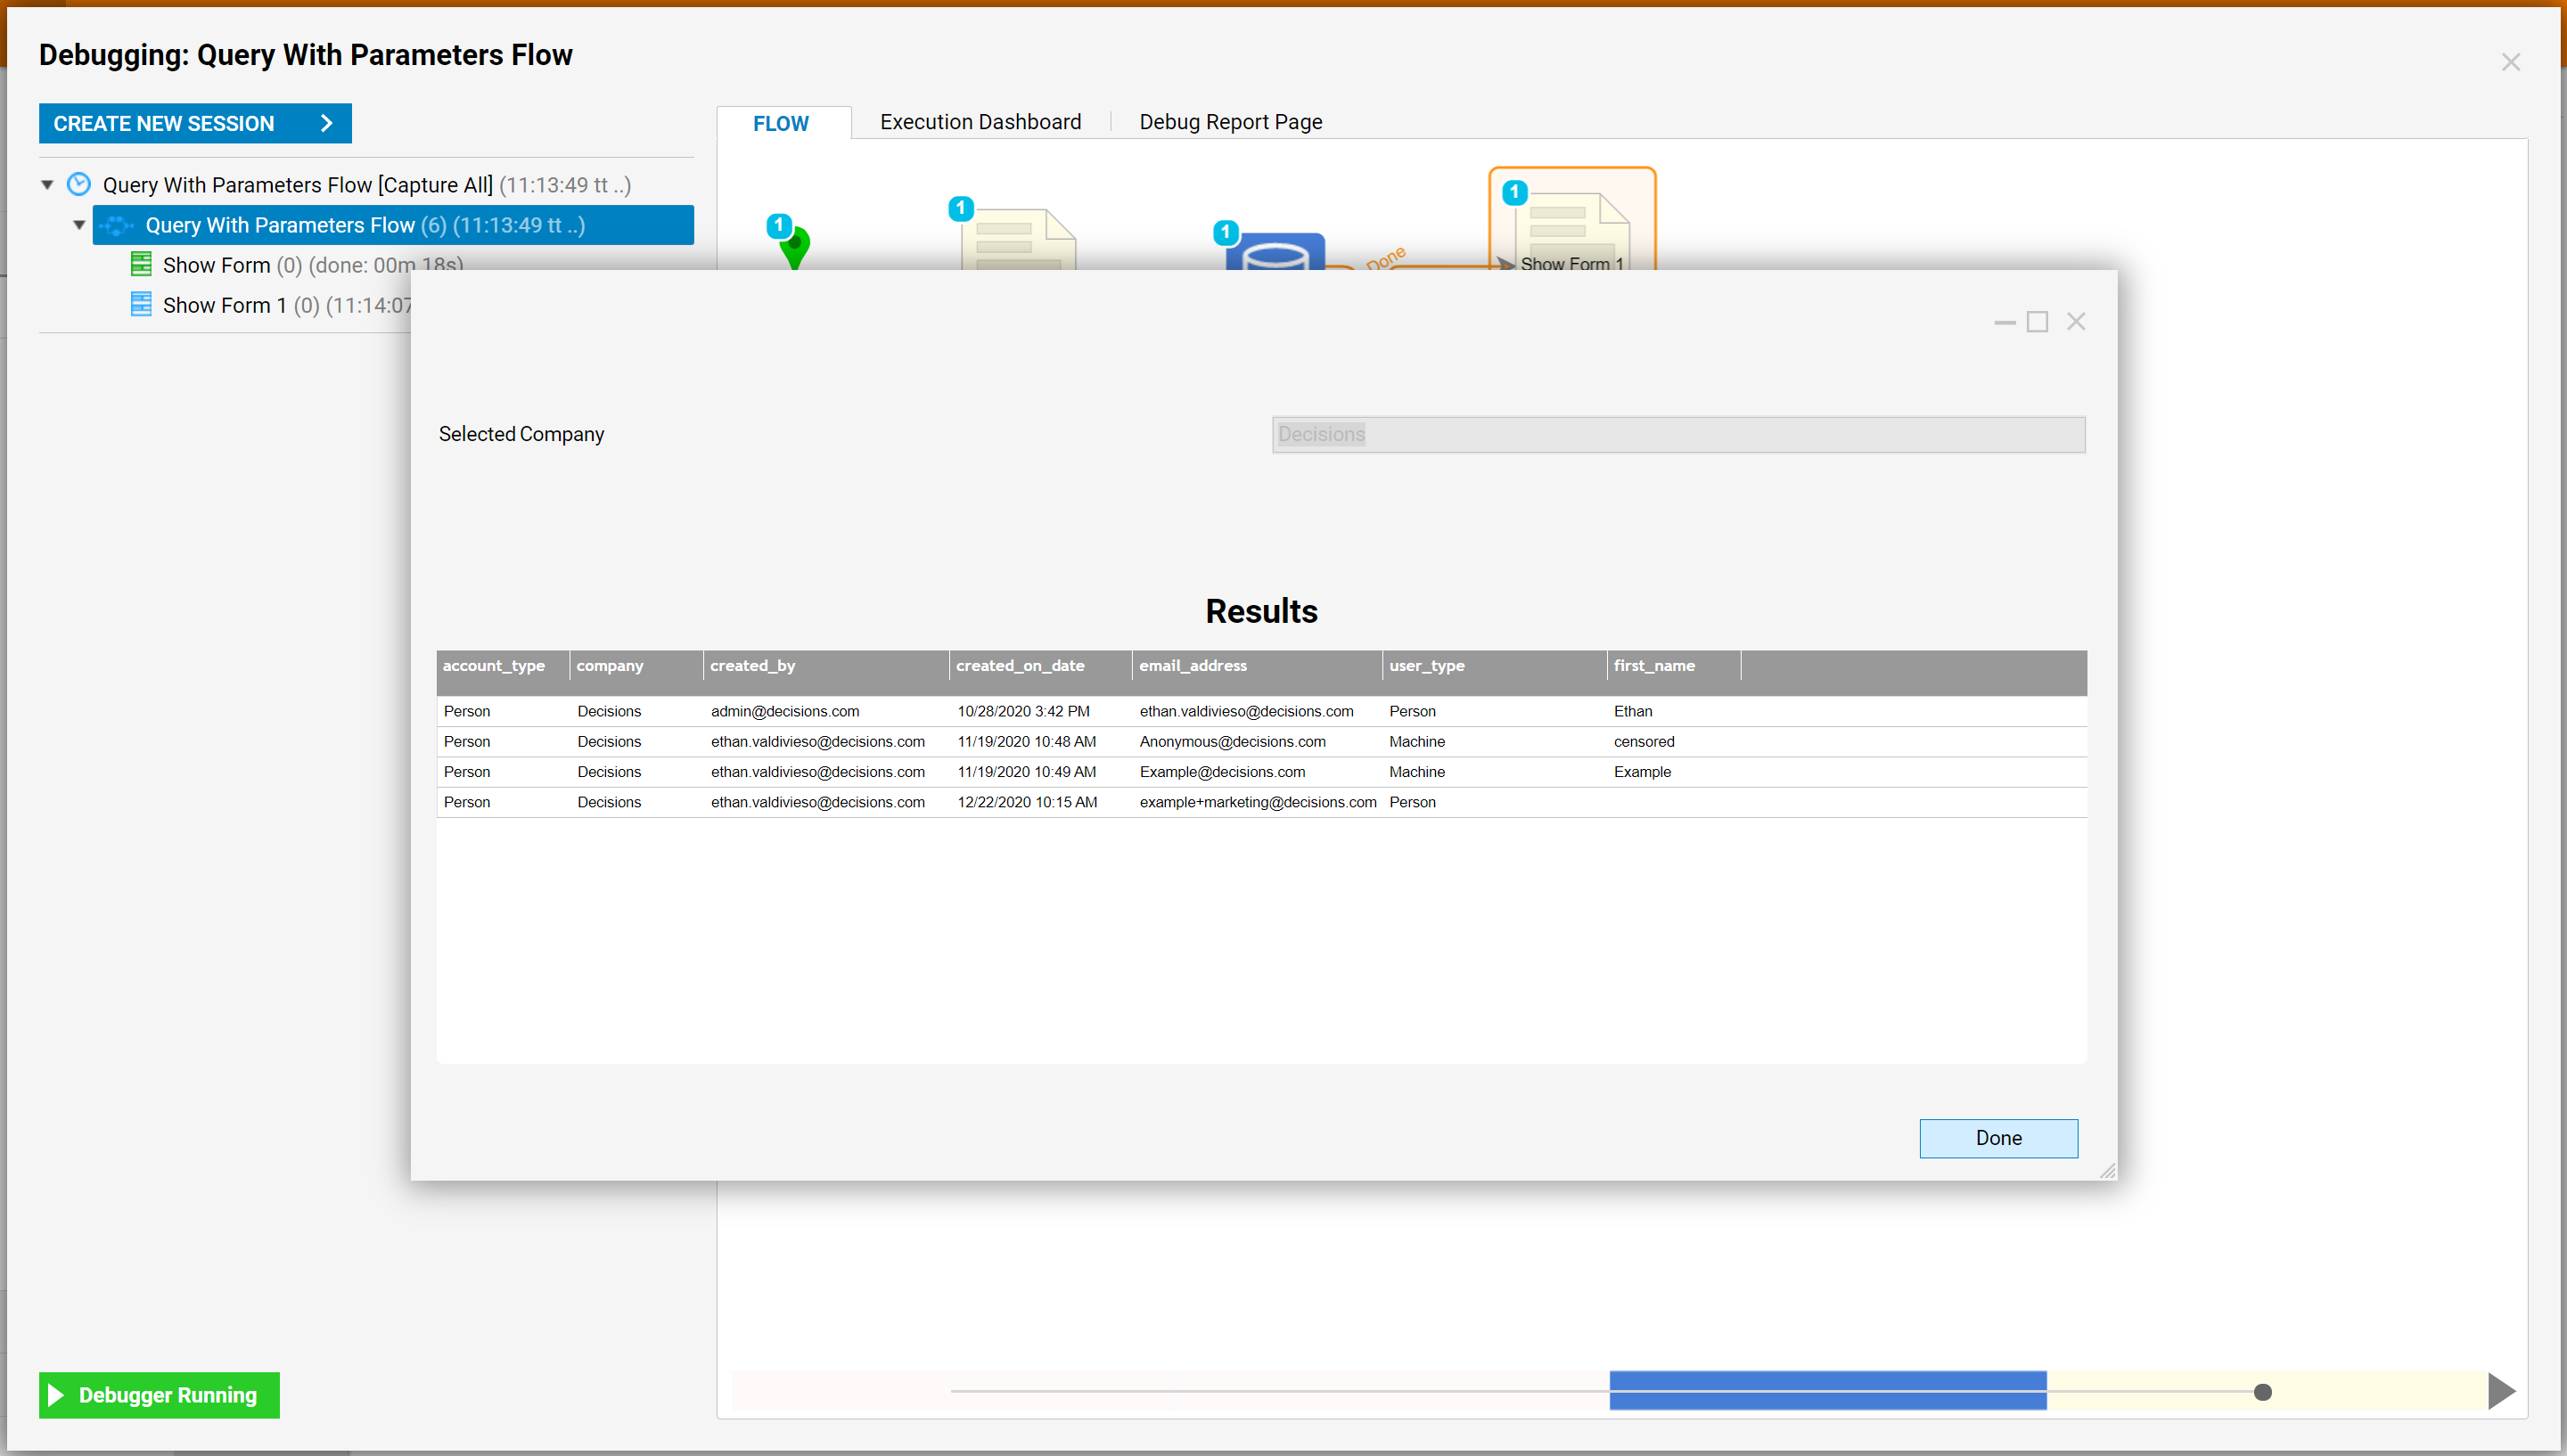
- The second Form opens and displays all Customers from Mexico based on the Parameterized Query Result.
- Click Done to close the Form and continue the Flow execution.
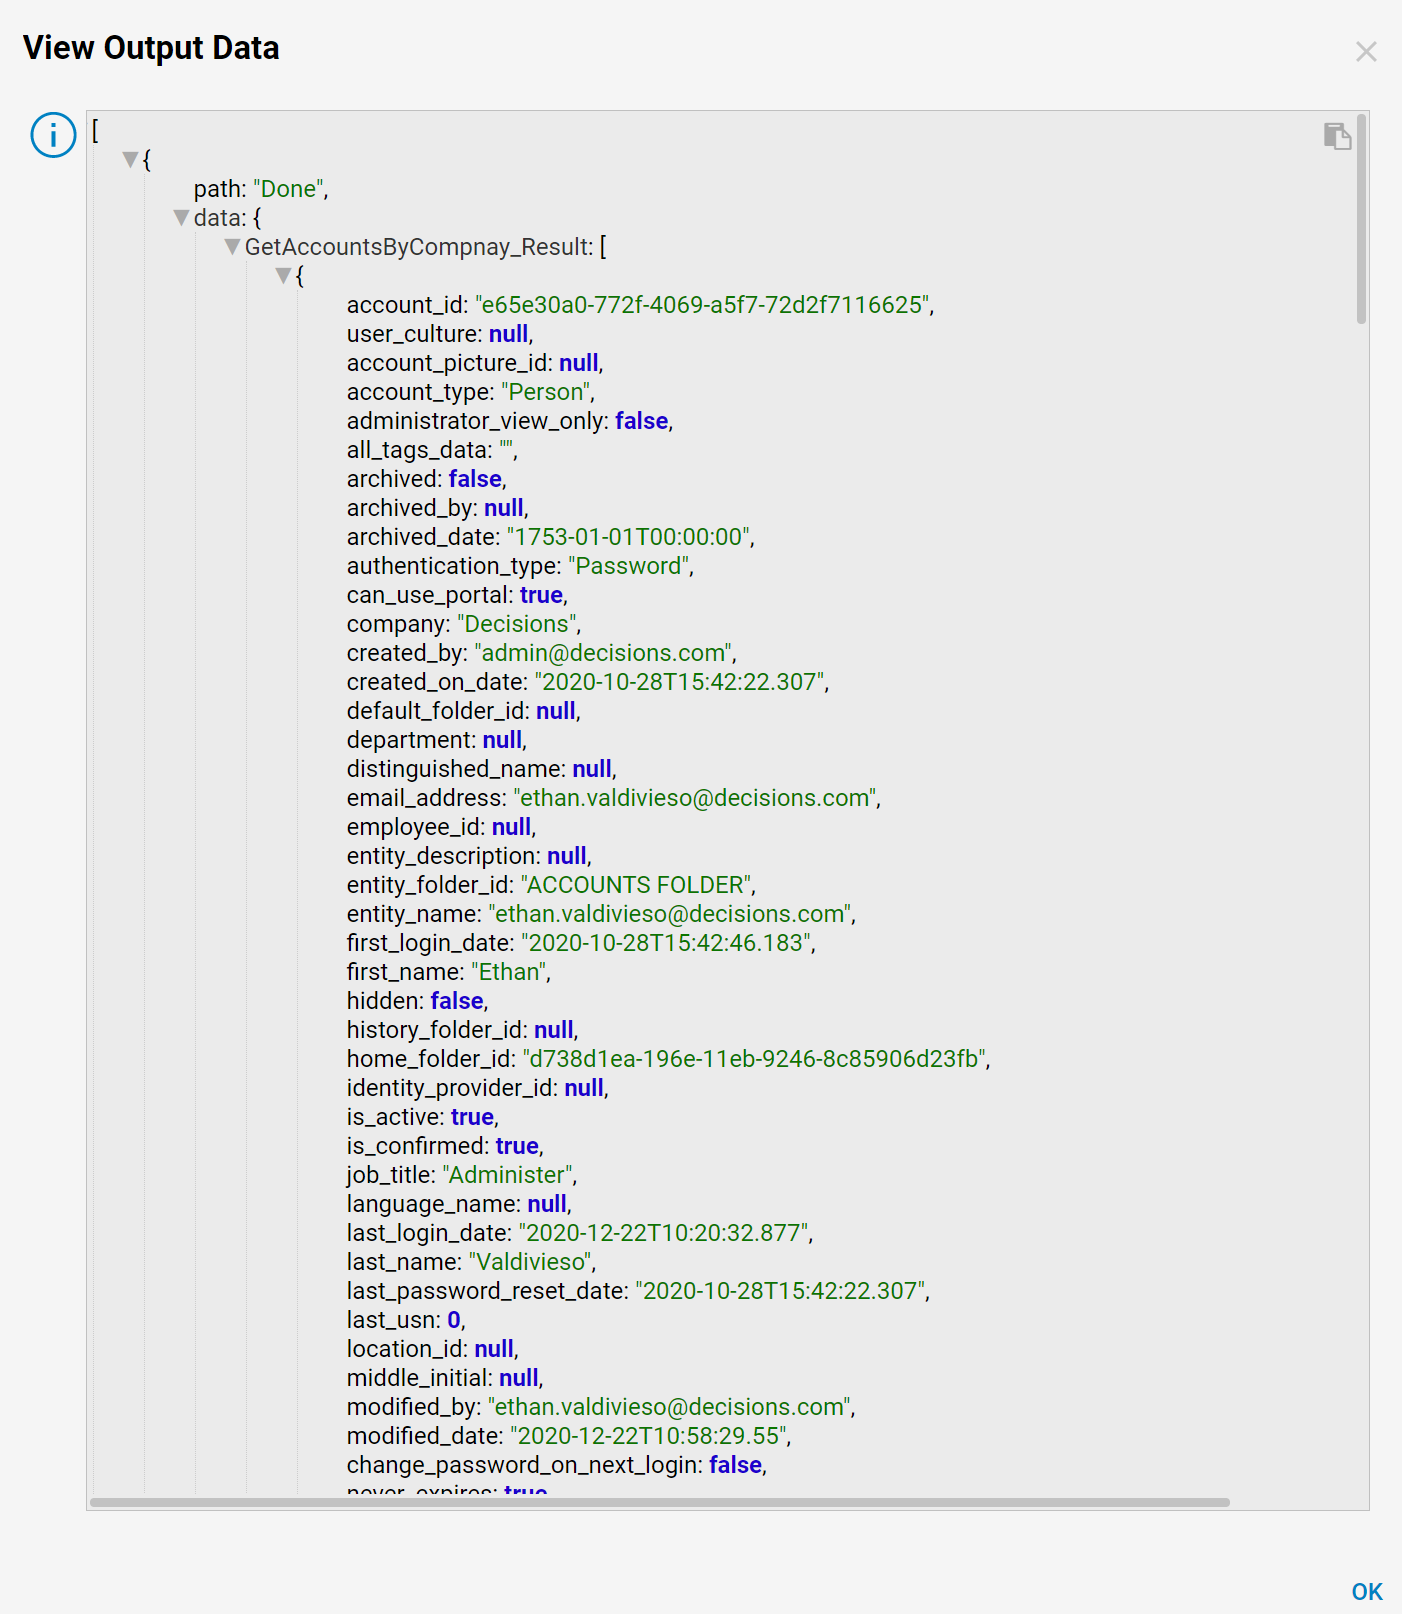
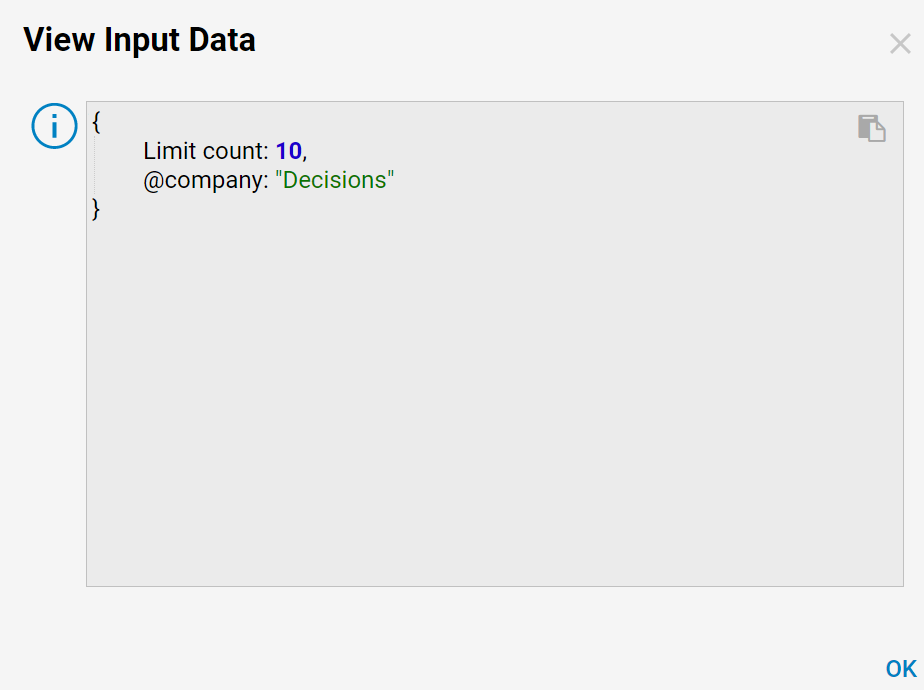
- The Flow finishes with no issues. The Query step's Input Data shows the Limit Count and @Company values.
- The Output Data for the Run Query step is a List of Accounts for the Test Company.
