Overview
Object Linking and Embedding (OLE) for process control (OPC) is a set of software standards created by automation industry suppliers to provide automation applications an interface to access industrial plant floor data and devices. The OPC module is used as an Open Platform Communications connector.
- Download Kepware KEPServerEX (The Demo Version) from https://www.kepware.com/en-us/products/kepserverex/
- OPC requires a Decisions Agent to function. The agent can not be on the same machine as the one running Decisions and processing OPC.
- TCP port 4502 will need to be open for the Service Host Manager (SHM) for the Agent to connect back.
- OPC module will need to be installed, to learn how to install modules see Installing Modules.
- OPC is not intuitive and therefore not simple to set up and understand.
- The Decisions system that will poll and work with OPC can not be on the same system that the Decisions agent and OPC server will be running on.
Overall Architecture of OPC 
The tags in the above diagram represent an endpoint in OPC that could be a meter, pump, PLC, or any number of devices. Tags are spewing data back to the OPC Server based on a specified scan rate that is configurable by the tag. The default scan rate on simulators is 100ms. The OPC server holds the current value and waits for a system to ask for the value. It’ll return whatever it has in the queue at that point to the (in this case) Decisions Agent, which then relays it to the Decisions server running SHM.
The values on the OPC Server are not static and are overwritten when the tag sends another piece of data. Some places will implement a “historian” that keeps the data, but this will be a separate system from the OPC Server.
Example
This example will demonstrate how to configure and set up OPC in Decisions.
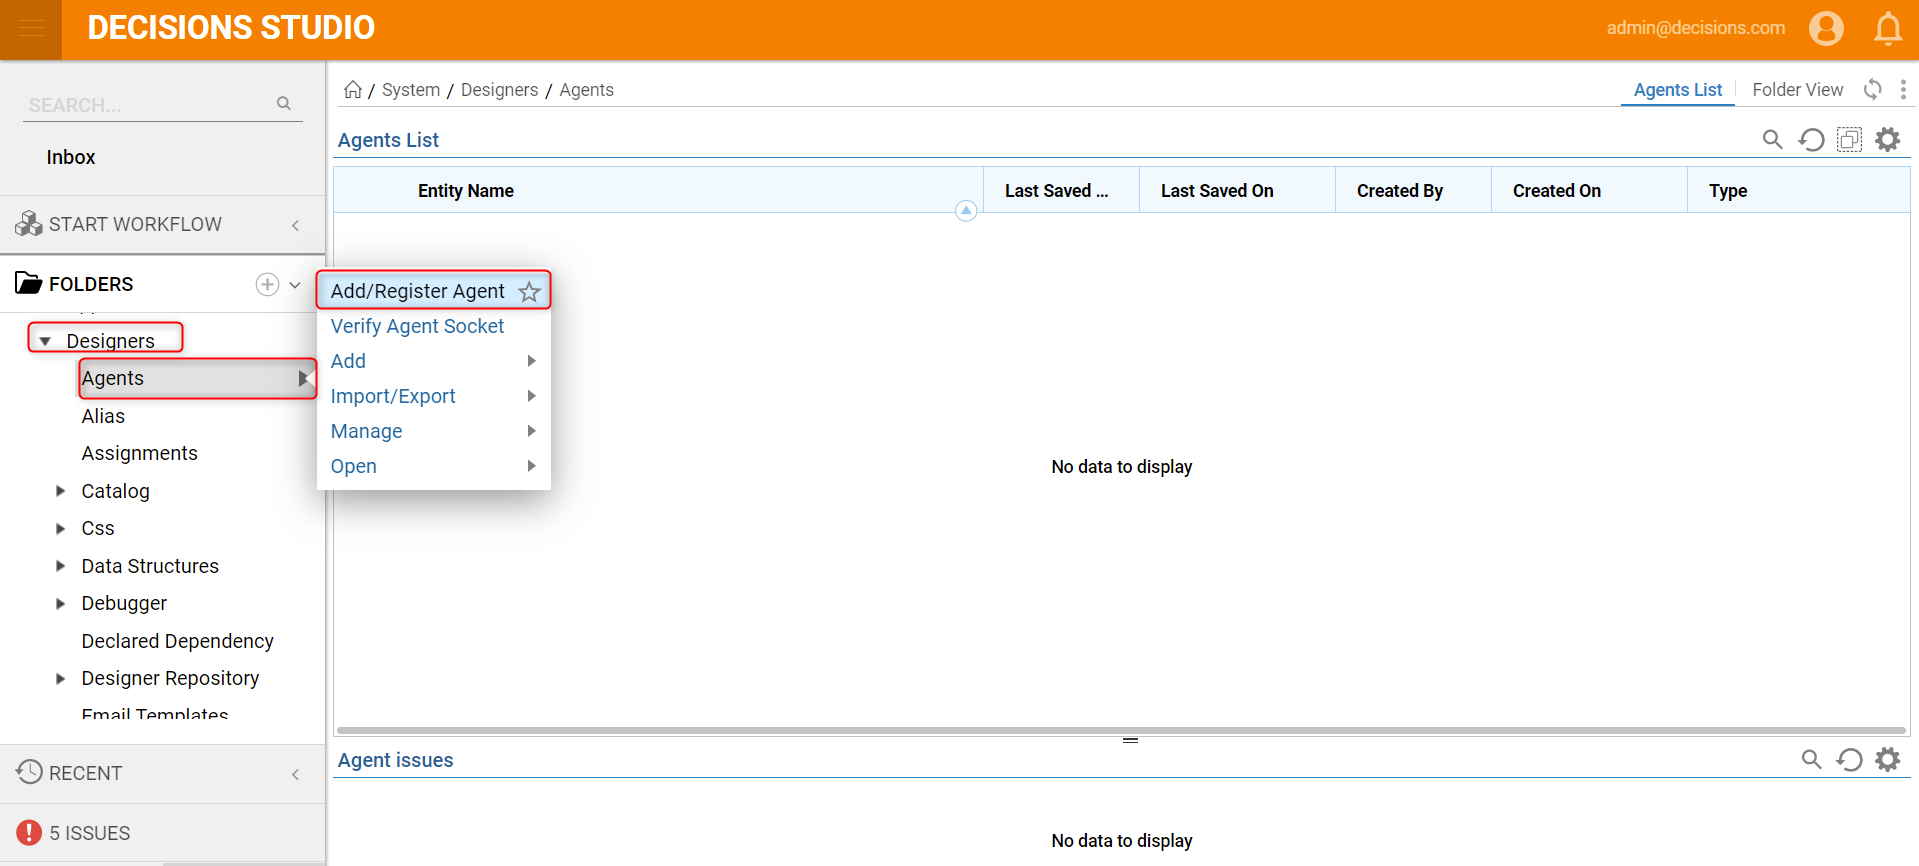
- Create a new Agent on the Decisions instance that will process OPC by navigating to System > Designers > Agents. Click the arrow icon and select Add/Register Agent. Enter a name and click REGISTER AGENT. Then, click DOWNLOAD AGENT (this will provide an MSI file).
- Install the MSI file on the server that will talk to the OPC server. This agent will make a connection from that system back to the system running SHM.This requires that the system running SHM is available to the system running the Agent.
- When the Agent is installed and running, select the Agent under System > Designers > Agents. Right-click the Agent in the report on top and select Ping Agent.
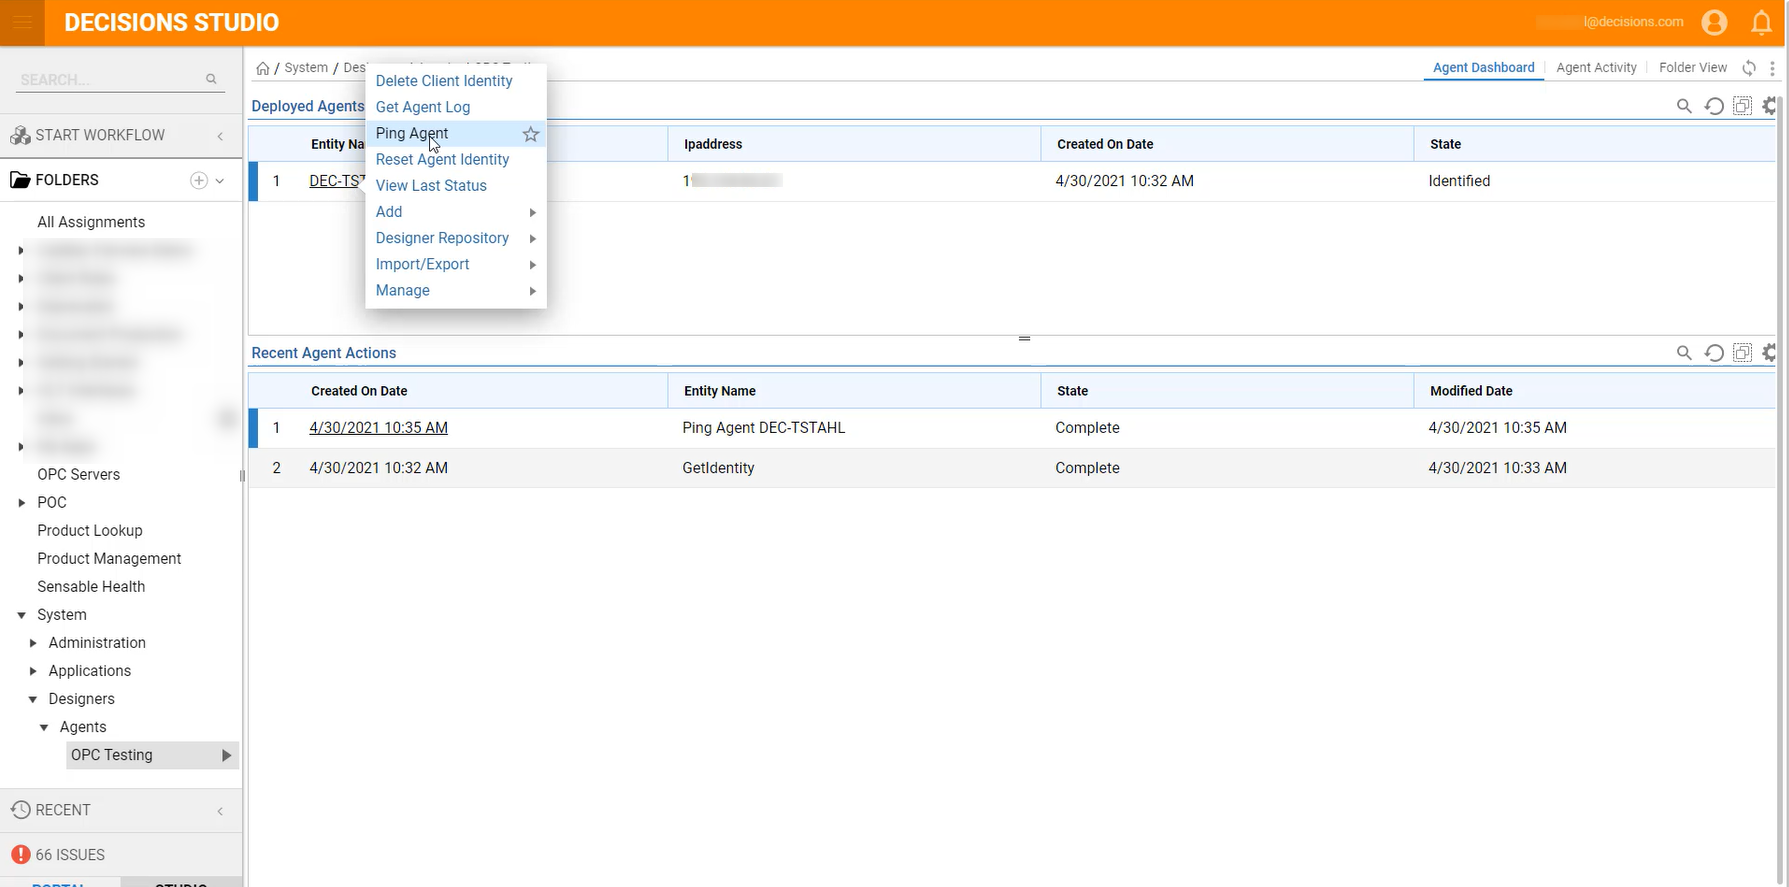 If working, Agent listening on: 4502 will appear.
 - If there are errors or problems, check the Agent log at C:\Program Files (x86)\Decisions Management Agent\Logs
- Navigate to the folder OPC Servers. Click ADD SERVER and provide a Name, URL, and the Agent. Click OK to save.
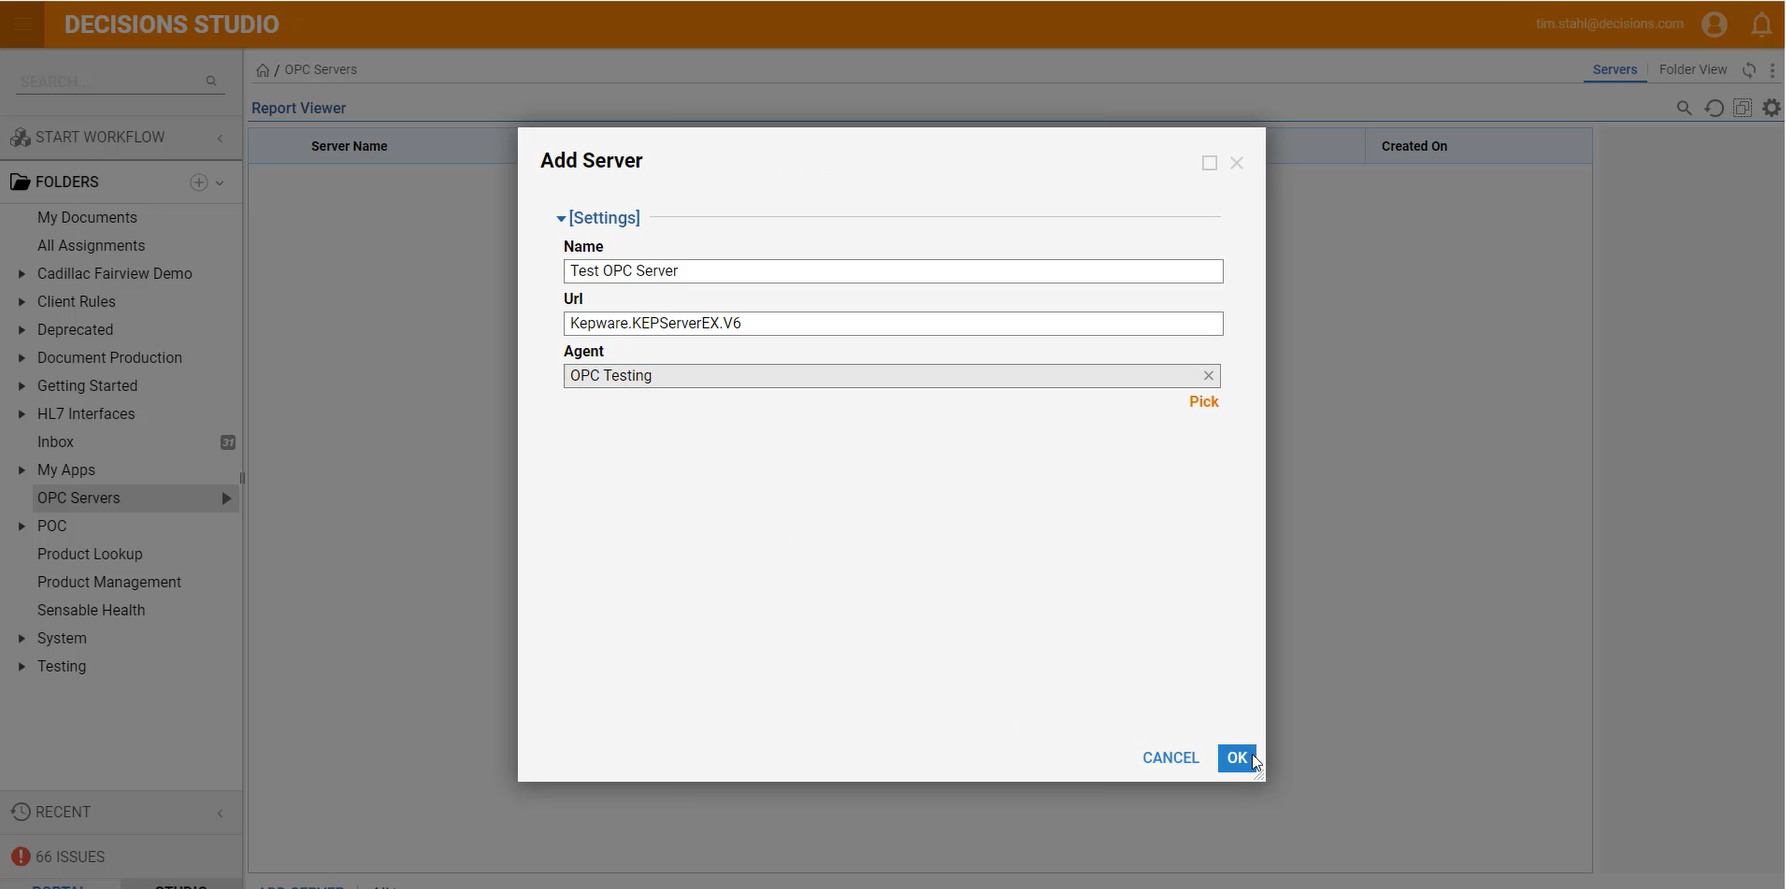 OPC uses DCOM in most instances under Windows to communicate. This means that the URL will match the application name being presented. In the case of KEPServerEX6, open the KEPServerEX 6 Configuration Application, and then open the OPC Quick Client (Looks like a QC icon in the toolbar). The application name is at the top of the tree. In this example, that is Kepware.KEPServerEX.V6.
 - Click the OPC Server that was just created to navigate to its folder and click Rebuild Tag Cache at the bottom. This will ask the OPC Server to list and return all tags associated with the system to rebuild the tag cache.
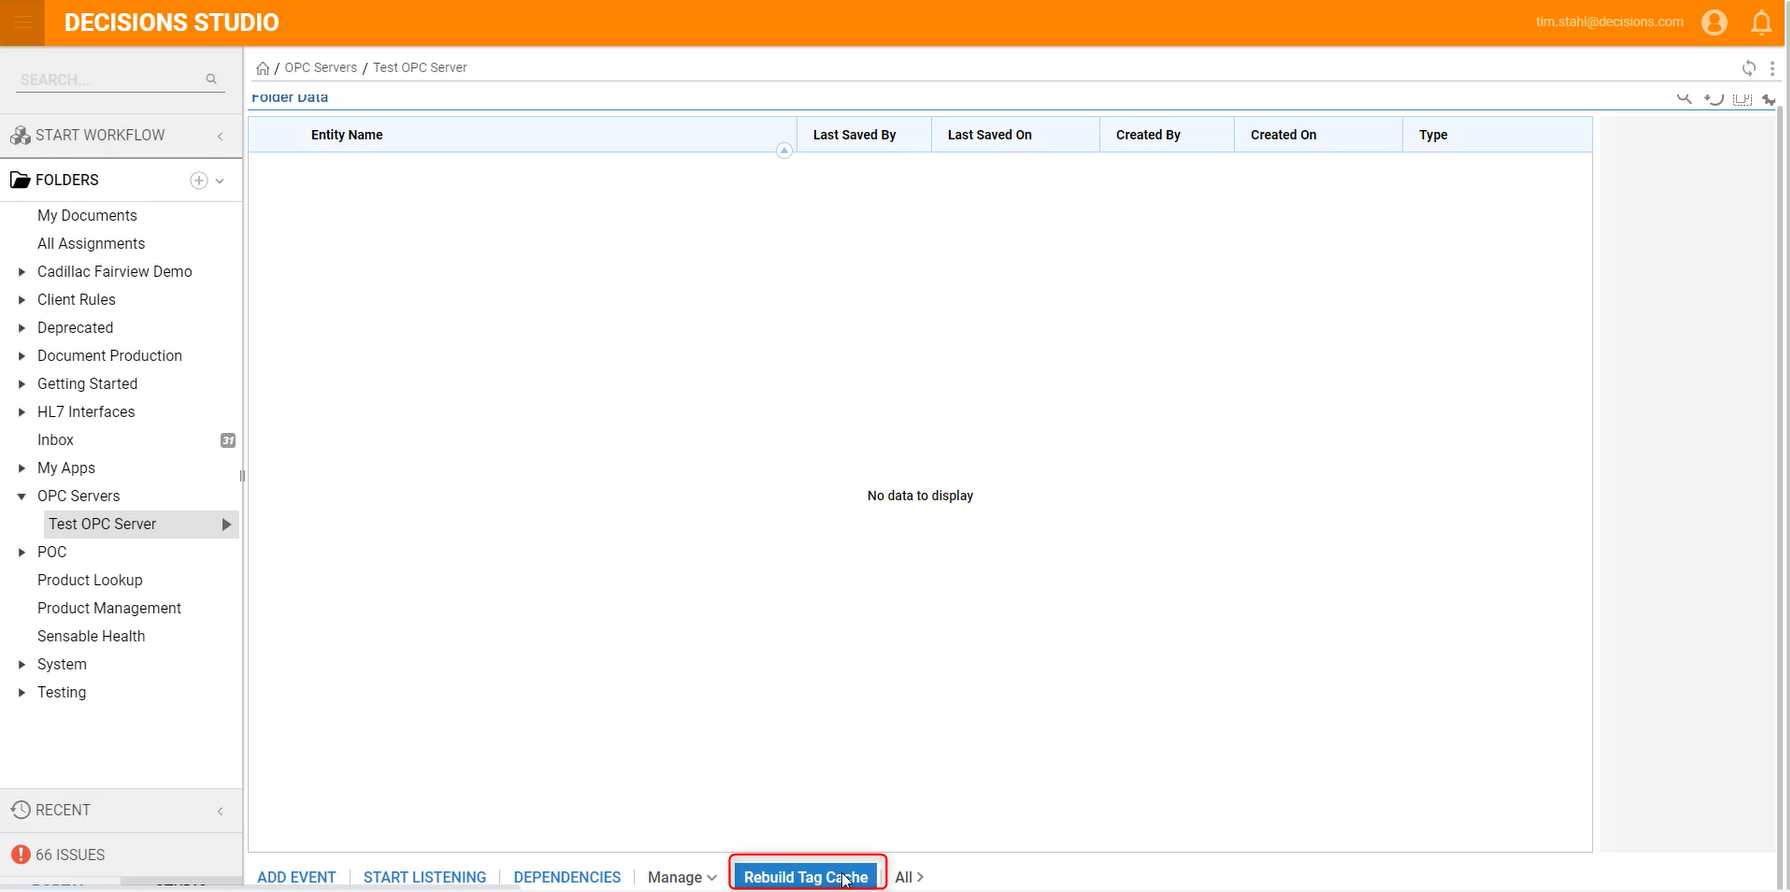
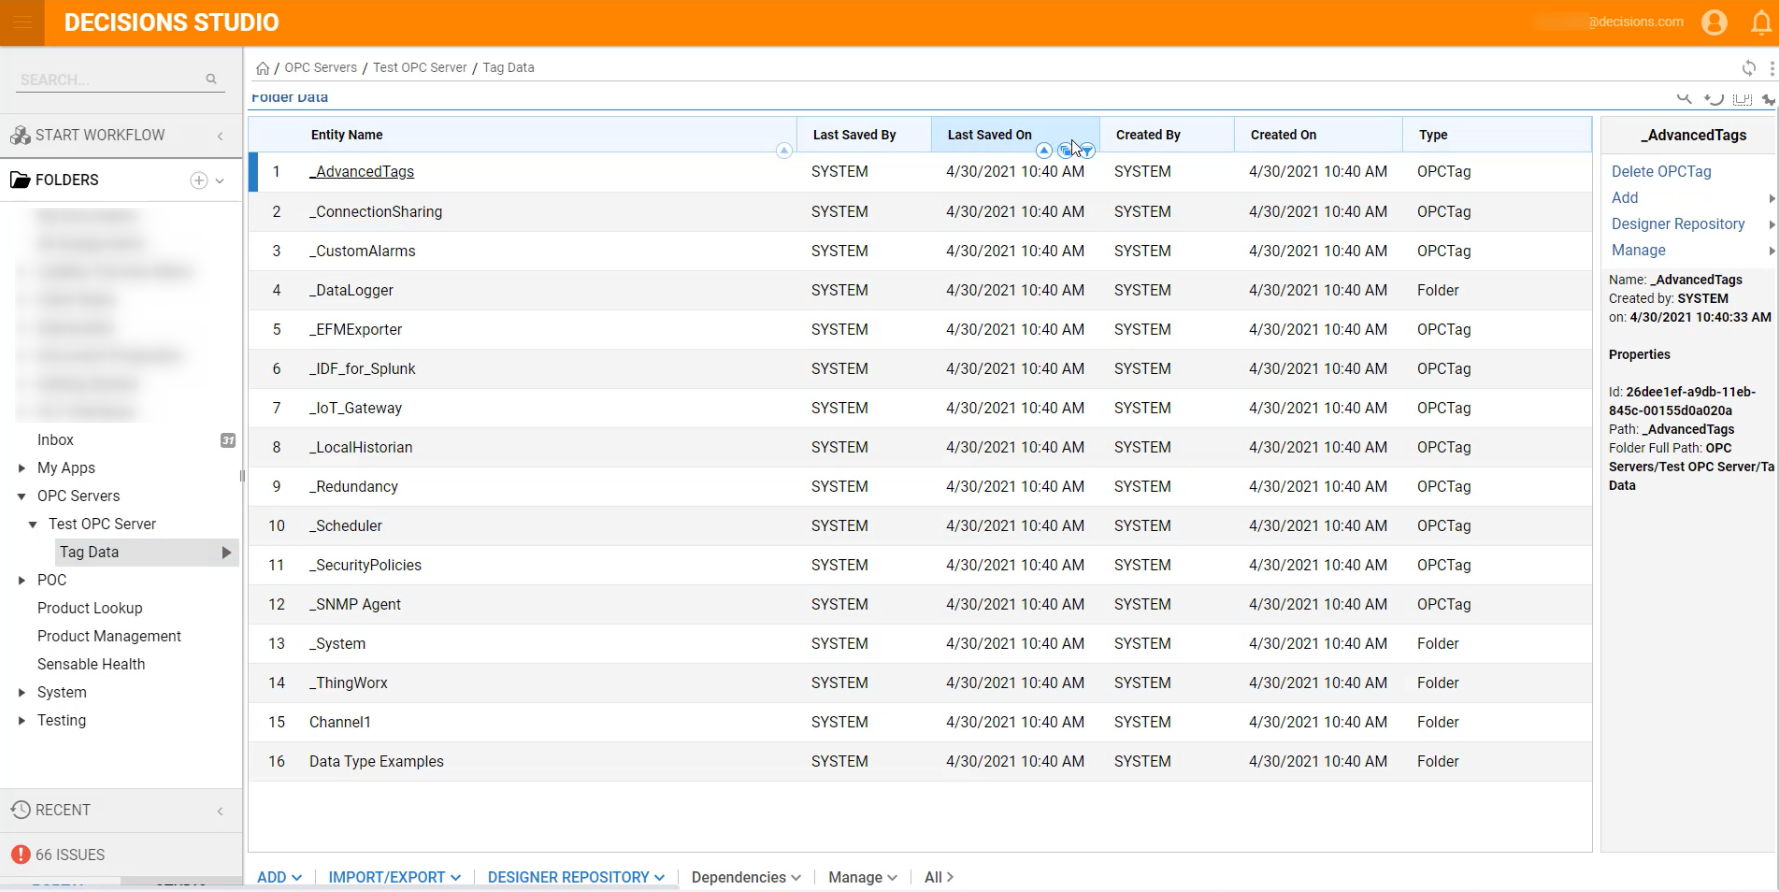
If this works, the Tag Data folder will appear and inside that folder will be a list of all endpoints available on the OPC Server. If there are errors or nothing happens, check the Agent logs and open OPC Diagnostics on the OPC server for error and debug information. Below is an example of the endpoints on the OPC server:
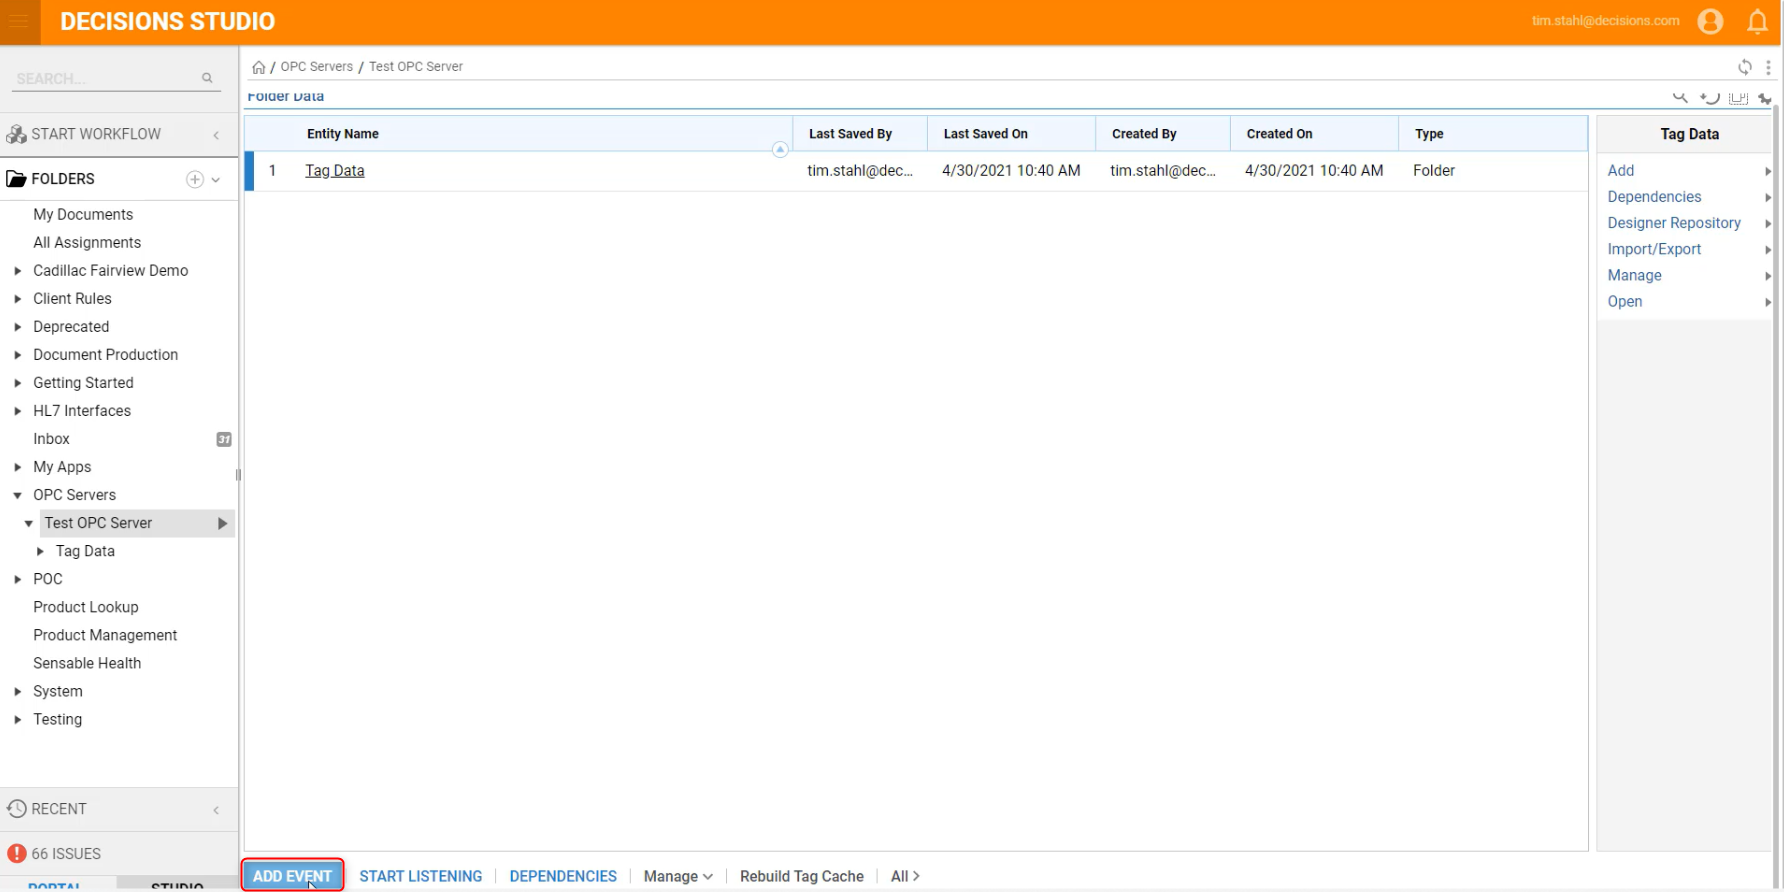
- For Decisions to do anything with OPC, Events must be created. Events tell Decisions to poll a tag (or set of tags) at a predefined interval. It will then allow a Rule to be created, and based on that Rule, start a Flow. Click Add Event under the OPC Server that was created.
- Enter a Name and click Add New under Event Data.
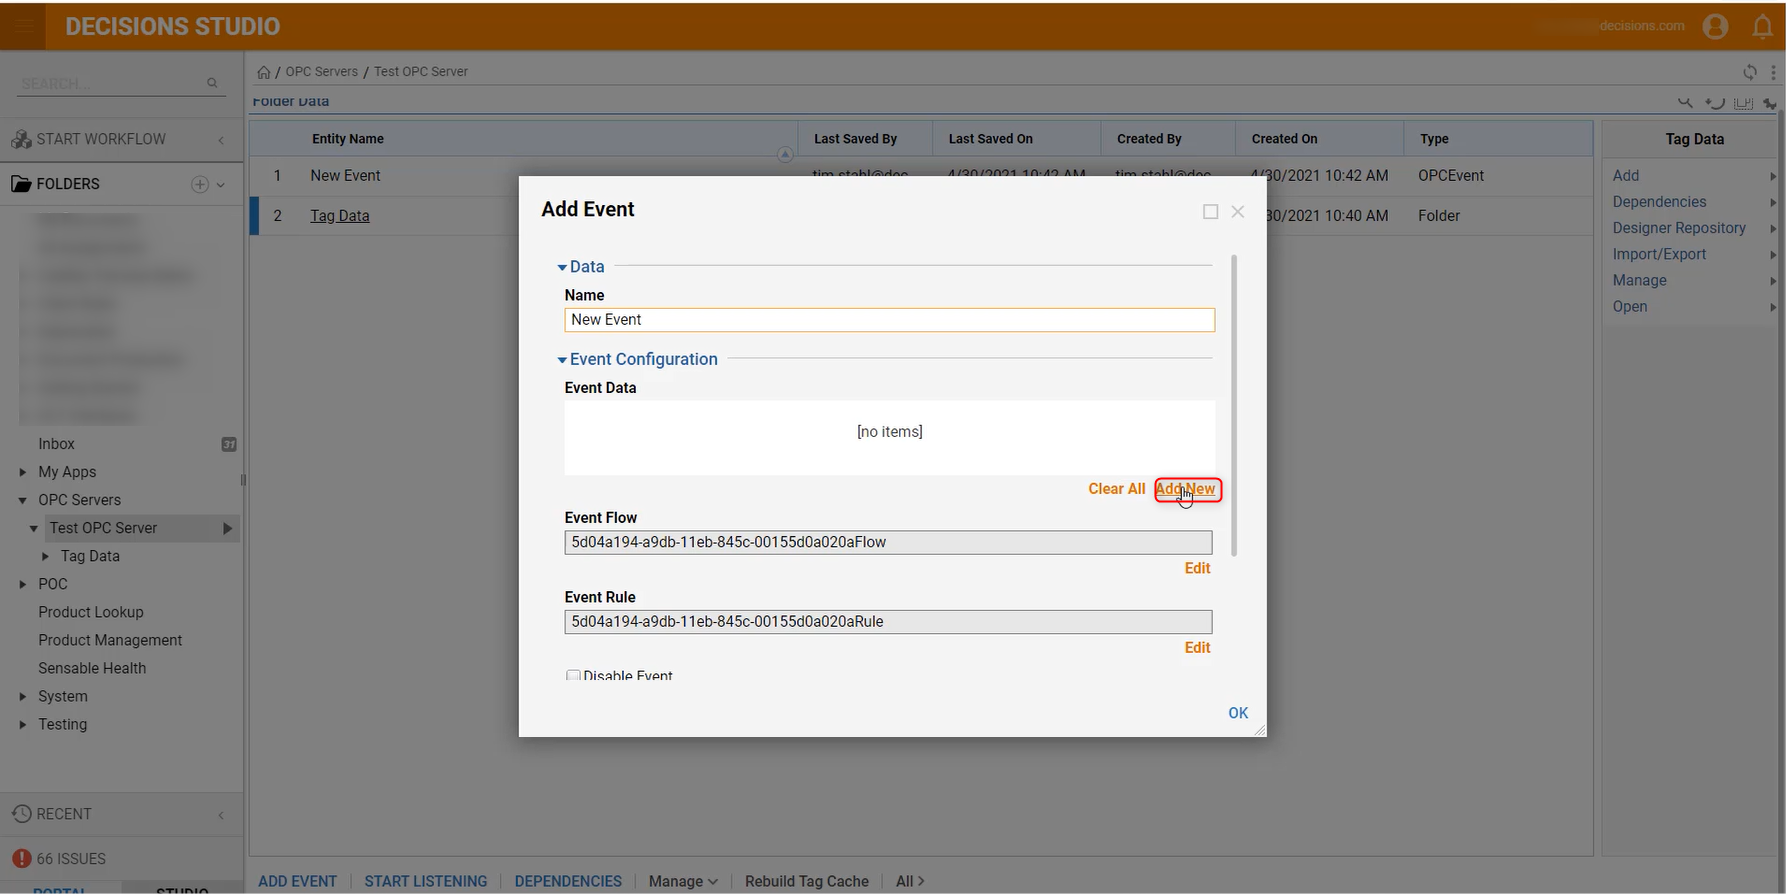
- Add the desired tags to monitor and click OK.
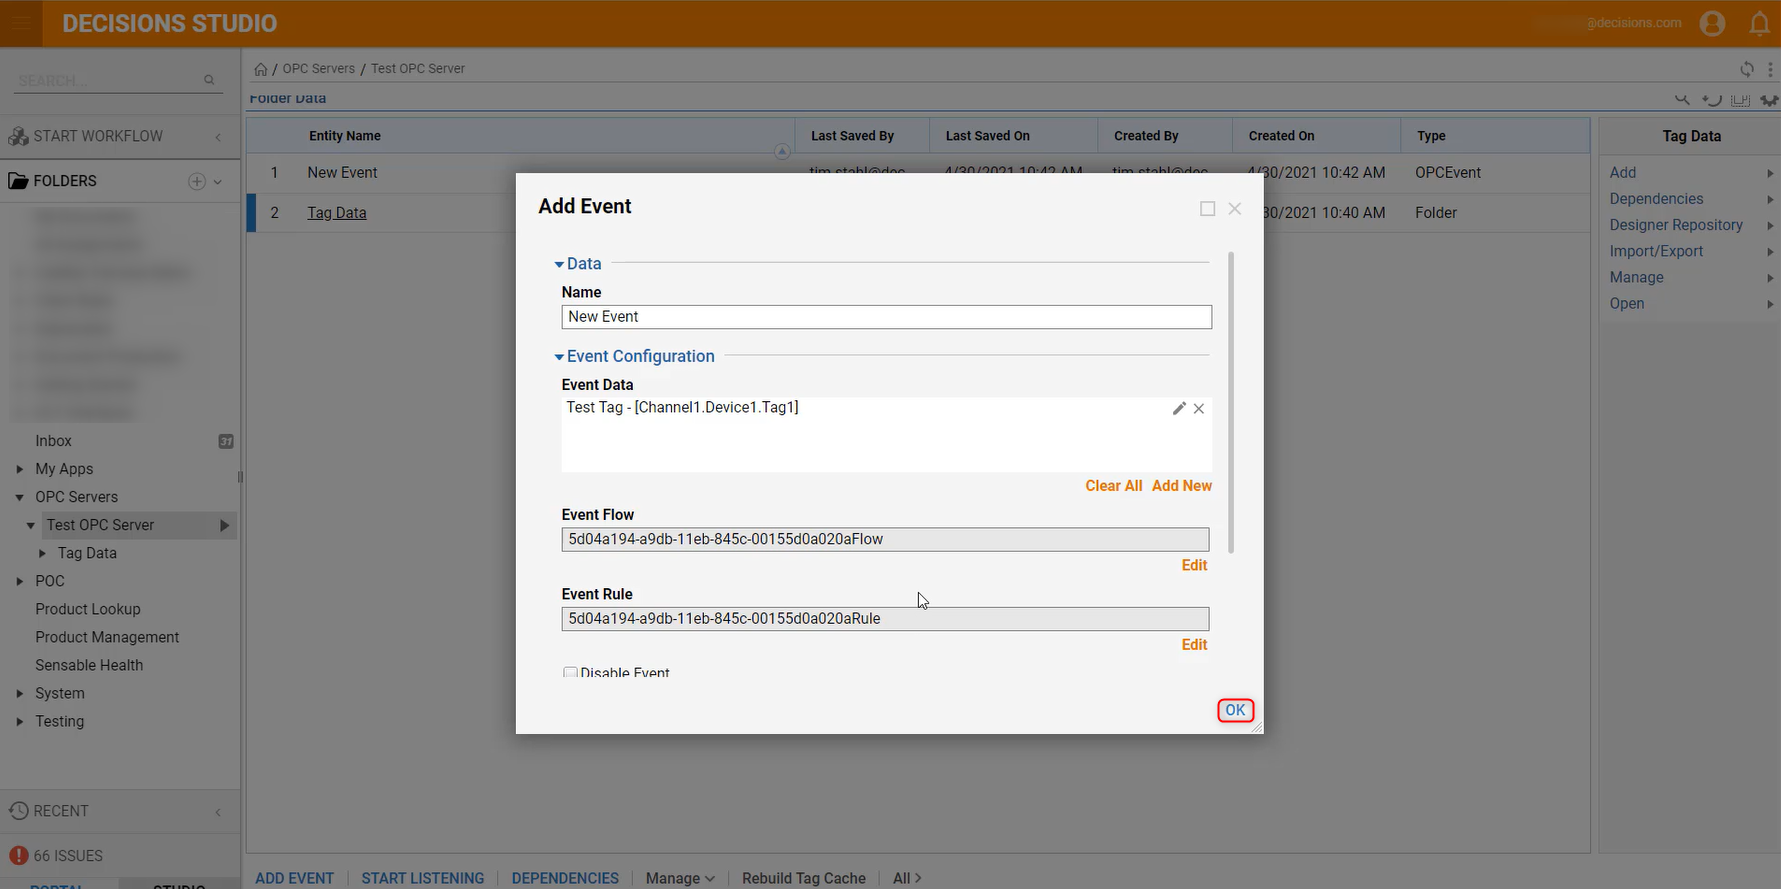
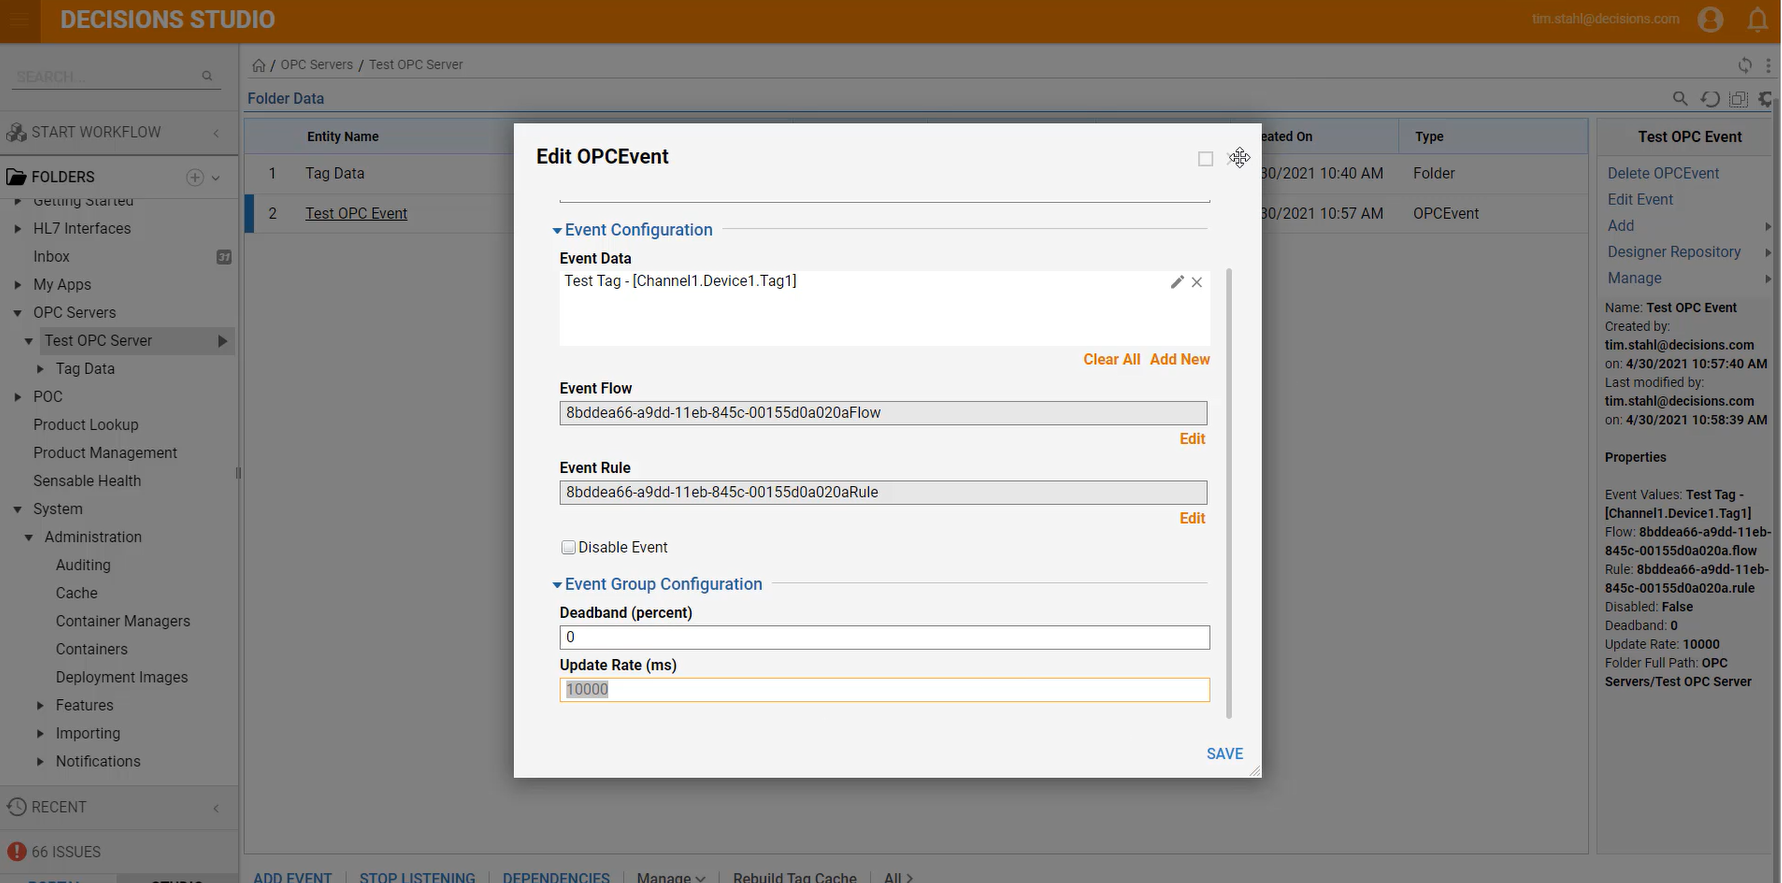
- Configure the Event Rule and Event Flow. Update the Update Rate and click OK.
Debug
- Click Start Listening.
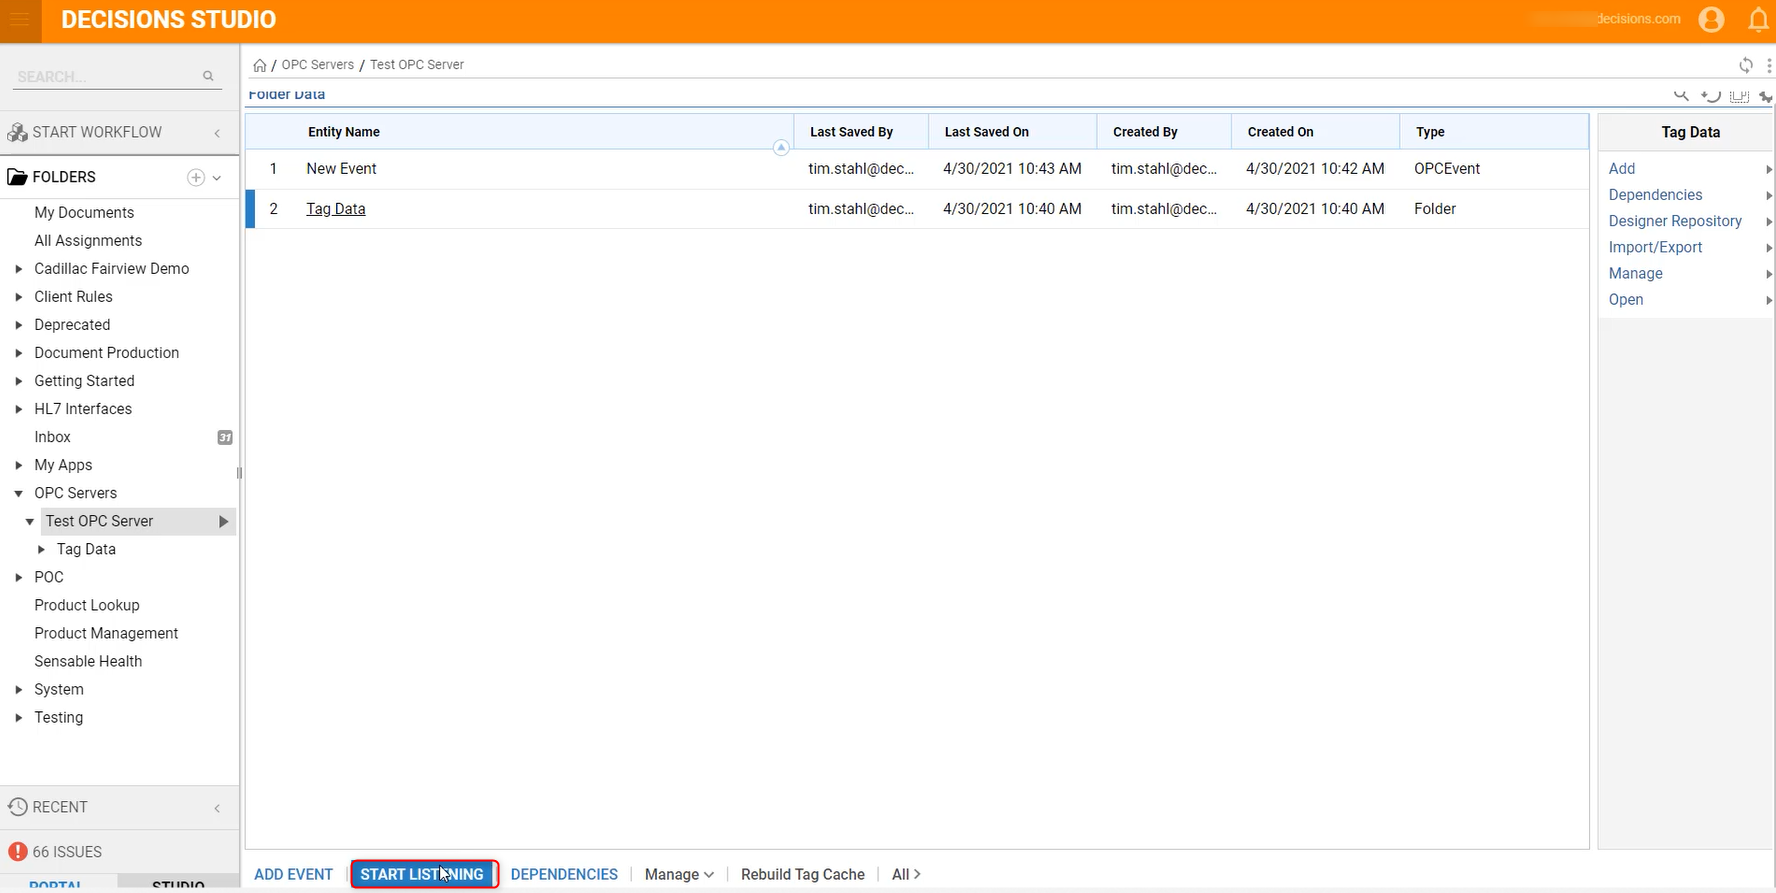
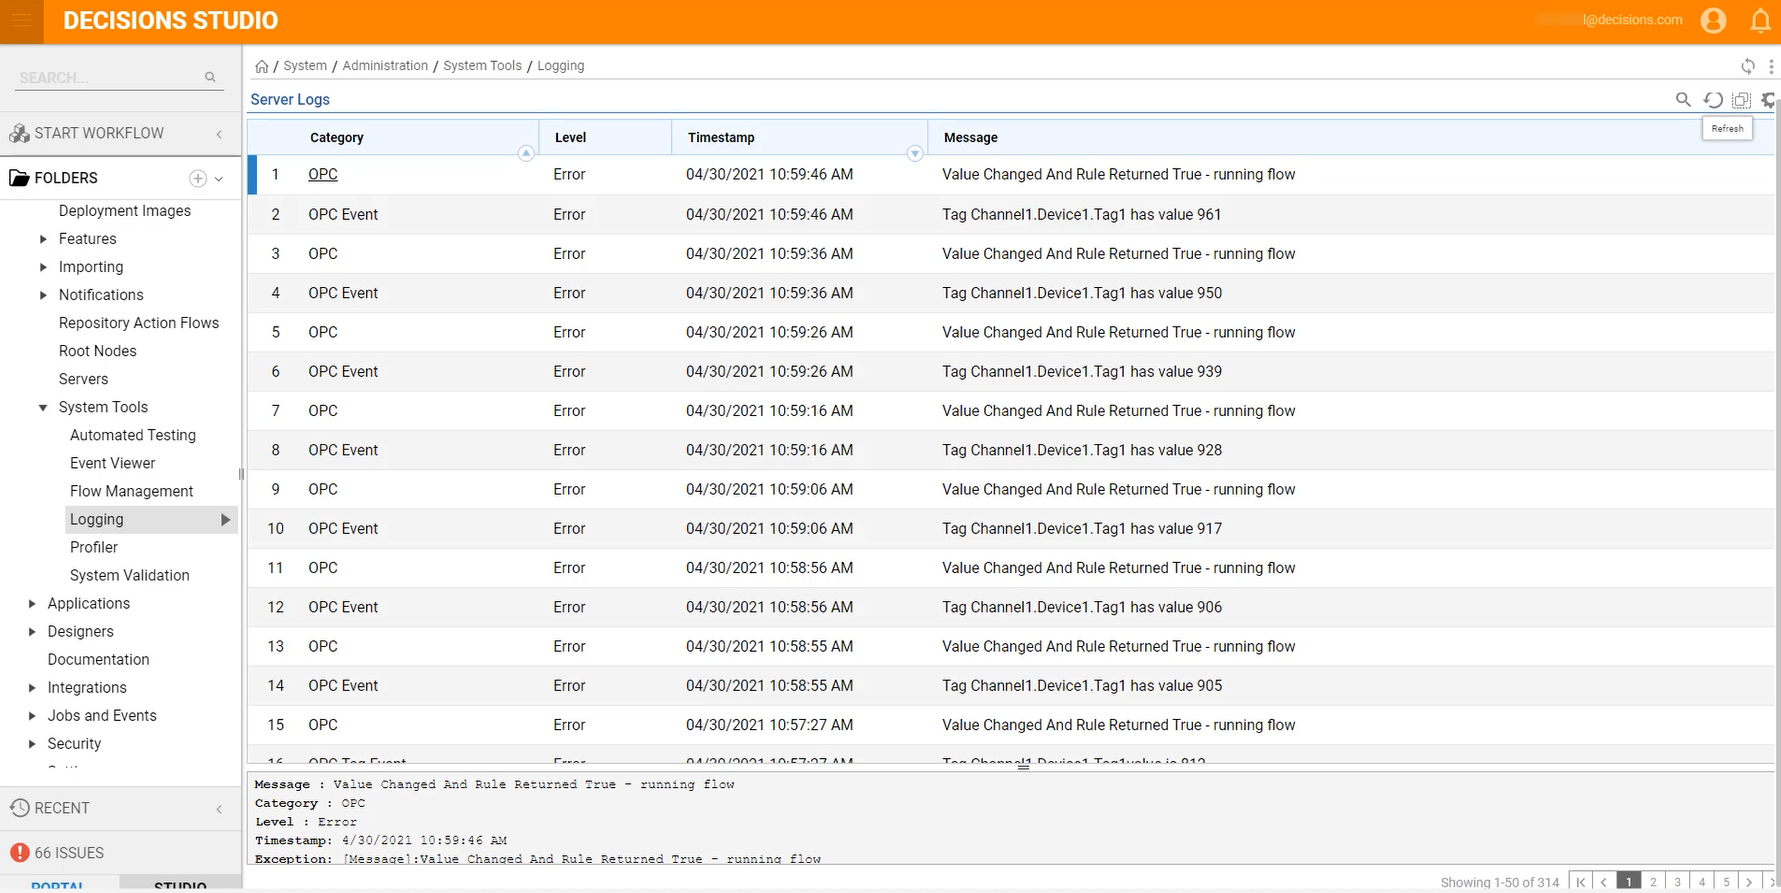
- When Start Listening is selected, the tags on the OPC server will be polled based on the update rate and fire off Events and Flows as configured.
