Overview
This article will review how to update to a newer minor version 7.x release (ex: 7.0 to 7.1).
Version 7.x .NET Architecture Change:
Versions 7.0.1 - 7.1 require .NET Core 3.1
Versions 7.2 - 7.9 require .NET 5
Versions 7.10+ require .NET 6
Versions 7.0.1 - 7.1 require .NET Core 3.1
Versions 7.2 - 7.9 require .NET 5
Versions 7.10+ require .NET 6
Impact on Upgrades:
- ALL custom libraries will need to be recompiled for the new .NET architecture.
- Custom assemblies will need to be re-written.
- Modules may require reinstallation or design refactoring.
Updating within Version 7.x
IMPORTANT!!!
Make current backups of the following:
- Database(s) - note the DB Server and DB name (connection string)
- Settings.xml - C:\Program Files\Decisions\Decisions Server
- Keys.dat - C:\Program Files\Decisions\Decisions Server\Instances\Control
- FileStorage folder - C:\Program Files\Decisions\
- Stop IIS if present on the App Server.
Click Start, type in IIS, and click Internet Information Services (IIS) Manager.
Under the left Connections panel, right-click the top listing and select Stop.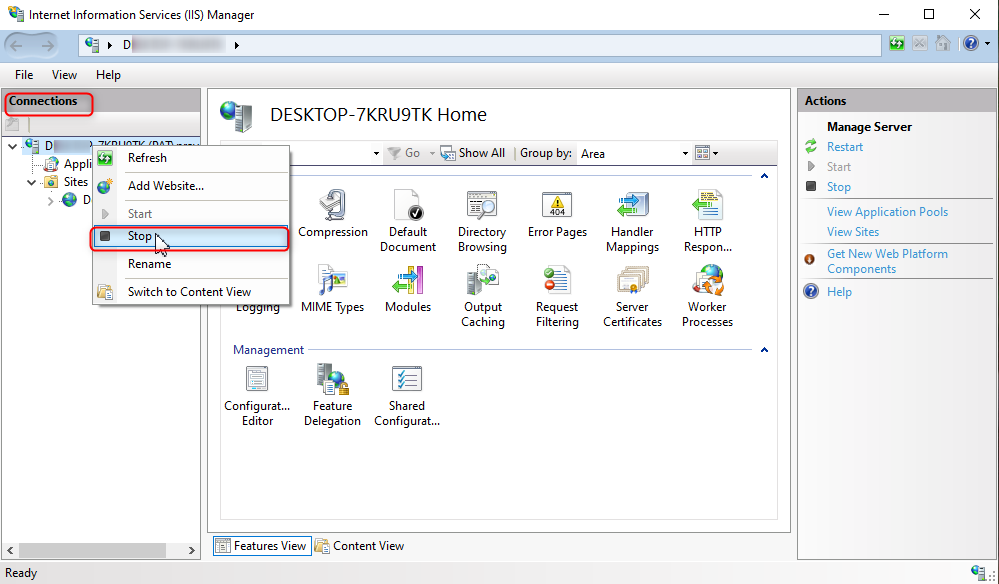
- Download the desired v7.x installer, then run it as an administrator.
.png)
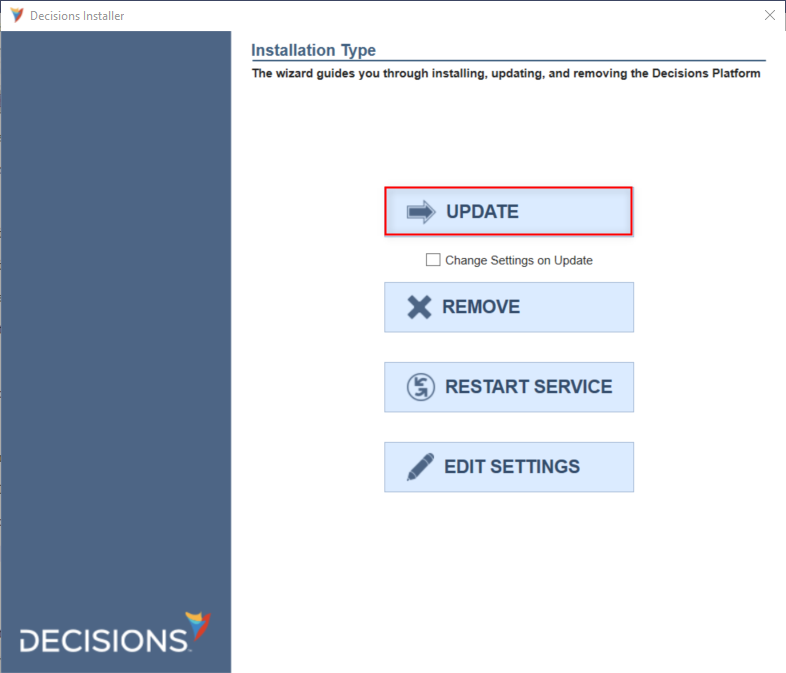
- To proceed without altering any of the previously configured platform settings, click UPDATE. (Skip Step 5 below)Change Settings on UpdateCheck this box to overwrite platform settings ahead of clicking UPDATE.
When proceeding through each of the 5 customizable panels, fields will auto-populate with previously configured values. (See Step 5)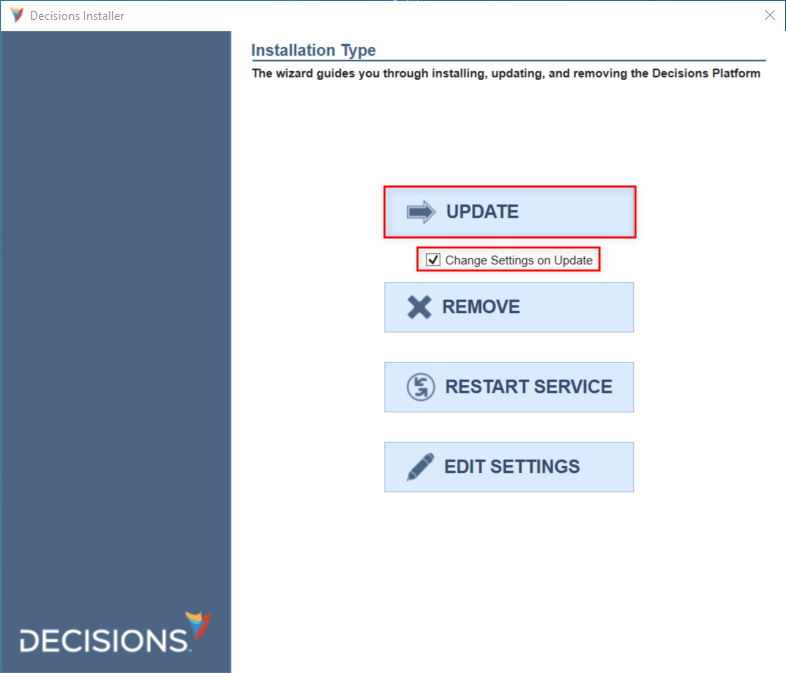
- Review the terms, click the checkbox next to I accept..., and click Next to proceed.
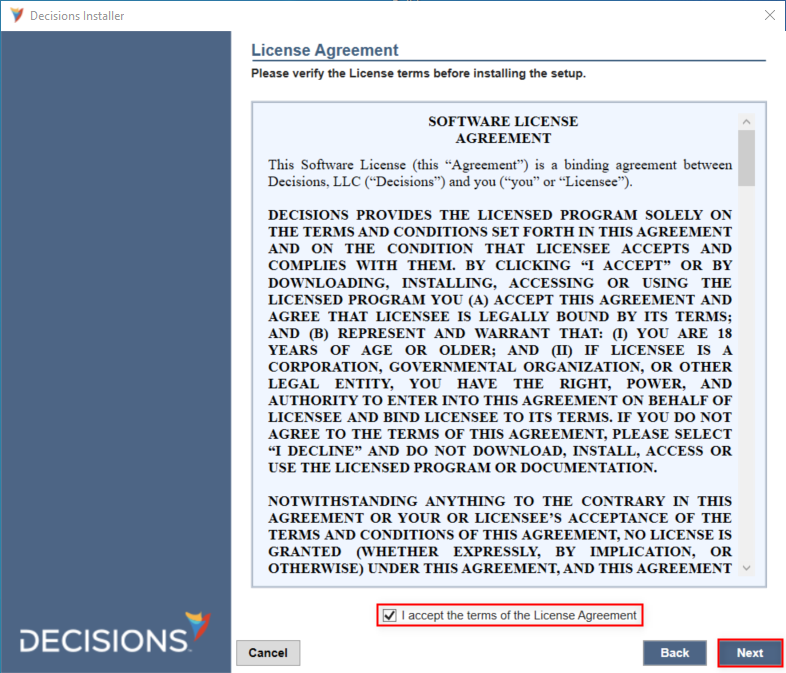
- Note the customizable Settings panels: Database Setup, Portal Base Url, E-mail Server, Encryption Keys, File Storage.
.png)
- Review and correct any System Requirements warnings before clicking Next.Check Port is AvailableWhen failing for port 80, stop IIS (See Step 1) before clicking Re-Run Checks.Warning about Multi-Tenant CheckNote that Multi-Tenancy is not supported in v7. During the installation process, Decisions will check for pre-existing Multi-Tenant environments. Upon finding a Multi-Tenancy, the installation will fail to be complete.
To avoid this issue, see the Multi-Tenancy Check Fix section below.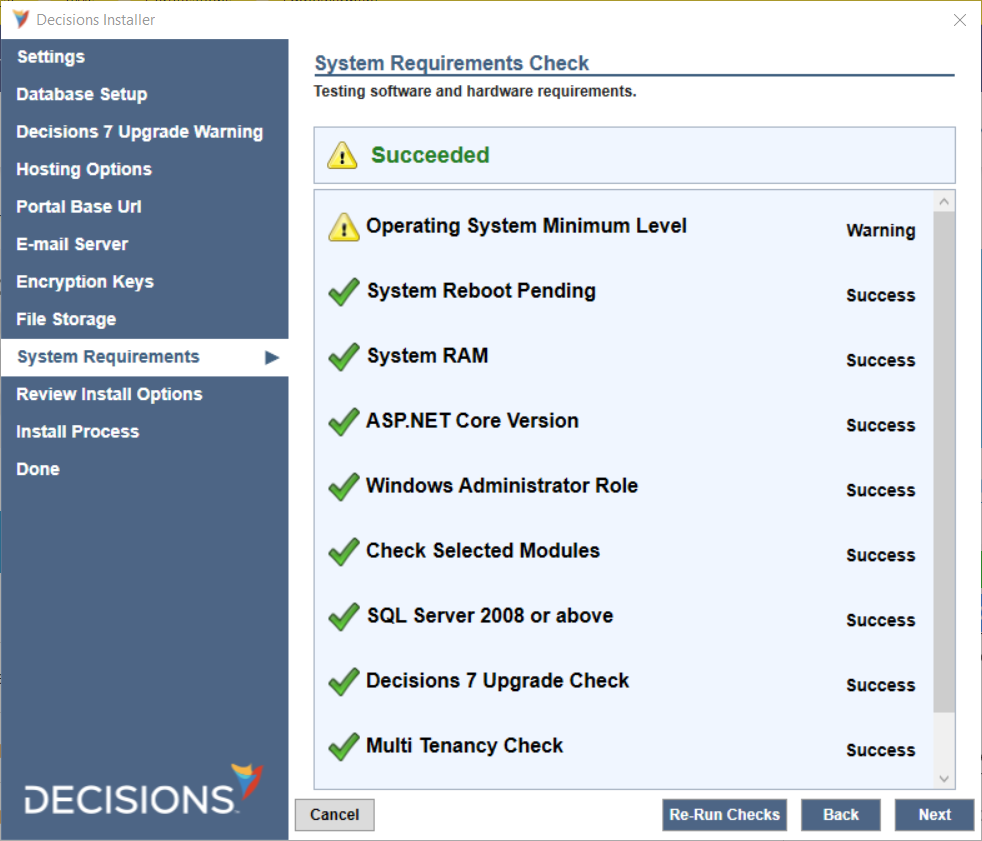
- Confirm the Install Summary details are expected, then click Next.
.png)
- Click Show Details to see the update progress.
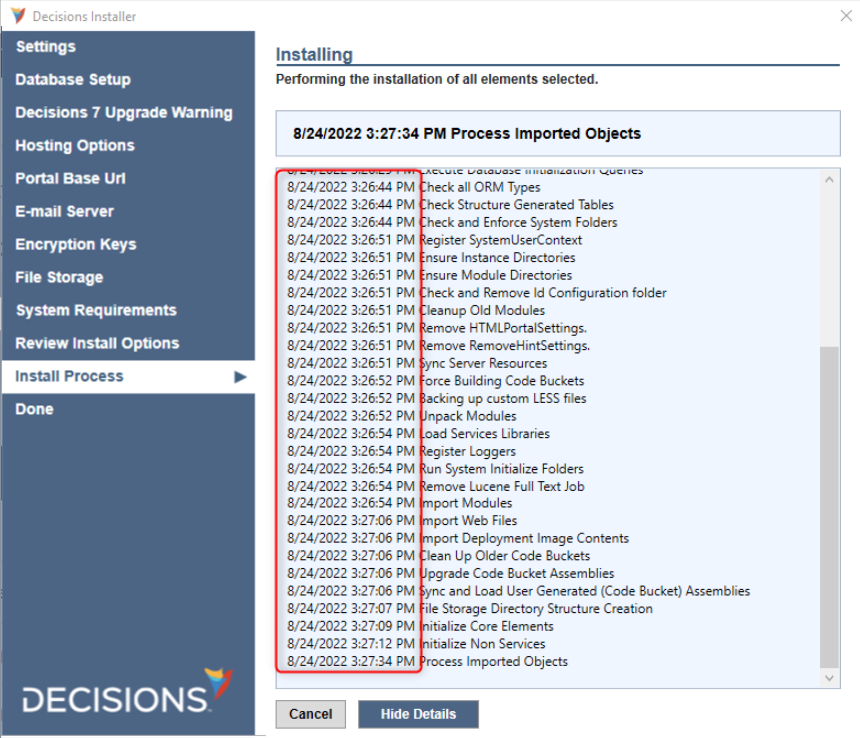
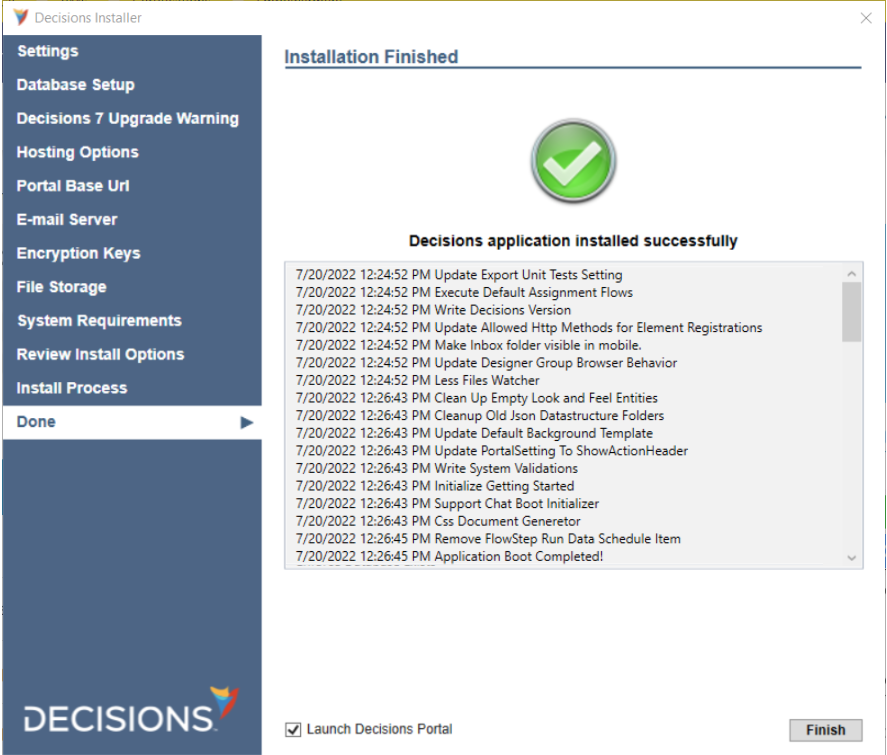
- When the v7.x update completes, click Finish to close the Installation Finished window.
Multi-Tenancy Check Fix
The following section demonstrates how to fix the Multi-Tenancy Check issue that prevents the installer from updating v.7 environments.
Settings.xml
- In the Local File System, navigate to C:/Program Files/Decisions/Decisions Server.
- Open Settings.xml in a text editor. About PermissionsNote that the following method requires the user to run the text editor as an Administrator.
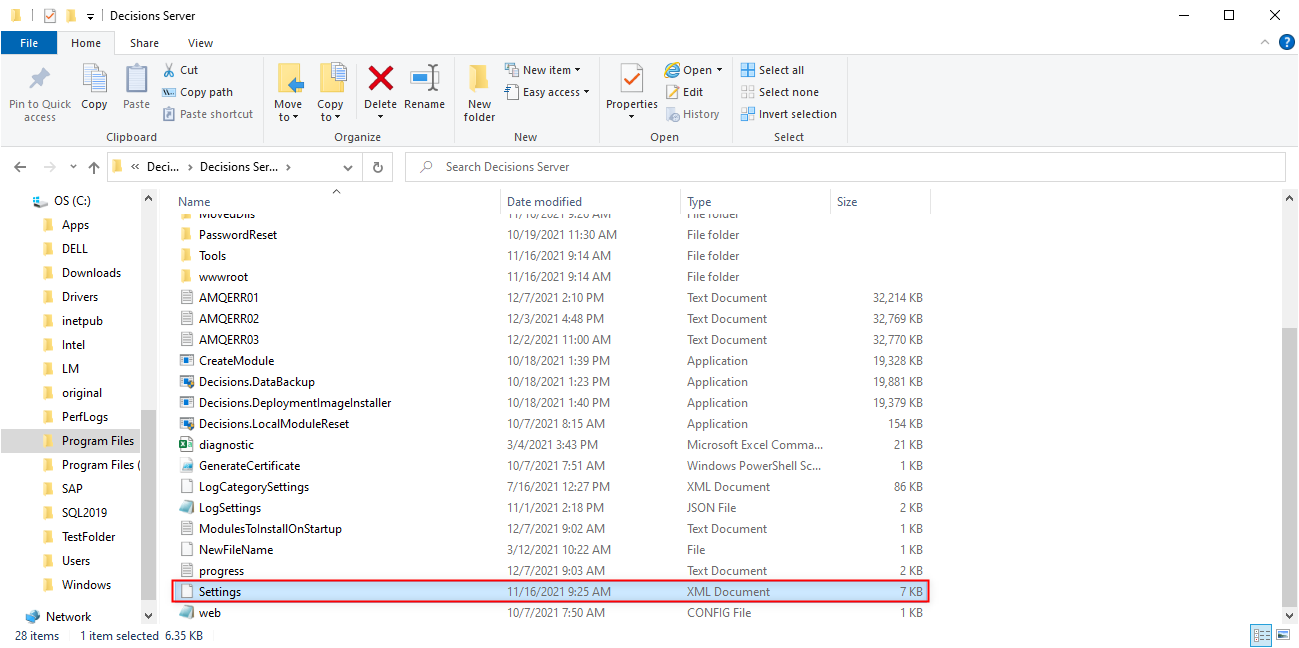
- From the text editor, locate the <ServerType> tag; if the text that follows is "Hosted", change the value to "Standard".
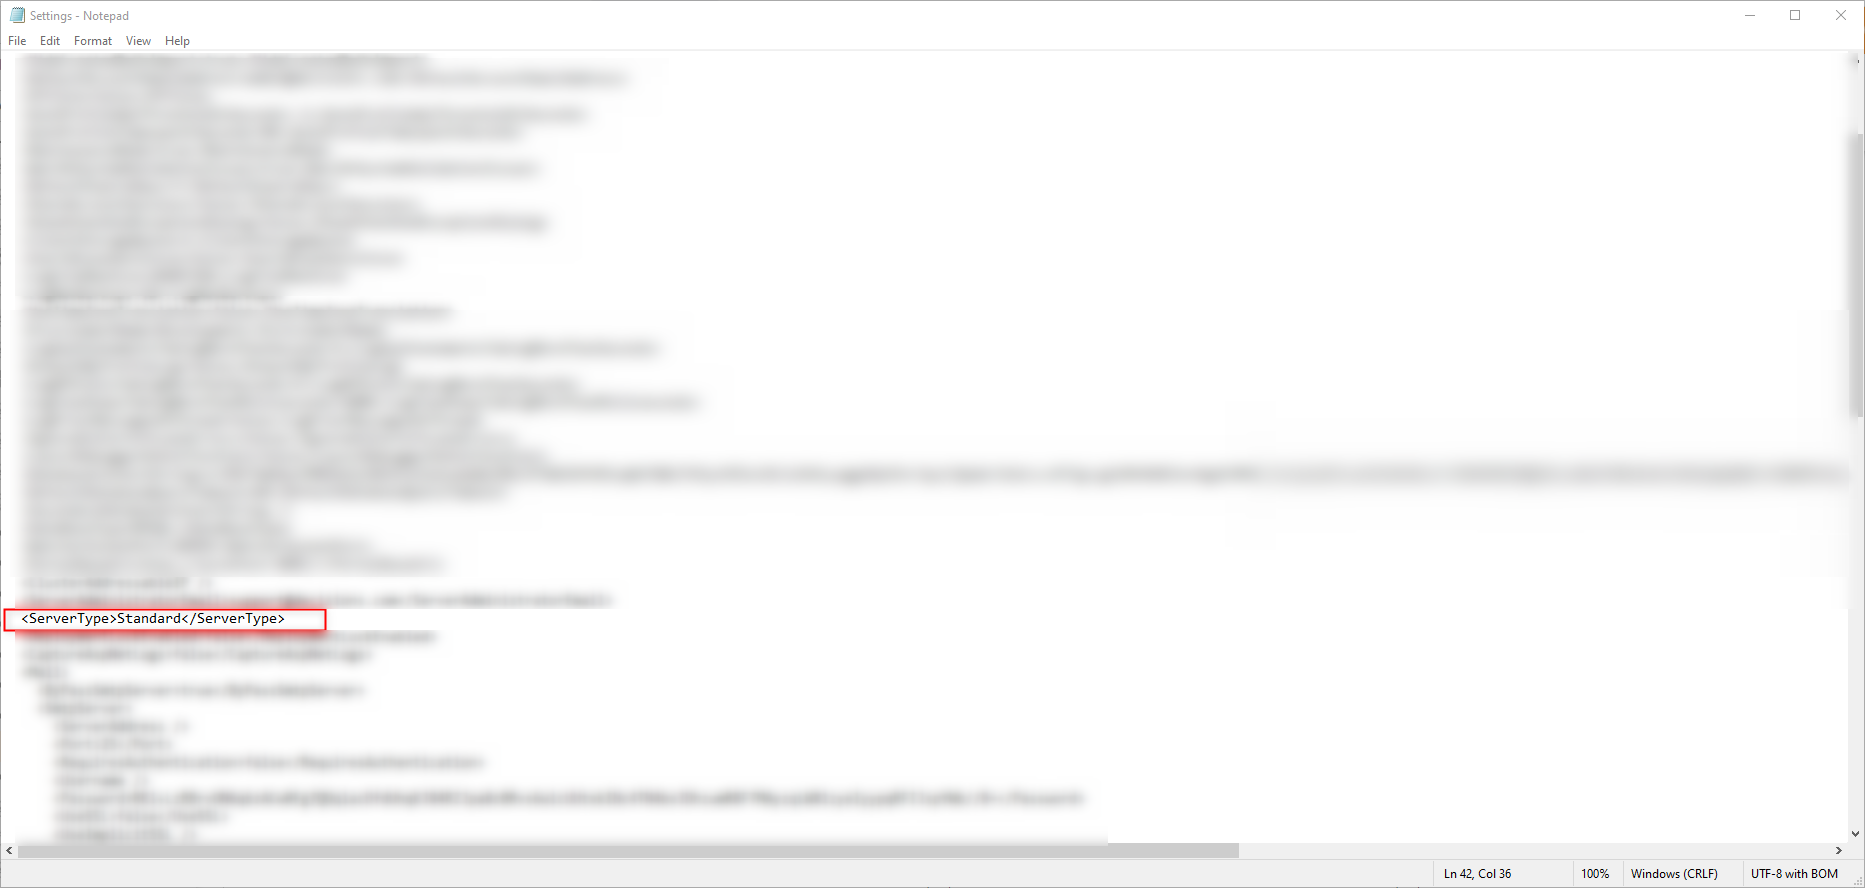
- Save and close Settings.xml before attempting to update the v.7 installation.
DecisionsServerInstaller
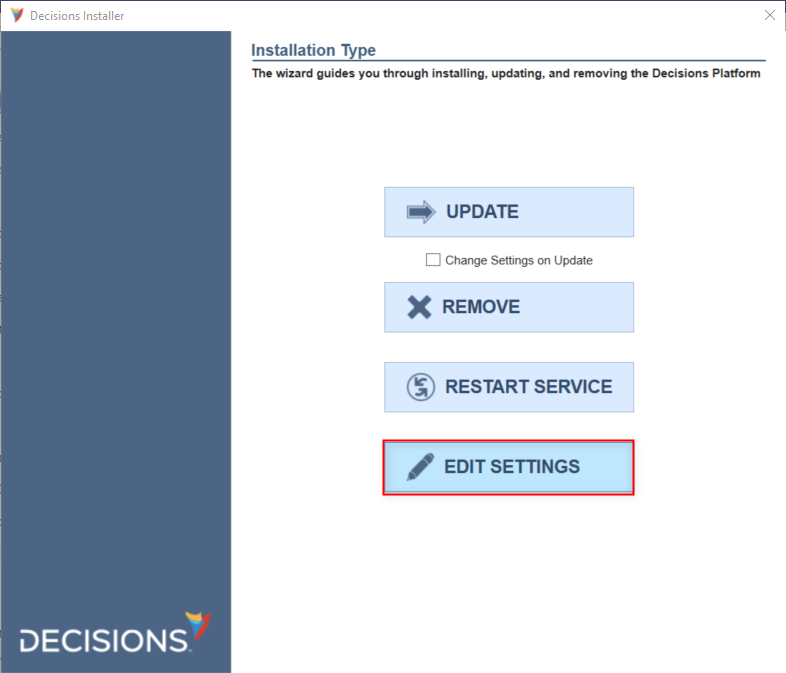
- Open DecisionsServerInstaller.exe.
- Click the EDIT SETTINGS button.
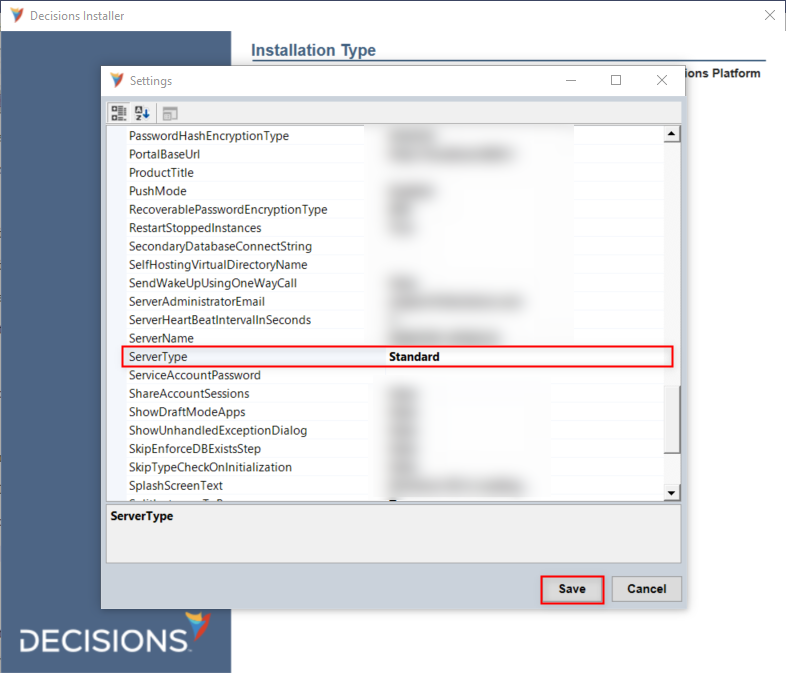
- From the Settings popup, locate and scroll to the ServerType setting.
- Ensure that the value is set to Standard and not Hosted, then click Save.
- Click RESTART SERVICE.
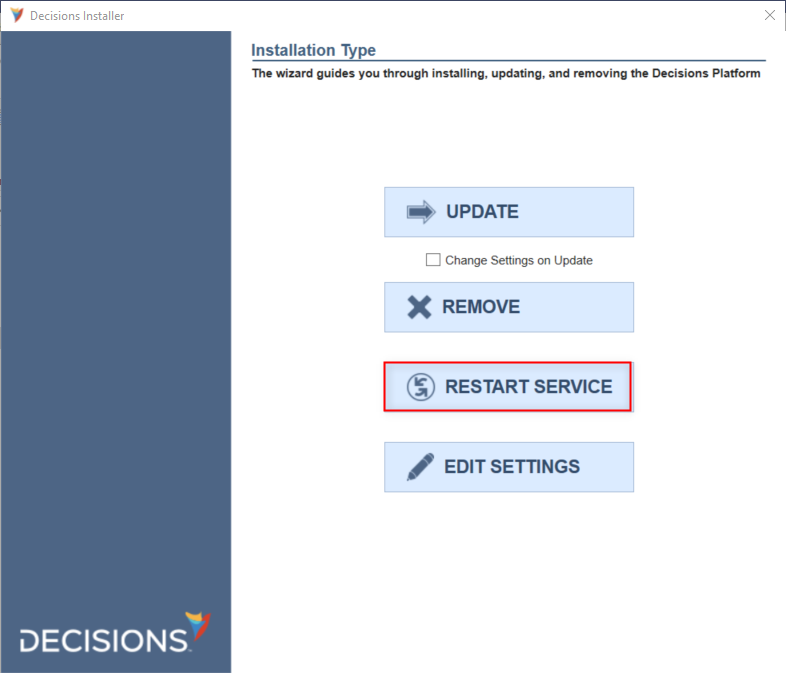
- Proceed with the update as intended.
