Upgrading Decisions (v6 to v7)
- 03 Aug 2023
- 3 Minutes to read
- Print
- DarkLight
This documentation version is deprecated, please click here for the latest version.
Upgrading Decisions (v6 to v7)
- Updated on 03 Aug 2023
- 3 Minutes to read
- Print
- DarkLight
Article summary
Did you find this summary helpful?
Thank you for your feedback
Overview
The following article will review how to upgrade from Version 6 (v6.20.1) to Version 7 (v7.x).
Version 7.x .NET Architecture Change:
Versions 7.0.1 - 7.1 require .NET Core 3.1
Versions 7.2 - 7.9 require .NET 5
Versions 7.10+ require .NET 6
Versions 7.0.1 - 7.1 require .NET Core 3.1
Versions 7.2 - 7.9 require .NET 5
Versions 7.10+ require .NET 6
Impact on Upgrades:
- ALL custom libraries will need to be recompiled for the new .NET architecture.
- Custom assemblies will need to be re-written.
- Modules may require reinstallation or design refactoring.
IMPORTANT CONSIDERATIONS
- The .NET library architecture change requires an "uninstall" of v6 ahead of installing v7.
- Multi-Tenancy (MT) is NOT currently supported in v7.
- Running v6 and v7 on the same database is NOT supported.
- Upon upgrading to v7, downgrading back to v6 is NOT supported.
- Projects using XML/XSD Data Structures may require remapping upon upgrade.
- V6 custom Less files are not supported for use in v7.
- V7 Web Service Integrations requires the installation of the .NET Core 2.1 SDK and a machine restart for proper configuration.
- SSO endpoints were modified between v6 and v7. While v6 endpoints still function, the recommended endpoints have changed. Refer to the earlier linked article for further details.
- Review V7 Release Notes to view Supported and Unsupported Modules.
- External Service References have been removed in v8; External Web References are utilized instead. Flows using these steps will need to be updated.
Make Backups
- Backup the database (DB), noting the DB Server and DB name (or connection string).
- Navigate to C:\Program Files\Decisions\Decisions Services Manager\.
- Copy and paste the Settings.xml file to the Desktop.The v6 Settings.xml file will be used as a reference for the v7 Settings.xml's parameters, but the v6 Setting.xml cannot directly replace the v7 Settings.xml.
- Navigate to C:\Program Files\Decisions\Decisions Services Manager\Instances\Control.
- Copy and paste the Keys.dat file to the Desktop.
- Navigate to C:\Program Files\Decisions\FileStorage.
- Backup the FileStorage Folder and reference the v6 Settings.xml file, copied above, to re-configure the exact path later in the v7 installer.
Remove Version 6
- Visit Download Decisions; select the Decisions 6 Installer that matches the current version (ex: 6.20.1)
- Run DecisionsServerInstaller.exe.
- Click REMOVE to uninstall v6.
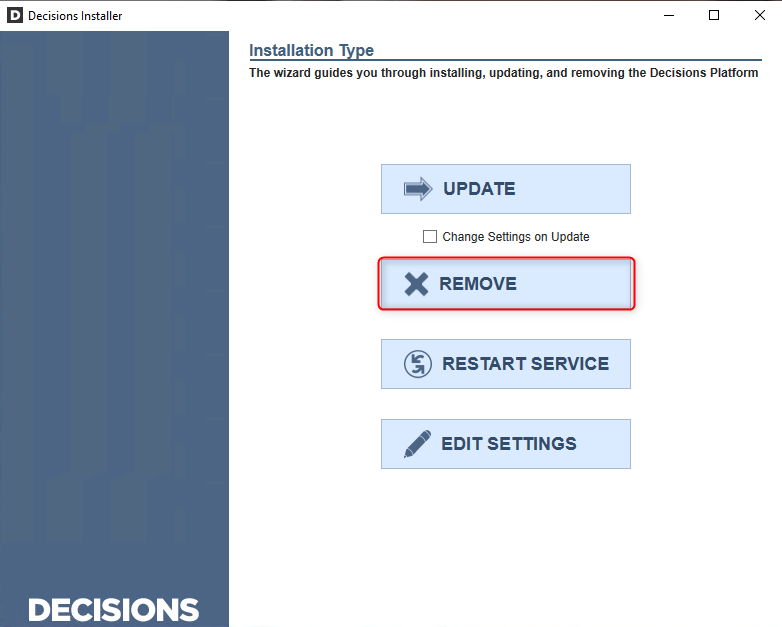
Install Version 7 Part 1: Downloads, Selecting Installation Type, and Database Setup
Once v6 has been removed:
- Download and install .NET 6 Runtime (x64) as well as the .NET Core Hosting Bundle.
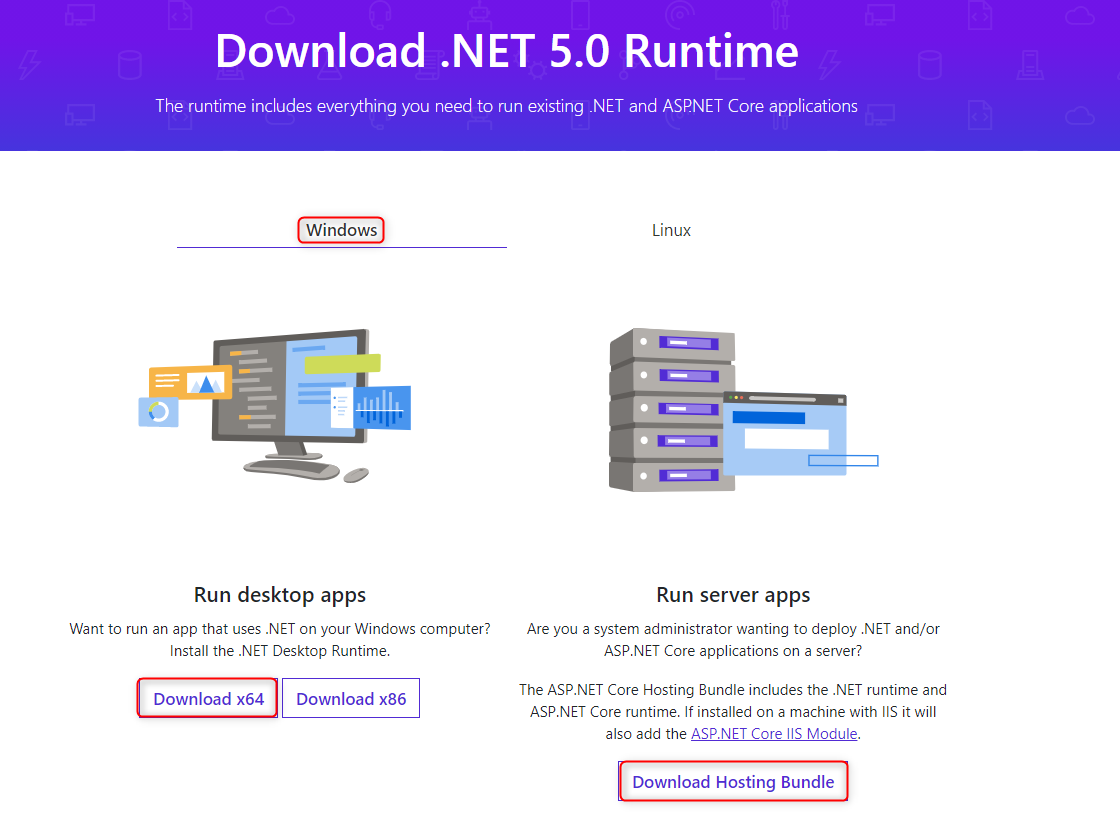
- Download the desired Decisions 7 Installer from Download Decisions webpage.
- Right-click the newly downloaded Installer, and select Run as administrator.
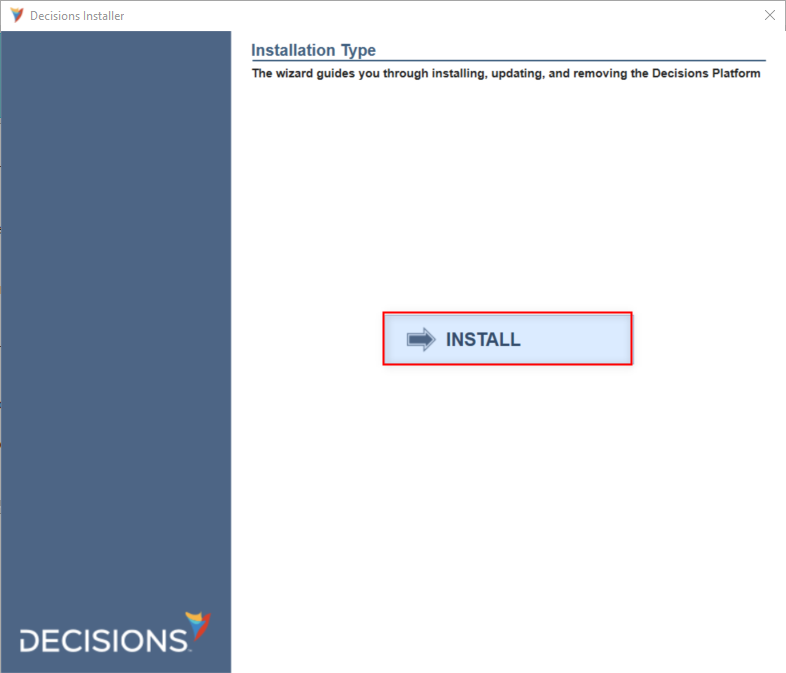
- Click INSTALL.
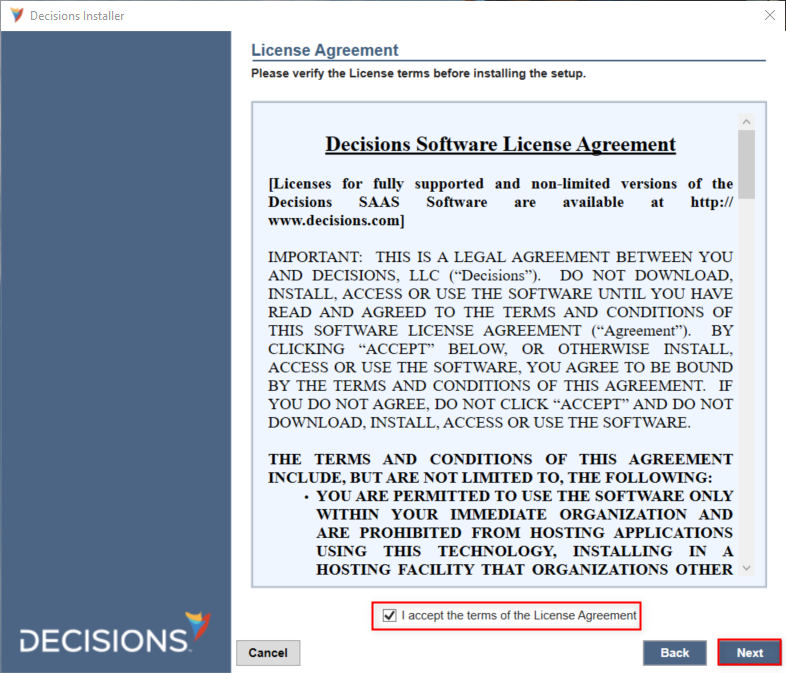
- Review the terms, check the I accept the terms of the License Agreement box, then click Next to proceed.
- On the Select Installation Type window, make the appropriate license choice, then click Next.Additional OptionsTo further customize all installation options, check the Show Advanced Settings box.
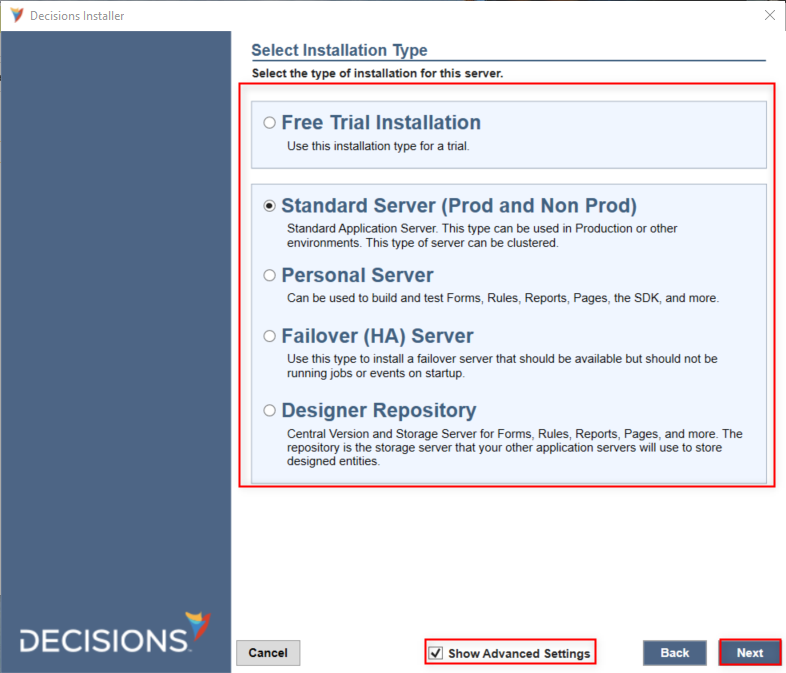
Upon reaching the Settings screen, click Next.
- On the Database Setup screen, select the appropriate Database Type, match the Connection Type and Connection Settings that was used for v6, then click Next.
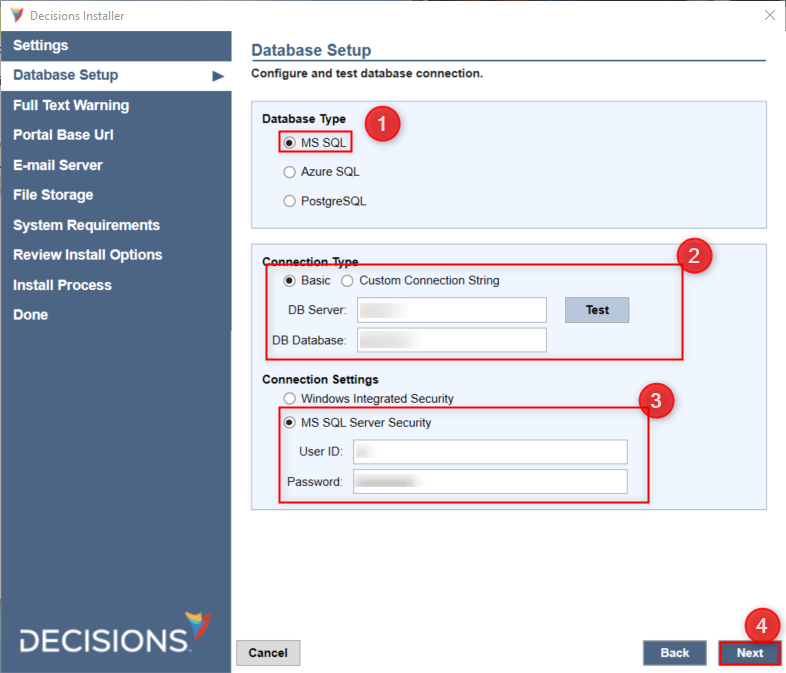
Select the appropriate Installer Hosting Option, then click Next.
Recommended Hosting OptionIt is recommended to select Self Hosting when installing a Decisions environment..png)
Installing Decisions Part 2: Portal Base URL
The following section demonstrates how to setup the Portal Base URL for the Decisions environment for both Hosting Options.
Matching PortalBaseURL
To ensure previously emailed v6 task links resolve correctly, reference the v6 Settings.xml file to configure matching values for the v7 installation.
Self Hosting:
- Specify the Portal Base URL used in v6 within the Domain Name (ex: example.com) field.
- Select the desired HTTP/HTTPS configuration, along with the Certificate path and Password if applicable, then click Next.Default Port Values and CertificateNote that Local installations default to localhost with HTTP (Port: 80) or HTTPS (Port: 443).
Certificates may be selected via Physical File Path or Certificate Store.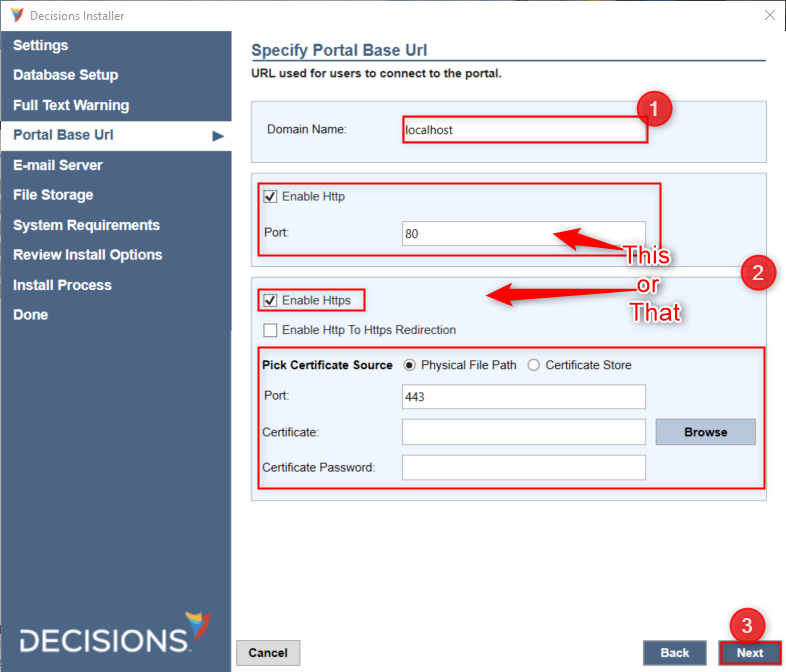
IIS Hosting:
Manual Setup Instructions
To manually configure Application Pool and Application Initialization settings, reference Installer Hosting Options.
- Provide the Portal Base URL used in v6, then click Next.
.png)
- From the Web Application window, under Application Pool, click Create new. Then, click Next. Preexisting App PoolIf an Application Pool with the same name already exists, use IIS Manager to change the .NET CLR version No Managed Code.
.png)
Installing Decisions Part 3: Email Server, Encryption Keys, File Storage, etc...
To continue the installation/update process/enable the ability to send and receive Emails:
- Select the Outbound E-mail Server option previously used in v6, then click Next.
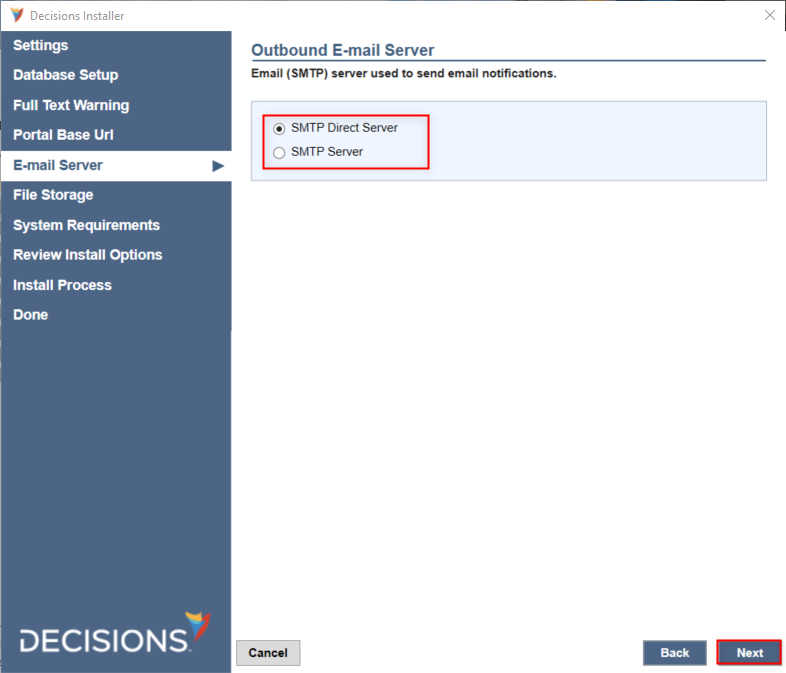
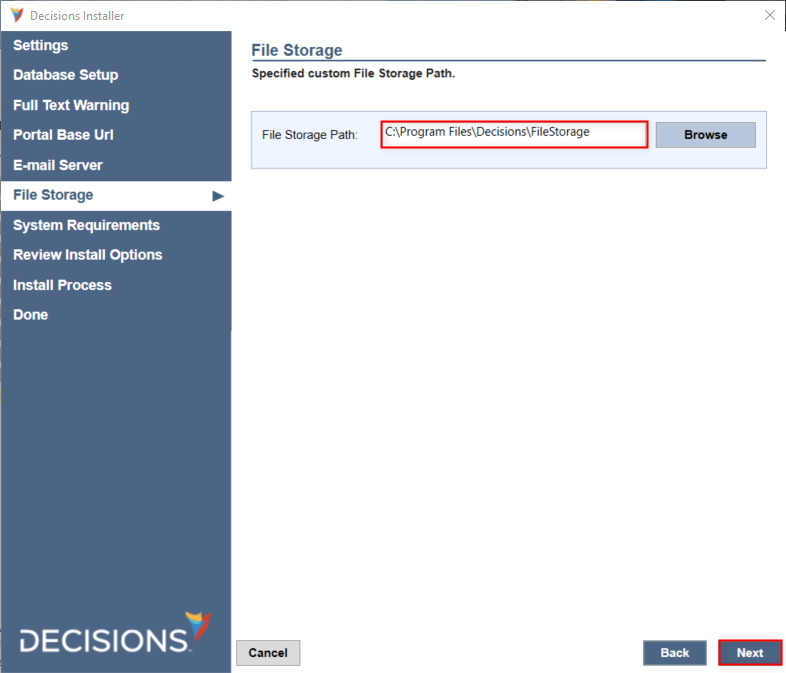
- Define the v6 File Storage location, then click Next.
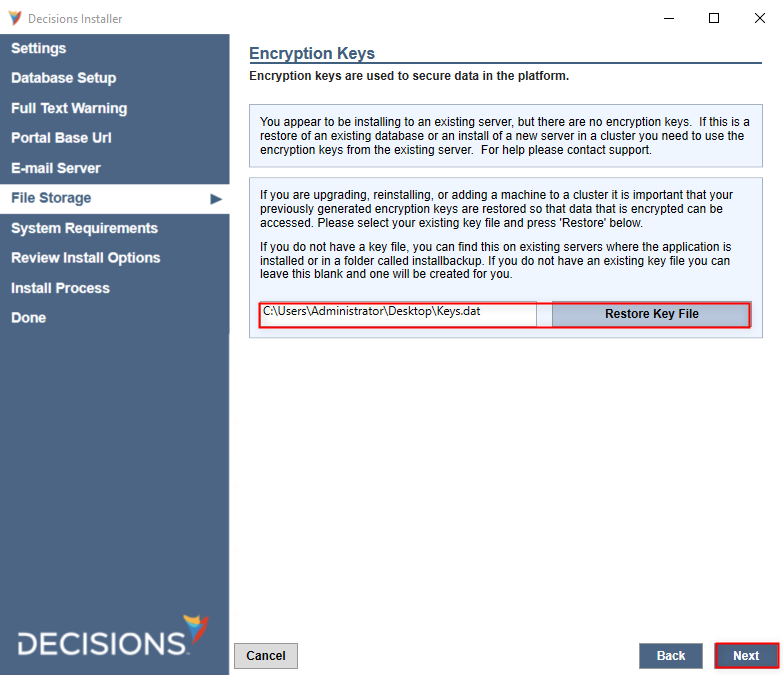
- If database encryption was used, click Restore Key File to upload the copied v6 Keys.dat, then click Next.
- Review and correct any System Requirements warnings before clicking Next.Warning about Multi-Tenant CheckNote that Multi-Tenancy is not supported in v7. During the installation process, Decisions will check for pre-existing Multi-Tenant environments. Upon finding a Multi-Tenancy the installation will fail to complete.
To avoid this issue, ensure that any previous Multi-Tenancies have been removed/disabled.
This can be checked by verifying that the Server Type is not set to Hosted via the Settings in DecisionsServerInstaller.exe or the Settings.xml file.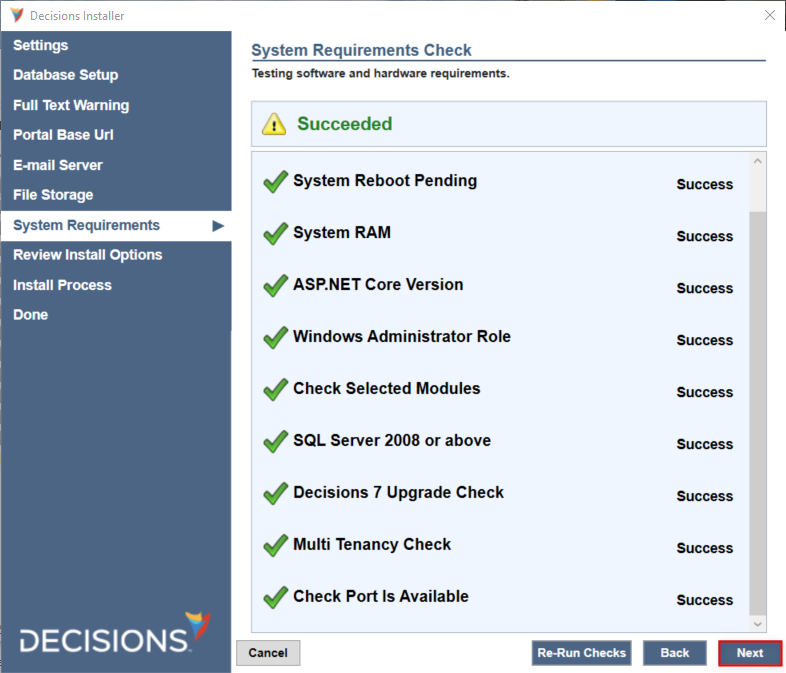
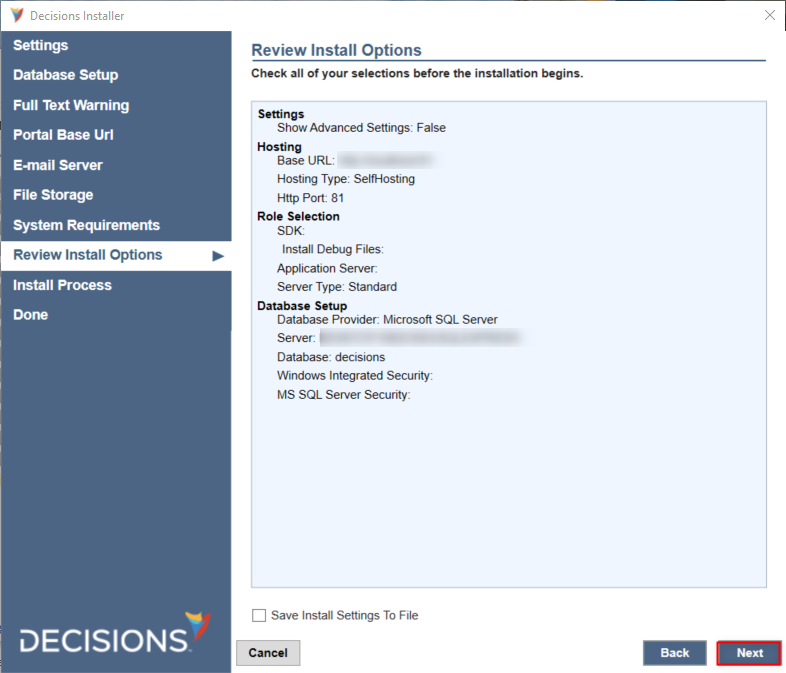
- Via the Review Install Options screen, confirm the installation summary details are expected, then click Next.
- Installation of v7 is underway.
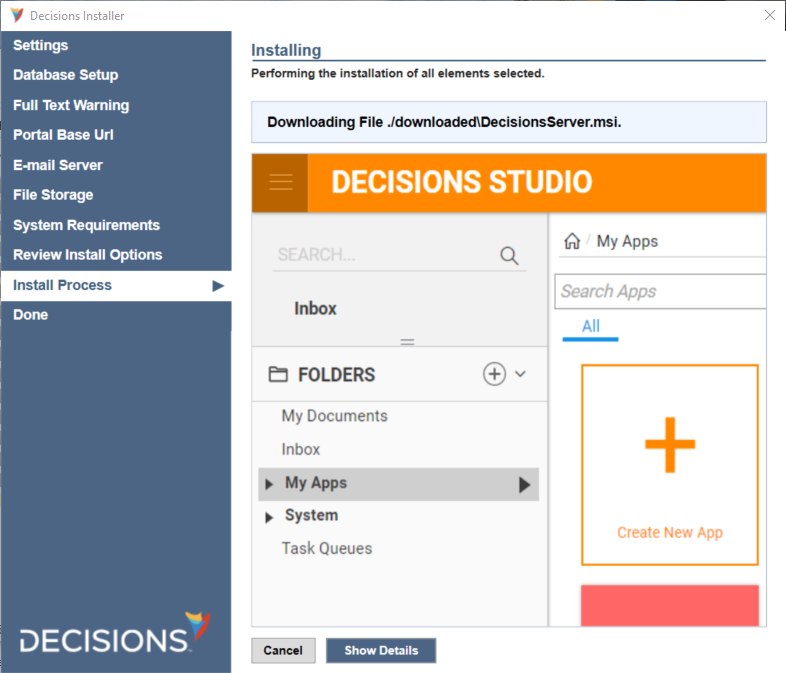
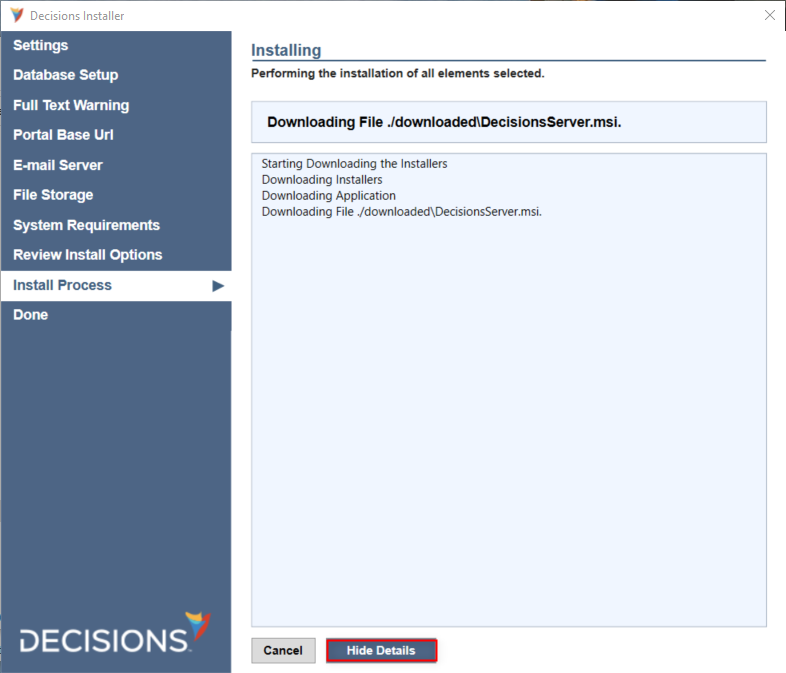
- Click Show Details to see installation progress.
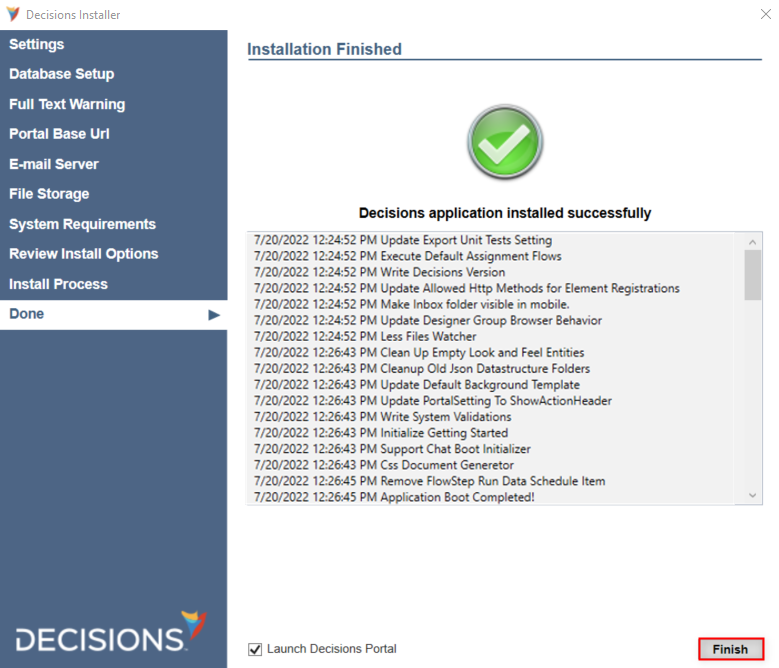
- When the v7 upgrade completes, click Finish to close the Installation Finished window.
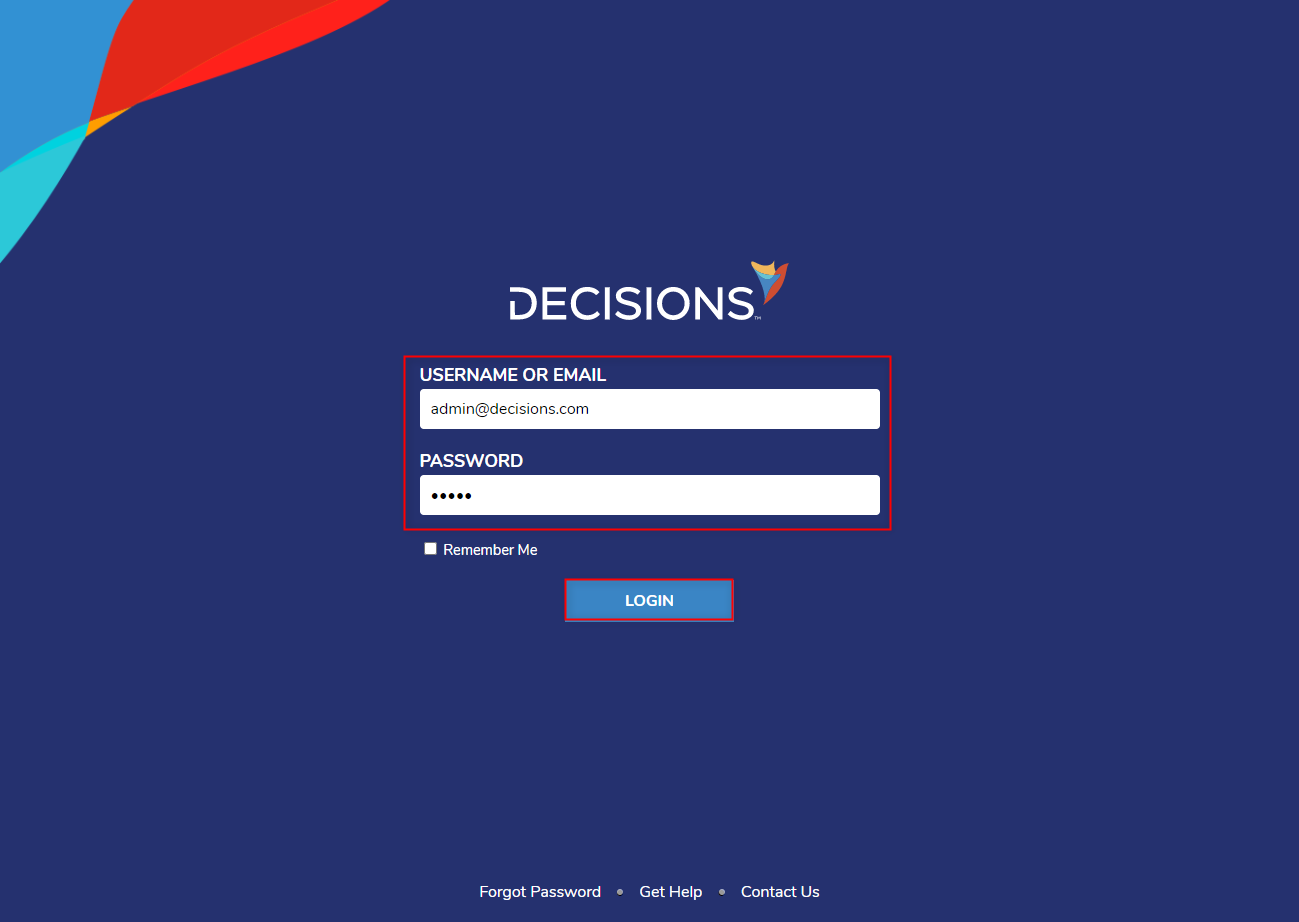
- Attempt to login to the newly upgrade Decisions environment with valid login credentials.
Was this article helpful?


.png)

.png)
.png)


