Overview
The Login User Flow Behavior allows the user to incorporate a process that triggers in Decisions based on a User Login event. A User Login event can be set to run when a user logs in to add functionality around the login process.
Example
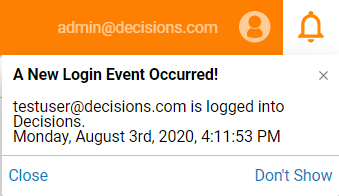
This example will walk through creating a Flow that's triggered when a user logs in to the Decisions Portal. The Flow will show a popup notifying the user about the Login event.
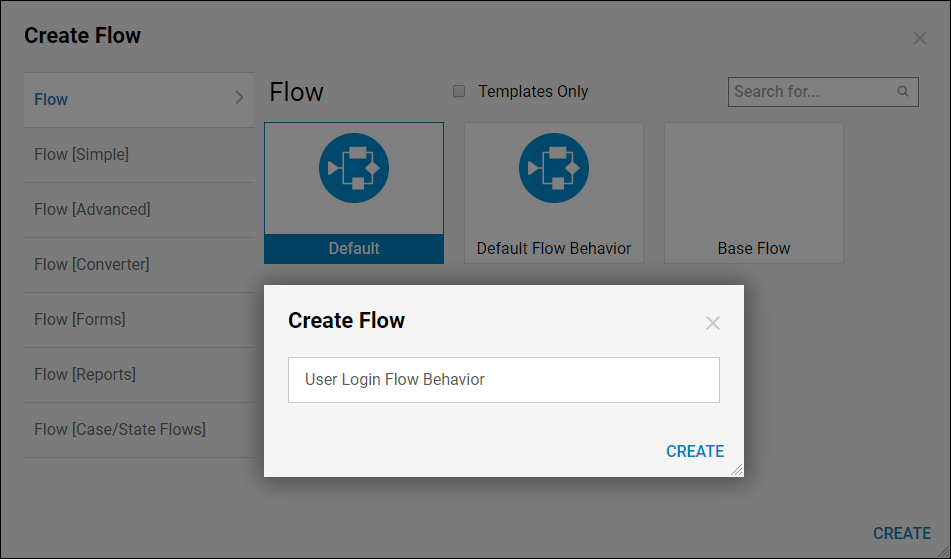
In a Designer Folder, select the Create Flow button from the bottom Action Bar. Select the Default Flow template and click Create, name the Flow then click Create again.
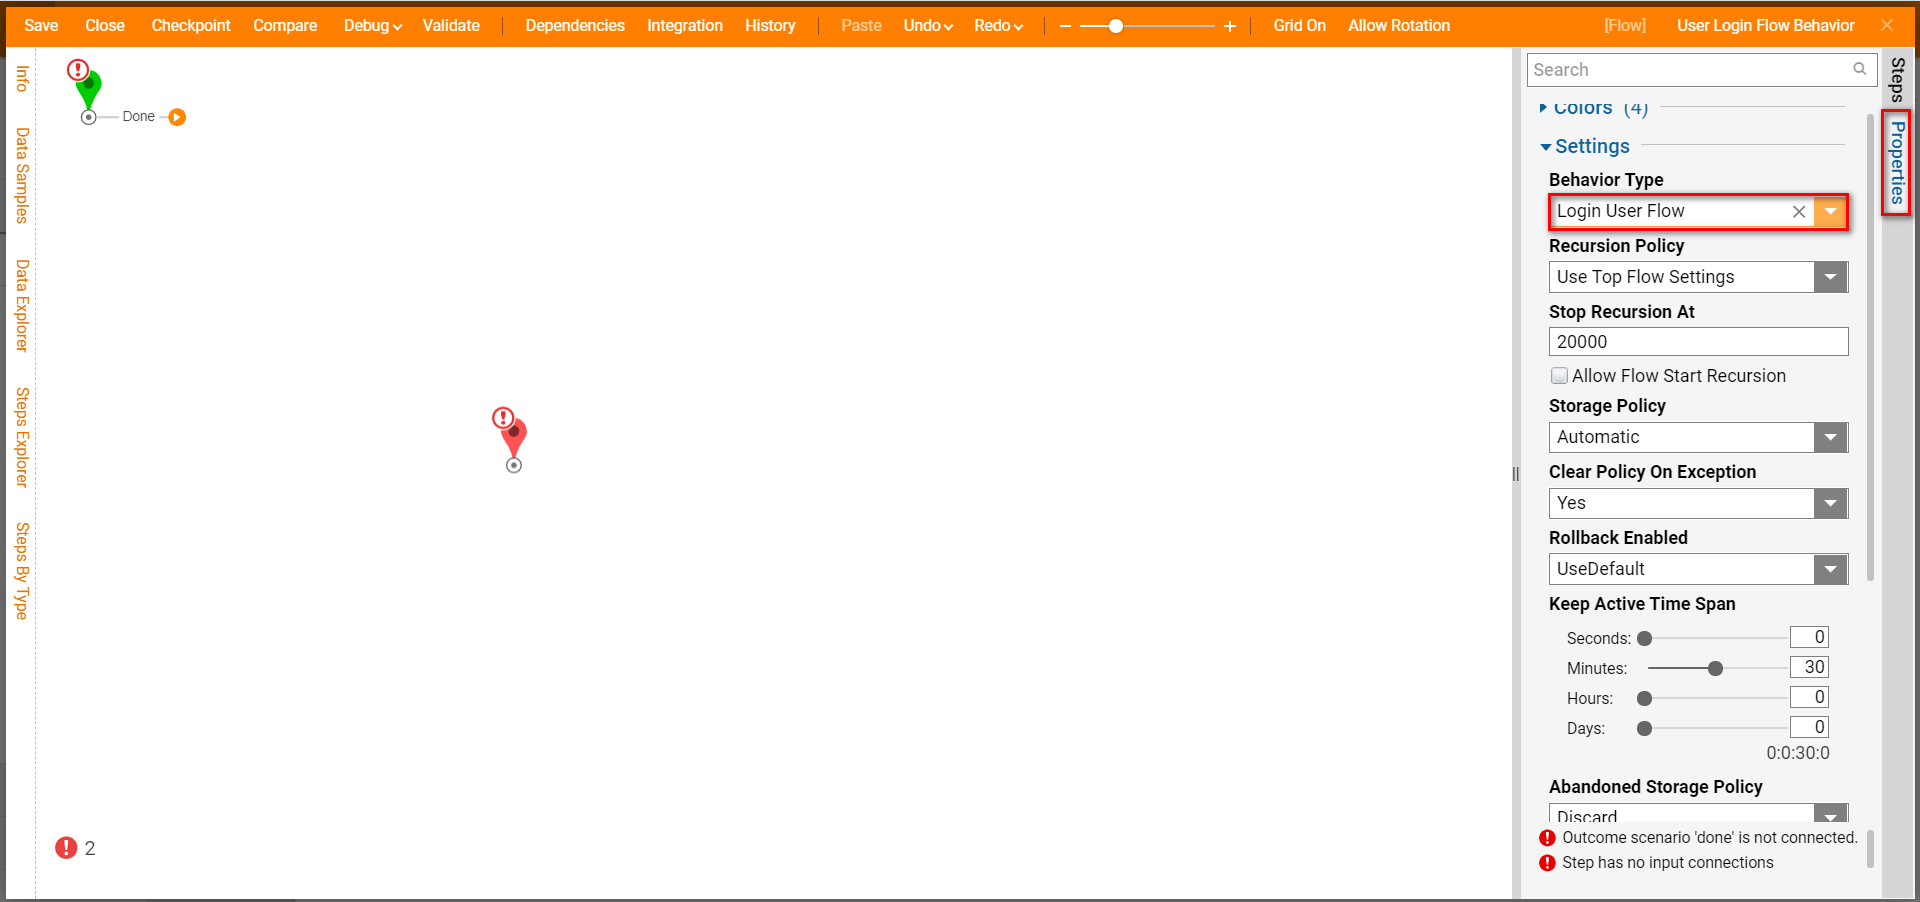
In the Flow Designer, expand the Settings section of the Flow Properties on the right. Expand the Behavior Type dropdown and select Login User Flow from the list.
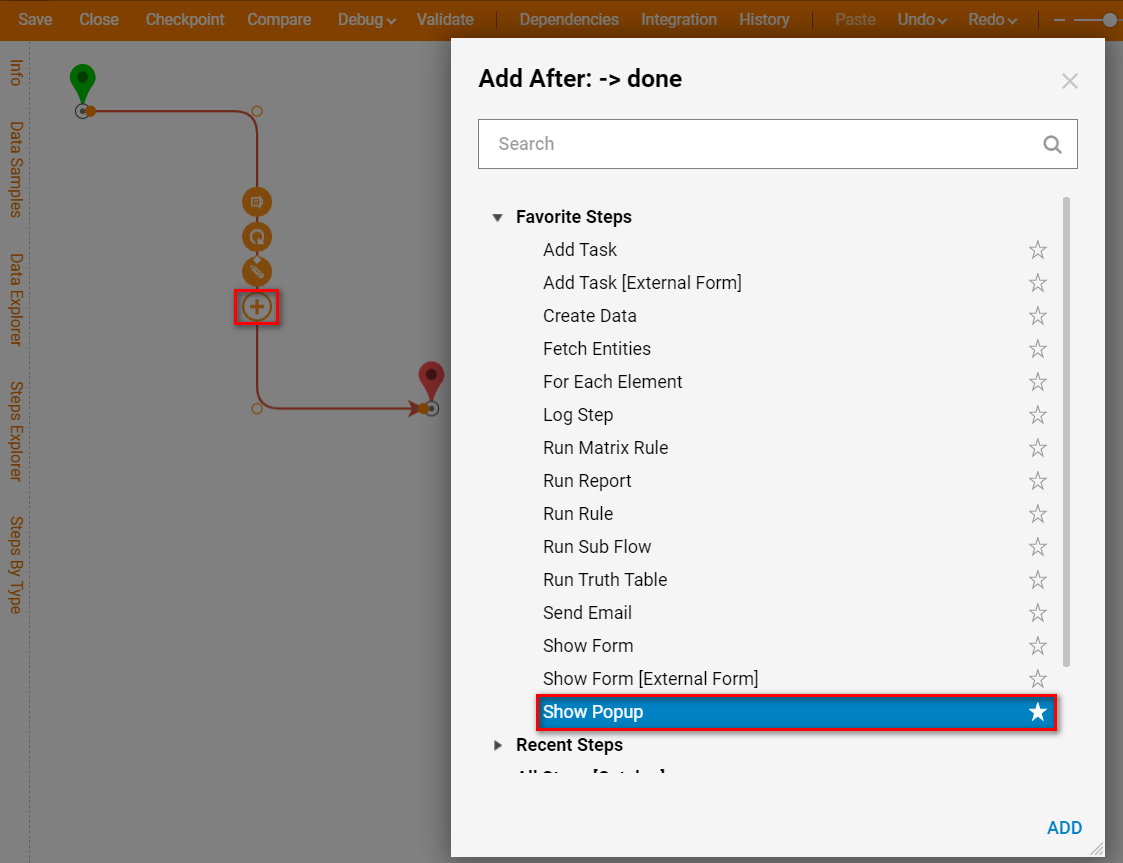
Connect the Done outcome path from the Start step to the End step, then hover over the connected line and click the plus icon that appears. When the Add After window appears, select the Show Popup step from the Favorite Steps section and click Add.
When the step is added to the Flow, the Properties for the step will populate on the right.
In the Inputs section of the step Properties, click the Unknown mapping type for Subject and choose Constant from the list of options. In the text box that appears, enter a Subject line for the popup similar to the one shown in the screenshot below.
Click the Unknown mapping type for Message and choose Merge Plain Text from the list of options, then click the Show Editor button. When the Merge Text Editor window appears, expand the Login User Info section and hover over the AccountEmailAddress data, then click the plus icon to add it in the editor. After the data is added to the editor, click in the text box and finish the sentence as shown in the screenshot below, then click Save.
The other parameters configured in the step Properties can be compared to the screenshot below, then close and save the Flow once complete.
.png)
Add Flow To Portal Settings
Now that the Login User Flow has been created, it needs to be applied to the Login section of the Portal settings.
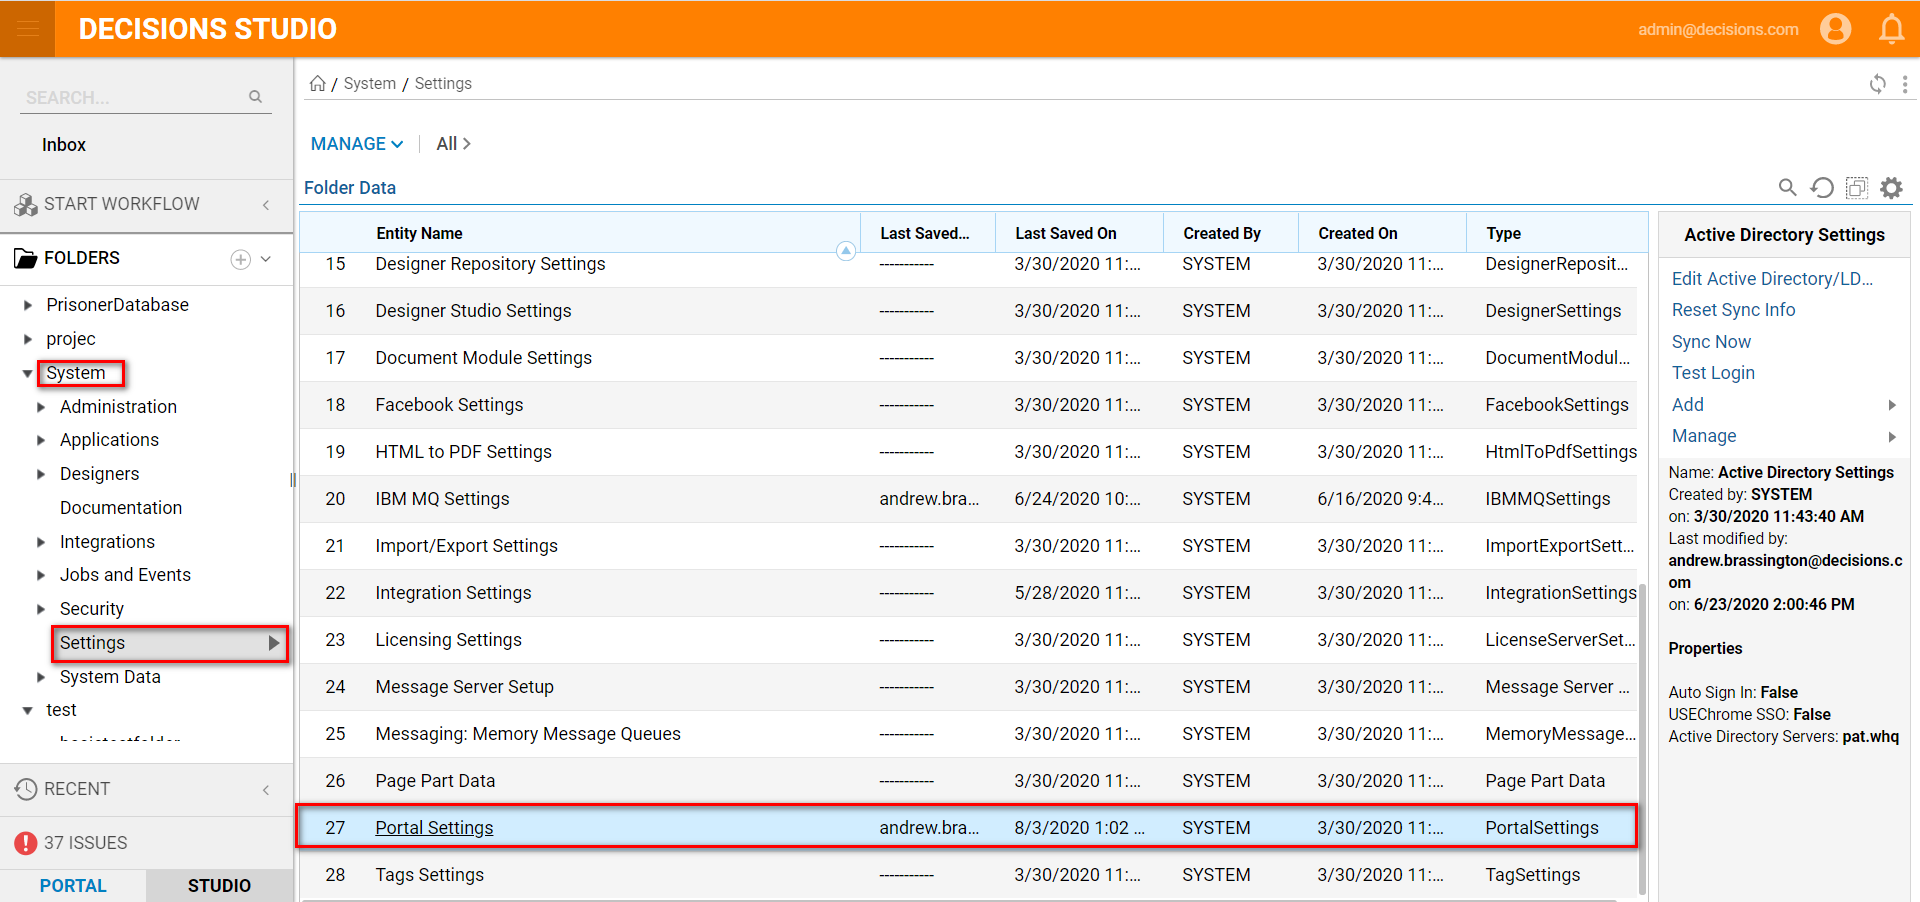
In the Designer Studio, navigate to System > Settings > Portal Settings. When the Edit Portal Settings window appears, collapse the listed sections or scroll down until the Login section is located.
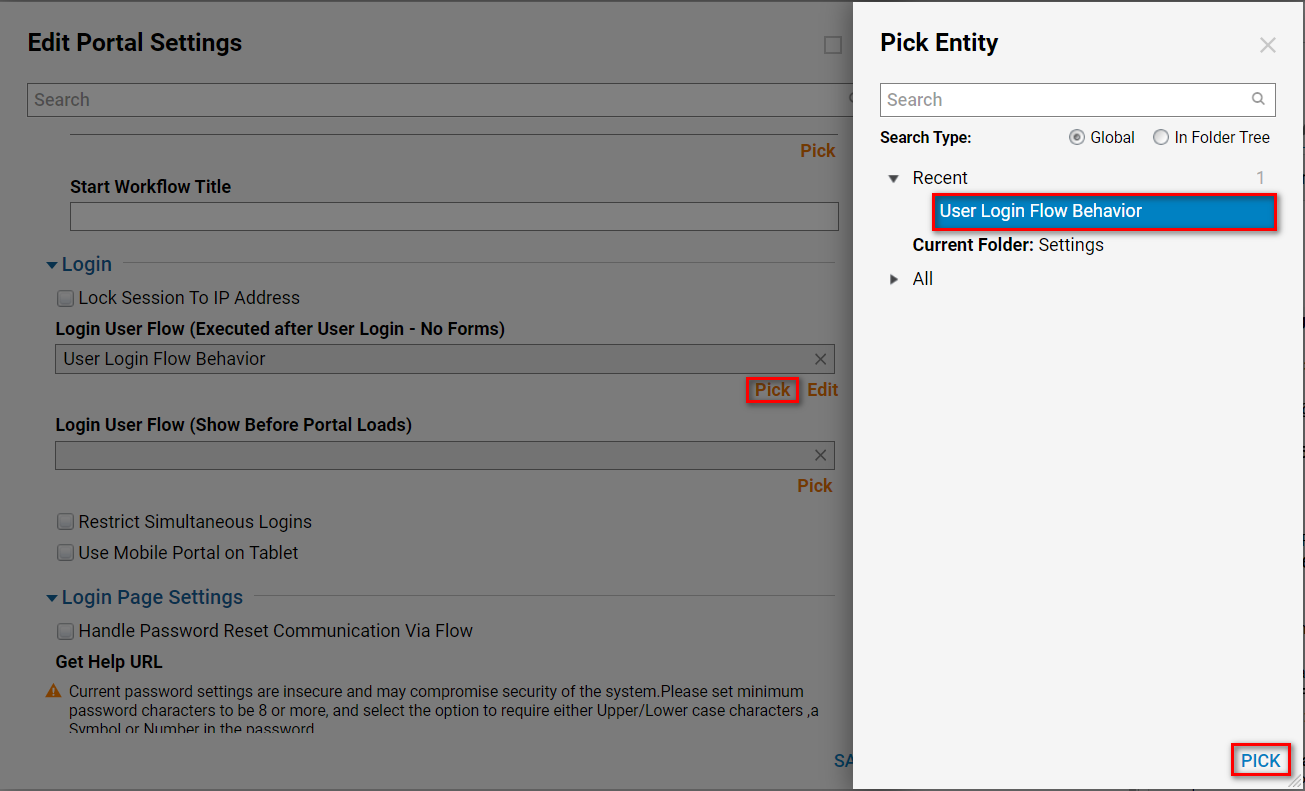
In the Login section, click the Pick button under the Login User Flow (Executed after User Login) box, then select the recently created Login User Flow from the Recents section of the Pick Entity window.
Now open a private browsing window and navigate to the Decisions environment, keep this window side-by-side with the window where the Designer Studio is open. Login to Decisions in the private browsing window, then notice that a popup appears in the Designer Studio with the configured parameters.