Overview
For security purposes, portal access can be restricted to specific IP addresses. This can be done at the account level and the server level. Load Balancers will interfere with IP Filtering if using a Load Balancer and wish to have IP Filtering, filtering must be set on the Load Balancer and only at the server level.
IP Address Filtering at the Account Level
- Navigate to System > Security > Accounts.
- Select an Account. In the action menu, select Edit.
- In the Edit Entity dialog, scroll to SECURITY > Allowed IP Address List.The IP address established here is meant to be the IP of the user's machine that will be used to access the Portal. A range of IP addresses can also be used.

IP Address Filtering at the Server Level
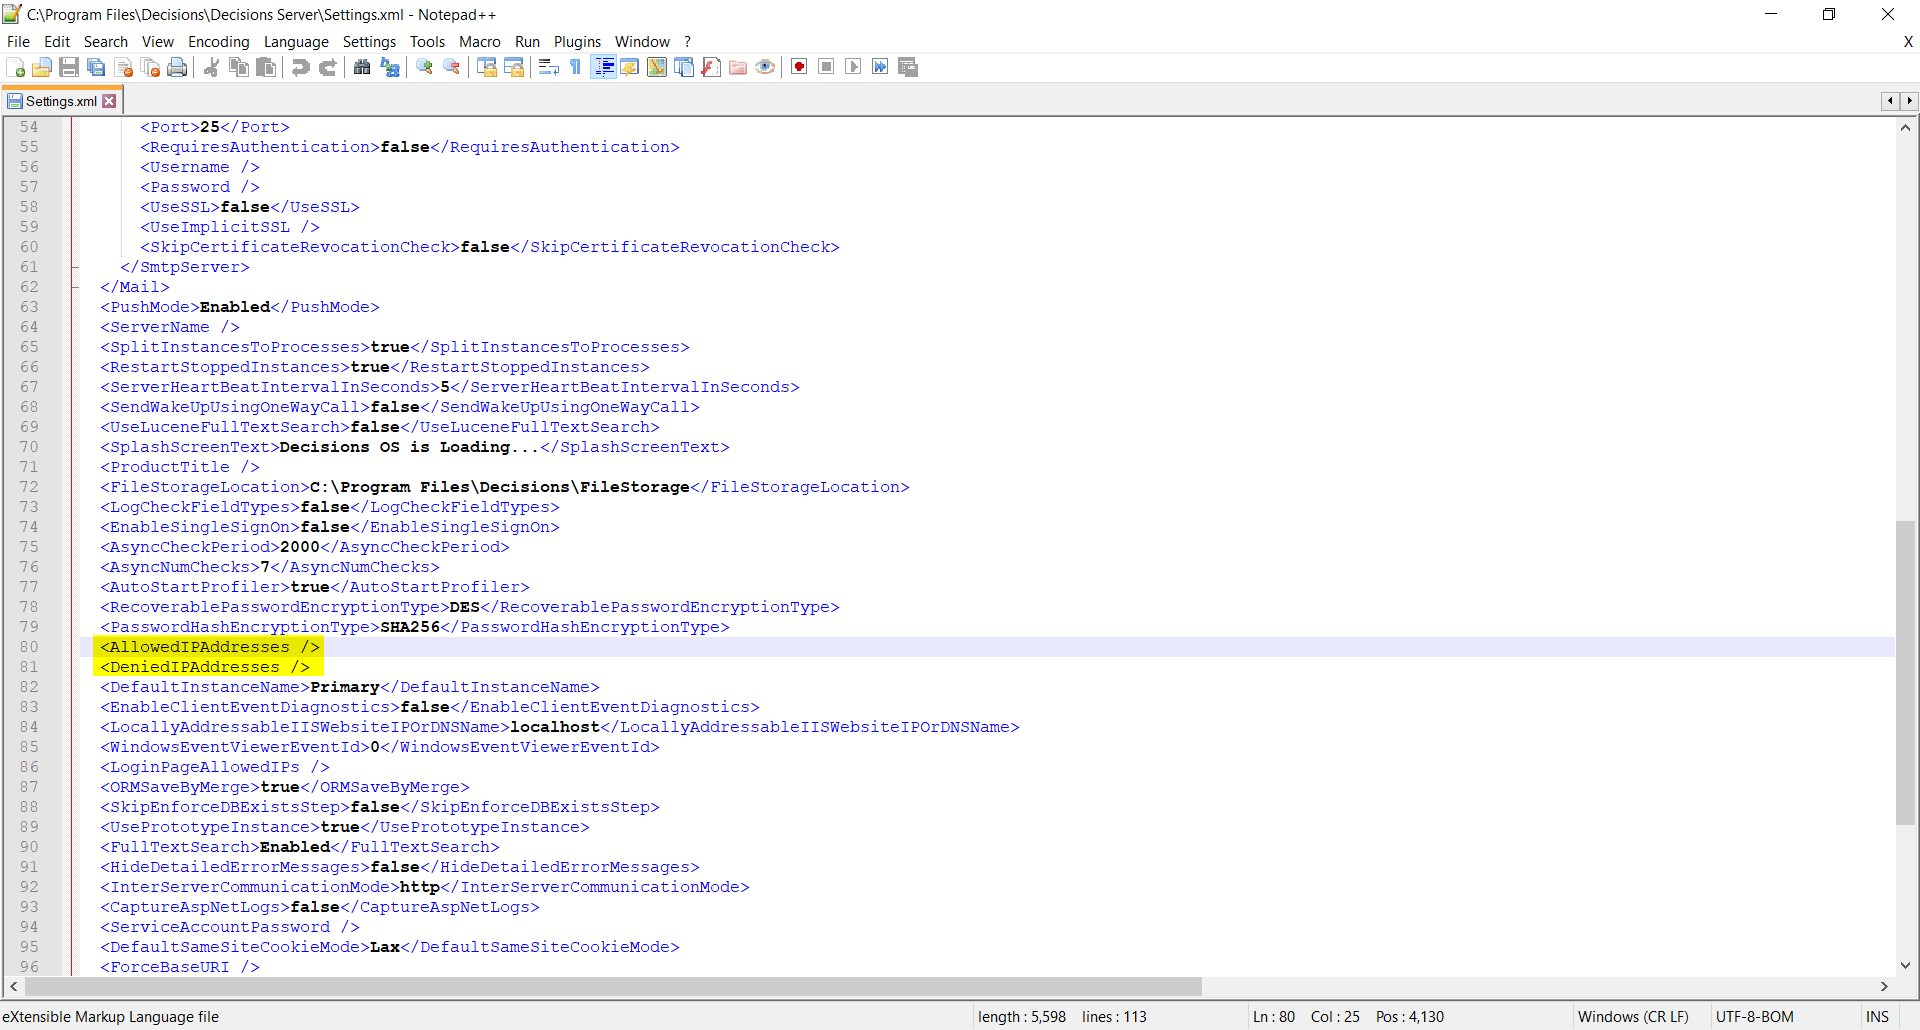
- Navigate to Program Files > Decisions > Decisions Server, open Settings.xml.
- Find the <AllowedIPAddress /> or <DeniedIPAddress /> line.
- Add Allowed or Denied IP addresses in the respective line. Specify multiple IP Addresses using the table below.
- Save the Settings.xml file and restart the Decisions instance.
Specifying Allowed IP Addresses
The syntax for IP address specification is as follows:
It is possible to combine any of the following using semicolons to separate each entry.
| IP addresses one at a time with semicolons | 192.168.1.10;192.168.1.255 |
| Specify blocks of addresses, using IP address and subnet, separated by a pipe | 192.168.1.0|255.255.255.0 Allows any valid value to be in the last octet. |
| Specify multiples separated using a semicolon | 192.168.1.0|255.255.255.0;192.168.22.0|255.255.0.0 |
| Specify a range of numbers | 192.168.1.10-192.168.1.100 This allows any address that appears between 10-100. Note, the whole IP must be repeated. |