Overview
Snowflake is a data warehousing service that can support a high amount of workloads simultaneously. By integrating with Snowflake, users can access Snowflake's ability to store and share large amounts of data and Decisions' library of automated Workflows, Steps, Reports, and more.
Example
- Download and install the Snowflake ODBC driver from the Snowflake Documentation site.
- Users can verify the installation under the Drivers tab of the ODBC Data Sources (64-bit) application in Windows.
- For this example, users should be using the driver's name directly. However, depending on the connection string users wish to use, the DSN options can be configured.
.png)
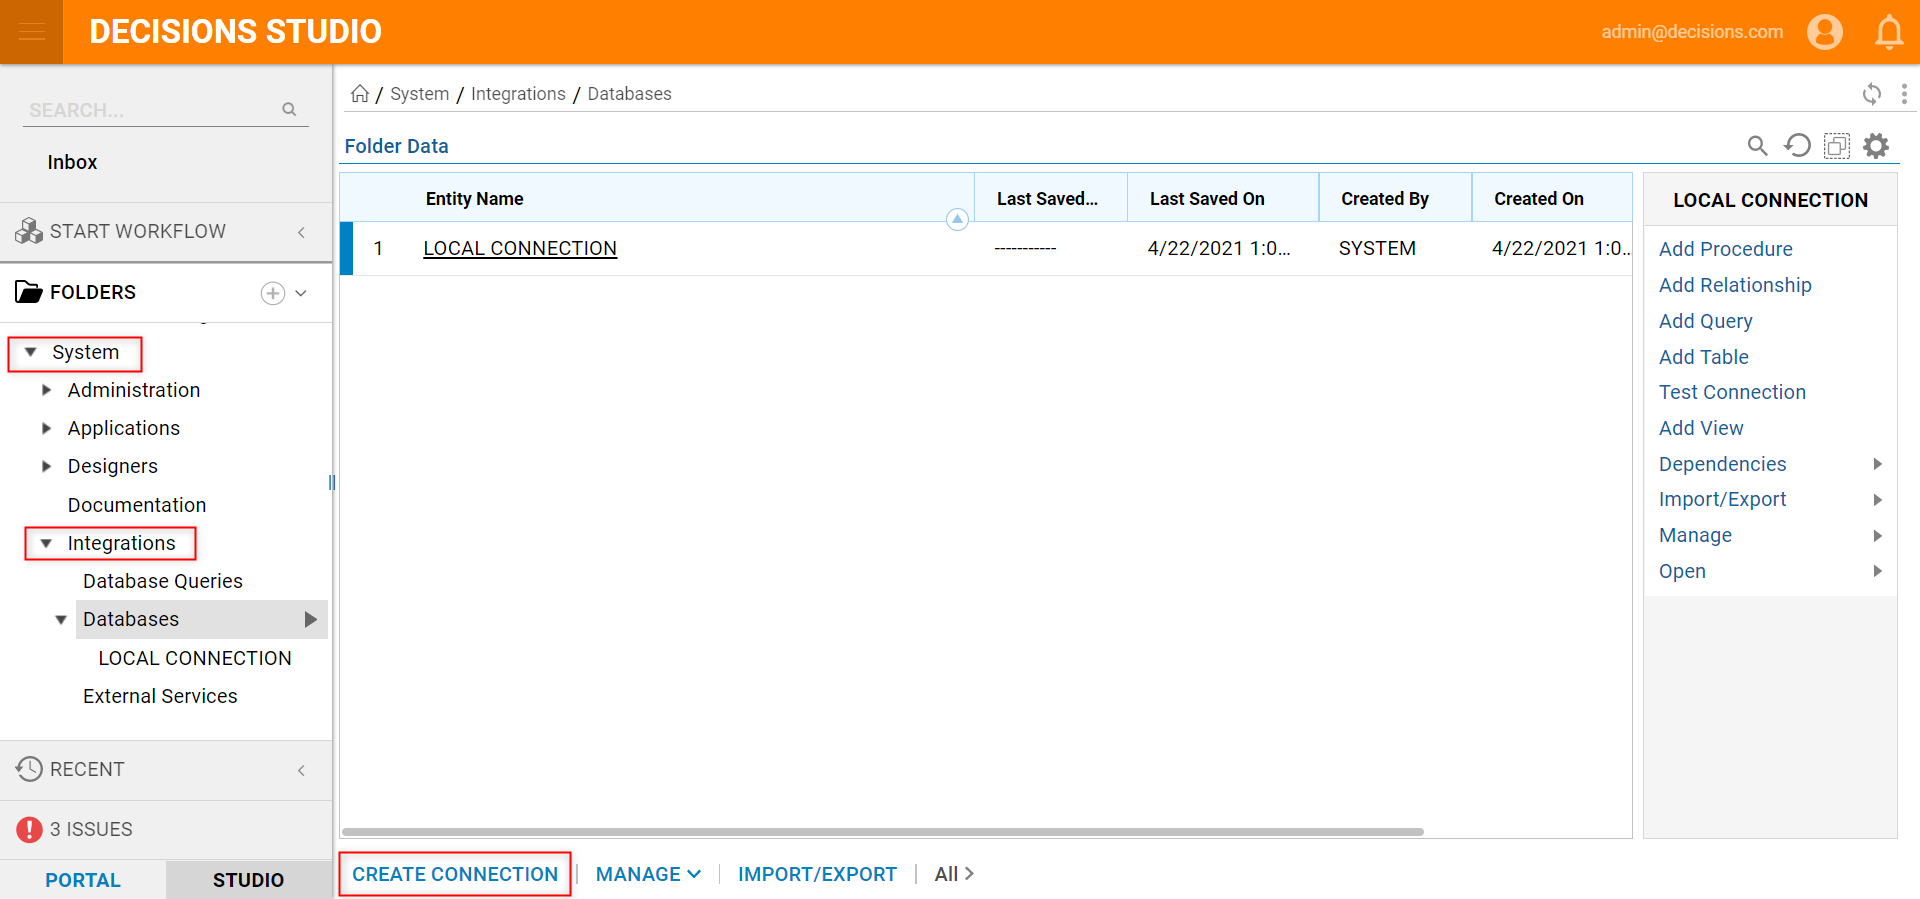
- In Decisions Studio, navigate to System > Integrations > Databases and click CREATE CONNECTION.
- In the Database Integration dialog, enter a Connection Name. In the Database Type dropdown, select ODBC.
- In the Connection Stringfield enter the following to connect to the Snowflake database:
Driver={SnowflakeDSIIDriver};Server=abc12345.dataCenter.snowflakecomputing.com;account=abc12345;Database=SNOWFLAKE_SAMPLE_DATA;Uid=snowflakeUserID;Pwd=snowflakePassword;schema=public;warehouse=COMPUTE_WH;role=SYSADMIN;Connection String Element Description Driver={SnowflakeDSIIDriver}; Reference the ODBC driver by name
Server=abc12345.dataCenter.snowflakecomputing.com;
account=abc12345;
The account id and datacenter location provided by Snowflake.
Database=SNOWFLAKE_SAMPLE_DATA;
The database name
Uid=snowflakeUserID;
Pwd=snowflakePassword;
Snowflake username and password
schema=public;
warehouse=COMPUTE_WH;
role=SYSADMIN;
Data usage details - Click PICK OR CREATE ODBC DB TYPE.
.png)
- Navigate to ALL and select Snowflake under the DatabaseDefinitionWizard category.
.png)
- Click TEST to test the database connection. If the Test Status is successful, click OK to save.
.png)
- The database connection will be created under the Database folder by navigating to System > Integrations > Databases.
.png)
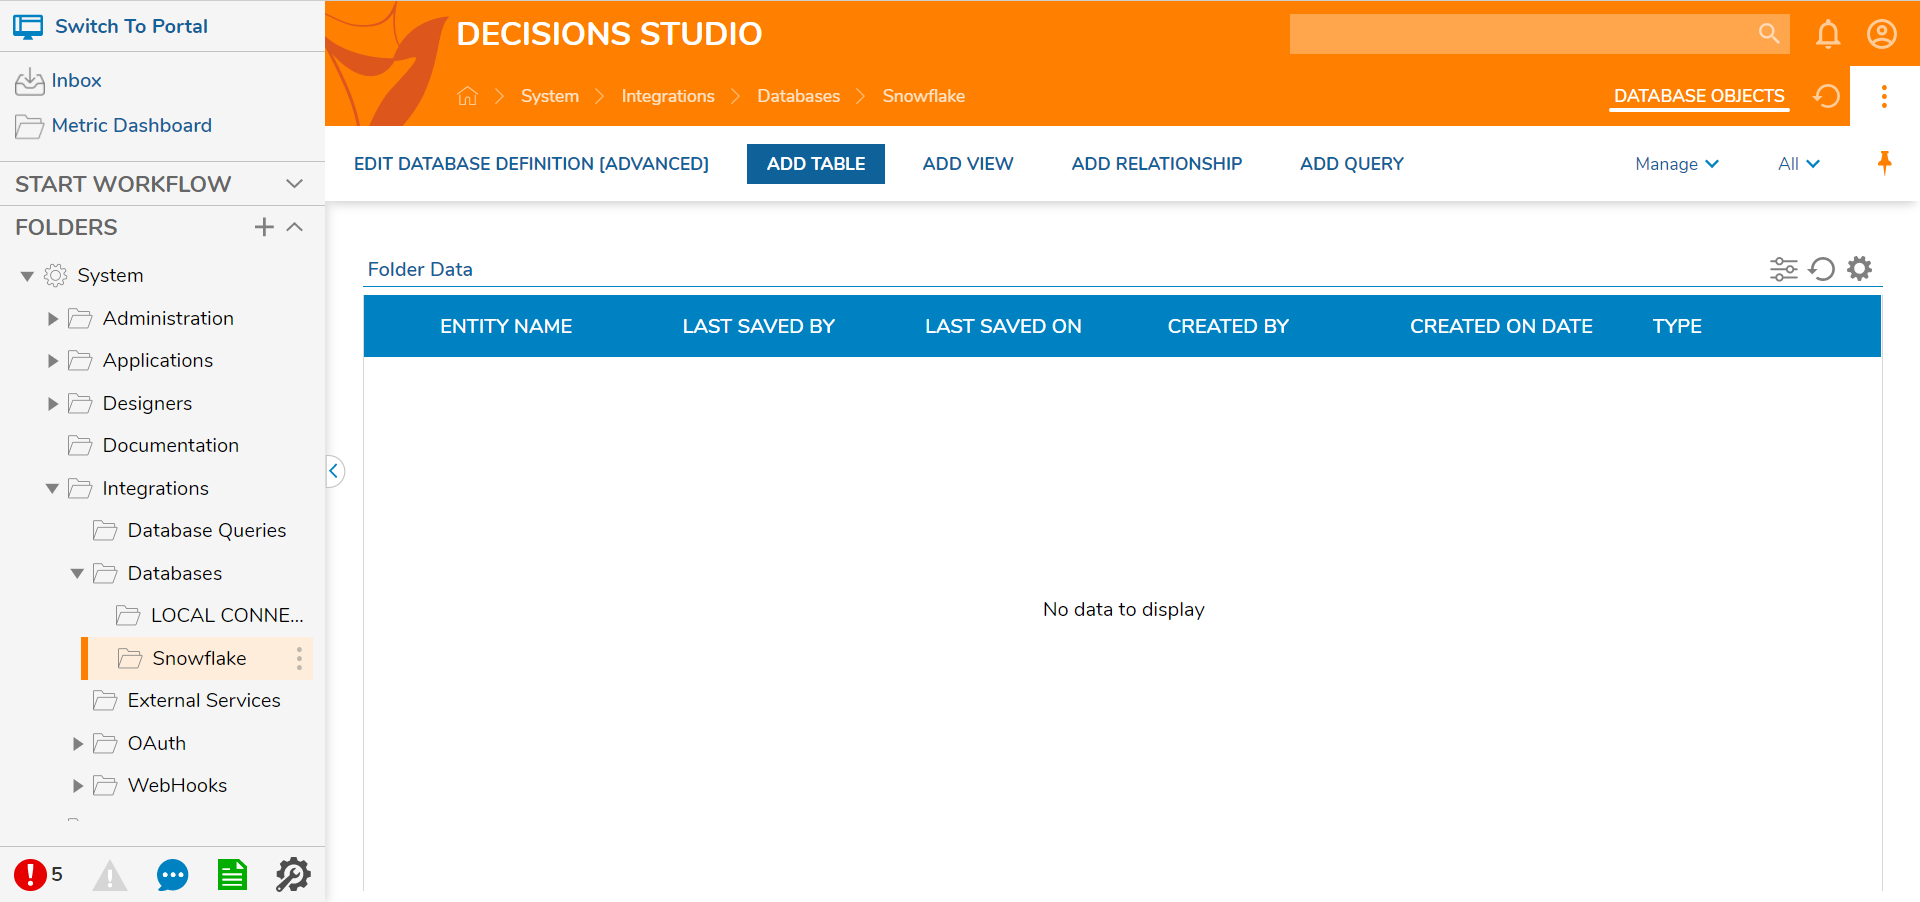
- In the Database Integration folder, click ADD TABLE from the top action bar.
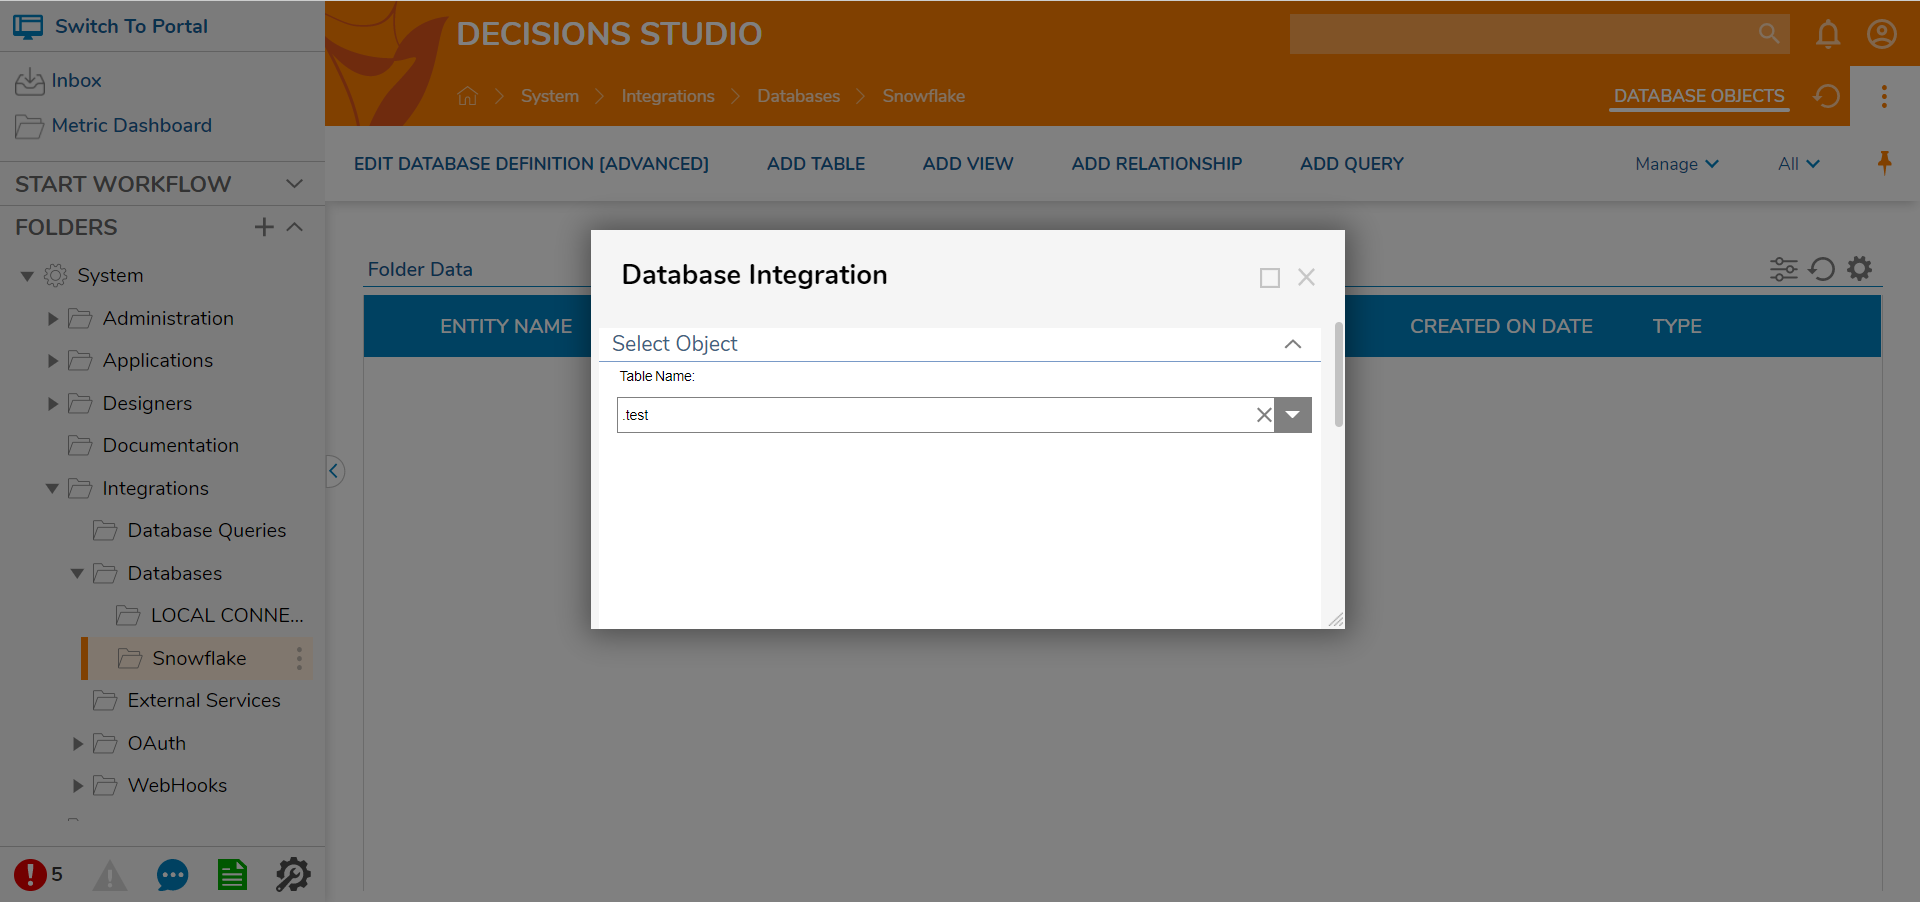
- In the Database Integration window, enter a name under the Table Name dropdown and click NEXT to continue.
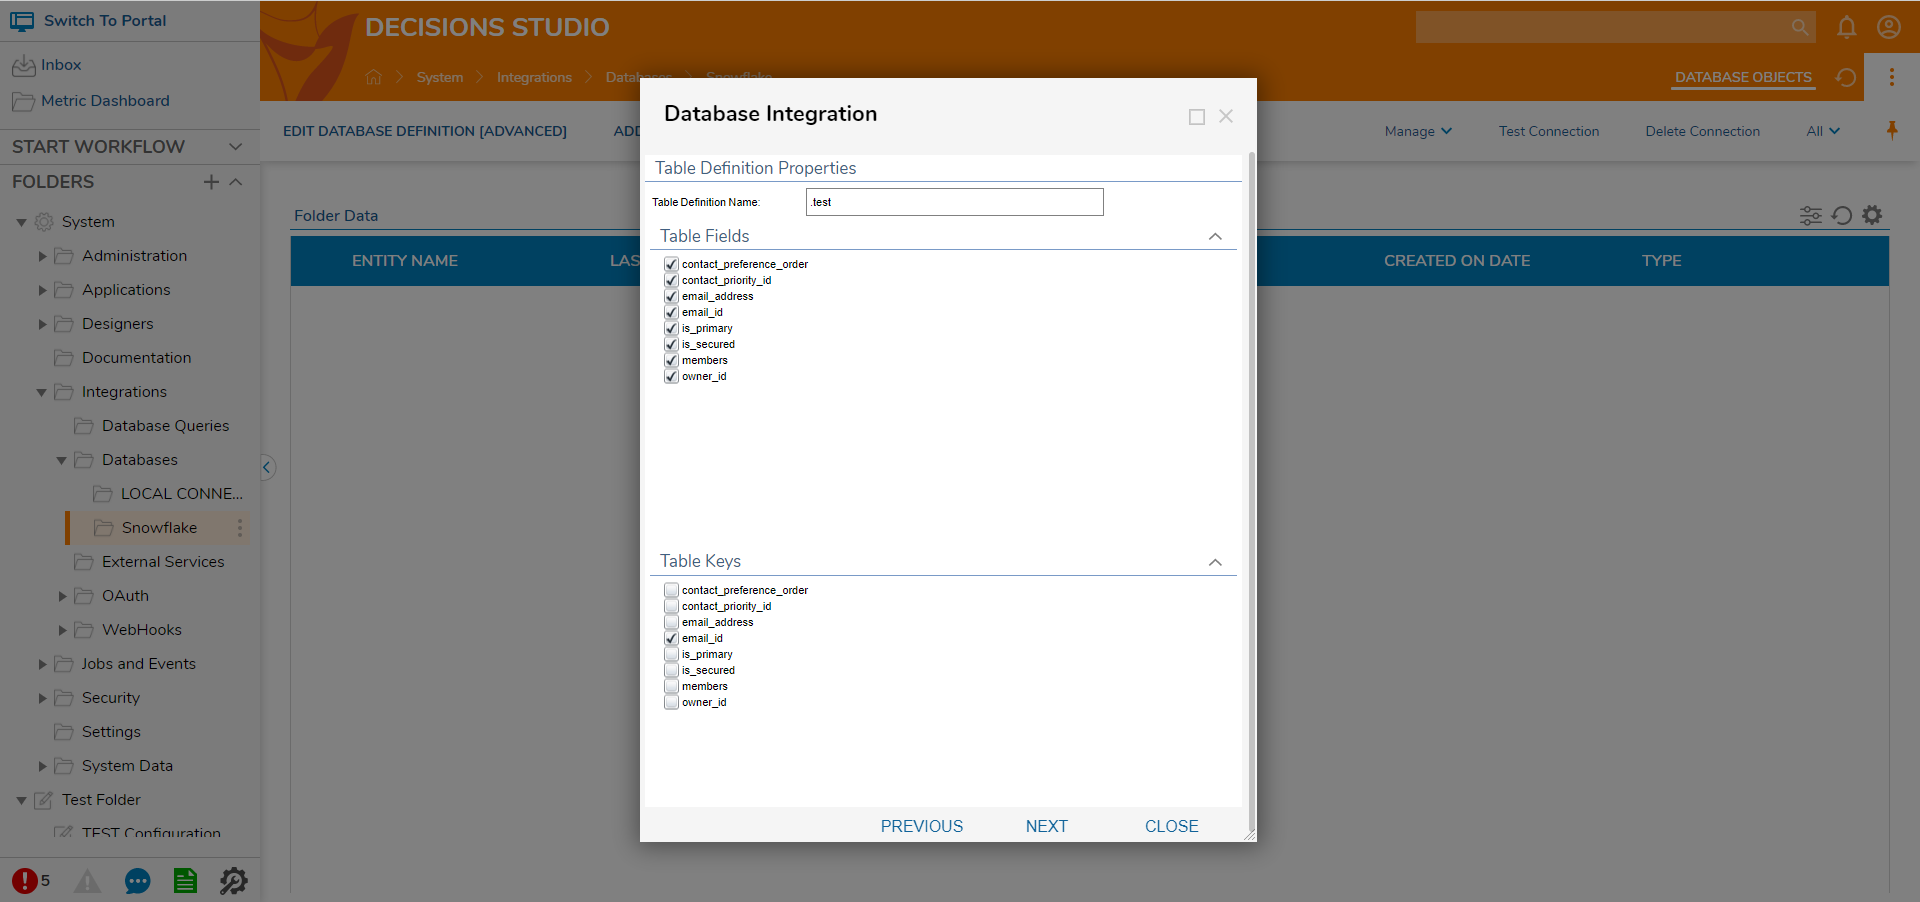
- Select the desirable Table Fields and Table Keysthen click NEXT.
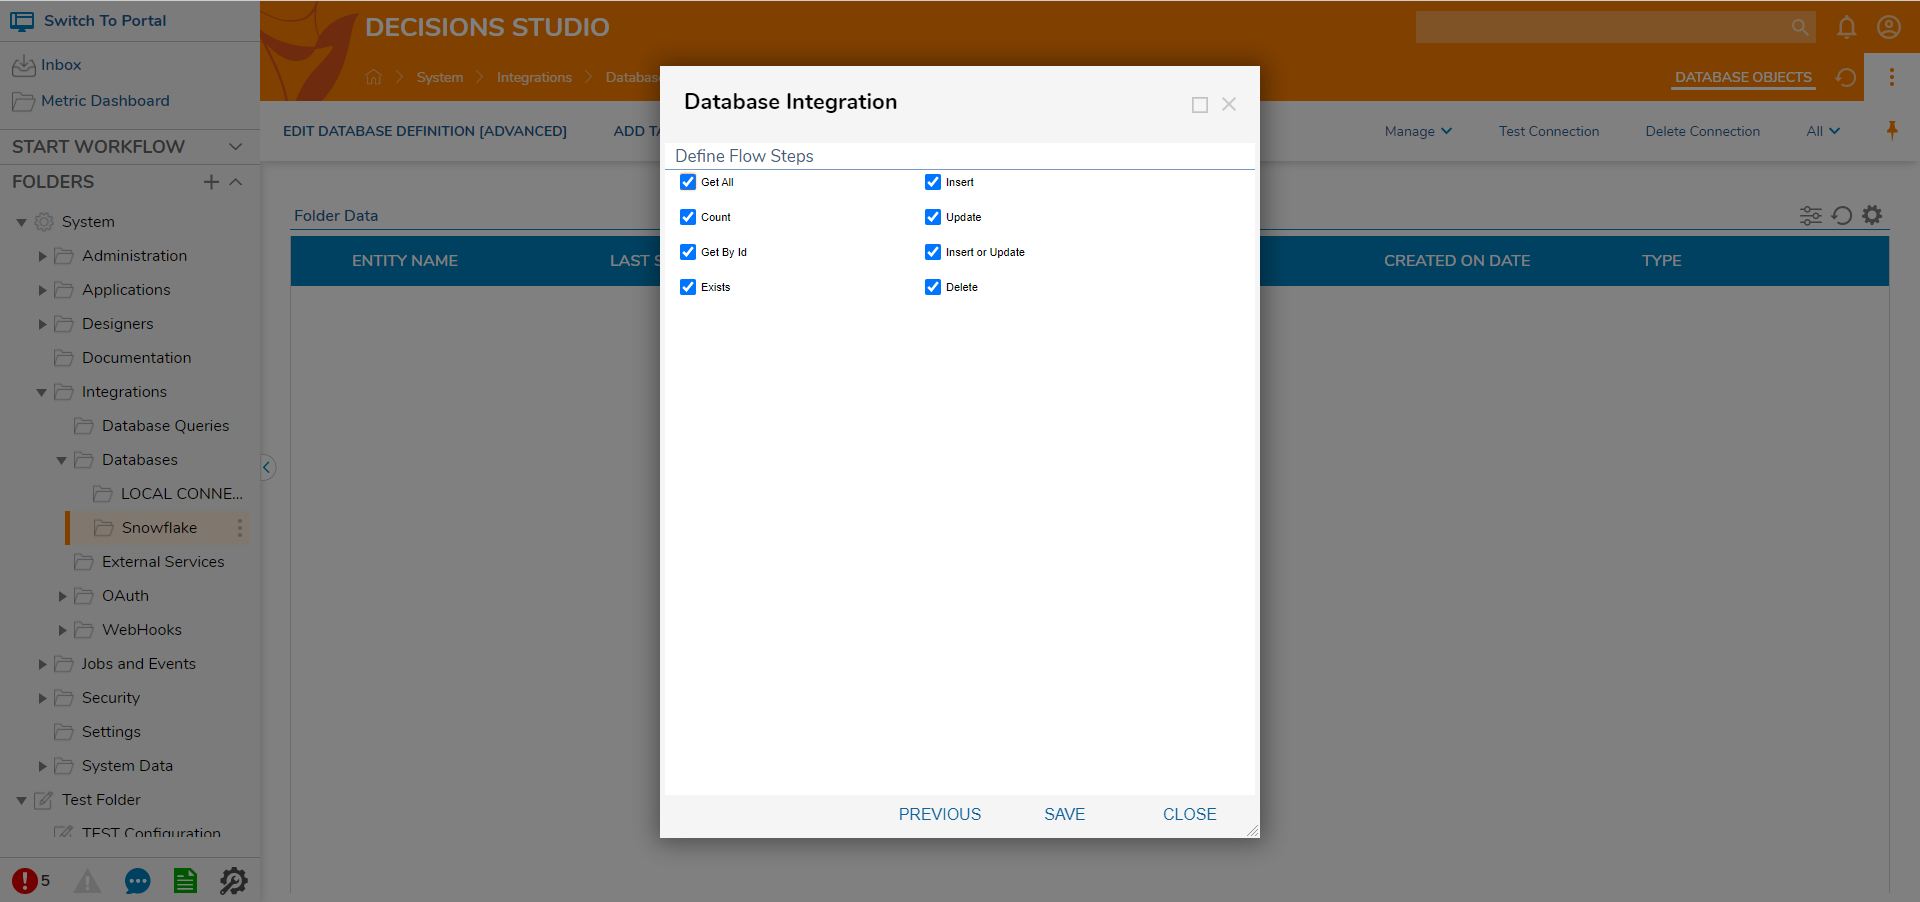
- Select the desirable Flow Steps to generate to use in Flows. Click SAVE.
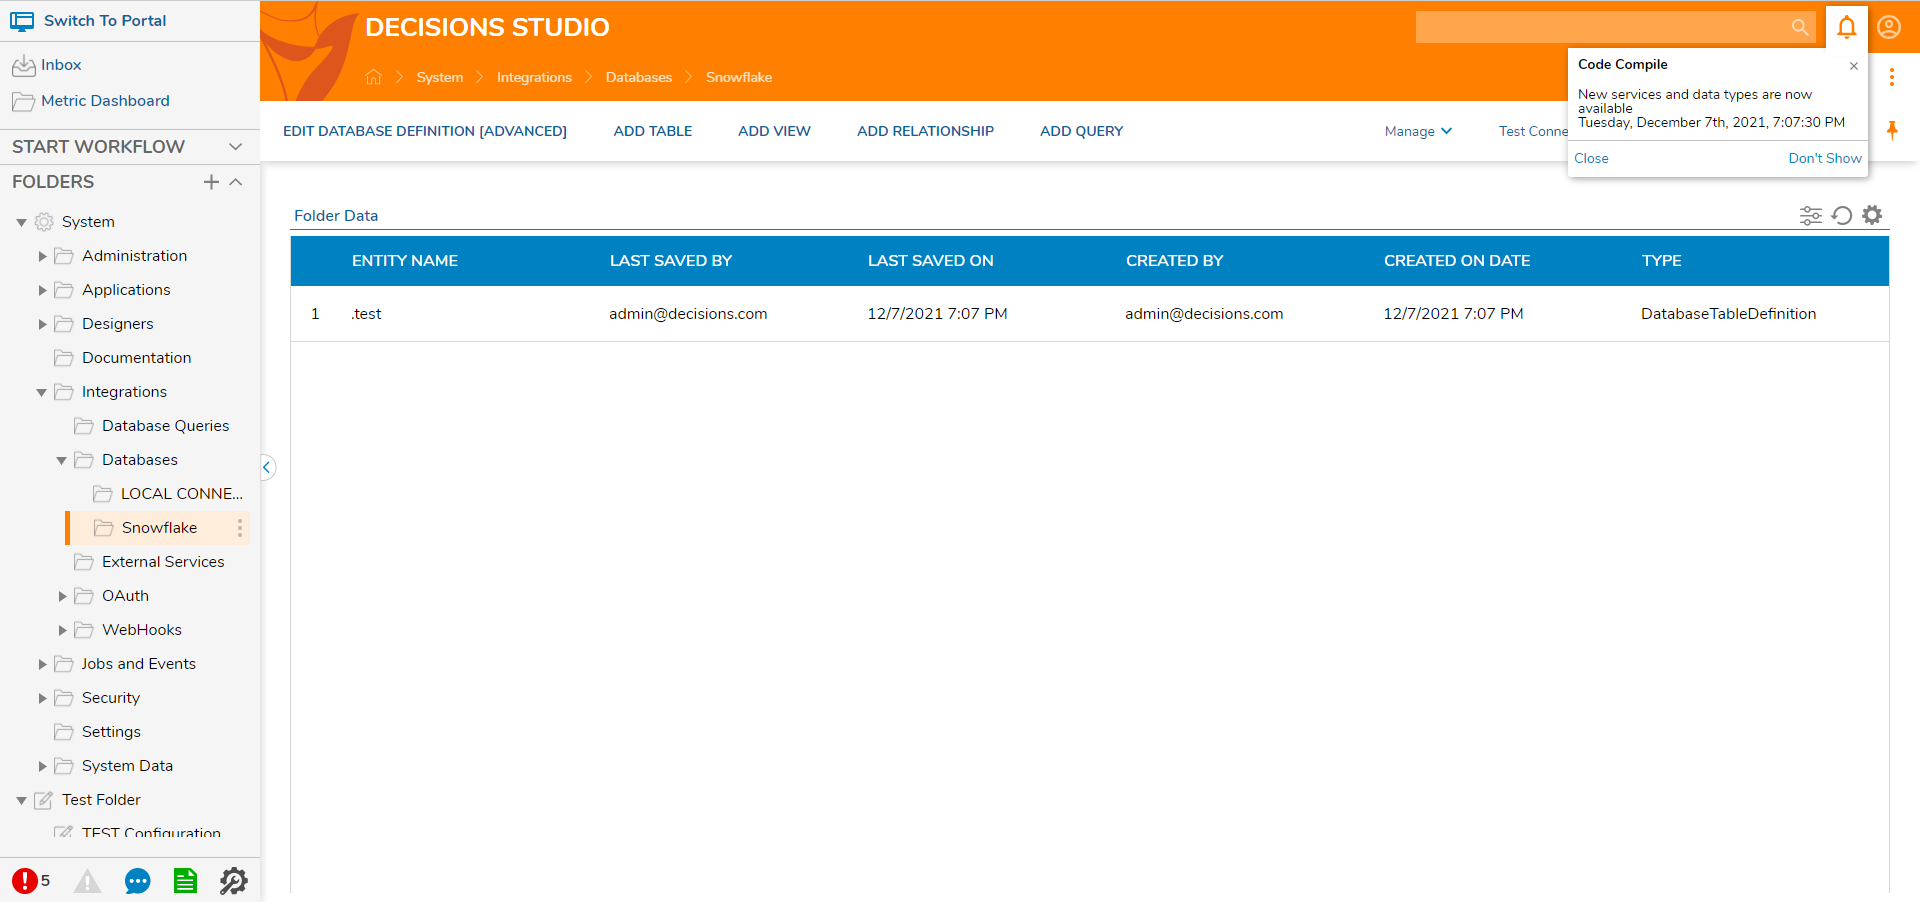
- The System adds a Table Integration to the Database Connection folder.
Interacting with Integrated Table
- In a Designer Project, click CREATE FLOW to create a new Flow.
- In the Flow Designer, the steps required for the Integrated Database can be found in the Toolbox panel under INTEGRATION > DATABASE > SNOWFLAKE (DATABASE) > [TABLE].
- Attach the Get all from [Table Name] step to the Start step. On the Properties panel, set the Return Data Option field to Data Rows and set the Limit CountInput field to Ignore.
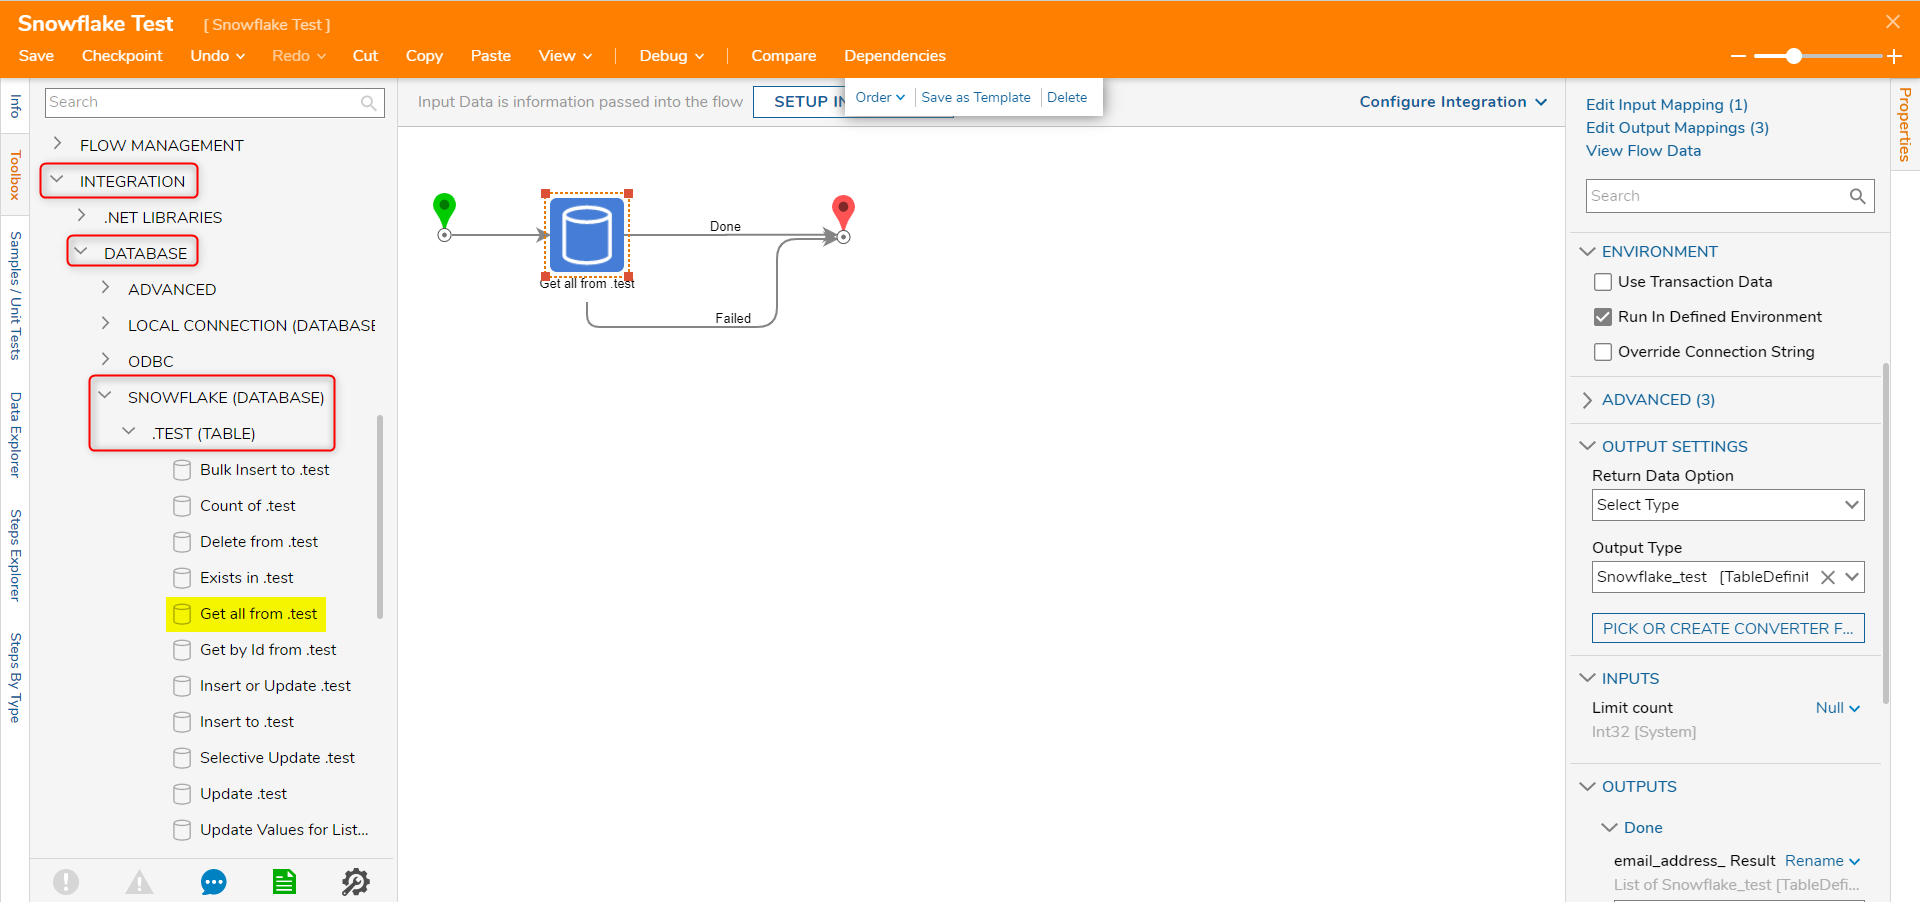
- Finally, connect both outcomes from the Get All step to the End step.
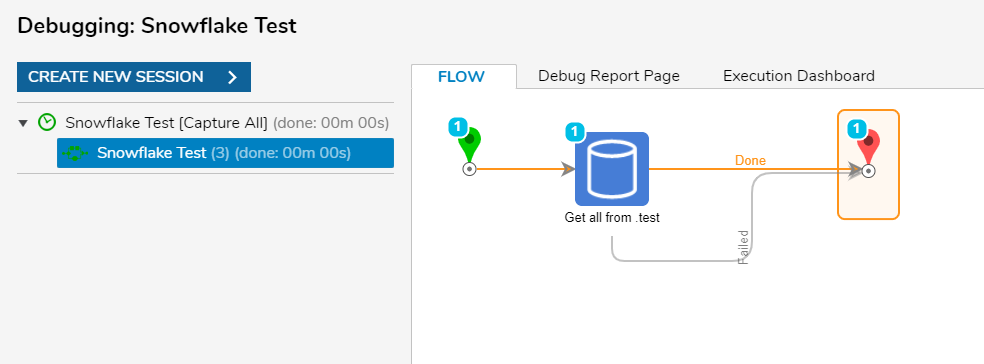
- Click Debug on the top panel. The Get All step returns Data from the Integrated Snowflake Table.
For further information on Integrations, visit the Decisions Forum.