Overview
This tutorial demonstrates how to install the Decisions platform as a Failover (HA) Server. This server type is identical to the Standard Server, except that it is not live until a setting is toggled.
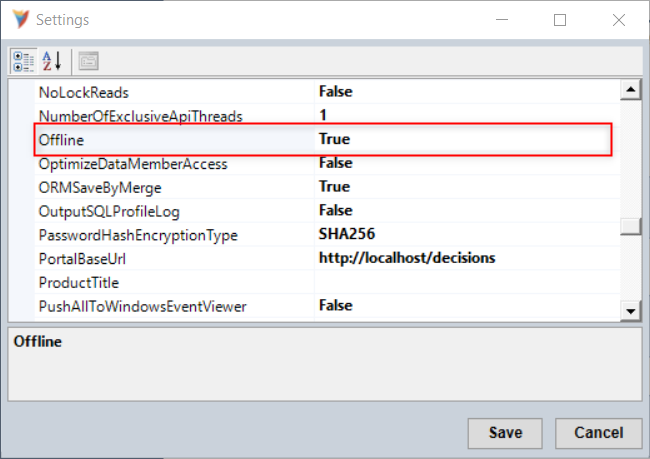
Upon installation, this server will add an <Offline> attribute to the settings.xml file that will be set to "True" which will prevent all users, except administrators, from logging into the server. In addition, the keys.dat and databaseid.txt file in the Failover (HA) Server file system must be replaced with the same files from the production environment file system so that it can operate identically in a disaster event.
The best use case for this install option is for a Disaster Recovery server that will stand up in an entirely different data center or hosting region. Otherwise, a cluster should be built if a Failover (HA) Server in the same region is desired.
For more information, navigate to the Decisions Disaster Recovery Architecture article.
- Upgrading from v6 to v7?
- Please review the Upgrading Decisions (v6 to v7) article for IMPORTANT CONSIDERATIONS.
- It is recommended that the user replicates SQL and the File Storage location when installing a Failover (HA) Server.
- Navigate to the Deployment and Configuration Options article for more information on SQL Replication.
Versions 7.0.1 - 7.1 require .NET Core 3.1
Versions 7.2 - 7.9 require .NET 5
Versions 7.10+ require .NET 6
Impact on Upgrades:
- ALL custom libraries will need to be recompiled for the new .NET architecture.
- Custom assemblies will need to be re-written.
- Modules may require reinstallation or design refactoring.
Self-Hosted Example
Download Decisions v7.x
Select the desired version from the Download Decisions webpage.
- Right-click the downloaded DecisionsServerInstaller application to Run as administrator.
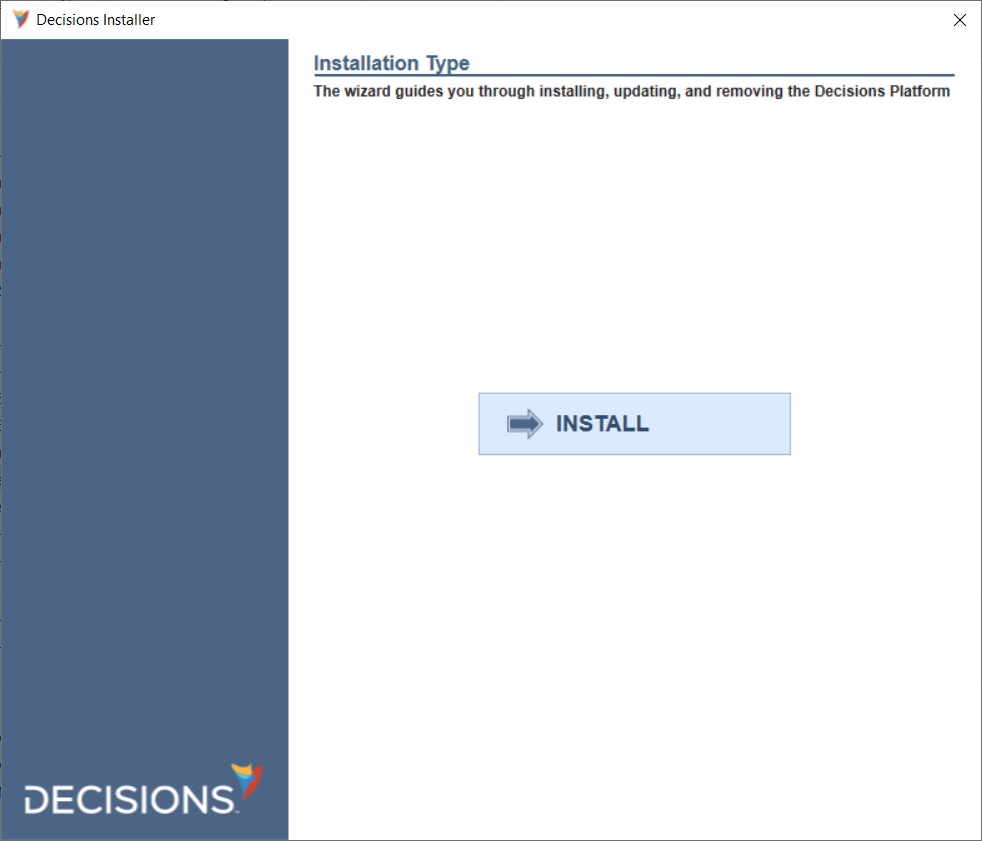
- Select Install for the Installation Type.
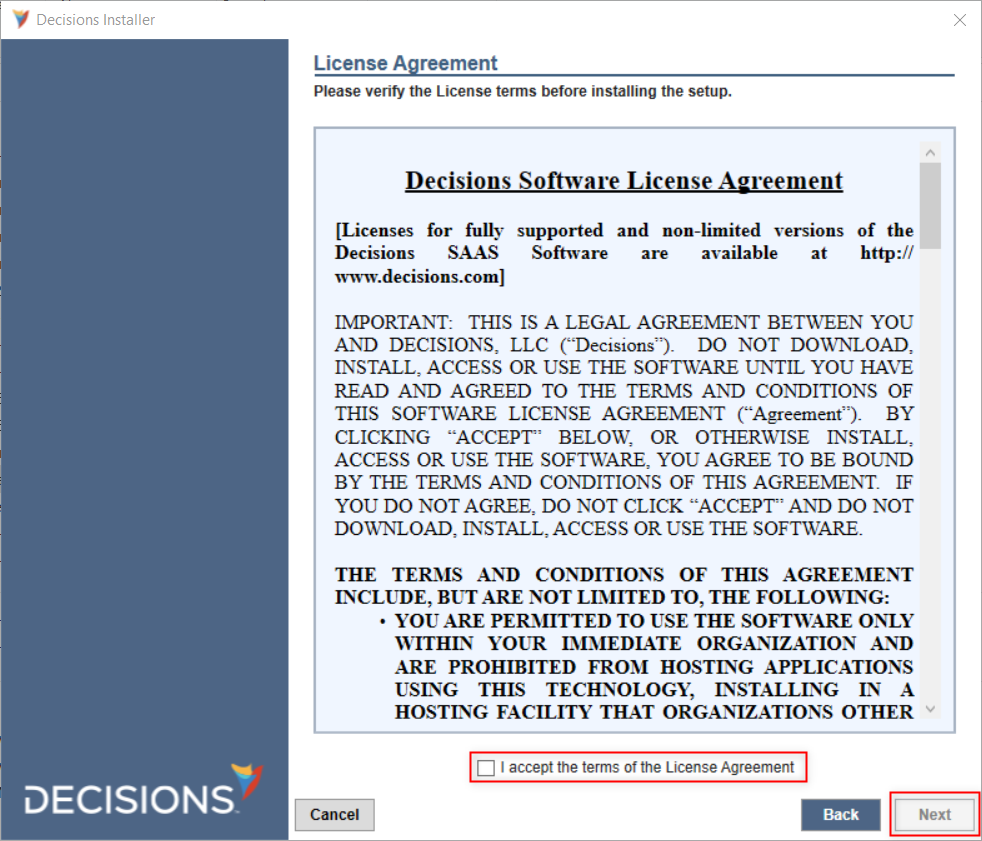
- Then, read through the Decisions Software License Agreement and click the Next button.
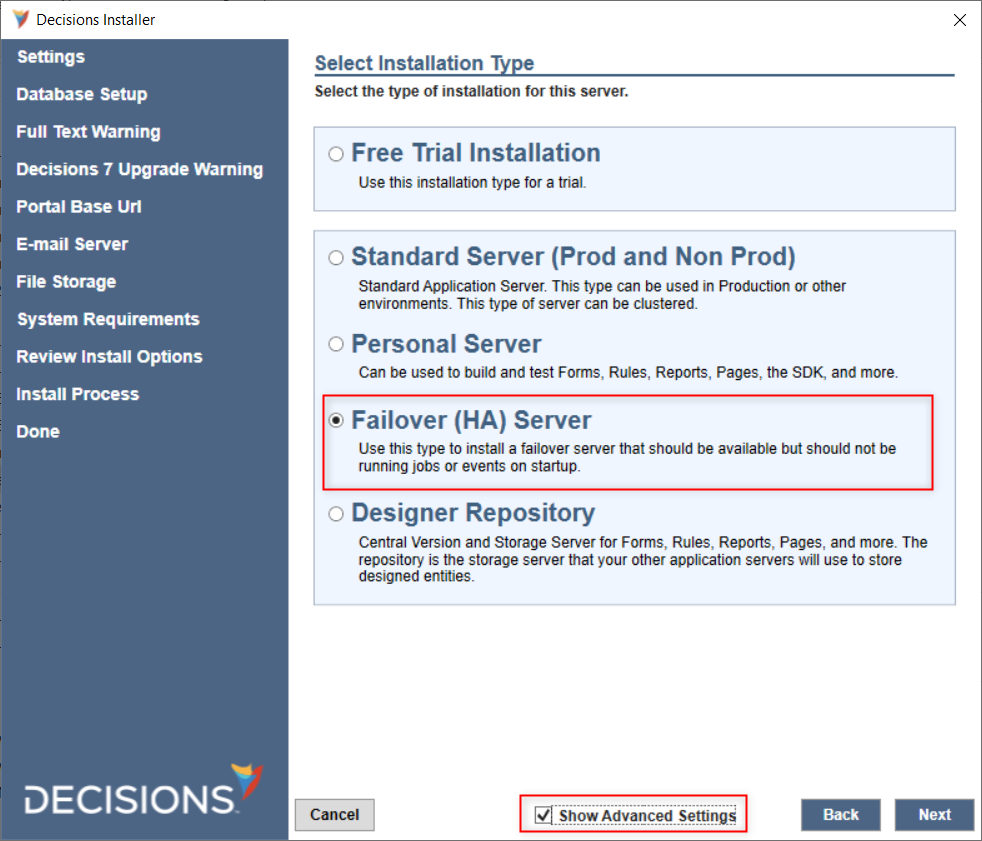
- Next, select the appropriate Installation Type. For this example, Failover (HA) Server is selected. Once done, click Next.
- The Advanced Settings are listed and described in the table beneath the image below. Once done, click Next. Show Advanced SettingsThis guide progresses with the Advanced Settings option checked to show customization of all installation options.
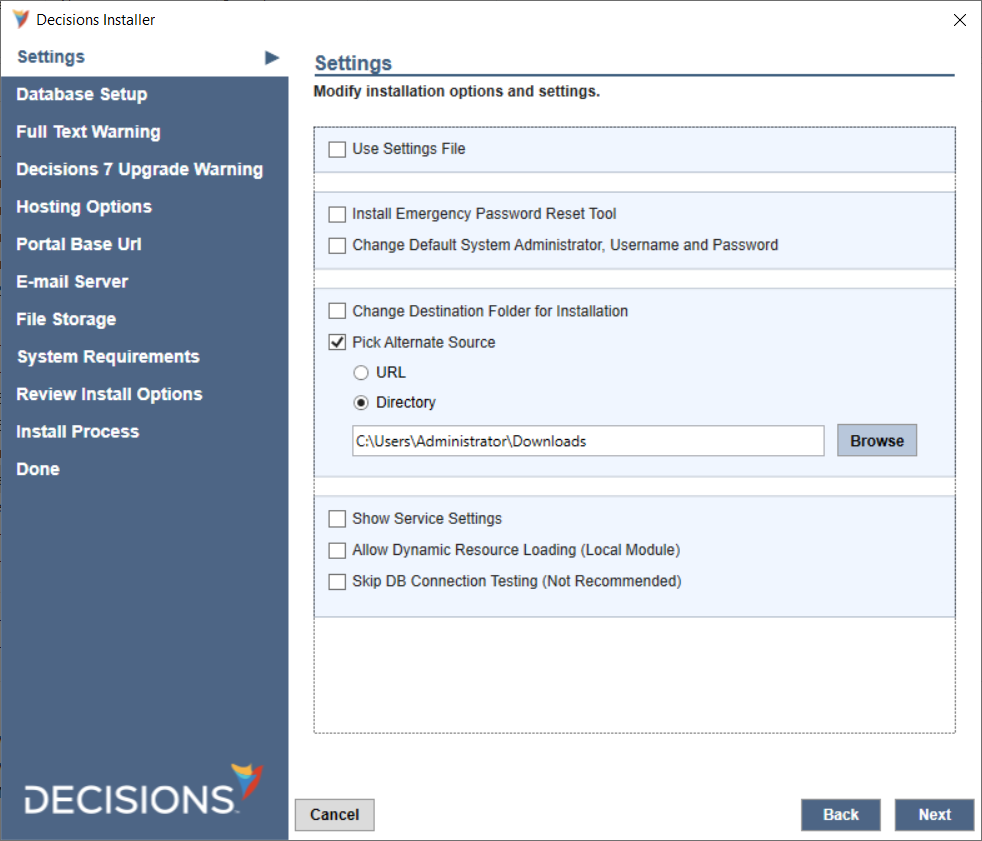
Setting Name Description Use Settings File enables a field to select a previously saved settings file Install Emergency Password Reset Tool installs a command prompt tool for resetting user passwords Change Default System Administrator, Username and Password changes the default administrator email and/or password (admin@decisions.com / admin) Change Destination Folder for Installation divert from the default install folder, C:\Program Files\Decisions Pick Alternate Source select an alternate installation file source via URL or file directory Show the Service Settings customizes the Service account username and password Allow Dynamic Resource Loading (Local Module) allows the system to store and load sources from local modules Skip DB Connection Testing - Not Recommended skips the database connection test at the end of the installation wizard - Continue the installation as demonstrated in the Installation Guide. Following a successful installation, reopen the Decisions installer, and click EDIT SETTINGS.
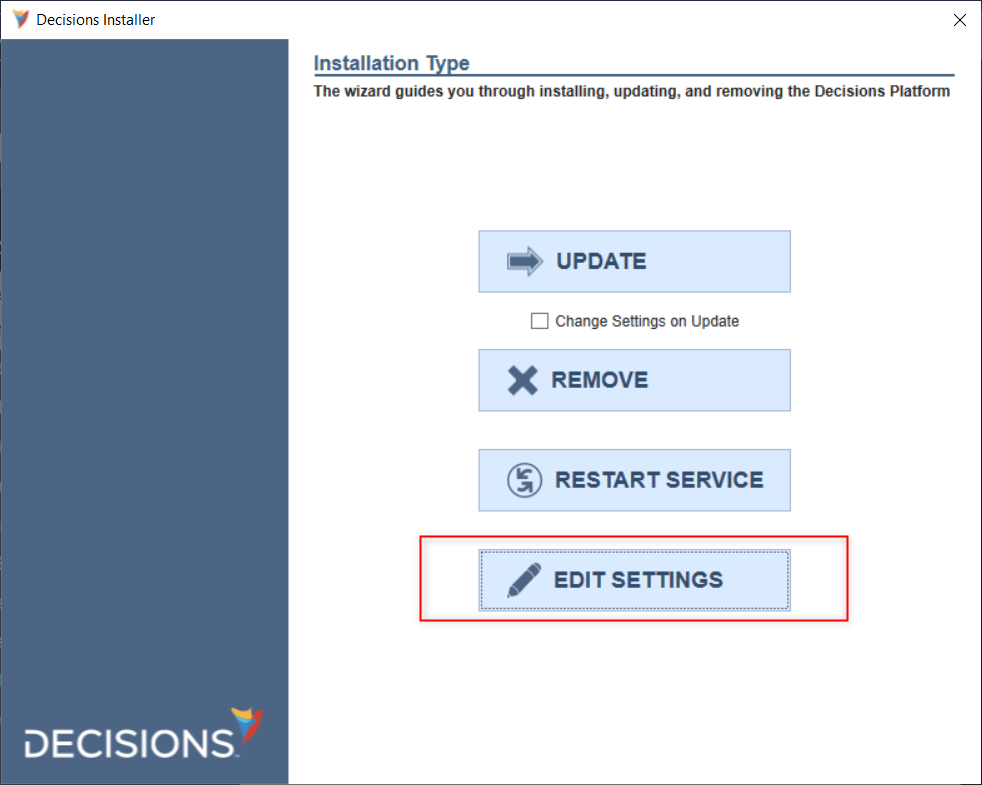
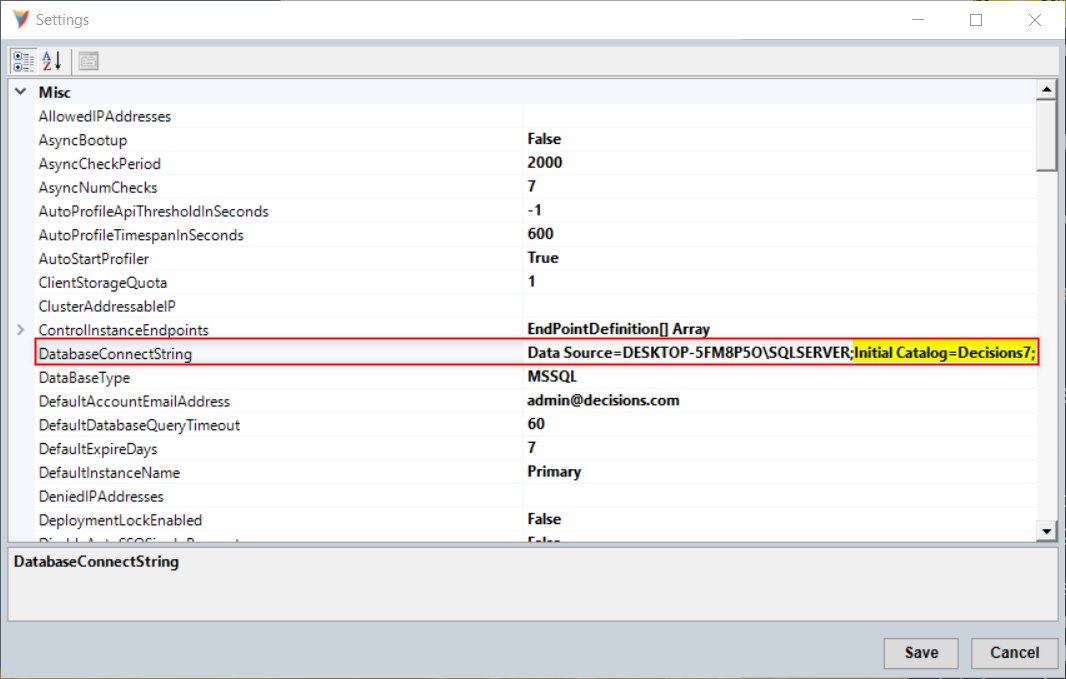
- In the Settings window, navigate to the DatabaseConnectString and ensure the Initial Catalog matches the database name used for the primary server.
- Then, navigate to the Offline attribute and use the drop-down menu to set it to "True". Click Save and exit.
- Lastly, replace the keys.dat and databaseid.txt files in the Failover (HA) Server file system with the keys.dat and databaseid.txt file from the primary server; the files must be identical in order for the new server to operate as the primary server in a disaster event. For this installation, the files can be found in the C:\Program Files\Decisions\Decisions Server\Instances\Control folder.
