Overview
After following the beginning steps of the standard Installation Guide this document steps you through installing the Decisions Platform Root
The benefit from Install on Root is so that the user will not have a "/decisions" at the end of the Base Url. Instead, it will be a stand-alone web address.
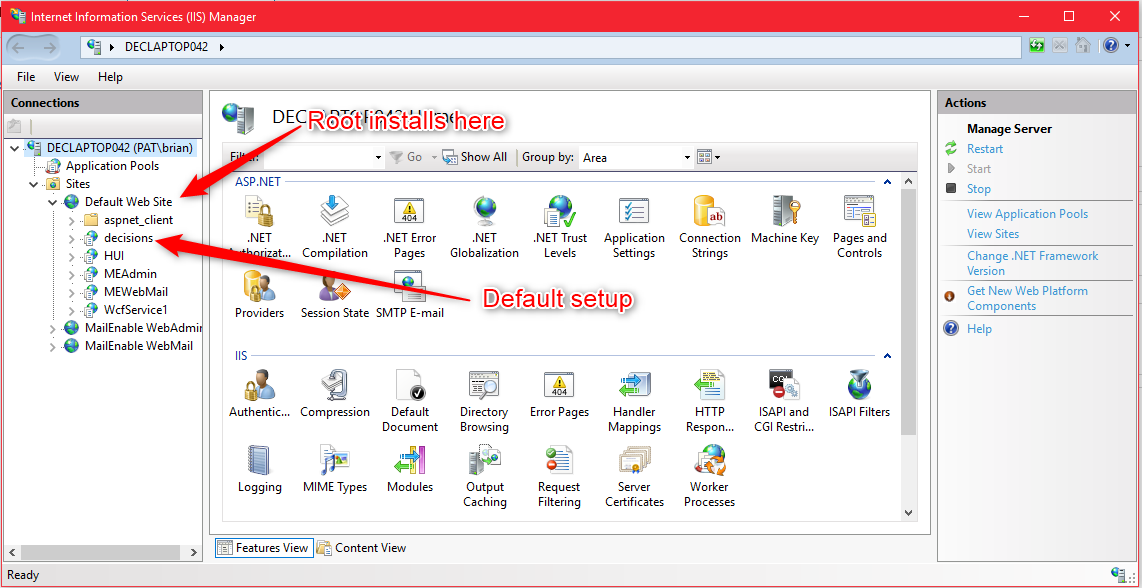
Installation
- After the Database Setup window, to continue installation, click Next.
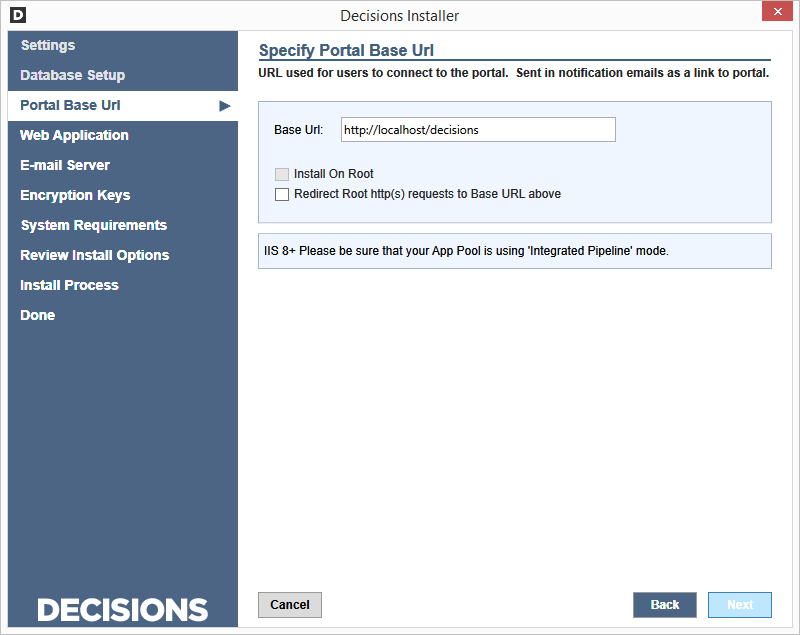
- Fill in the Base Url field with the URL where users will go to access the portal.
- Select the Install On Root checkbox.
- To redirect all requests for the root host to the portal URL, select the Redirect Root http(s) requests to Base URL above checkbox. Click Next.
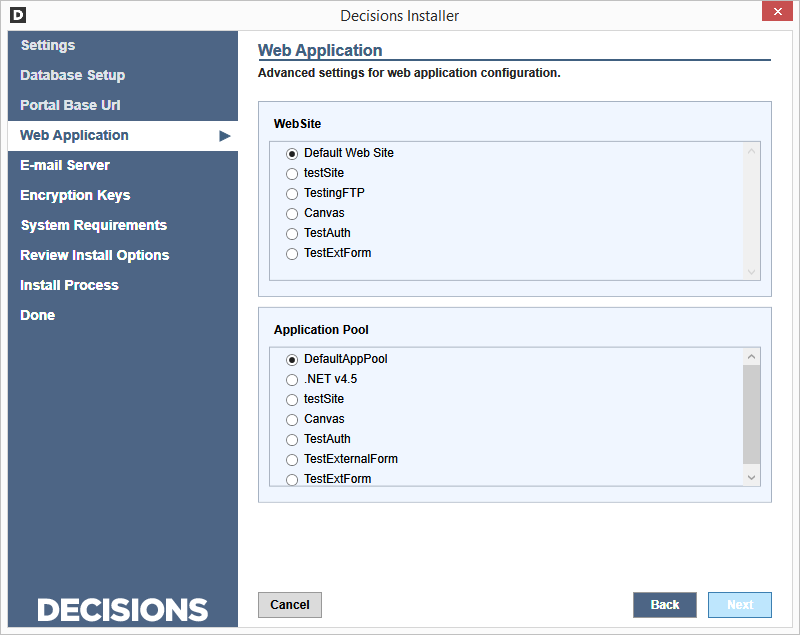
- In the Web Application screen, under Web Site, select the site in IIS under which Decisions will install. Also, select a desirable Application Pool. Click Next.
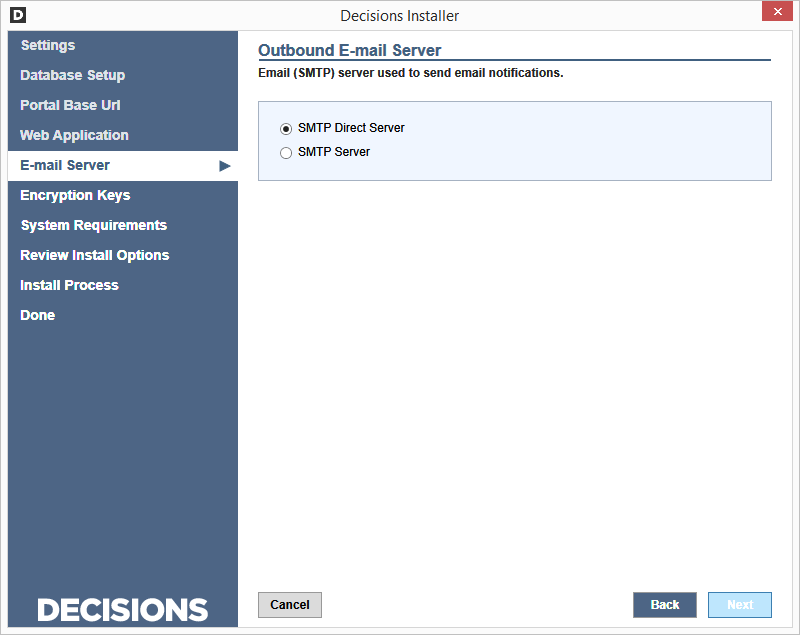
- For many standard features to work, Decisions OS requires access to a mail server with which it can send an email. To configure a connection to an SMTP server, select the SMTP Server option and fill in the required connection fields.
- To configure this connection later, or to configure Decisions OS to look for an SMTP server running on the local machine, select SMTP Direct Server. Click Next.
- In the Encryption Keys window, database encryption keys can be restored from the file. Click Next.
NOTE: The account that is provided here must have proper rights to run as a service.
To add these rights, go to Administrative Tools > Local Security Policy > Local Policies > User Rights Assignment. Edit the item "Log on as a service" and add your domain user.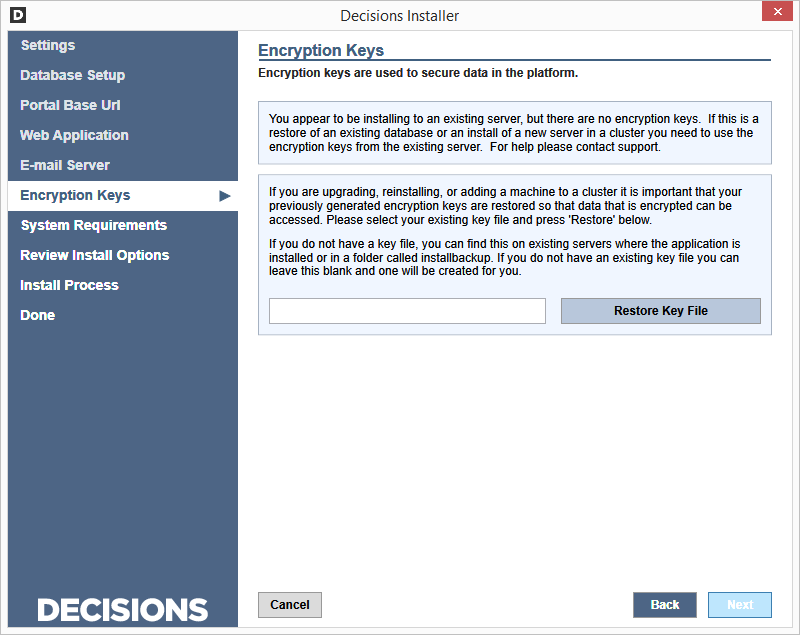
- Finally, the installer will automatically perform tests of the installation environment to ensure that it meets the operational requirements to run Decisions.
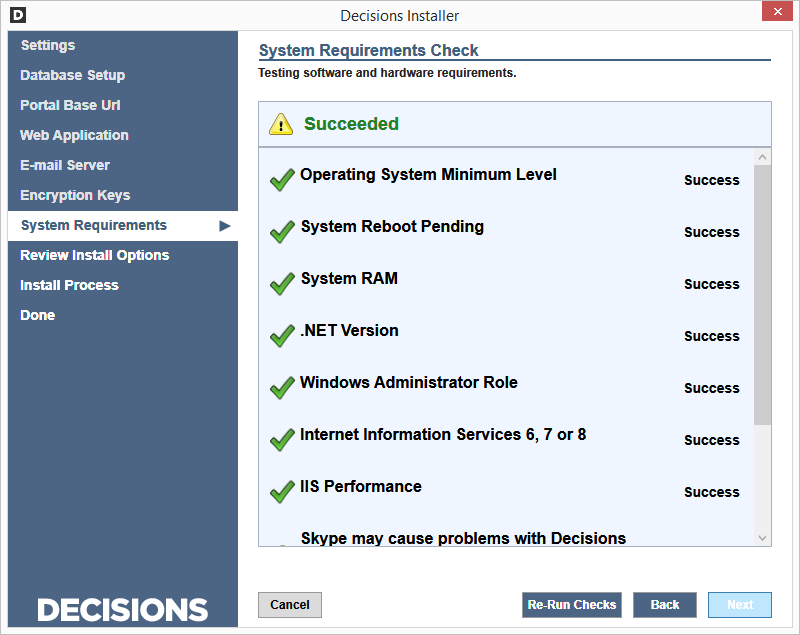
- When all of the system requirement checks have successfully completed, click the Next button.
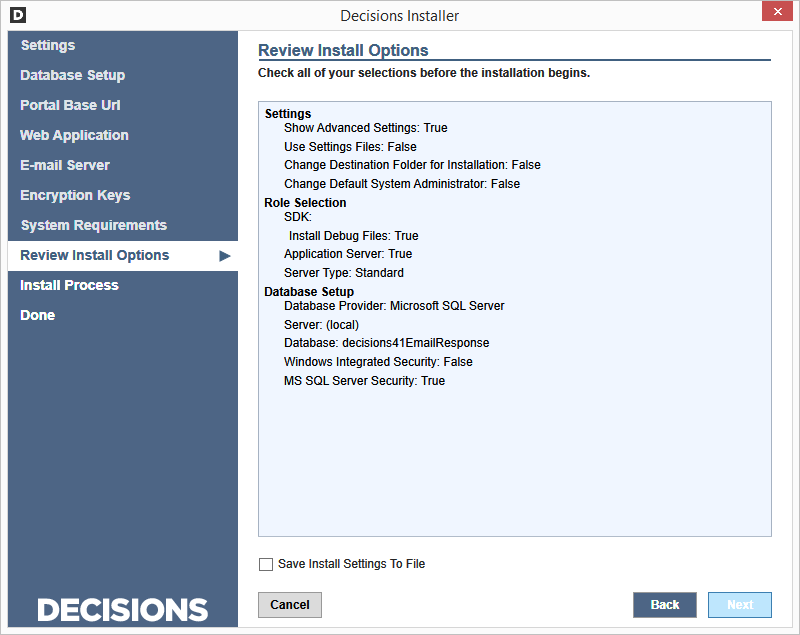
- The installer will list the configuration settings for this installation. To save these installation settings for future references - such as in the event of reinstallation or recovery - select the Save Installation Settings to File checkbox. Click the Next button.
- The installer installs the Decisions OS instance. As part of the process, the installer will automatically download, register, and configure any required third-party services or utilities. As this is happening, you may click the Show Details and Hide Details buttons to toggle a report of what's happening behind the scenes.
- When the installation is complete, the installer displays a completion message. Click the Finish button to close the installer and open the portal; use the admin credentials that are provided on the screen to log into the portal.
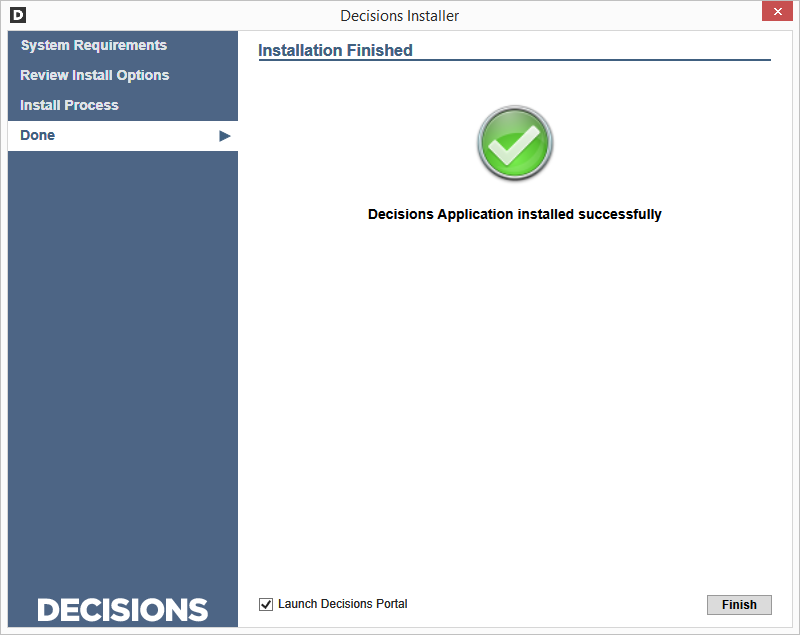
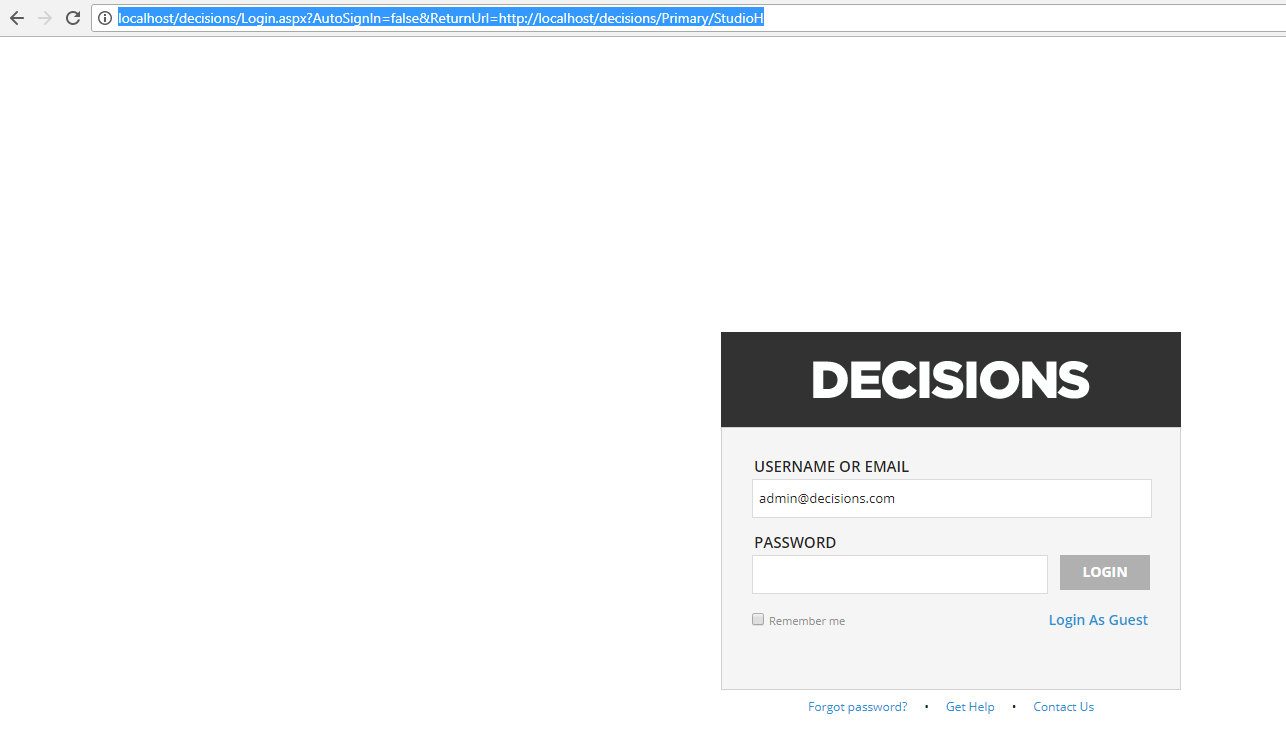
- After clicking Finish, the user will be redirected to the Login Page. If the platform was installed on the local machine localhost/decisions/... can be seen in the browser's address bar. Otherwise, if a different address was used to install Portal 192.168.1.3/decisions/... or a similar address would be seen in the browser's address bar.
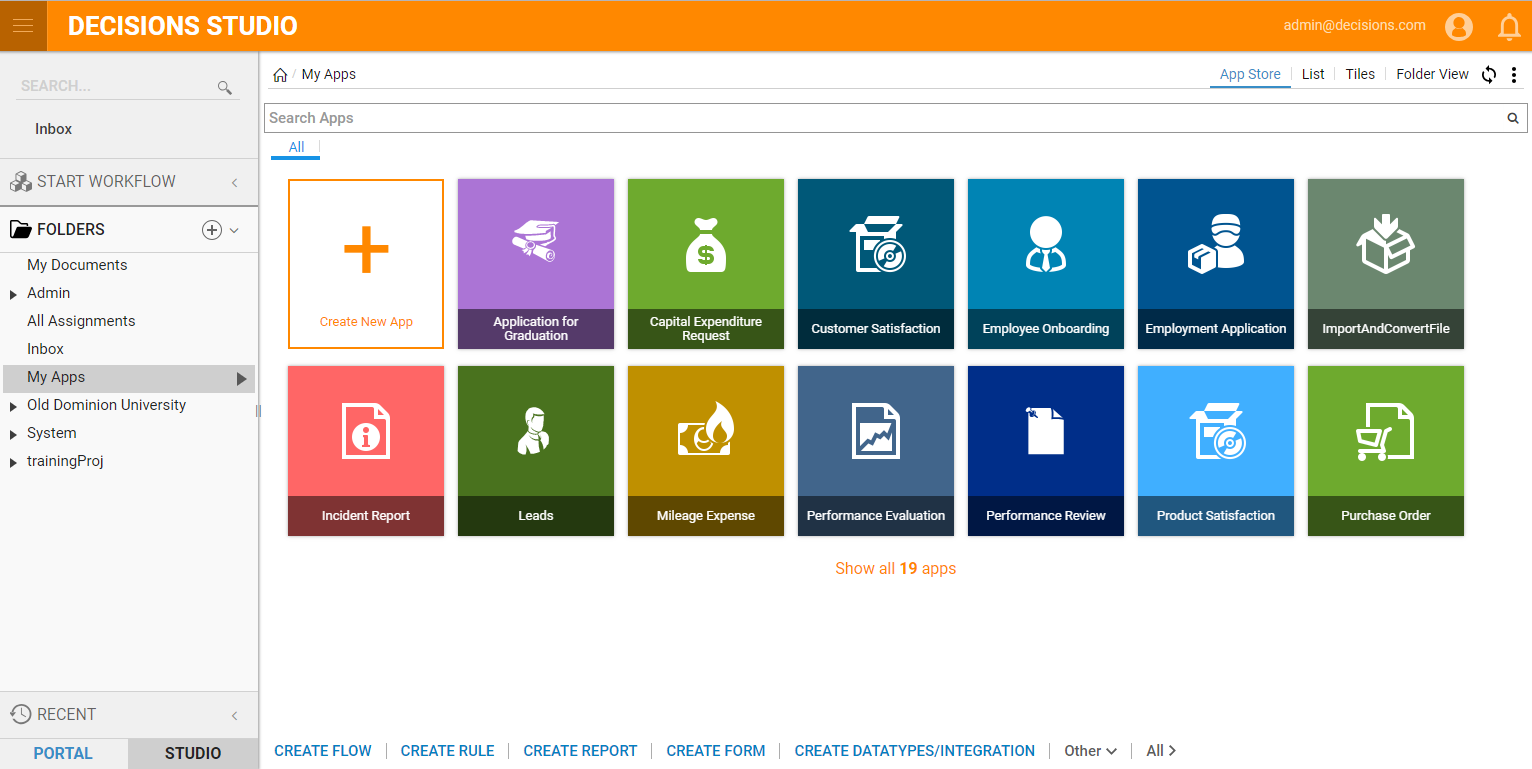
- After, logging in, the user will be redirected to the Home Page. Note:For the HTML Portal, you must open the port configured in settings for SignalR and the next port after that.
Updating the License
Computers can be licensed to run the platform with third-party plugins or with the built-in licensing mechanism - License Utility.
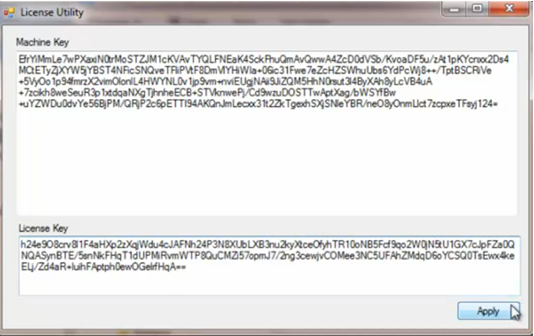
- To license a machine using License Utility, open the executable and email the Machine Key it generates to "support@decisions.com". The Decisions Support team will respond with a license key that can be cut and pasted into License Utility and applied to generate a license key file. The following example assumes that the platform has been installed in the default path.The user must run the utility as an administrator, otherwise, the license key cannot be successfully applied.
- To access the License Utility, navigate to the Folder C:\Program Files\Decisions\Decisions Services Managerlicensing.
- Run the LicenseUtility.exe. The License Utility dialog box appears.
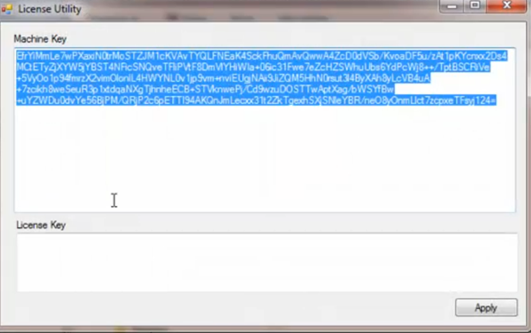
- The License Utility window generates a unique string for this machine in the Machine Key field. Select the string in the Machine Key field and copy it to your clipboard.
- Paste the machine key into an email and send it to the contact for your organization that will be generating licenses.
- Using the machine key that has been provided, the license key will be generated and provided to you.
- When the license key has been received, in the License Utility window paste the license key into the License Key field. Click the Apply button.
- A pop-up alert will notify you when your license key is due to expire. Click OK.
- After updating the license, restart the Service Host Manager.
