Entities such as folders, reports, and flows can be imported using the Local module. This method is useful when importing several items at once or when importing entities to several different systems. Rather than logging in to each system and performing a separate import operation for each entity, copy the entities to the Imported Objects folder and restart the Service Host Manager. The entities will be imported automatically. Binary serialized data members are not supported.
This example assumes that the platform has been installed in the default location: *C:\Program Files\Decisions*. Use your installation location when following these steps.
Example
In the example, we will:
Export the report Folder Report.
Delete the report in the portal.
Import the report using the Local module.
We begin by navigating to the Designer folder where the report is stored and selecting the report thumbnail.
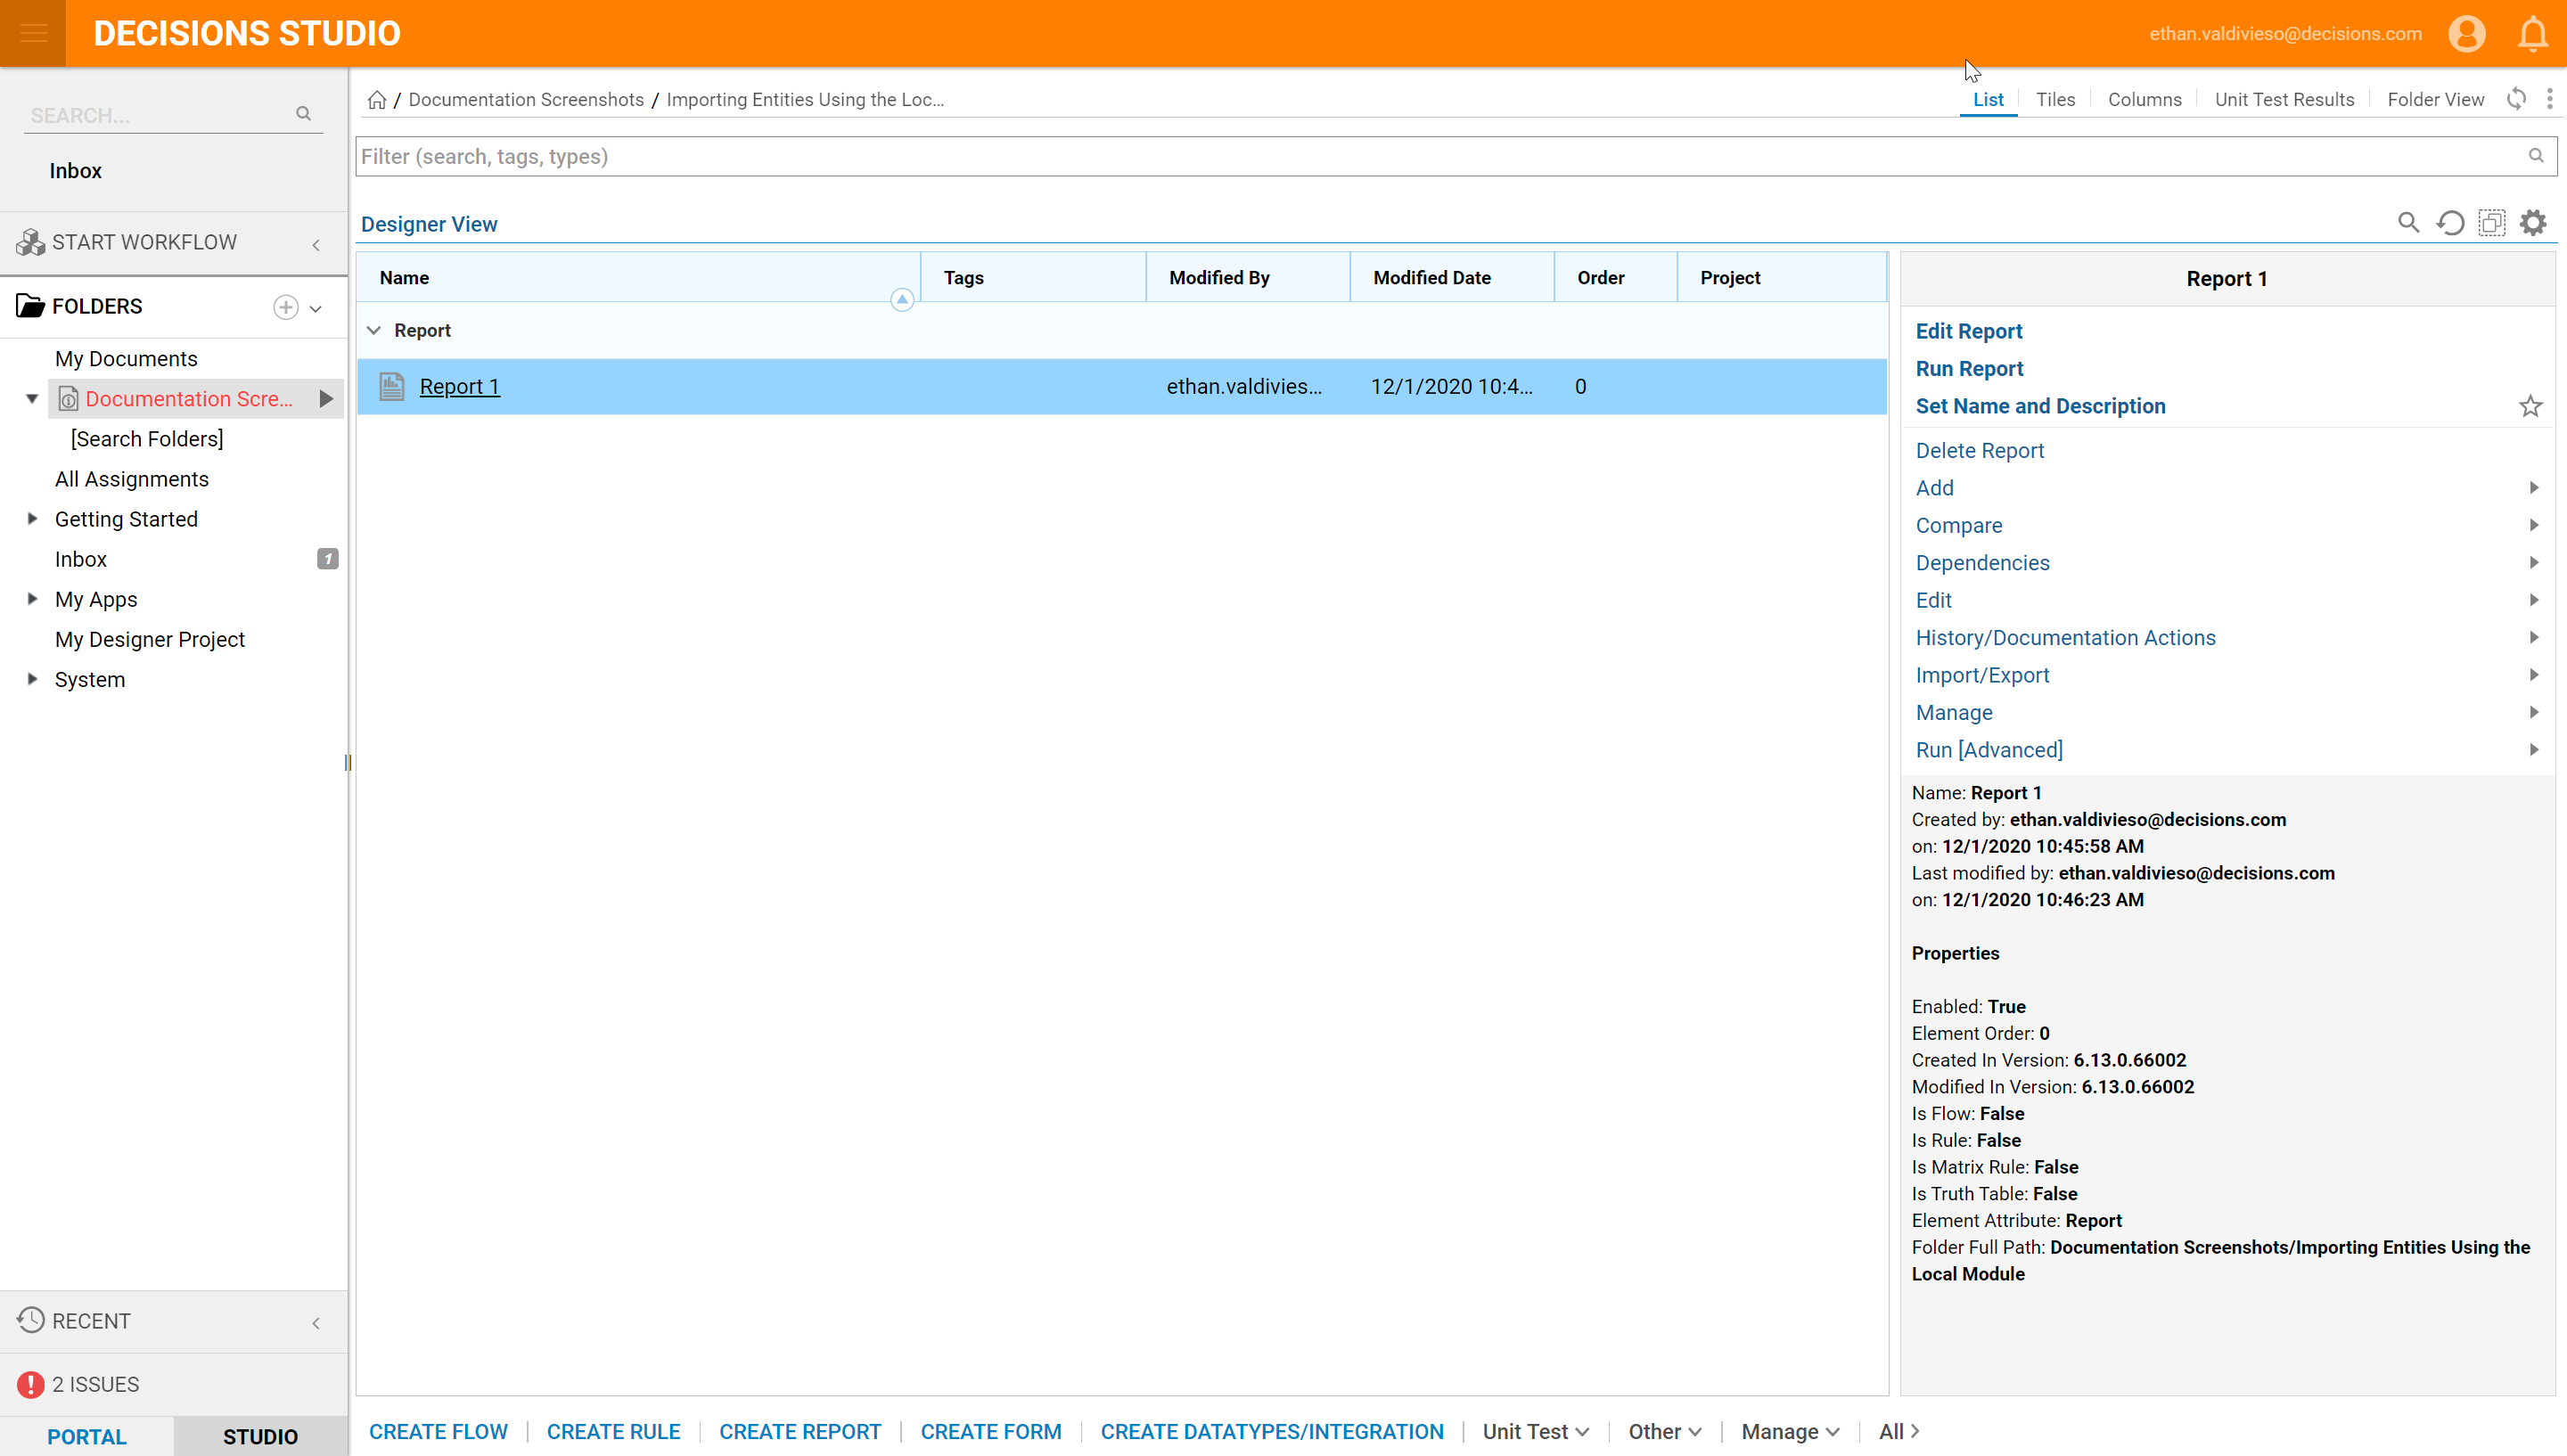
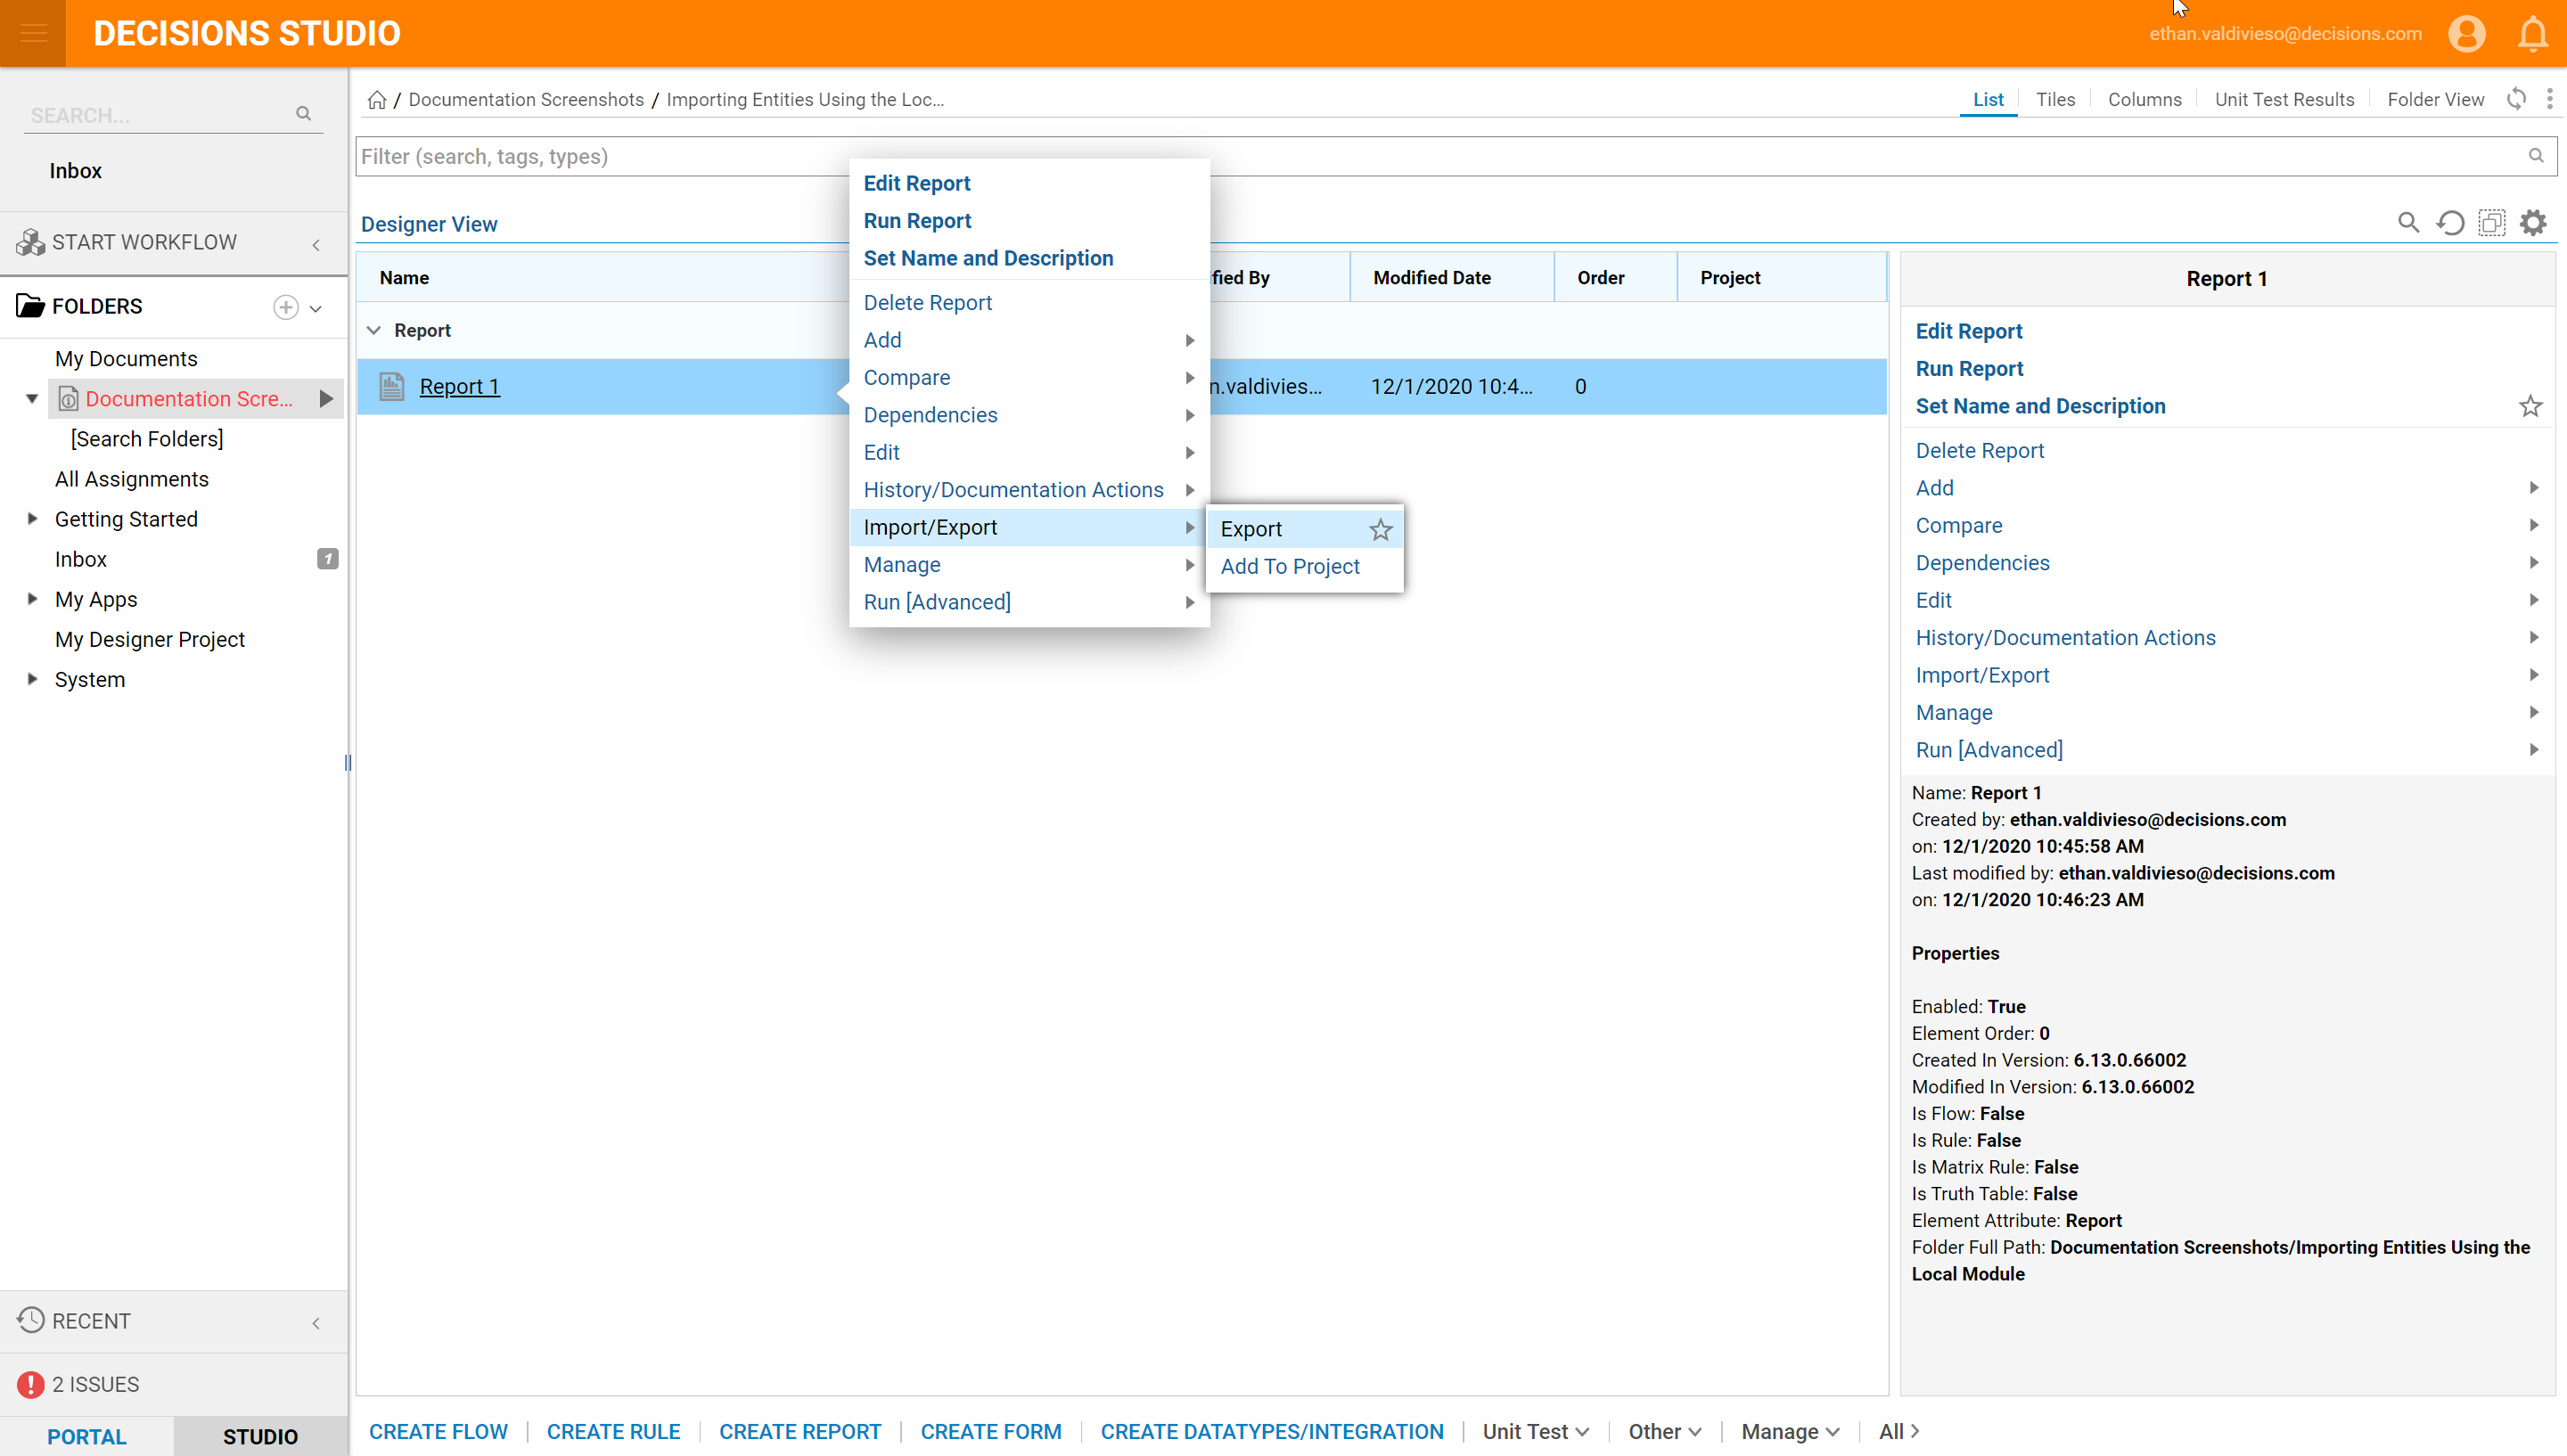
We select Import/Export from the Action menu.
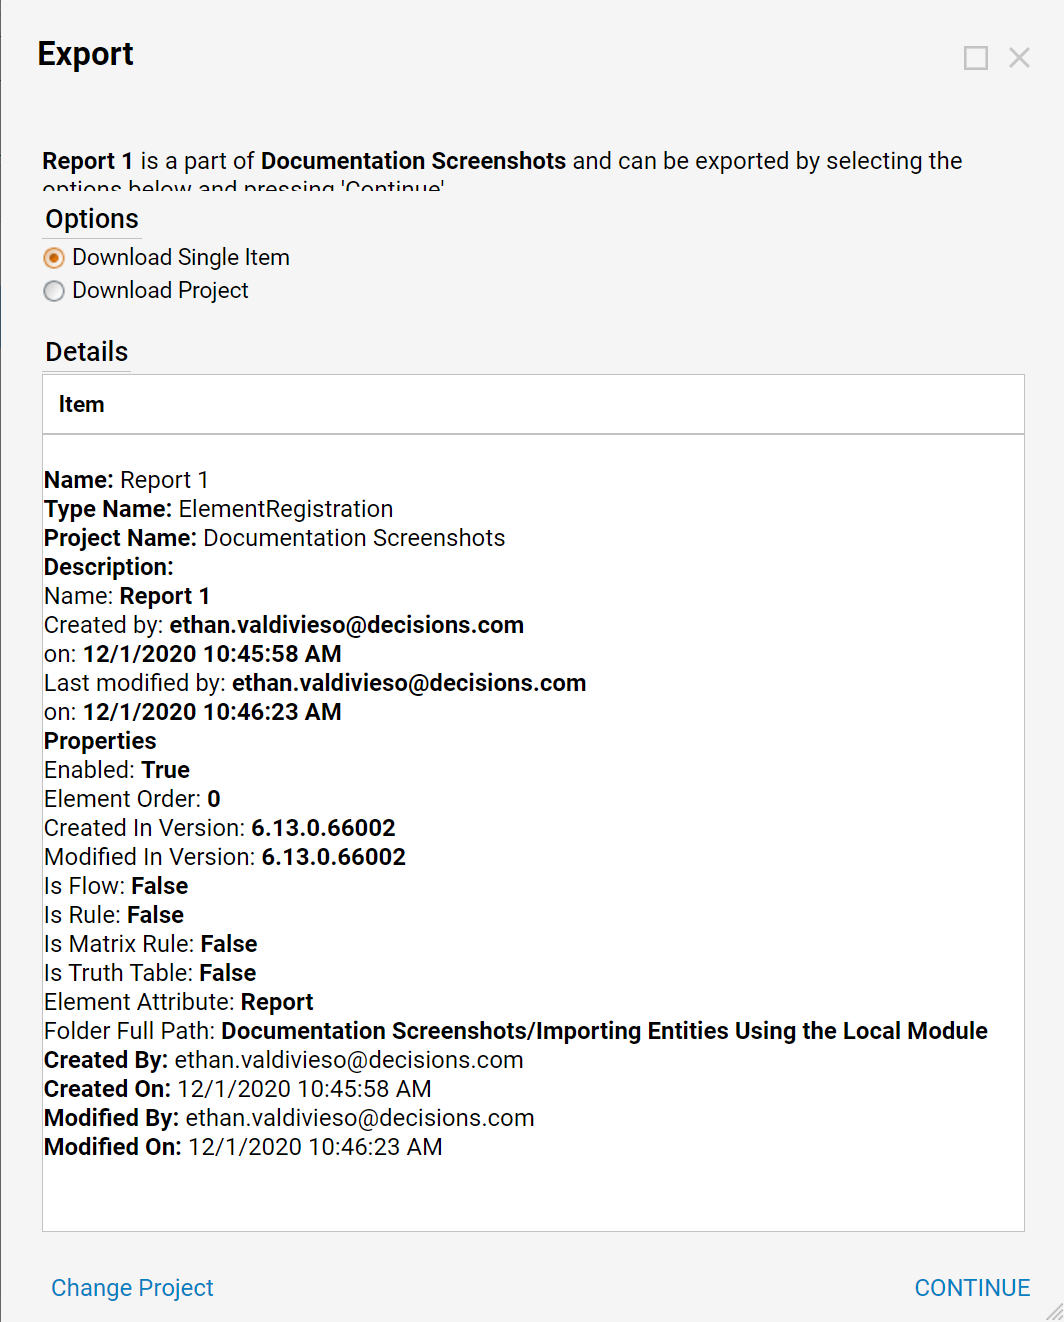
In the Export pop-up, we could set options for how sub-entities should be treated during the export process. We can choose to download Single Item or the whole Project. We keep the default selection of Single Item and click the Continue button.
After clicking Continue, a download window would pop up.
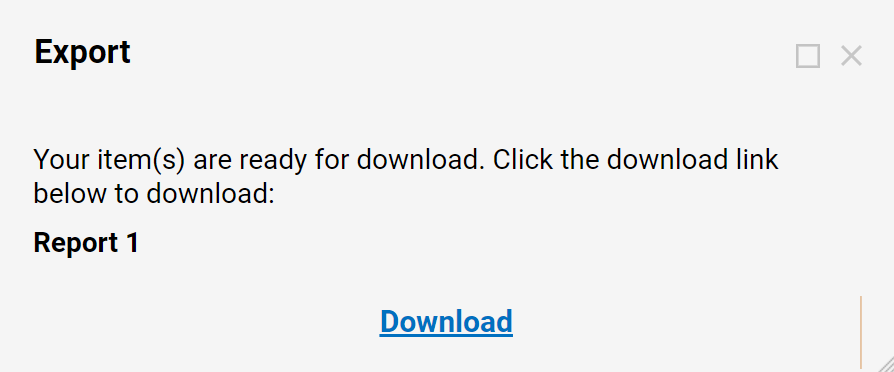
In the Save As pop-up, we select an export location, name the exported file Folder Report.zip, and click Save.
A confirmation message displays that the export was successful. Select OK.
Next, delete the report by selecting the report thumbnail . . .
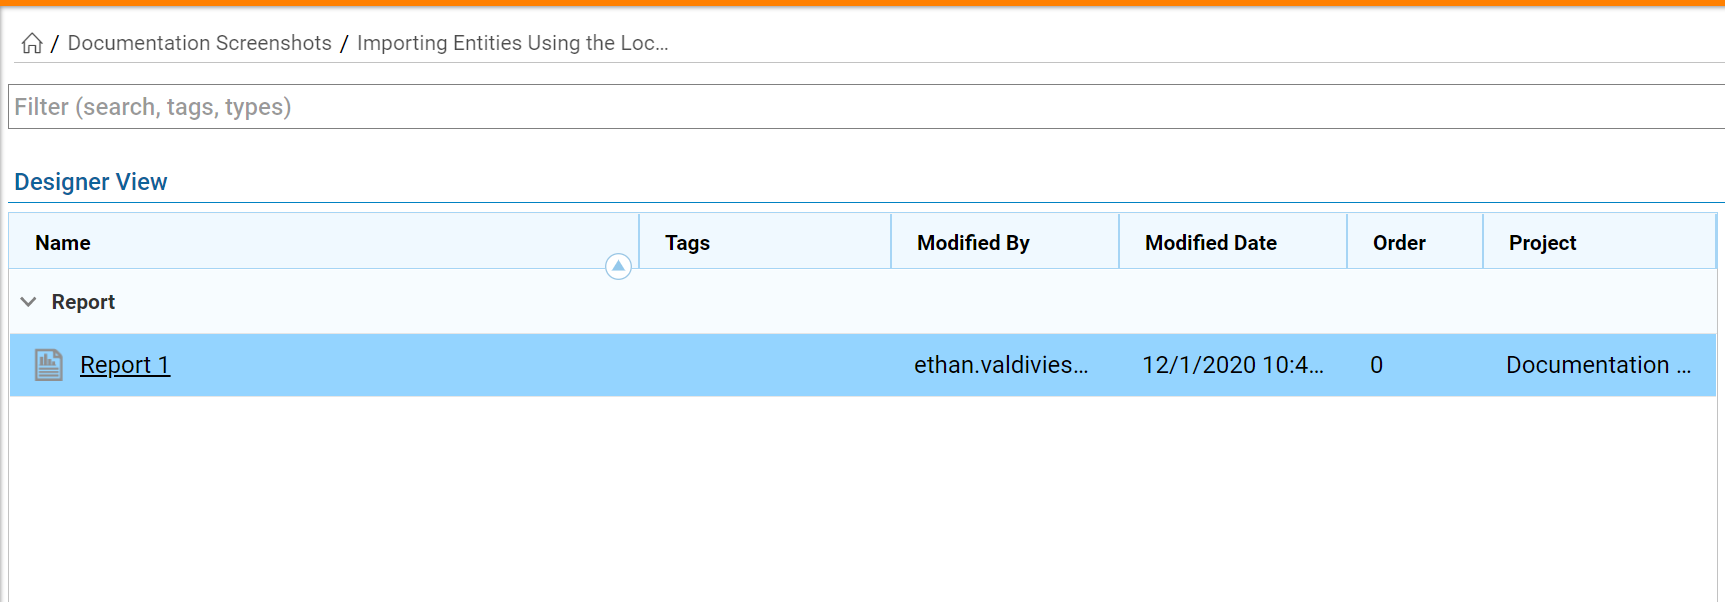
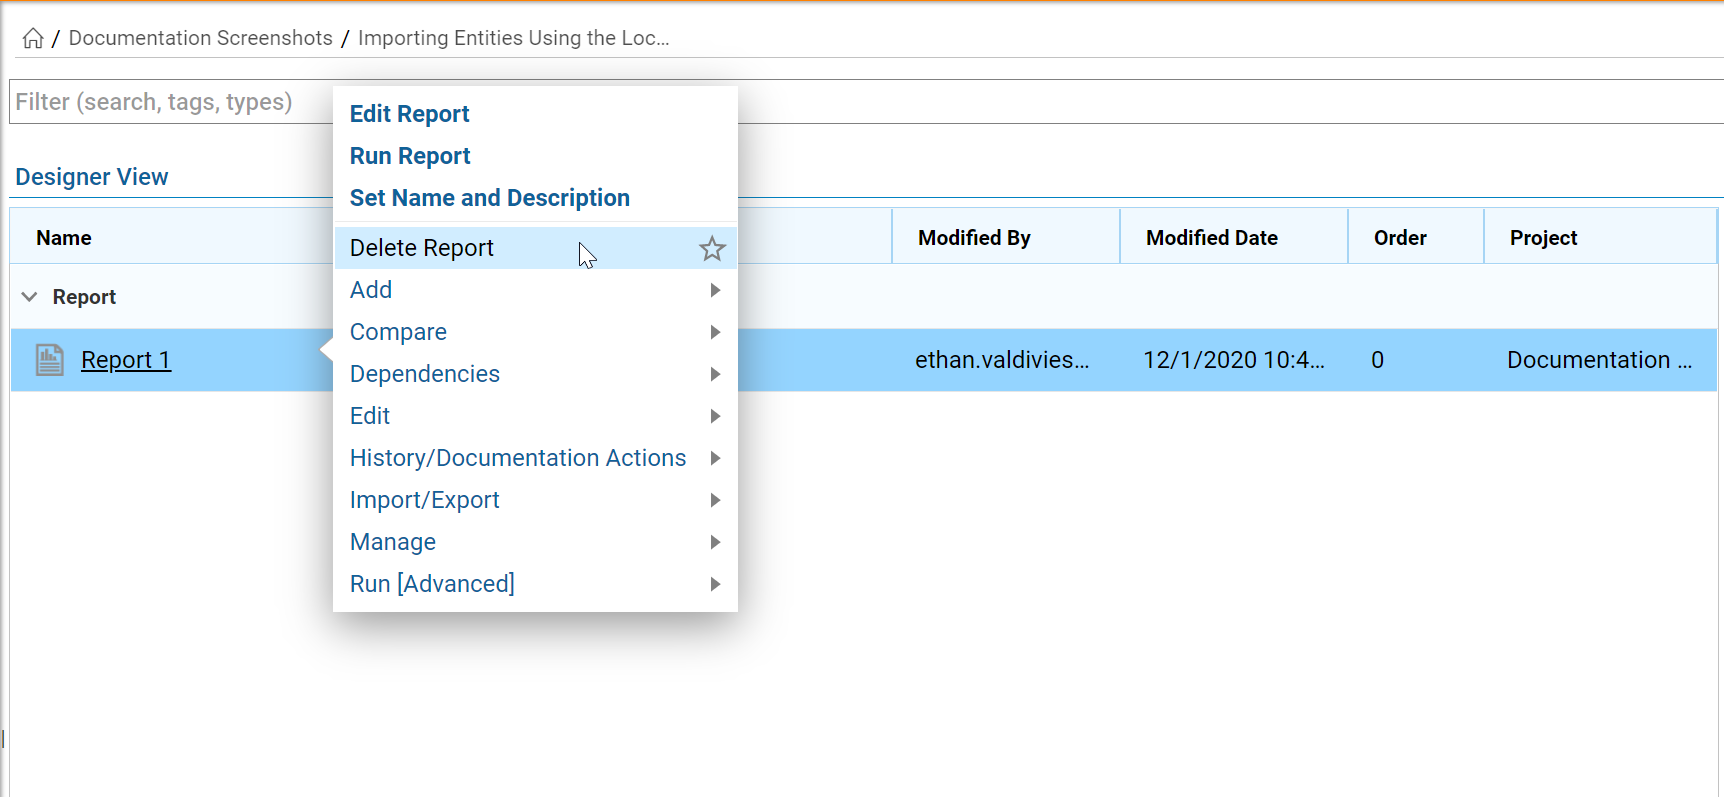
. . . and selecting Manage > Delete Page from the Action menu.
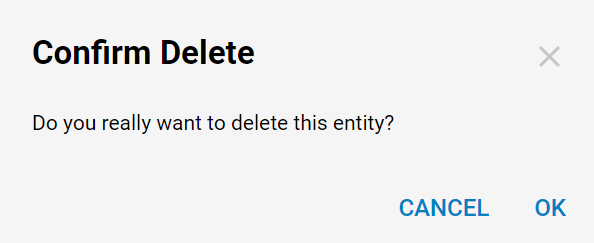
A confirmation message displays select Yes.
Next, we copy the exported .zip file to a folder on the server where the platform is installed, and where the Local module can import the entity.
We copy the .zip file and paste it to
C:\Program Files\Decisions\Decisions Services Manager\modules\Decisions.Local\ImportedObjects
Then extract the zipped files.
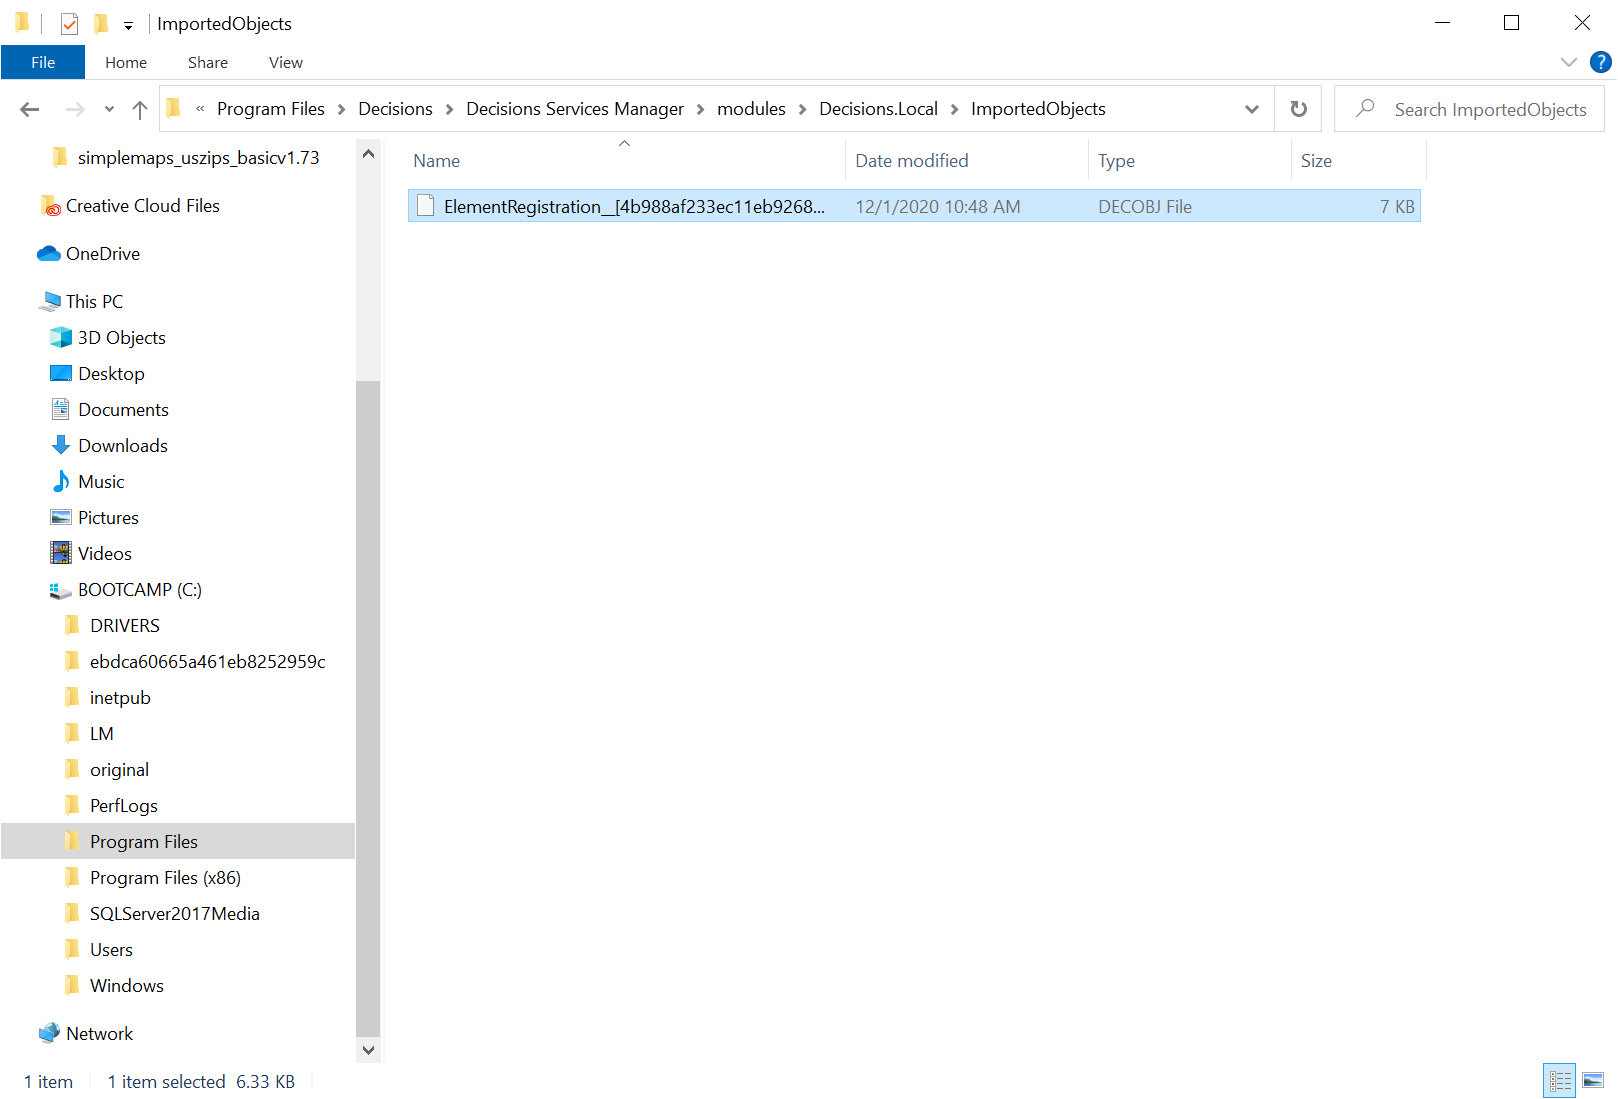
We could copy and paste multiple .zip files to this folder to be imported at the same time.
Making sure to Extract the files
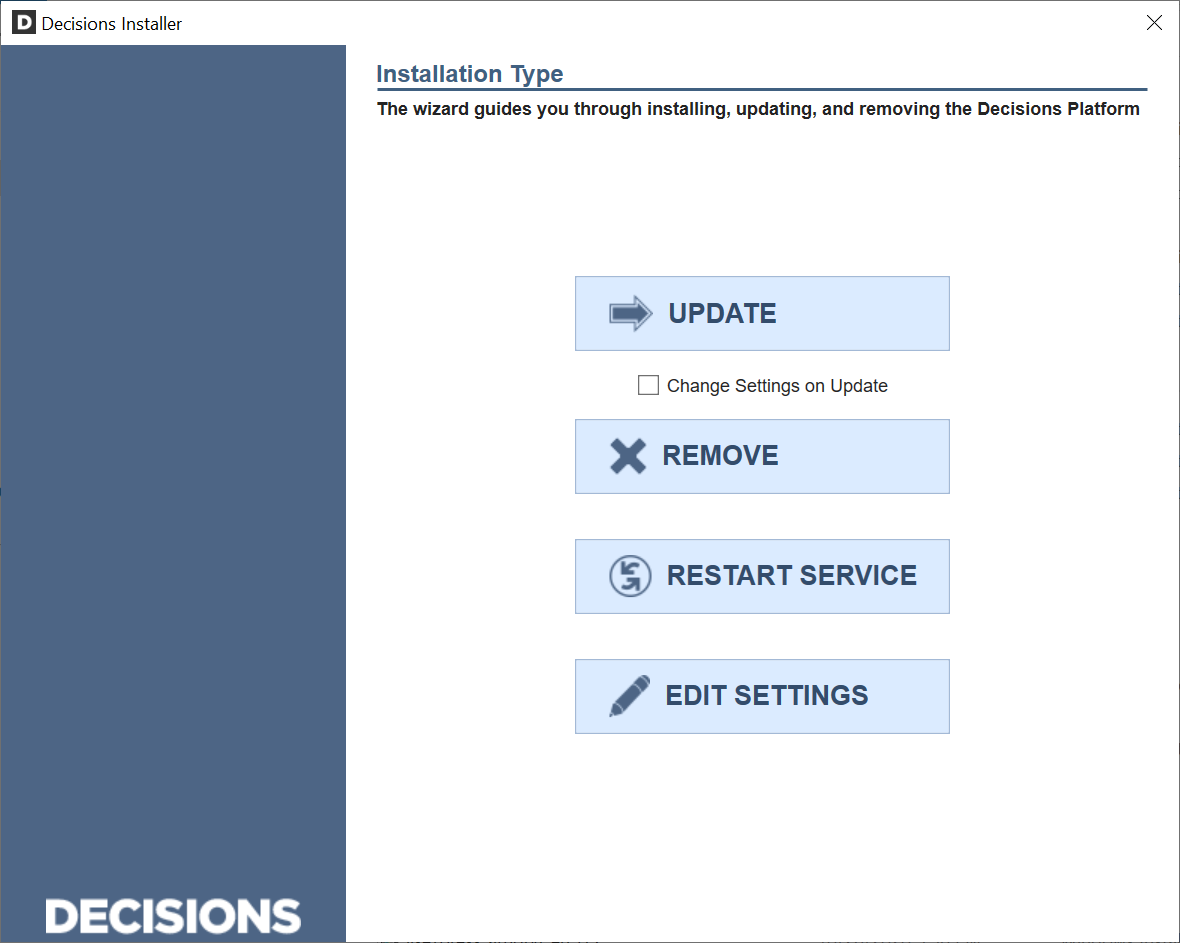
Finally, we open the installer and click the Restart Service button.
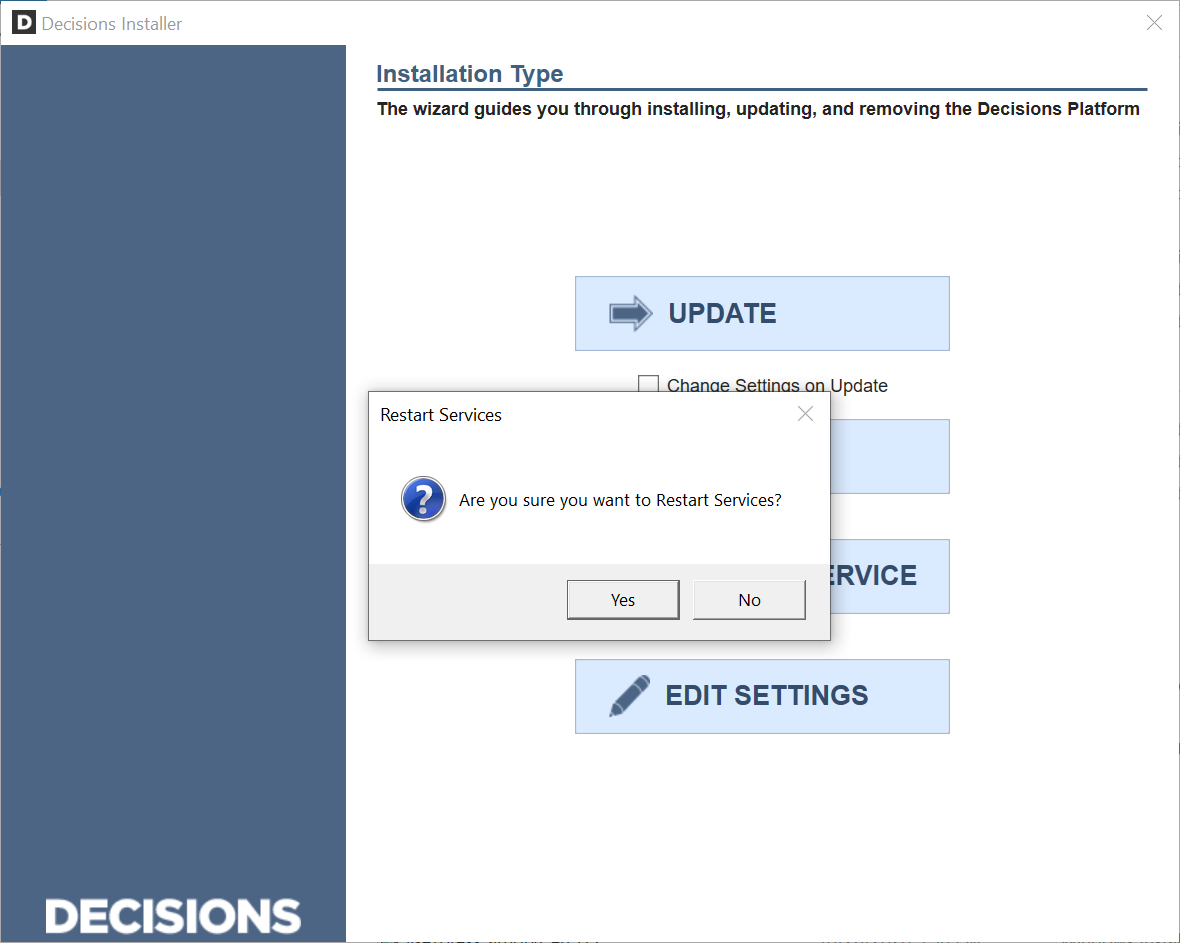
We confirm the service restart by clicking Yes.
To verify that the entity has been imported, we return to the platform and search for the imported item.

If we were running multiple installations of the platform on different servers, we would perform this process for each installation.