Overview
Set form controls to be visible or invisible based on Flow data. This is a very useful feature for creating simple and well-designed forms, for example, hiding information on a form that isn't relevant to a given user. Configure a form control's visibility by clicking on it and setting its visibility properties in the Properties tab on the right side of the Forms Designer.
Example
In this example, create a Flow with two forms. In the first form, the user will be able to decide if he or she wants to display input on the next form.
In the Decisions Studio, begin by creating a new form. For more information on creating a form, see Creating Your First Form.
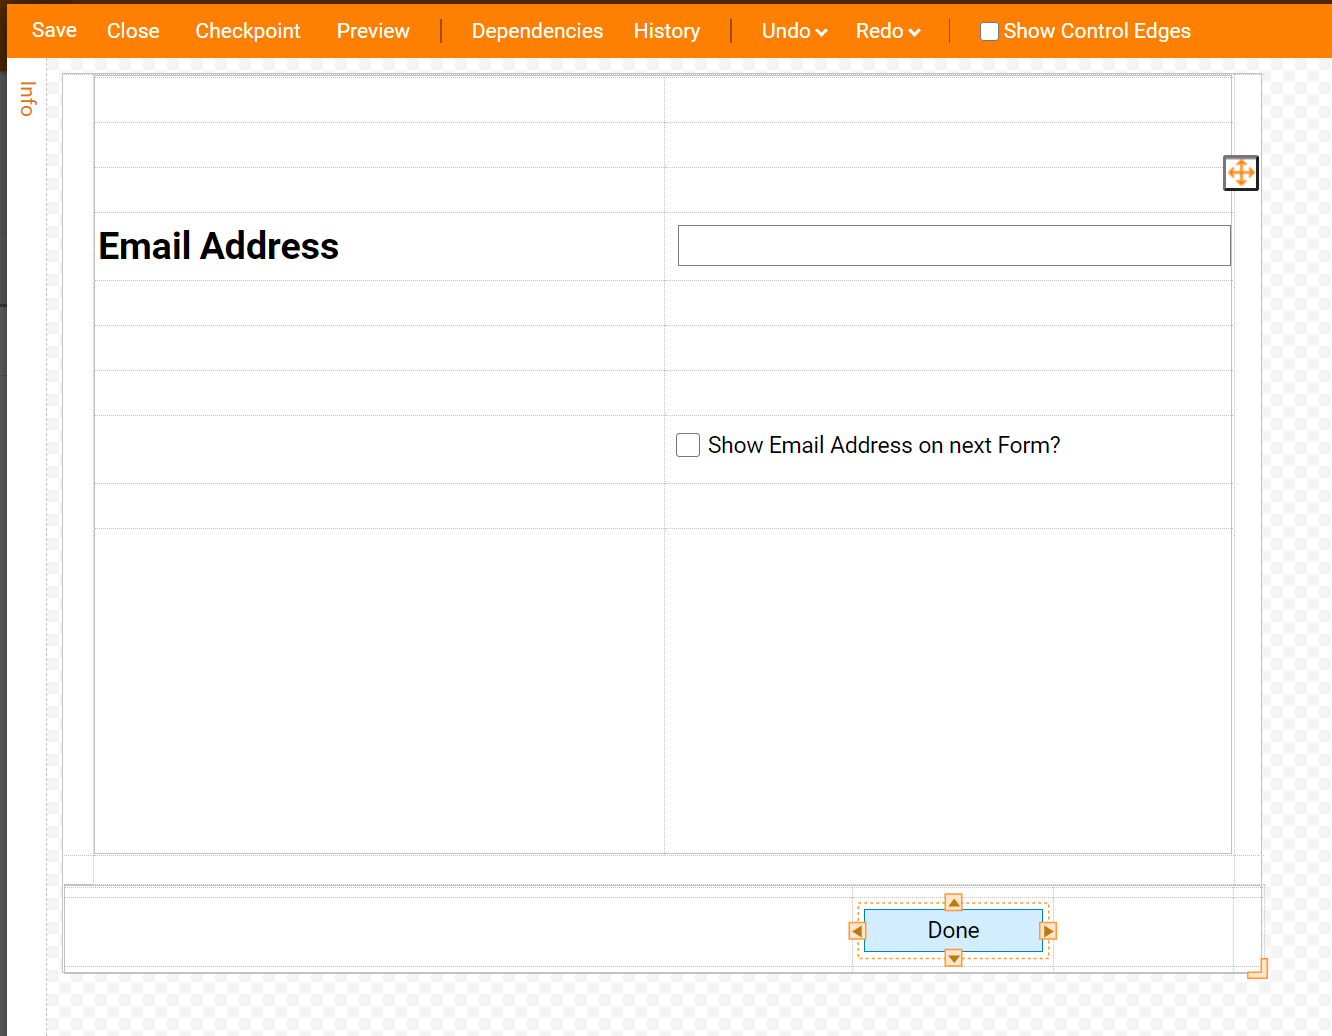
This Form is designed as follows. It has a Text Box where the user can input his or her Email Address, and it has a CheckBox that represents the user’s decision about displaying their Email Address on the next Form. The CheckBox component outputs a Boolean data type which can be used for Form Component Visibility on the next Form. When finished designing this Form, save it and close Form Designer.
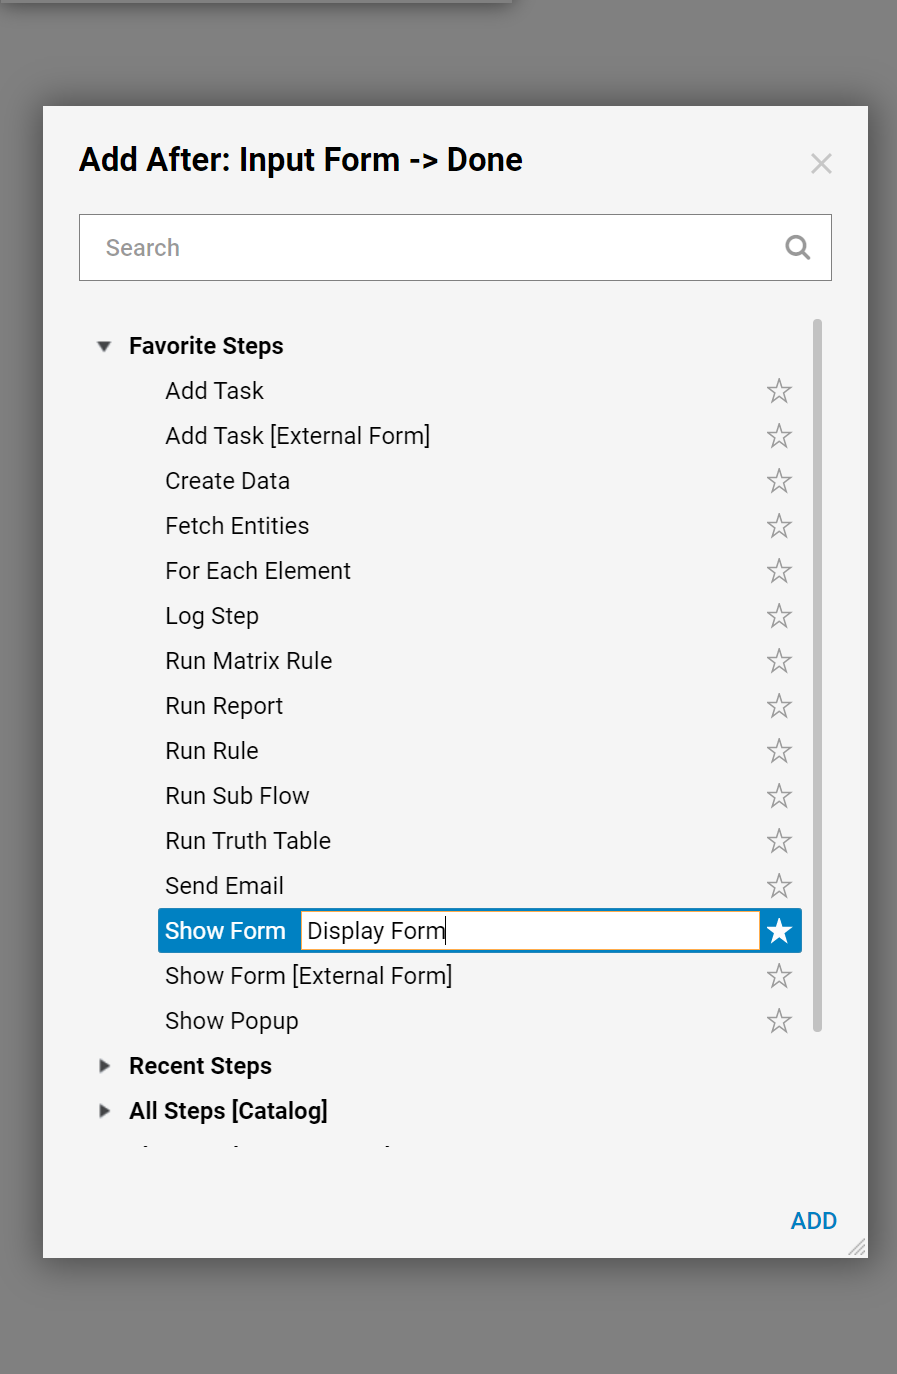
Back in the Flow Designer, add another Form using the Show Form component from the Favorite Steps category.
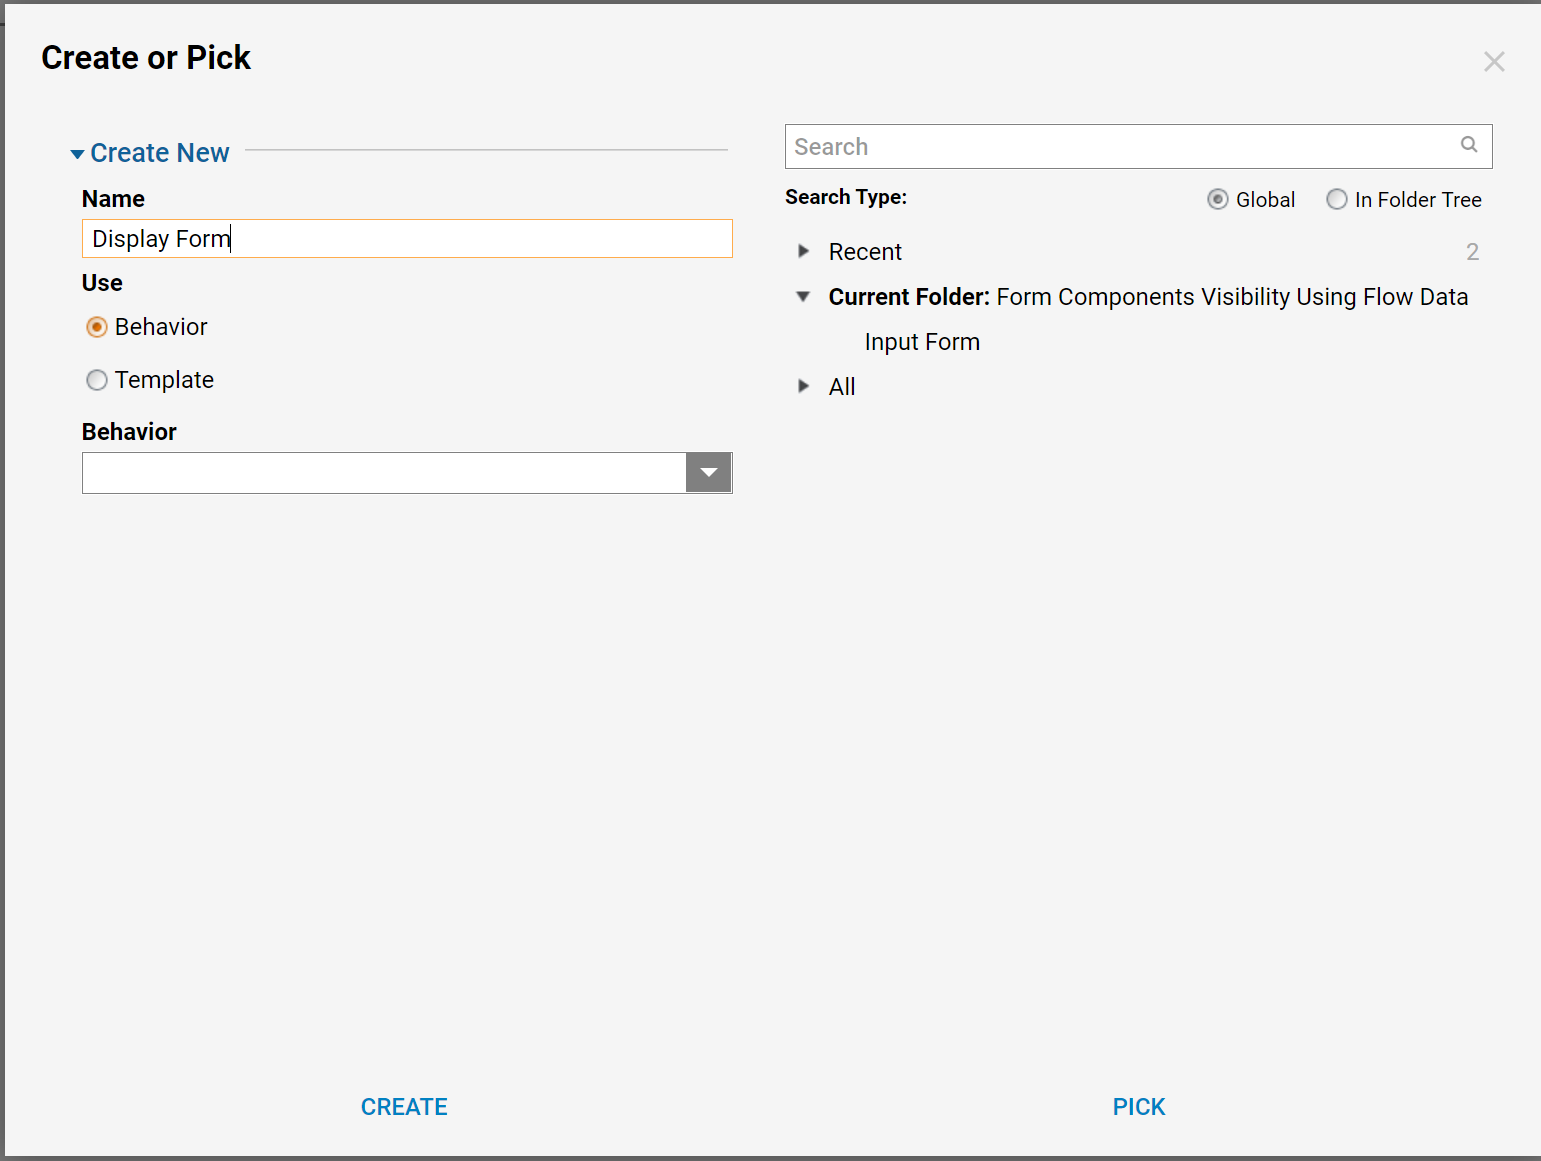
Next, name the second Form and select Create.
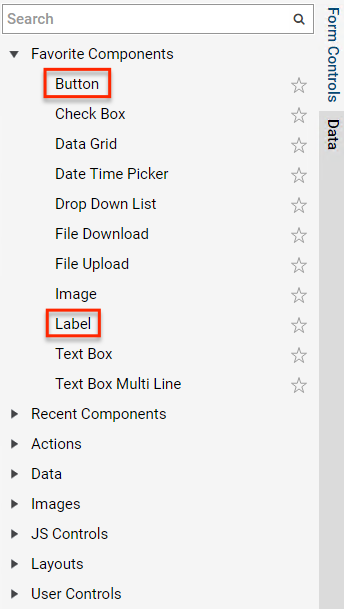
First, add two buttons on the Form. One button will close the Form and terminate the Flow Execution, and the other will navigate to the previous Form. Then add a Label component from the Data category in the Steps panel.
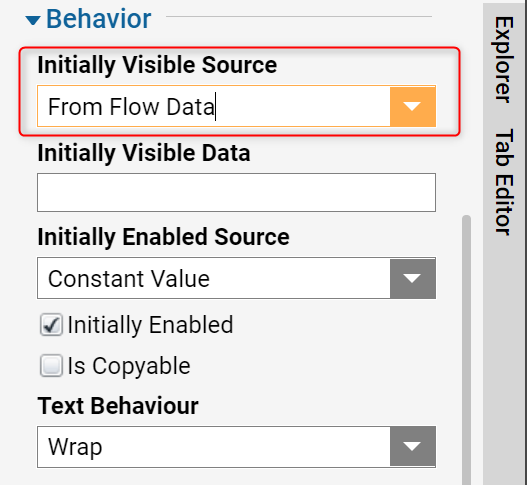
Control this label from the Flow. Therefore, locate the label’s configurations, and in the Behavior section, we change the Initially Visible Source from Constant Value to From Flow Data.
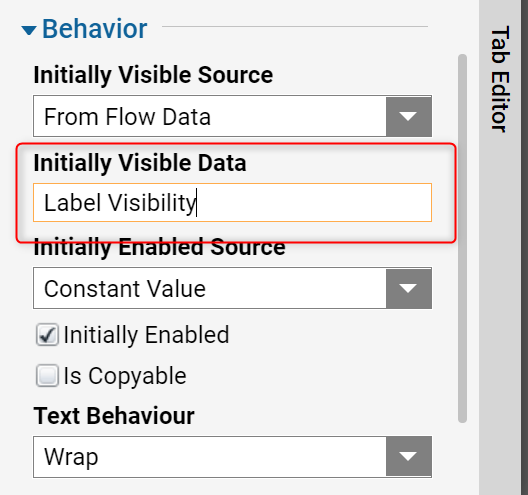
Next, in the Initially Visible Data type in a variable that will be used to control this label’s visibility.
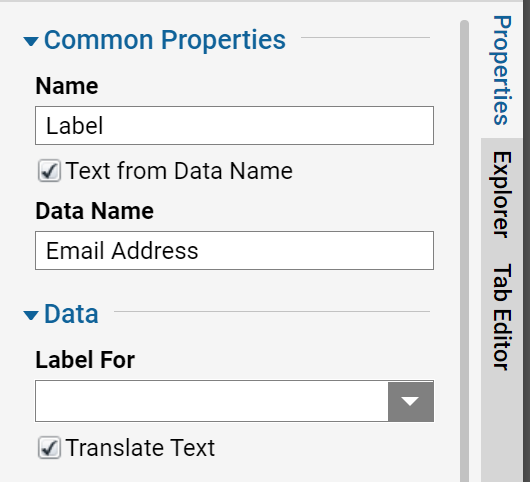
Then, add a Label that will display the user’s input from the previous Form. In order for the Label to expose the data from the previous Form, alter its properties. Under Common Properties, select the checkbox Text from Data Name. This example displays input from the previous form. Look for the variable called Email Address. In the Data Name box, type in Email Address. Set the Visibility Rule for this label. Under Behavior > Initially Visible Source drop-down, select From Flow Data.
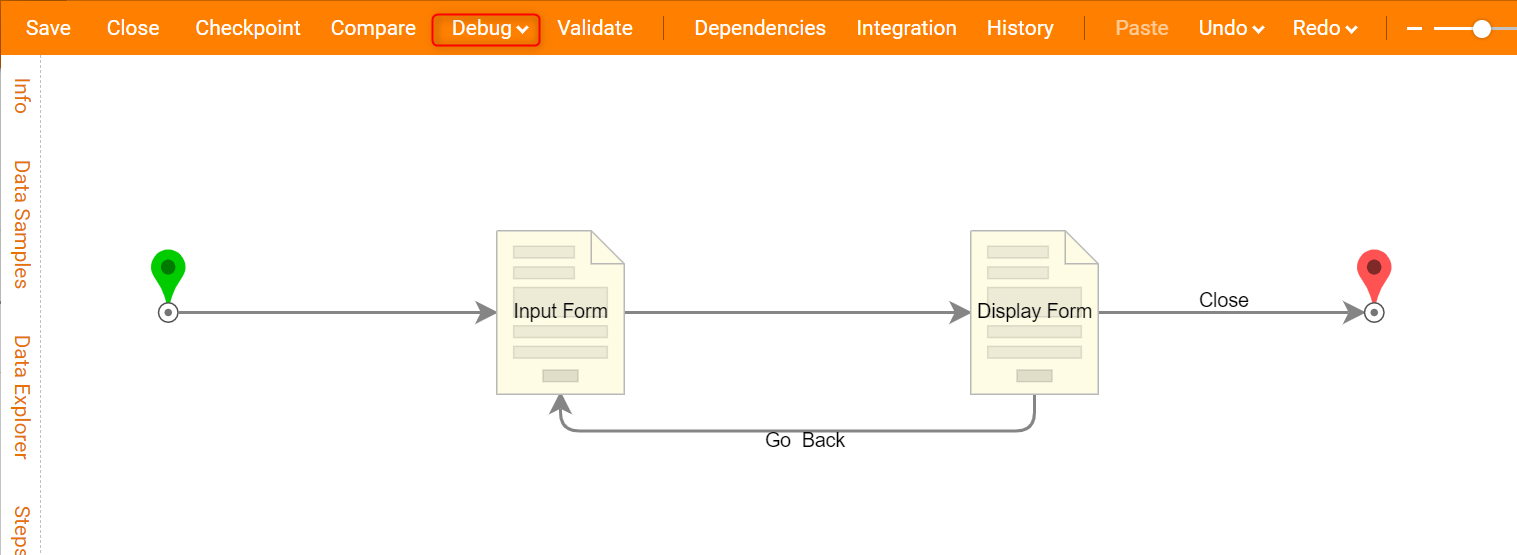
Back in the Flow Designer, connect steps in the Flow as pictured below. Next, select the second Form step on the workspace, and the Edit Step window displays. Select Edit Input Mappings to access the Mapping Editor.
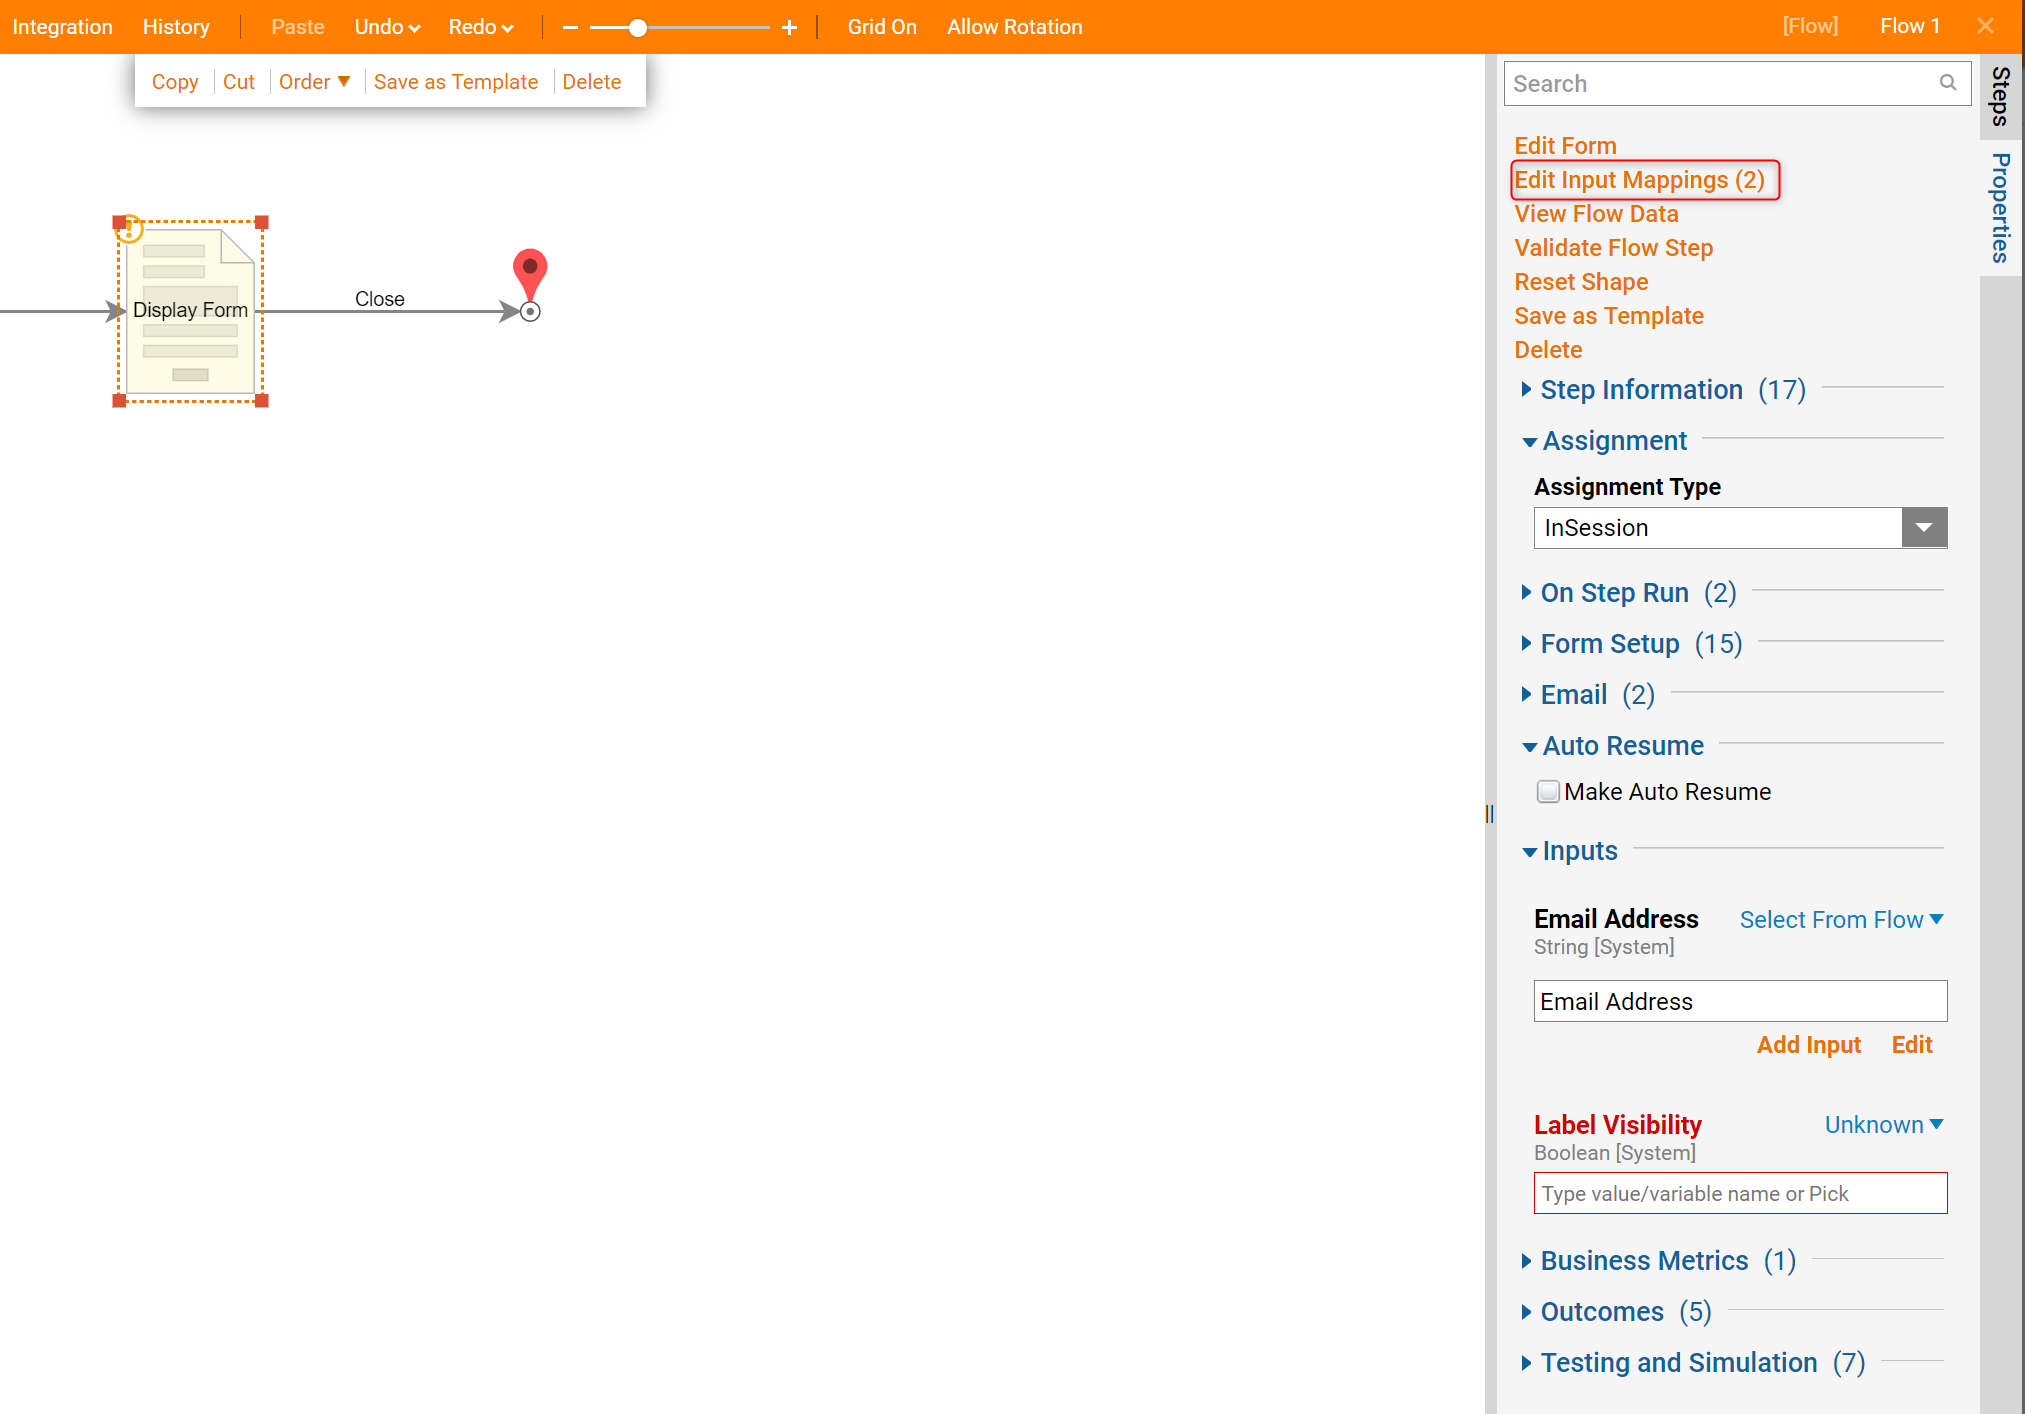
In the Mapping Editor, connect the output from the CheckBox in the first form to the Label Behavior/Visibility controls on the second form. Select 'Ok' to save and close the Mapping Editor.

This completes the Flow. To test it, select Debug link on the top panel of the Flow Designer.
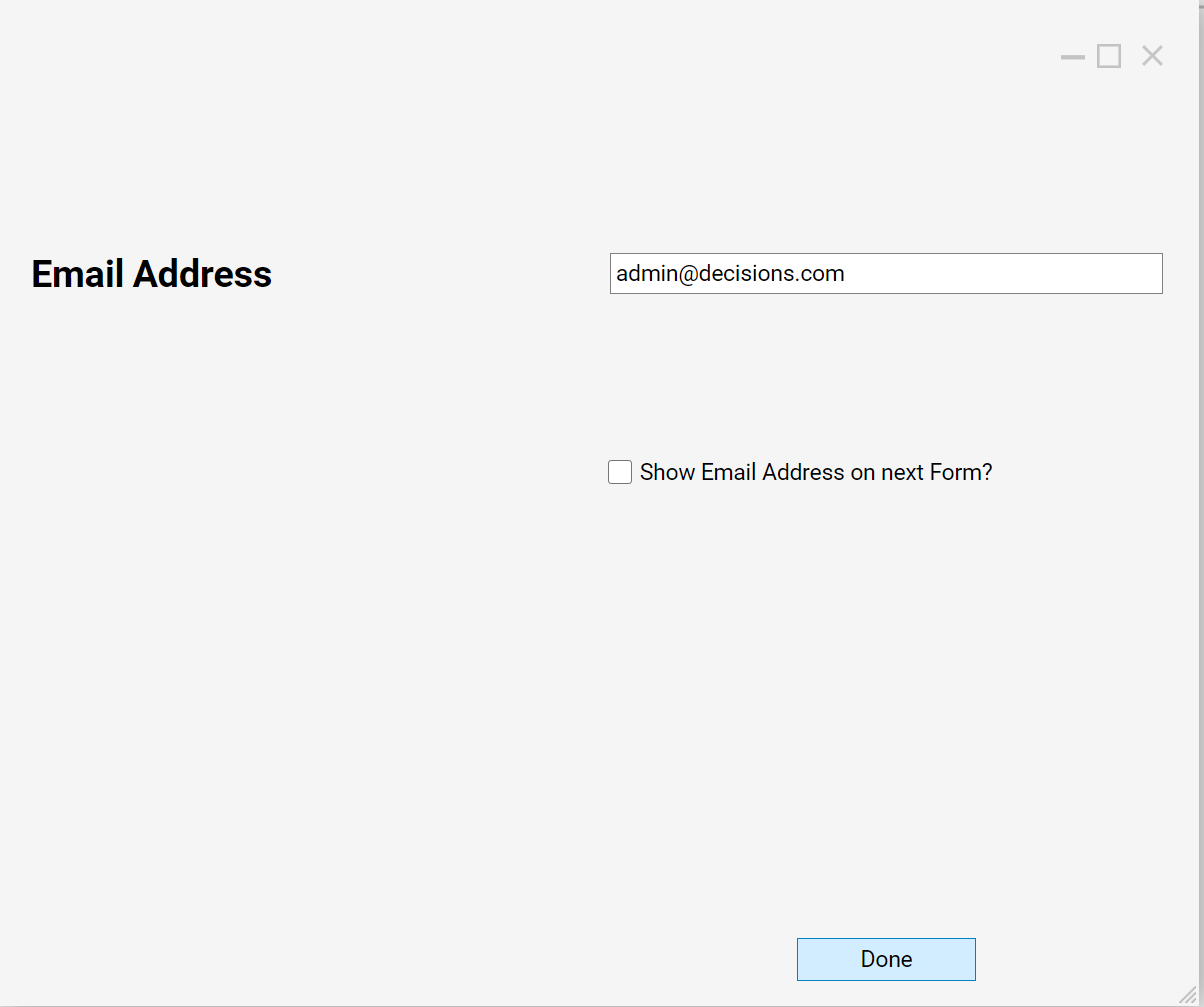
The first form in the workflow opens in the Debugger. Fill in the Text Box with the Email Address, leave the checkbox unchecked, and select Done to continue to the next Form.
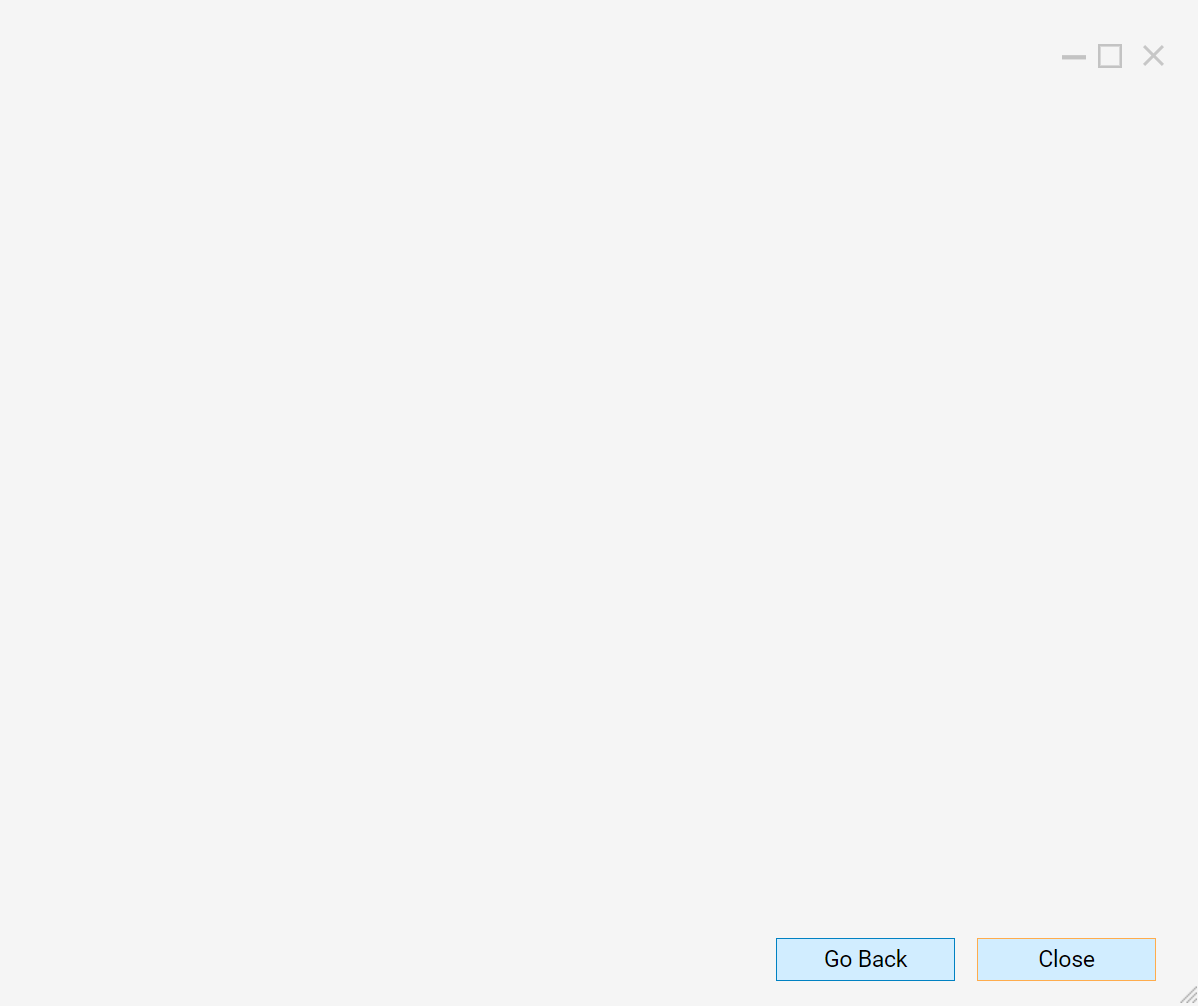
The second form in the workflow opens, and the labels are not visible. This verifies that are forms have been configured correctly. Now select the Back button to go back to the first form.
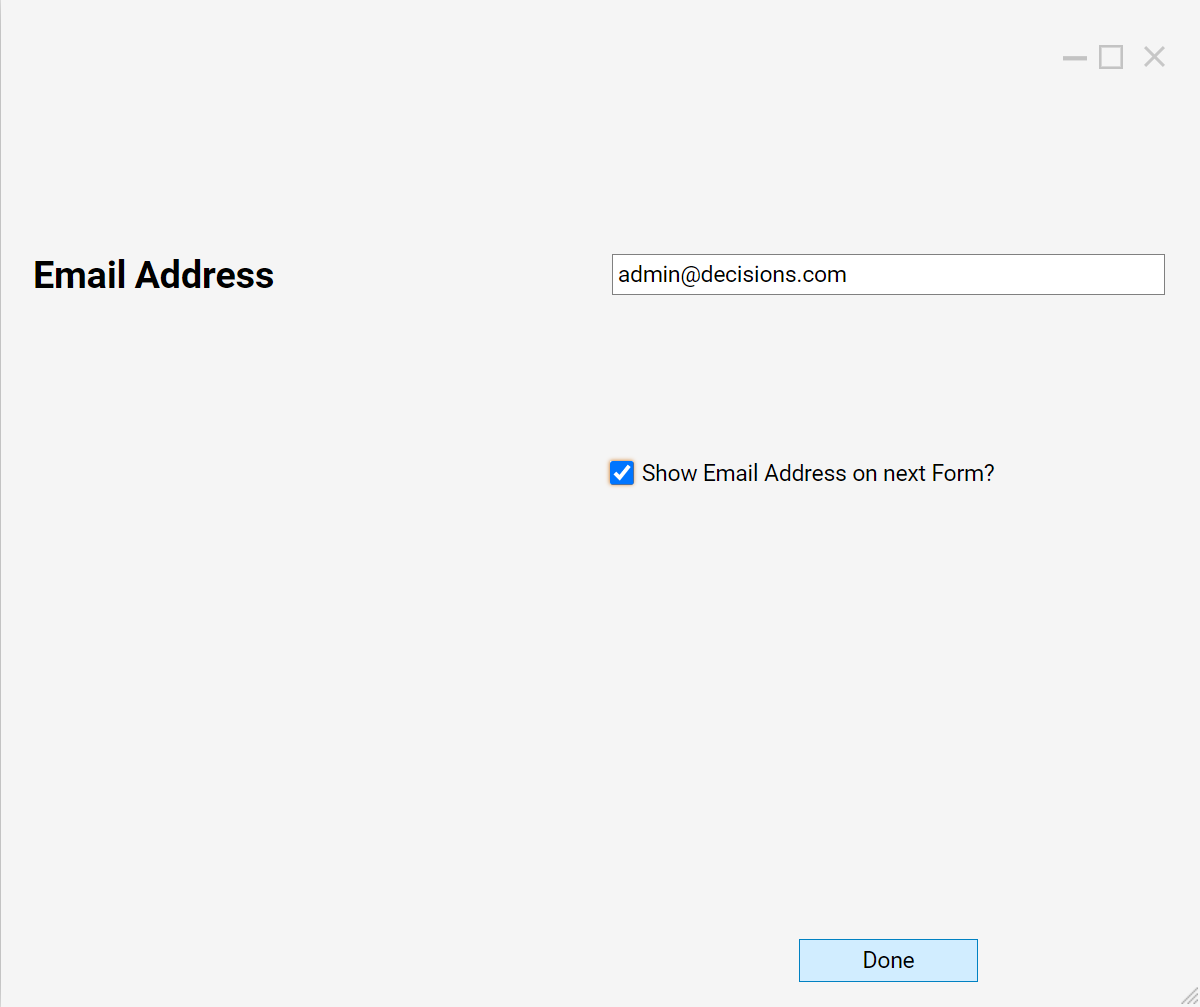
The first form opens again. This time fill in the Email Address and check the checkbox. Then select Done to observe the results of the second form.
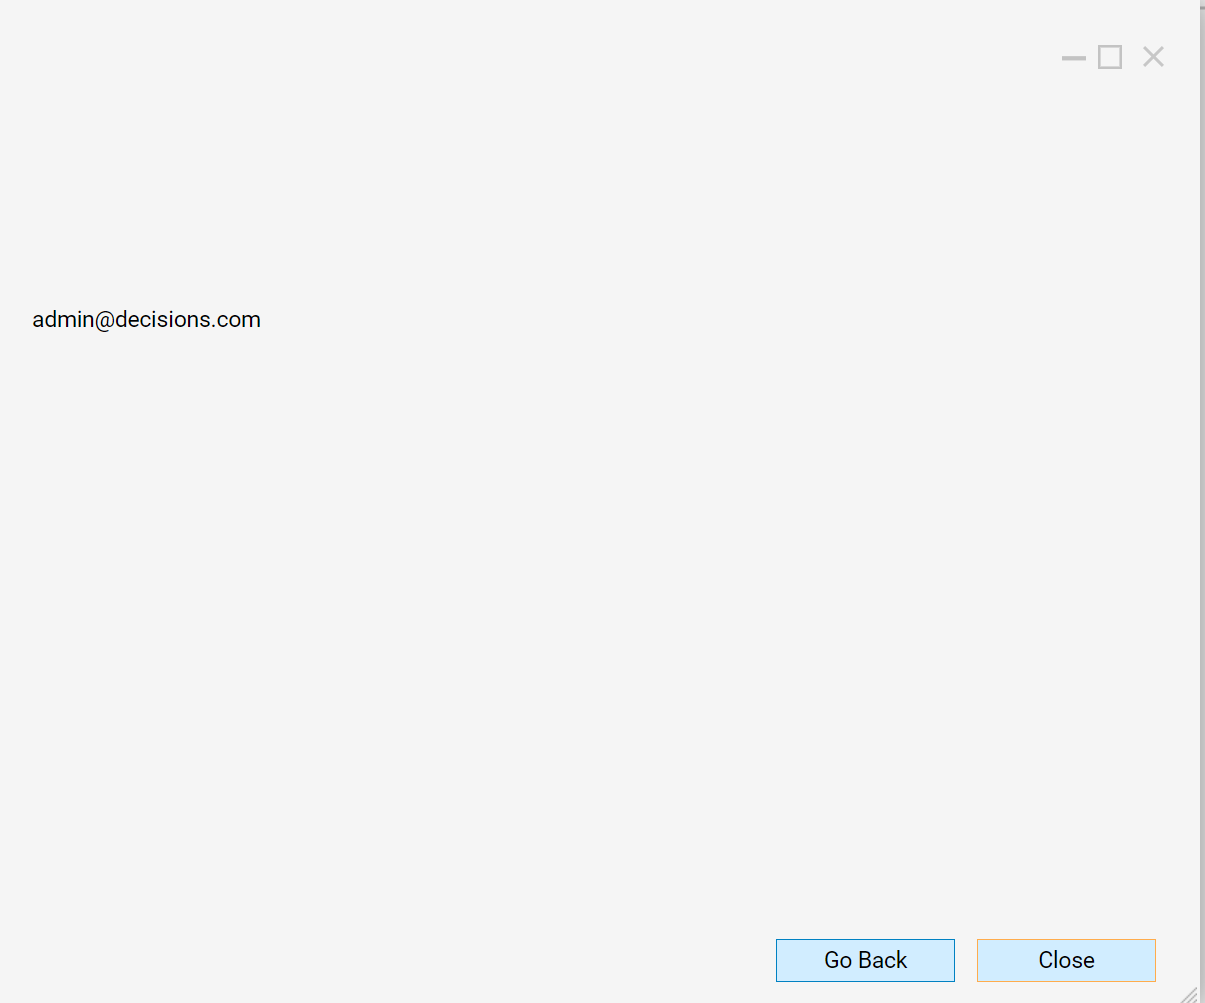
The second form opens, and the labels are visible this time as designed.
Select Close to terminate the Flow execution.
