Overview
File references allow files to be saved in the file system rather than in memory while remaining usable in the Portal. Uploaded files are stored in memory for fast retrieval and indexing. In most circumstances, this way of file processing works well, but when large files enter the pool, the system can be slowed down. It is better to store these files on the server's file system and refer them to file references. A file reference can be created in a Flow using the Load From File Data or Load From Path step.
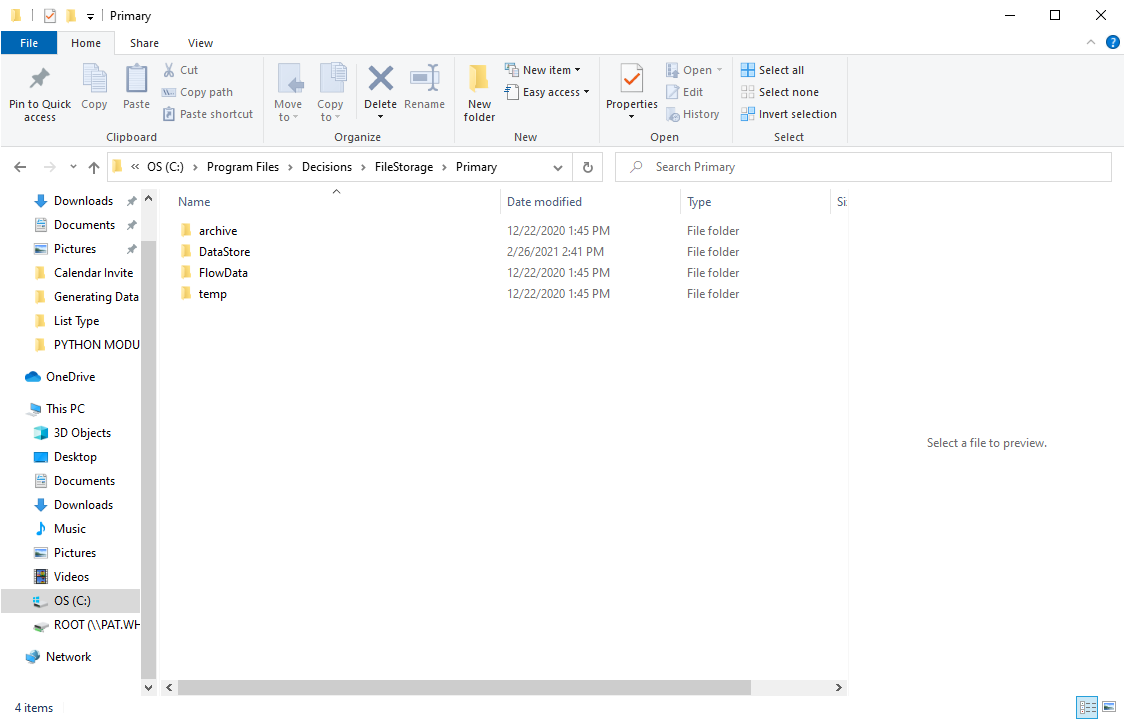
Files are stored in a named-based directory structure <FileStorageLocation>\<InstanceName>. Files are stored based on the first two characters of the file name (i.e., b8e98c7-83a848_test.txt would be stored as <FileStorageLocation>\<InstanceName>\FlowData\b\8). The File Storage Location is set in the Settings.xml file using the <FileStorageLocation> tag. When a file is uploaded, it is put on the server. If there is PII on the file, it will be unencrypted while on the server unless encryption is set up.
Example
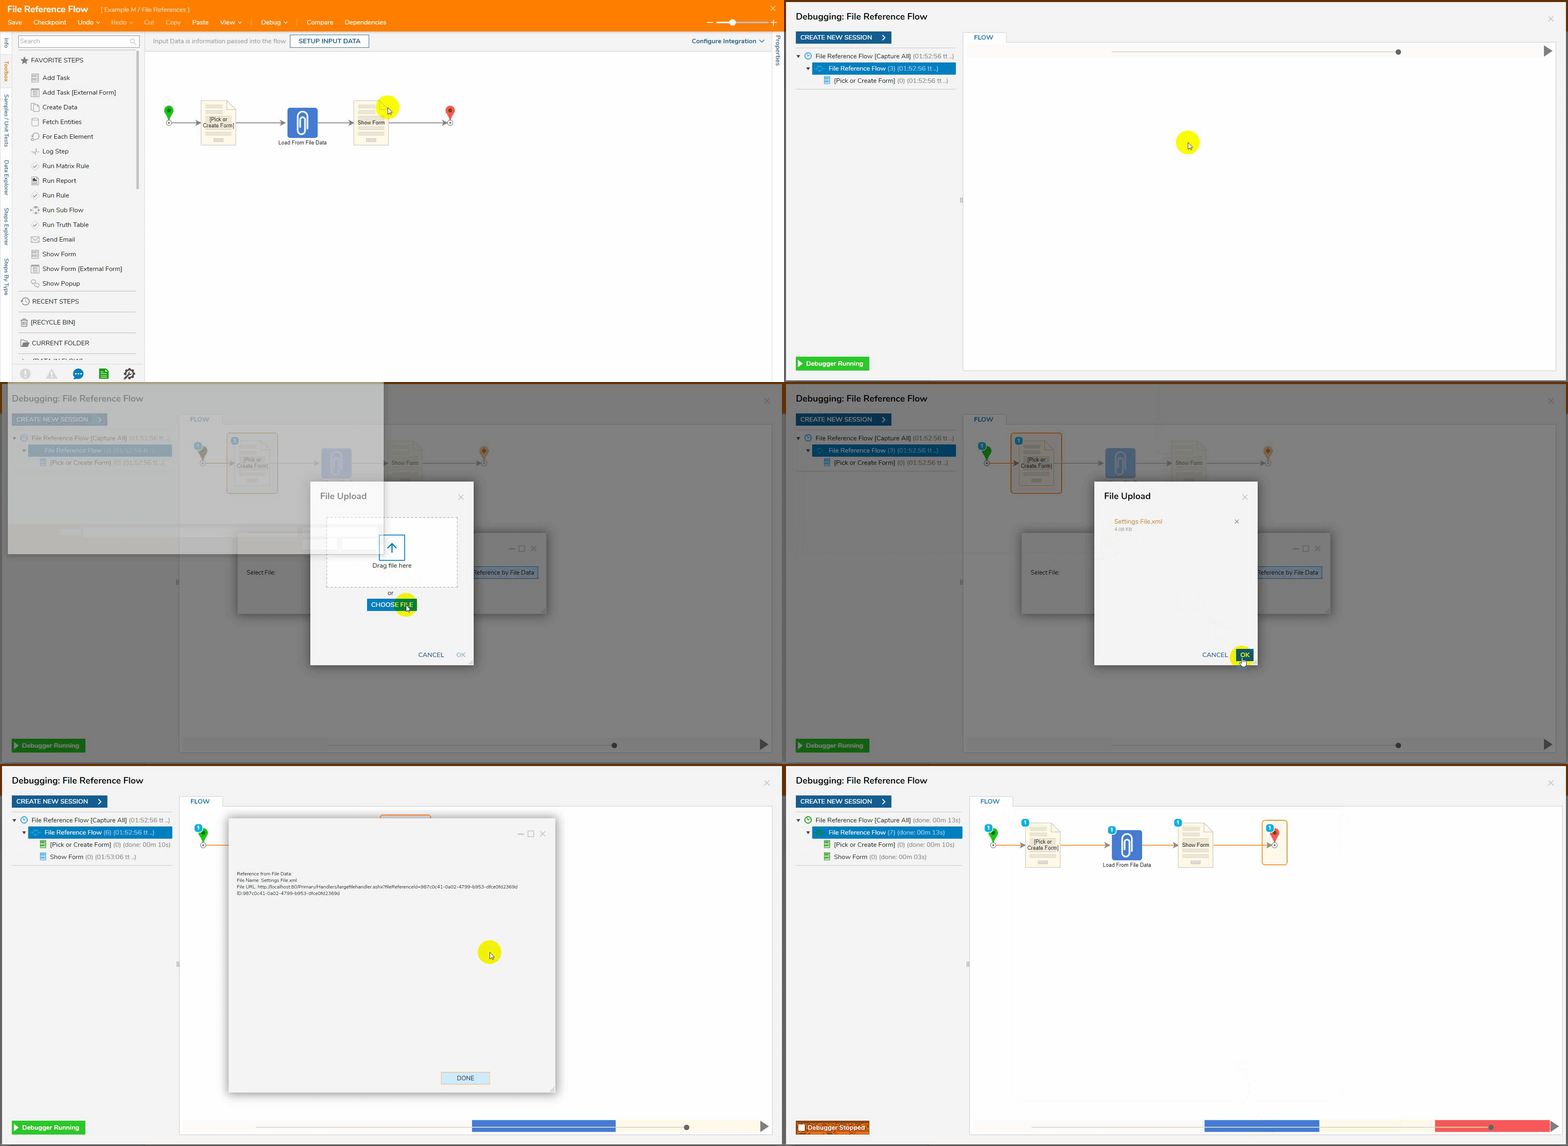
In this example, a user will pick a file from the local file system, and a reference to the file will be displayed. The file used in this example can be downloaded below.
Below is a downloadable example to import into Decisions.
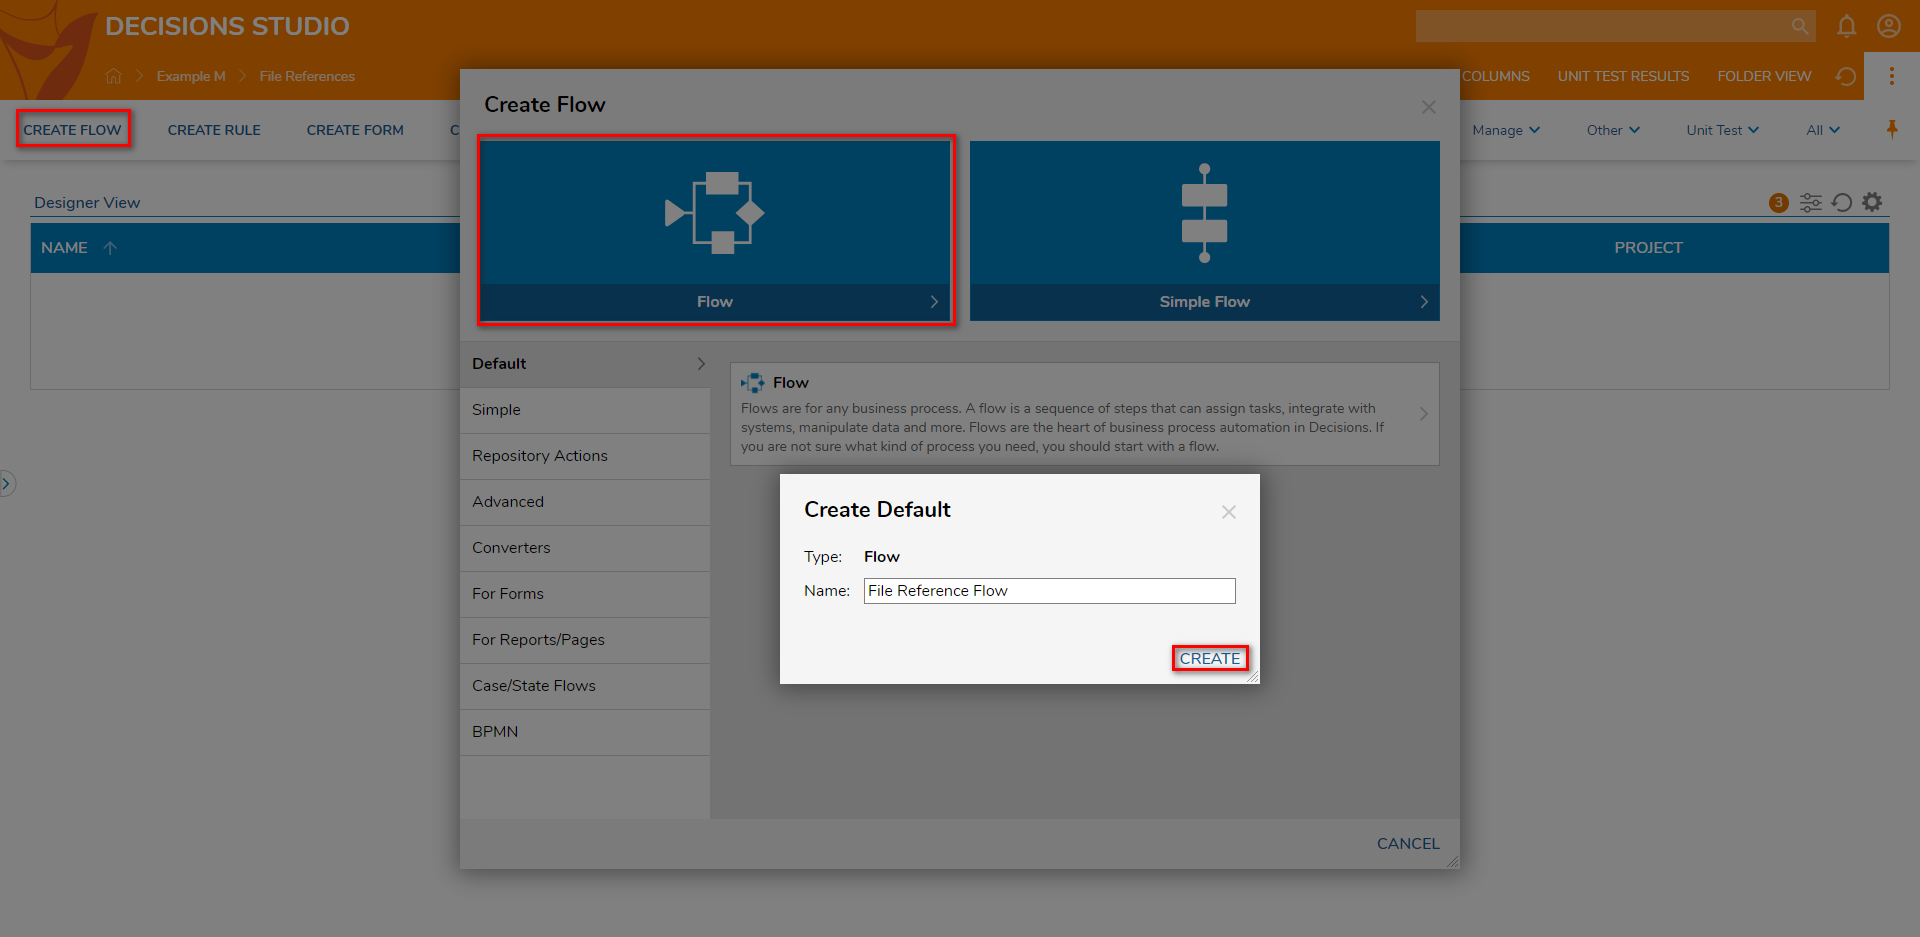
- In the Designer Project, click CREATE FLOW and select Flow. Name the Flow (File Reference Flow) and click CREATE.
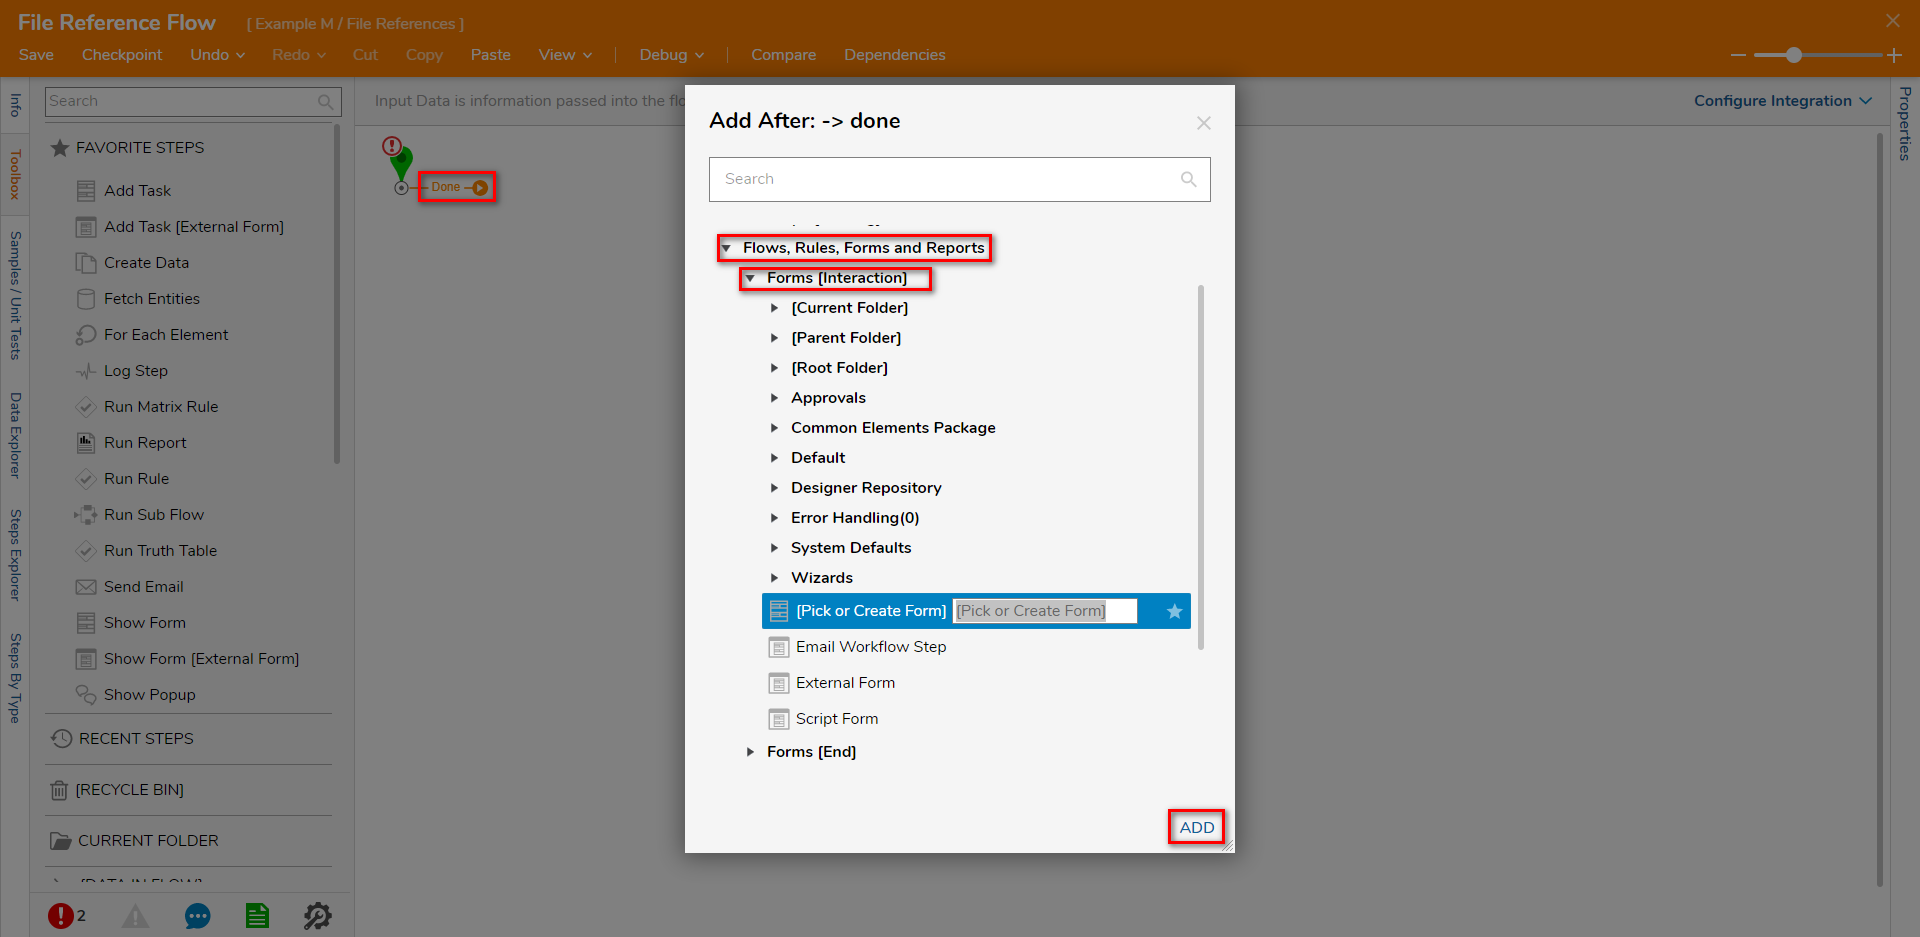
- On the Flow Designer, click the Done path on the Start step. Navigate to Flows, Rules, Forms, and Reports > Forms [Interaction], select [Pick or Create Form], and click ADD.
- Click PICK OR CREATE FORM from the Properties panel and select CREATE.
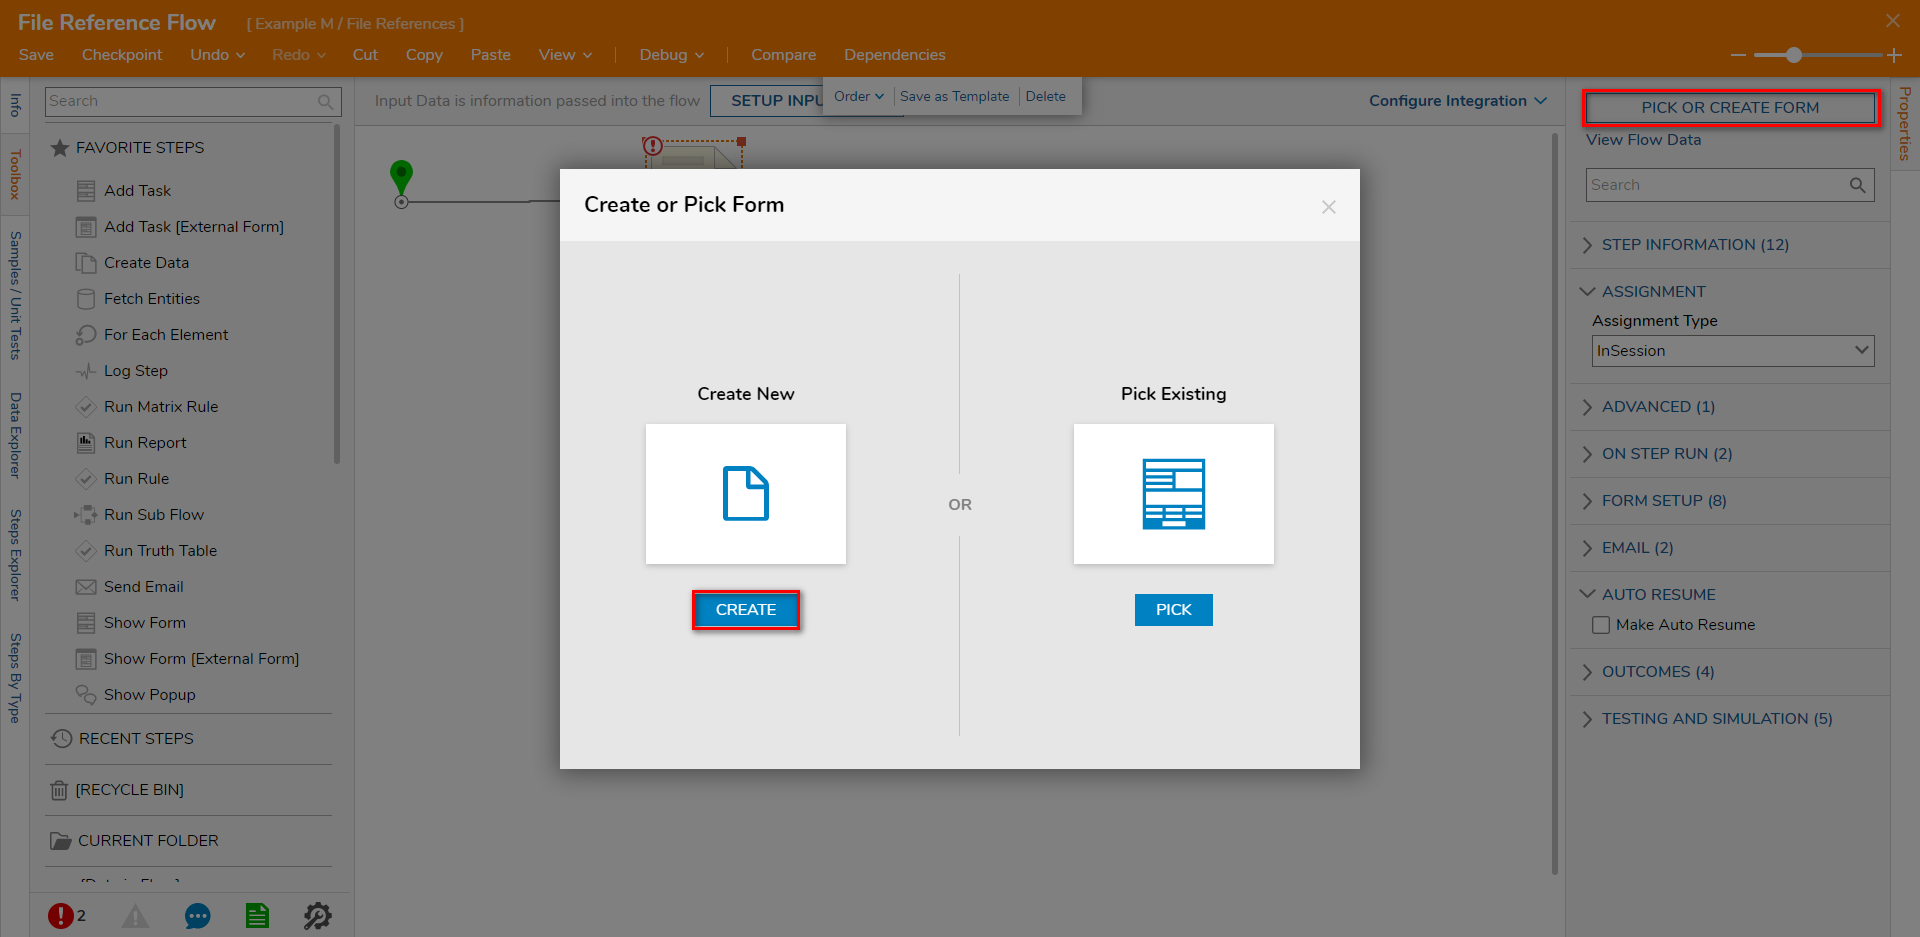
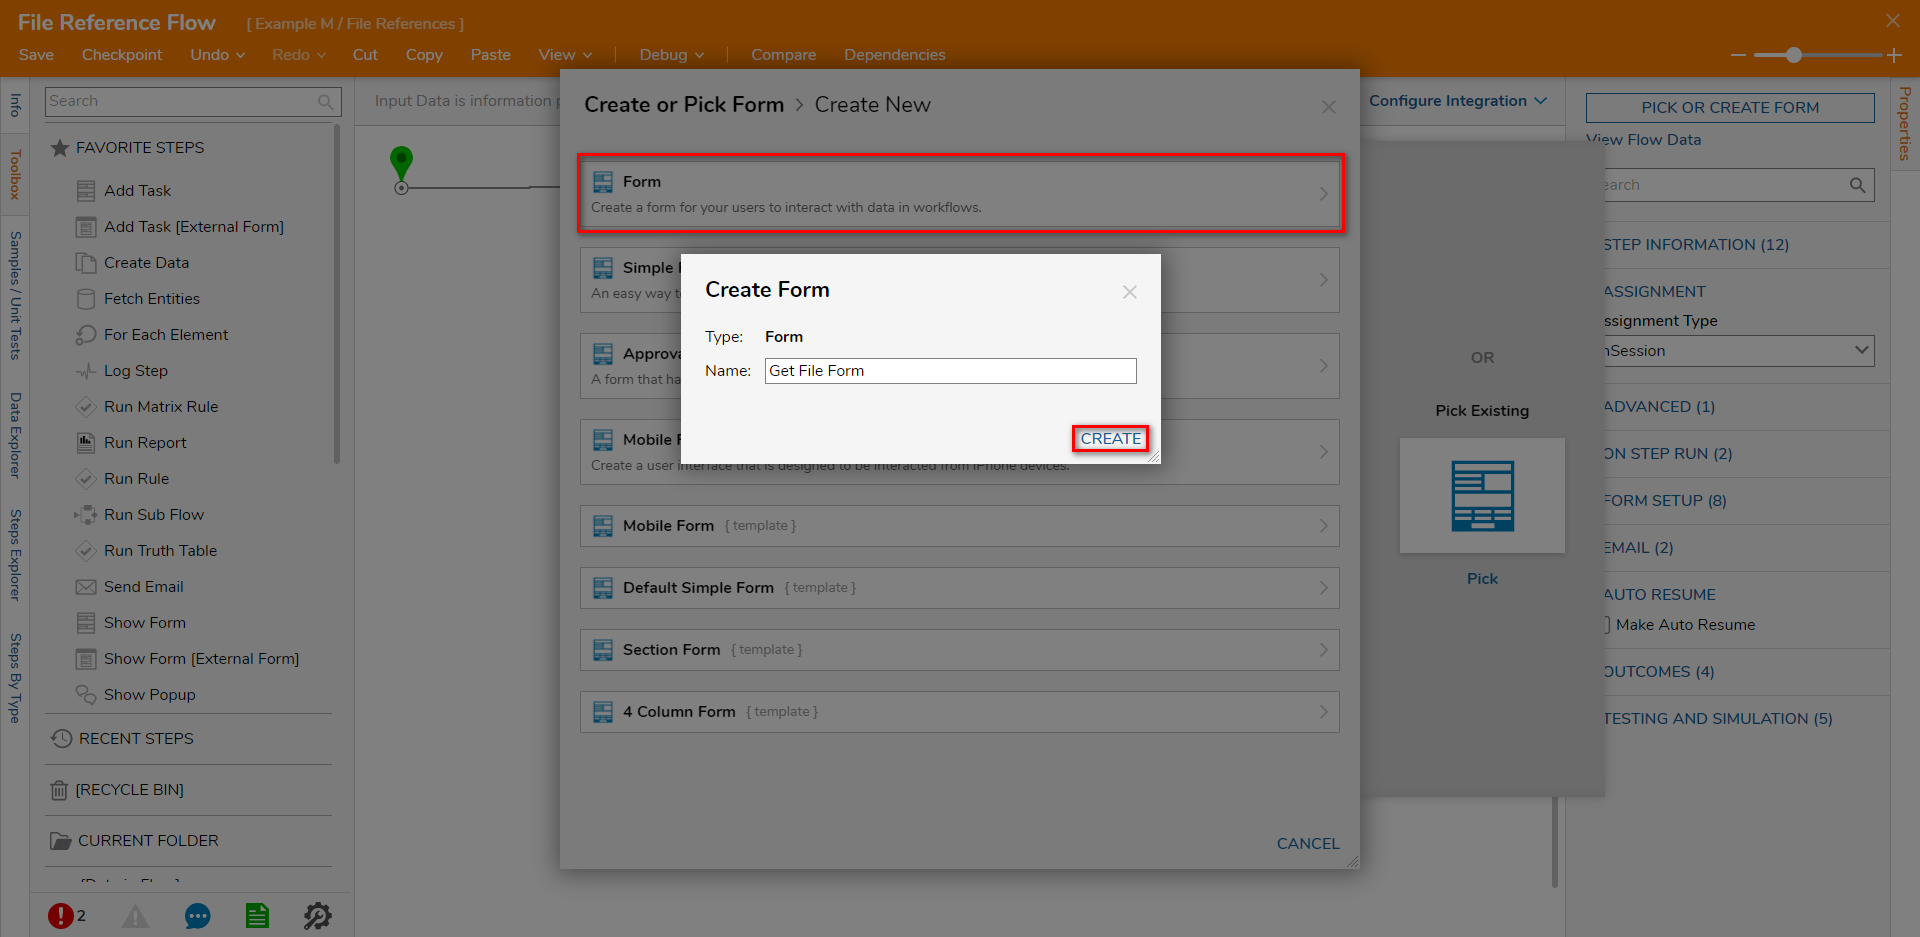
- On the dialog window, select Form. Name the Form (Get File Form) and click CREATE.
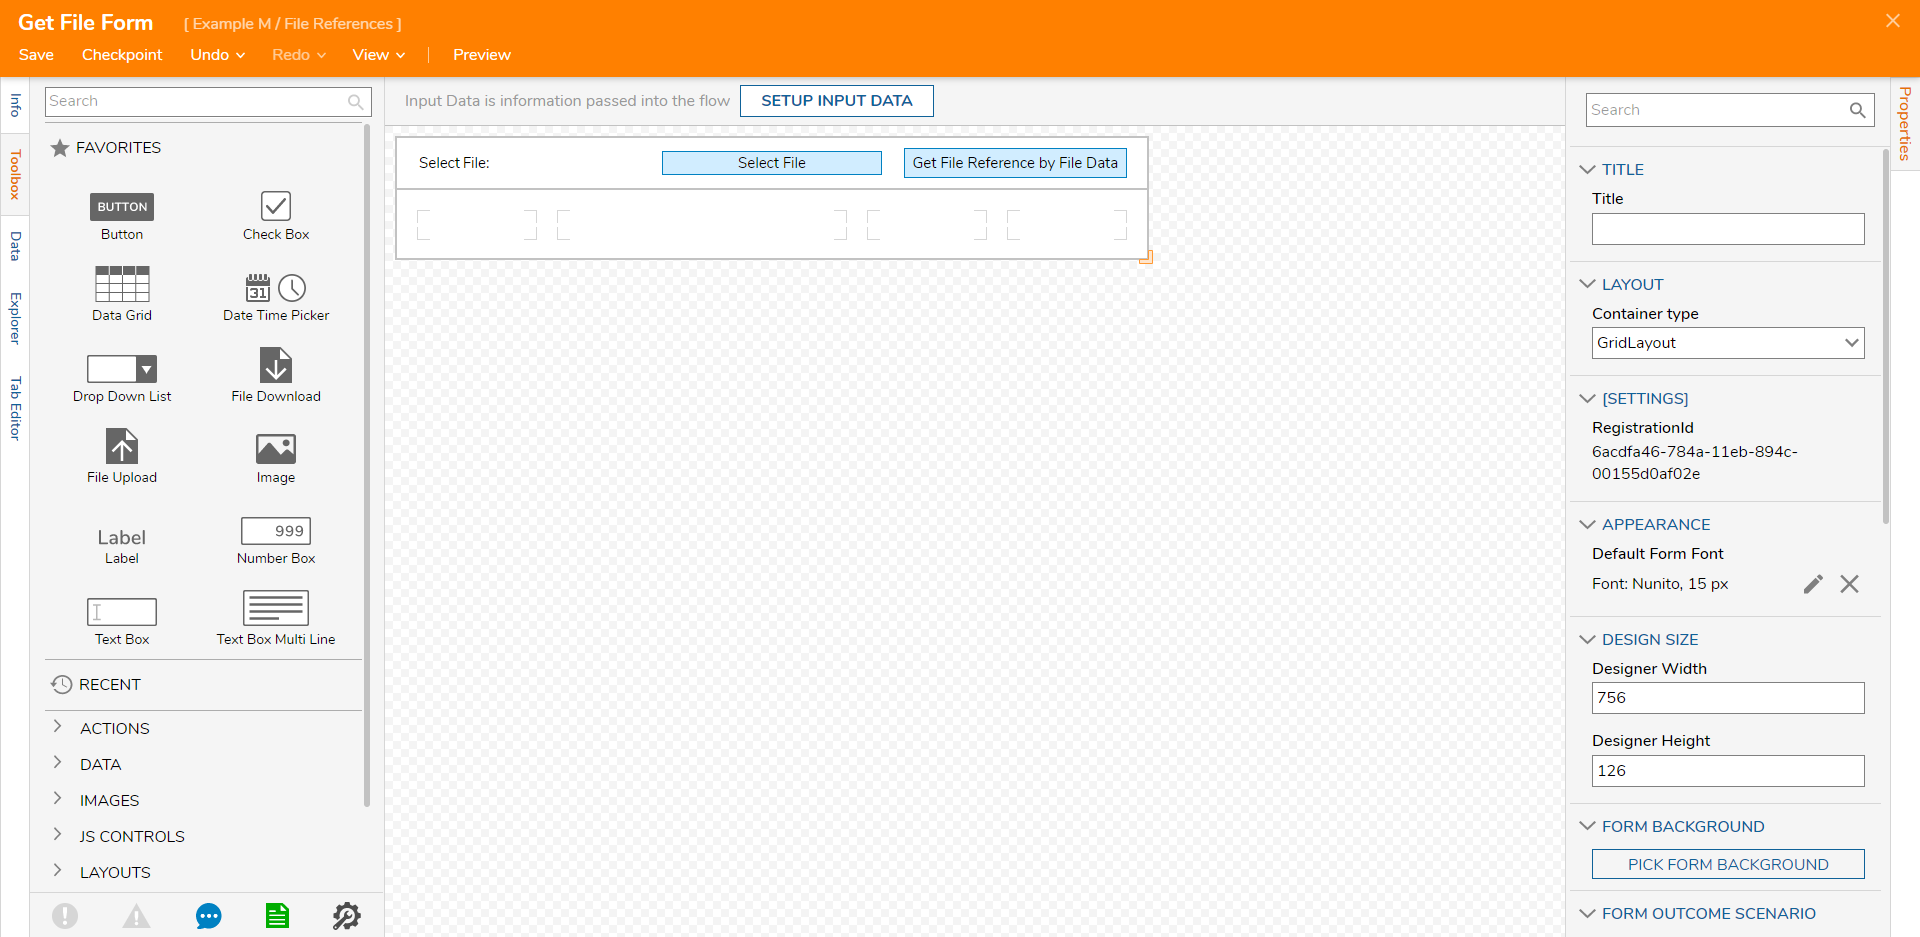
- Configure the Form to have a File Upload component, Button component (Get File Reference by File Data), and Label (Select File:). Click Save and close the Form Designer.
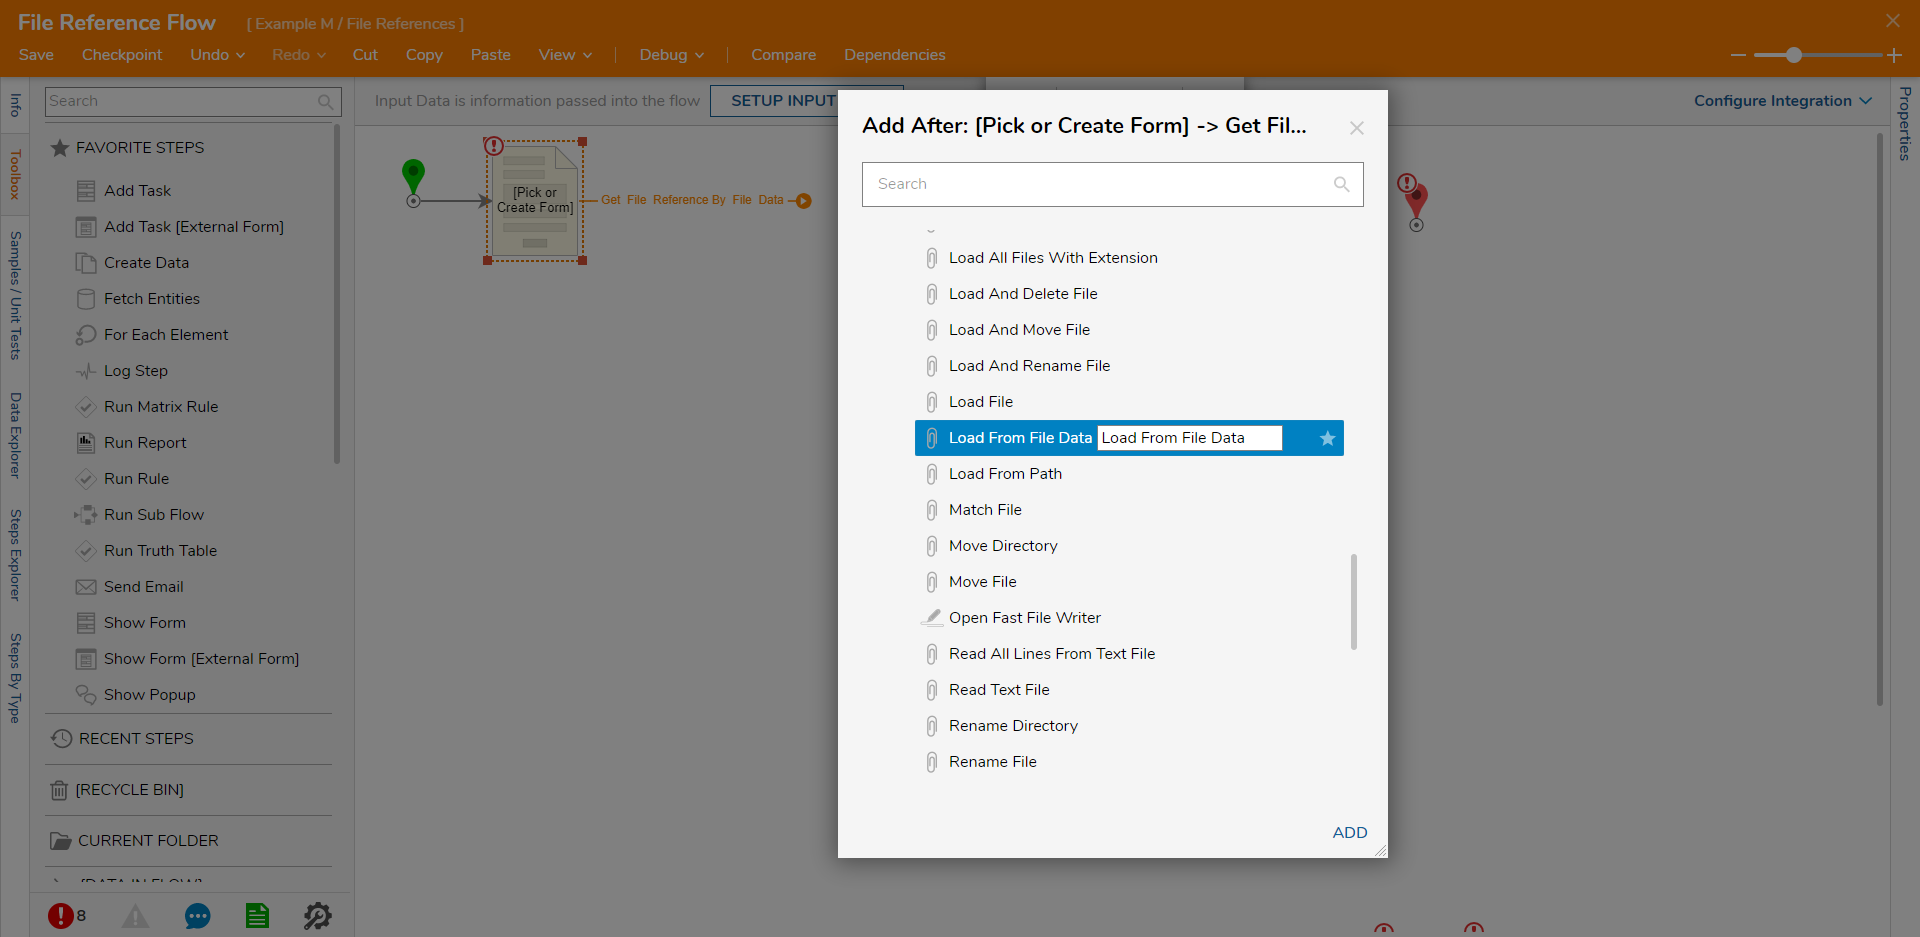
- Click the Get File Reference For File Data path and navigate to All Steps [Catalog] > File Management. Select Load From File Data and click ADD.The Load From Path step allows the user to load a file from a path on the server it's deployed on. A user cannot load a file from a path that doesn't exist on the Decisions Server.
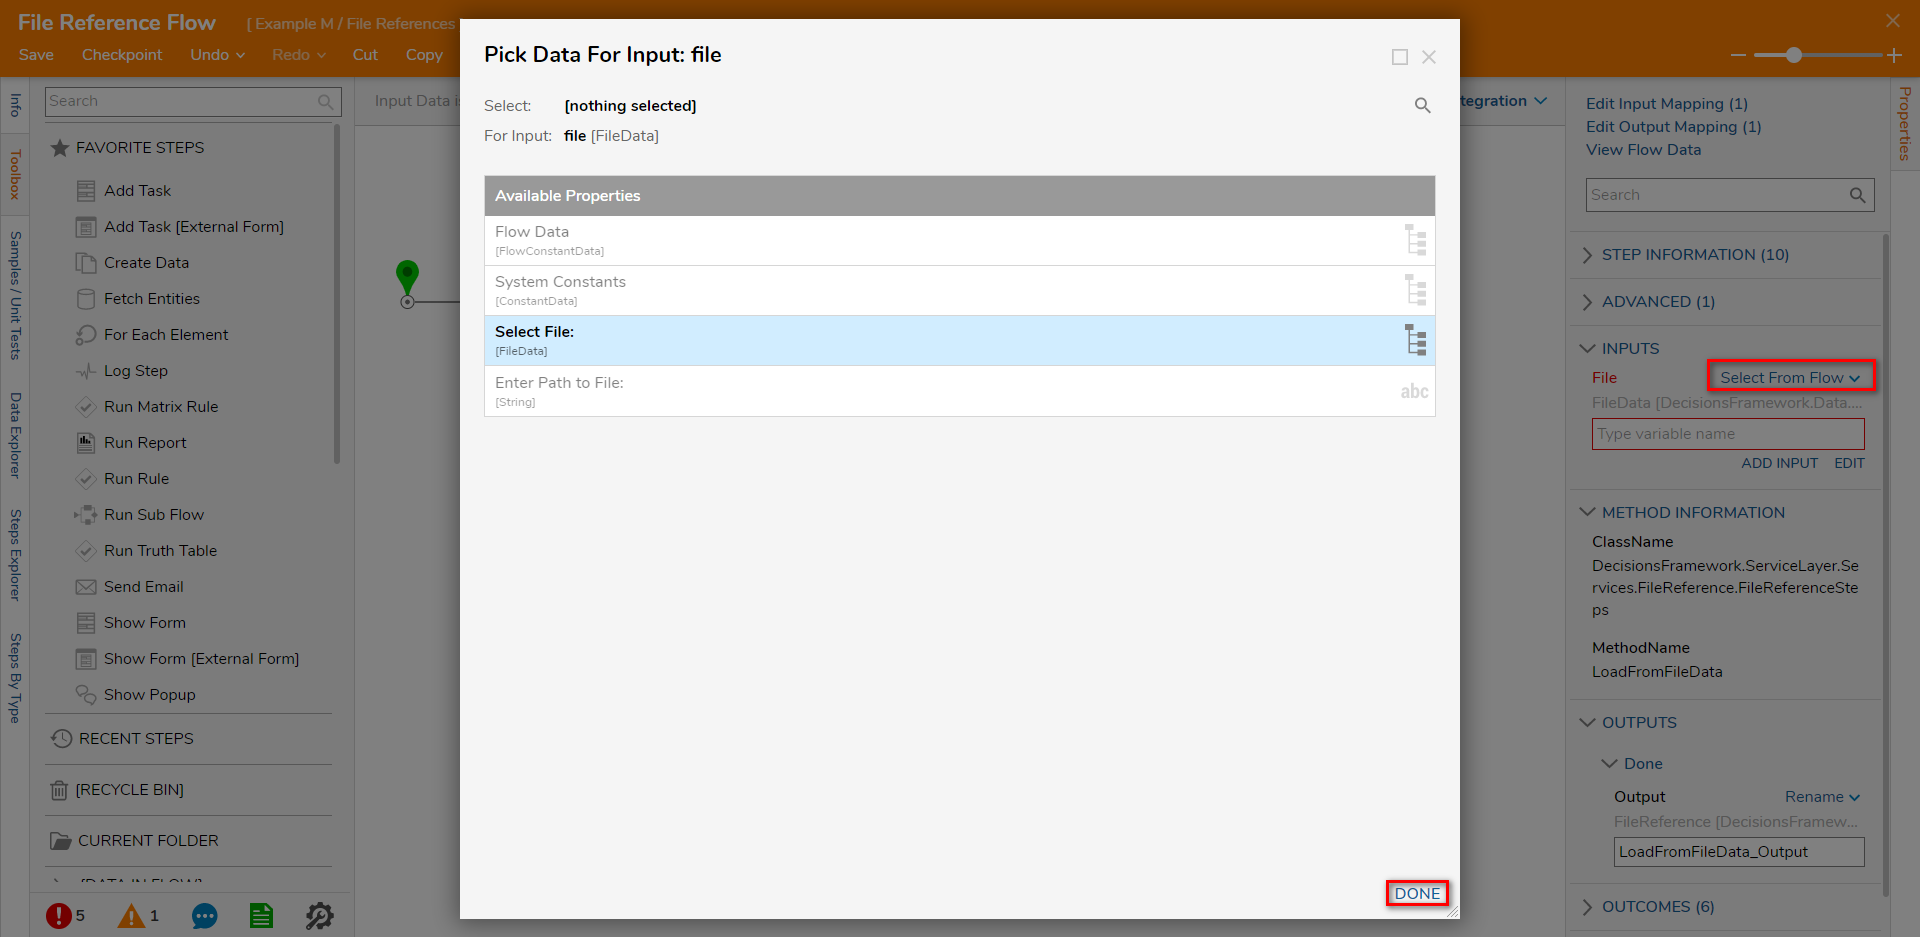
- Select the Load From File Data step. Under the INPUTS category, select Unknown and choose Select From Flow. Then, select Select File: [FileData] and click DONE.
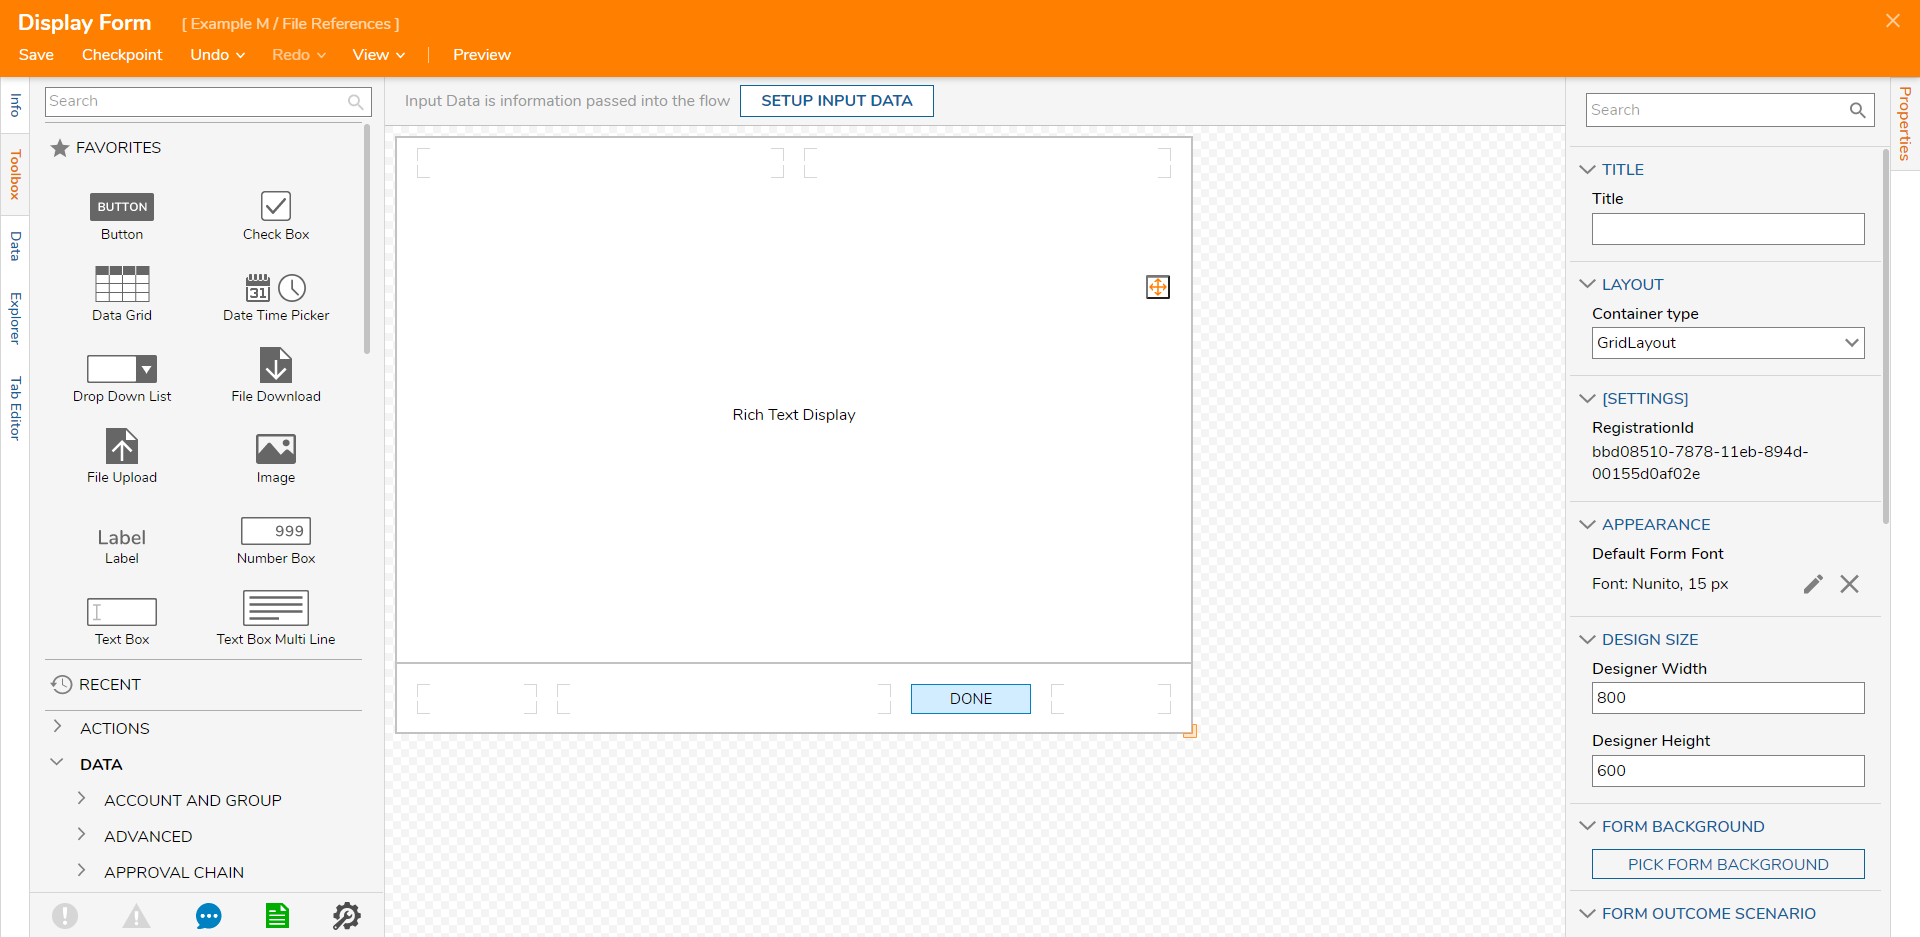
- Select the Done path for the Load From File Data step and add a Form. Configure the Form to have a Rich Text Display and Button component. Then, click Save and close the Form Designer.
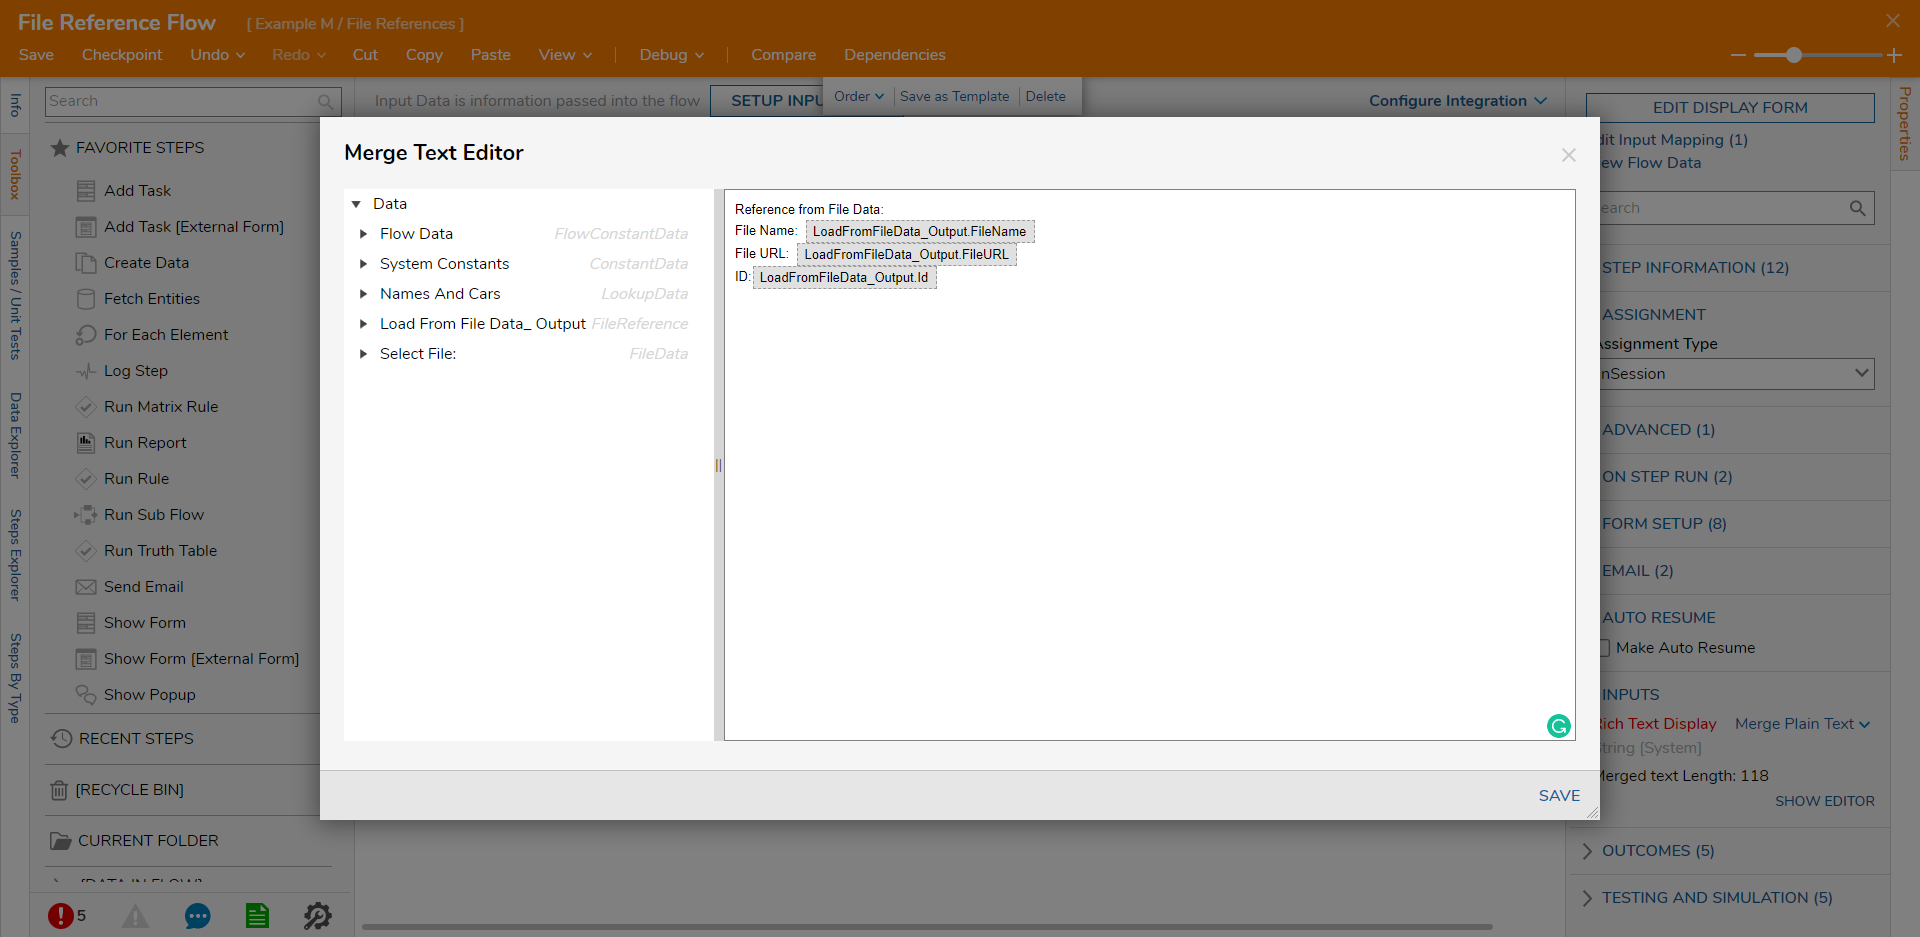
- Select the Form and click Unknown under the INPUTS category and select Merge Plain Text. Then, click SHOW EDITOR. Configure the Rich Text Display to have a section for the Reference from File Data. The section will have components for the File Name, File URL, and ID. Then, click SAVE to save changes.
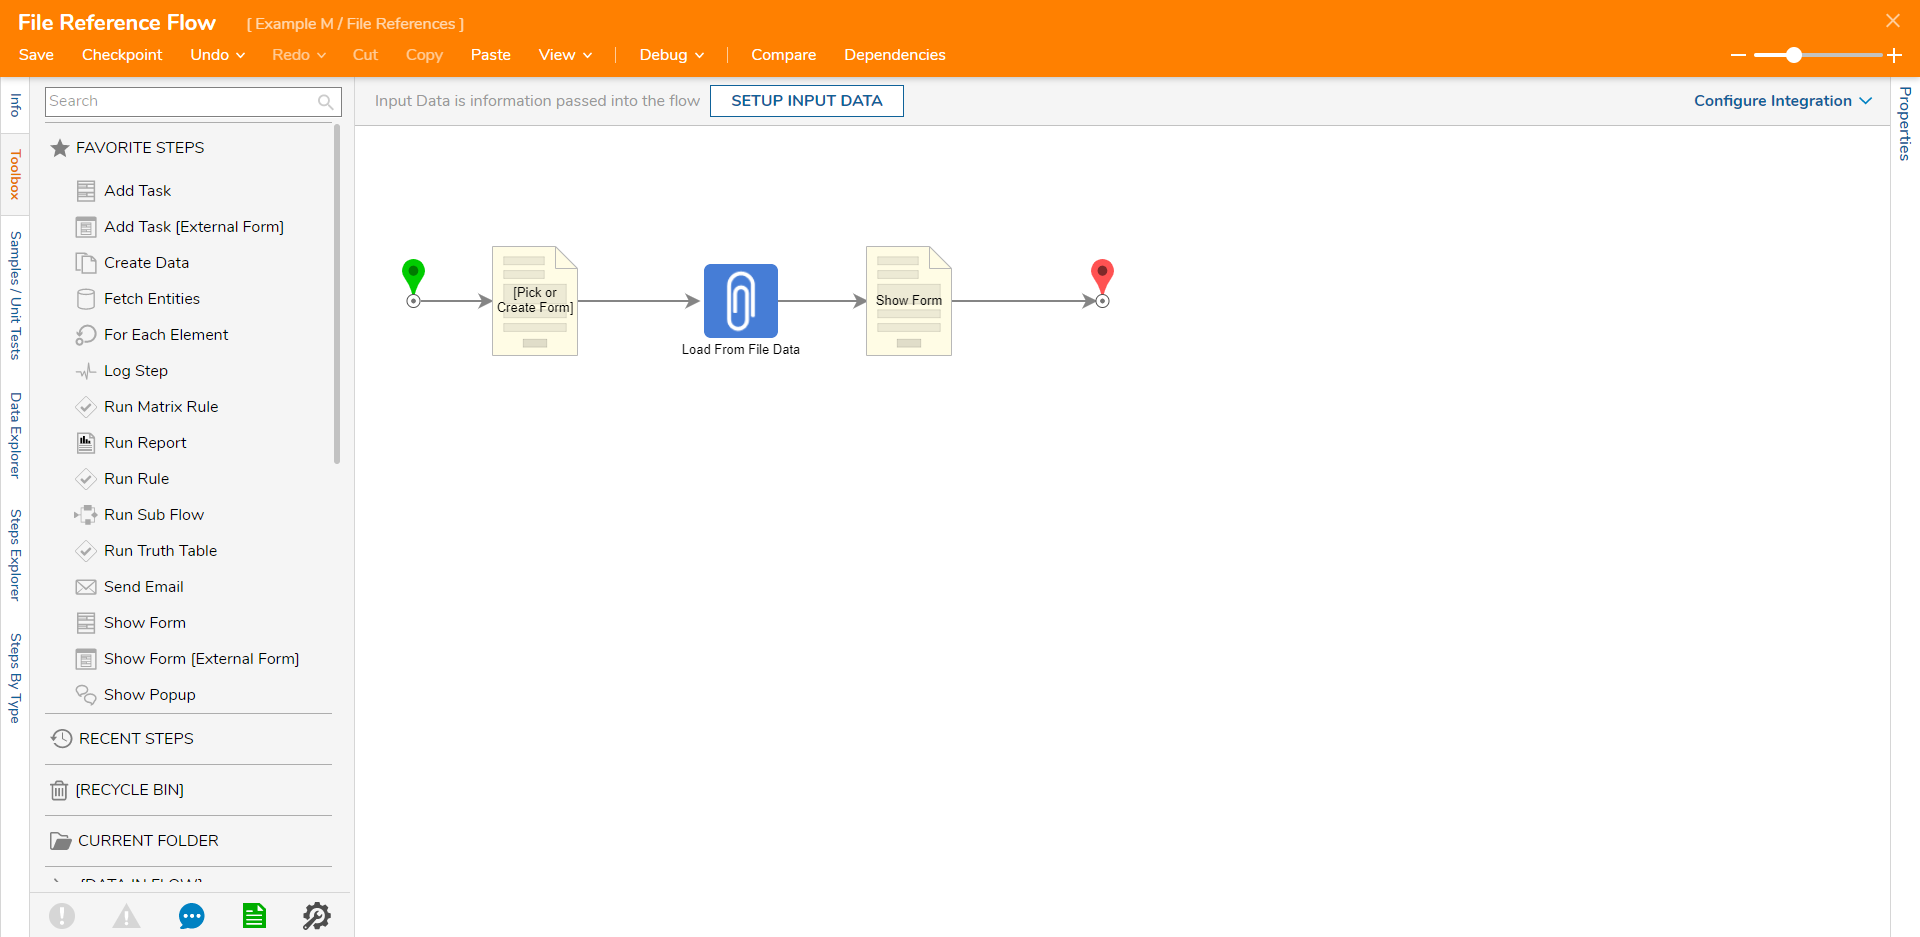
- Connect the DONE path from the Form to the End step. Click Save to save changes.
Debug
- On the top action bar, click Debug and then START DEBUGGING.
- When the Form displays, select a file and click Get File Reference by File Data.The RichText Form will display the Filename, File URL, and ID.
