Overview
Folder Entity actions are actions that can be taken upon a Folder Entity. Custom Folder Entity actions are built in Flows, and saved within a Folder for the Entity type, within a Designer Folder. Actions can be set up for a single entity, or for a group of Entities. This article sets up an action to manipulate a group of entities. The group action can be seen from a report.
Example
In this example, a group will be added to a pre-designed Folder Entity called "Travel Itinerary." This action will be called Assign Agent. Using a Form, this action will allow a user to assign a travel agent to handle a travel request, then loop through the collection of Entities and update the selected Itineraries with the assigned agent nameNo other properties of the Travel Itinerary Entity will change. The action will be for a group of Travel Itinerary Entities, however, a single Travel Itinerary Entity can be handled as well.
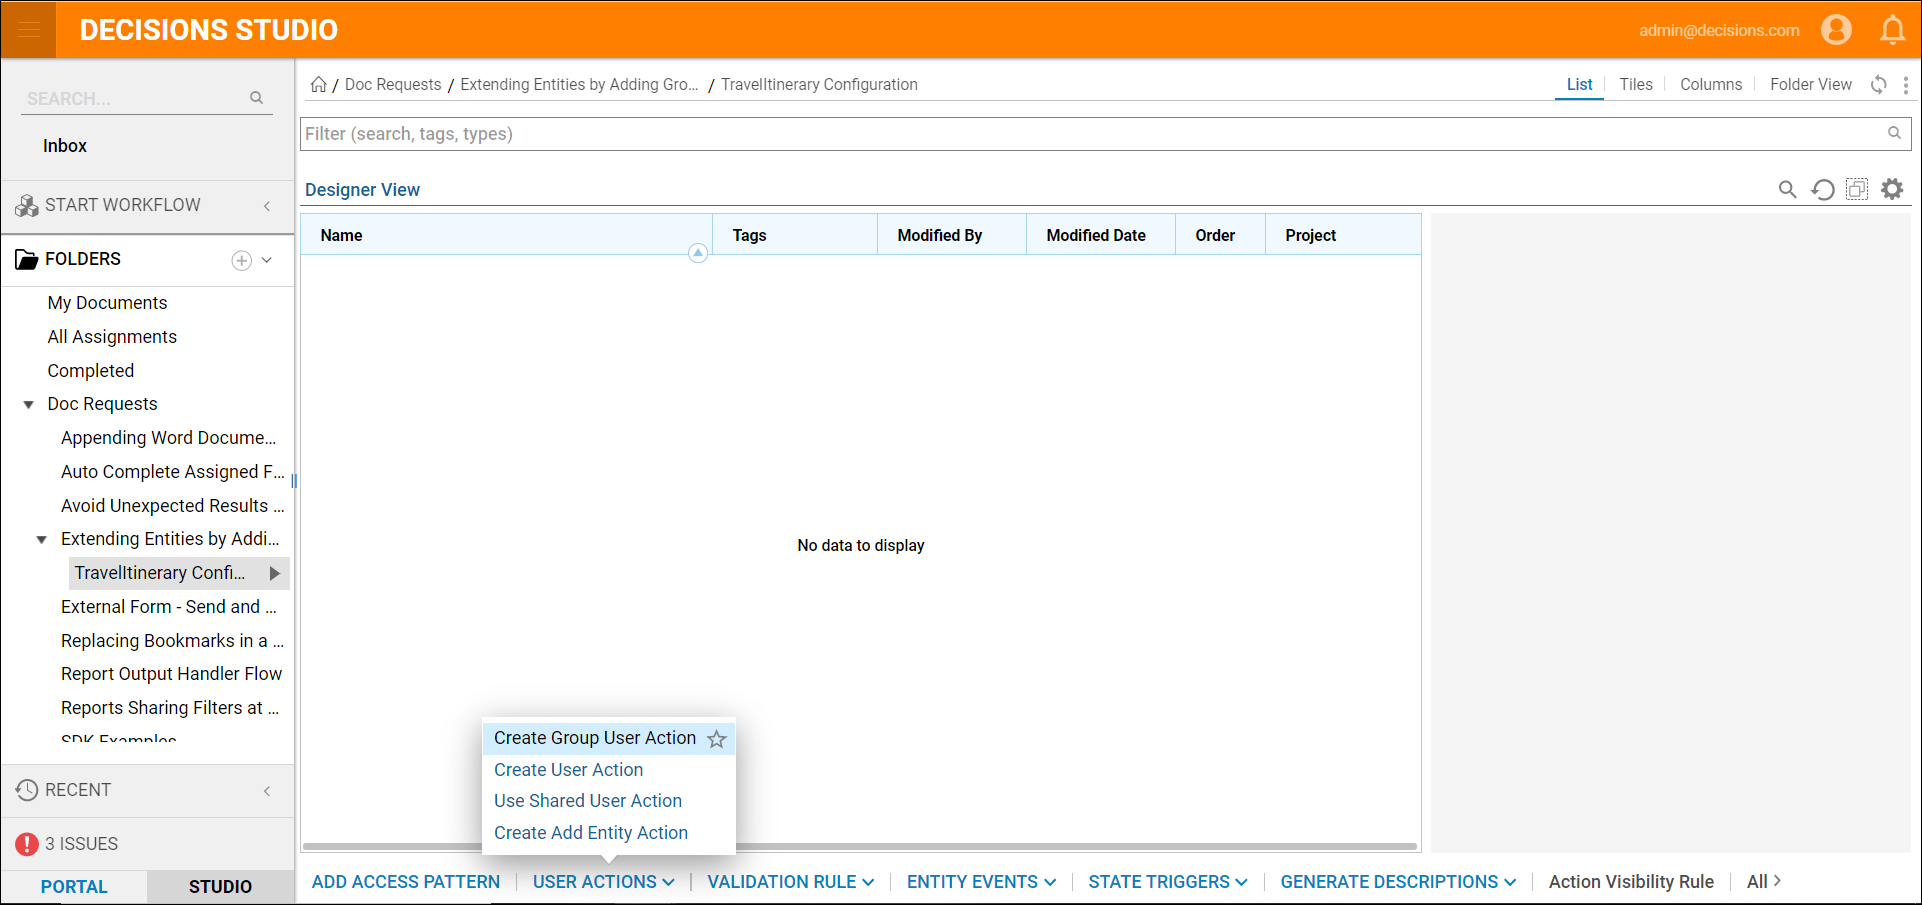
- Begin in the portal by navigating to the Entity Configurations Folder for Travel Itinerary.
- To create the action, within the Travel Itinerary Configuration Folder, select User Actions > Create User Group Action.
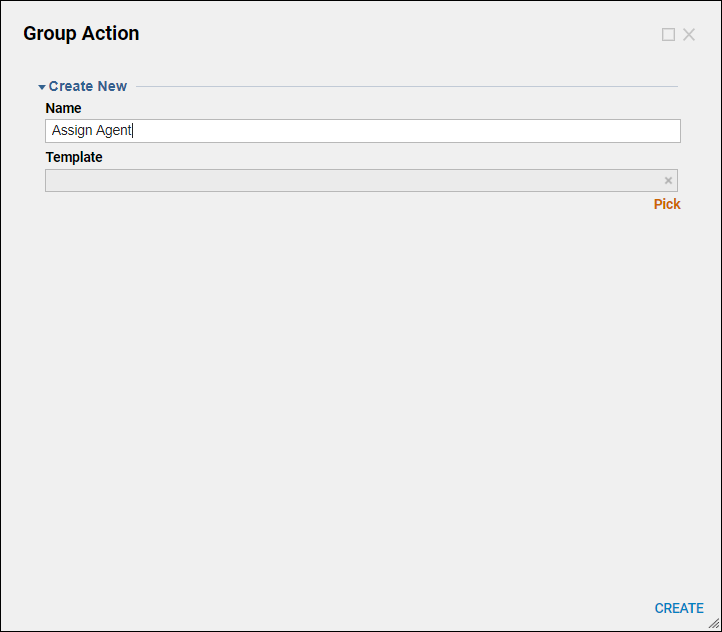
- In the resulting Group Action dialog, give the action Flow the name "Assign Agent".
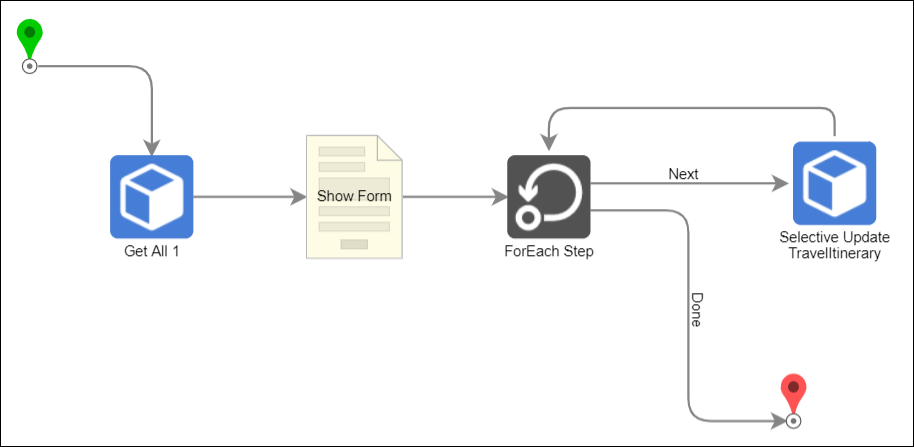
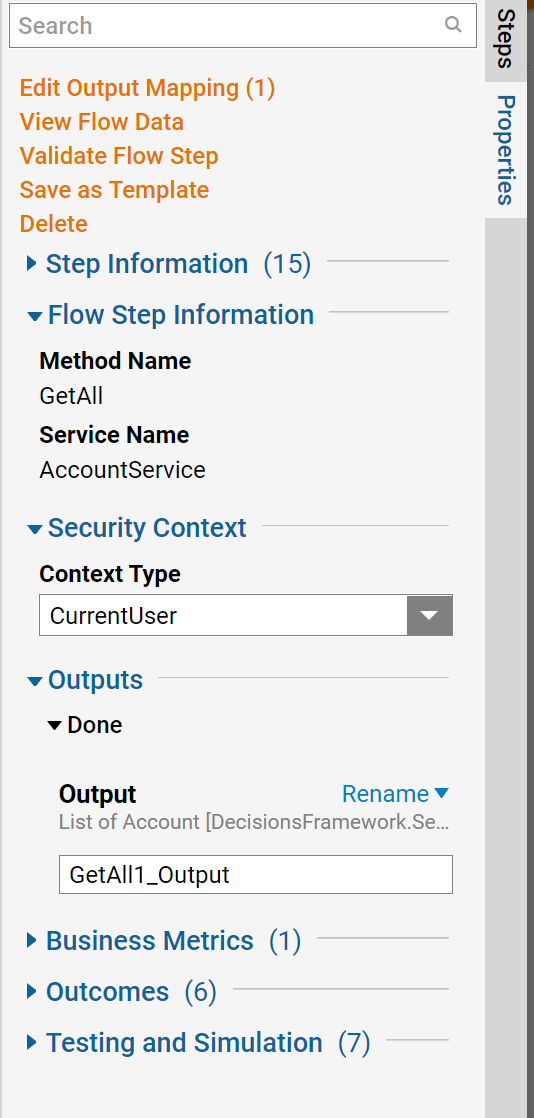
- In the Flow Designer, place a Get All step in the workspace to retrieve the list of all Accounts.
- This step is found in the Integration > Internal Services > Account Service category. The output from the Get All step will be used to populate the drop down list of "Agents" in a Form.
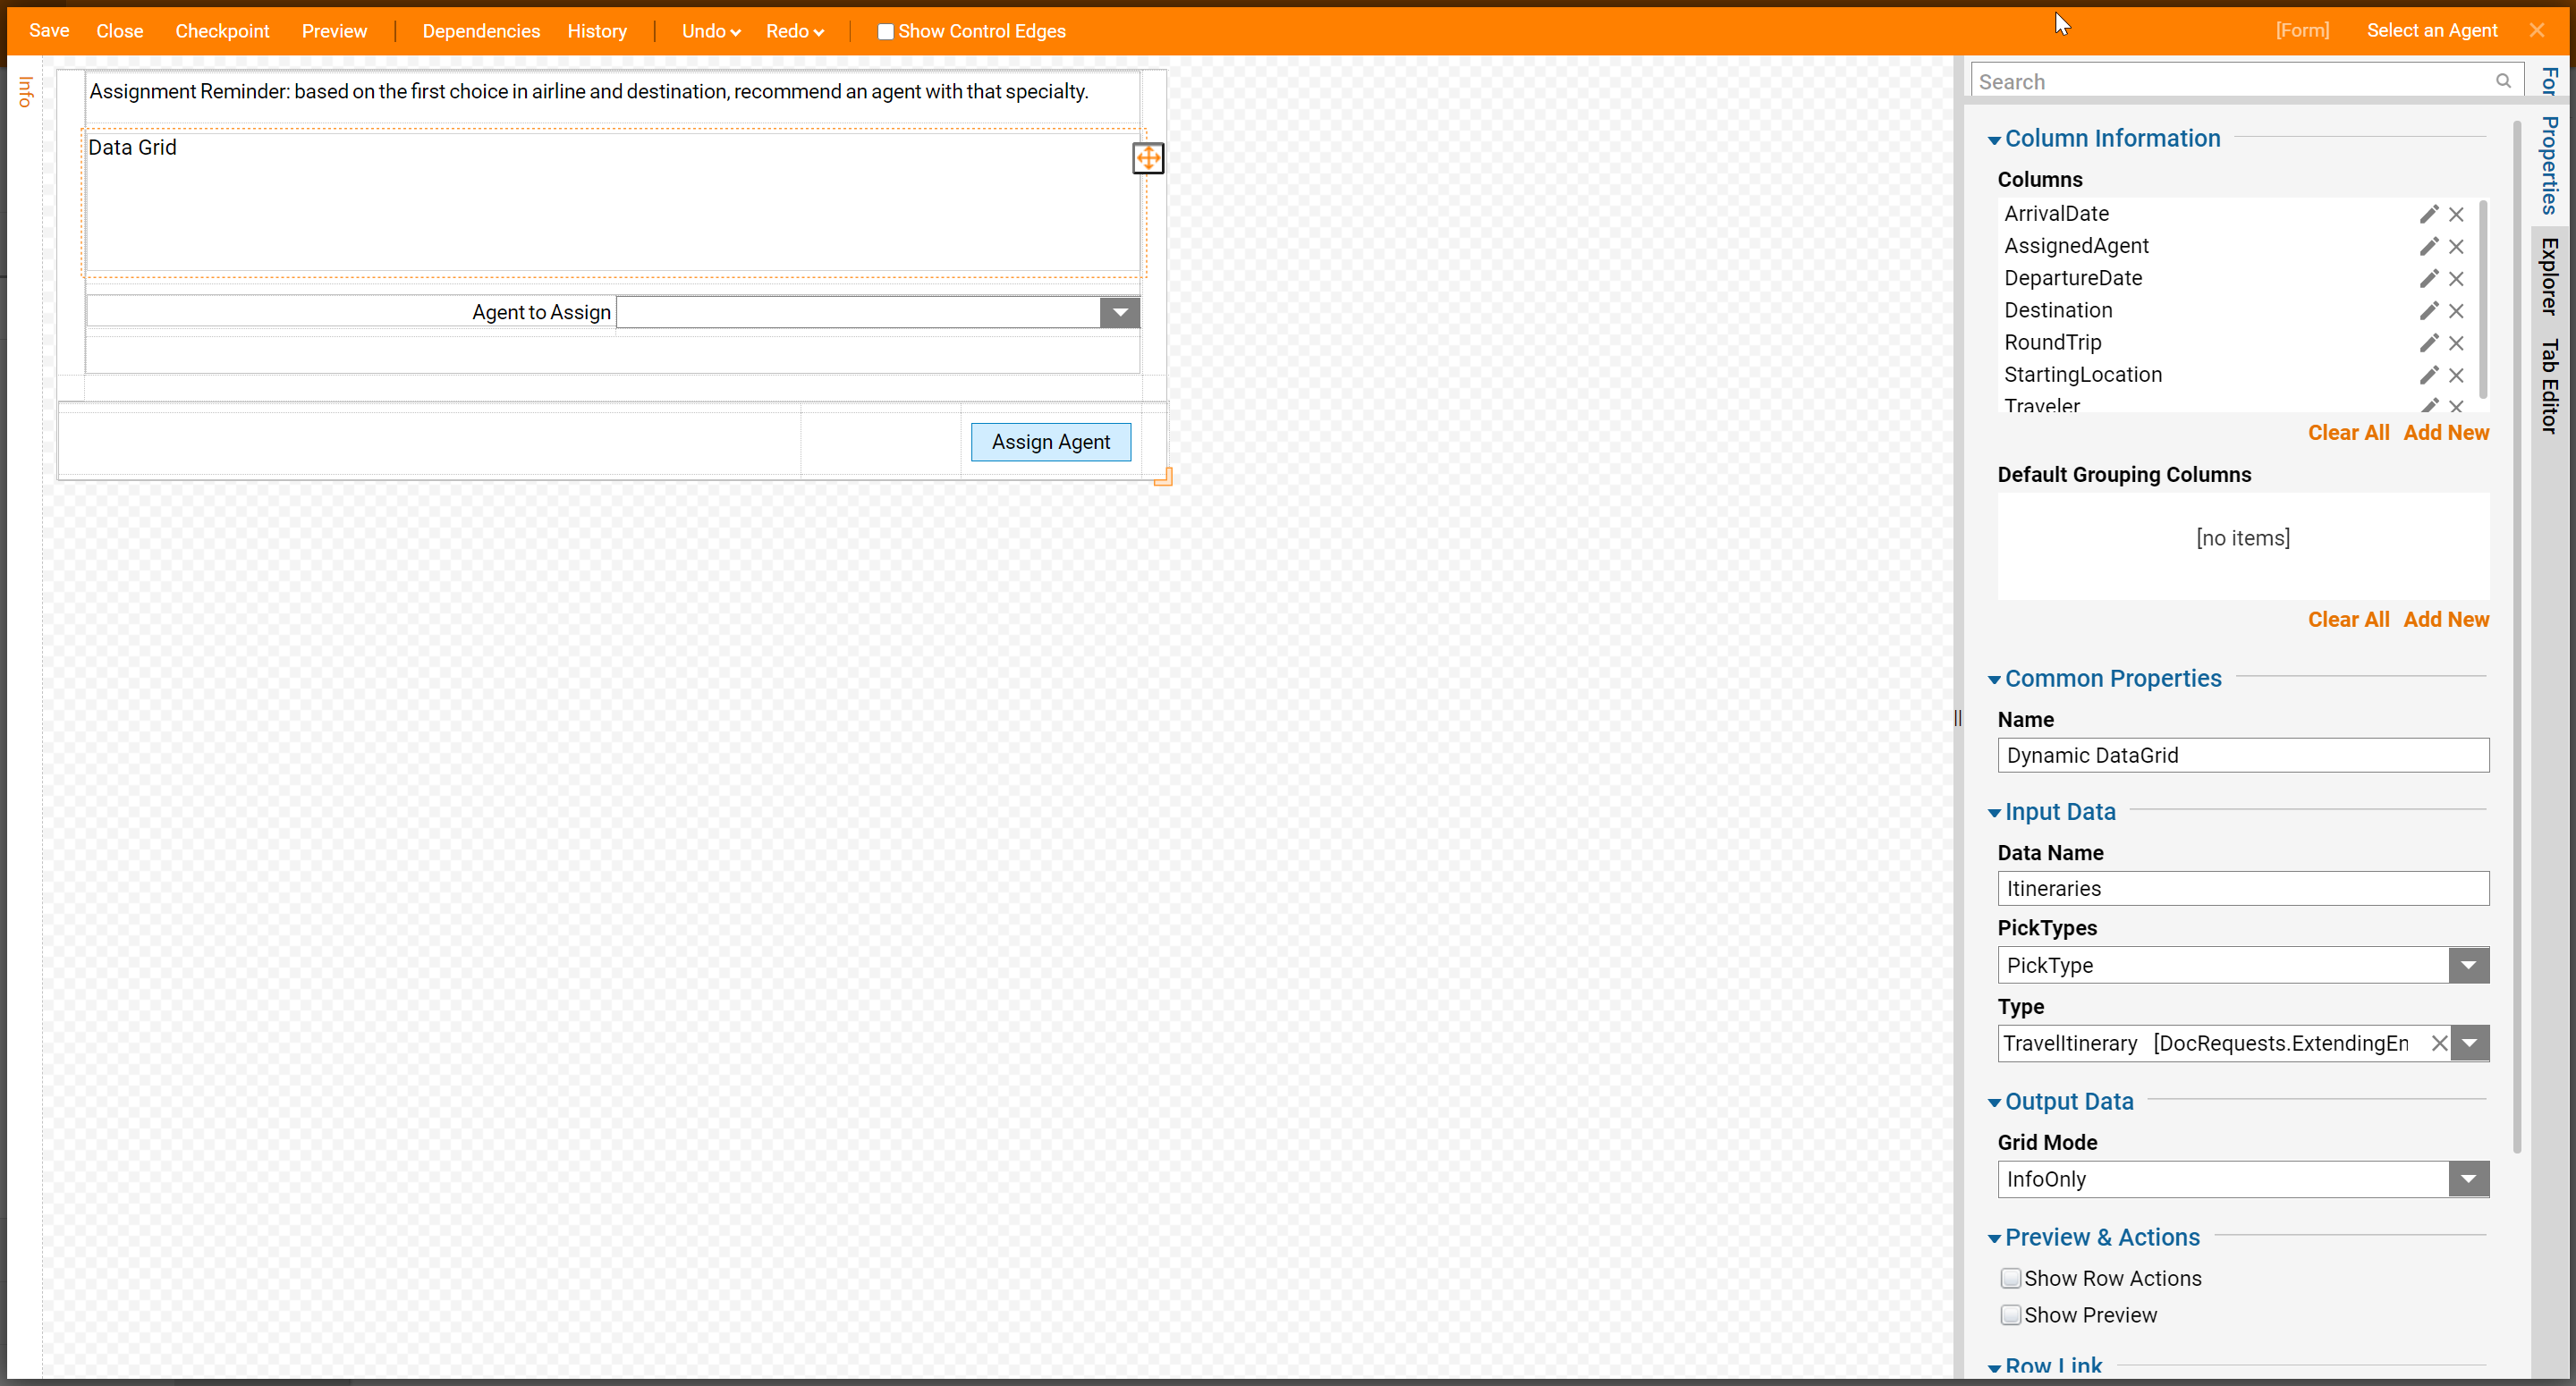
- Next, add a Show Form step and select the already built Select Agent Form.
- This Form contains a data grid, a drop down list of Account email addresses, and an Assign Agent button.
- This Form is included in the downloadable example above. Save and close the Form Designer.
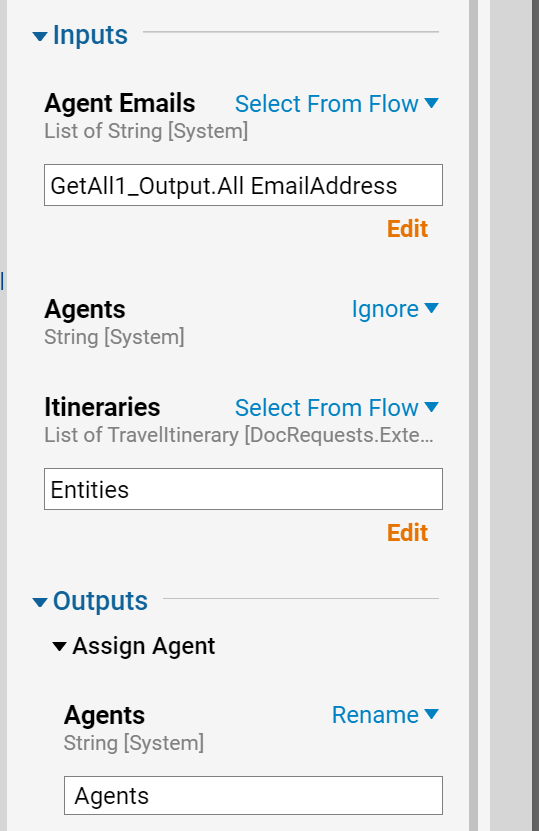
- In the Flow Designer with the Show Form step selected, navigate to the Properties panel.
- Under Inputs, select GetAll1_Output.All EmailAddress for the input of Agent Emails.
- For the input of Itineraries, select Entities from the Flow.
- On the "Assign Agent" outcome path, add a ForEach step to loop through the collection of Entities to perform the Selective Update step which updates the Itinerary with the assigned agent name.
- The Data Type for the ForEach step needs to be TravelItinerary with the Collection being Entities.
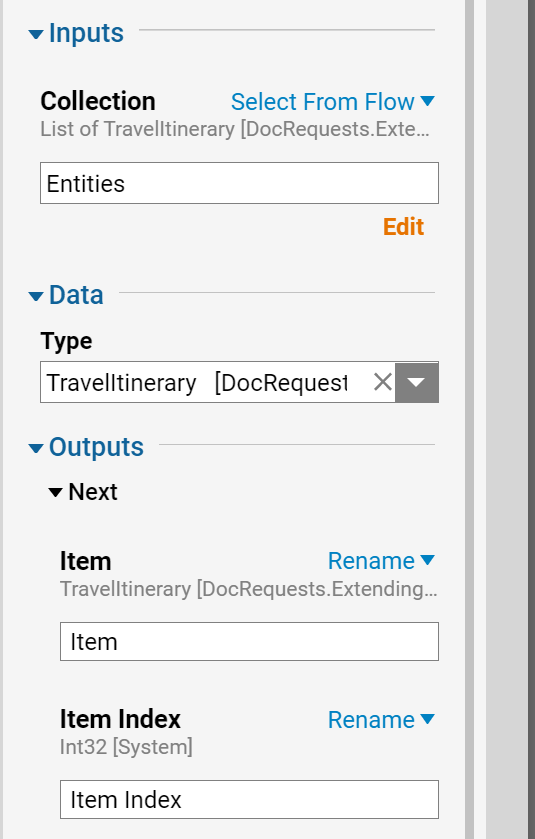
- On the Next outcome path from the ForEach step add the Selective Update TravelItinerary step.
- This step is found in the Steps panel, under User Defined Types > Entities > TravelItinerary.
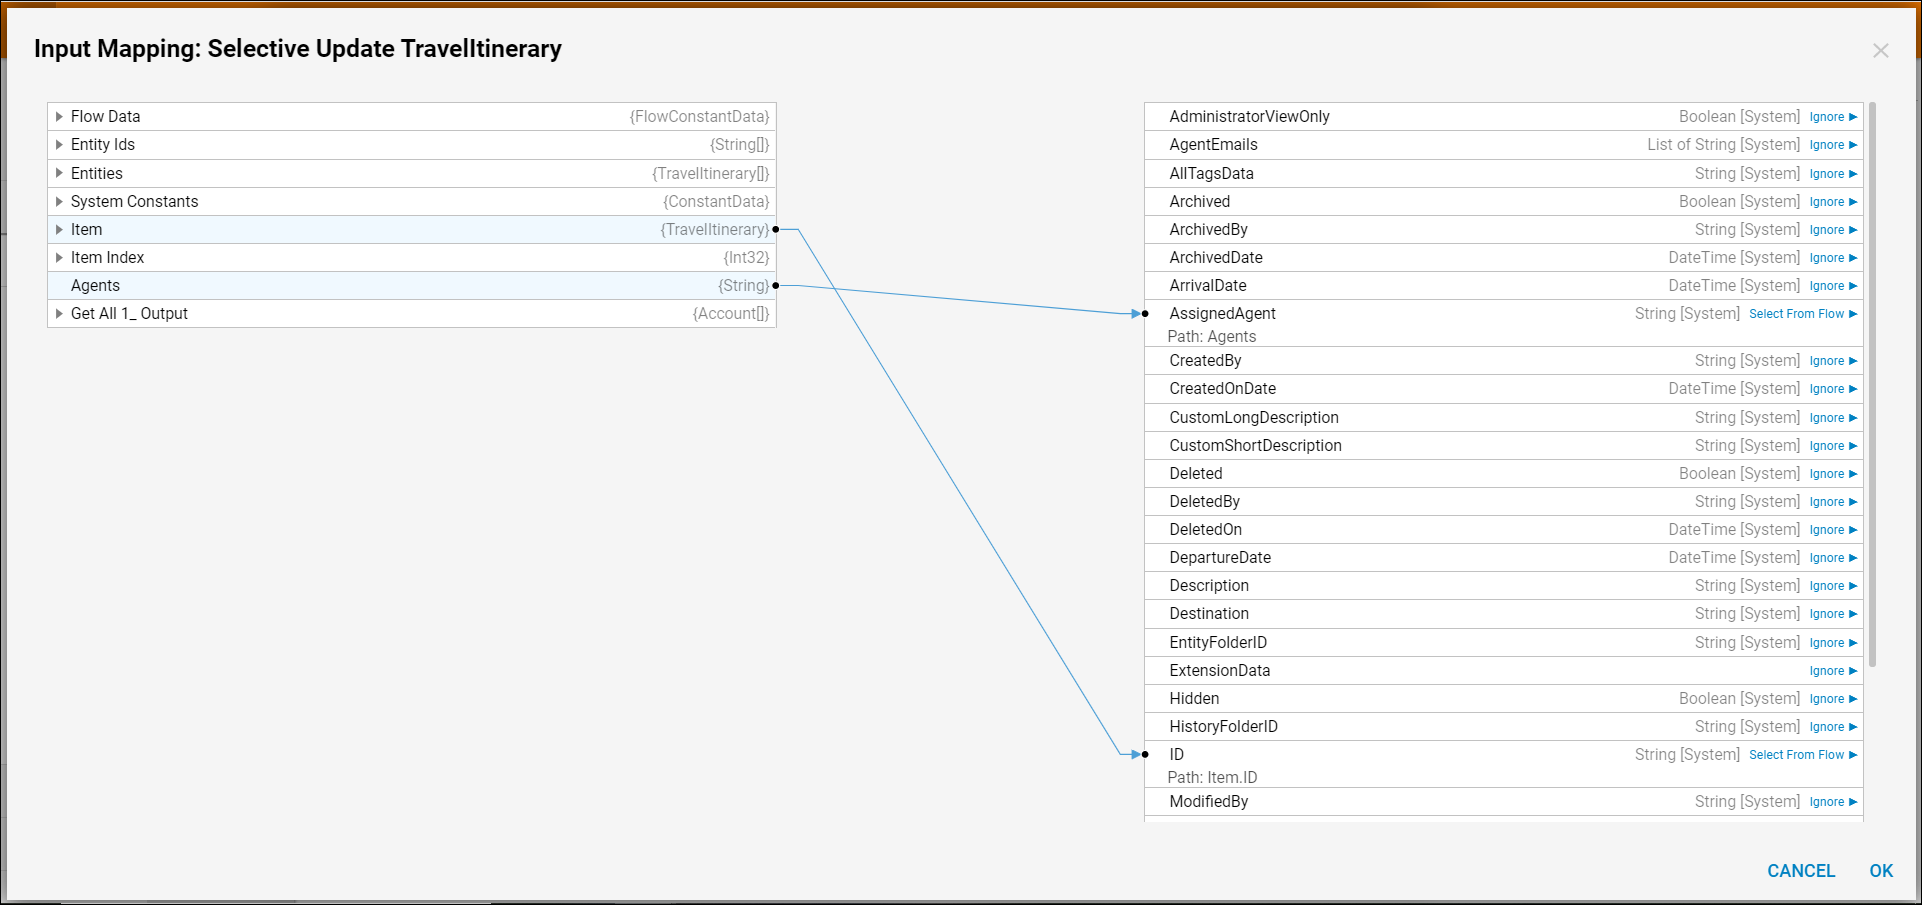
- Select the Selective Update step and click Edit Input Mappings.
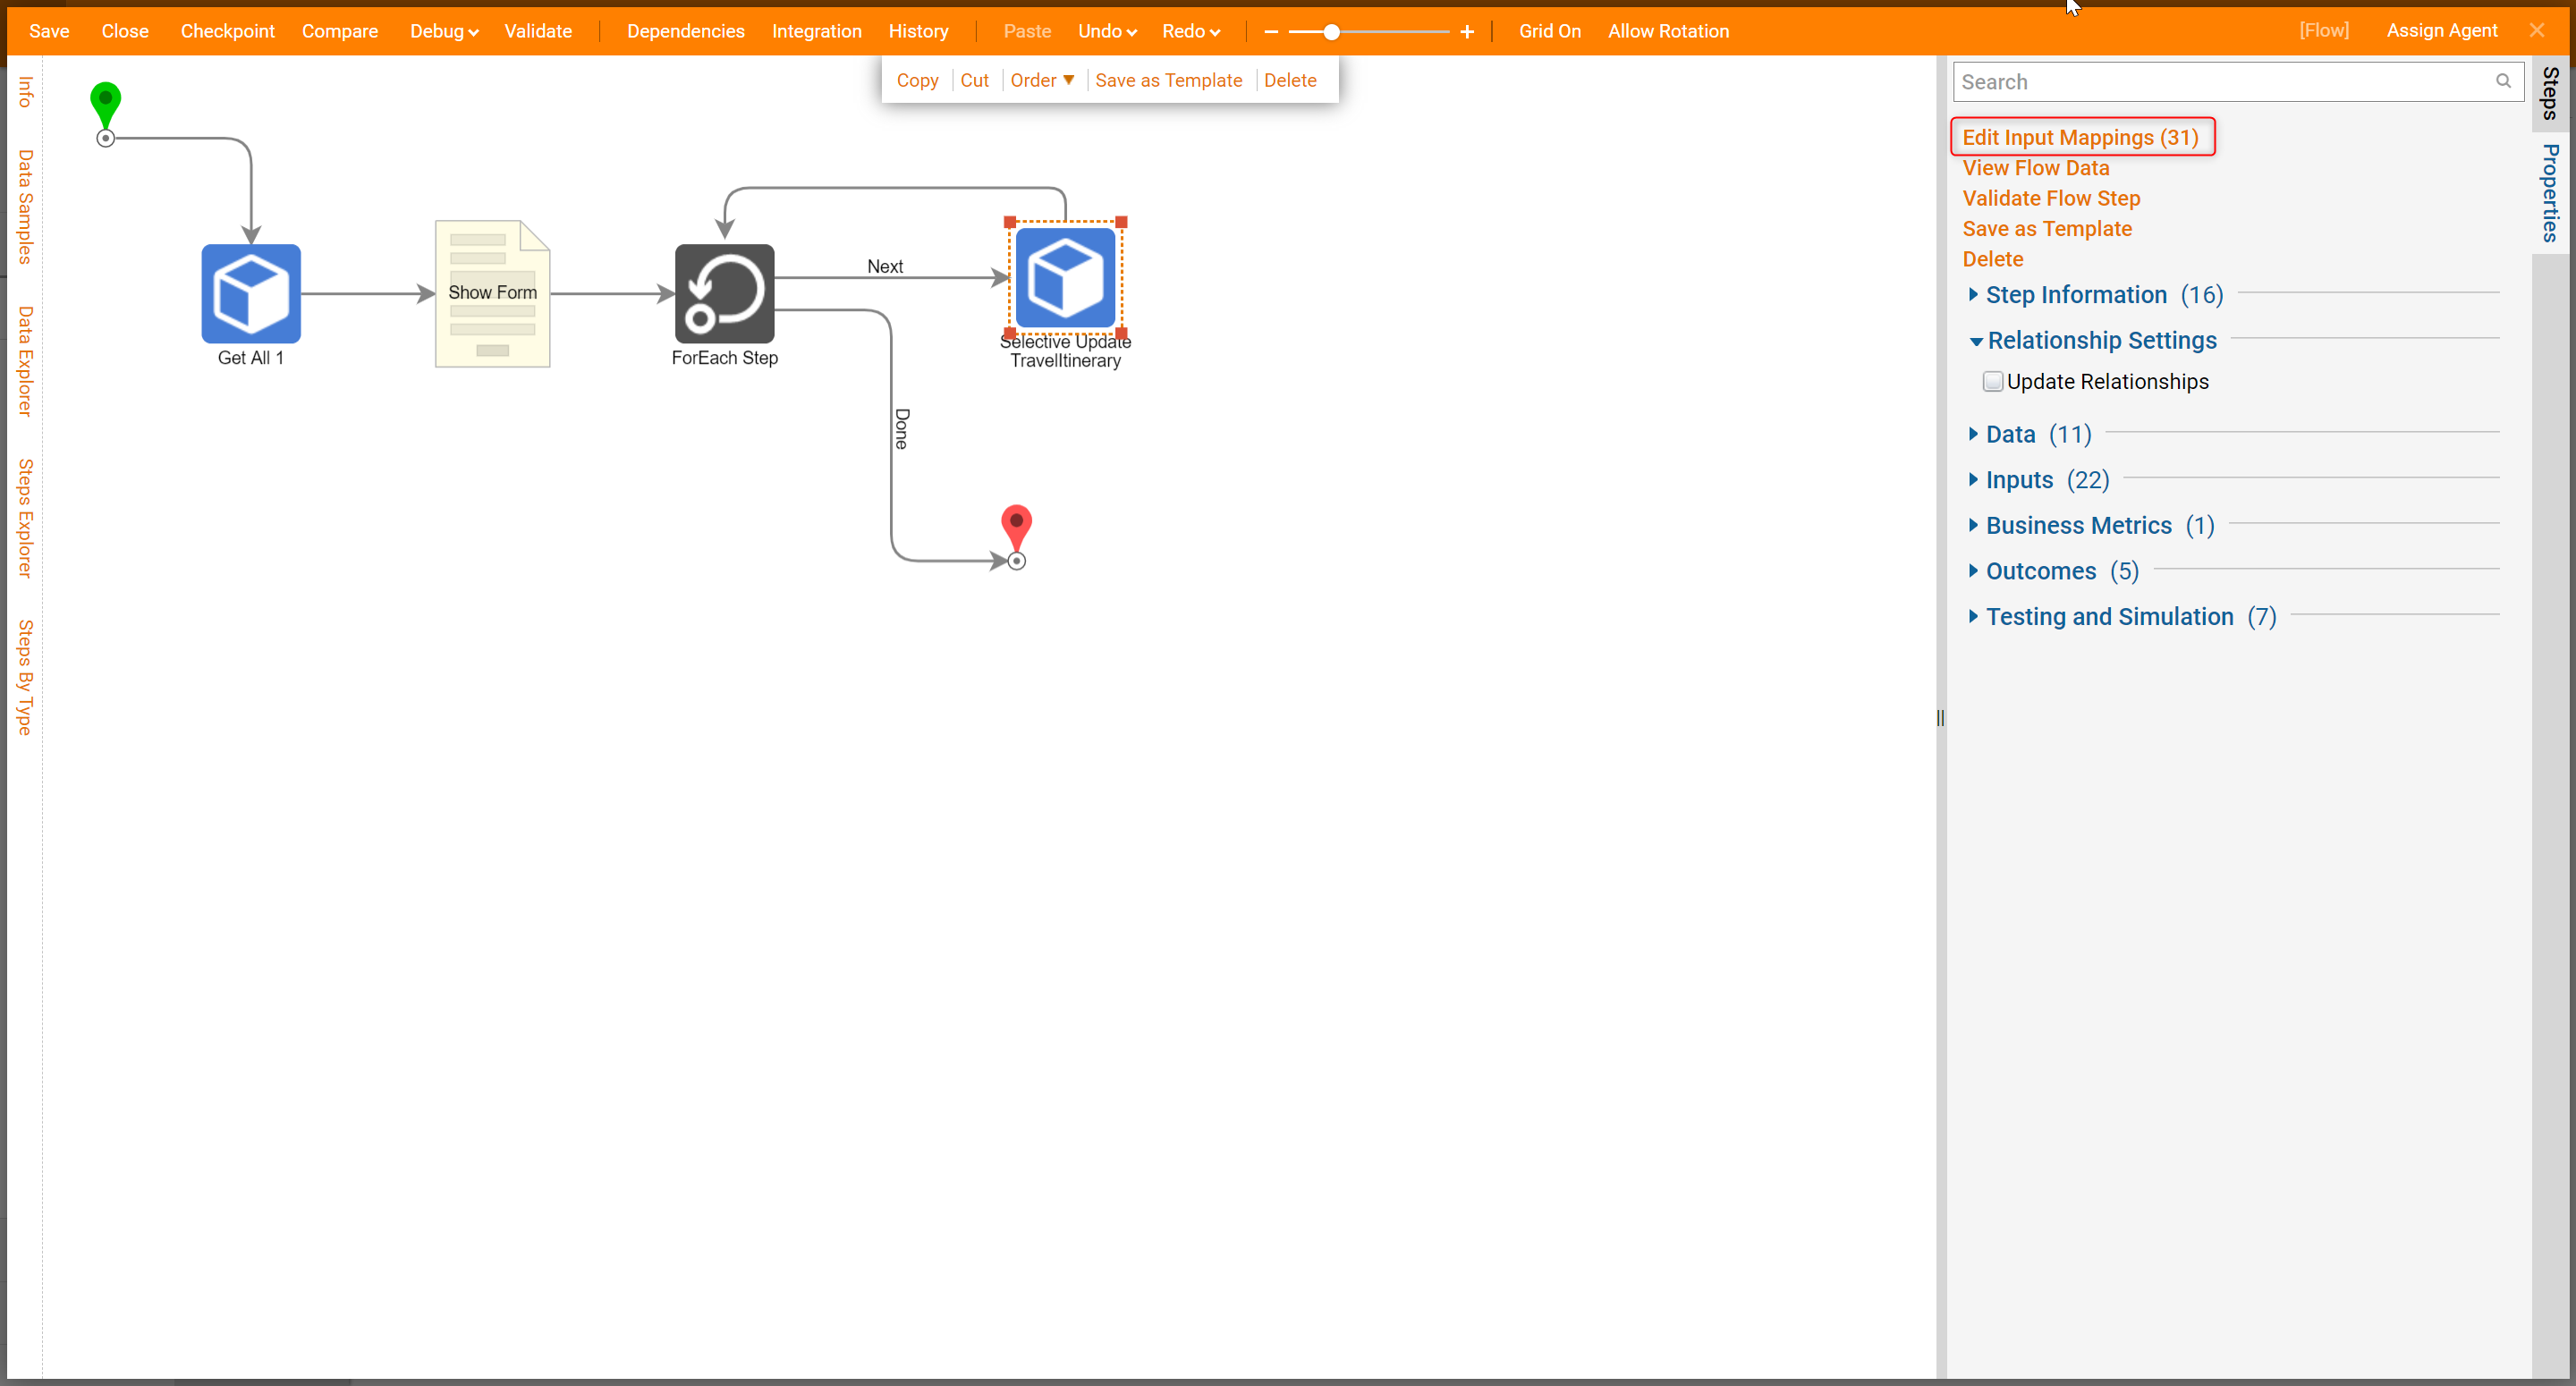
- Connect Agents to Assigned Agents and connect Item.ID to ID. Once each of the Item attributes is mapped into their respective properties select 'Ok.'
- Drag the Done outcome from the Selective Update step to the ForEach step.
- Then, drag the Done outcome from the ForEach step to the End step. Save and close the Flow.
Debug
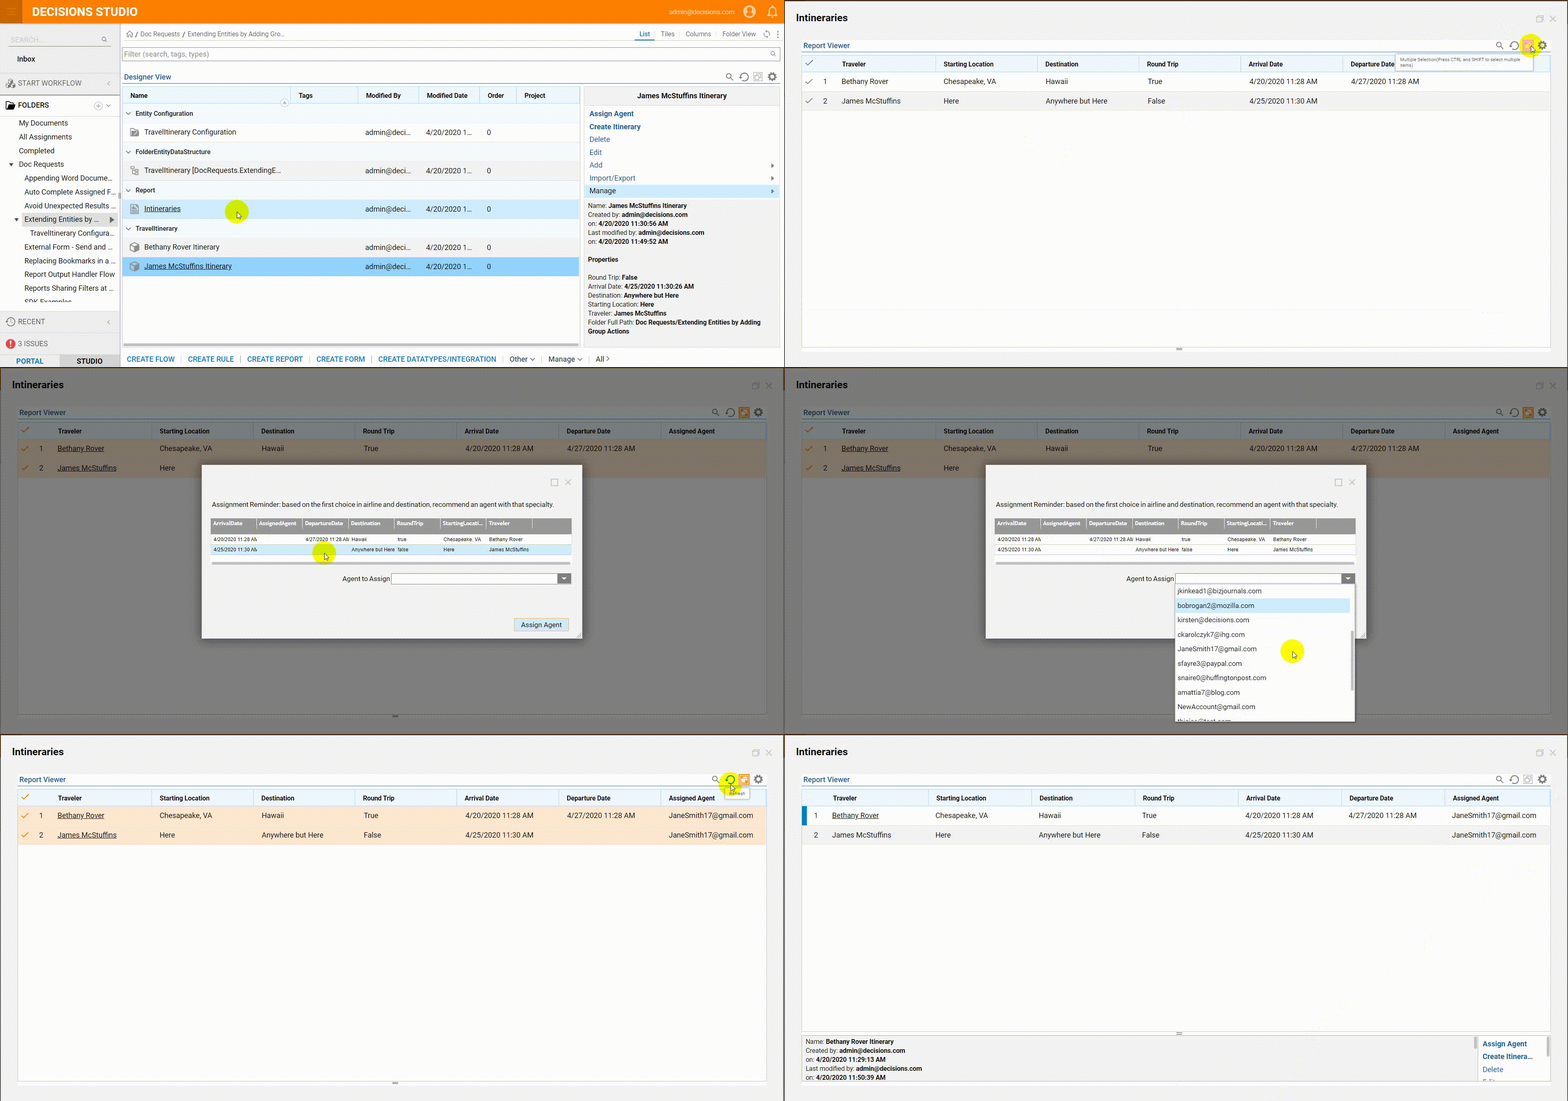
- The group action can be seen from a Report that displays travel Itineraries. Open the Report containing the Itineraries.
- In the upper right-hand corner, select the Multiple Selection tool.
- Choose two or more Travel Itineraries. This will show all available group actions.
- Select Assign Agent. The Form displays and an Agent is assigned.
- Upon refreshing, the Assigned Agent column is no longer empty.
