Overview
In order to provide access to specific Flows, Forms, Rules, etc. users may expose them in the End User Portal by housing them within a Flow. In turn, designers may then expose these Flows in one of two ways. These ways include:
- Workflow Catalog Overview
- Setting a Flow as a User Action
This article will cover displaying an action in the portal
Users may need to edit specific Account/Group Folder and Portal Permissions to provide proper access to these actions. For more information on Permissions, see Custom Permissions Overview.
Example
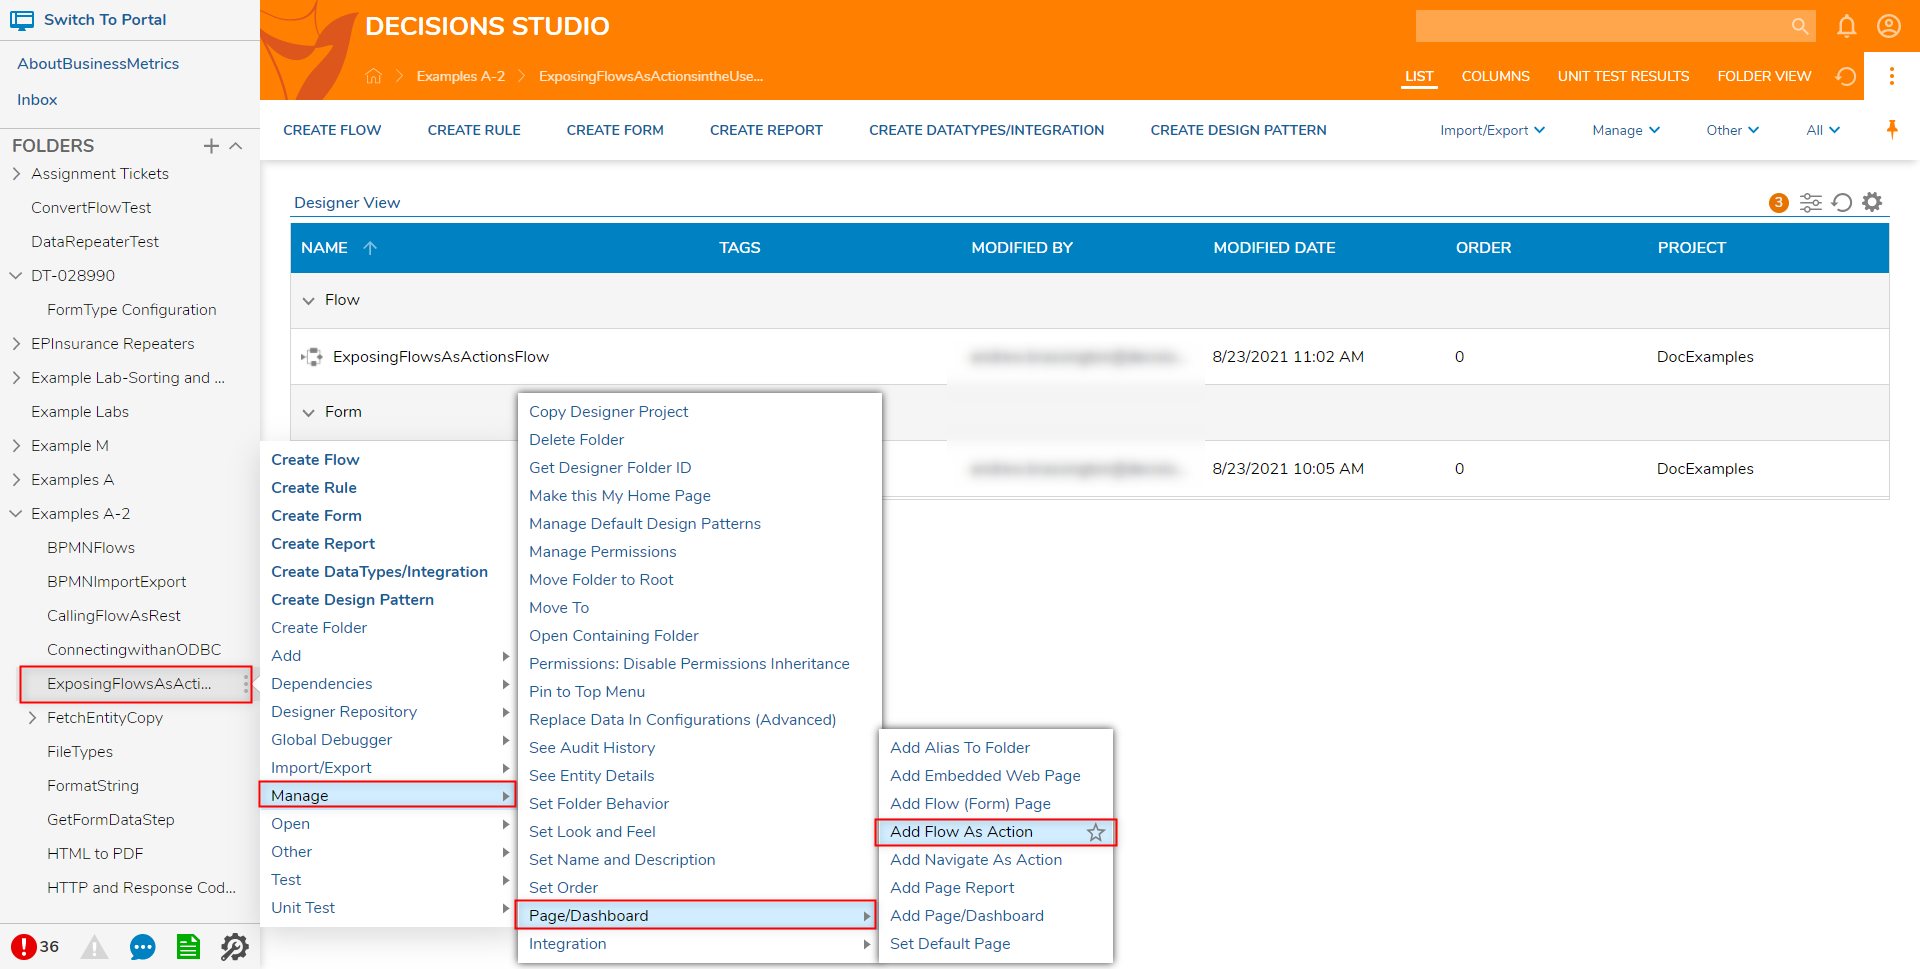
- From the Decisions Studio, navigate to a Designer Project. Right-click the desired folder and select Manage > Page/Dashboard > Add Flow As Action.
- From the Add New User Action window, leave the Action Type set as RunFlow and provide an Action Name.
- Select PICK OR CREATE FLOW then PICK the previously created Flow, then click ADD ACTION.
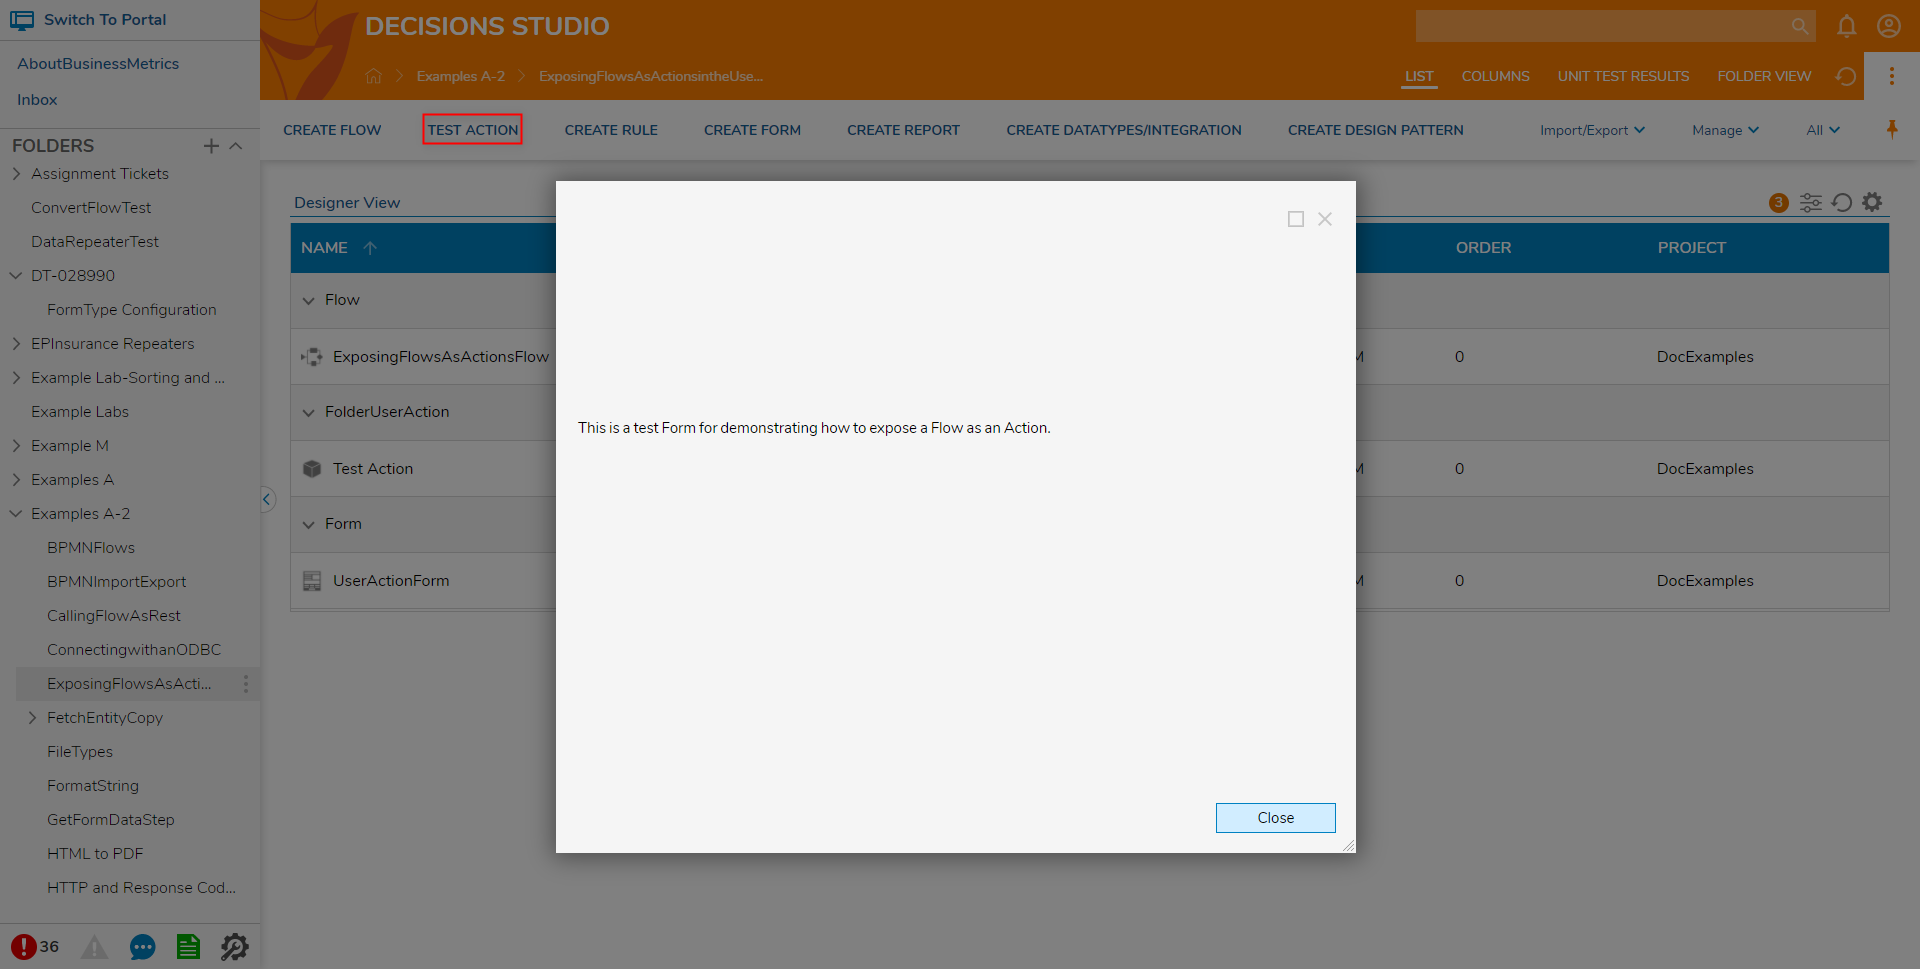
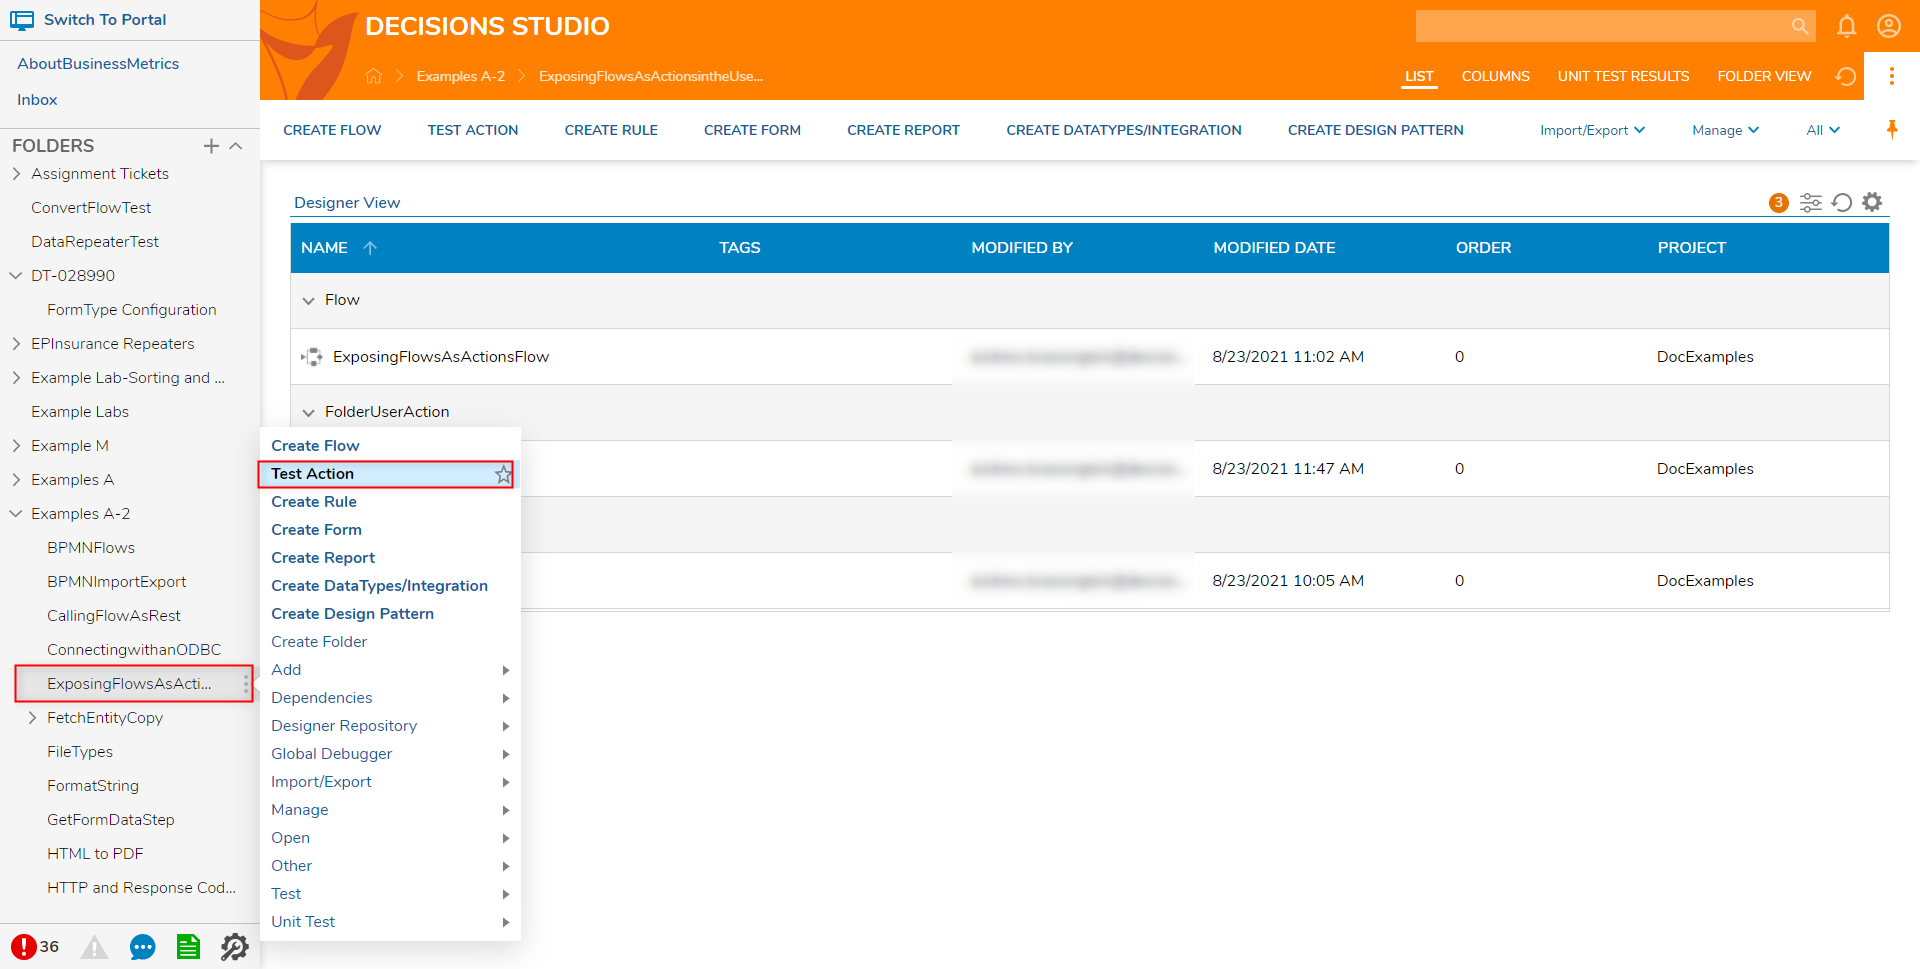
- After the Action is added, test it by locating the Action Button in the Global Action Bar; verify the Action can also be accessed by right-clicking the Folder and locating the Action.