Overview
In a Form, drop-down list options can be created from several sources. These sources include populated data from workflows, specifying a static list directly in the Form Designer, or running a workflow to populate a list of choices. The following example will show how to configure drop-down options from a Flow to output the required information for the drop-down options.
Example
The example Flow will display a Form containing a drop-down list and a button. In the drop-down list, users will be able to select from a list of all available accounts. A Flow will populate this drop-down list. Another Flow will be created to display the Form.
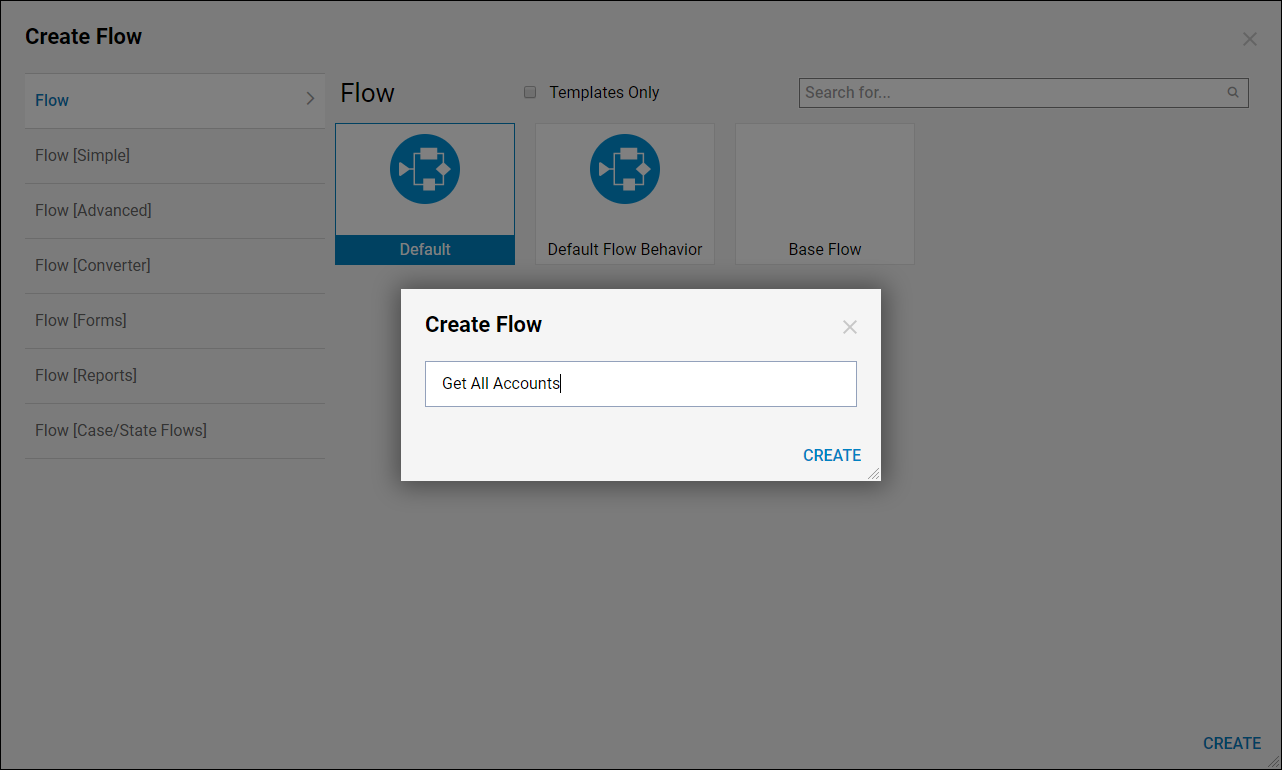
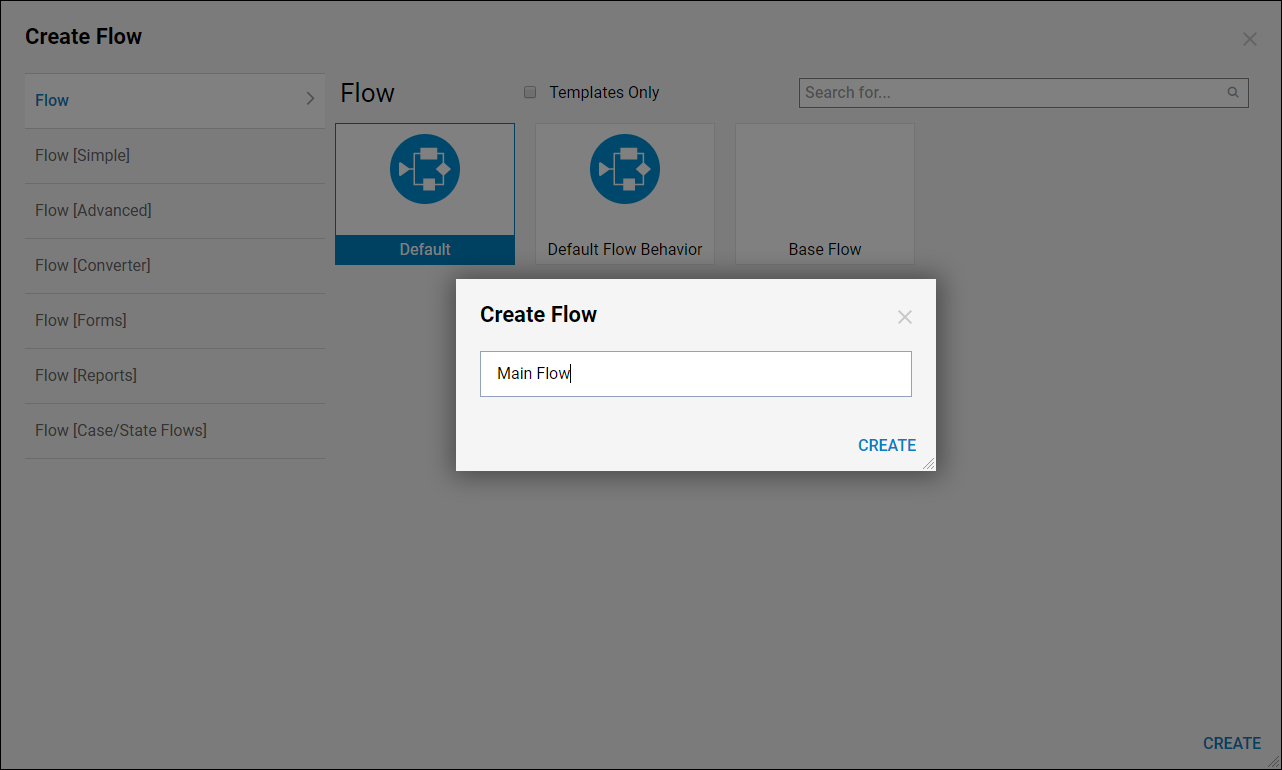
- In the Designer Folder, select the CREATE FLOW button.
- In the resulting Create Flow dialog, name the Flow and select 'CREATE' to open it in the Flow Designer.
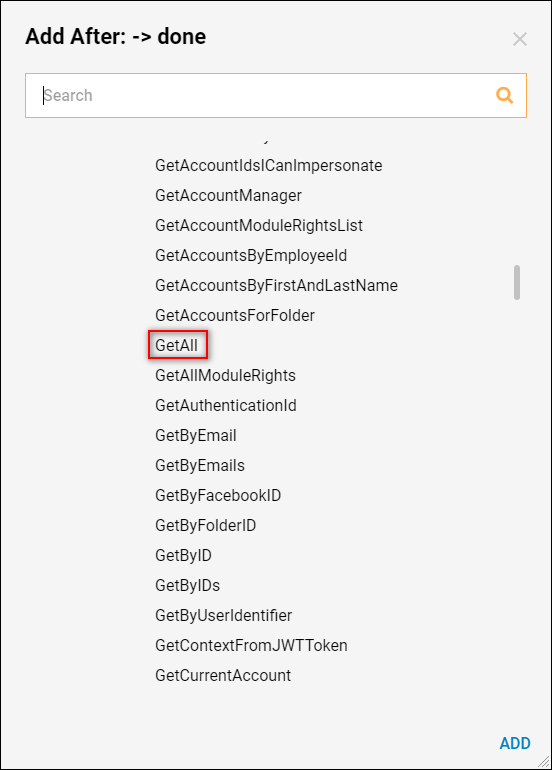
- In the Flow Designer Quick Add Step dialog, under Integrations > All Integrations > Internal Services > AccountService category, select Get All step and Add to add it to the workspace.
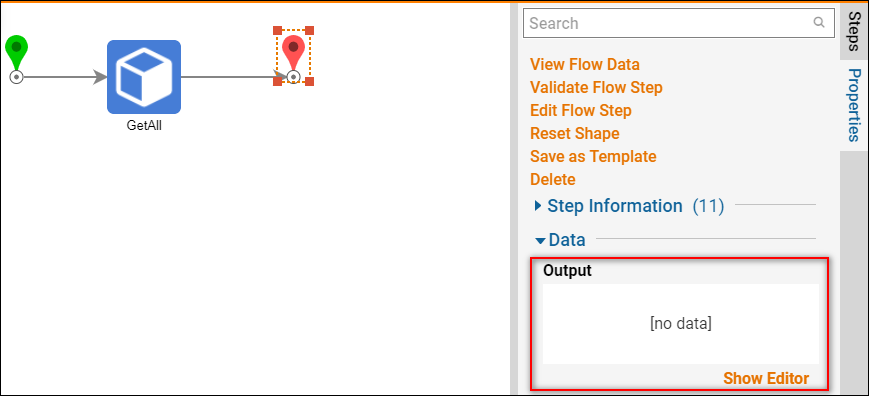
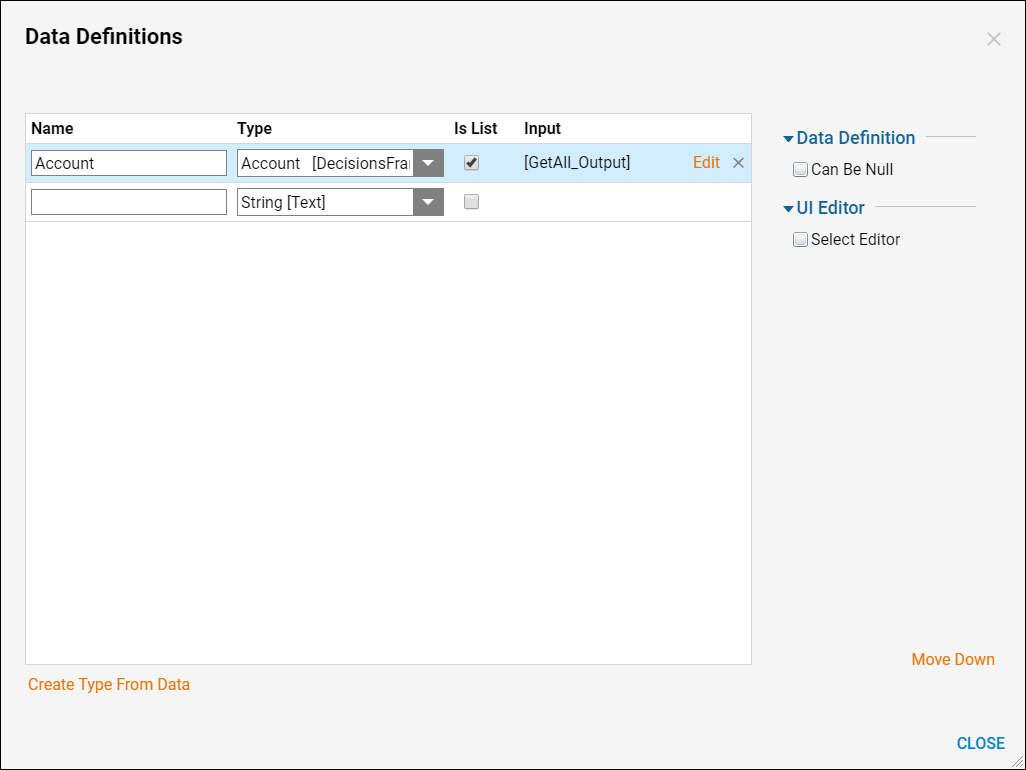
- Next, connect the step outcome to the End step. The Flow must be configured to output the accounts it retrieved in Get All.
- Select the End Step.
- In the Properties panel, in the Output section, select the Show Editor link.
- Name the output "Account".
- Under Type, search, and choose Account.
- The Flow is expected to output a list of accounts, not just one, check the Is List checkbox.
- Next, map where the End step gets the Output Information from.
- In the Inputs column, change the Mapping Type to Select Value [From Flow].
- Then, select the Get All_Output option.
- Save and close the Flow Designer.
- In the Designer Folder, select the CREATE FLOW button.
- In the resulting Create Flow dialog, name the new Flow, and select CREATE to open it in the Flow Designer.
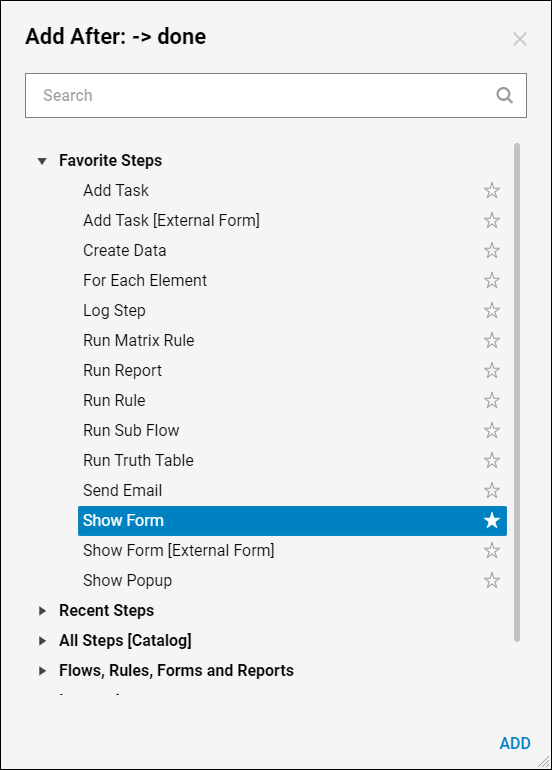
- Begin building the Flow by adding a Show Form step from the Favorite Steps category in the Steps panel.
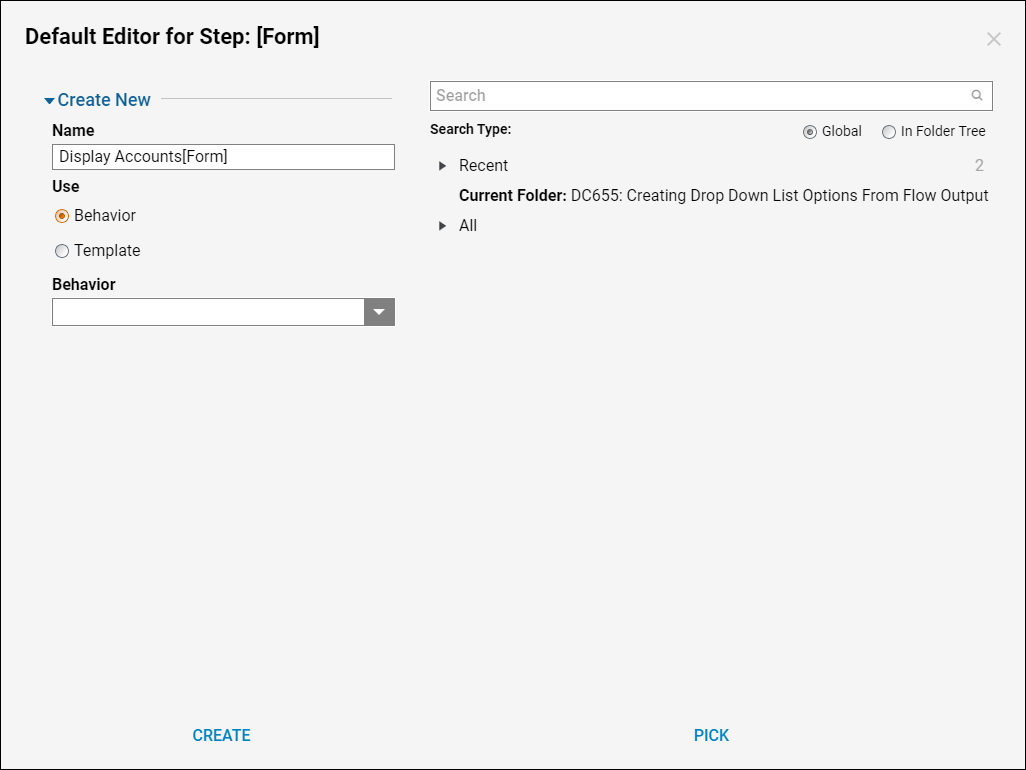
- Name the Form and select CREATE.
- In the Form Designer, place a button on the form by dragging the Button control from the Form Controls panel to the workspace.
- Next, search for the Drop Down List control in the Form Controls panel, then drag it to the workspace.
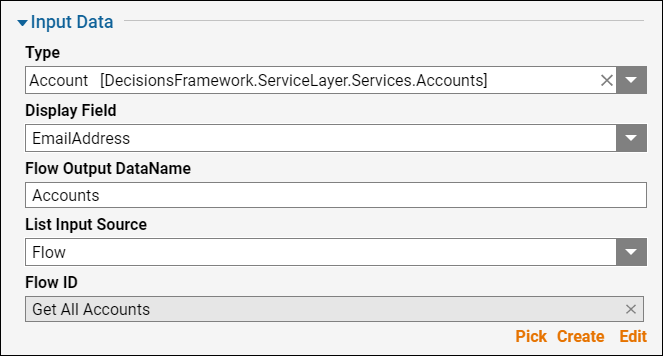
- With the Drop-Down List selected, in the Properties > Input Data section, under the Type selector search for and select Account.
- Under Display Field, specify EmailAddress.
- Change the List Input Source to Flow which will allow the drop-down list to call a Flow.
- Identify the Flow choosing the selector within the Flow ID and connecting to the Flow where the Get All step is located.
- Save and close.
- With the Form selected set Input > Accounts to Ignore.
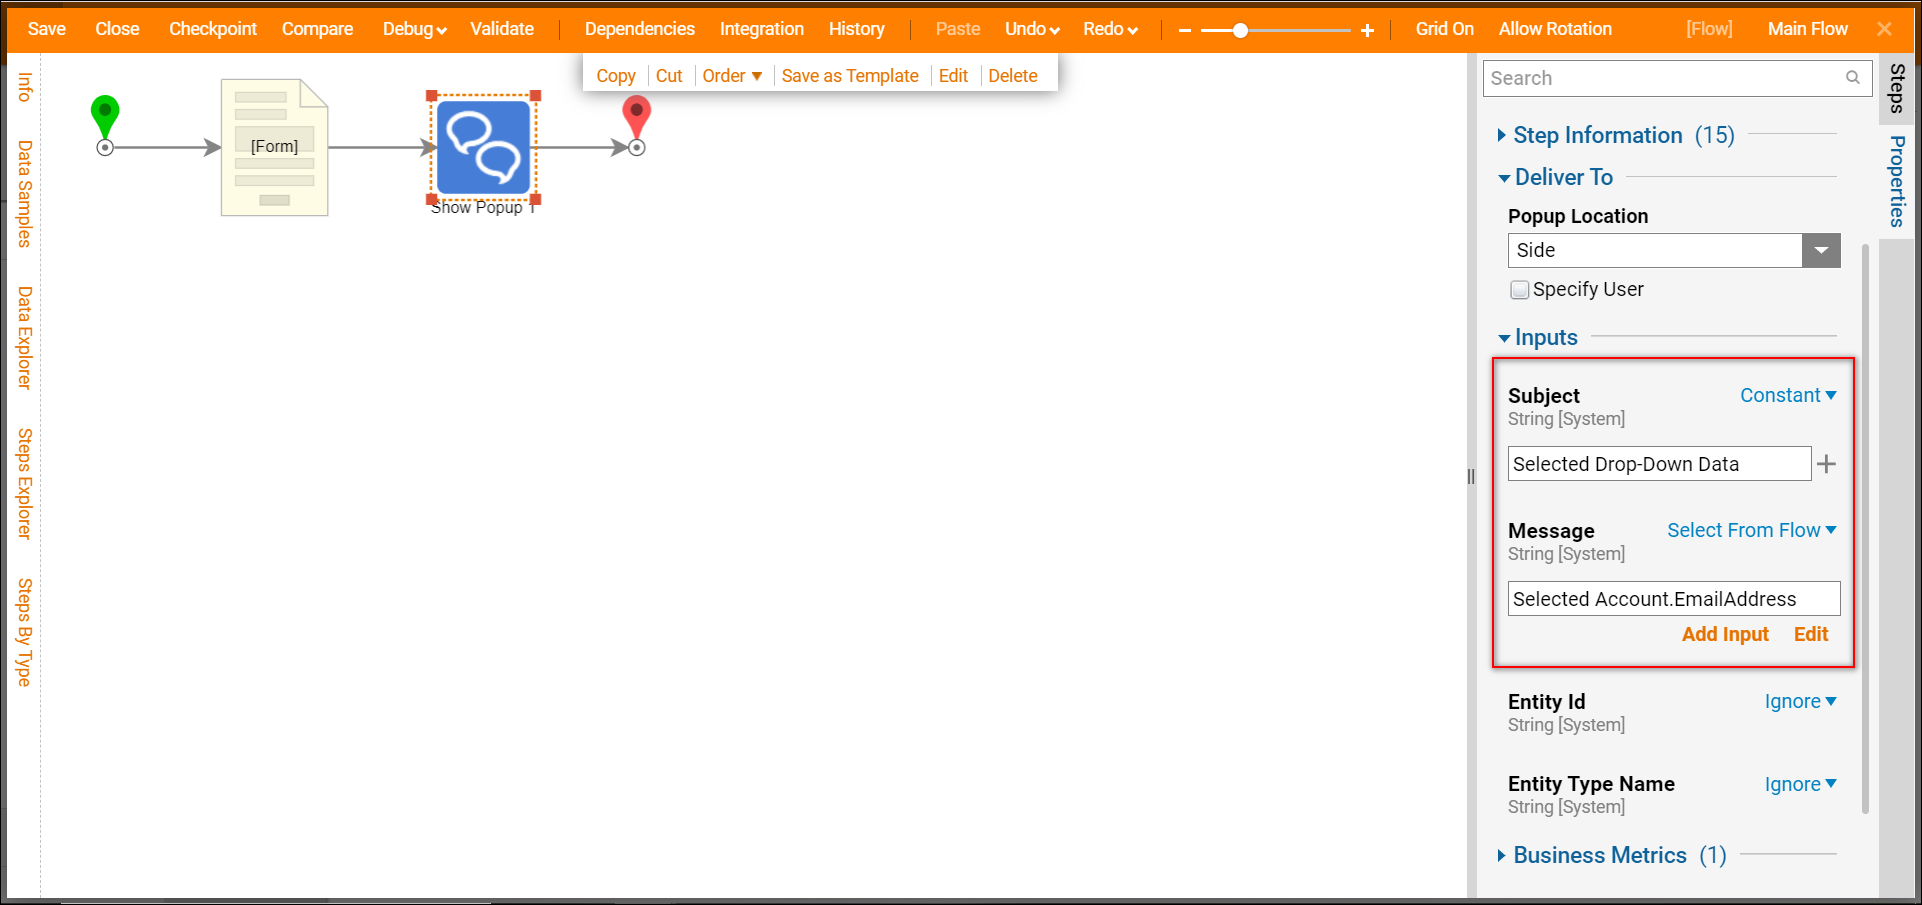
- To show the selected item from the drop-down menu is available to use in the Flow, add a Show Popup step from the Favorite Steps category in the Steps panel.
- Choose Constant for the Subject of the Popup and type "Selected Drop-Down Data".
- For the Message select Selected Account.EmailAddress from the Form.
- Connect the Done path to the End step.
Debug
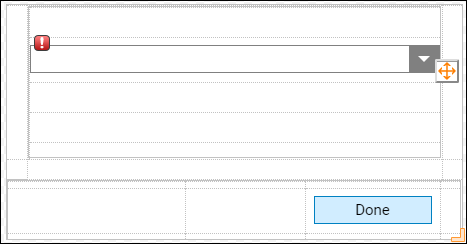
- In the Debugger the Form is presented. When letters are entered in the drop-down list, the account email addresses containing that pattern automatically appear in a list beneath the control.
- Alternately, select the arrow on the right side of the drop-down list to show all of the available accounts.
- Choose an Account and select Done on the Form and the Show Popup step displays the account that was chosen.
This is just an example of creating a drop-down list and showing that the selected data is available to use in the Flow. Please use this information to help create business logic that fits your needs.