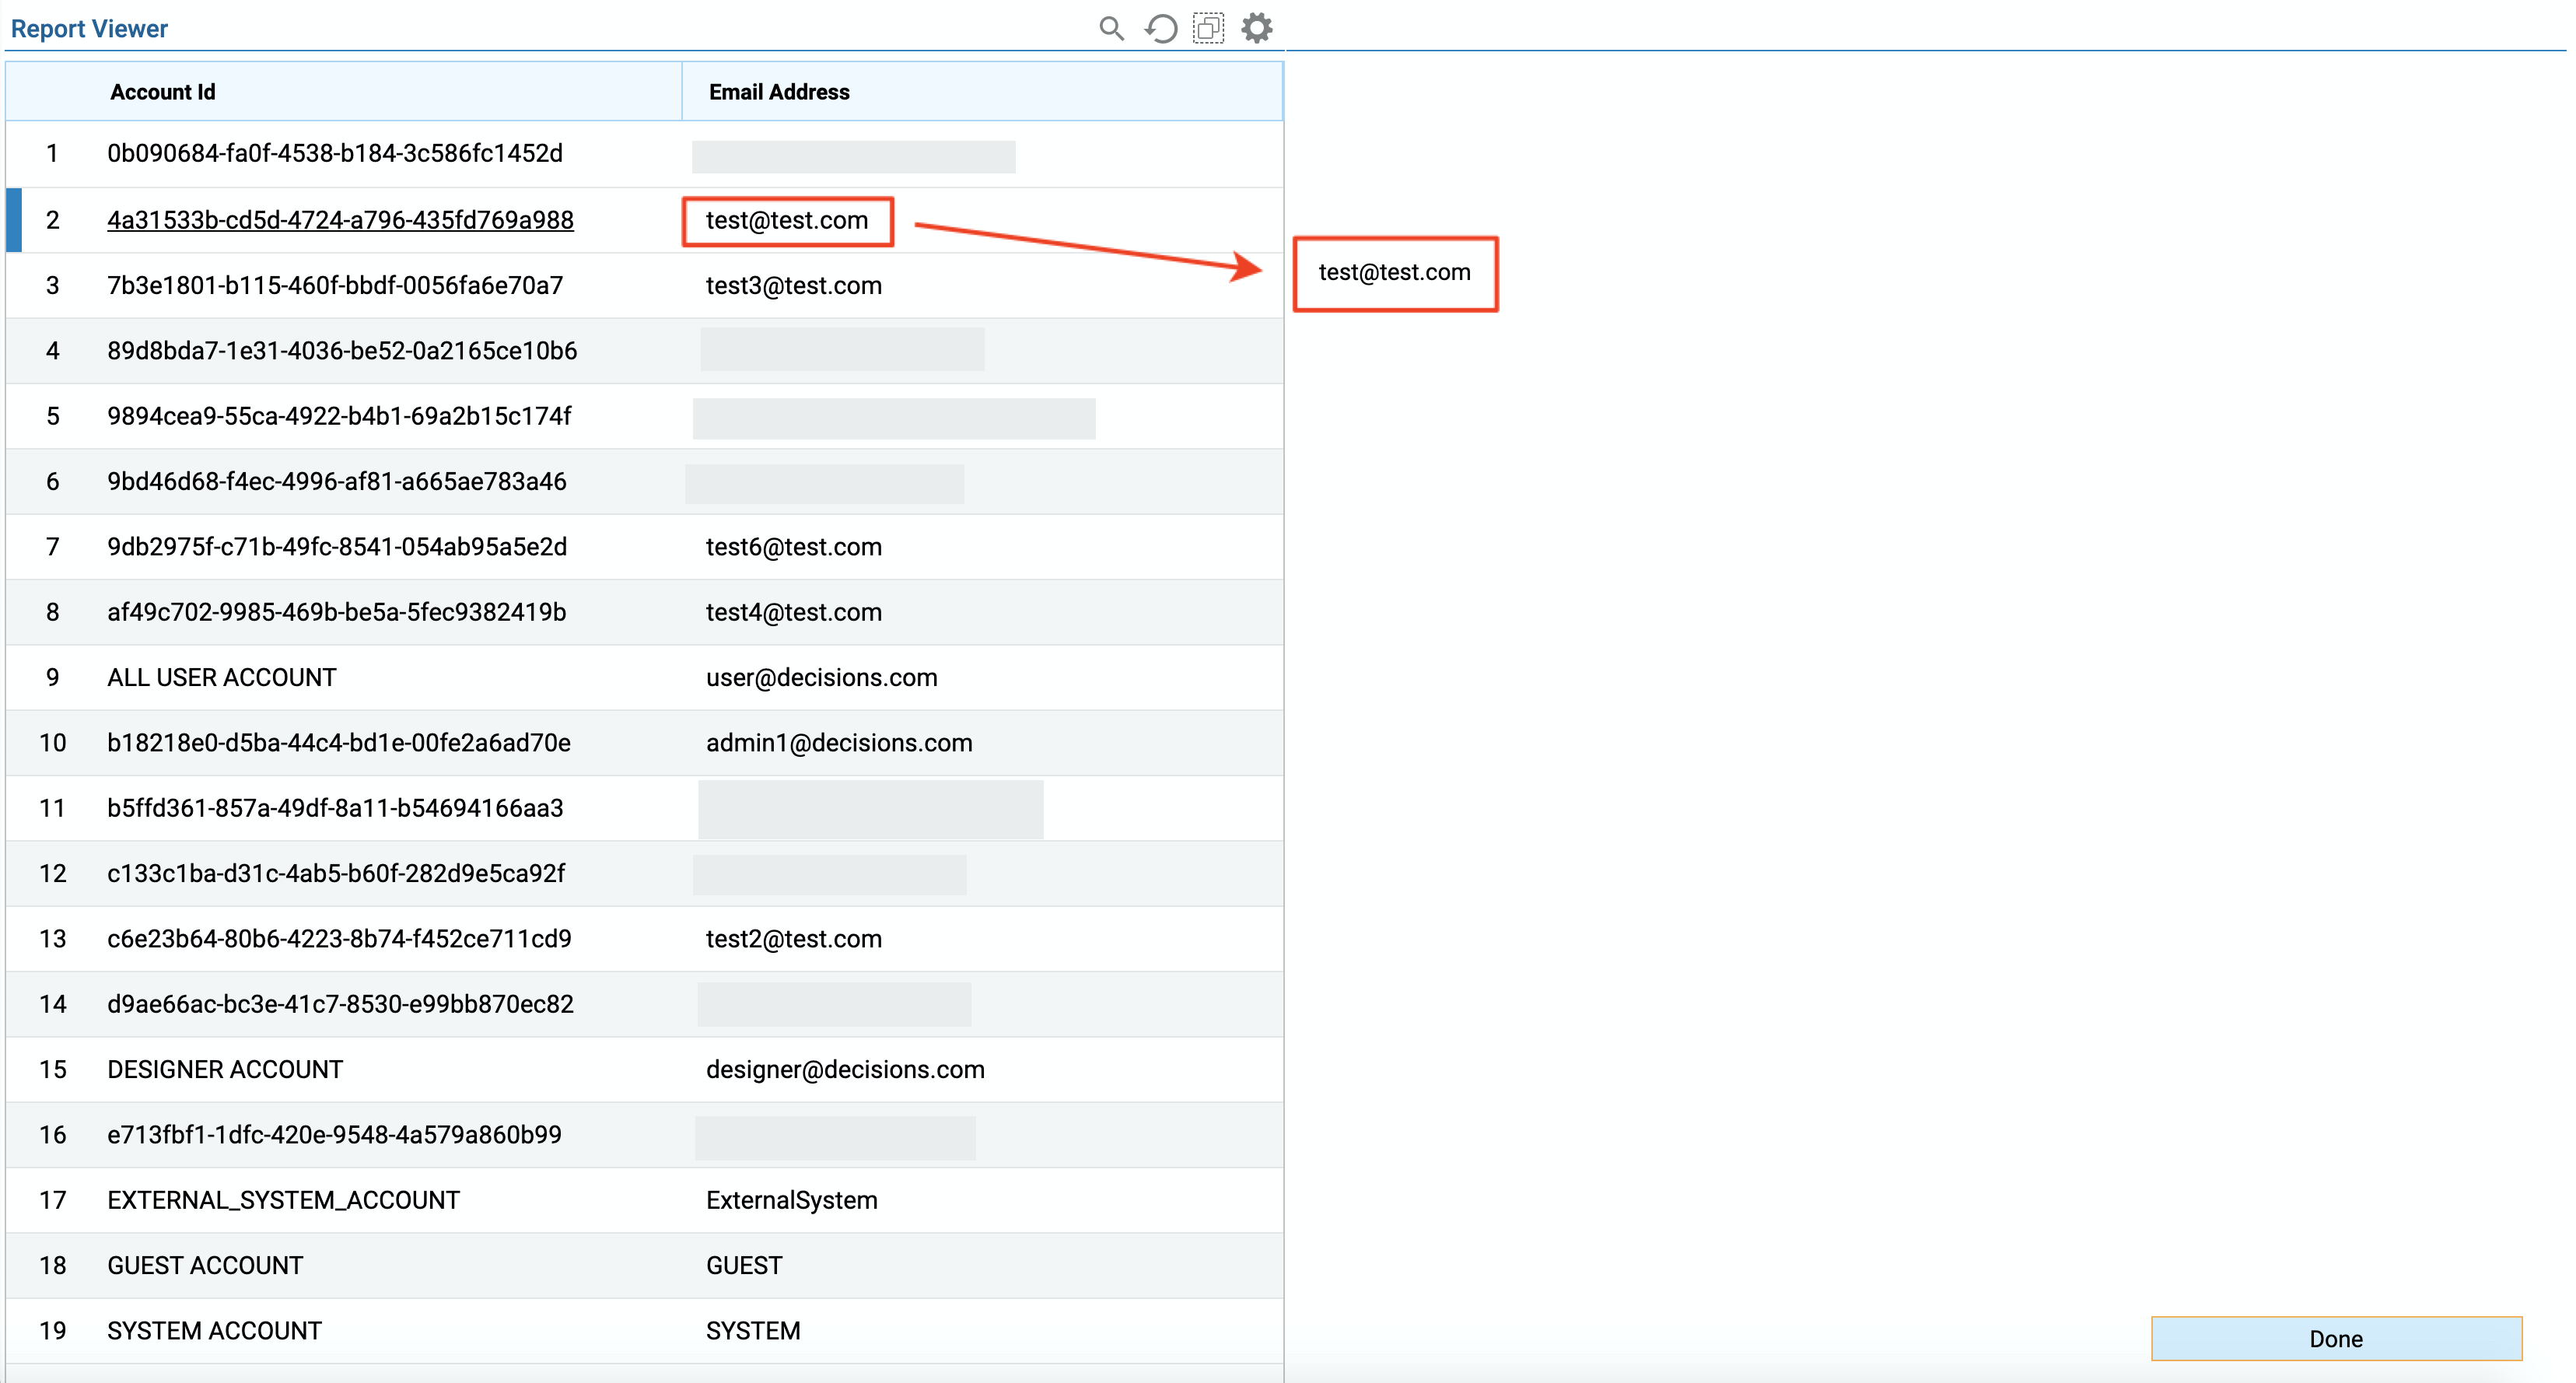
This tutorial demonstrates how to update Form in Flow Run Part on the Page based on Report Selected row on the same Page.
Example:
In this example, we are going to build a Page in Decisions that has a Report on the left-hand side and a Flow displaying Form on the right-hand side. Form is going to display some information from the Report’s selected row. When the user selects a different row, our Form should be updated with the new information from the selected row.
For this example, we created a simple Accounts Report.
To learn how to build your first Report, please click here.
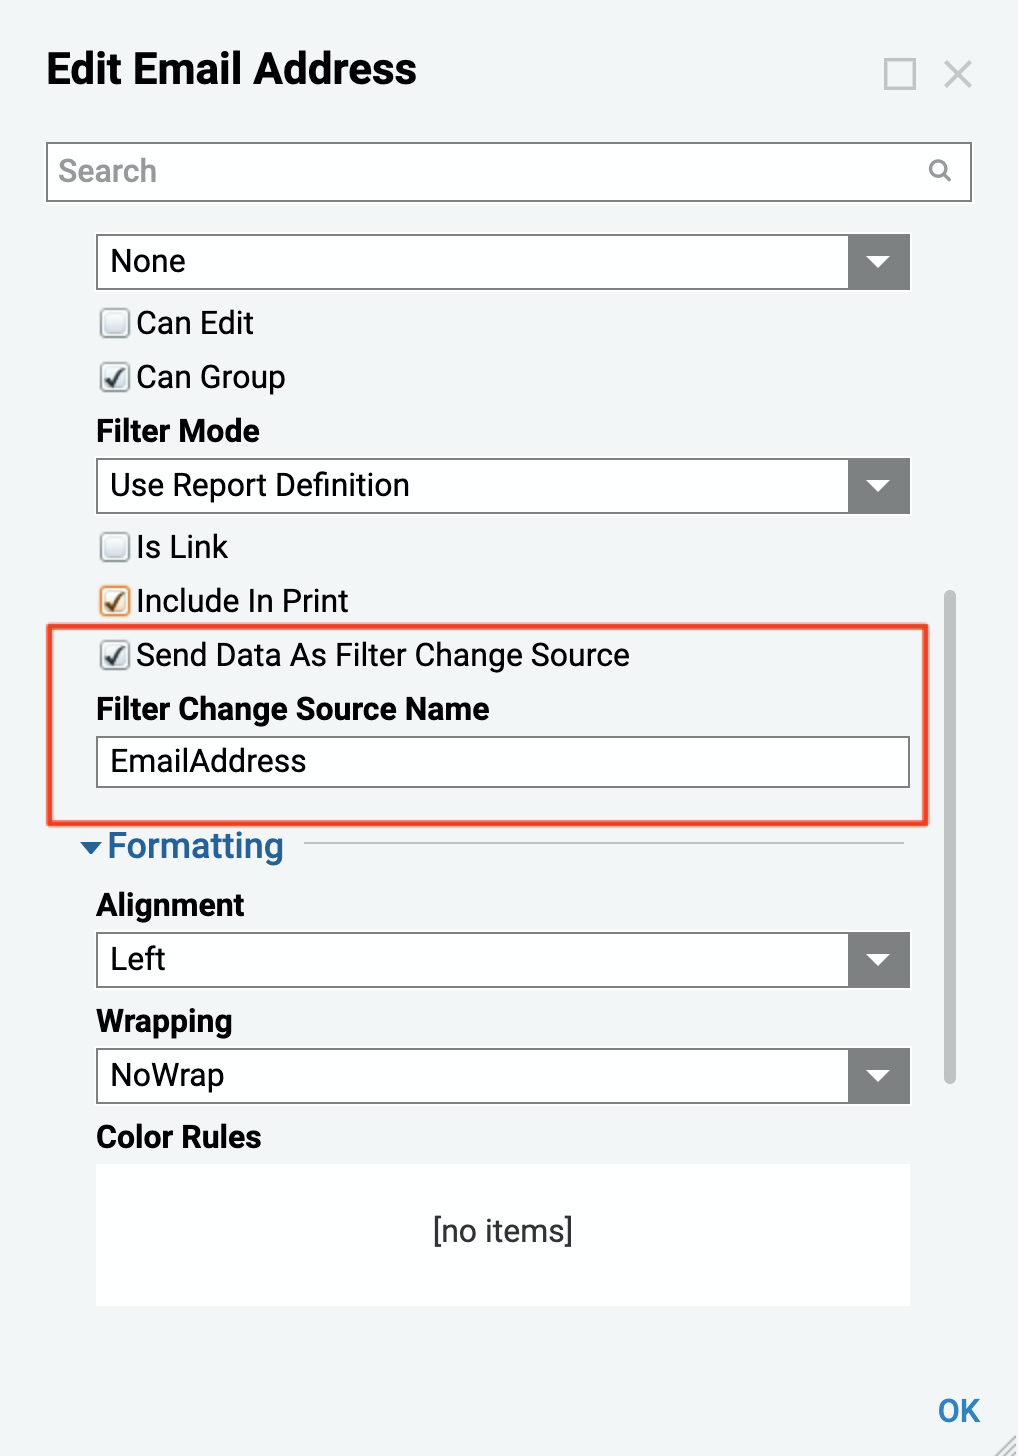
First and most important thing to make Report row selection update Flow on the same Page is that one of the Report columns has to ‘Send Data As Filter Change Source’.
In a Report Designer, we pick one of the columns and Edit it.

Then, we locate and check the Send Data As Filter Change Source check-box.
In Filter Change Source Name we provide a Name for our Data. Click Ok to save and continue.
Note: this Name should be exactly the same as our Flow Input Data name later in this tutorial.
This completes our Report settings. We can save the Report and close Report Designer.
Next, we are going to create a Flow to display Form.
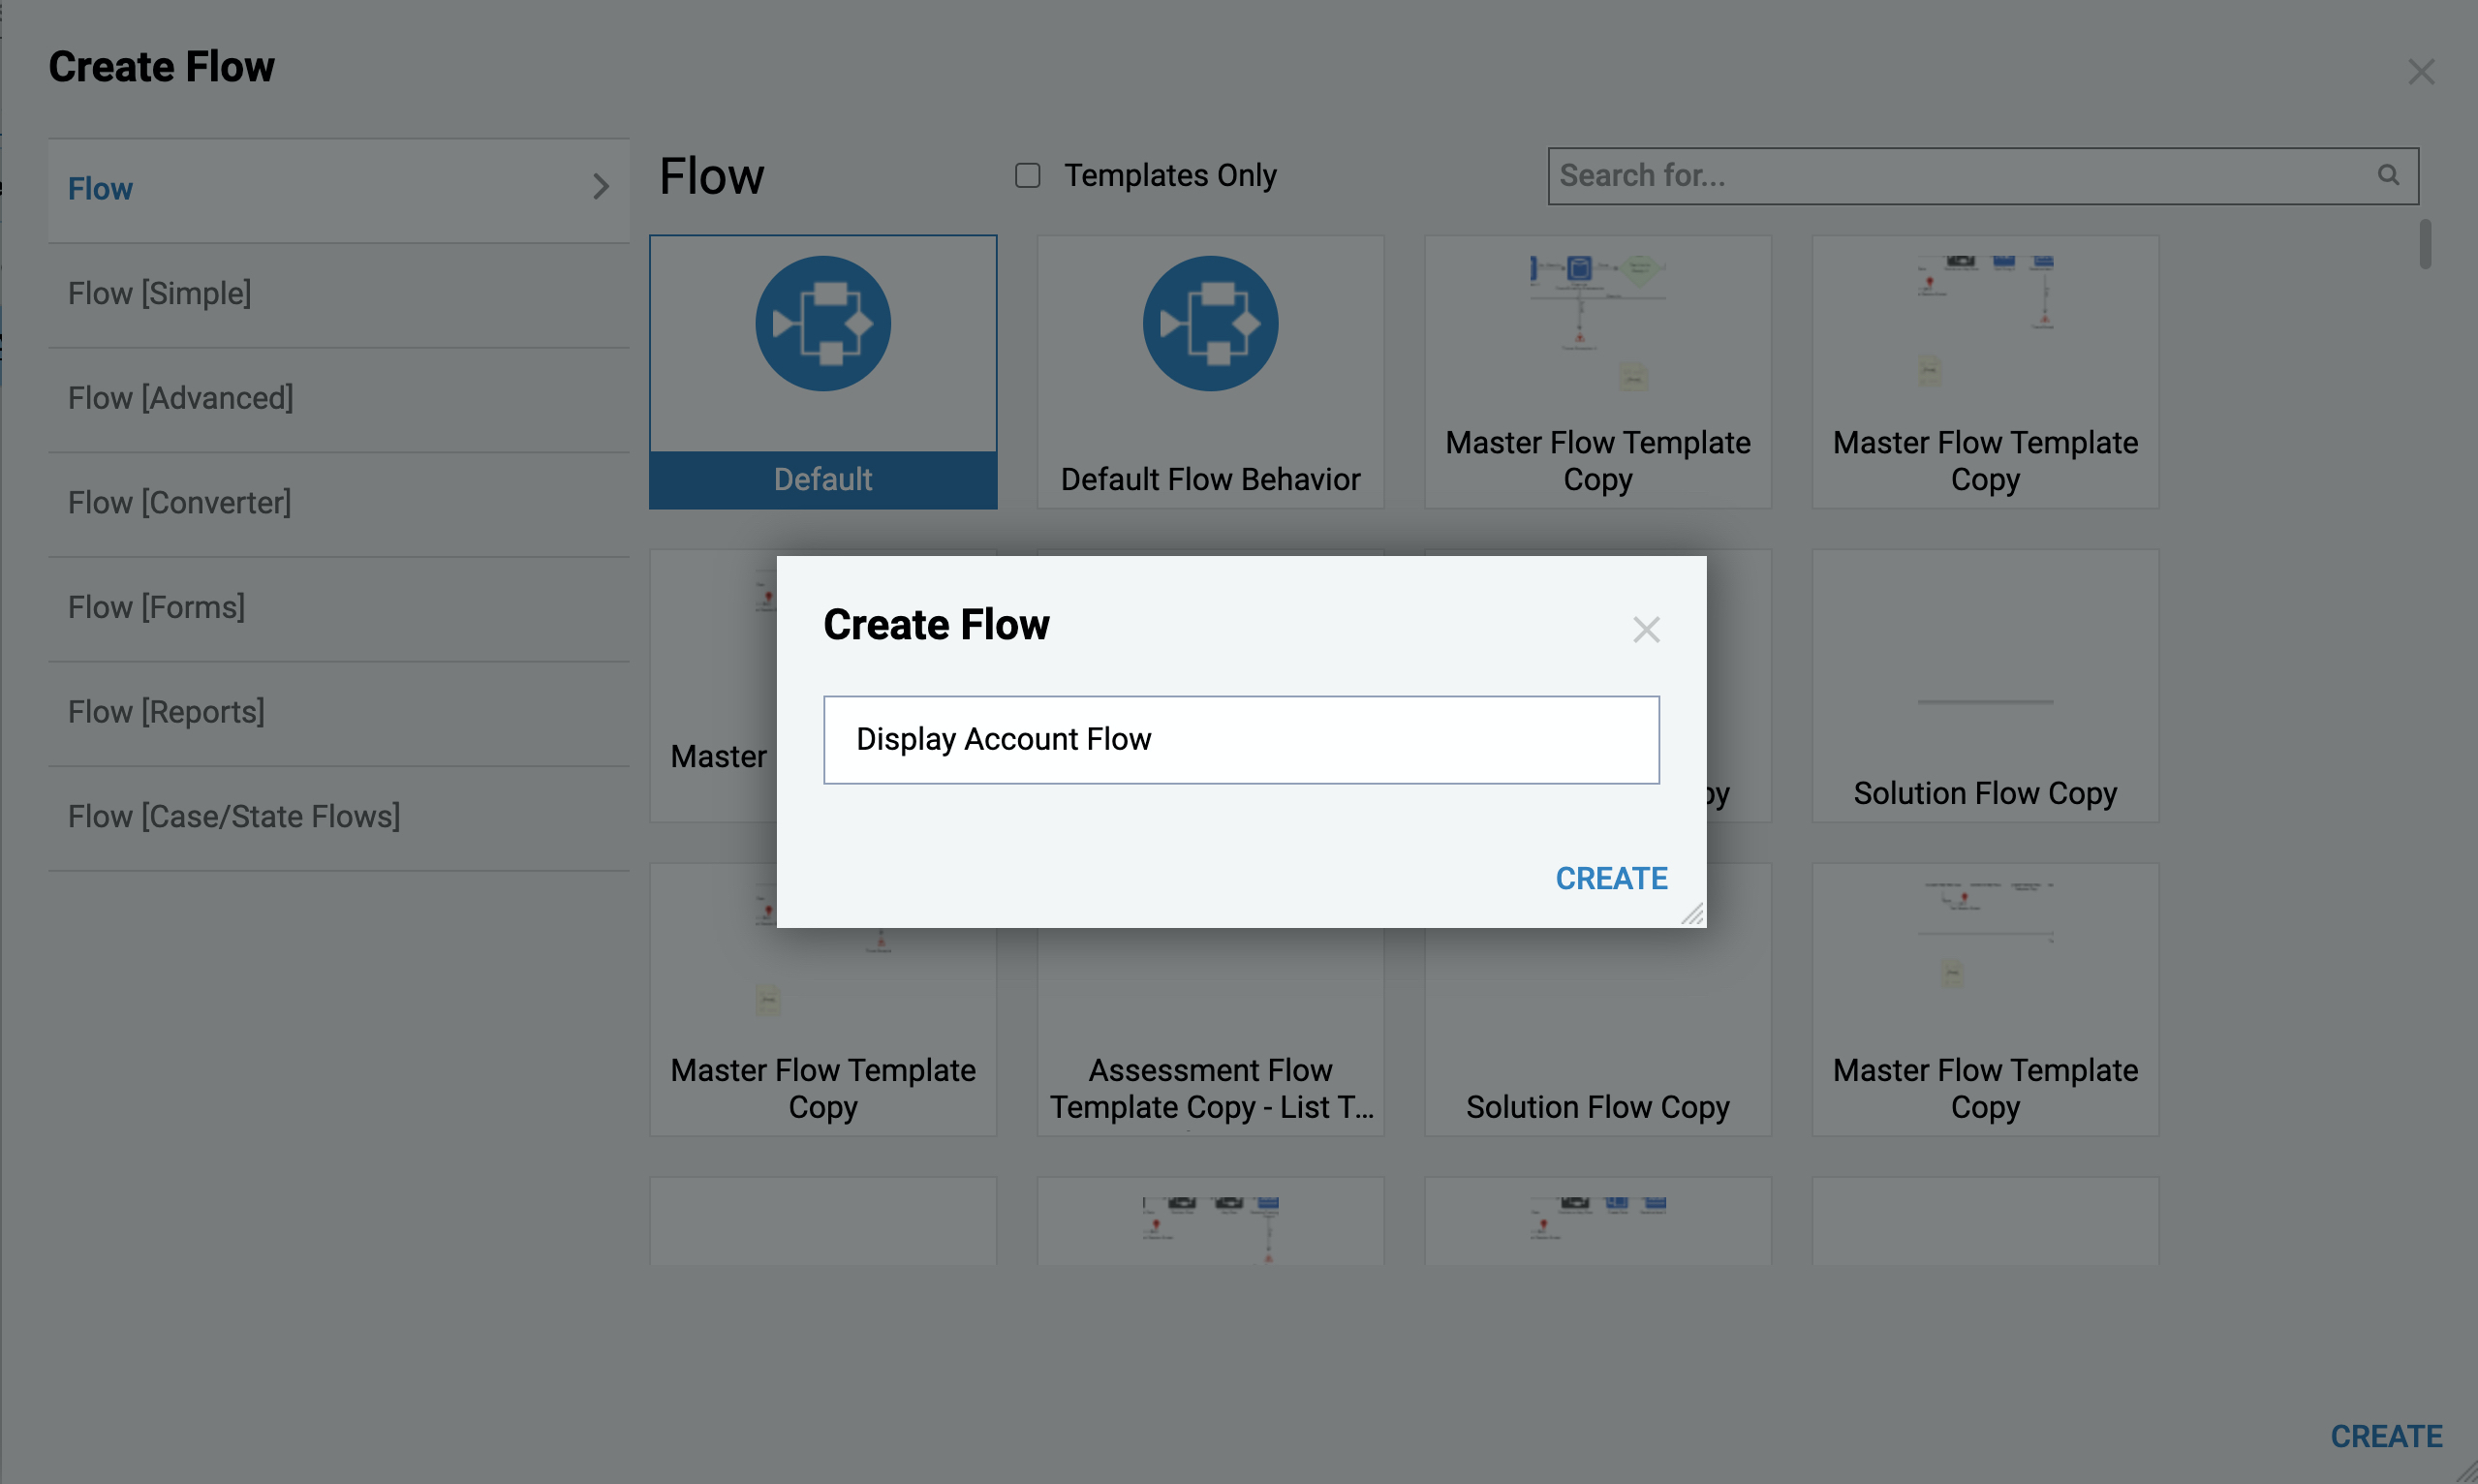
In the Designer Folder we click Create Flow on theActions Panel.

Then, we Name the Flow and click Ok to proceed to the Flow Designer.
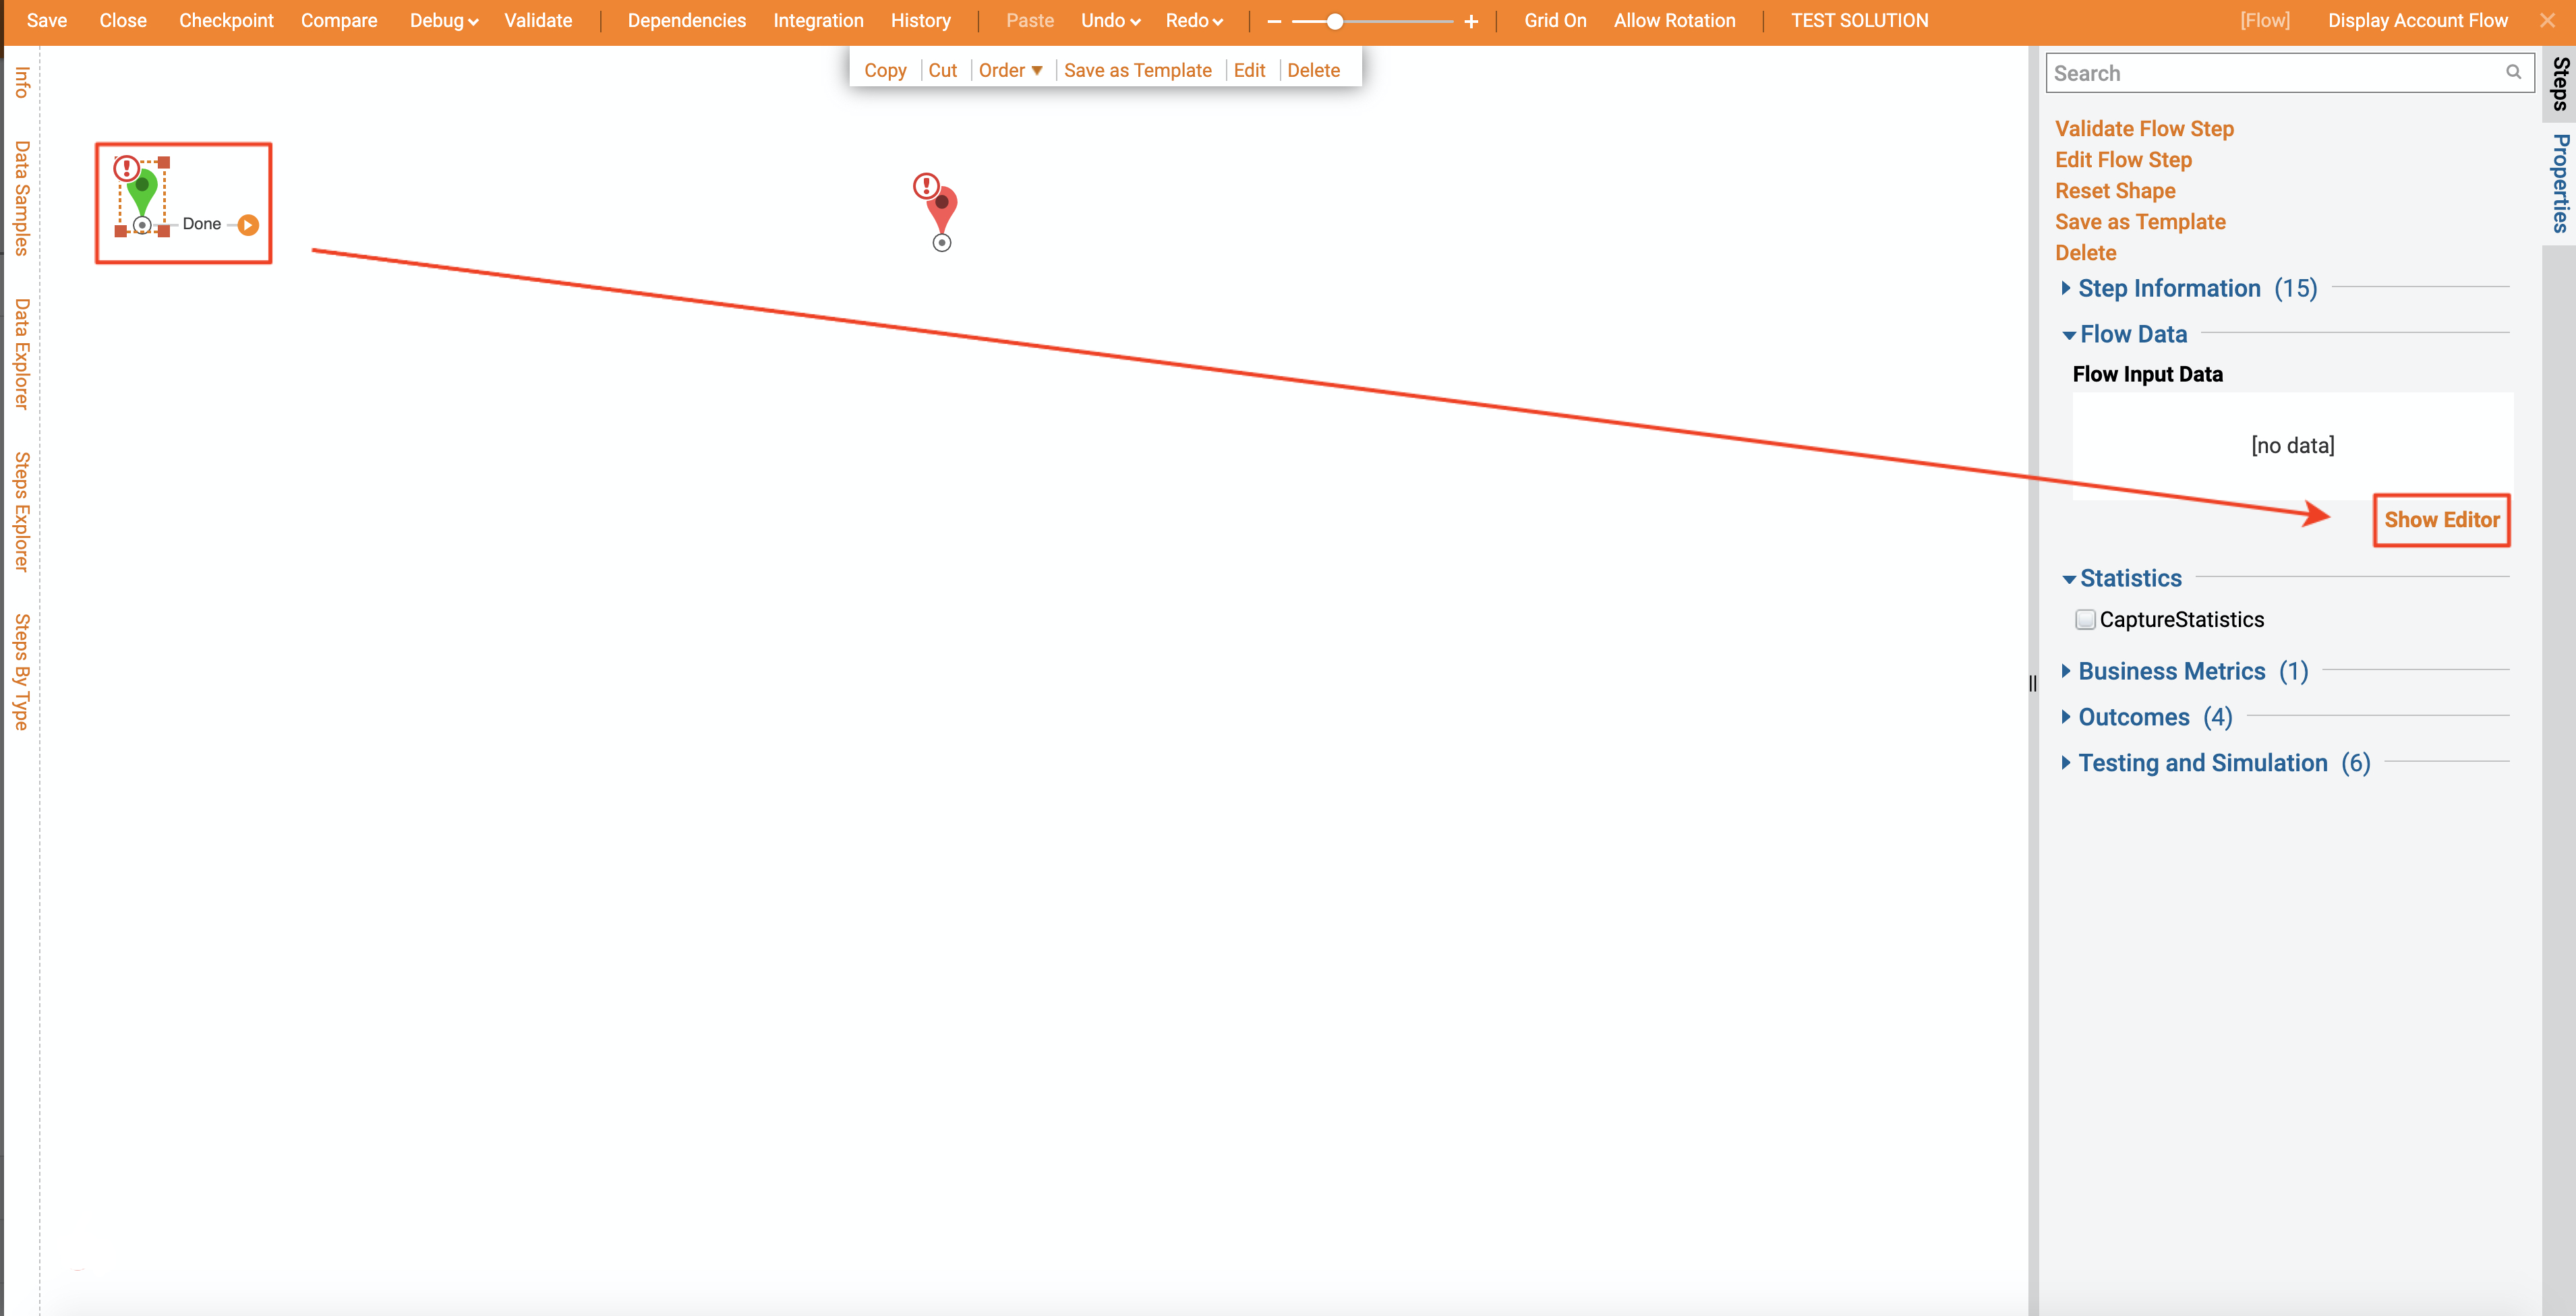
As mentioned previously in this tutorial, our Flow has to have a Flow Input named the same as we named Filter Change Source in Report. We select Start Step in our Flow, locate Flow Input Data settings, and click Show Editor.
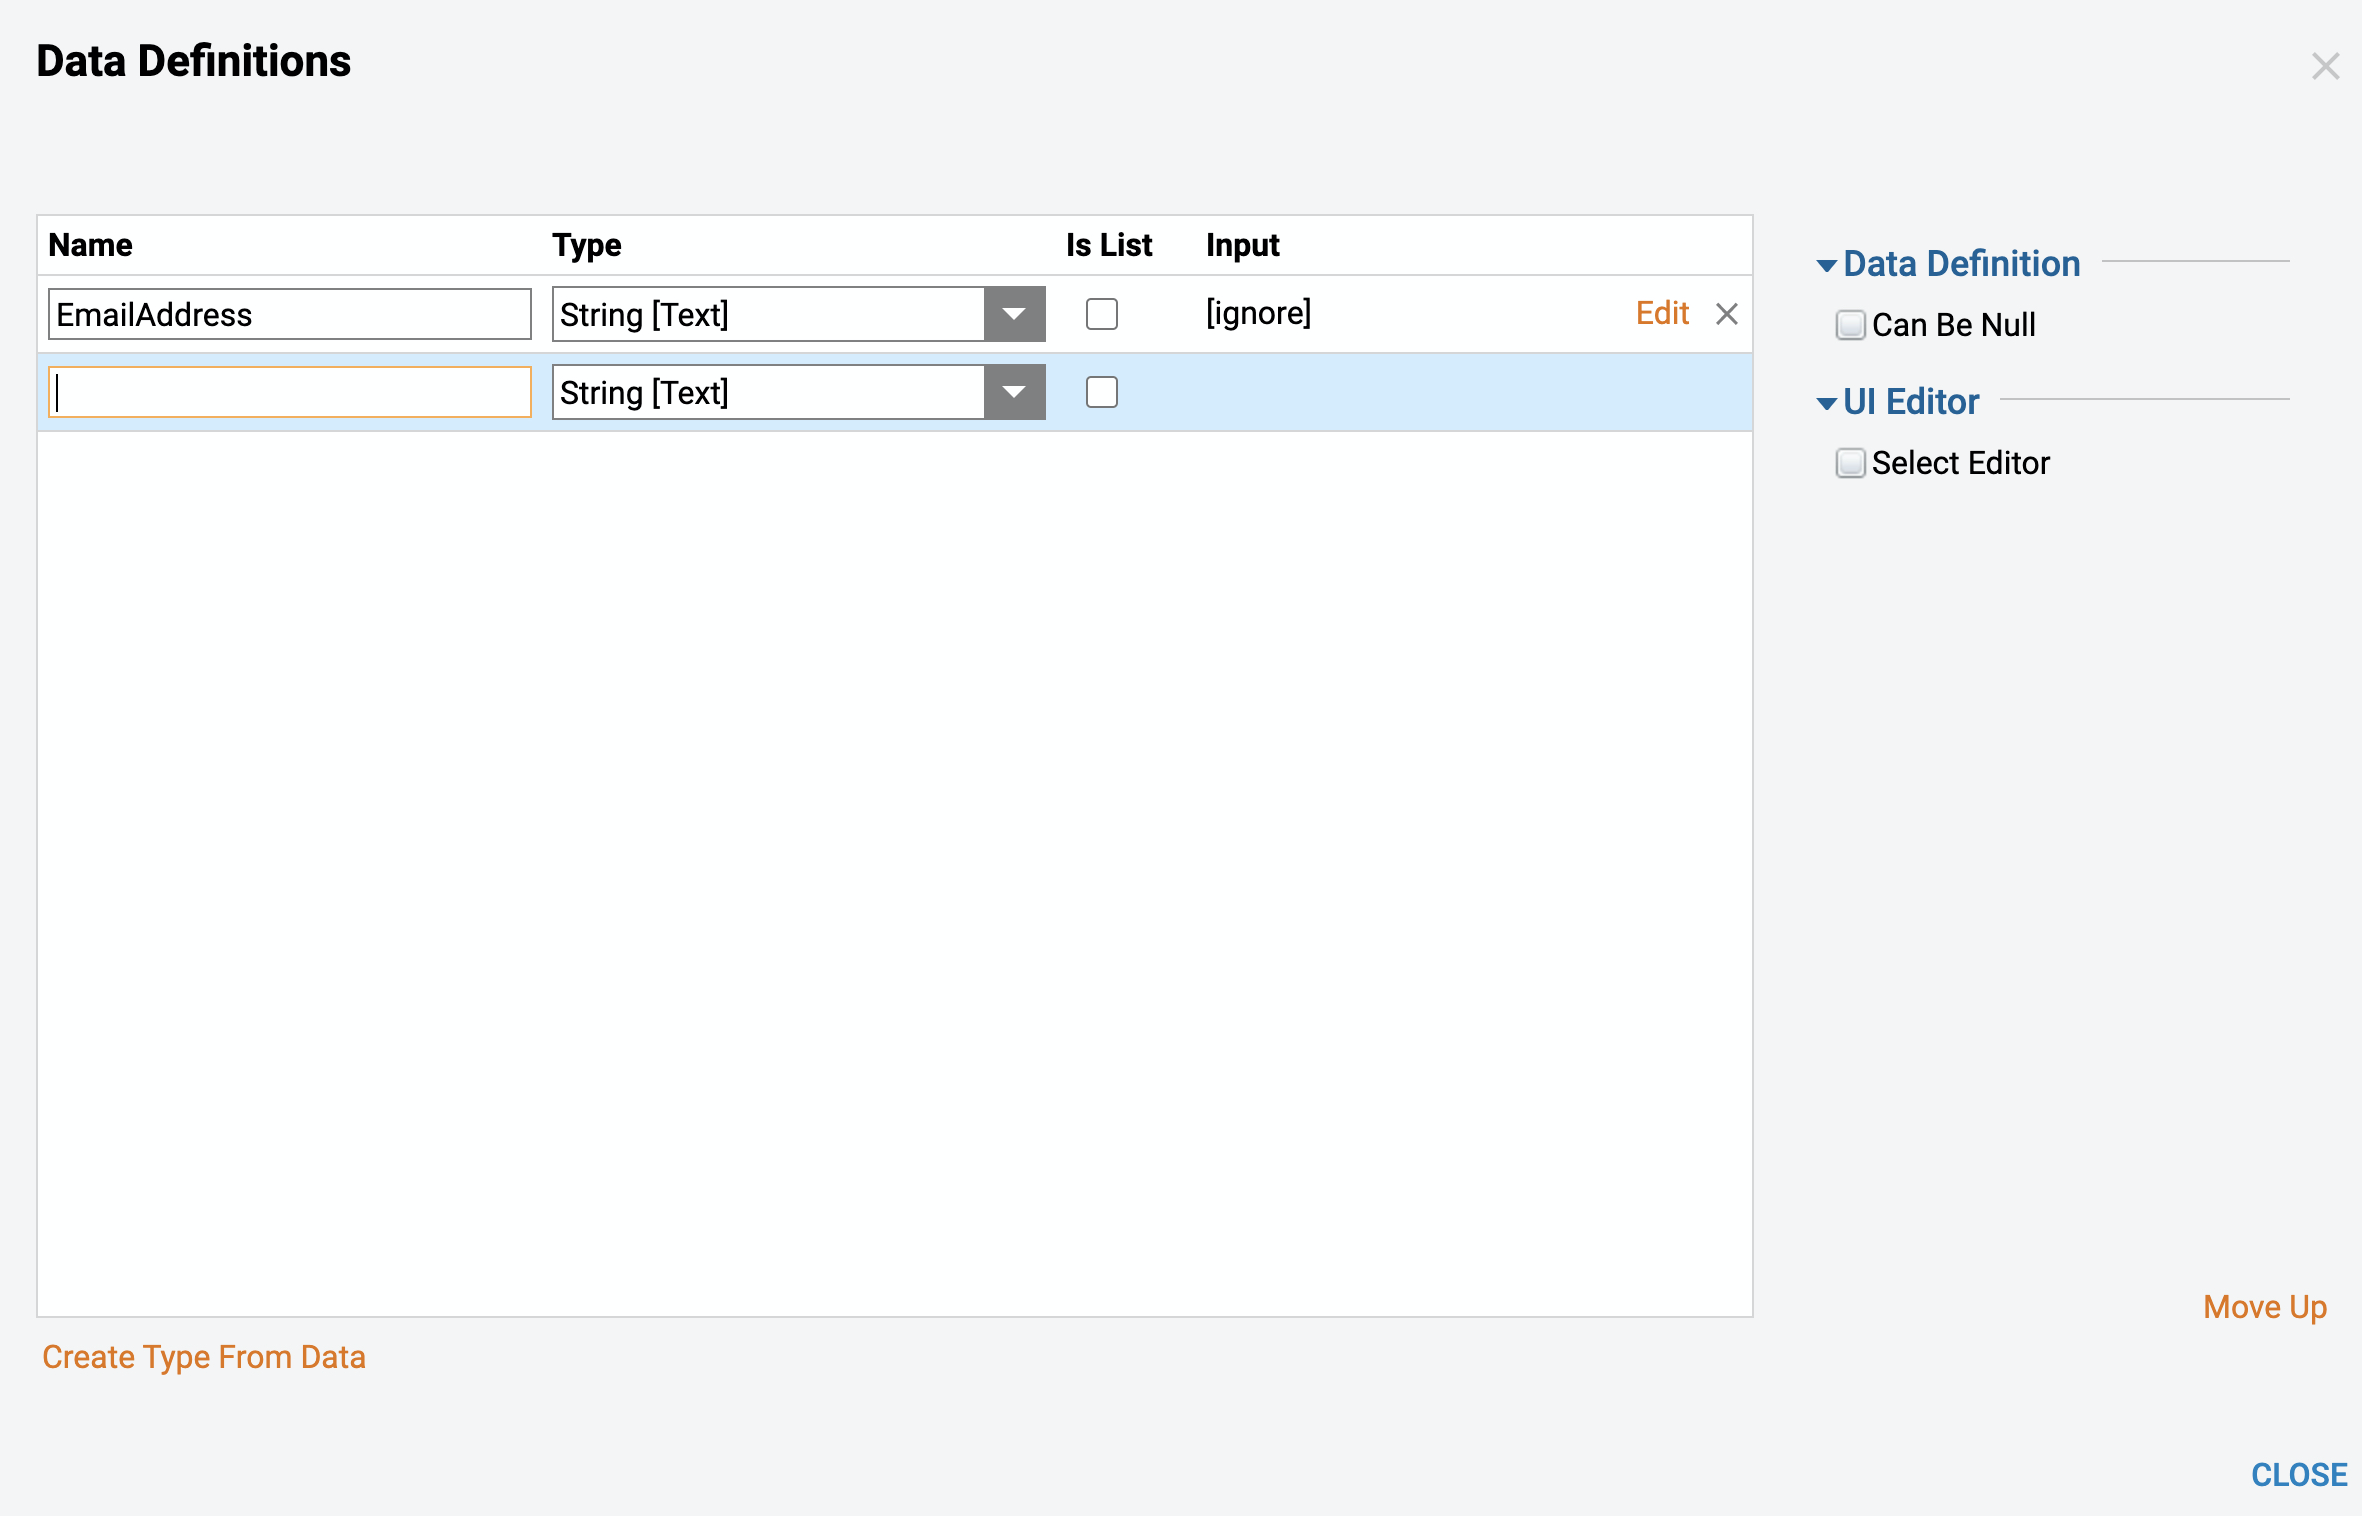
In Data Definitions window we name our data exactly as we named Filter Change Source in Report (EmailAddress). Then, Close this window to save and continue.
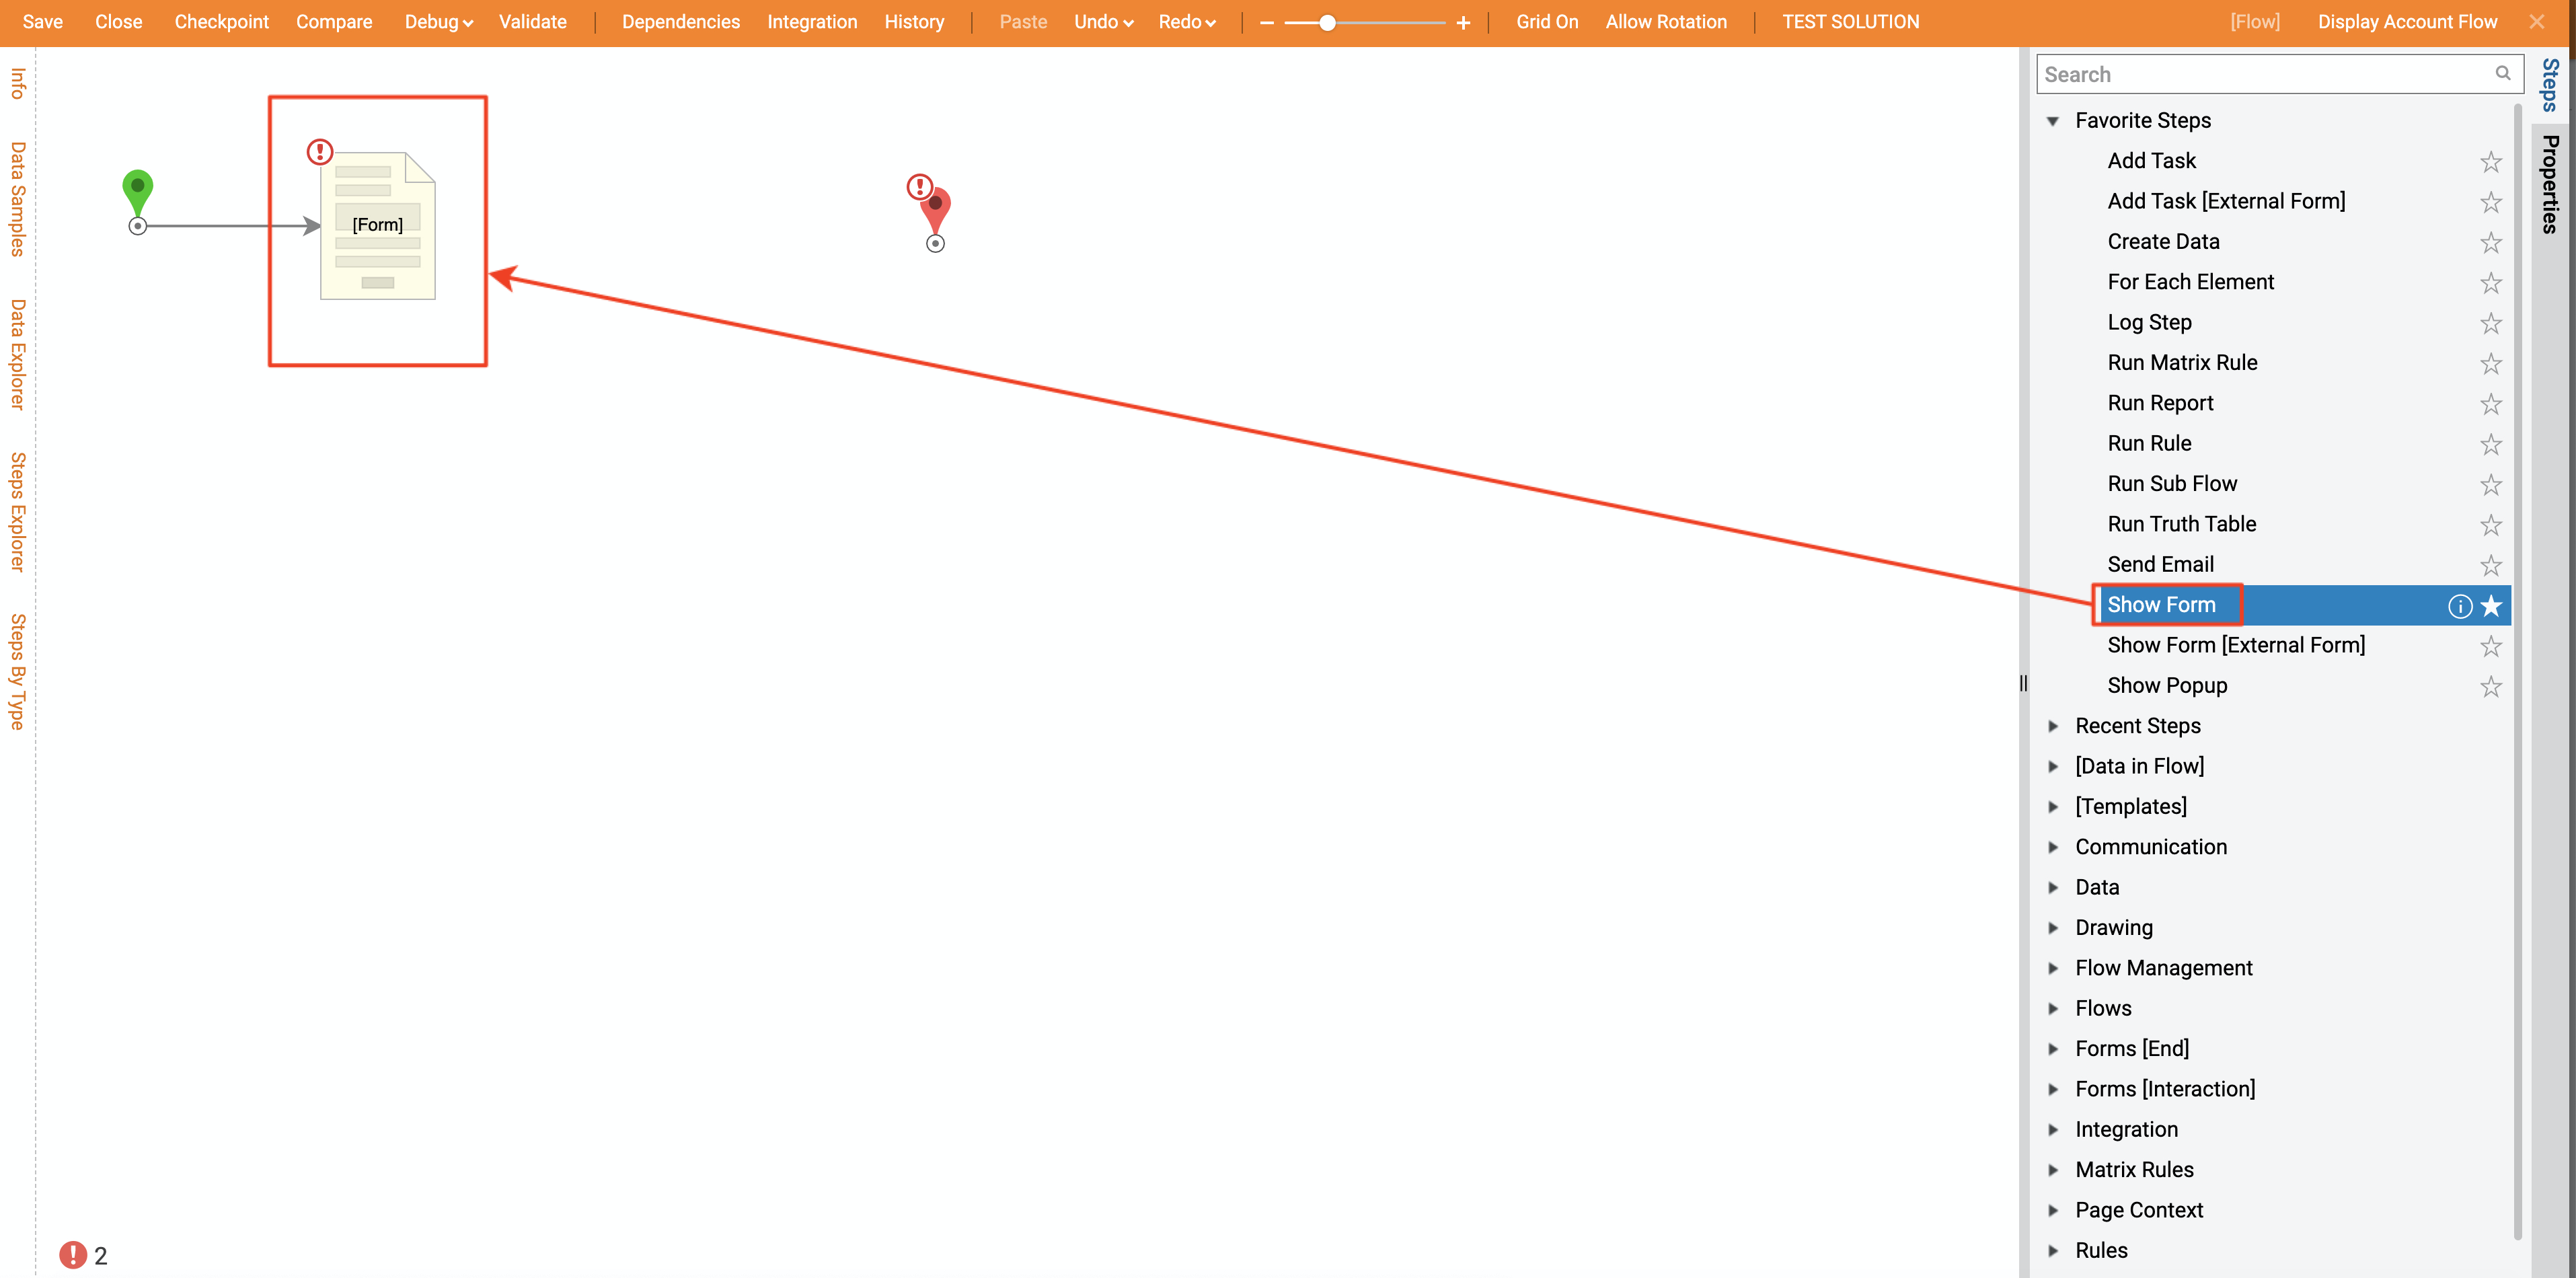
Next, we add Show Form step from Favorite Steps category.
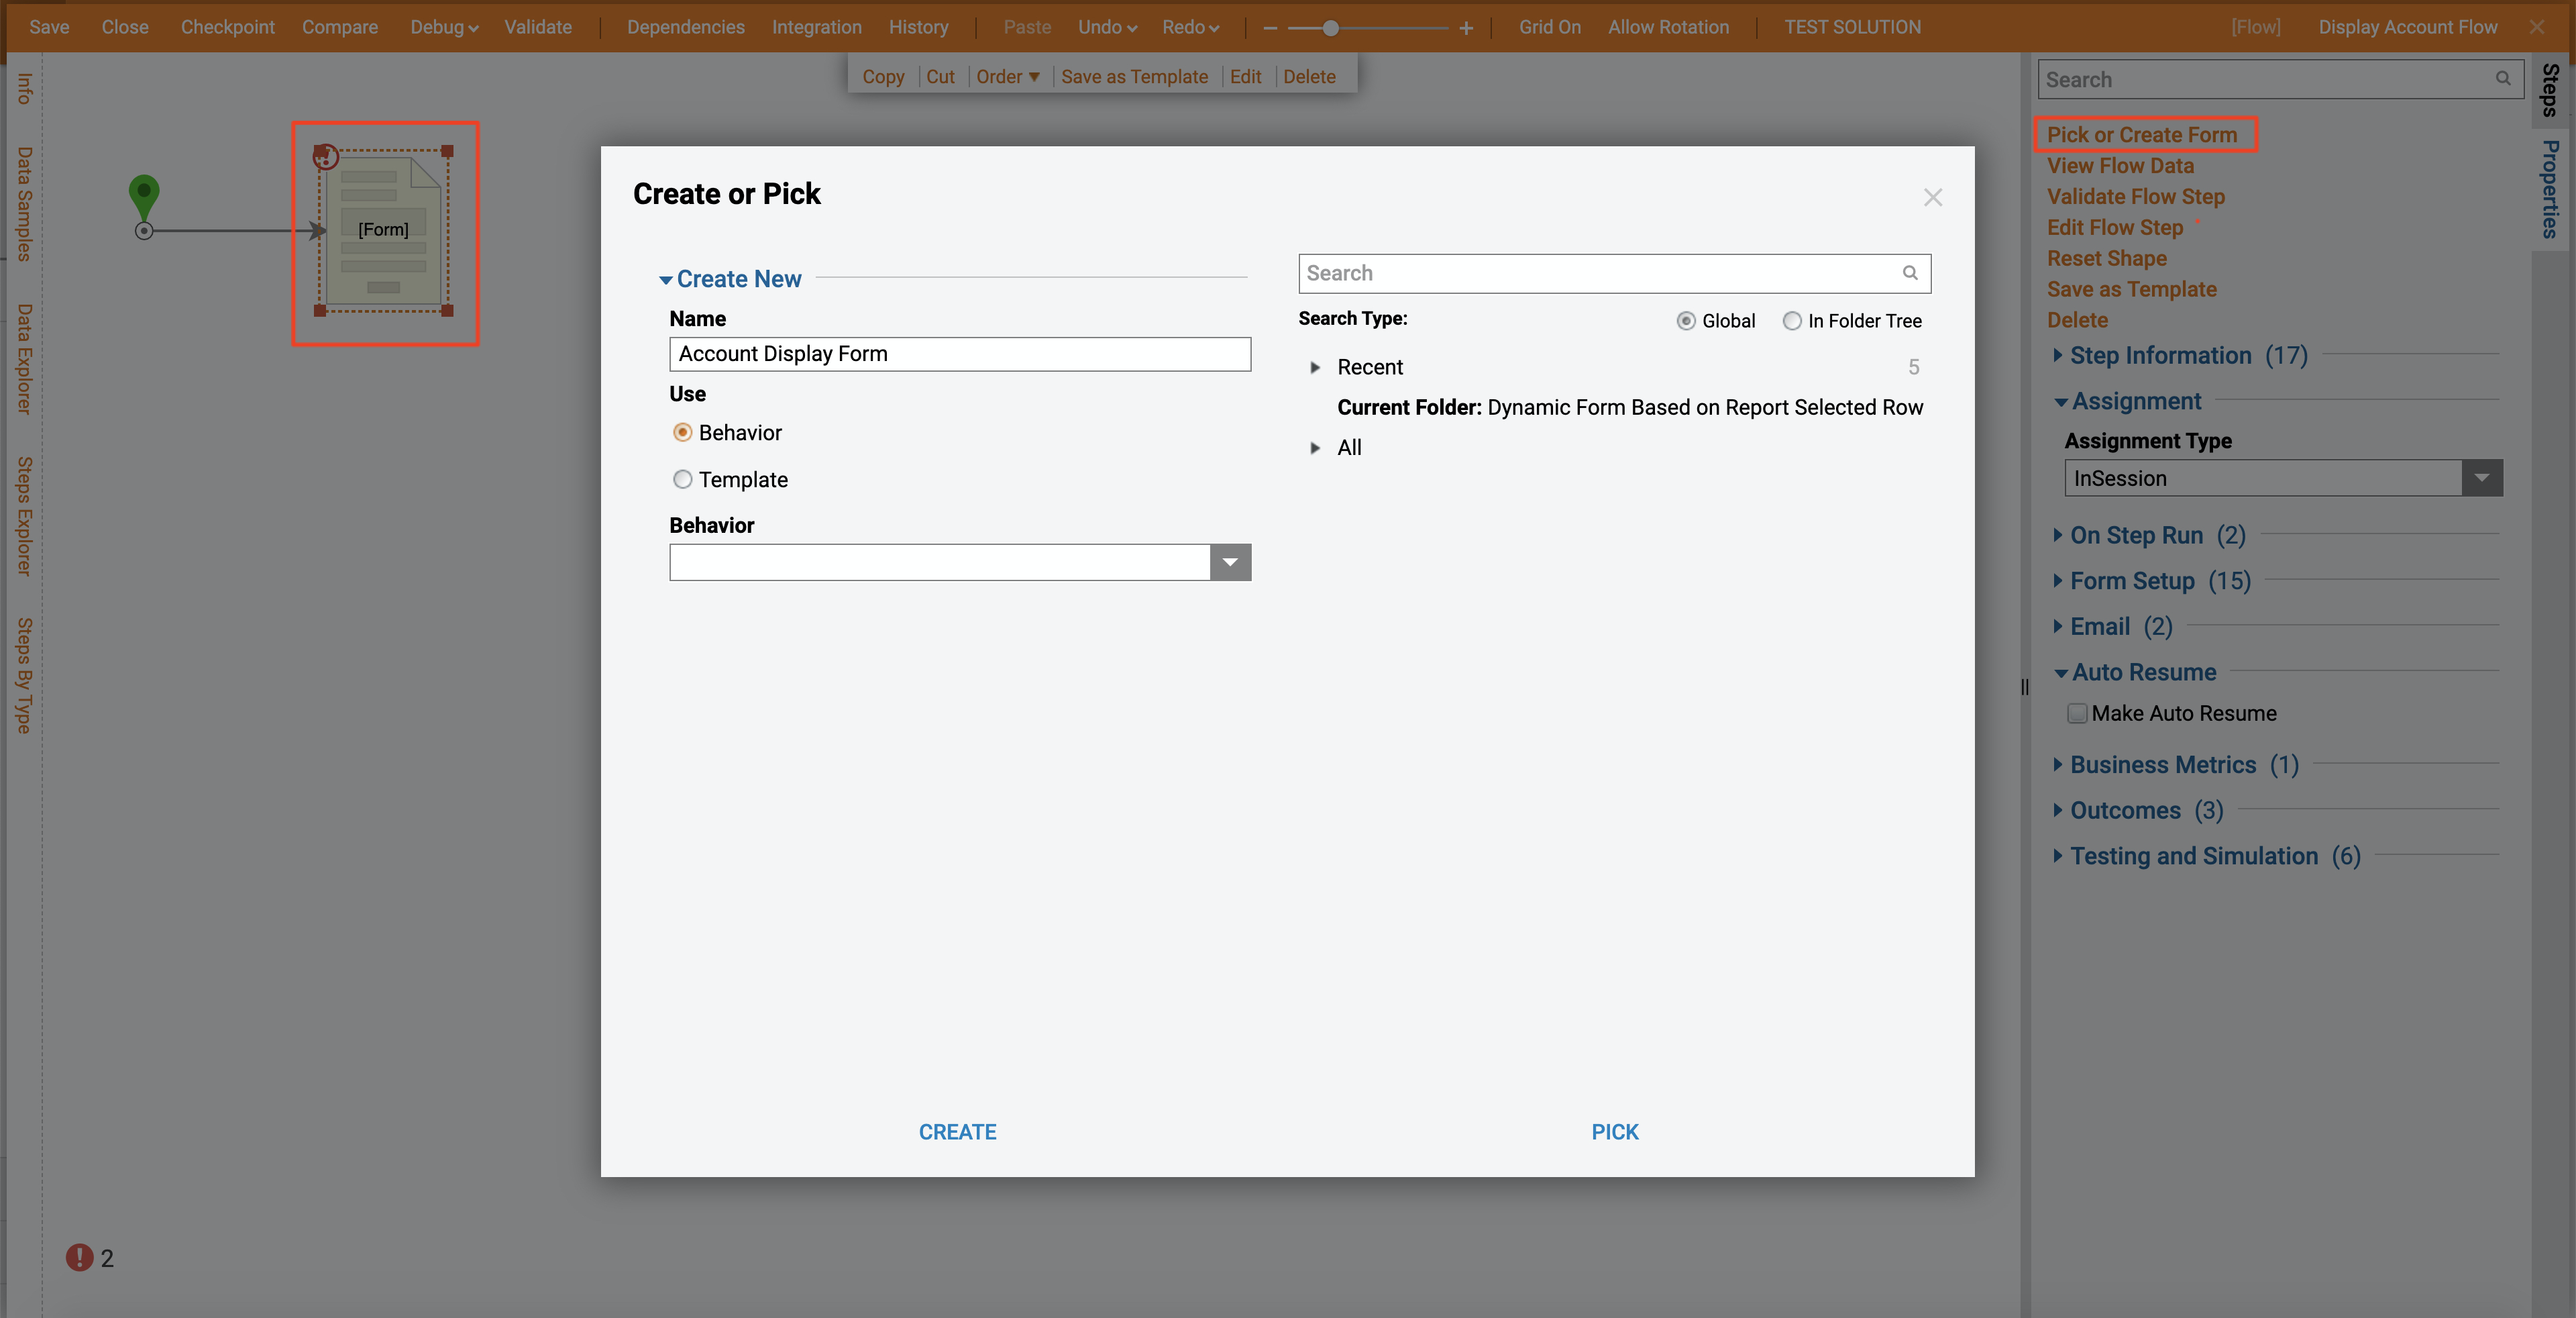
In the resulting window we Name the Form and click Create to proceed to the Form Designer.
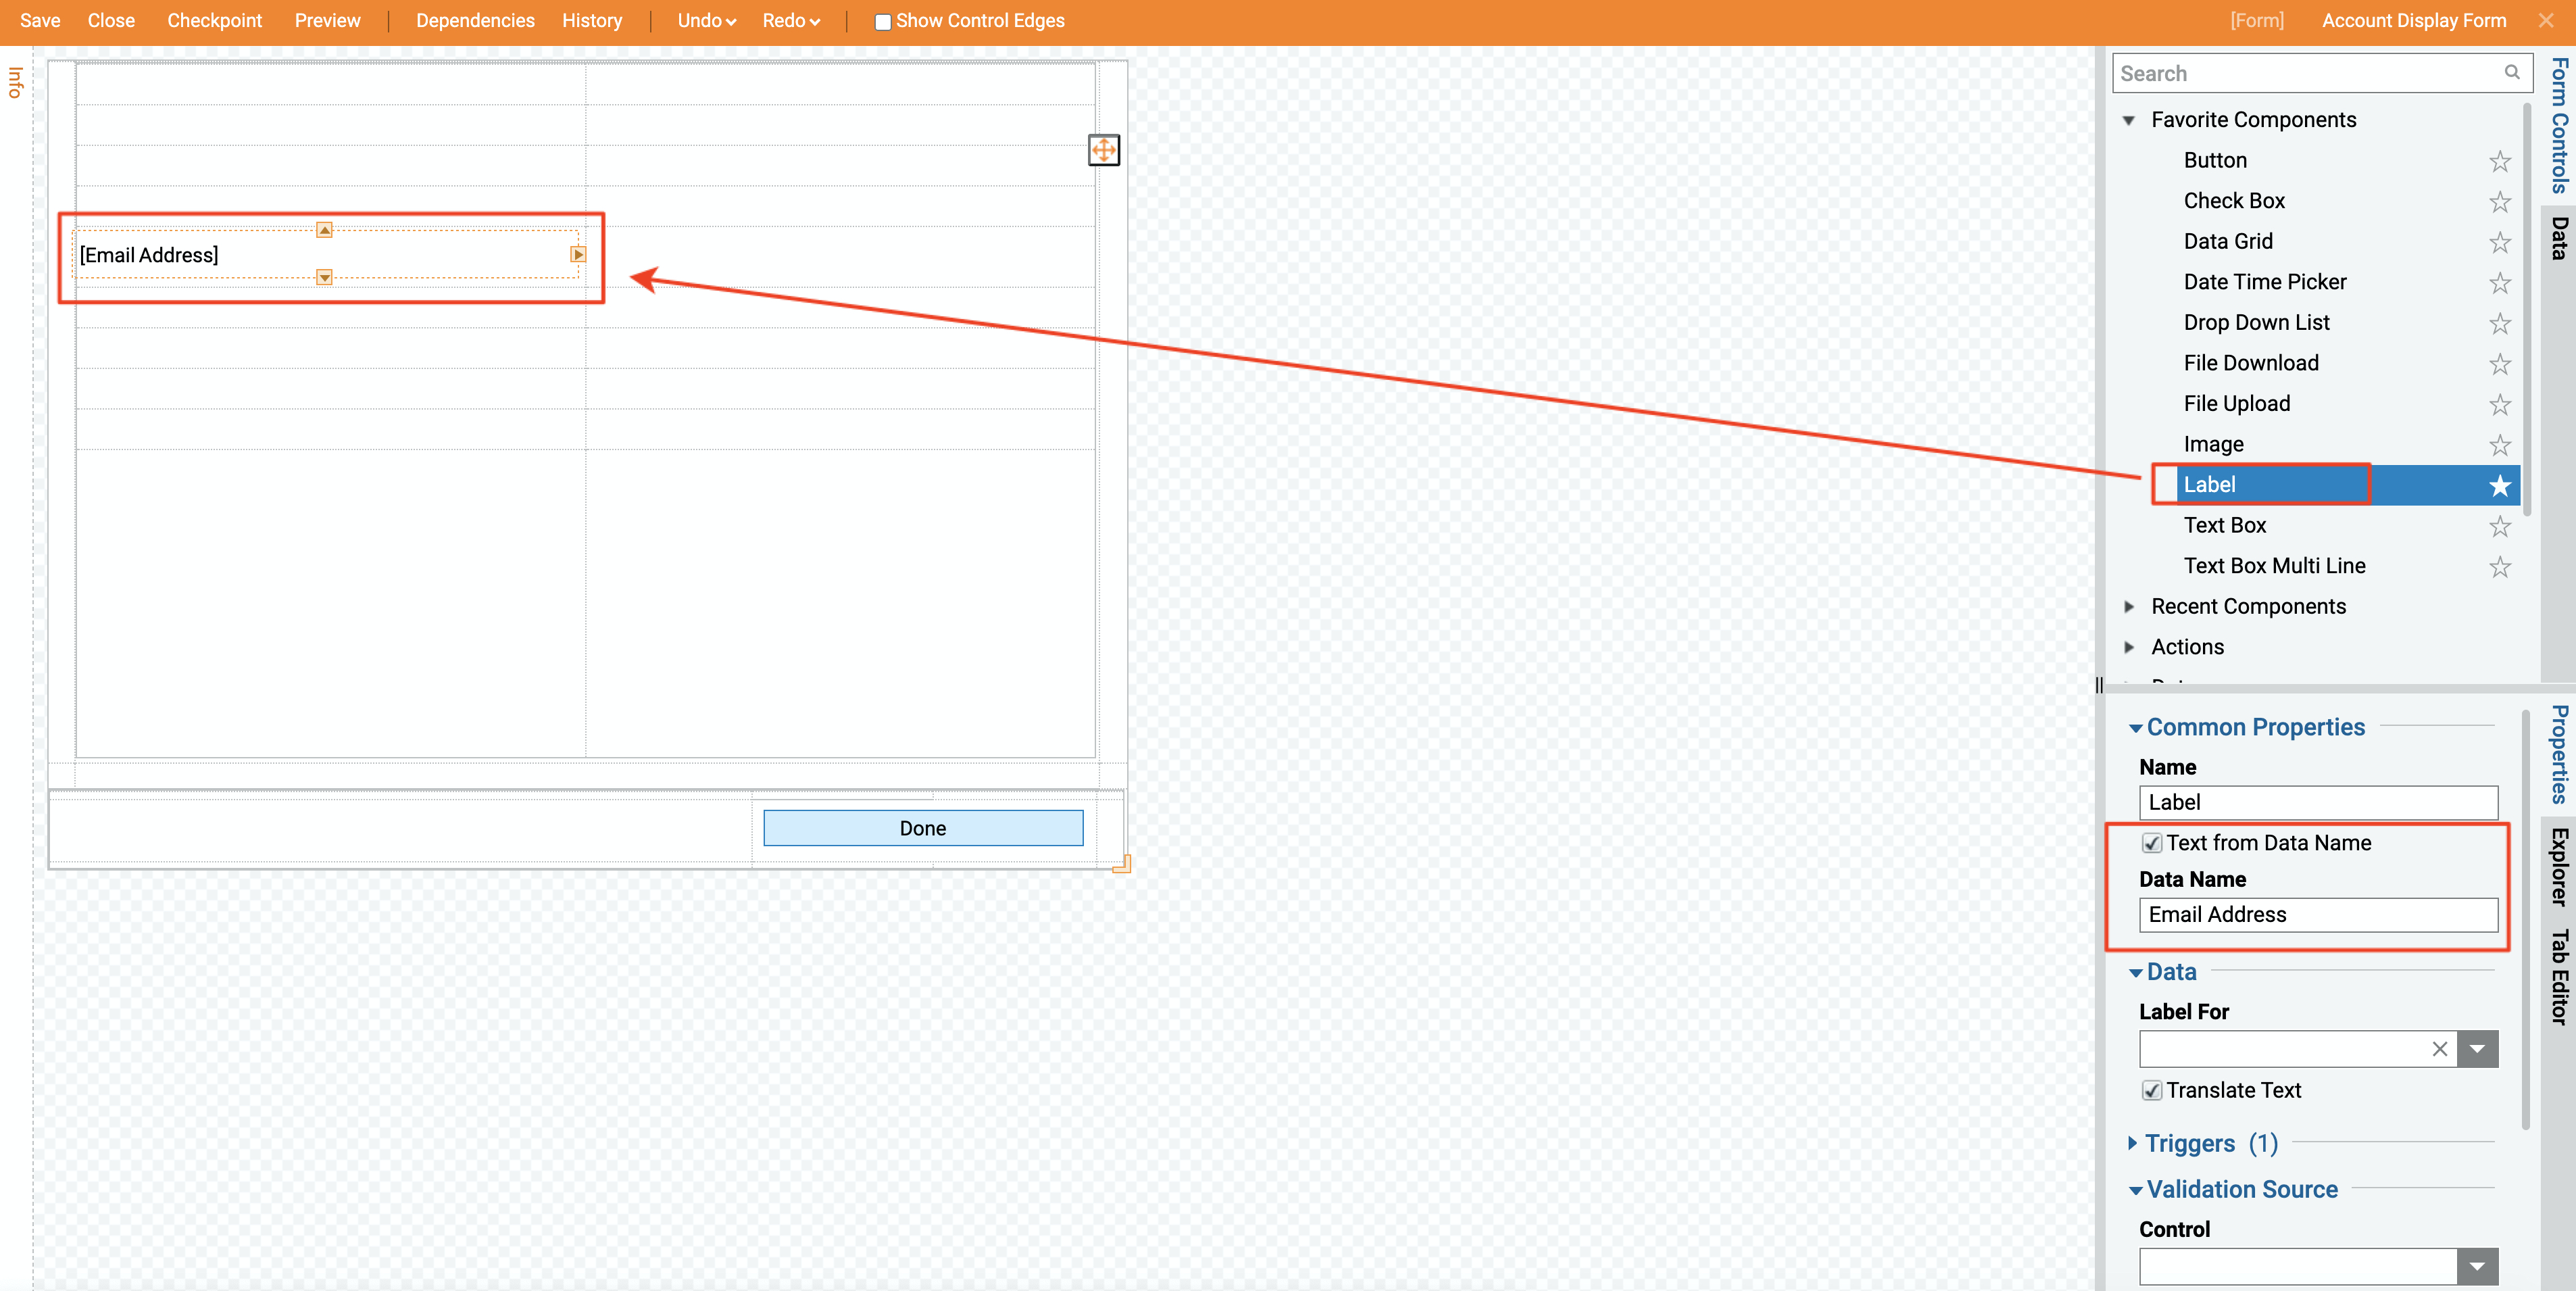
Our Form is designed as following… It has a Button control and Email Address Label Of Data Value to display Email Address from the selected row on the Report. When finished designing Form we can save it and close Form Designer.
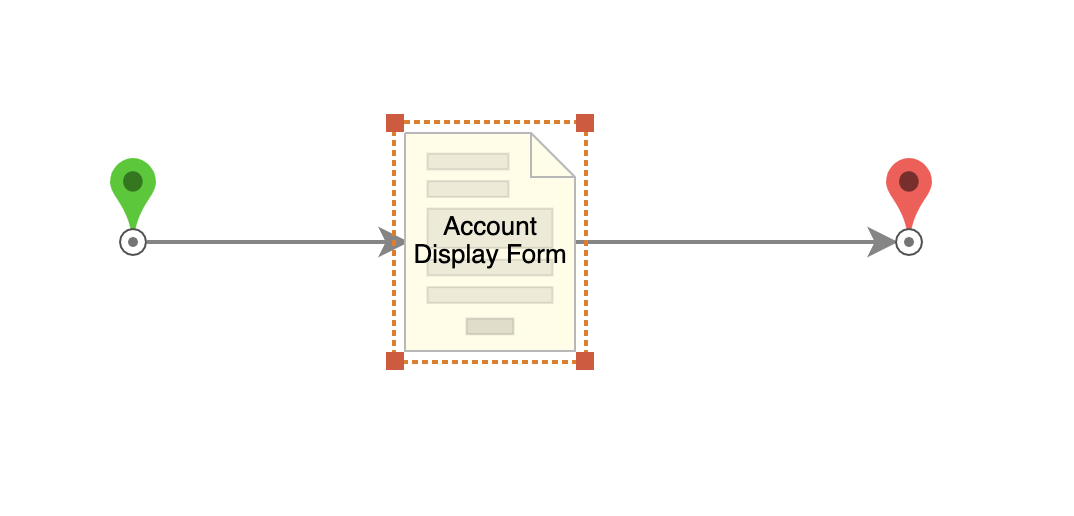
Back in the Flow Designer we connect the outcome from our Form Step to the End Step. This completes our Flow. We can save the Flow and close Flow Designer.
Finally, we are going to create a Page and put all pieces together.
In the Designer Folder we click Manage > Page > Add Page on the Folder Actions Panel.
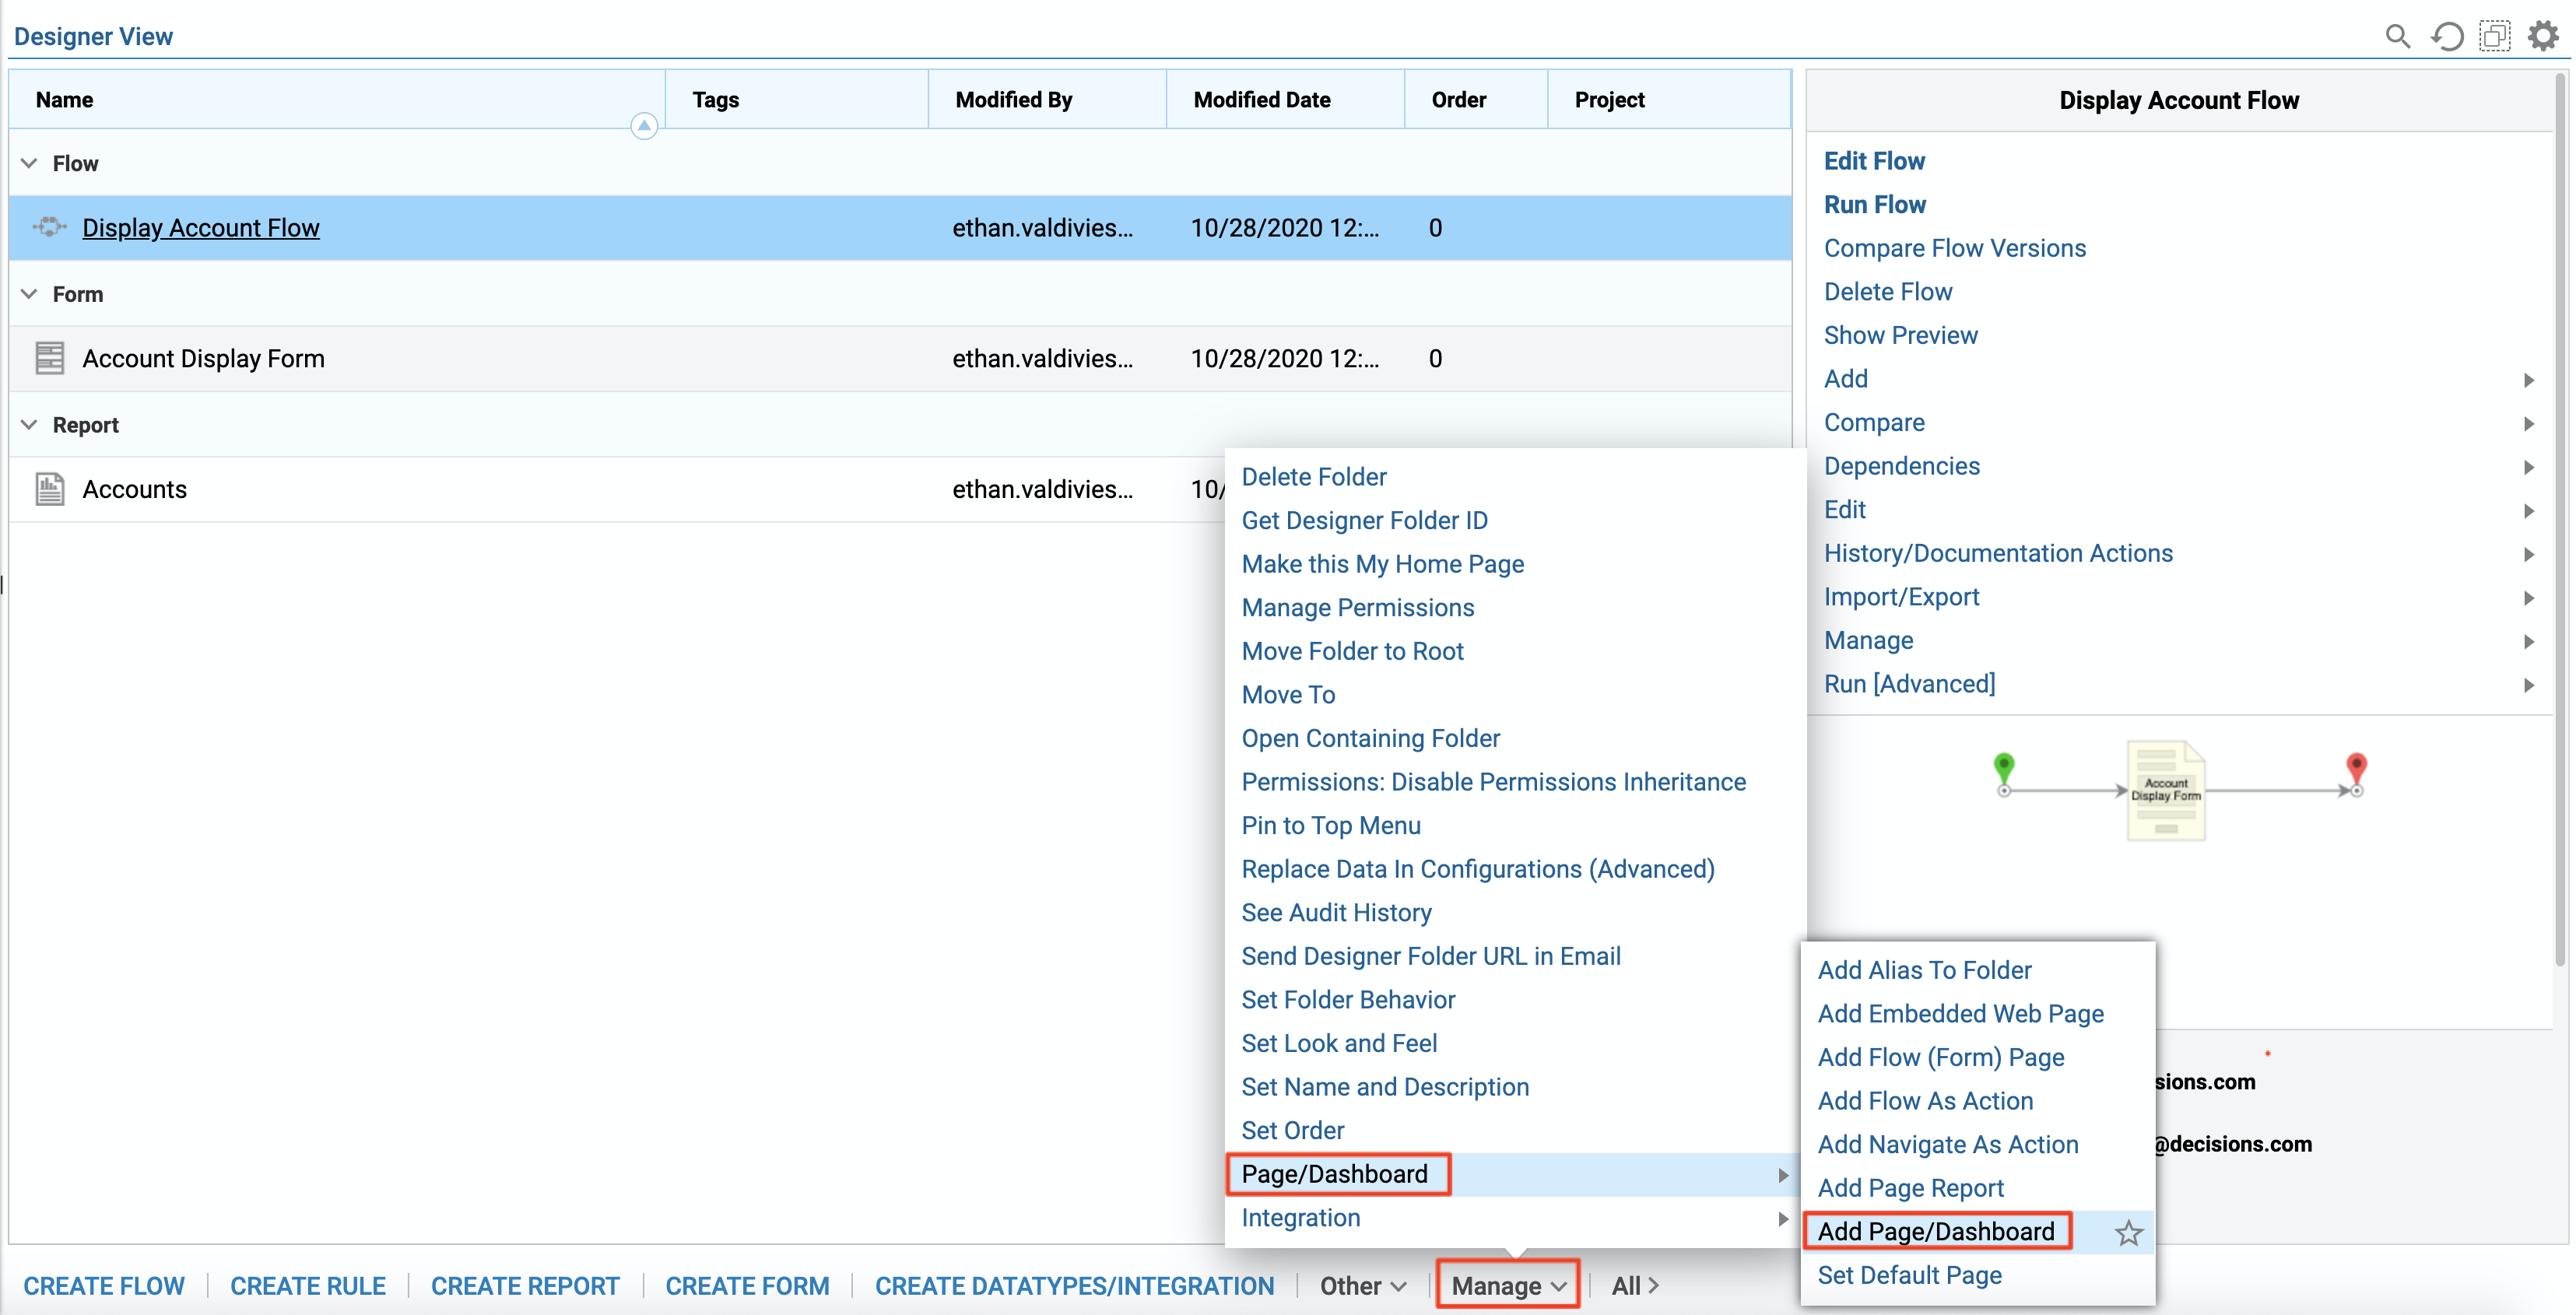
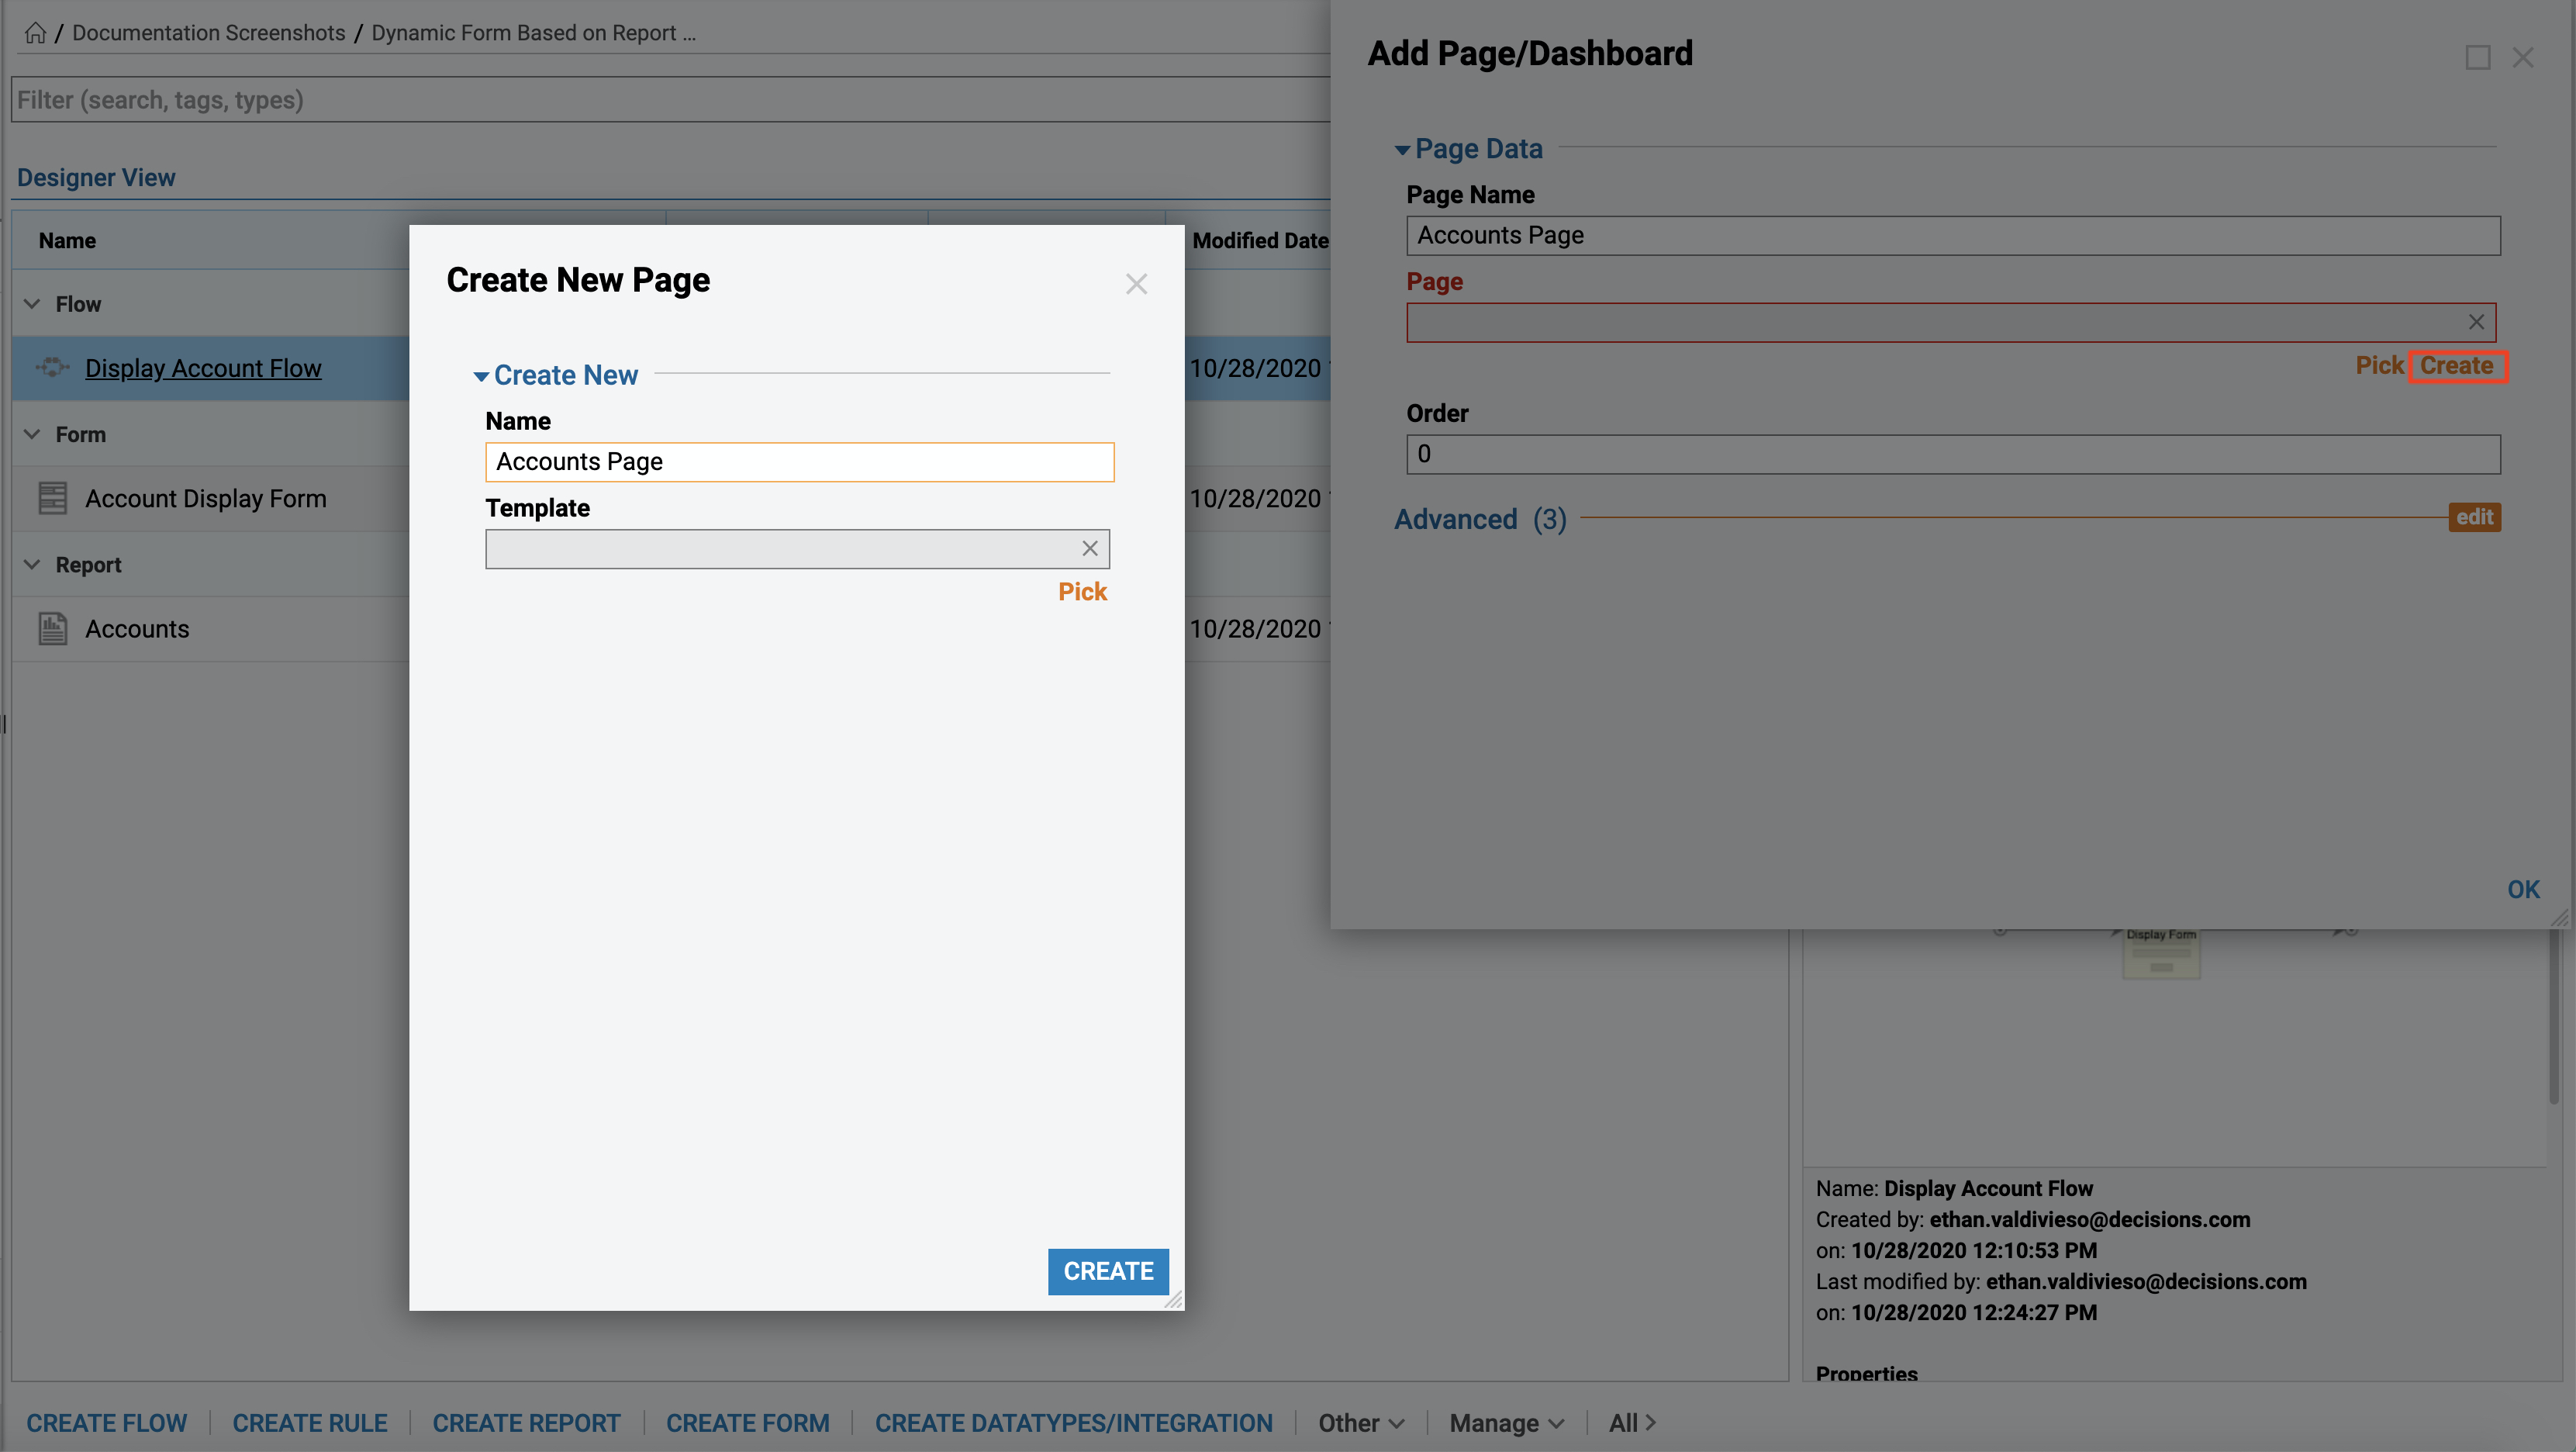
Then, we Name the Page and click Ok to proceed to the Page Designer.
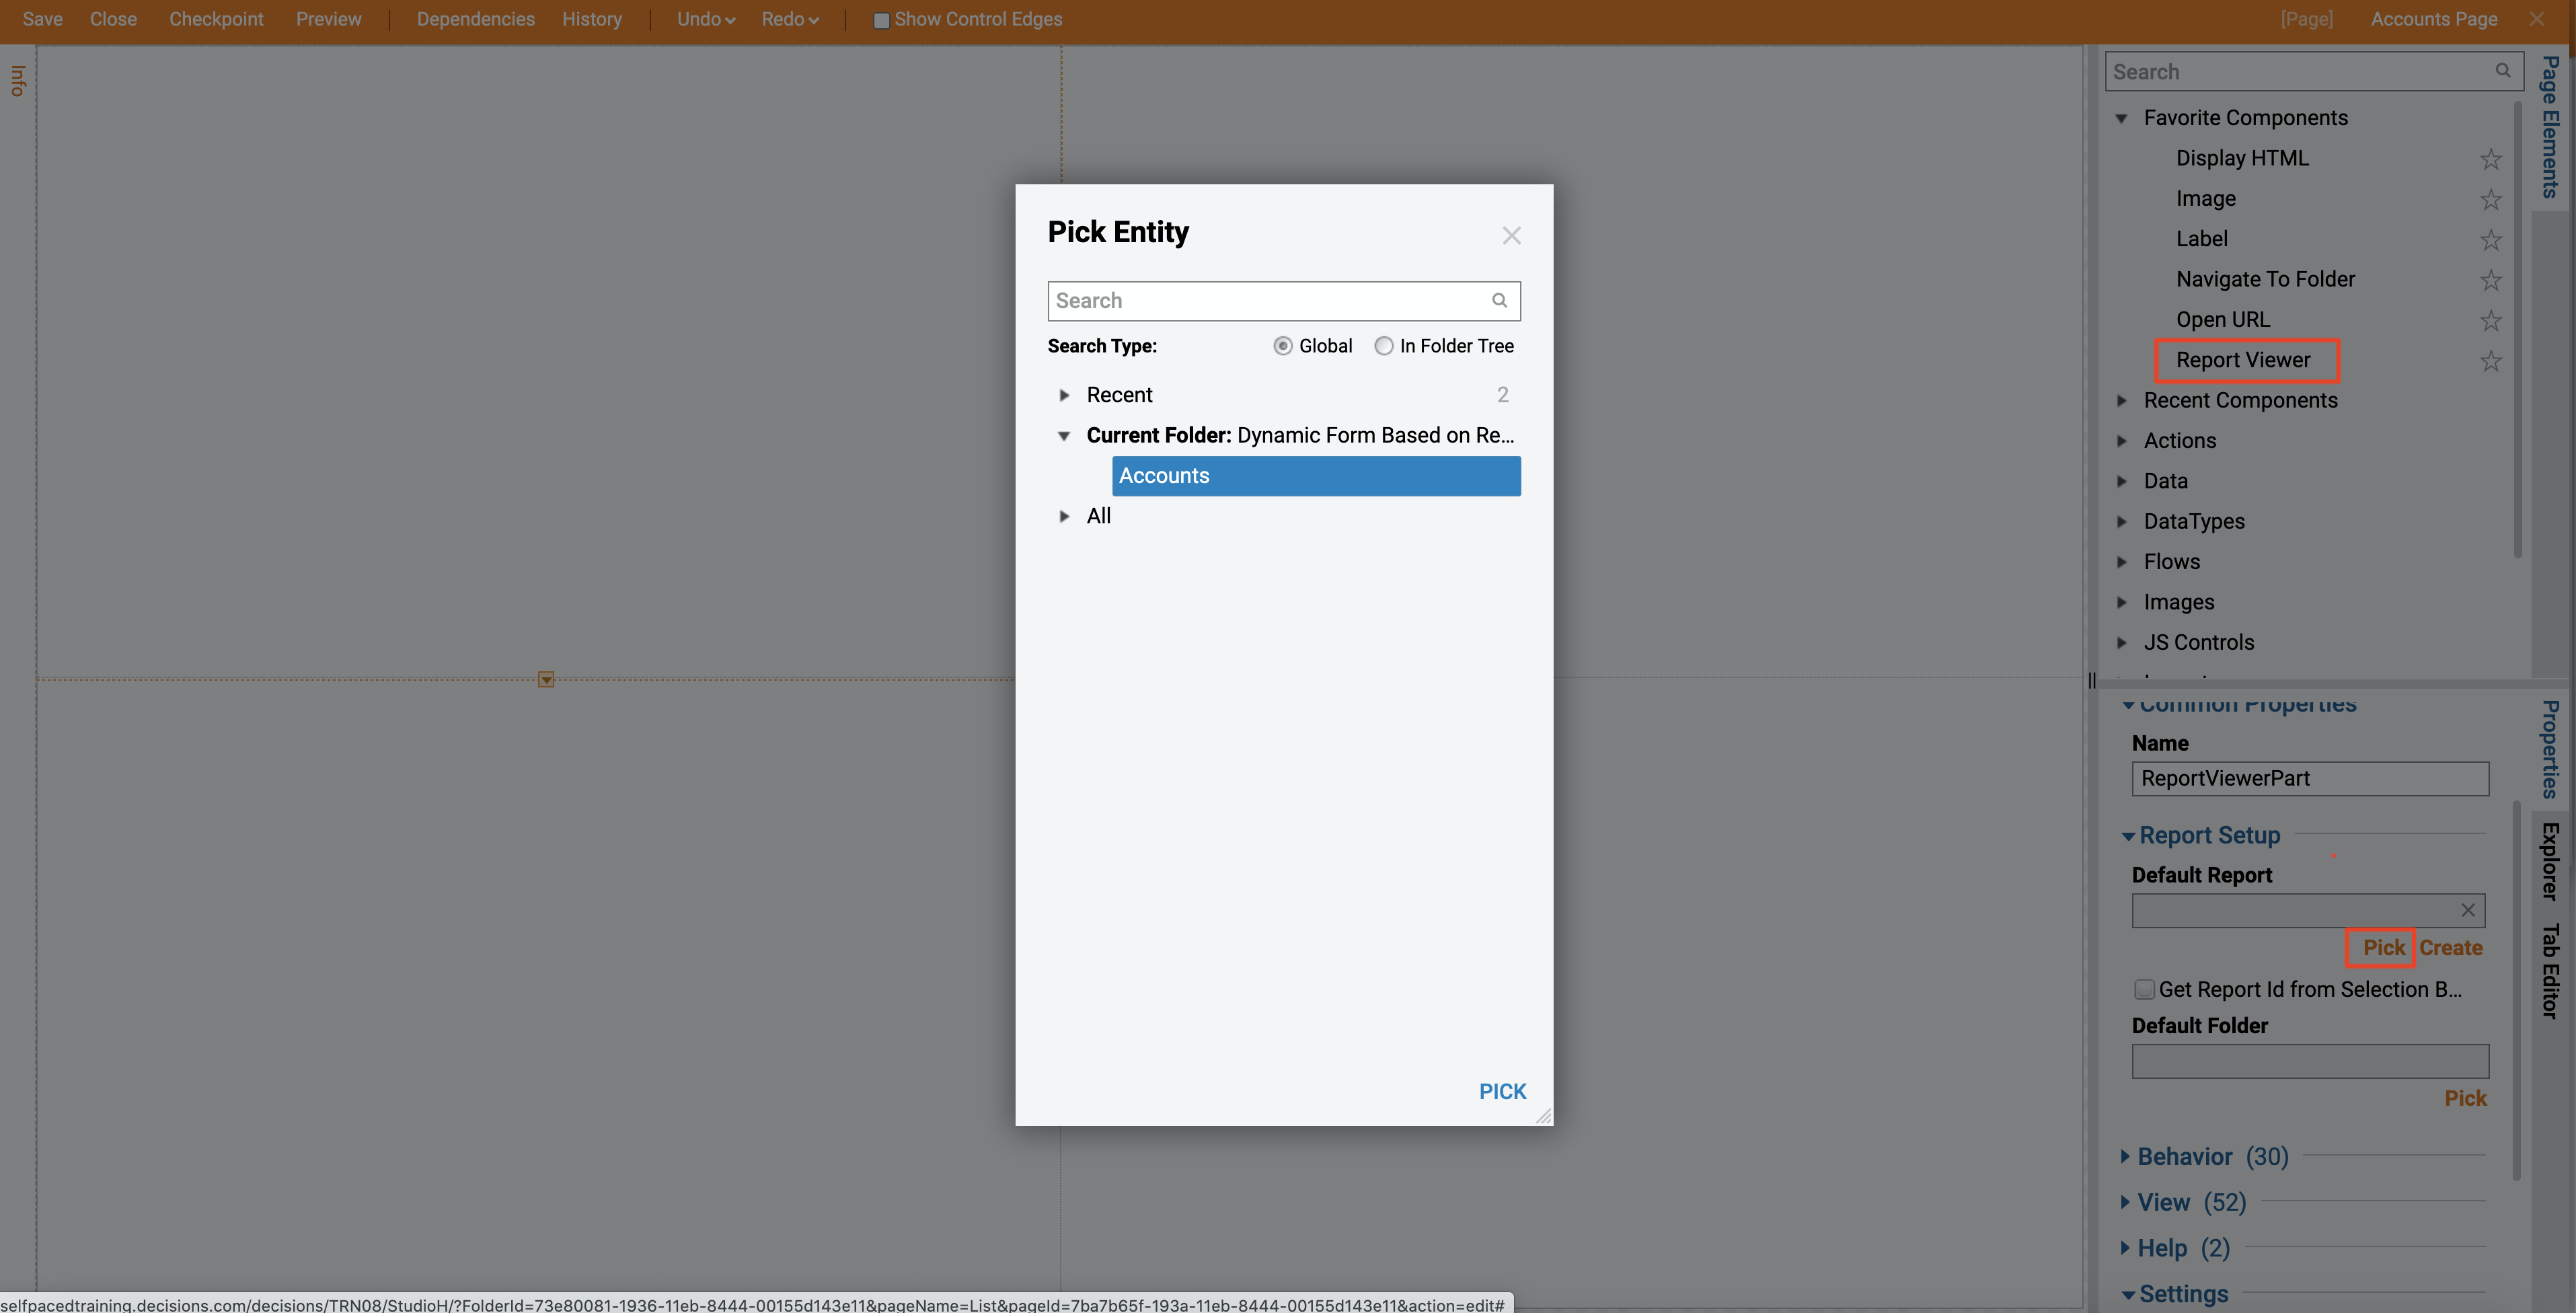
In the Page Designer we add Report Viewer to the left-hand side of our Page and pick Accounts Report as a Default Report.
Next, we add Flow Run Part component to the right-hand side of our Page. For the Flow Run Part we locate Flow ID setting and using Entity Picker pick our Flow.
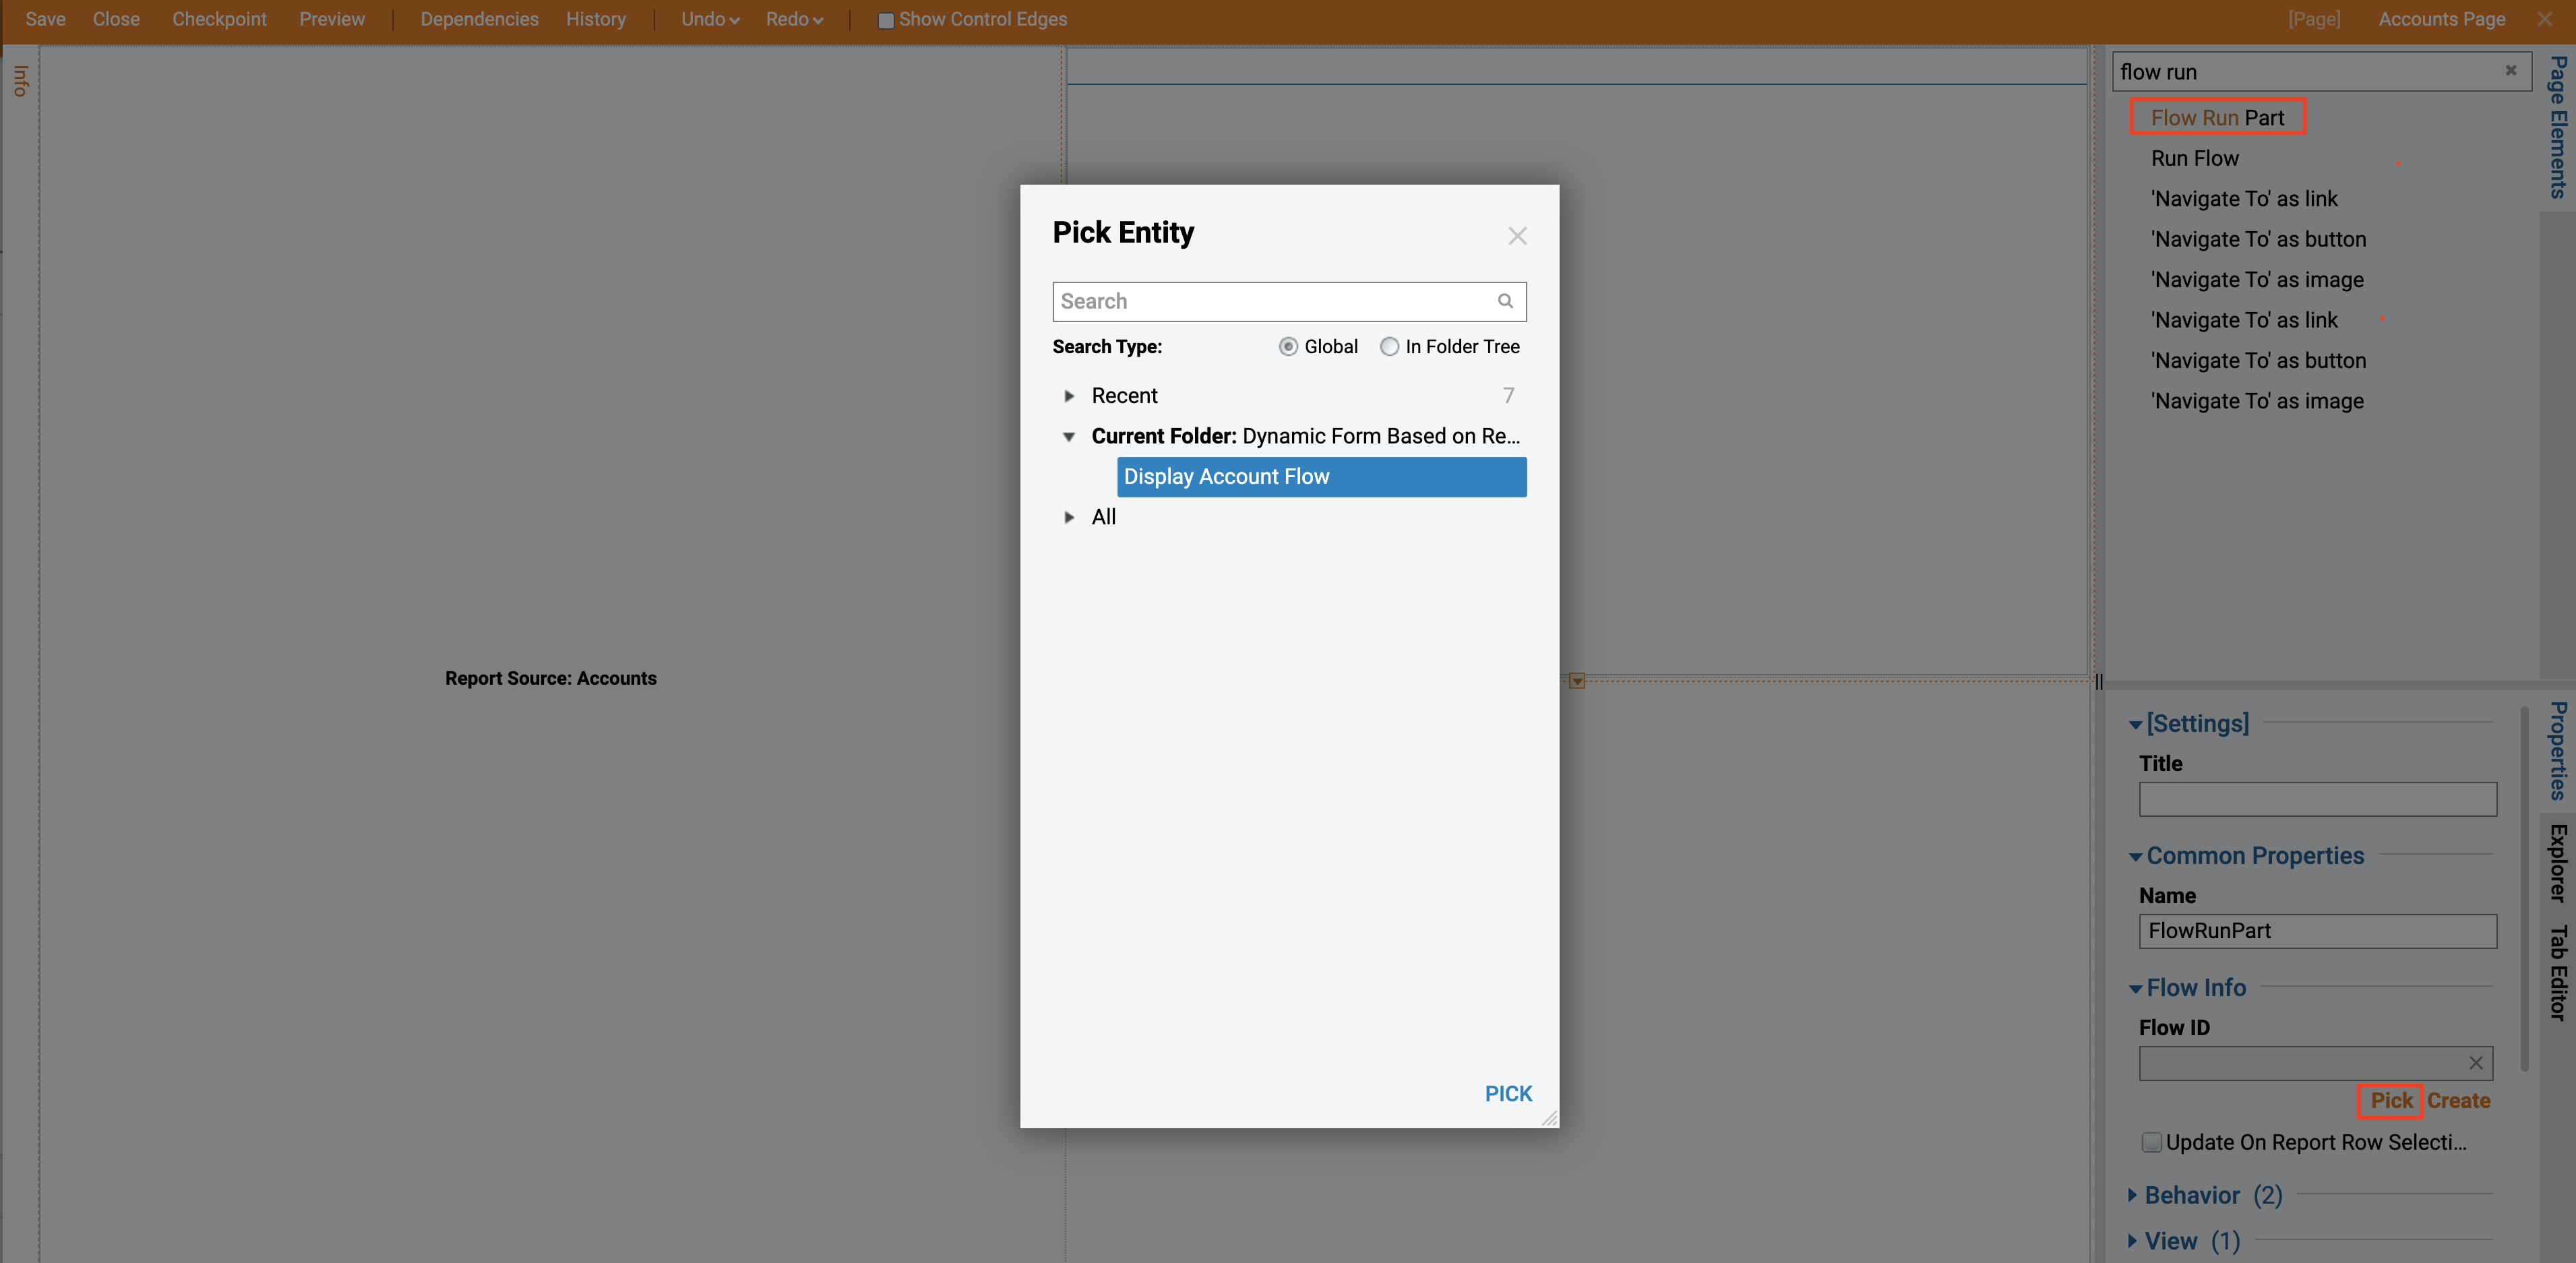
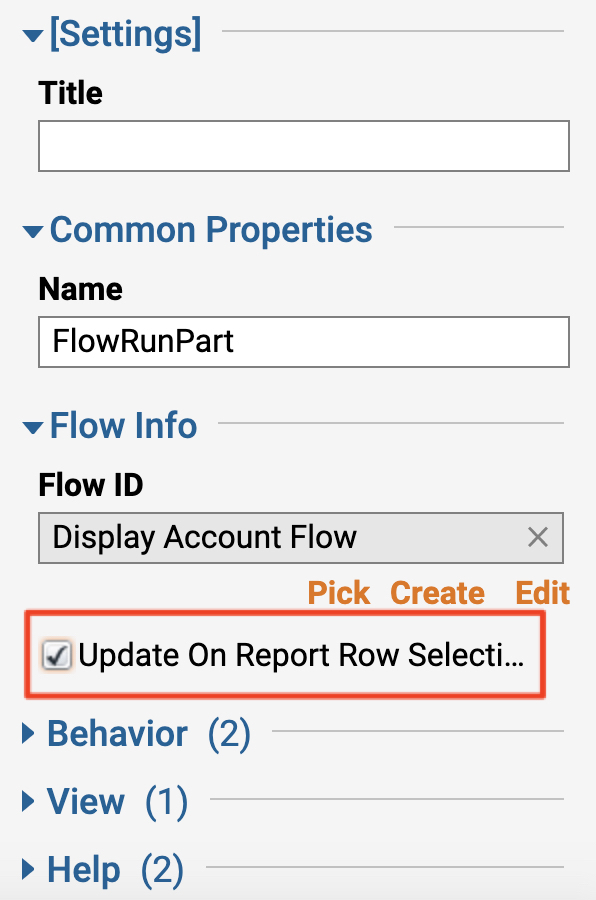
Finally, we check Update On Report Row Selection check-box option for Flow Run Part component.
This completes our Page. We can save the Page and close Page Designer.
Our Accounts Page view looks as following… First row on Report is selected by default and our Form displays respective Email Address.
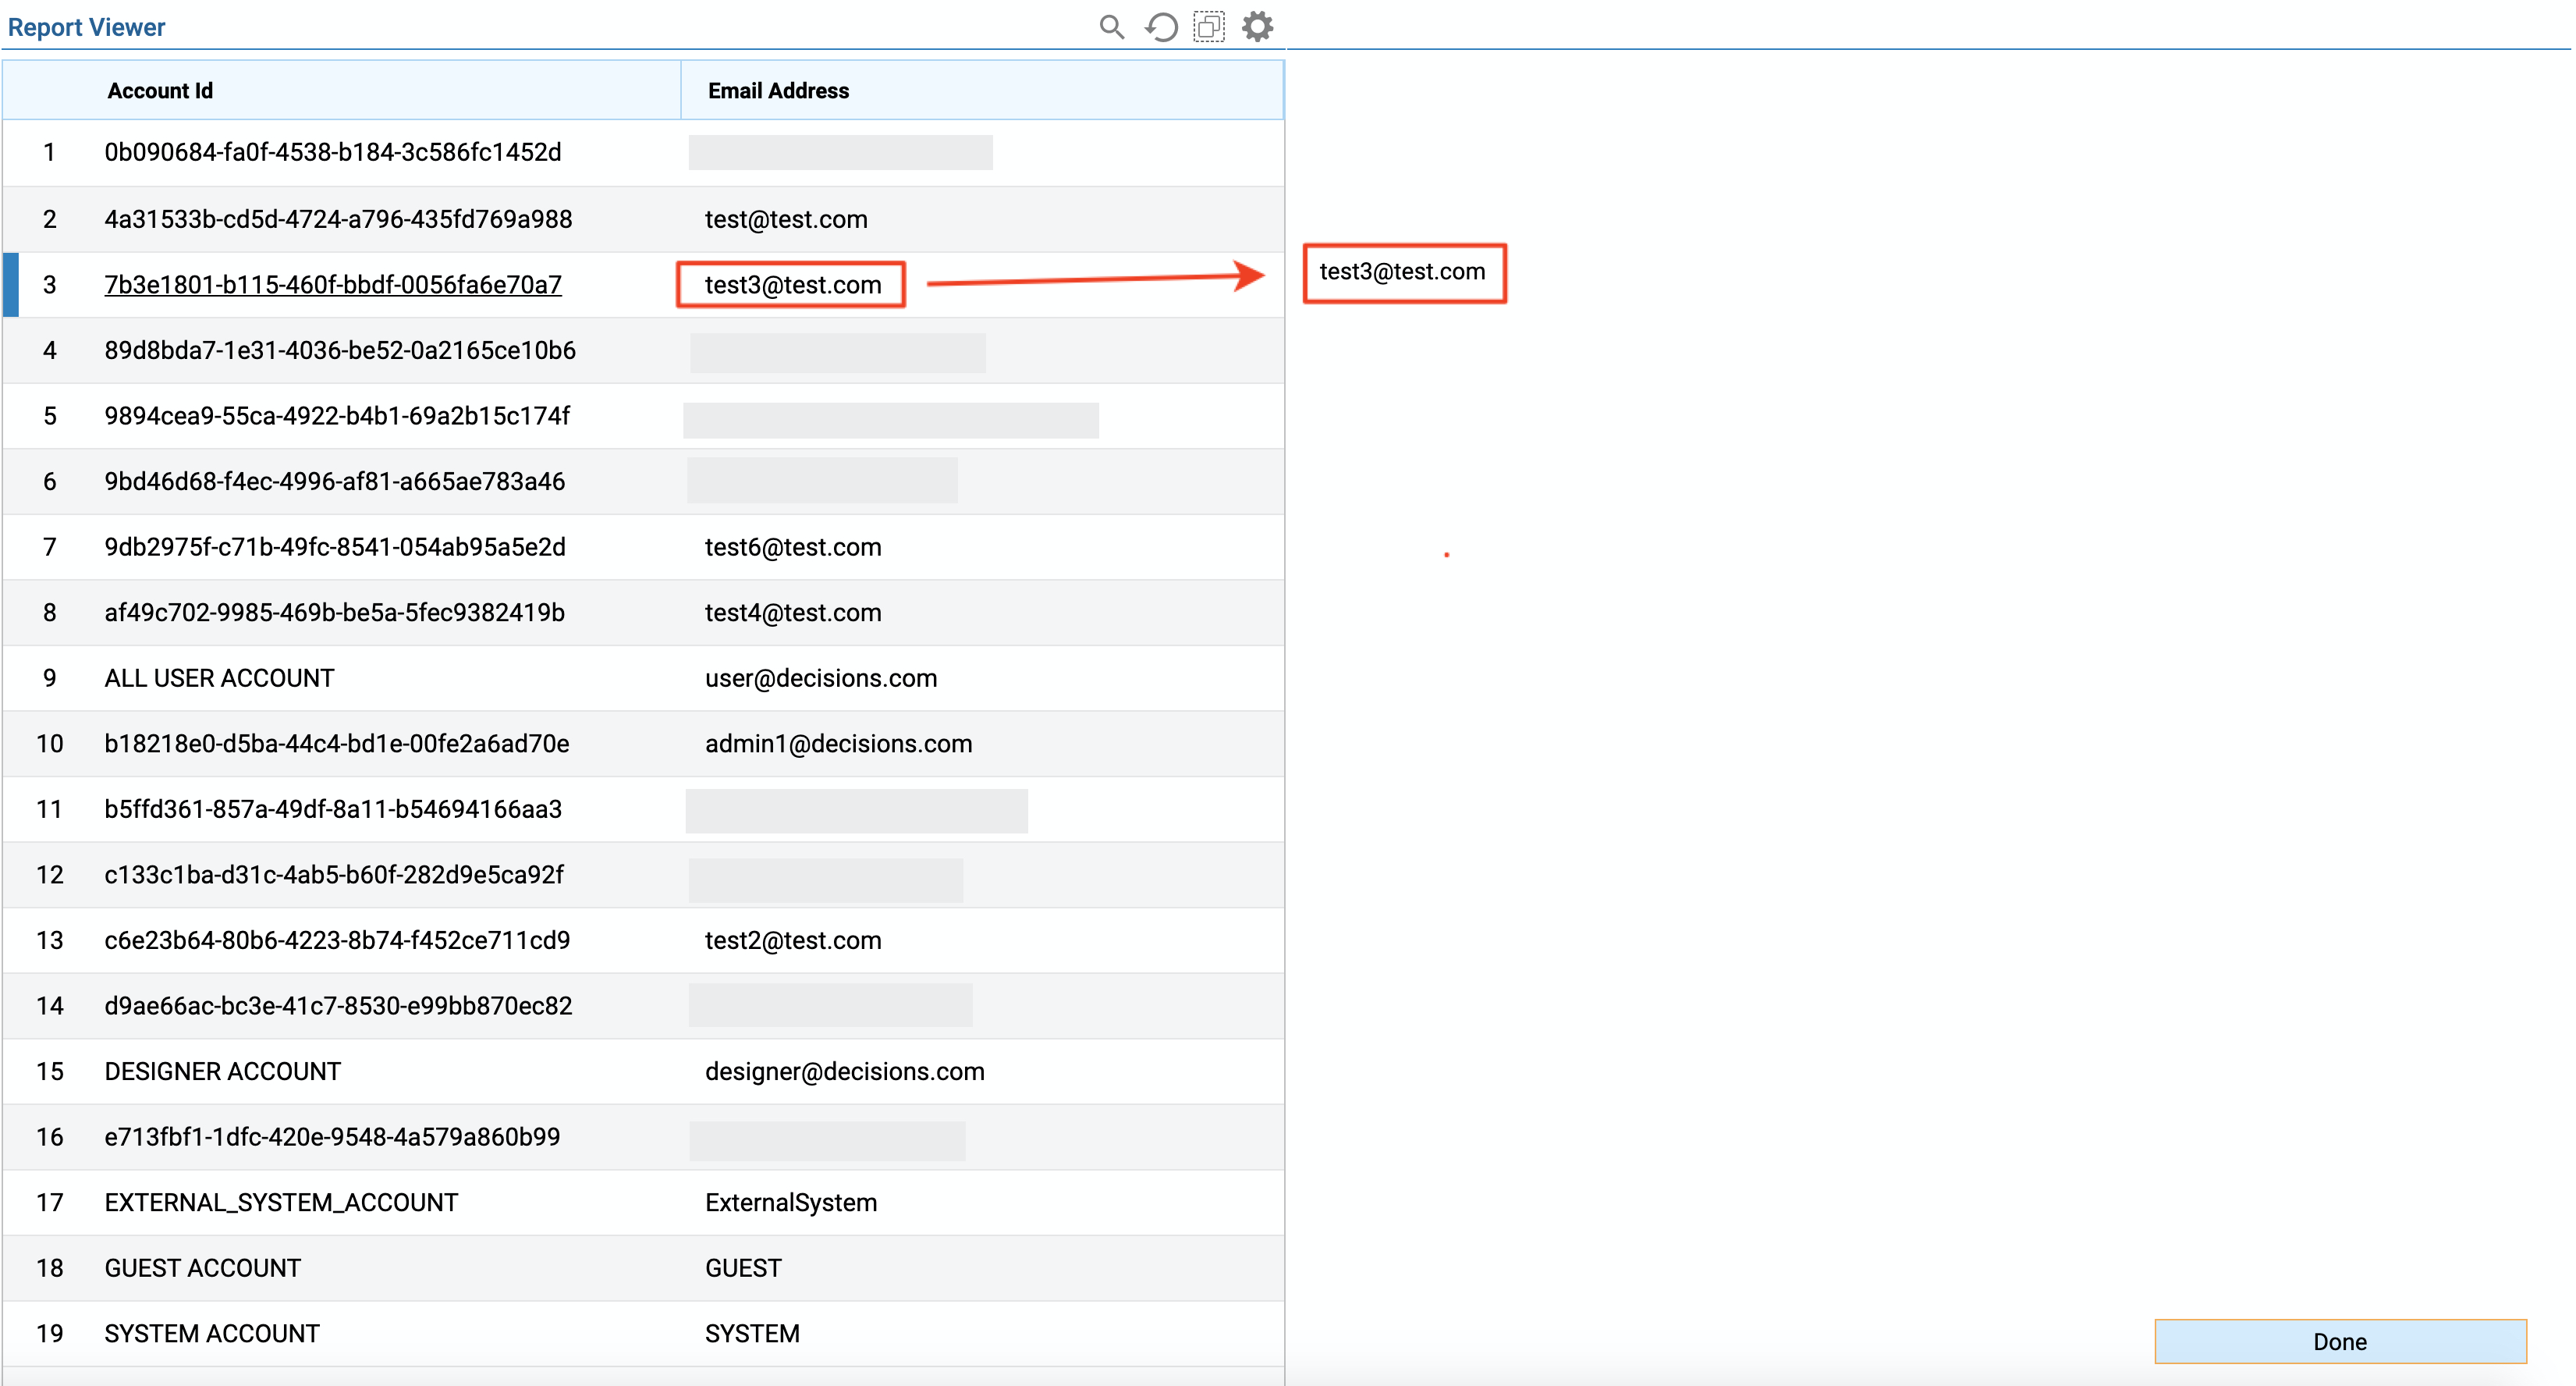
When we select different row on the Report, Flow automatically reruns and displays newEmail Address on the Form.
