Overview
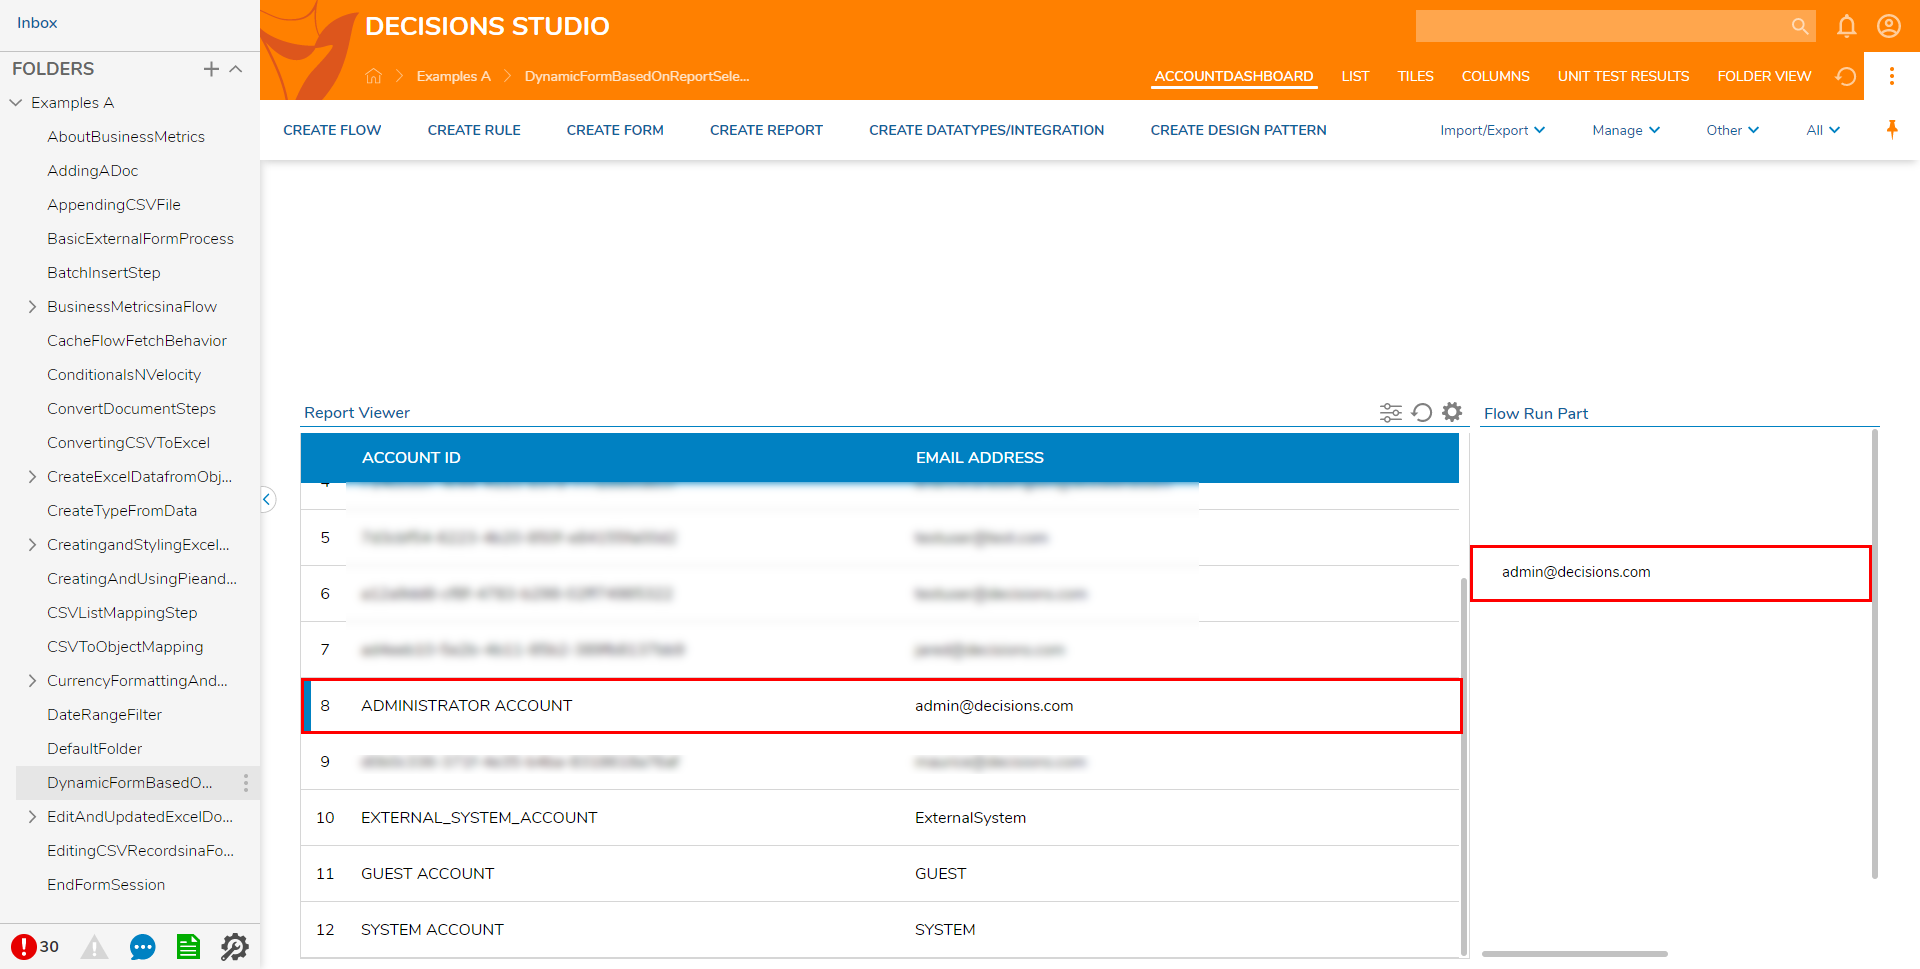
The tutorial below demonstrates how to update a Form in Flow Run Part on the Page based on the Report Selected Row on the same Page.
Example
The Report will report on data from the Account Data Source.
For additional info on creating and designing Reports, see: Create a Report.
- From a Designer Project, select CREATE REPORT on the Global Action Bar; select Report, provide a Name and click CREATE.
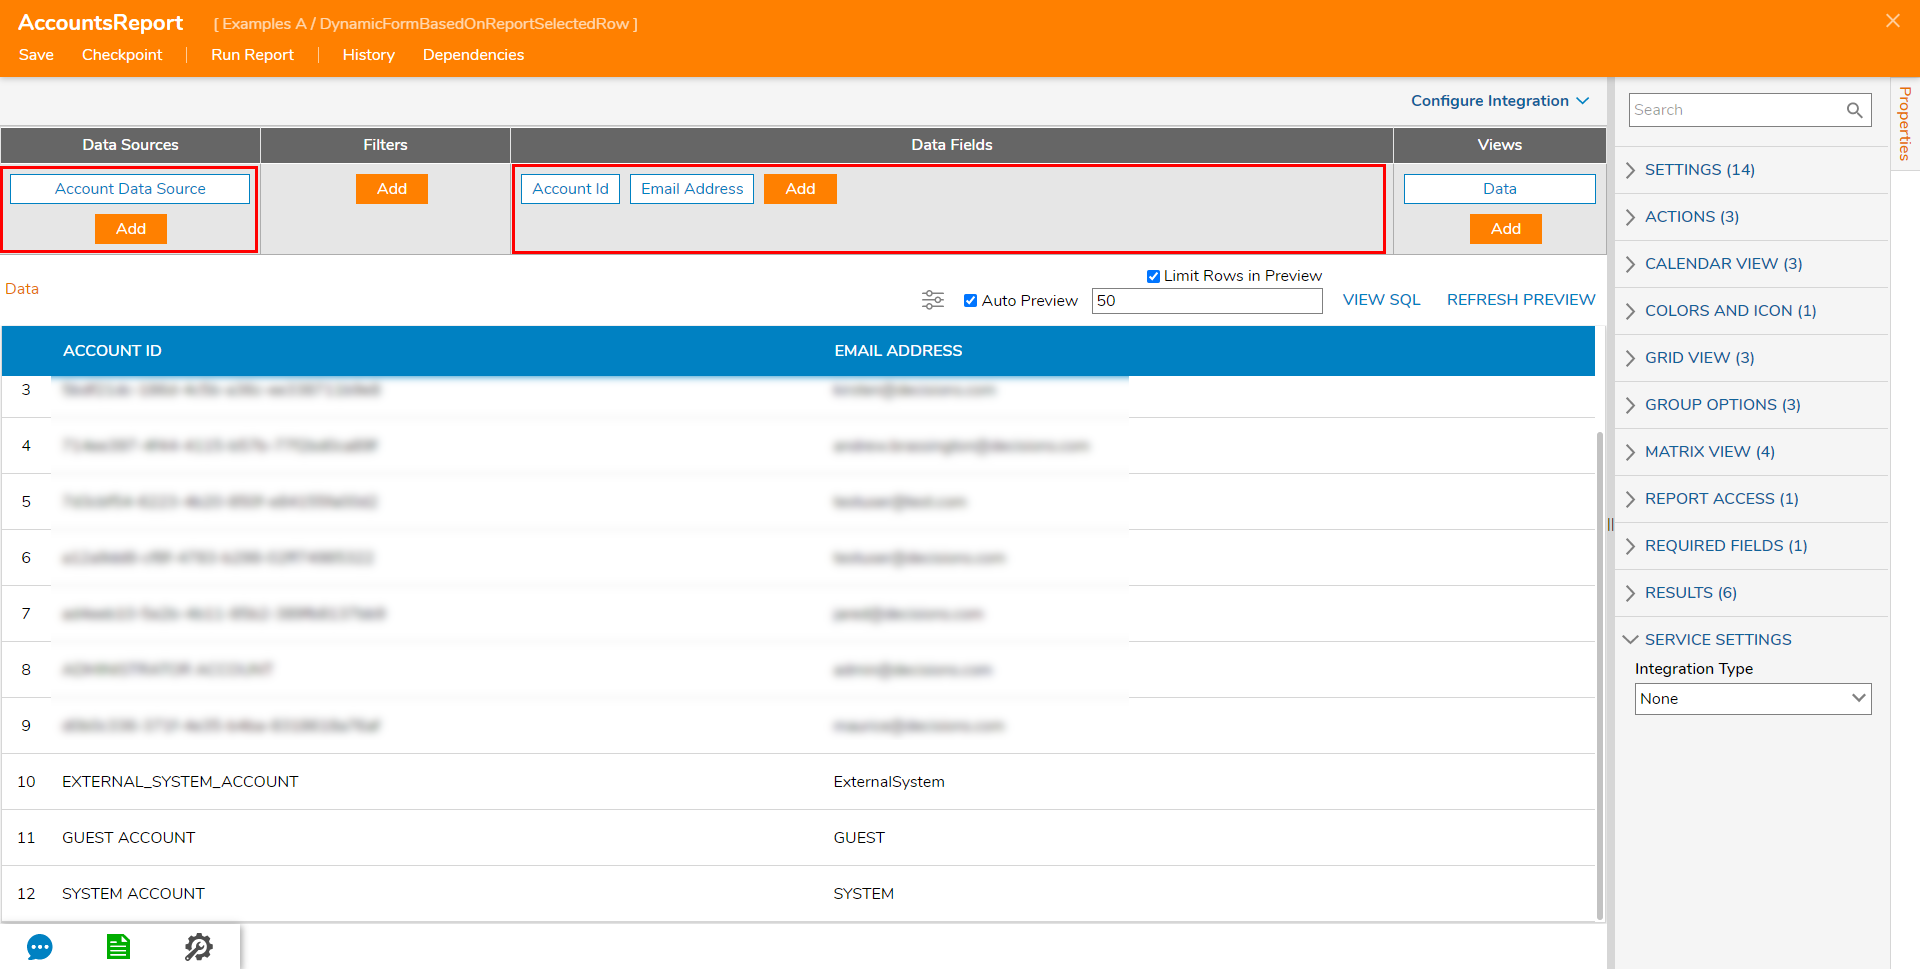
- Add Account Data Source to Data Sources and Account Id and Email Address to Data Fields.
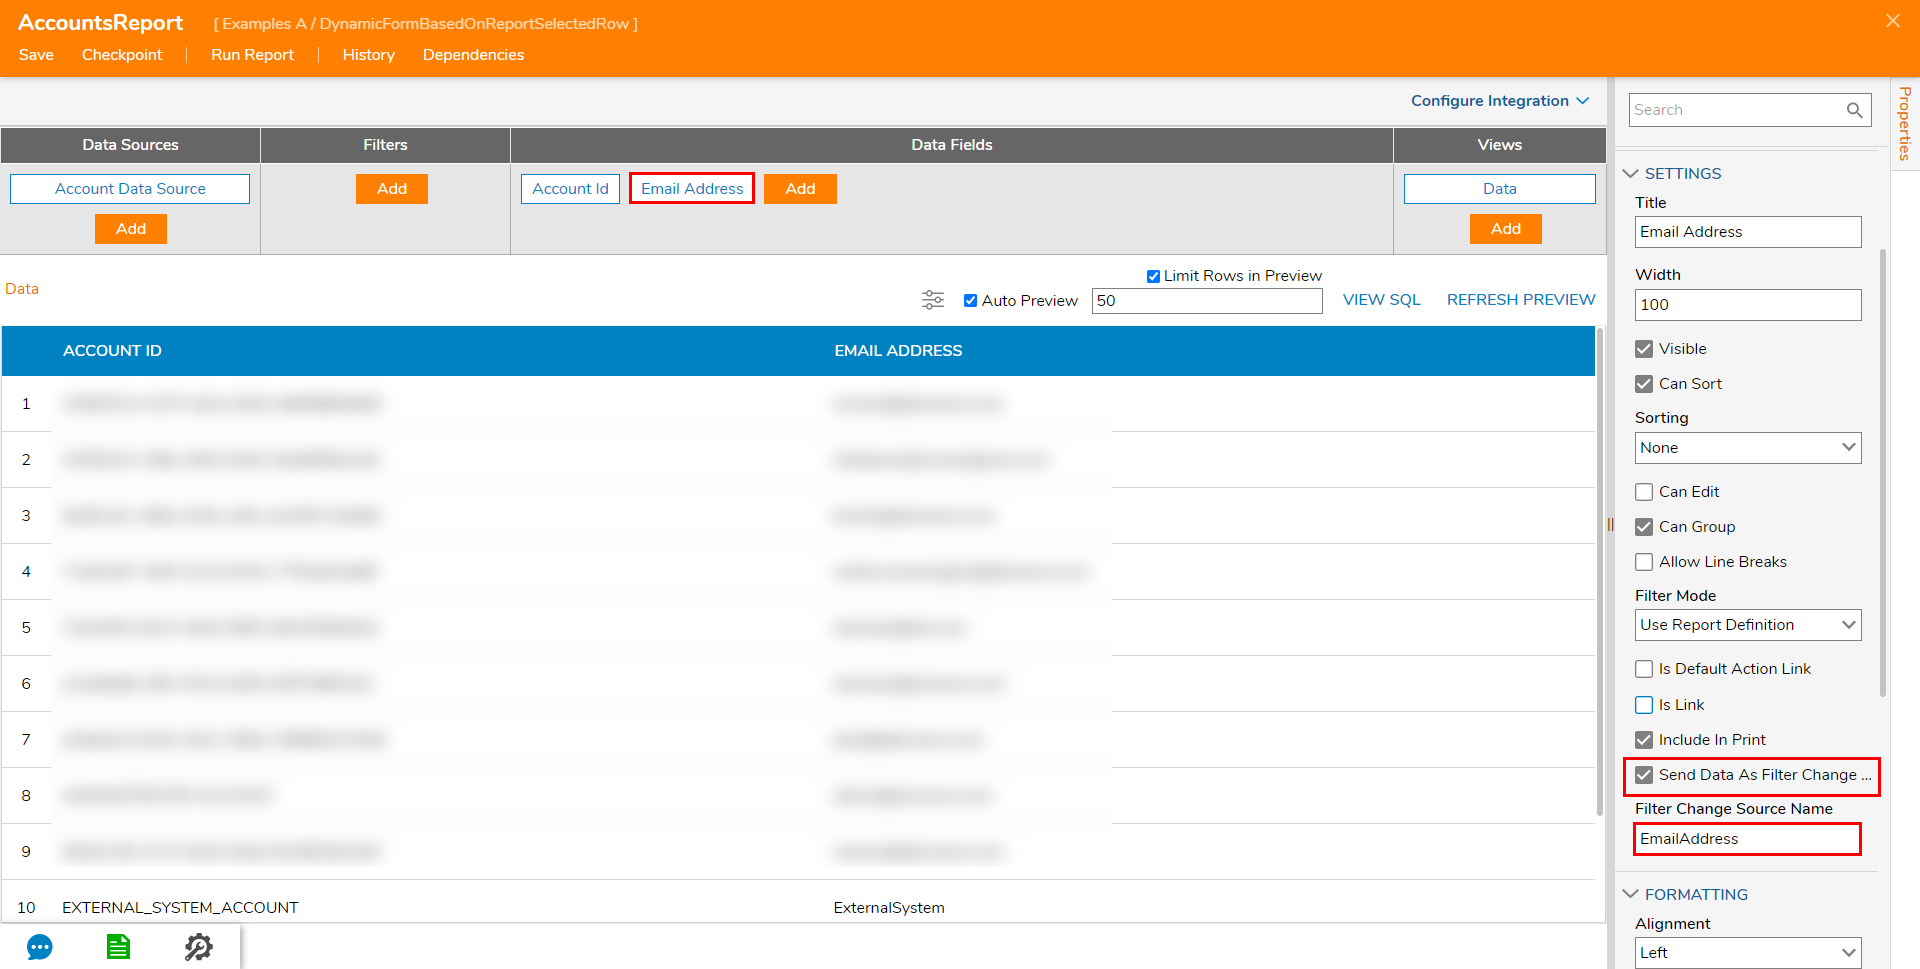
- Select the EMAIL ADDRESS Column by clicking its Name in the Data Fields box. From the Properties > SETTINGS > Filter Mode, toggle Send Data As Filter Change Source, then provide a Filter Change Source Name. Make note of the Filter Change Source Name, as it will need to match the Flow Input Data used later in the tutorial.
Save the Report, then close via X.
From the same Designer Project, select CREATE FLOW from the Global Action Bar, and CREATE a new Flow.
From the Flow Designer, select SETUP INPUT DATA then DEFINE.
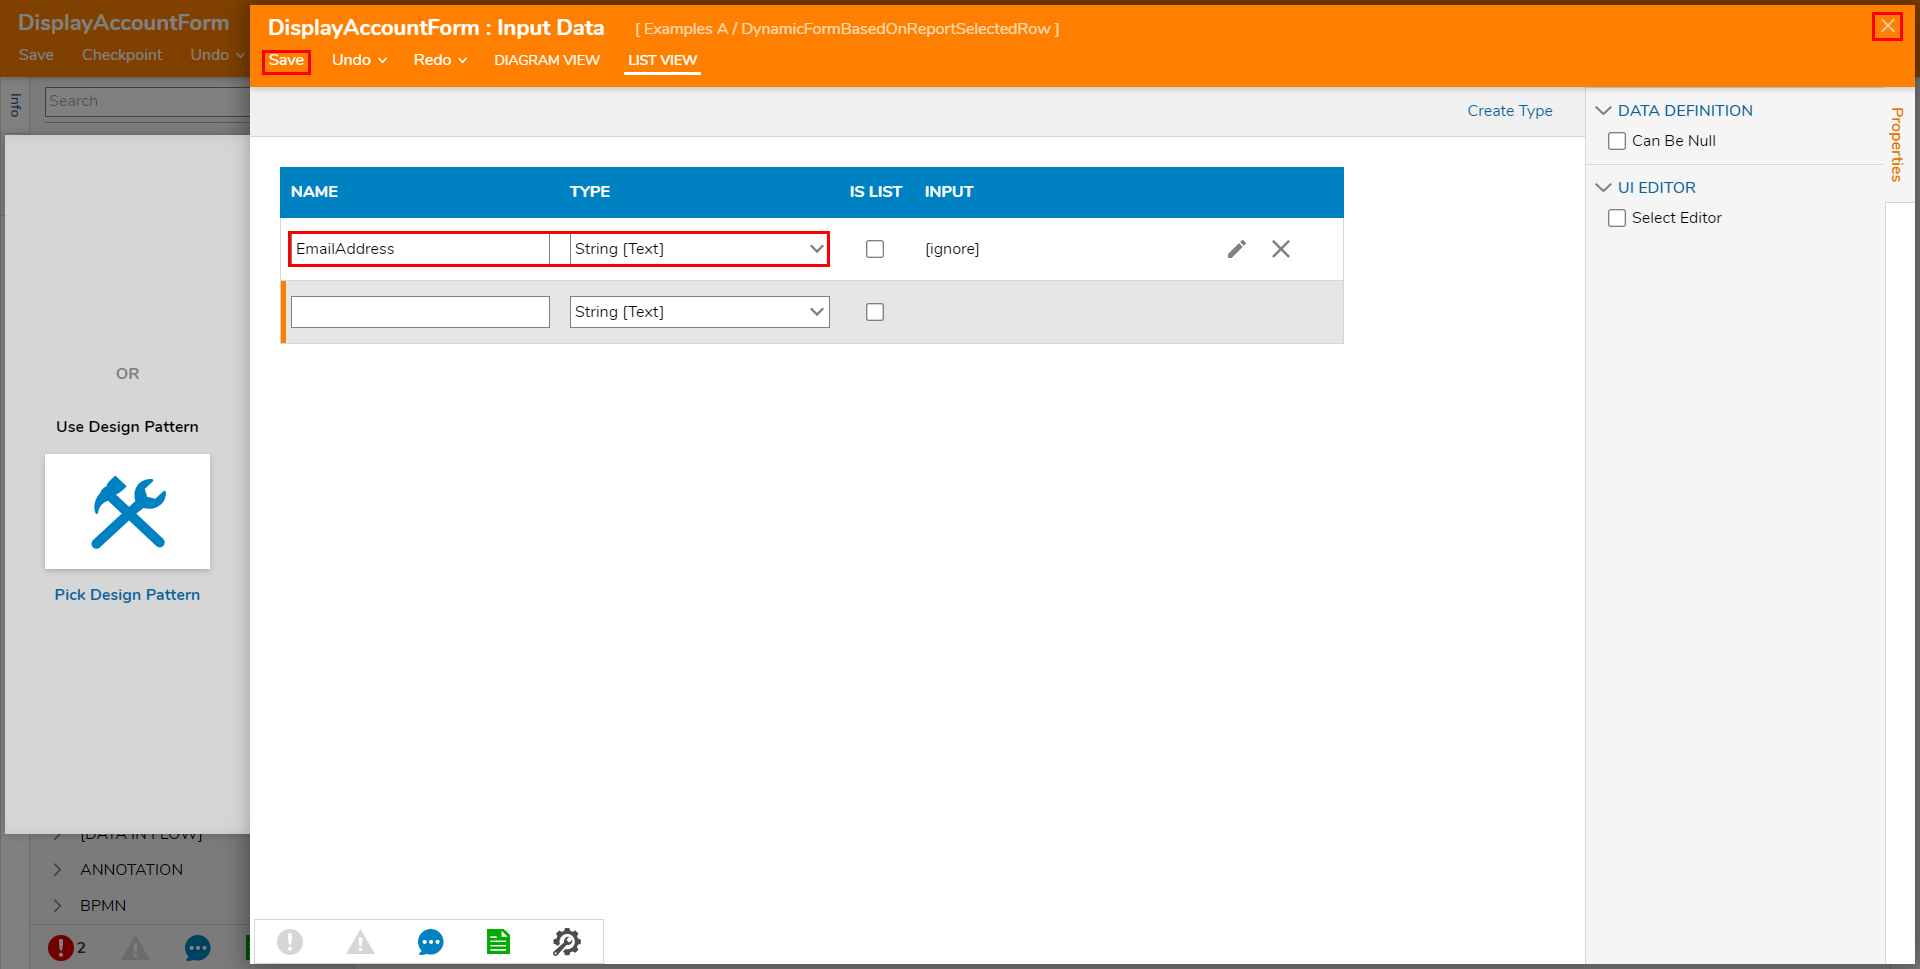
From the Data Definition screen, provide a NAME for the Input Data that matches the Filter Change Source Name; leave the TYPE set to String [Text]. Save the Data, then close via X.
From Toolbox > FAVORITE STEPS, attach a Show Form step to the Start step. From the Show Form step's Properties, click PICK OR CREATE FORM, and CREATE a new Form.
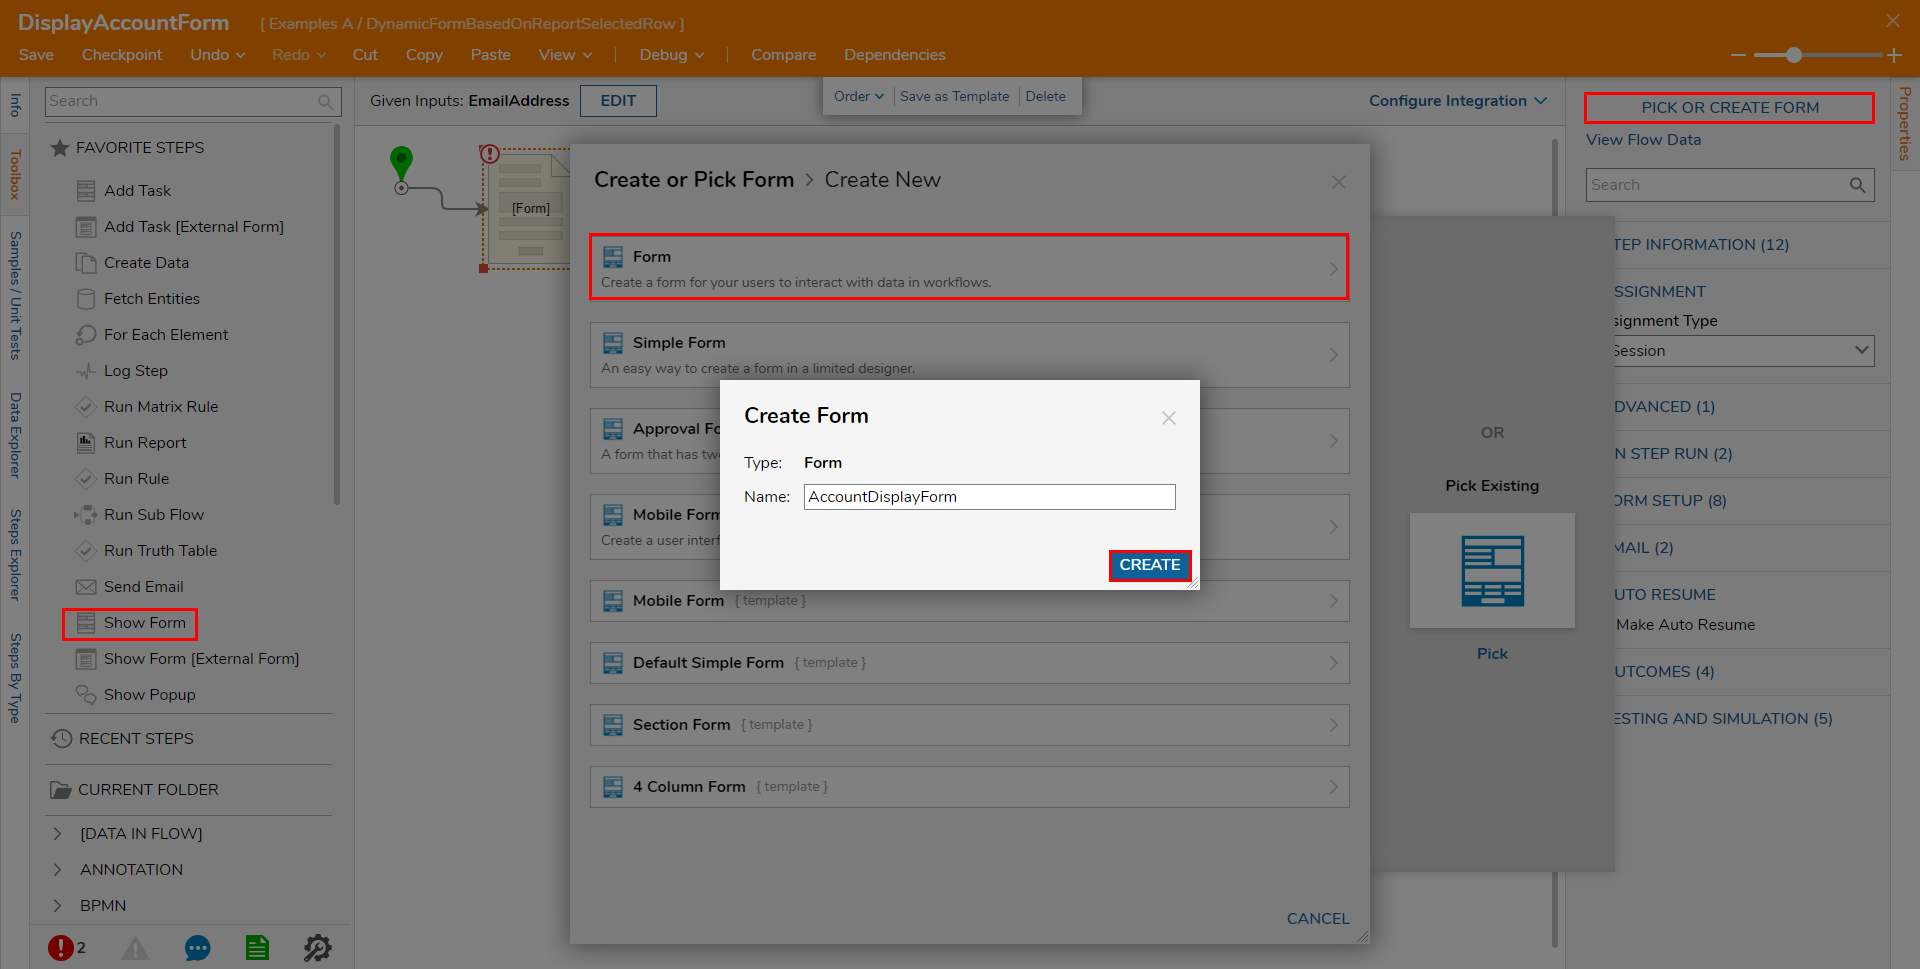
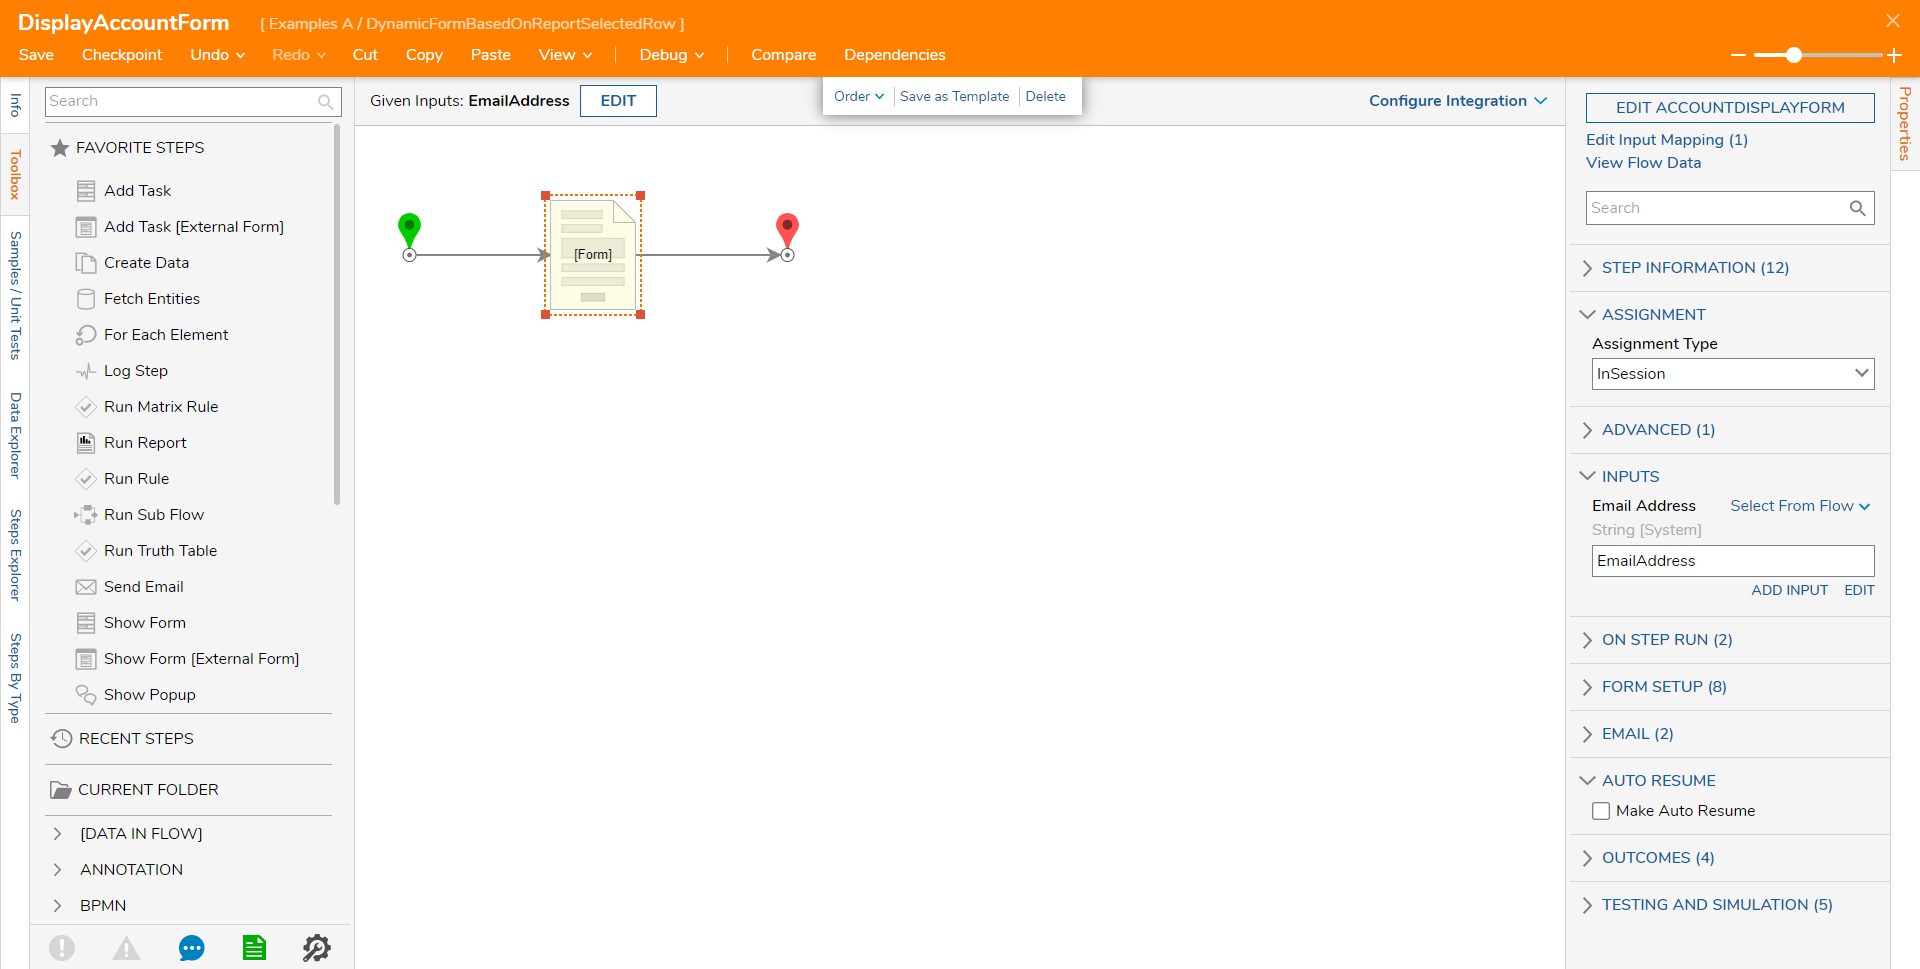
Design a Form that utilizes a Button component from the Toolbox tab and a Label Of Data Value for the Input Data from the Data tab. Save and close the Form.
From the Flow Designer, connect the Form step to the End step. Save and close the Flow.
From the Designer Project, select CREATE REPORT, then CREATE a new Page.
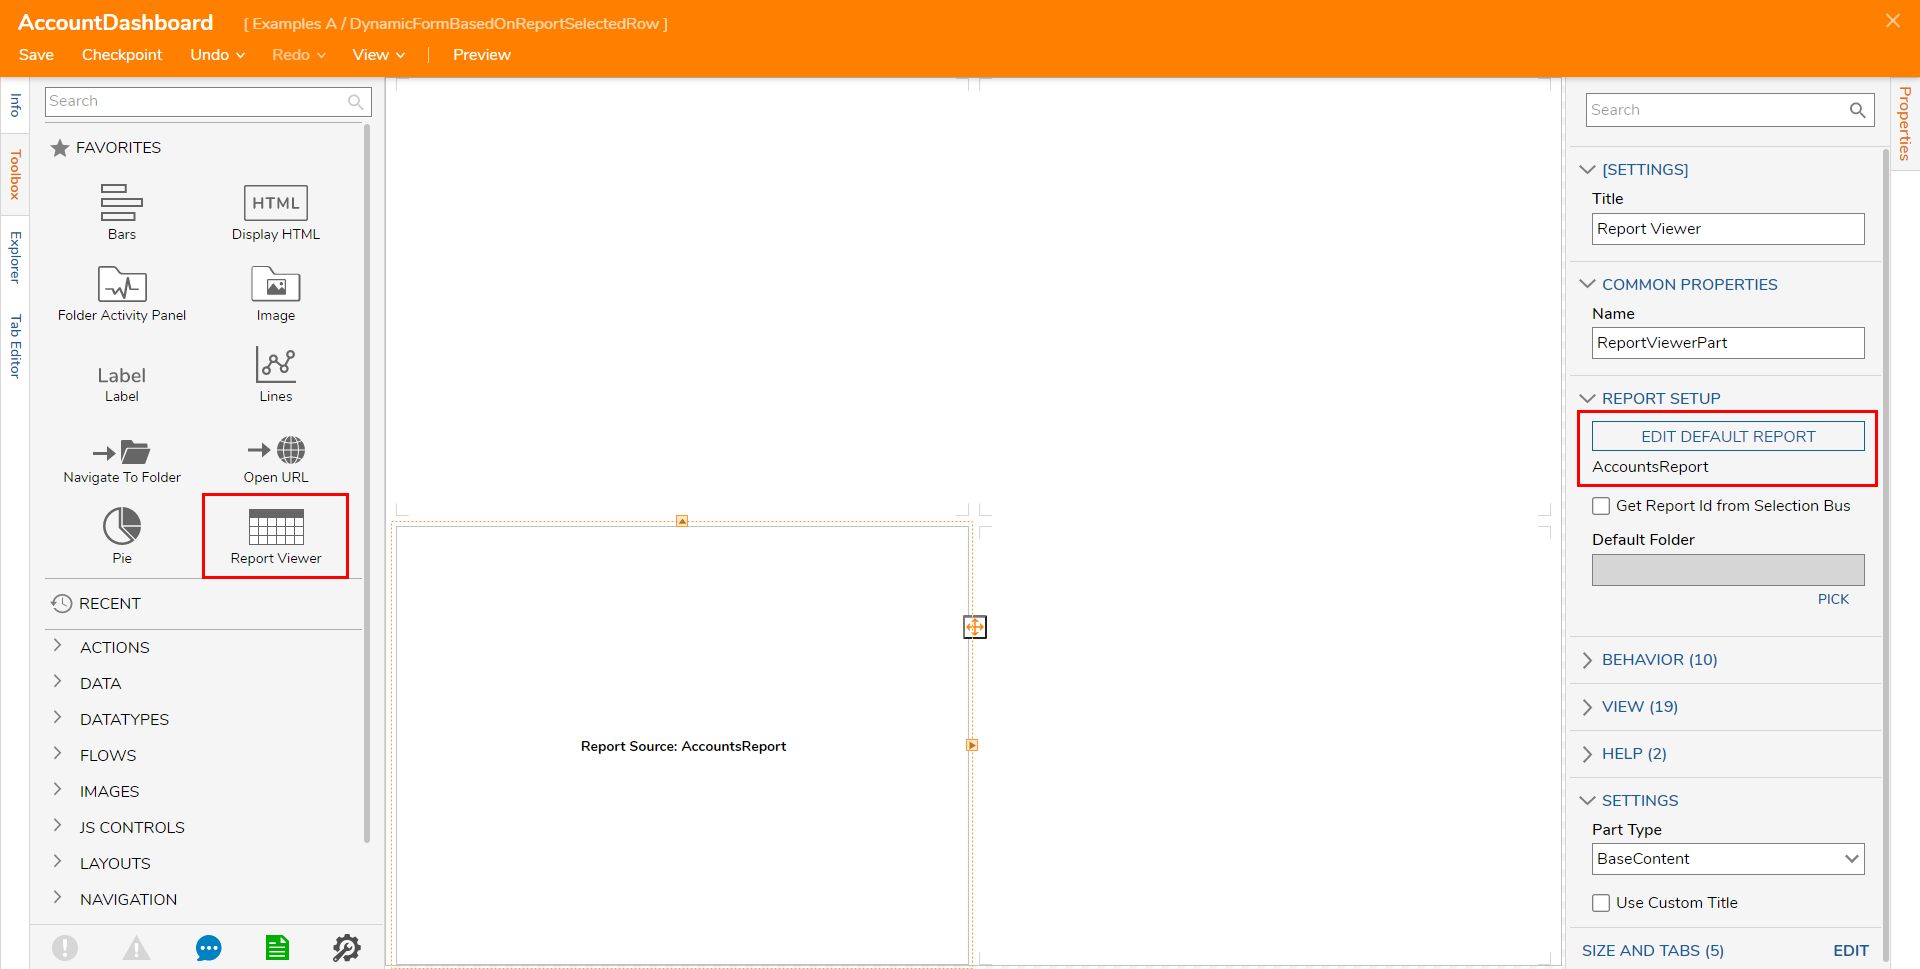
From the Page Designer, from Toolbox > FAVORITES, add a Report Viewer component to the Dashboard. From the Properties tab of the Report Viewer, click PICK DEFEAULT REPORT and PICK the previously created Accounts Report.
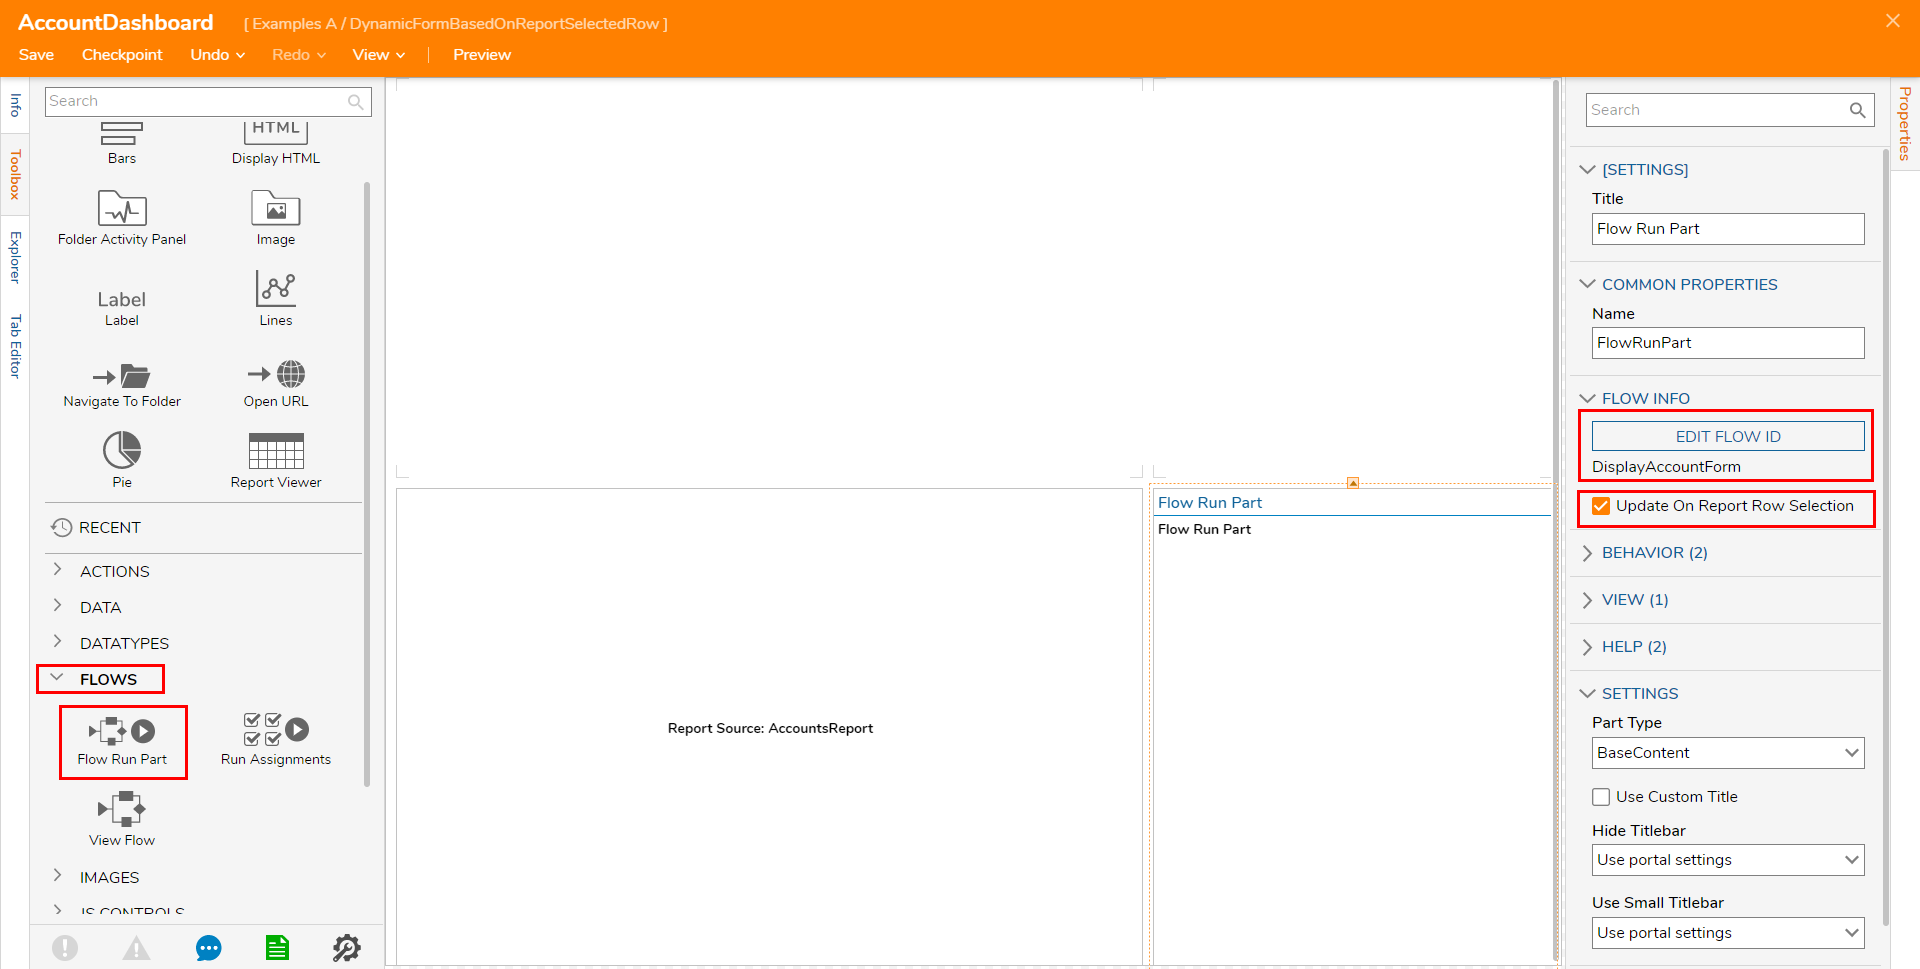
From Toolbox > FLOWS, add a Flow Run Part to the Page. From the Properties for the component, PICK the previously created Display Account Form Flow. Then, check Update On Report Row Selection.
Save the Page, then close it via X.
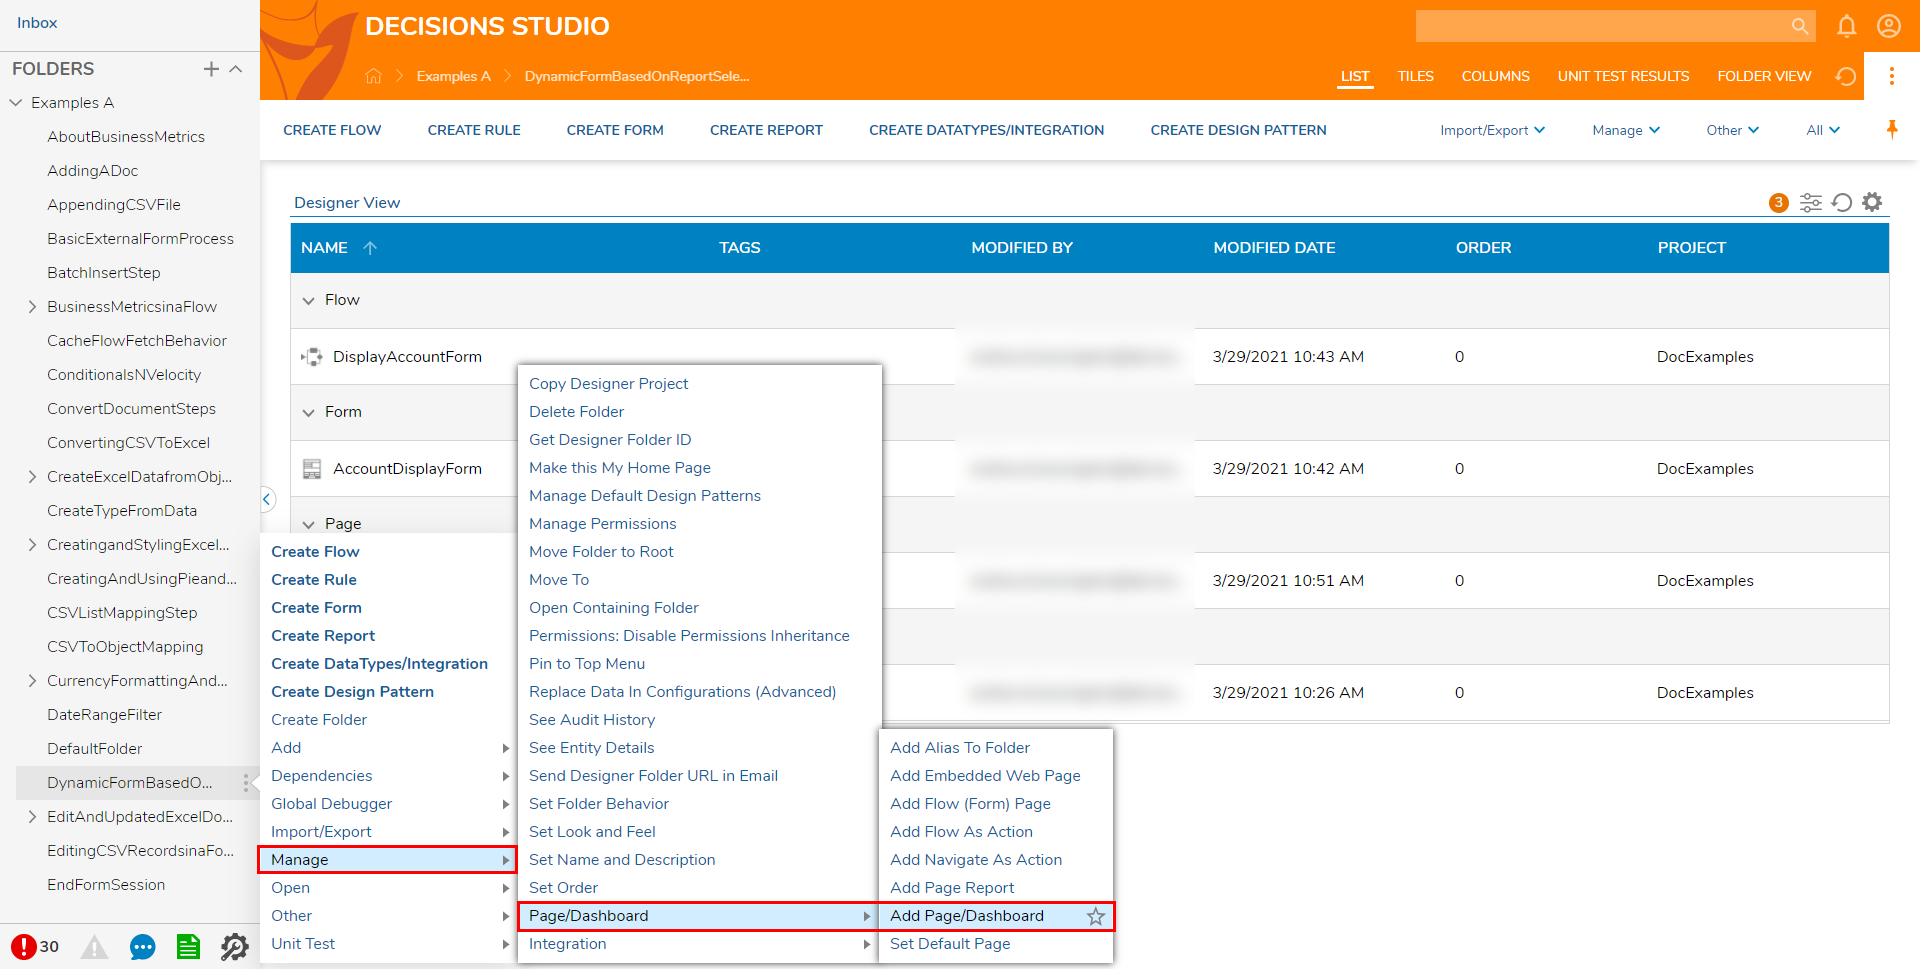
Back in the Decisions Studio, right-click the desired Designer Project and select Manage > Page/Dashboard > Add Page/Dashboard. Then click PICK PAGE and PICK the previously created Dashboard Page.
Navigate to the Dashboard and select one of the Rows on the Report.
When a new Row is selected its respective Email Address will display on the Flow Run Part on the Dashboard.