Overview
In version 6.12 and newer, the Create Tile Data is a Flow step used in Tile Flows for Pages. This Tile step is different from the Create Tile Return step because it contains no Tile Type Name drop-down list. The Create Tile Data step instead has a series of inputs called Lines. By default, there are five line inputs, but additional line inputs can be configured for the step if needed. This step also gives users more control over the styling of the Tile through the use of the Advanced Styling checkbox; those settings will inform the step to accept a CSS class from a CSS file.
Create Tile Data Settings
| Setting Name | Function |
| Advanced Configuration Checkbox | Allows for additional configuration on Line text in regards to the number of lines, font, alignment, text behavior, or icon |
| Lines | Variables that expect String type data to be placed |
| Tile Action Type | Enables the Page Tile as an action that performs the selected function such as open a URL, navigate to the Portal, etc. |
| Advanced Styling Checkbox | Allows users to further customize the style of the Tile; custom CSS styling sheets can be selected and used here The specific custom CSS styling sheets must be marked by the user as Tile CSS in the System > Designers > Css folder, otherwise the sheets will not be displayed for selection |
By default, five Lines are available to the Designer that can be static or dynamically populated by Tile data via Select From Flow input mapping.
The available Tile Action Types are as follows:
| Action Name | Function |
| URL | Designates then navigates to the chosen URL |
| Navigate to Portal | Designates then navigates to chosen Page or Folder by ID |
| EntityActions | Designates then performs chosen Entity Action onto chosen Entity by ID |
| RunFlow | Designates then initiates chosen Flow by ID |
| PushDataToControls | Designates then moves Tile Data to chosen Form Controls via Bus Name and Bus Value |
The Styles section offer the following customization options:
| Setting Name | Function |
|---|---|
| Background Color | Customizes the background color of the Tile |
| Border Color | Customizes the border color of the Tile |
| Border Width | Customizes the width of the border on the Tile |
| Content Horizontal Alignment | Aligns the content on the Tile horizontally |
| Content Vertical Alignment | Aligns the content on the Tile vertically |
| Corner Radius | Customizes e the curve in the corners of the Tile |
Example
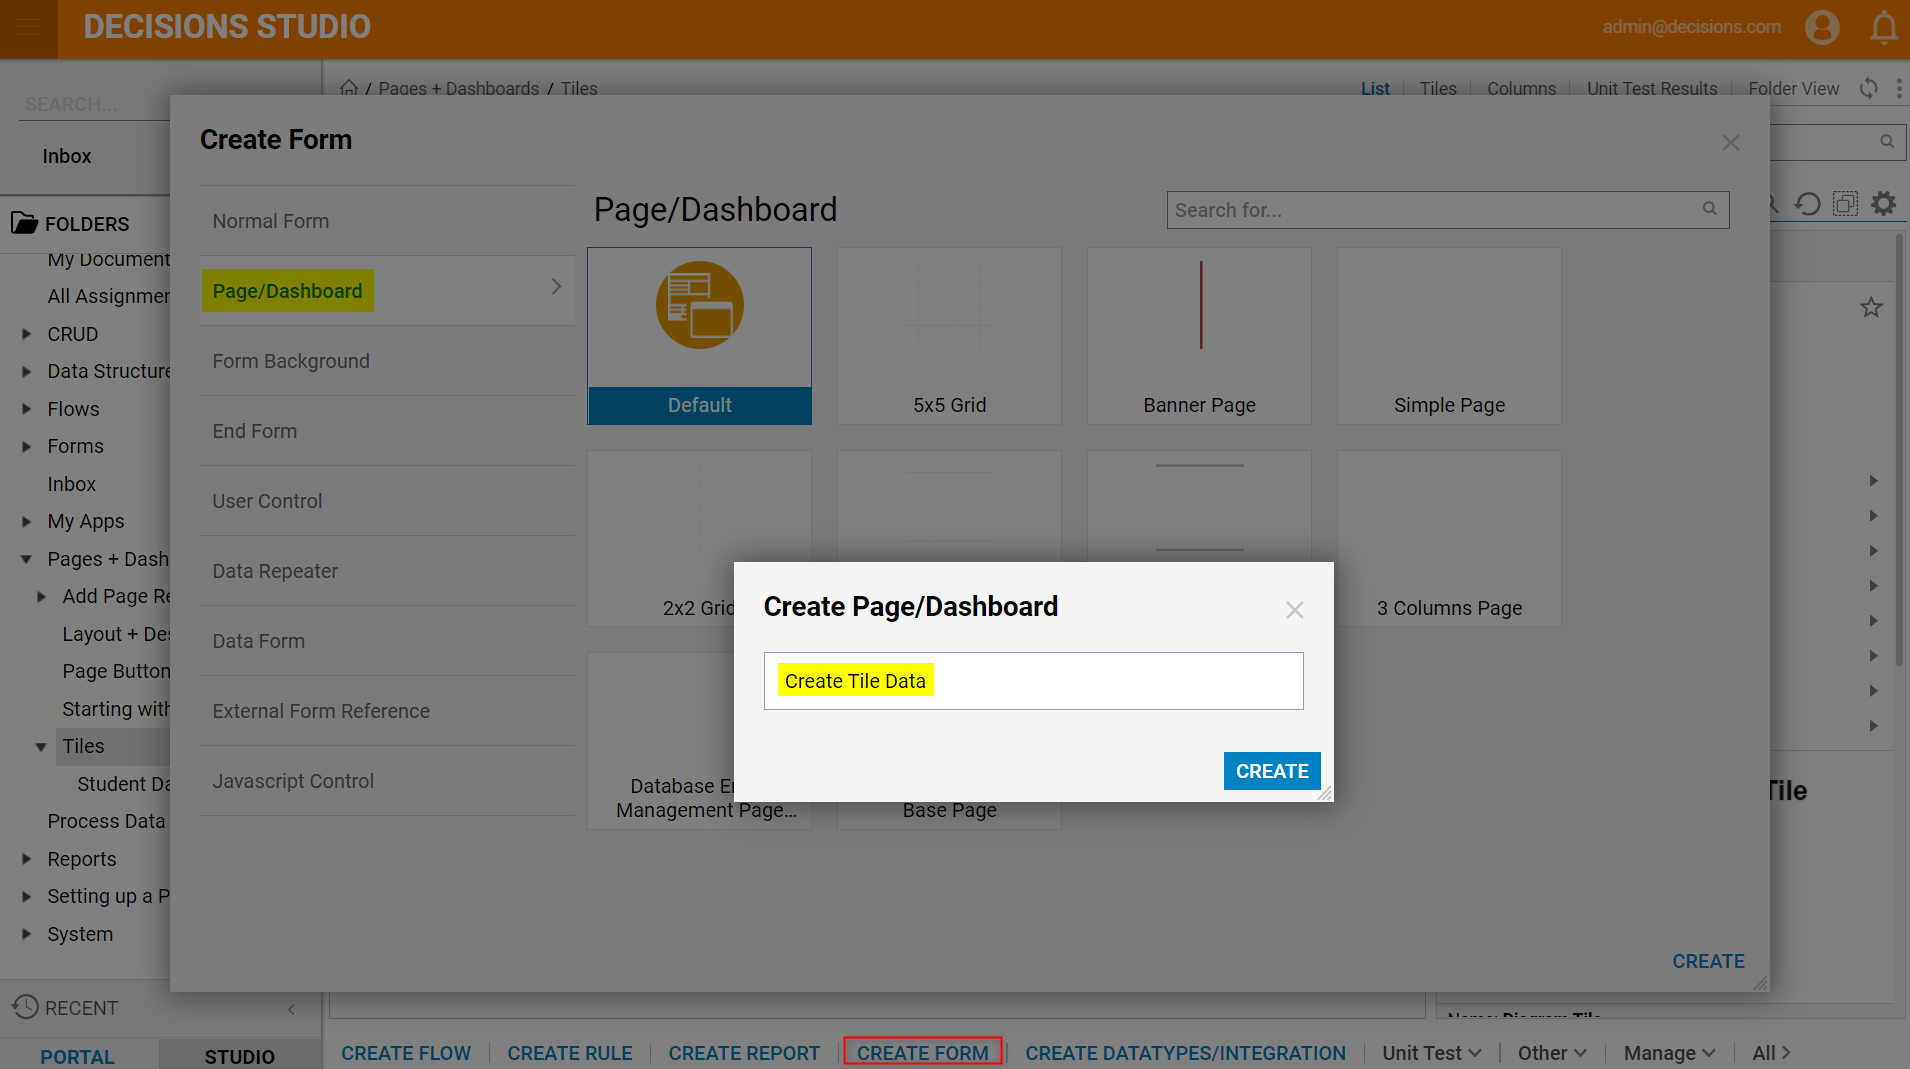
- To begin, navigate to CREATE FORM in the bottom action panel.
- In the Create Form window, navigate to the Page/Dashboard section and select and name the default Page [Create Tile Data]. Click CREATE.
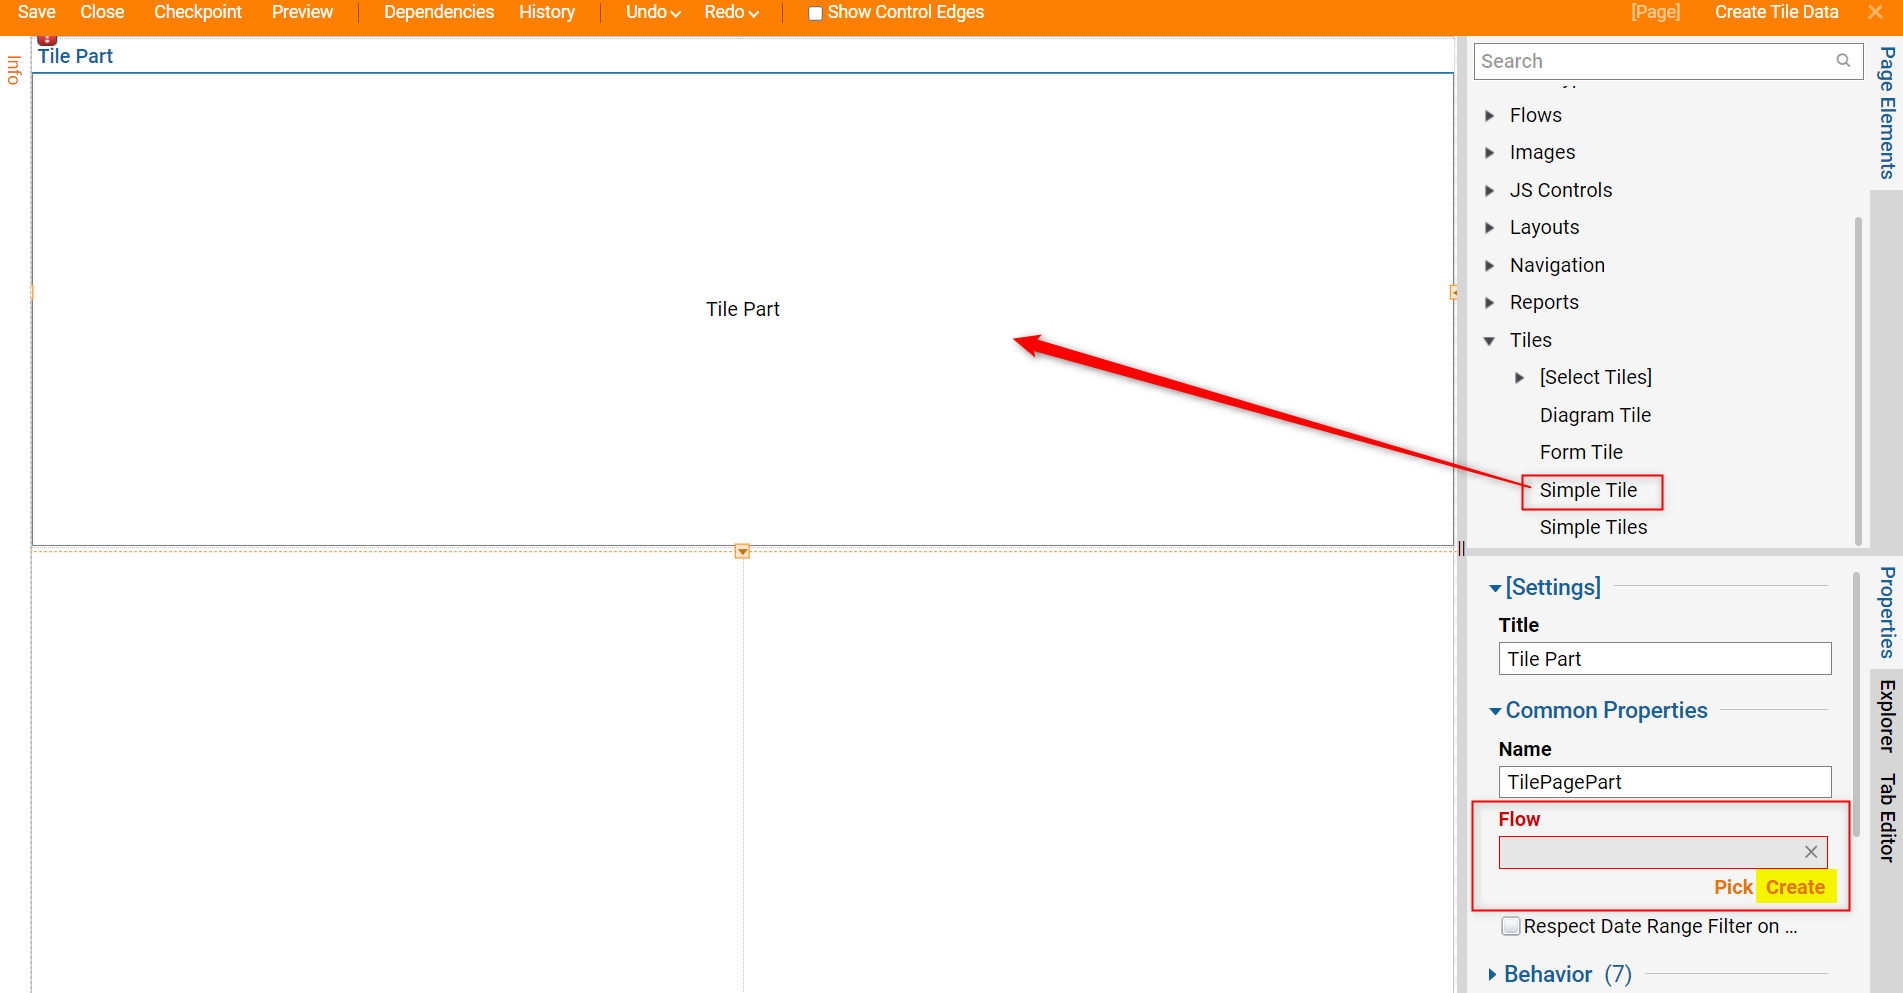
- In the Page Designer, drag a Simple Tile component from the Page Elements > Tiles category onto the Page.
- In the Properties panel of the Simple Tile component, under Common Properties > Flow, select Create.
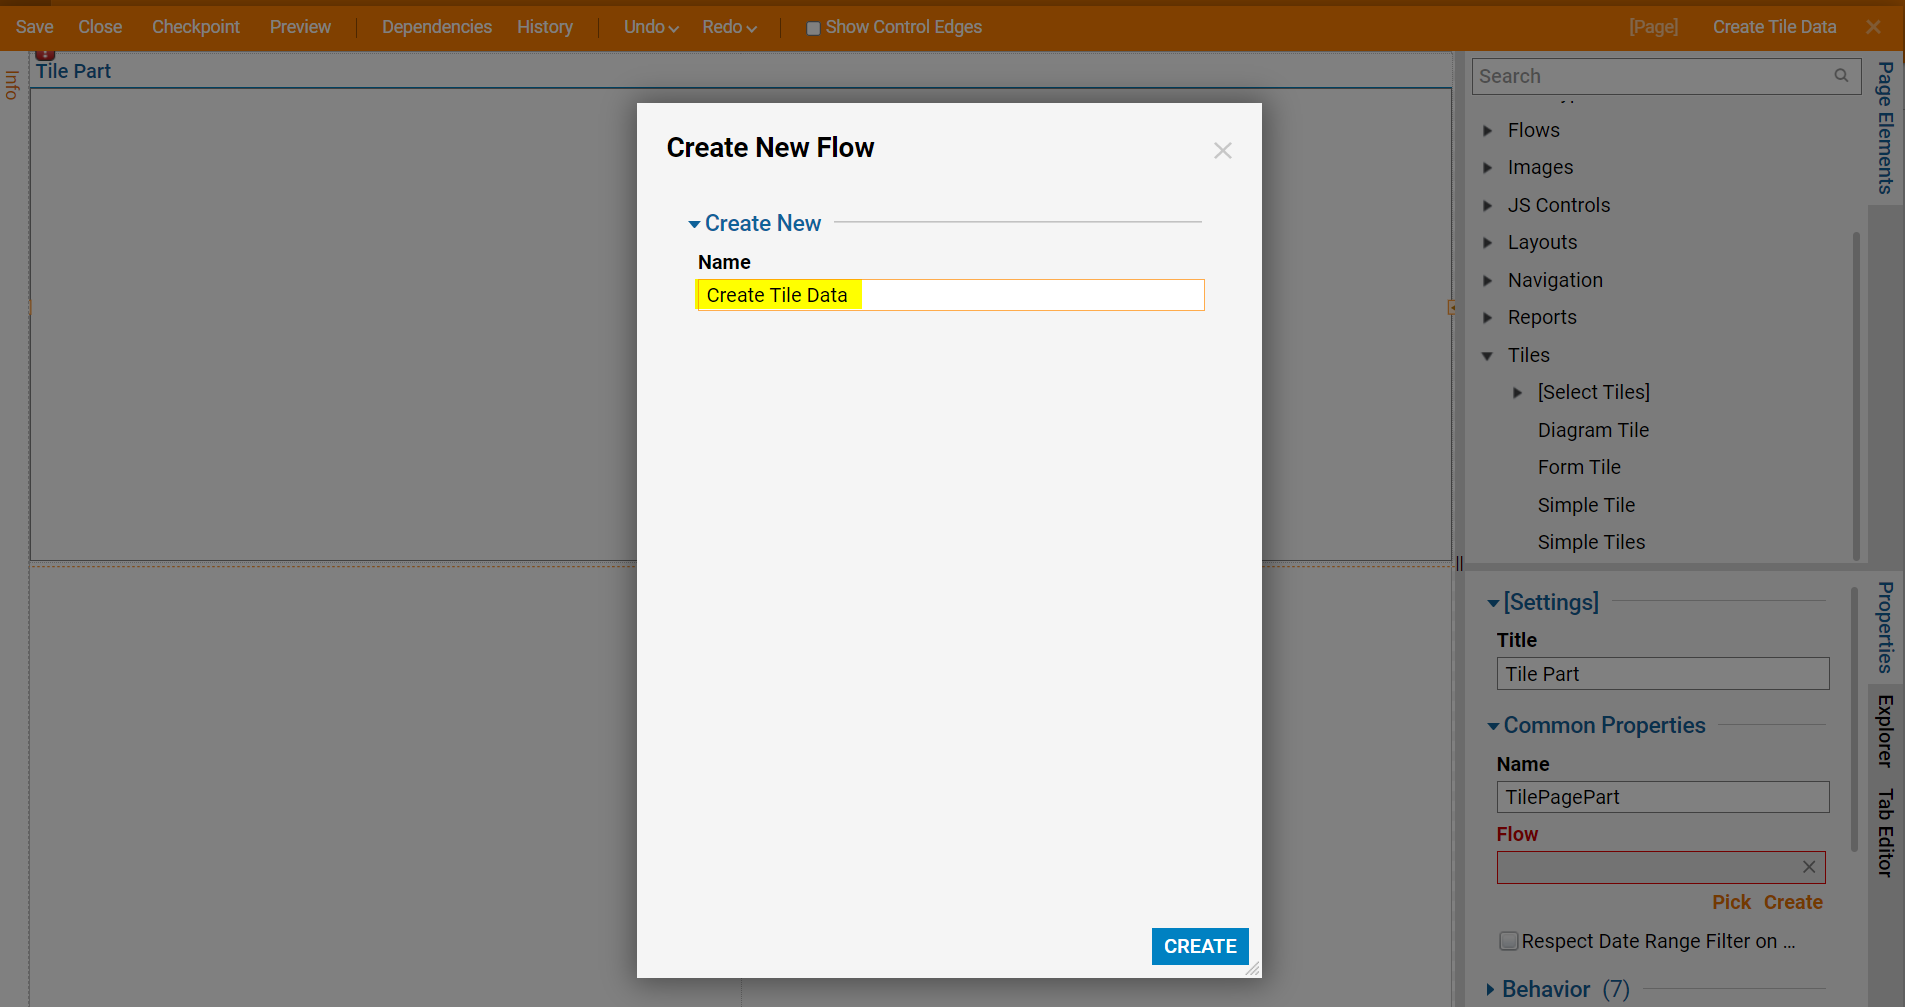
- In the Create New Flow window, name the new Flow [Create Tile Data], then click CREATE.
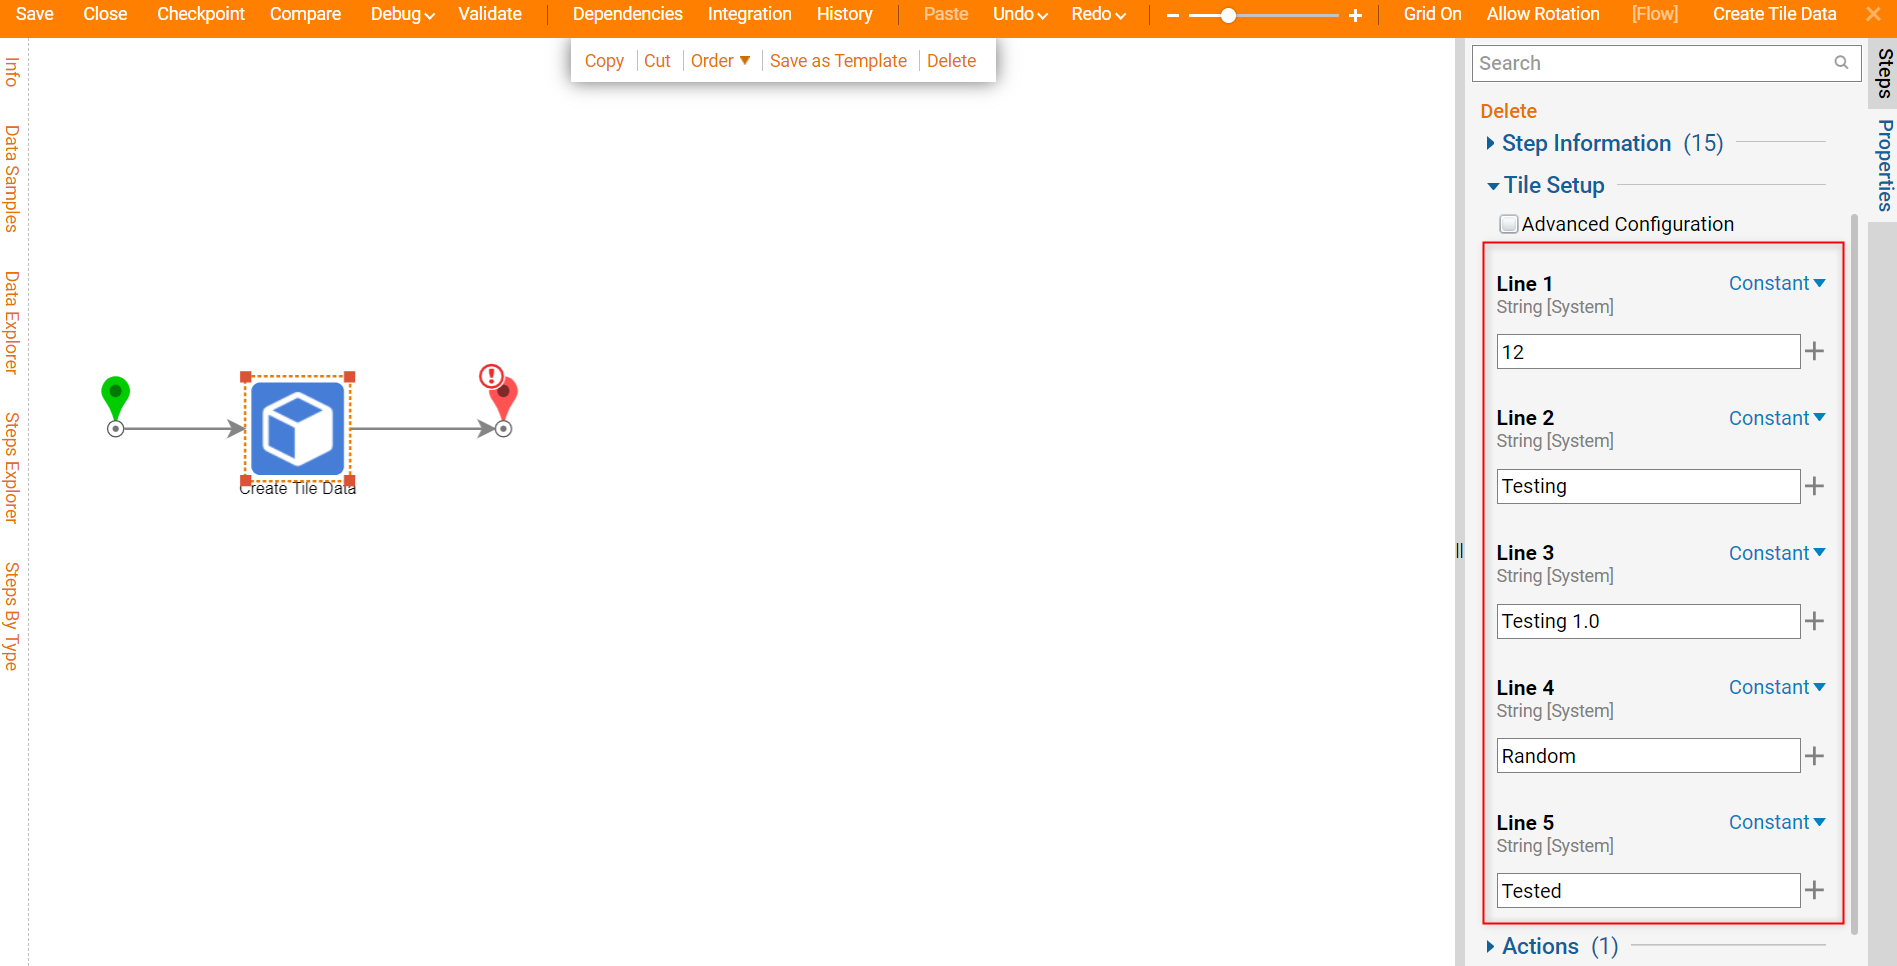
- In the Flow Designer, the Create Tile Data step is already connected by default.For this example, various inputs will be put into the TILE SETUP > Line 1-5 value fields, each of the fields will have a Constant input mapping. The inputs are as follows, respectively: 12, Testing, Testing 1.0, Random, and Tested.
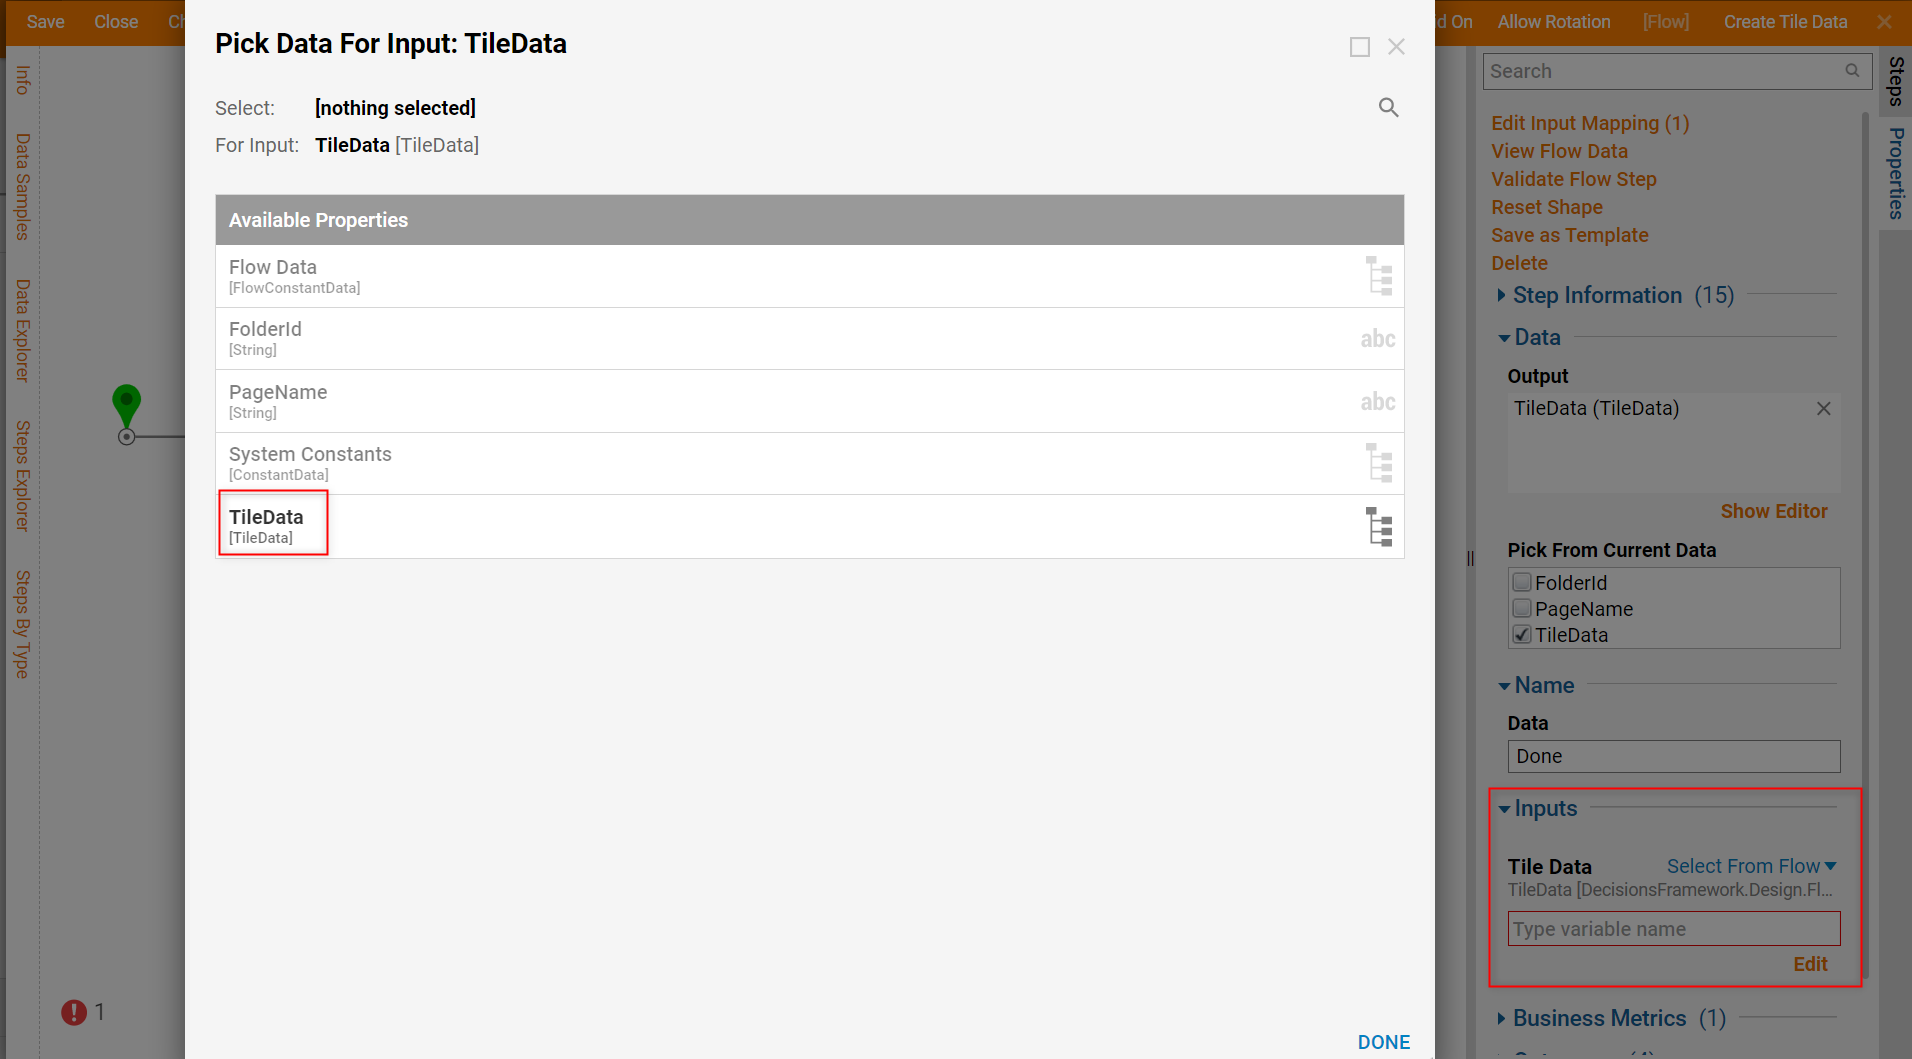
- Select the End step of the Flow, configure Properties > Inputs > Tile Data to an input mapping of Select From Flow, and select Tile Data, the output of the Create Tile Data step.
- Save and Close this Flow.
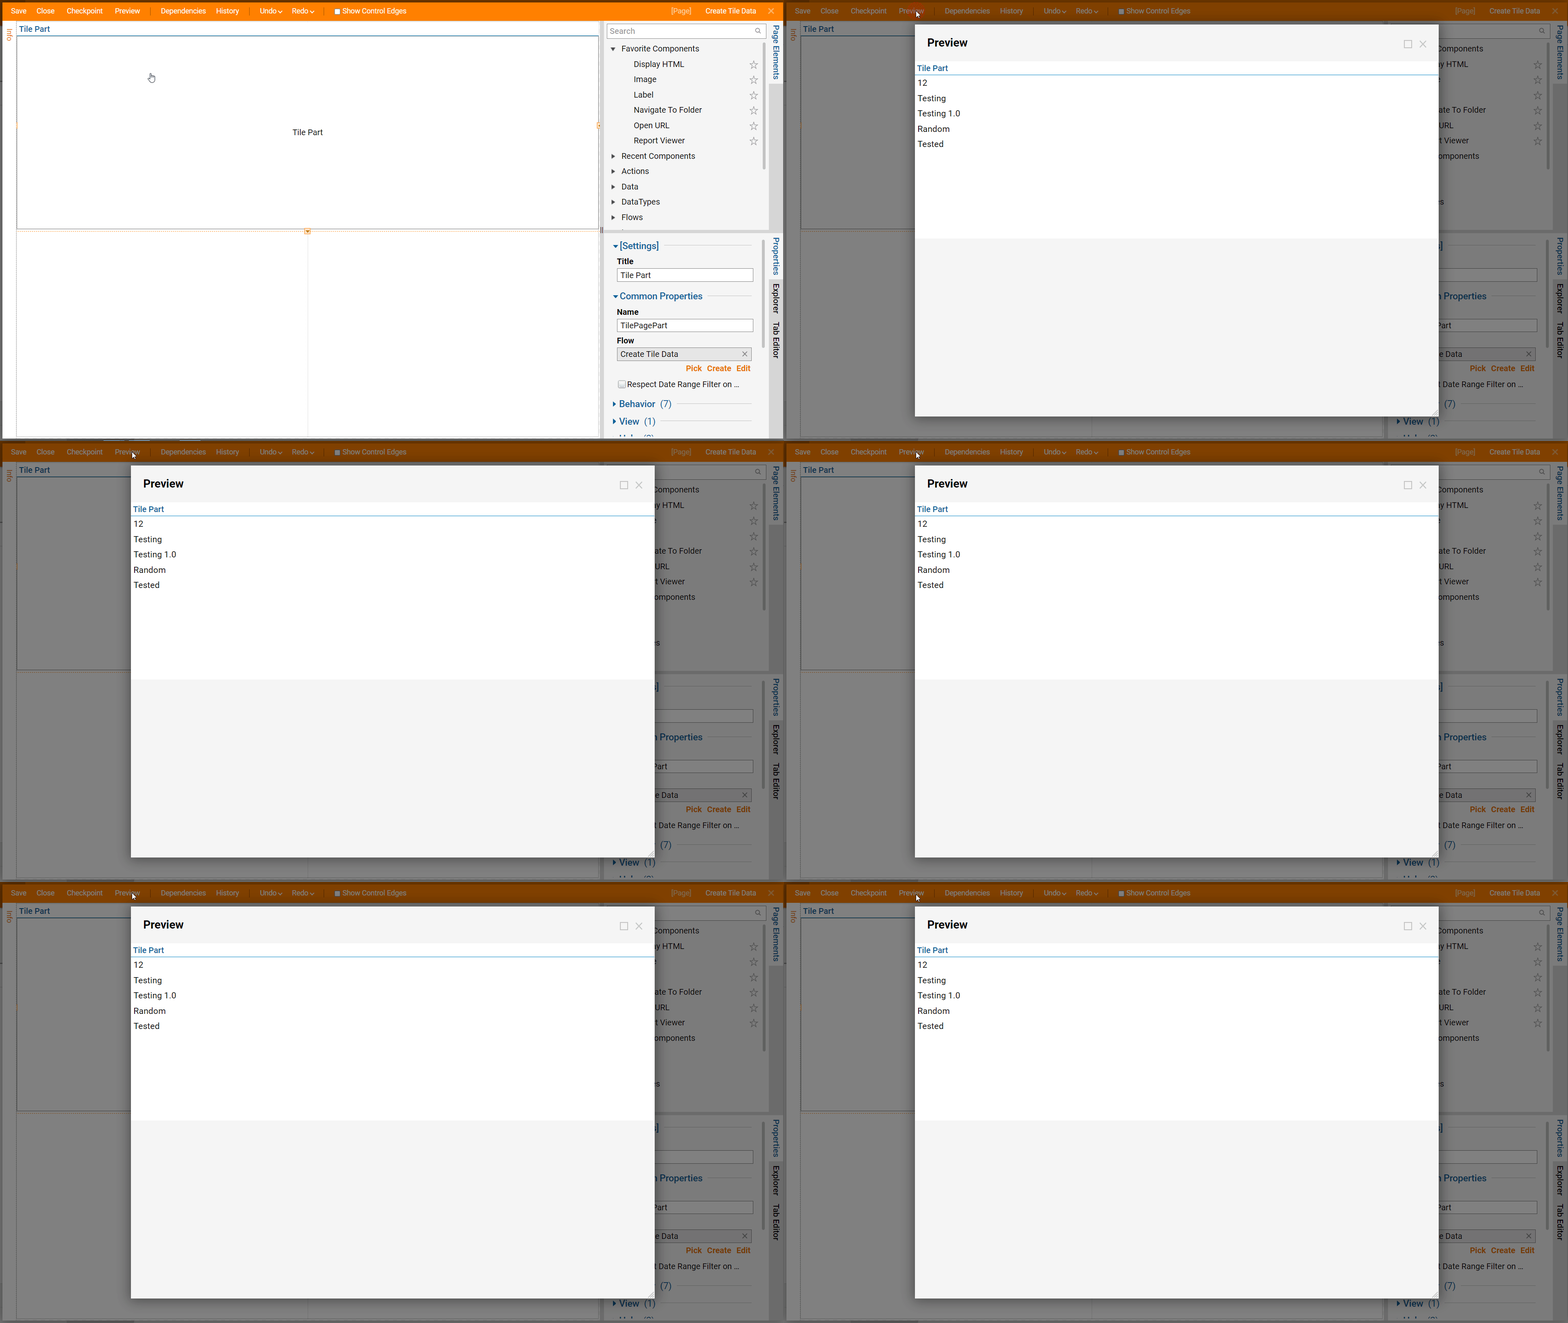
- In the Page Designer, select Preview from the Top Action Bar to view the new Tile.
