Overview
This tutorial demonstrates how to use Cache Fetch Flow Behavior. This Flow Behavior can be used to fill the cache in with data that needs to be kept for a certain time. Additionally, this tutorial demonstrates how to get a collection of data from the cache.
Example
In this example Cache a collection of Account Emails. Next, this Flow will fill a custom created Cache Type. Finally, a second flow will get all items from the custom Cache Type.
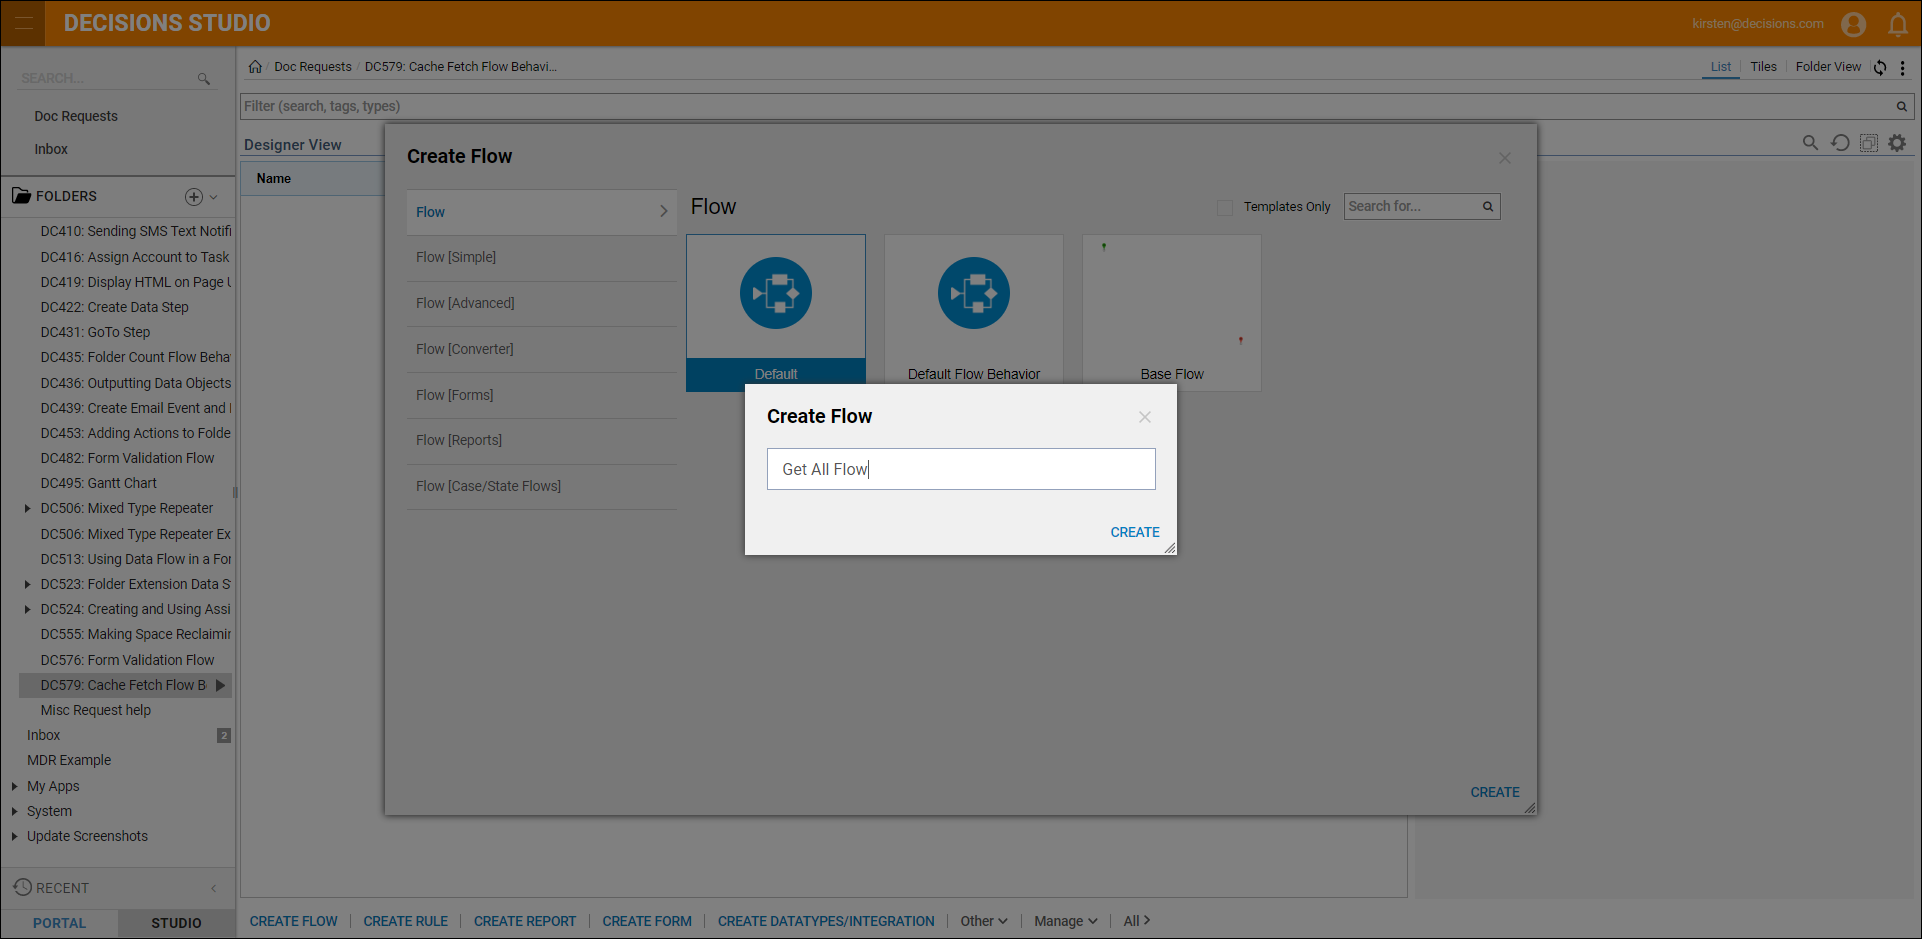
Begin in a Designer Folder and select Create Flow on the Folder Actions Panel, name the Flow then select 'Create'.
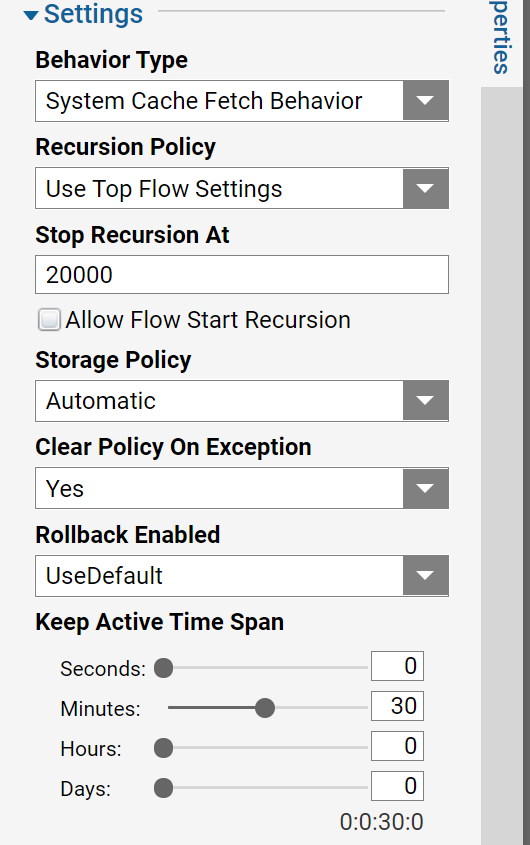
In the Flow Designer, navigate to the Properties panel, expand Settings and define the Behavior as System Cache Fetch Behavior.
From the Start step add the GetAll step from Integrations > Internal Services > Account Services. Connect the outcome path to Cache Value.
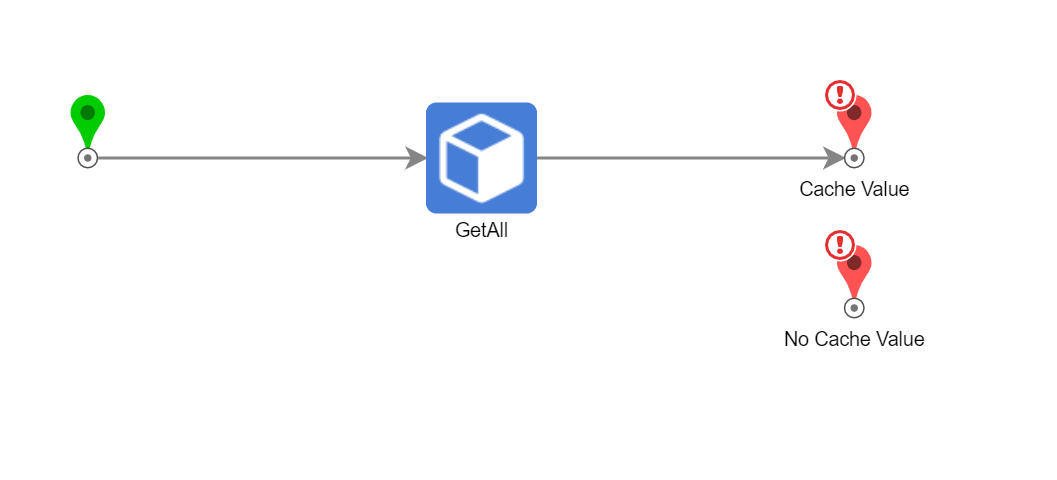
Select the Cache Value step. Configure this step to take in all the Account Email Addresses.
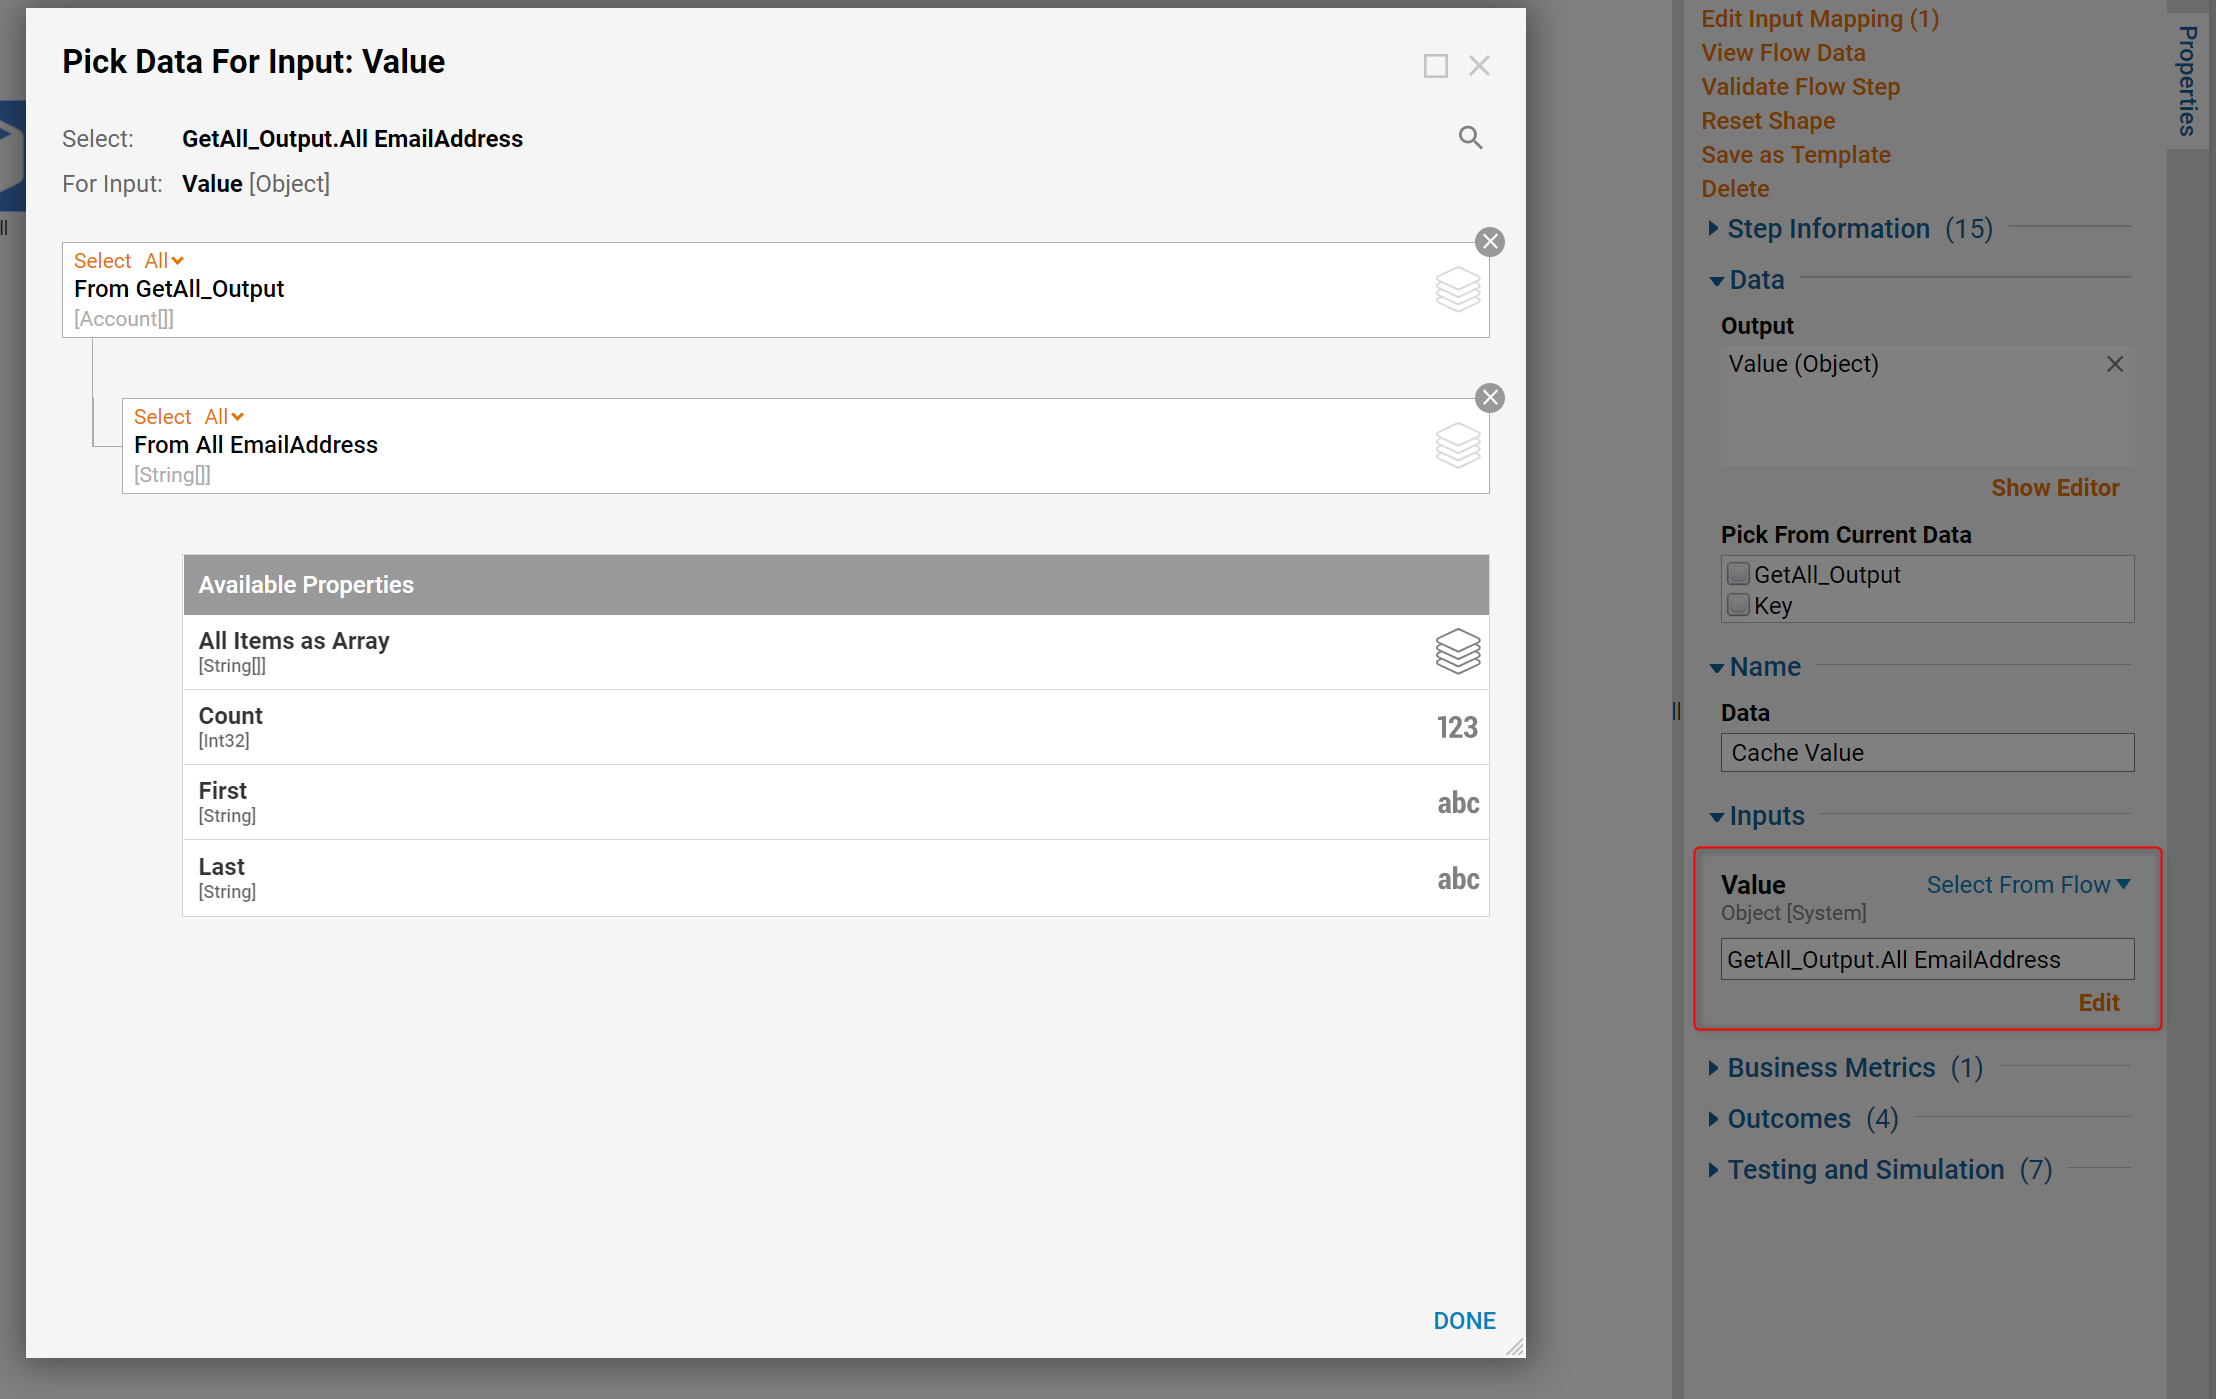
Under Inputs > Value chose Select From Flow then expand Get All Output scroll down and select Email Address. Then, Save and Close the Flow Designer.
Define Cache Type
Navigate to System > Administration > Cache. Then, from the Folder Actions Panel select Add > TimeCacheDefinition.
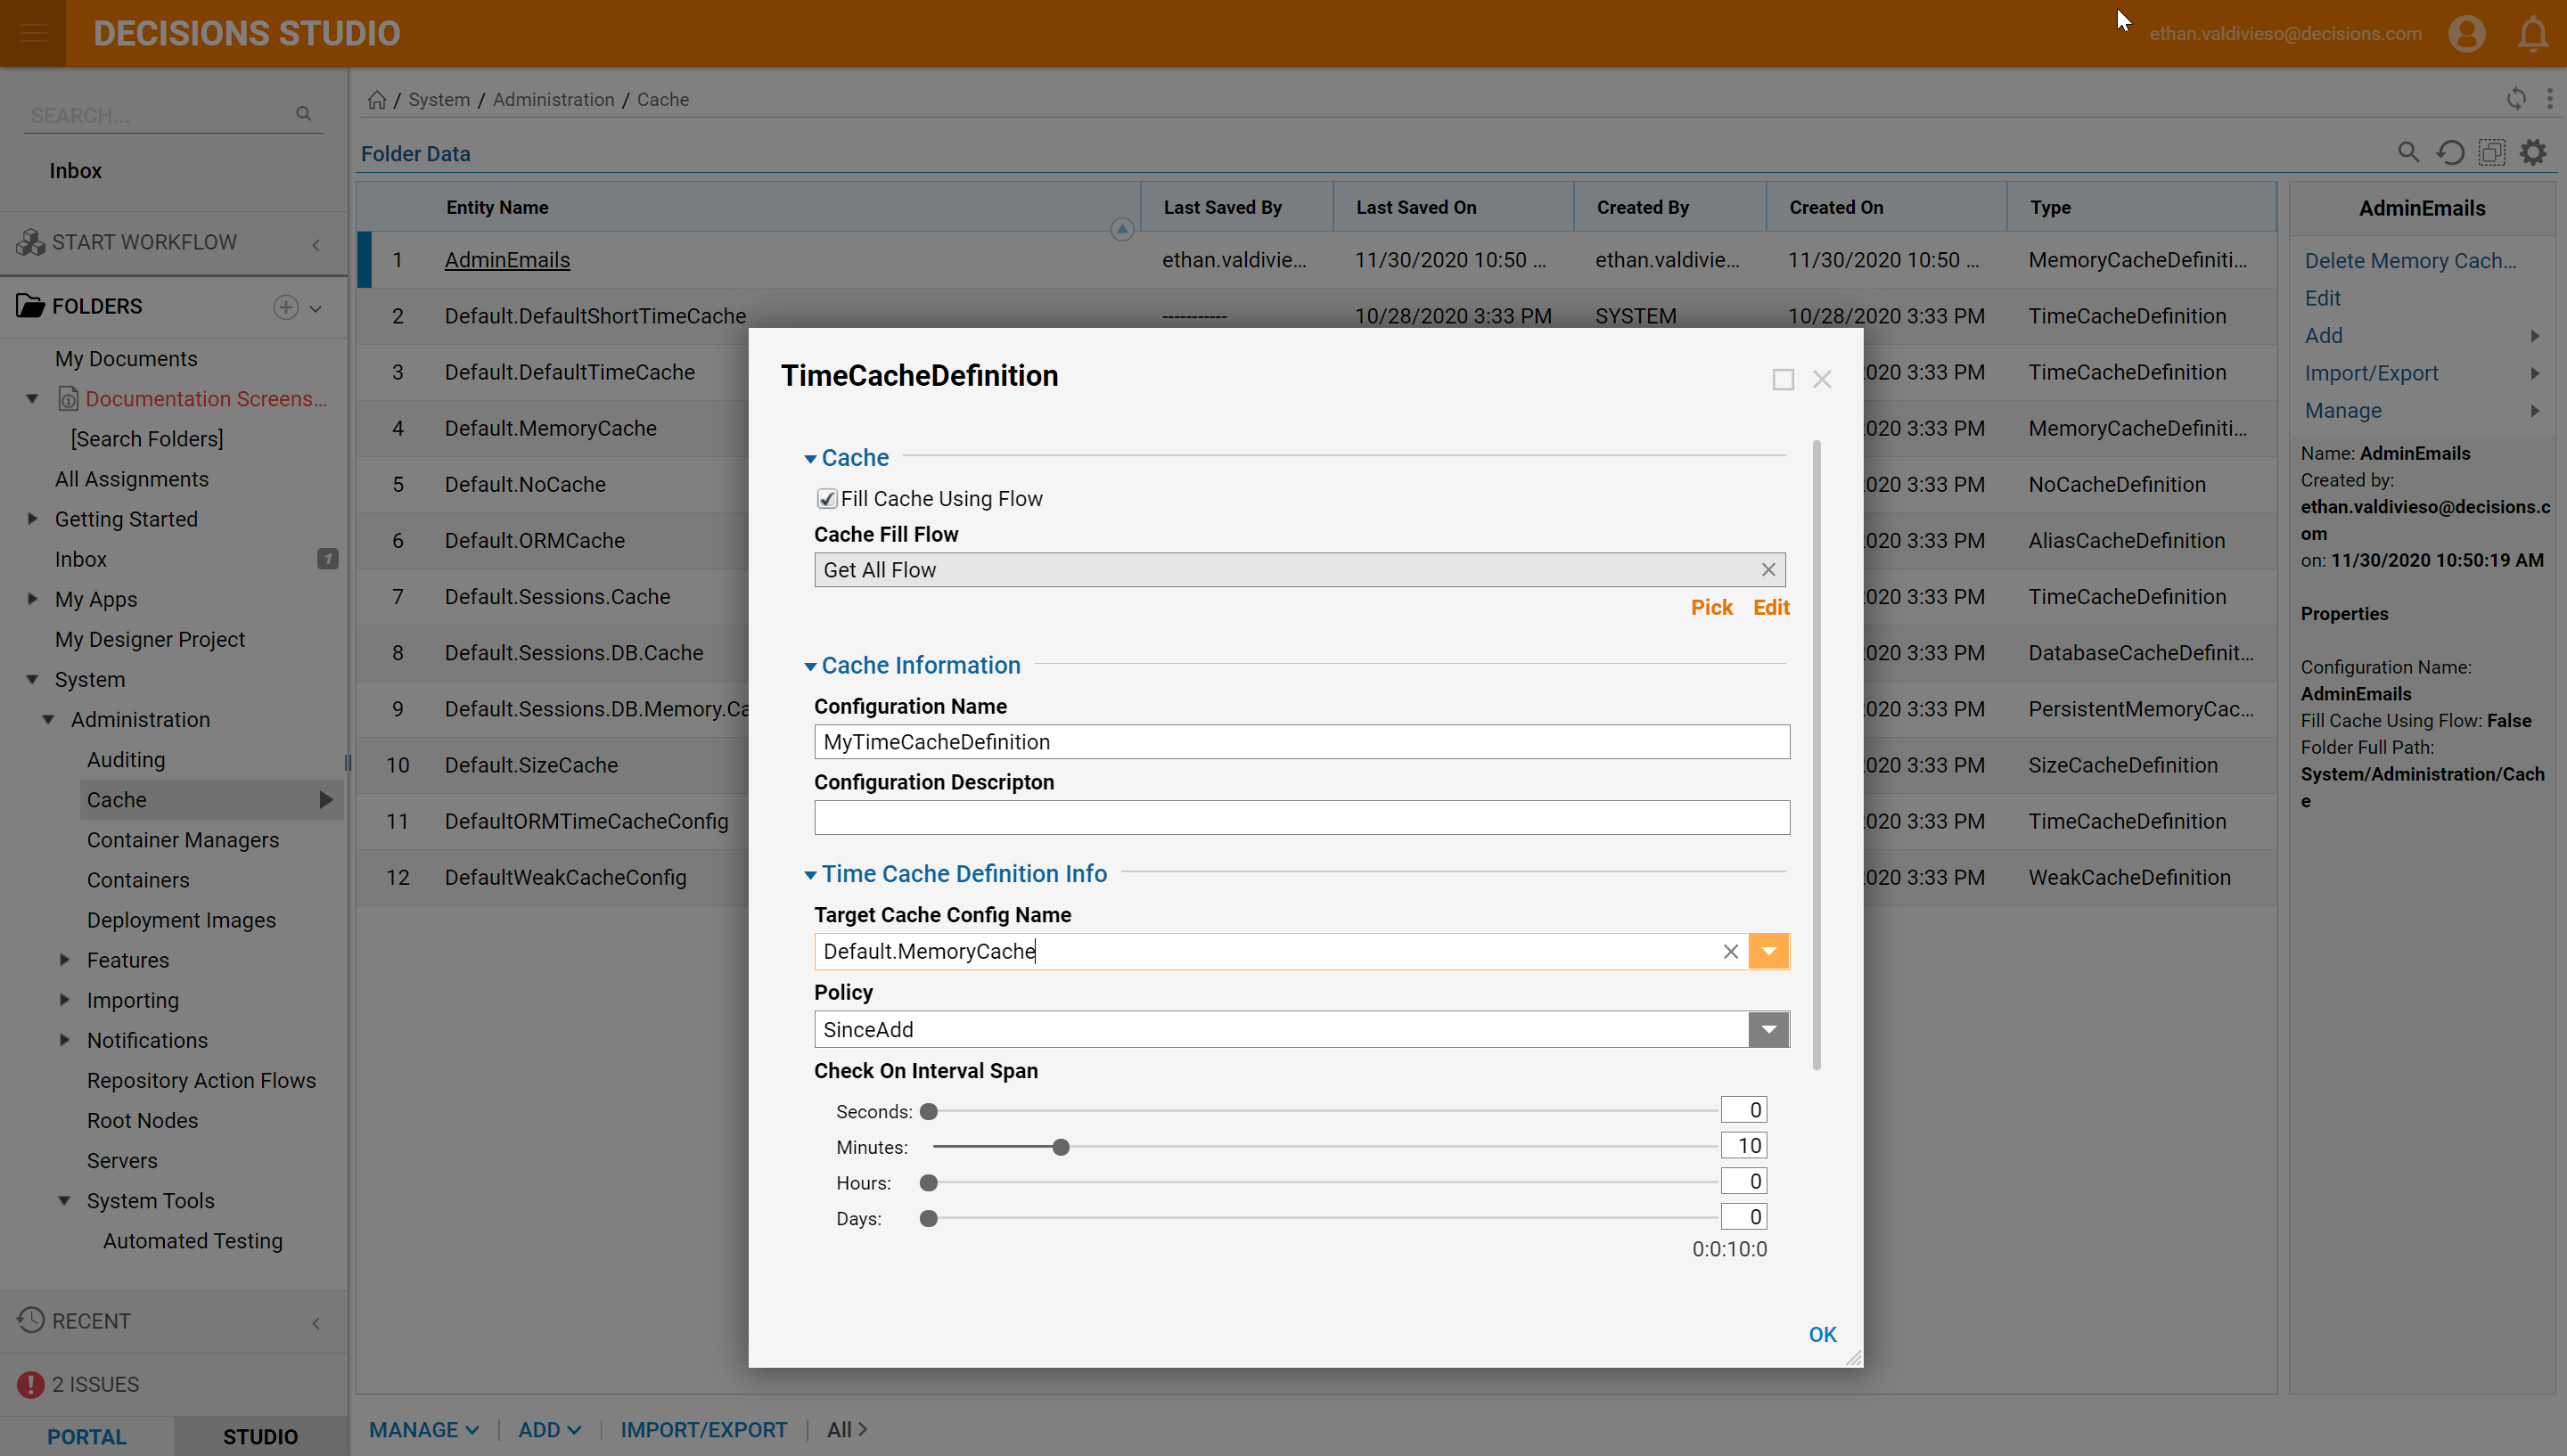
In the Edit Time Cache Definition dialog check Fill Cache Using Flow. Then, select the flow the was previously created in this example for the Cache Fill Flow.
Name the Cache in the Configuration Name field. From the Target Cache Config Name drop-down list chose Default.MemoryCache.
Finally, with the Check On Interval Span, define the life cycle for the Cache. Select SAVE to save Cache definition.
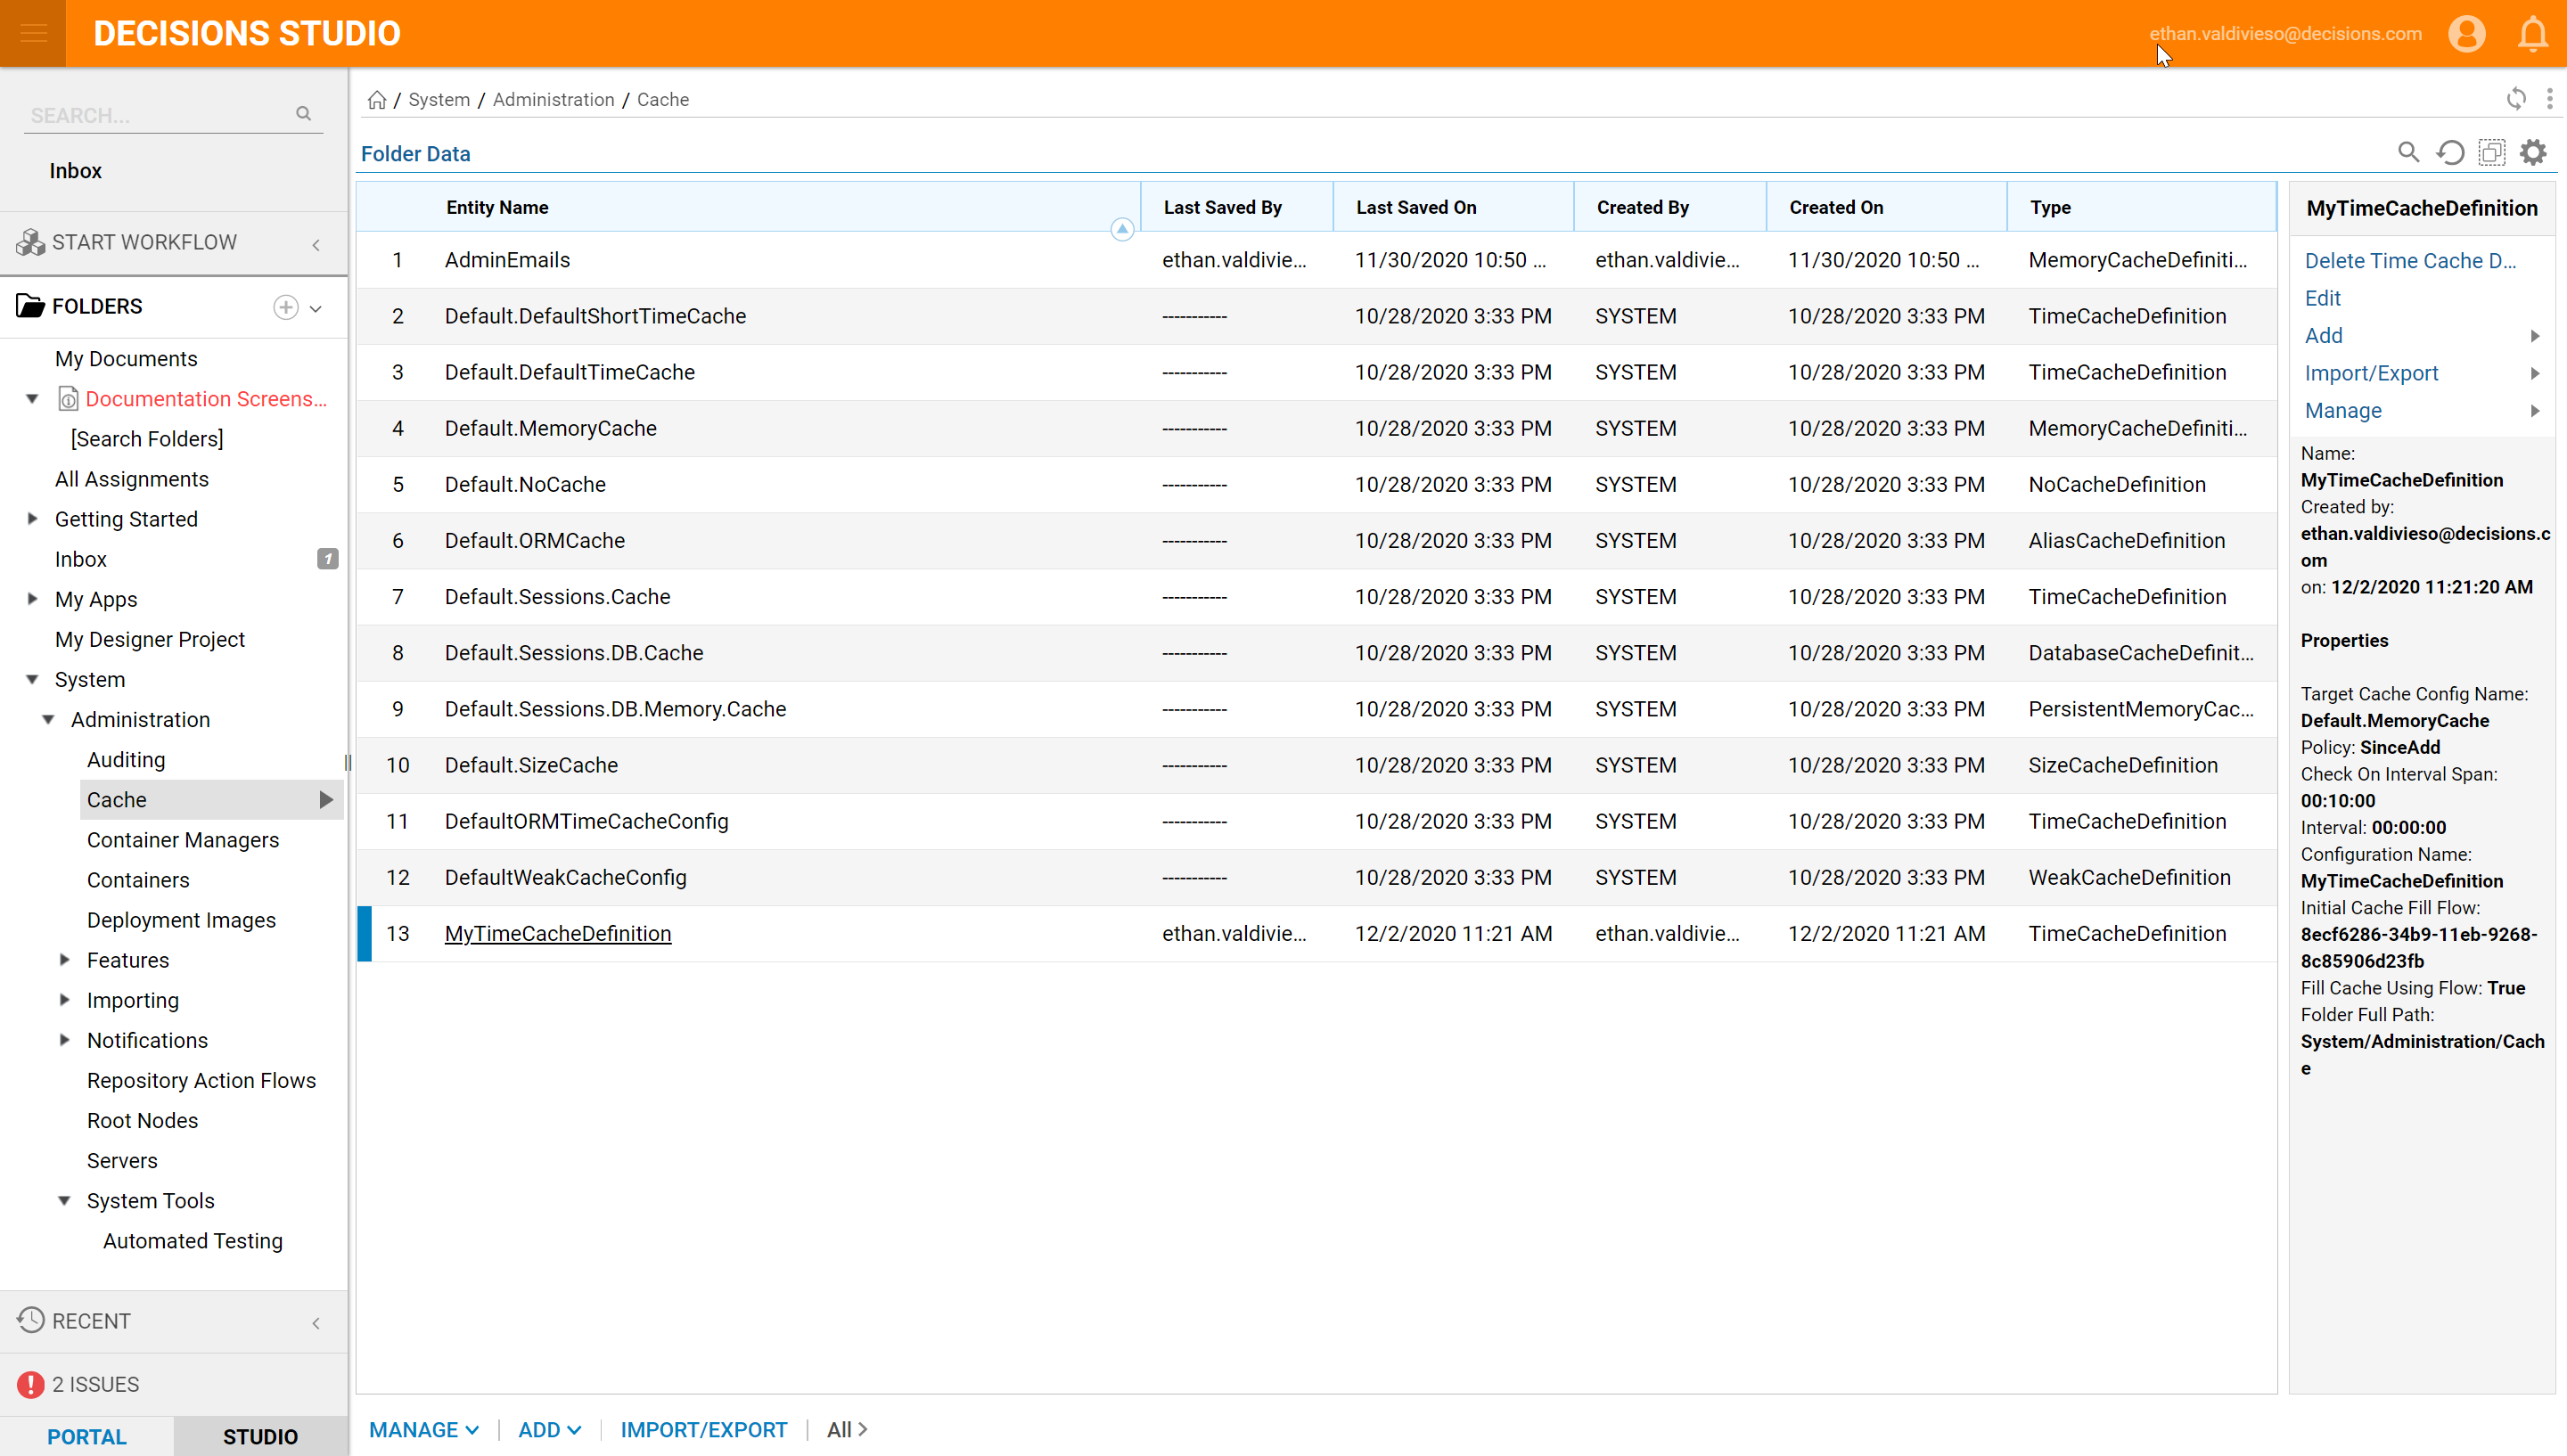
Confirm that the Cache was successfully saved in the Cache Folder and is ready for use.
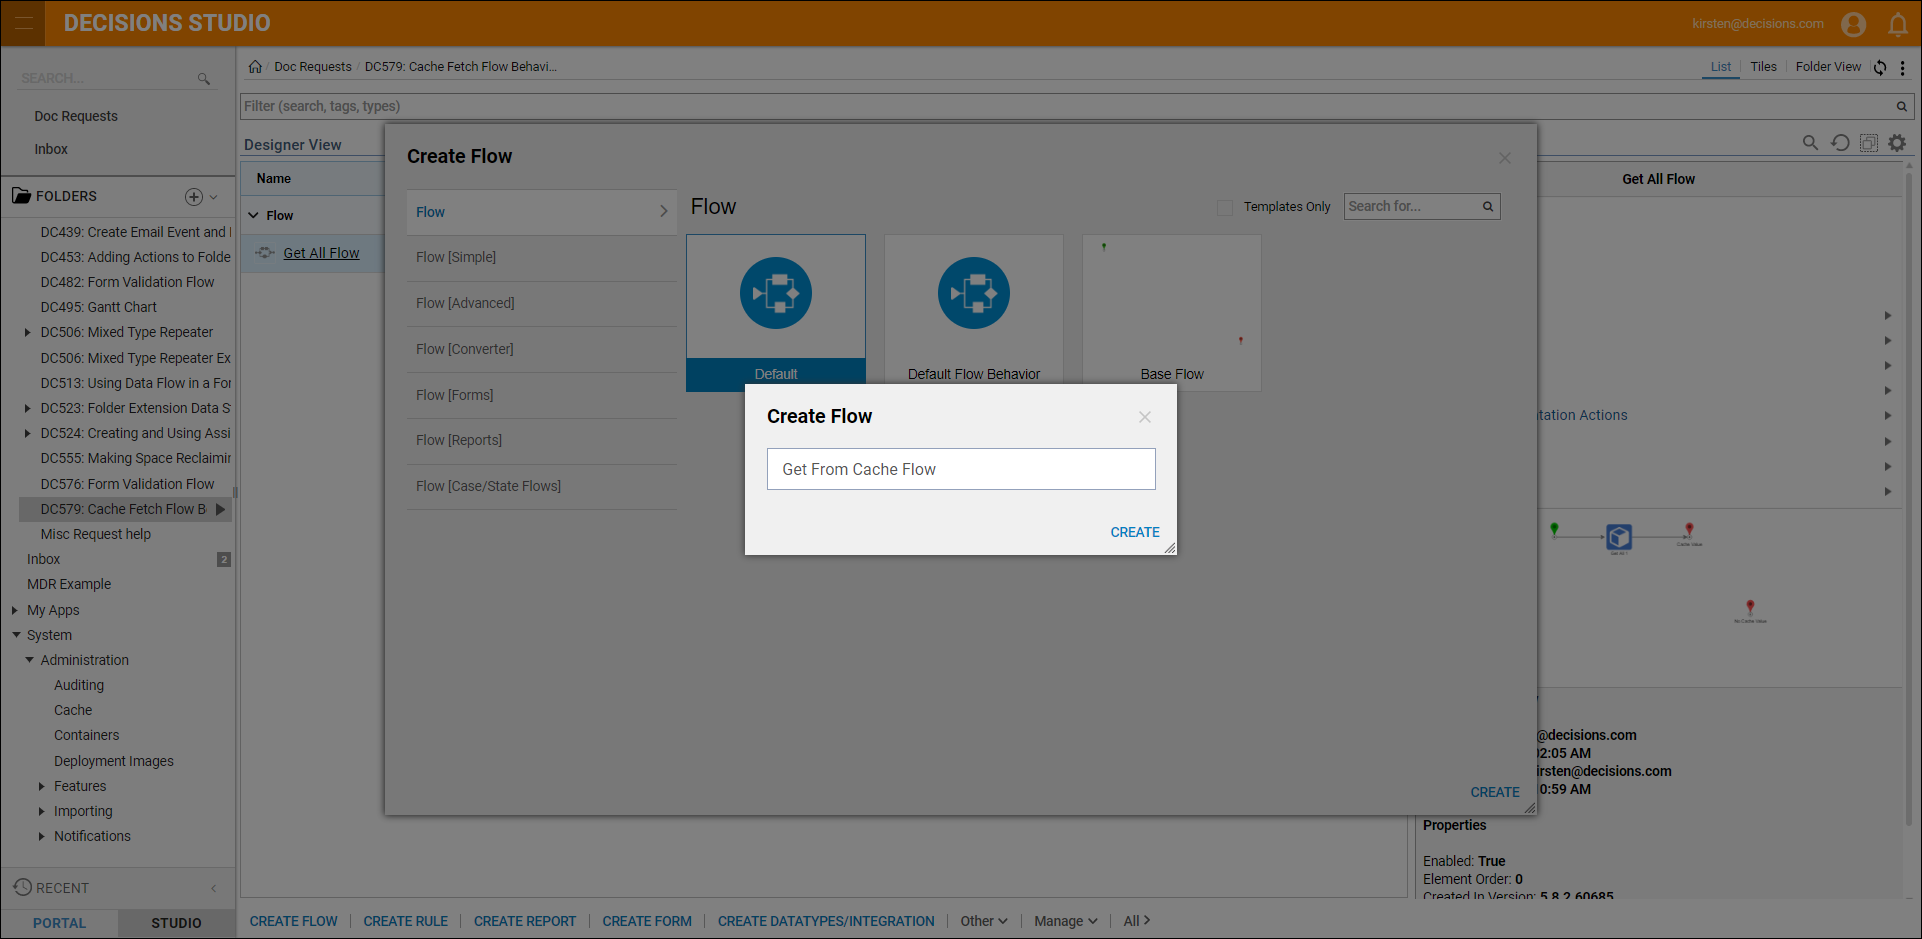
Back in the Designer Folder, select Create Flow on the Folder Actions Panel. Name the Flow and select 'Create' to proceed to the Flow Designer.
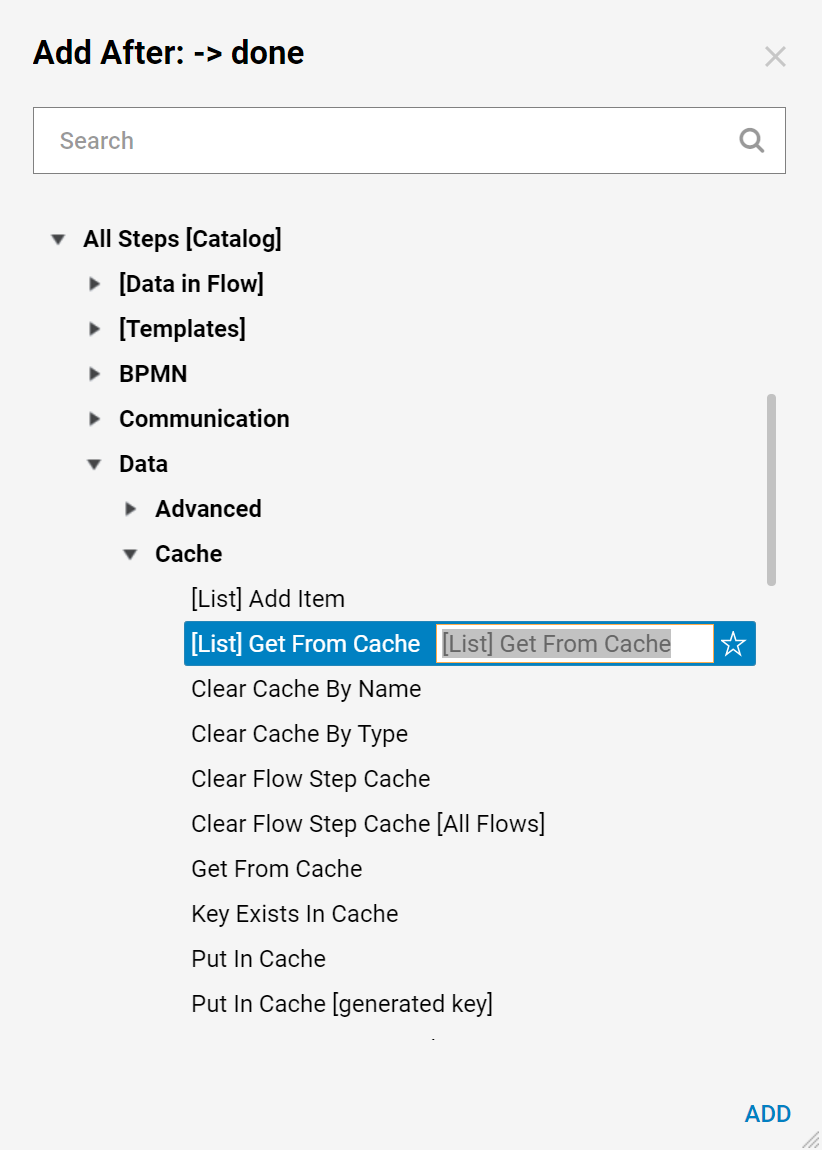
Add [List] Get From Cache step from the All Steps [Catalog] > Data > Cache category.
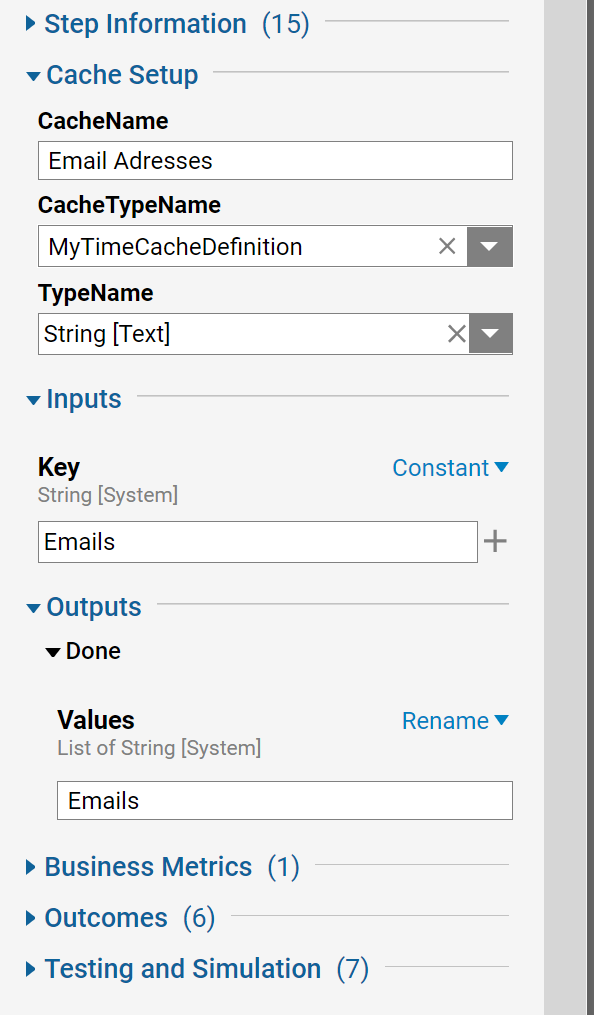
Provide a CacheName and from the CachTypeName drop-down select the custom Cache that was created previously, in this example it was named "MyTimeCacheDefinition". Then define the Constant Value for the Key Input as Emails.
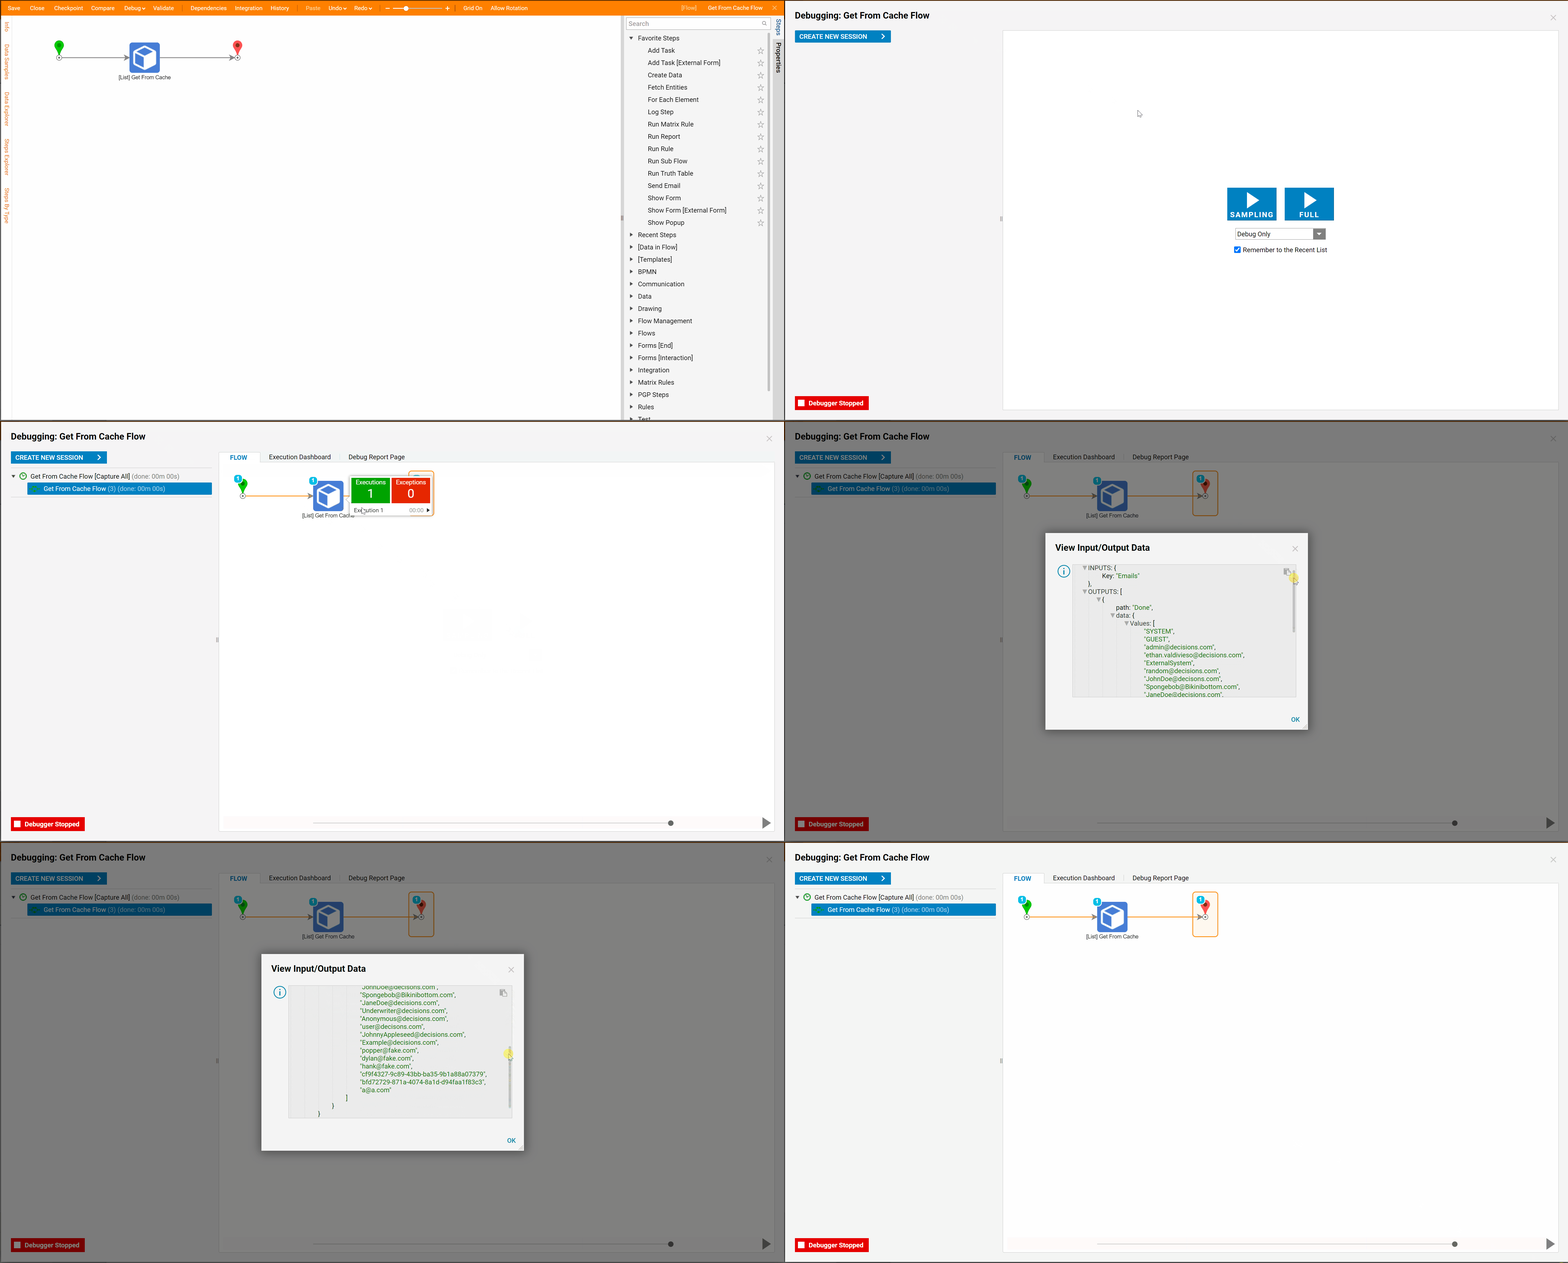
Select Debug on the top panel of the Flow Designer to test the Flow.
In the Debugger select the play button to start the flow. The Flow executes to the End step with no issues. Select [List] Get From Cache step and expand Execution 1 and select View Input/Output Data. This displays the cached data.
