Overview
Forms can be assigned to specific users or groups for completion. Assignments appear in the Tasks list of every person that is listed on the assignment or within the group. Also, by default, the assignee is sent an email to the task. Alternatively, Forms can be assigned using Named Sessions for uses that don't have a Decisions account.
Example
In this example, create a Named Session and assign a Form to it.
Creating a Named Session
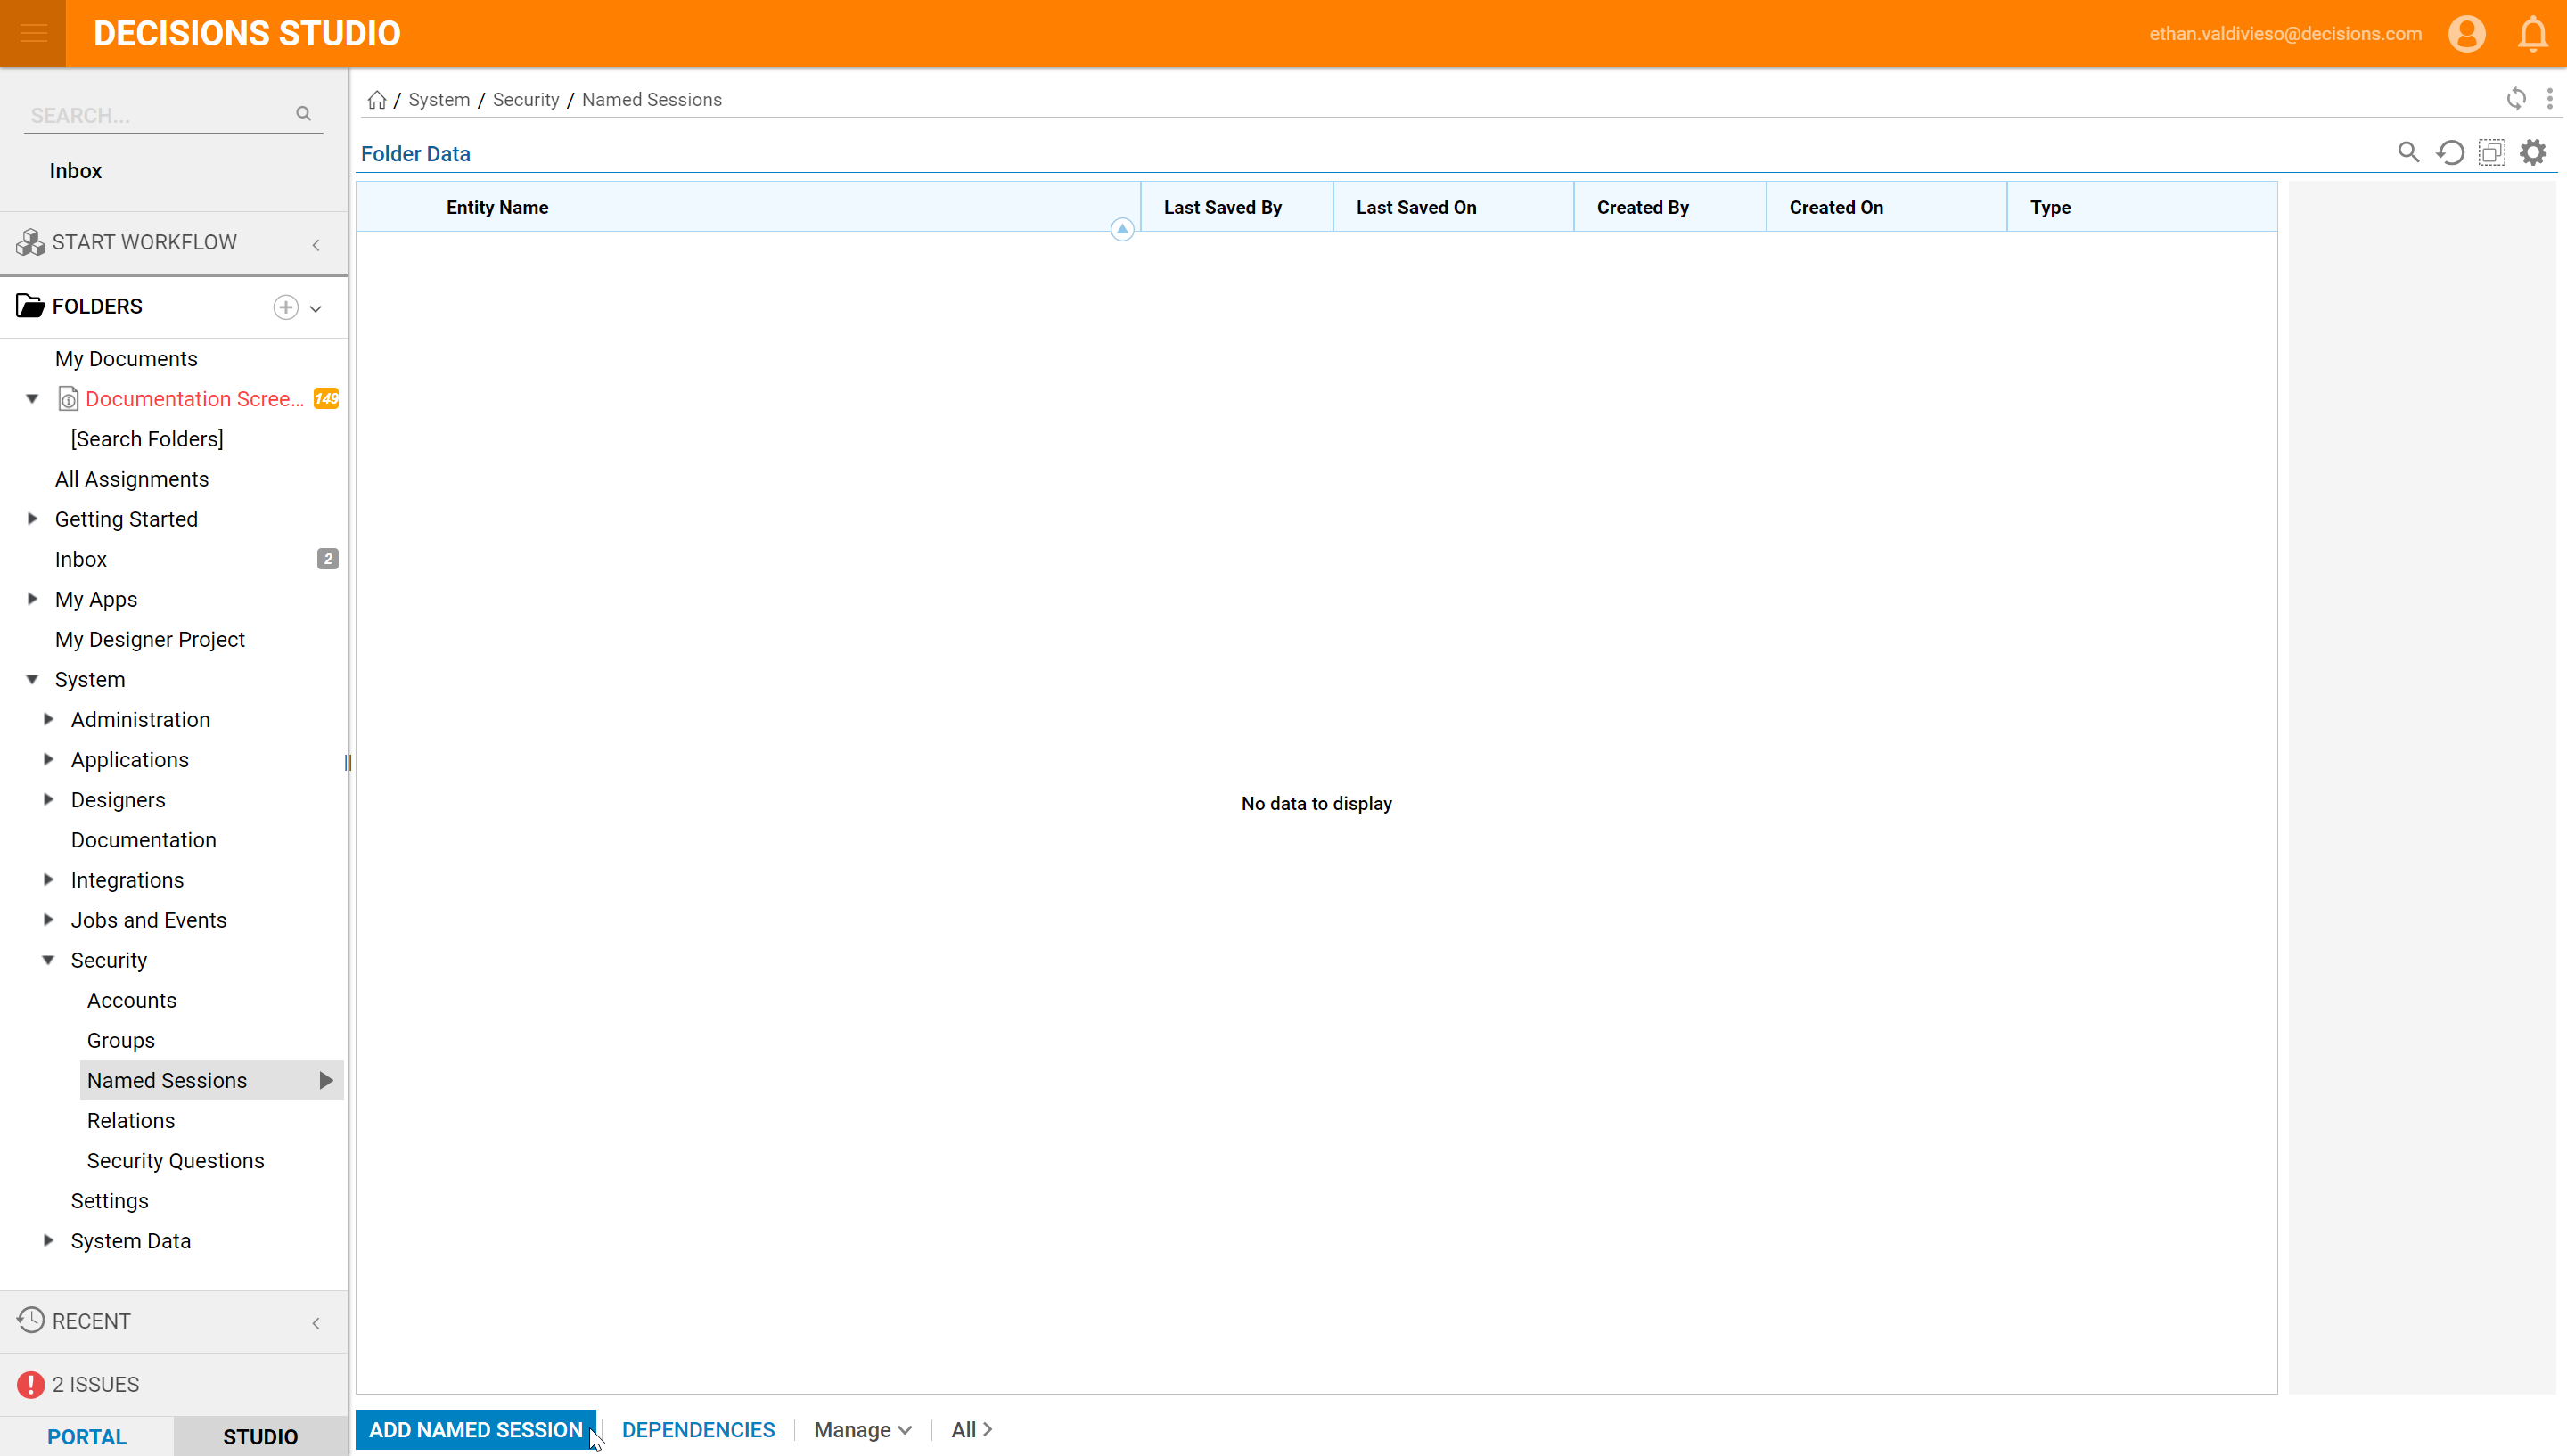
- Begin by navigating to System > Security > Named Sessions and select the Add Named Session button.
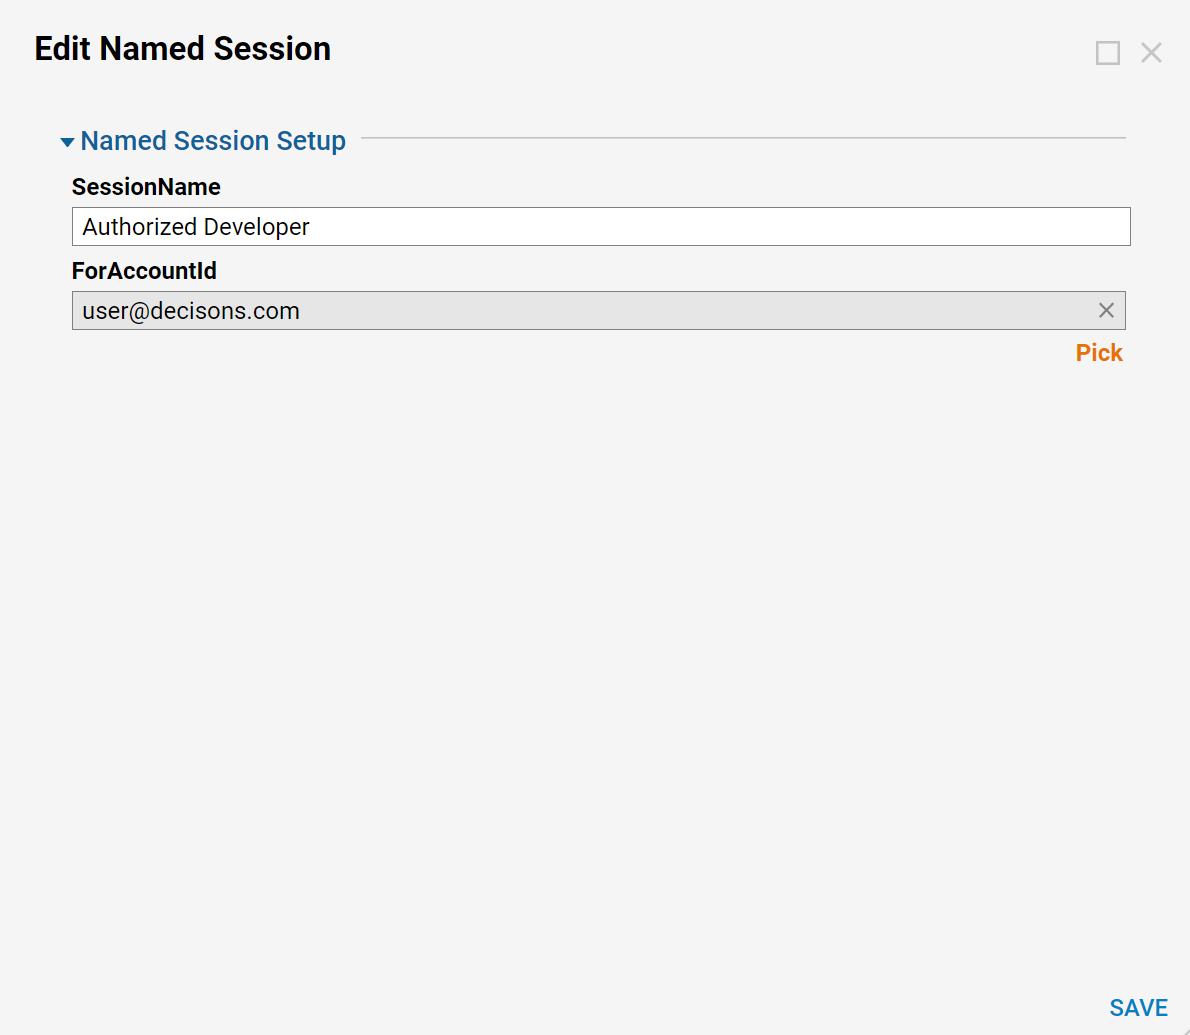
- Name the Named Session and pick an Account this session will be related to.
- Click SAVE to save the Named Session.
Using a Named Session
- Navigate to the Flow that will be invoked using the Named Session.
- From its Actions menu, select Run [Advanced] > Integration > Get REST URL With Session.
The URL will resemble:http://192.41.71.25/decisions/sl/runservice/MidWire/Retrieve%20Person%20and%20Person%20Address?InstanceName=Decisions.CONTROLINSTANCE&sessionId=8e1bb7a0-2b06-42ca-a9da-c434c9a53c82 Following &sessionID= - Delete the session ID and replace it with the copied session ID of the Named Session.
- Now, when the Flow is invoked using that URL, the user name will show as the Account specified in the Named Session.
- Optionally, add "&clearsession=true "at the end of the URL. This will ensure that each time the user exits the browser after completing the Named Session Flow/Form, the session is cleared and another user can run the same Flow/Form on the same machine with a different Named Session.
Assigning a Named Session
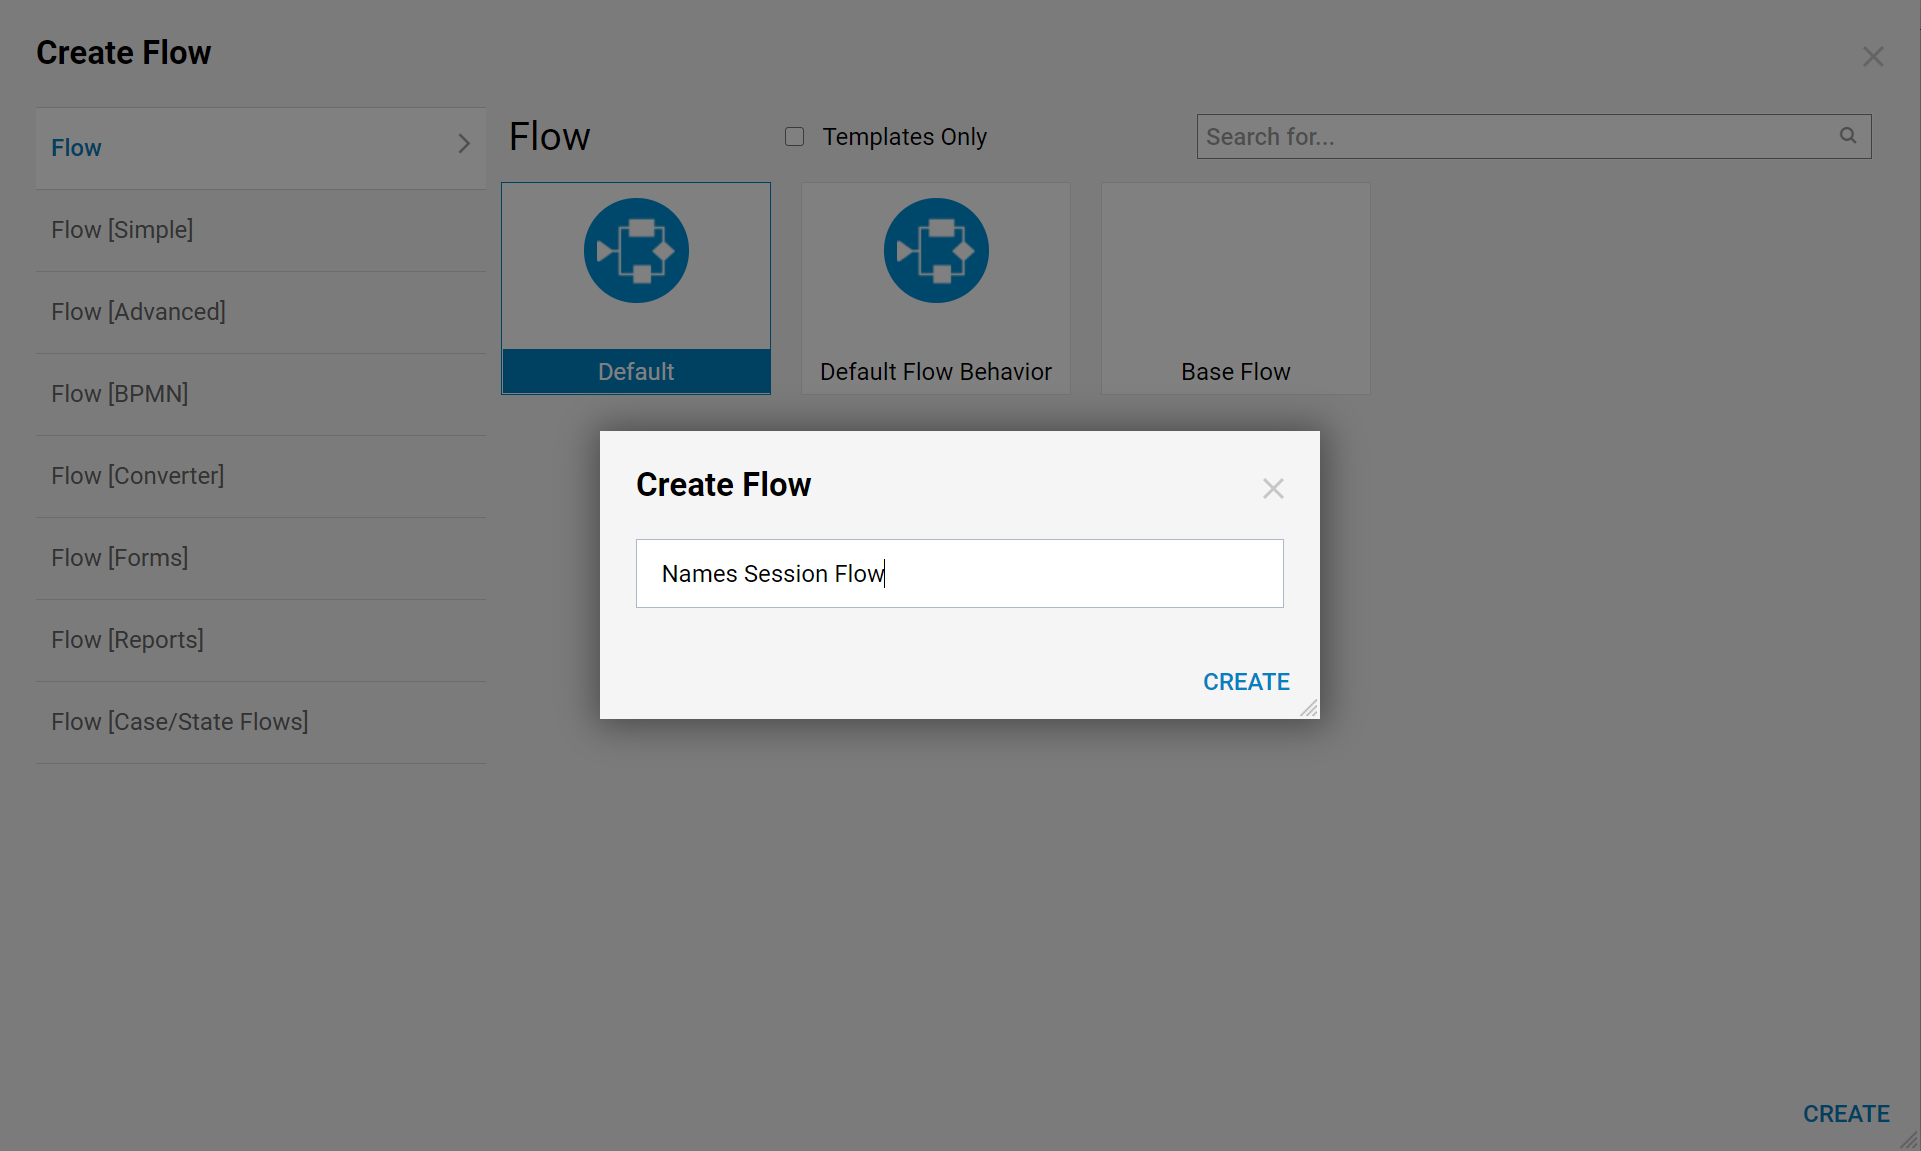
- Next, navigate to a Designer Folder and select CREATE FLOW.

- Name the Flow and select CREATE to proceed.
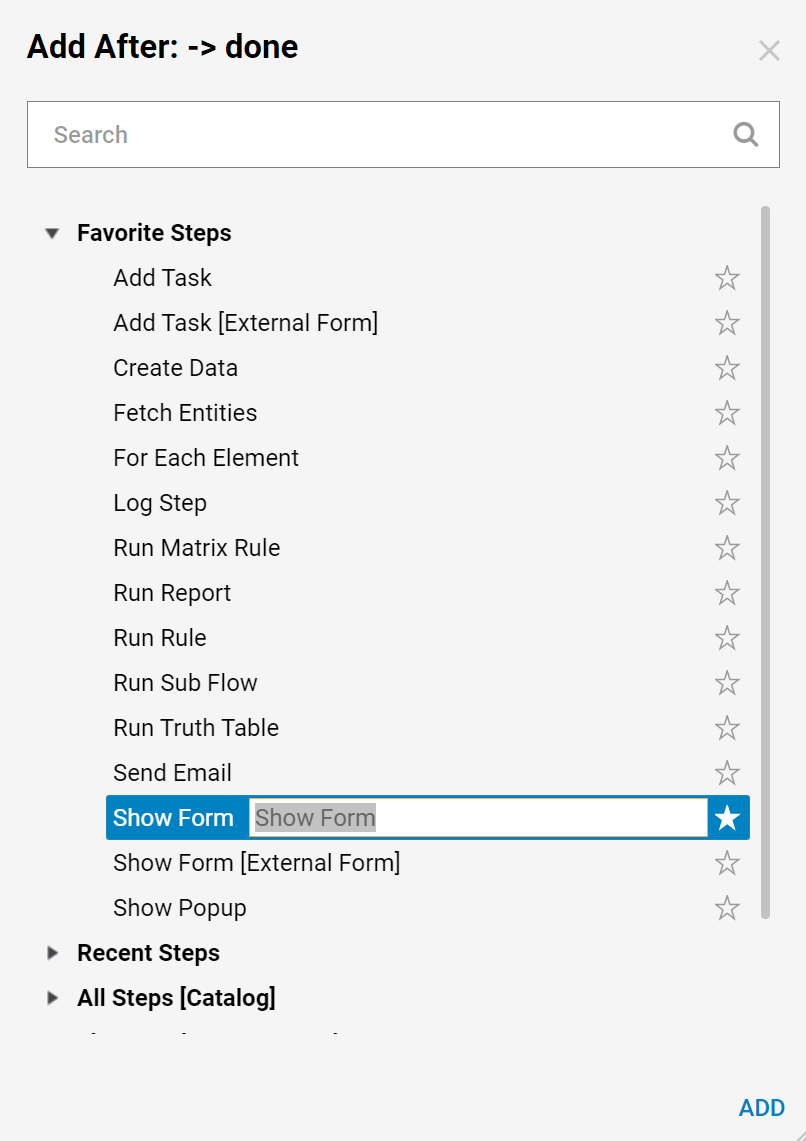
- When the Flow Designer opens, locate [Pick or Create Form] under Flows, Rules, Forms and Reports > Forms[Interaction] in the Flow Designer's quick add window.
- Select ADD to add this step to the workspace.
- Next, name the Form and select CREATE to proceed to the Form Designer.

- The main components of the Form is a Text Box Multi-Line and a Button.
- Save and close the Form.
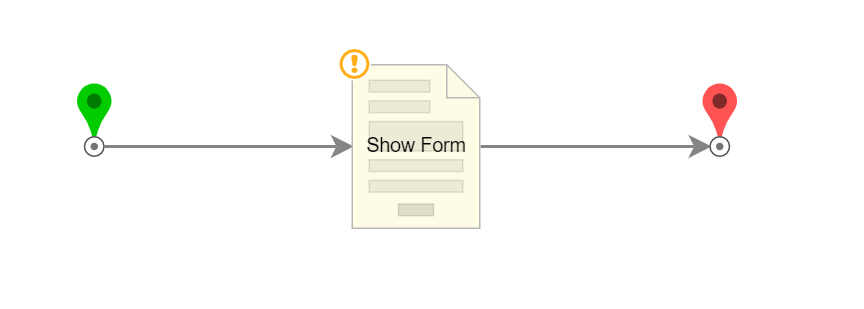
- In the Flow Designer, connect the steps.
- From the Form's properties under Form Setup > Assignment Type Dropdown select the AssignedToNamedSession option.
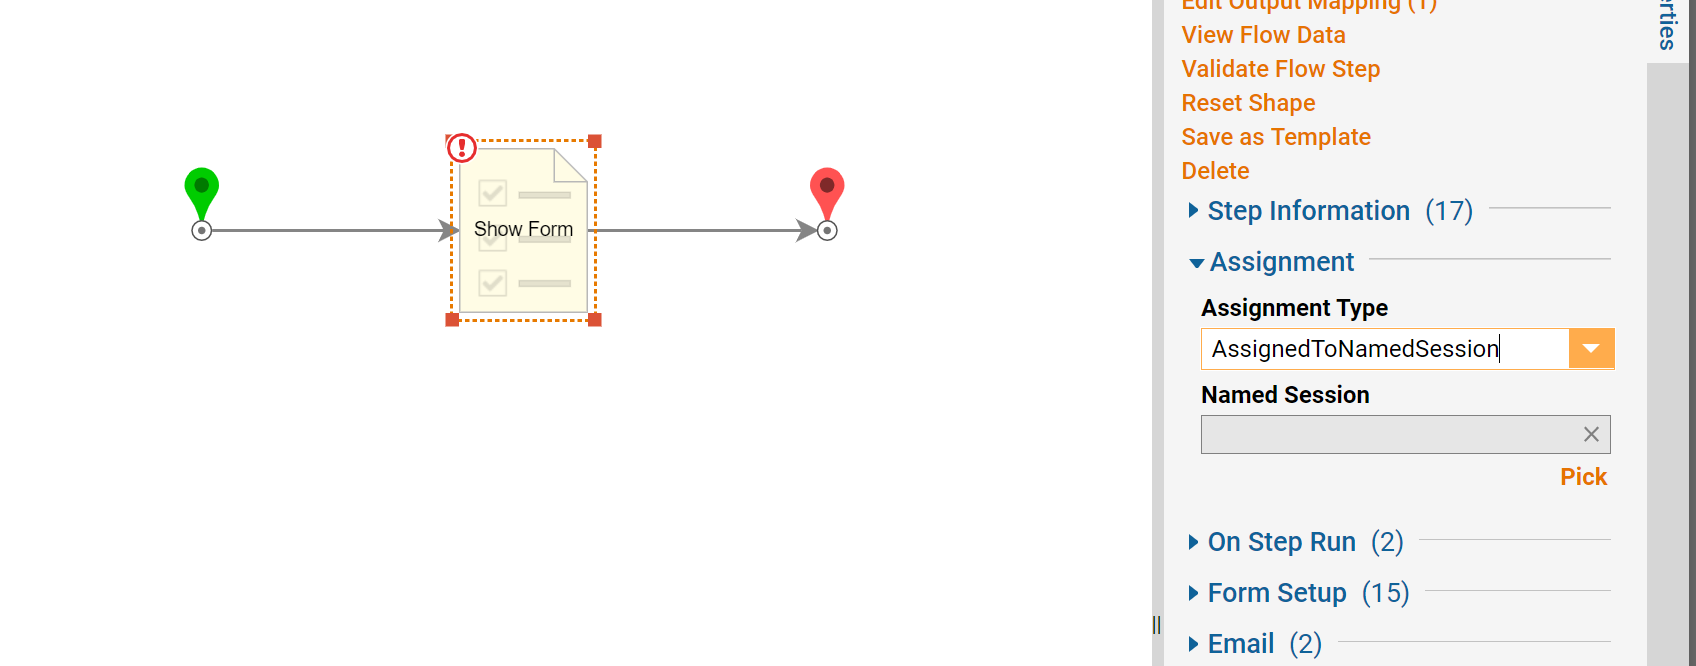
- In Assignment, under Named Session define the Named Session that will have the assignment.
- Pick the Named Session that was created in the first step of this example.

- Select DONE to close the assignment picker.
- This completes the Flow. Save and close it.
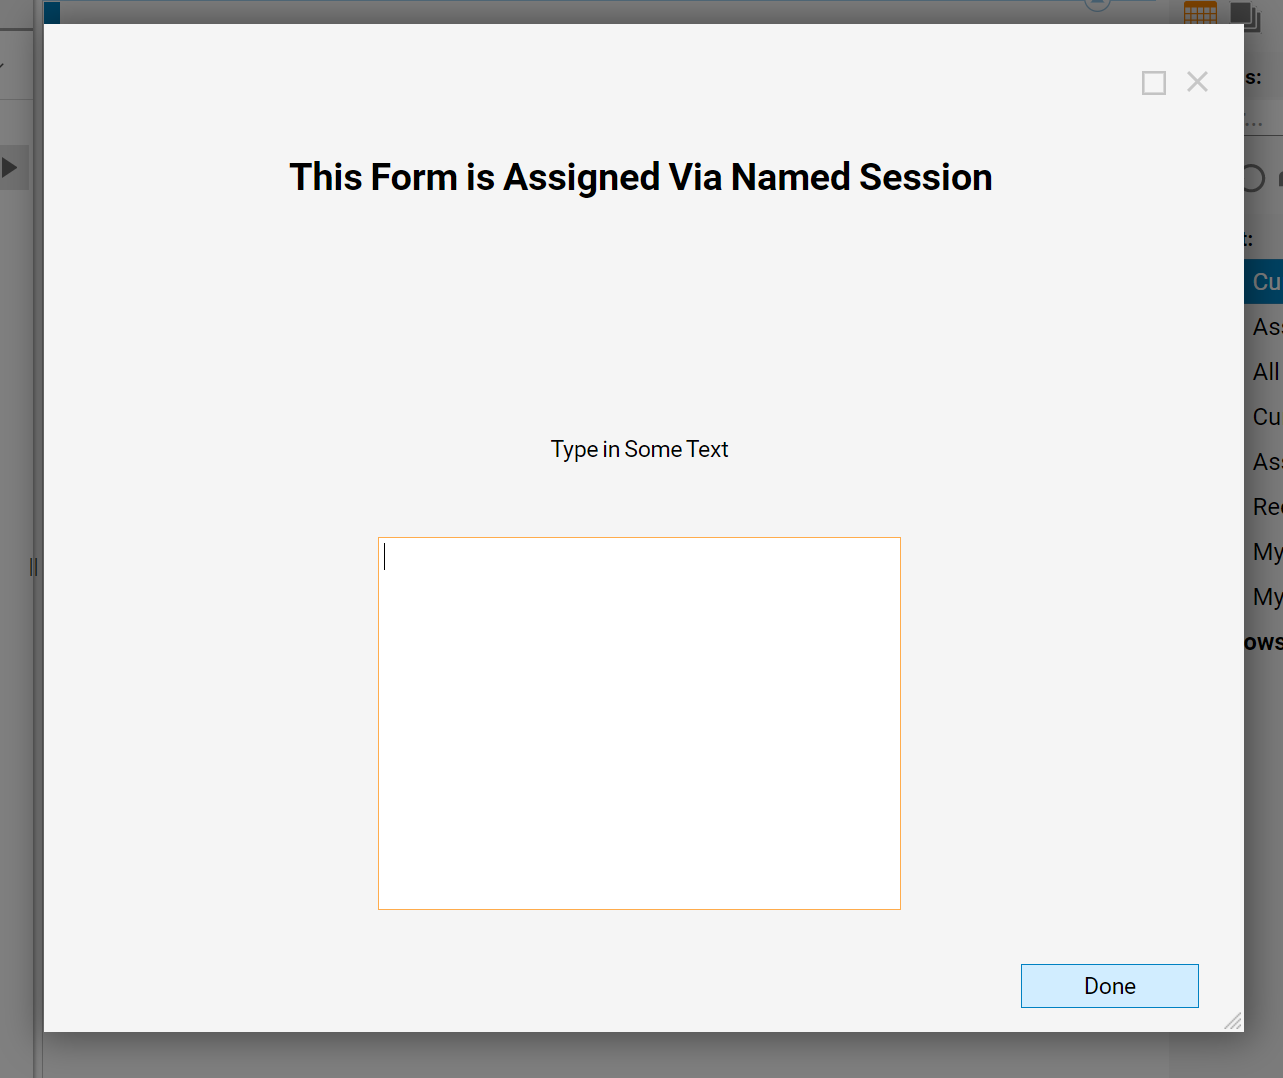
- Select Run Flow. An assignment will display as a pop-up.

- As mentioned at the beginning of this article, assigning a task allows it to show on the task list of the assigned user.
Logout of Decisions. Log in as a user that is related to the Named Session (Authorized Developer) from the first step in this example.
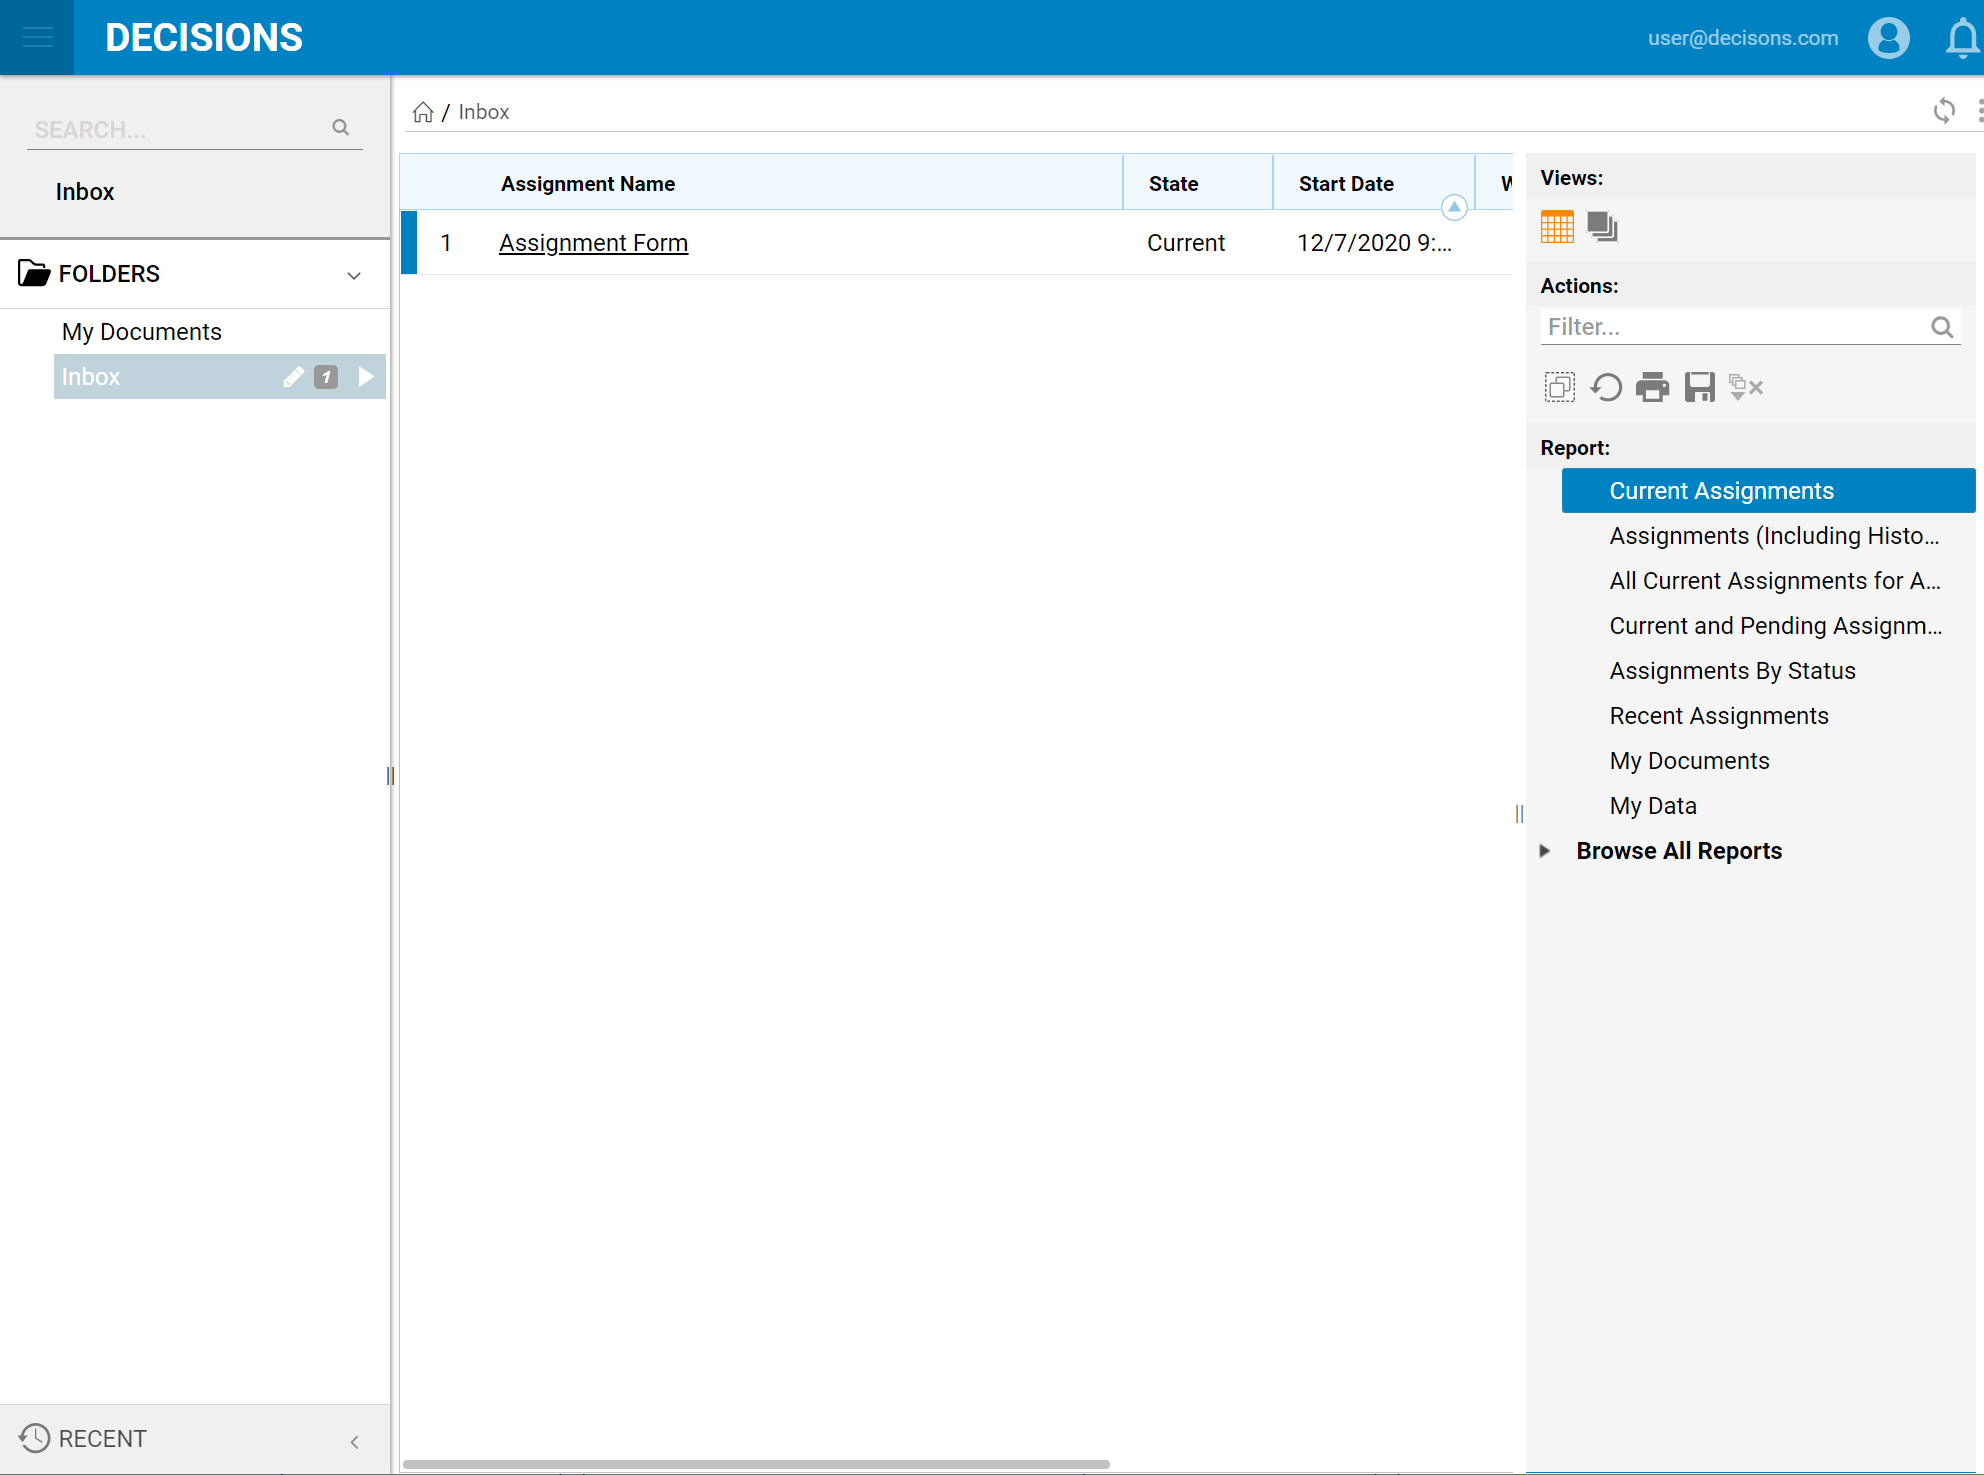
- View the form in the My Task Folder.
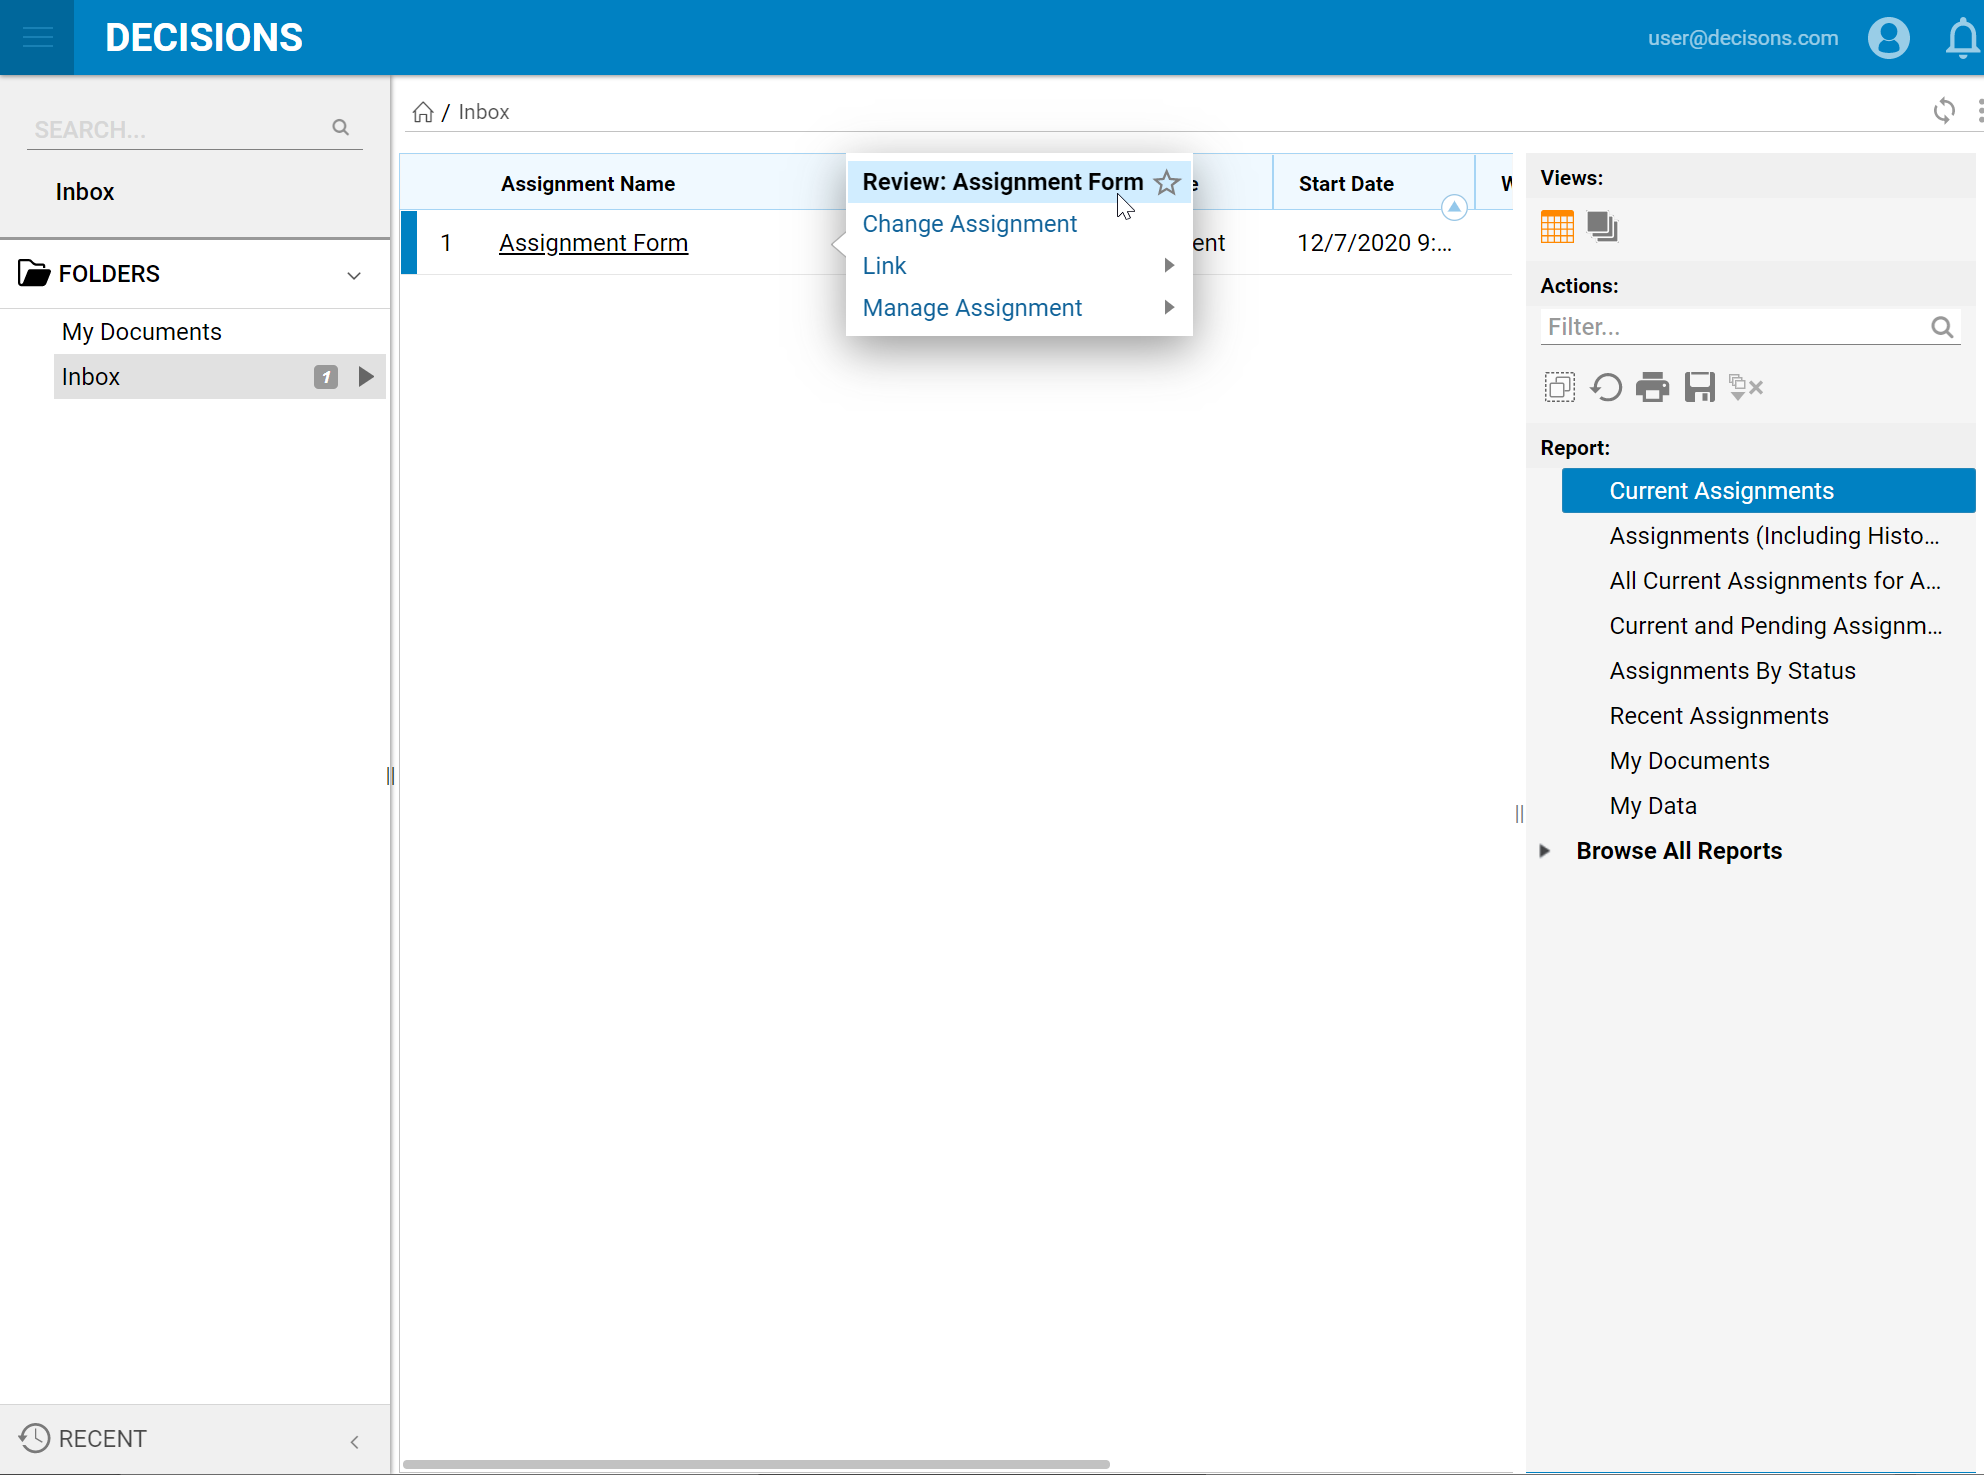
- There is an option to run the assignment by selecting Review: Assignment Form.
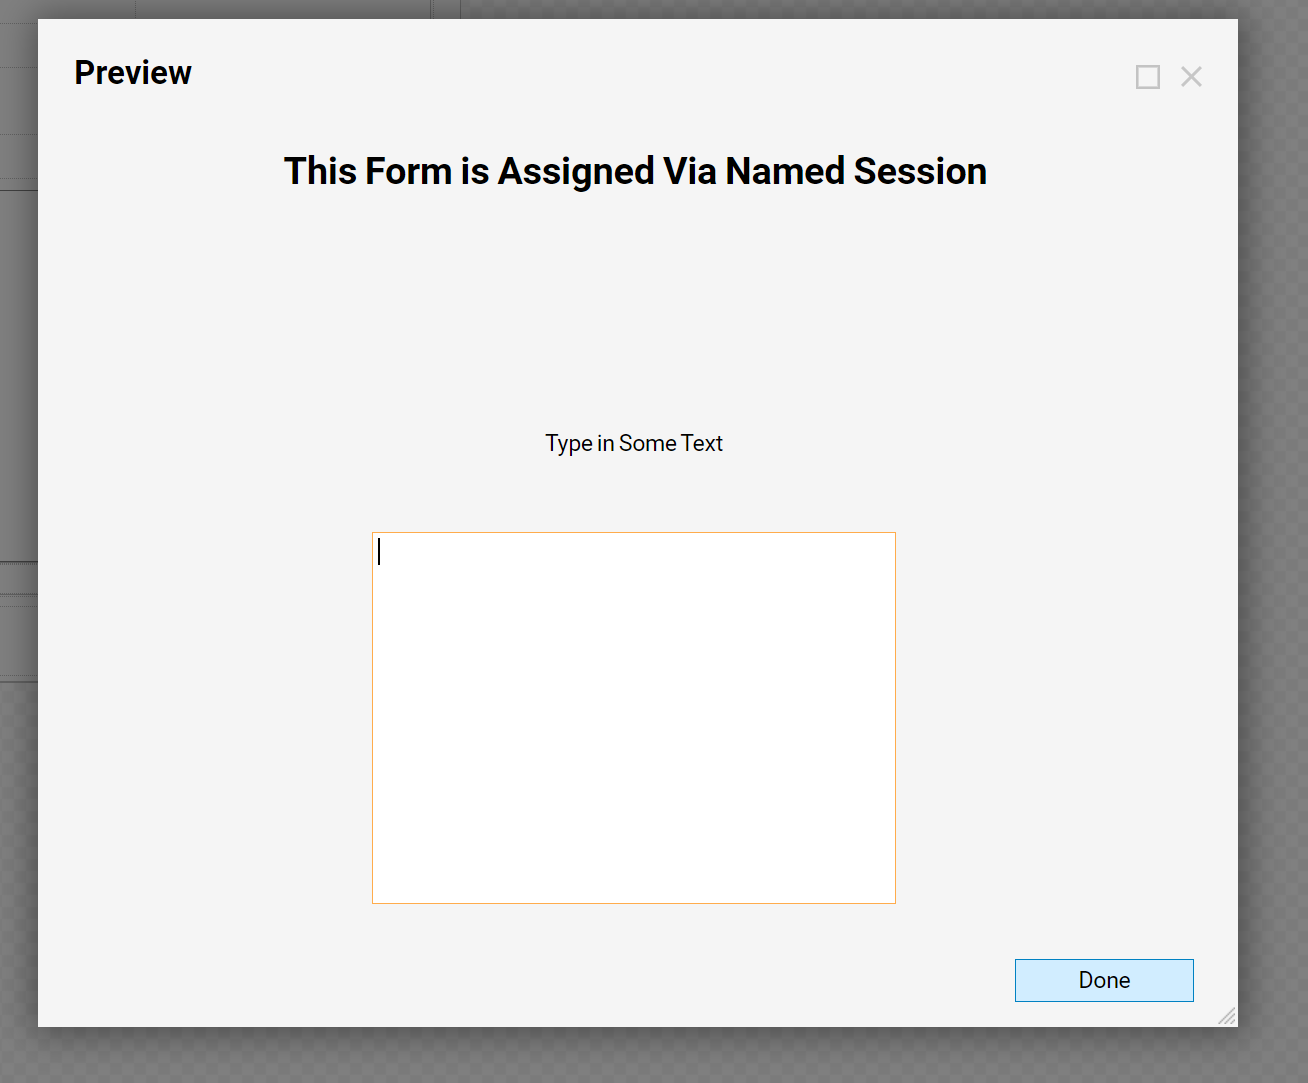
- Type in some text and select Done to close it.