Overview
When creating or editing a group, the Linked Groups setting is an option to associate one group with another. All of the accounts in the selected Linked Group will have access to the same Assignments and objects as the group it is being associated with.
If your environment is connected to the Deployment Server, manage centralized user accounts from the Deployment Server. Administrators can create accounts on the Deployment Server and assign them to connected environments to keep access consistent across Development, QA, and other connected servers.
After an account is assigned to an environment, the account information synchronizes with that environment. Permissions specific to projects, folders, or other security settings must still be configured directly in the target environment where the user will work.
For more information, see: Managing Accounts with the Deployment Server
Example
This example consists of an account named developer@example.com that will belong to the Developer Team and the Designers groups and an account named sales@example.com that only belongs to the Designer group. In the example, the Developer Team will be linked to the Designers Group to allow all accounts within the Designers Group to see and access a folder named Dev Apps.
- Create an account named "dev@example.com" and add it to a group called Developer Team and Designers.
- Create another account named "sales@example.com" and add it to the Designers group.
- Create a new Designer Project at the Root and name it "Dev Apps".
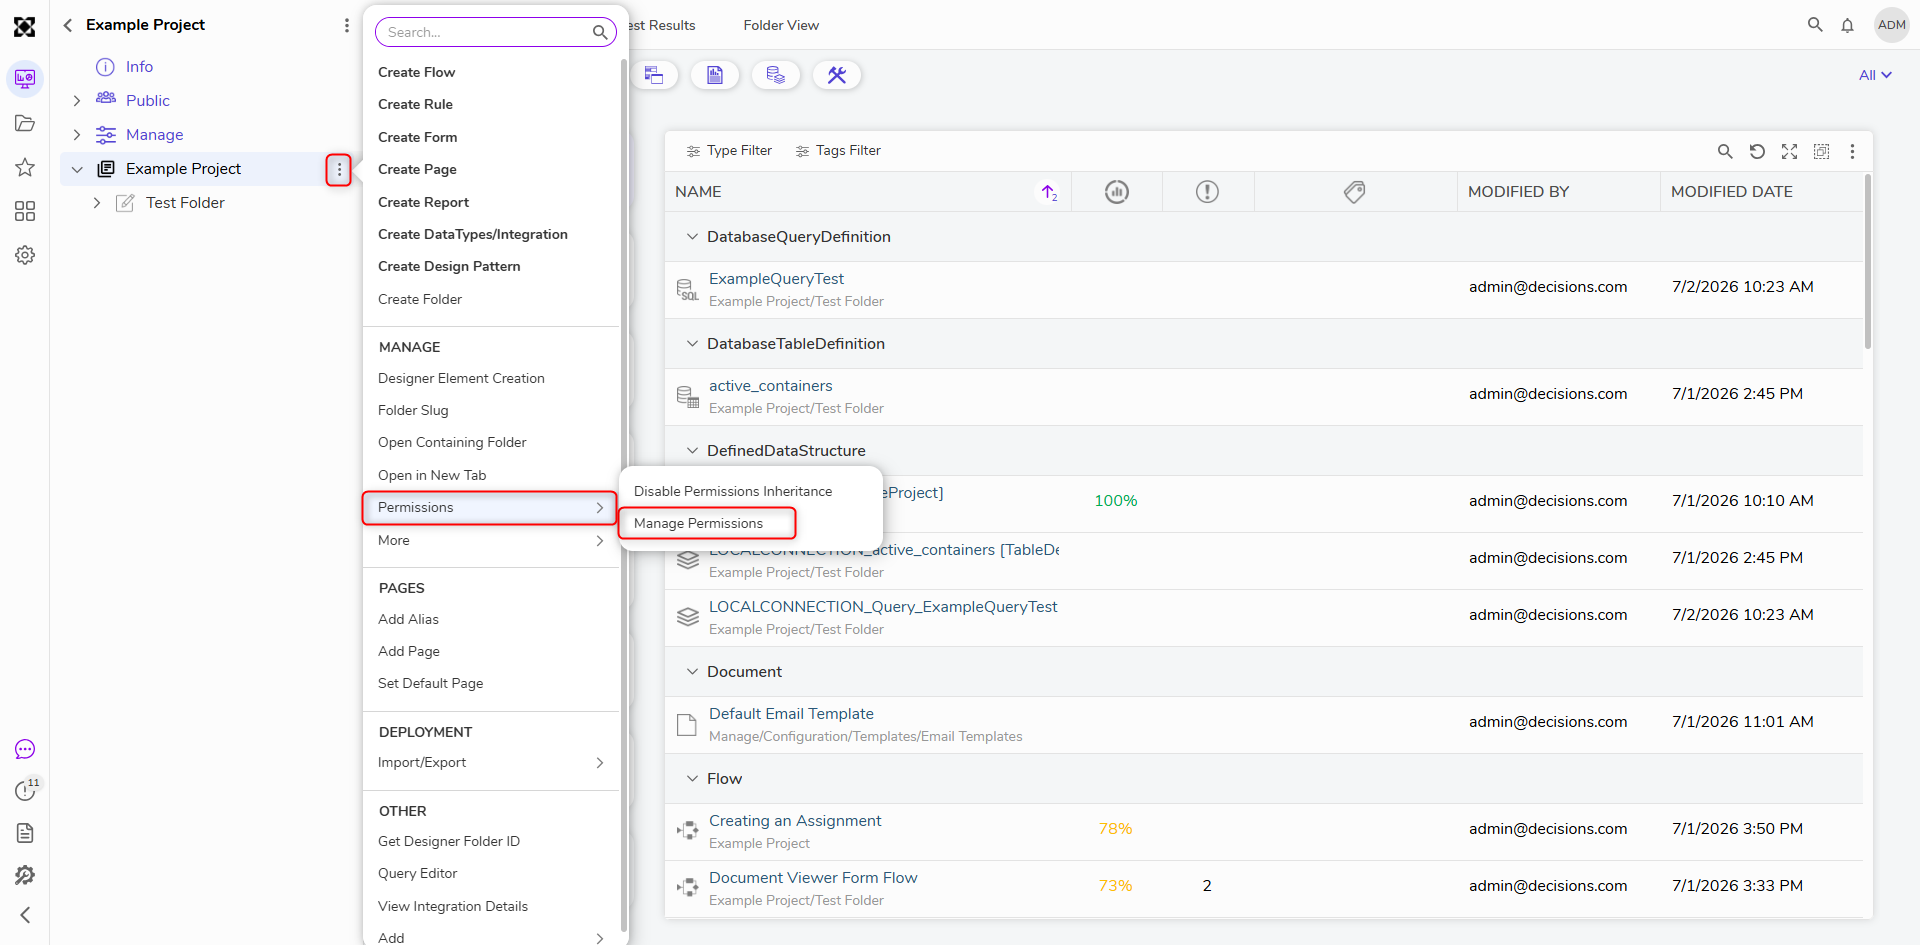
- Once the Designer Project is created, right-click on the name and navigate to Manage > Manage Permissions.
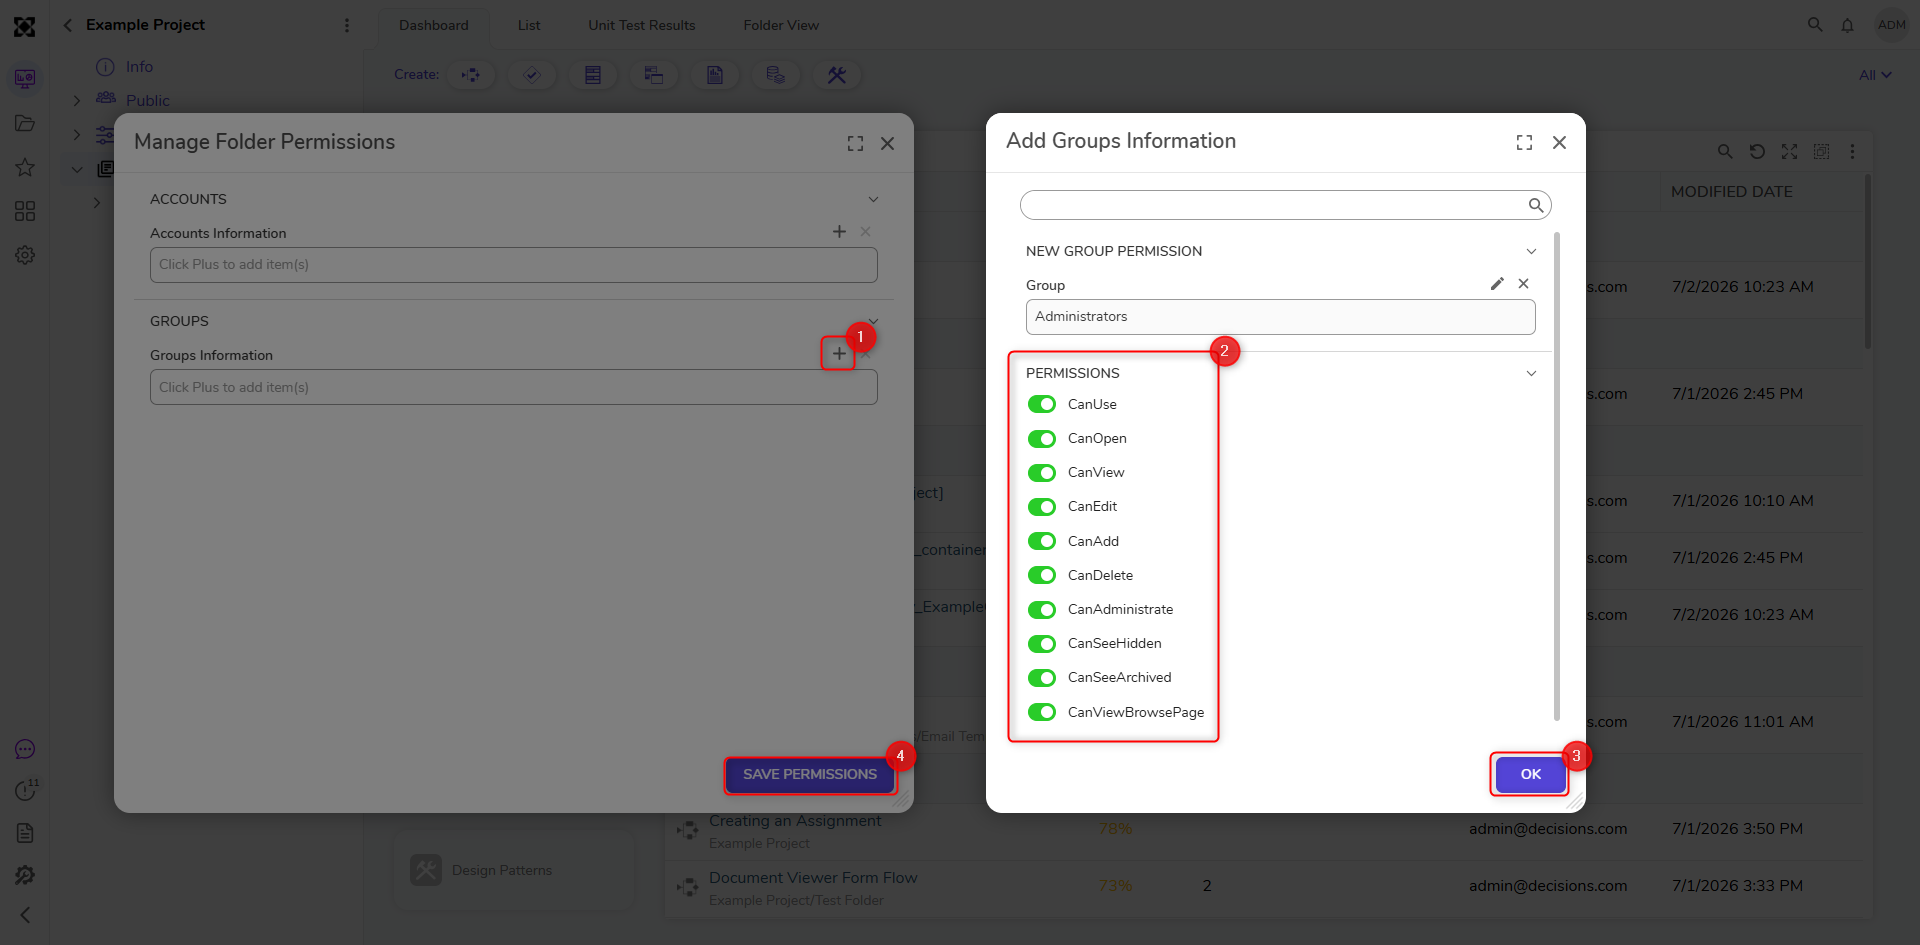
- In the Manage Folder Permissions window under the GROUPS category, click ADD. Click PICK to select the Developer Team group. Under PERMISSIONS, select all the permissions for the Developer Team to have access to. Select OK and then SAVE PERMISSIONS.
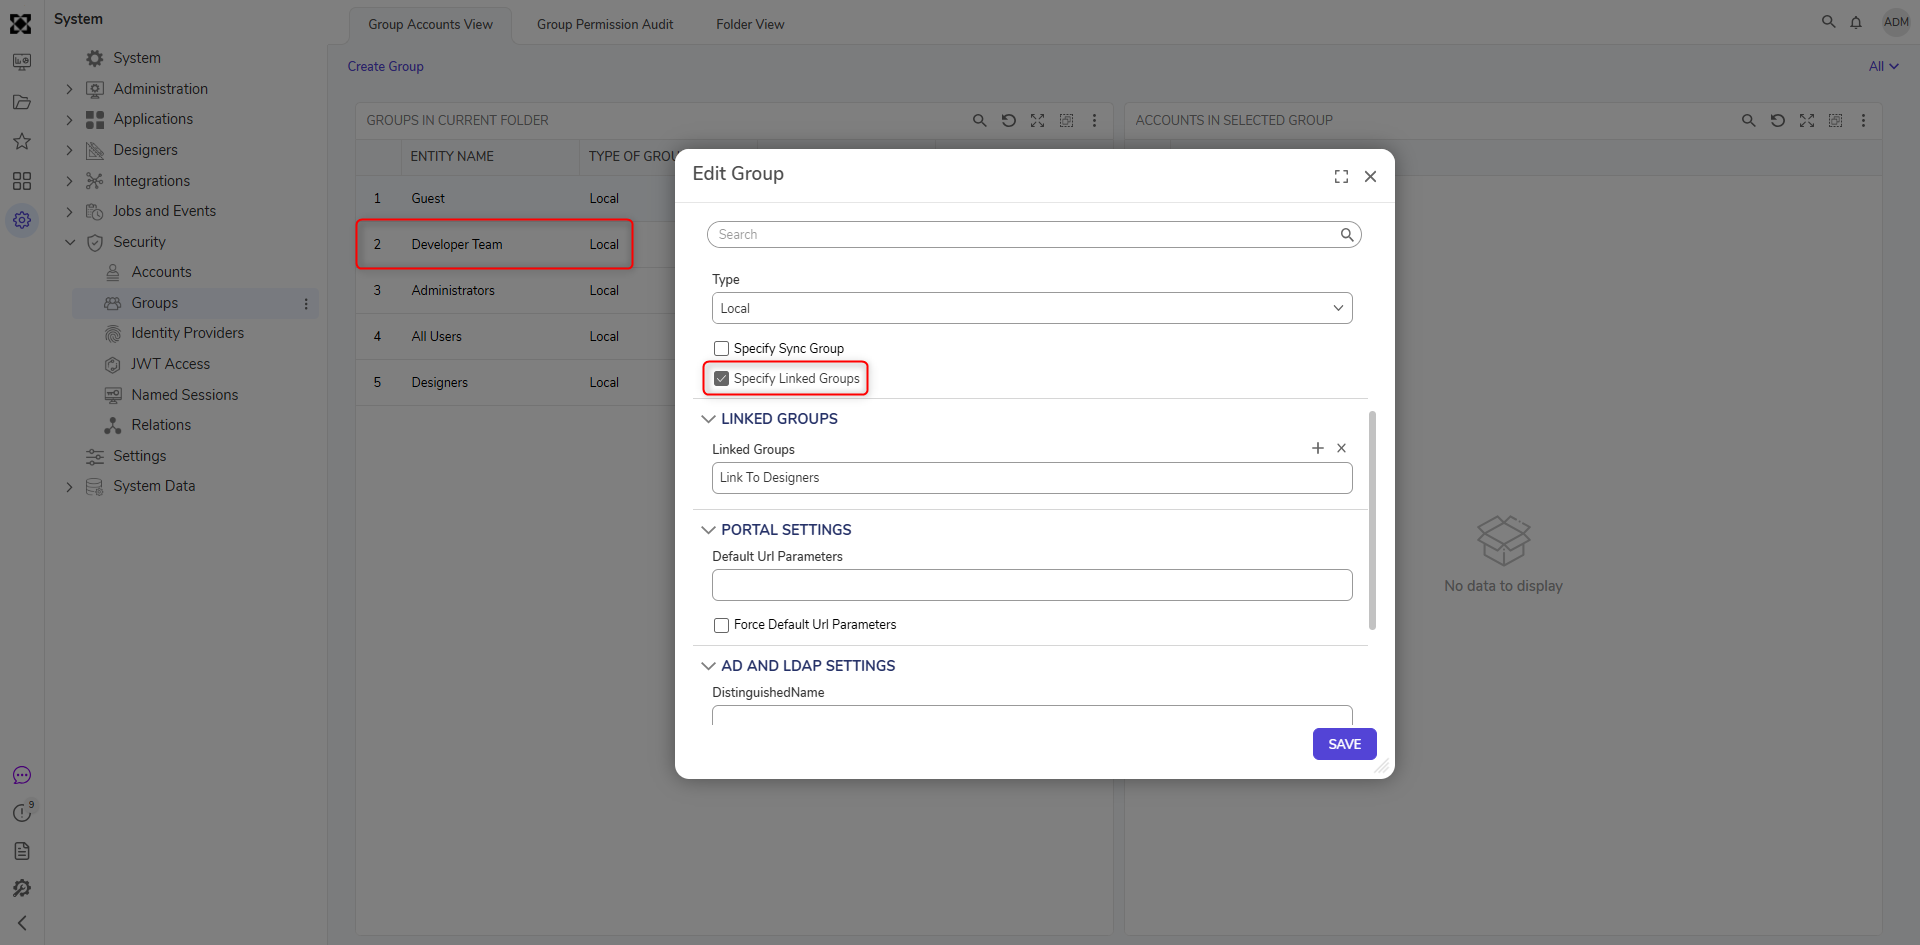
- In Decisions Studio, navigate to System > Security > Groups. Right-click on the Developer Team group and select Edit Group.
- Select the Specify Linked Groups checkbox. Under the LINKED GROUPS category, click ADD.
- Click PICK and select Designers. Click PICK and click OK. Click SAVE.
- When the an account from the Developer Team group logs into the Decisions environment, it is now able to access the project folder as well. If an assignment were sent to the Developer Team, the Designers group would also receive the Assignment. All of the permissions, access, and task actions associated with one group will remain present in the other while the groups are linked.