Overview
Configuration requires adding and registering an Agent, installing it to a machine, and implementing it into the Decisions environment. Protocol Agents are directly affiliated with network security as well as other aspects.
Prerequisites
- Users should have, at minimum, Can Use permissions on a Designer element to use its function with Agents.
- When registering an Agent, the Decisions instance Portal Base URL can not be localhost. To adjust the Portal Base URL, refer to Changing the Portal Base URL.
Setup
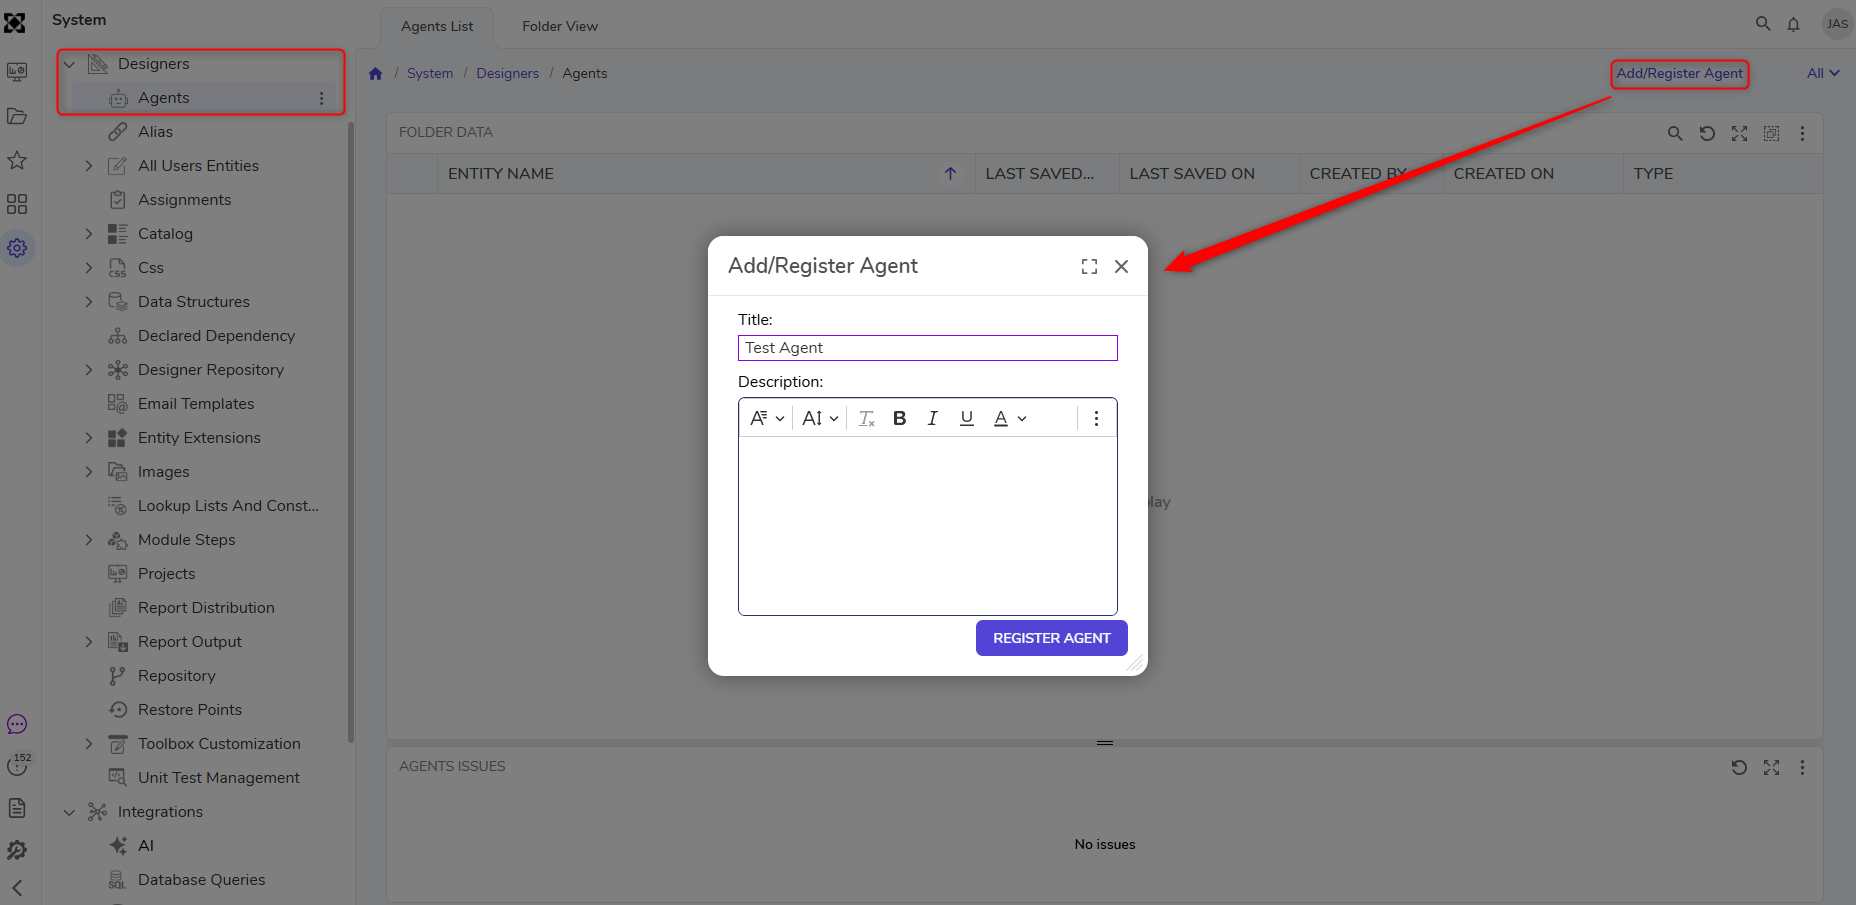
- Navigate to System > Designers > Agents and click ADD/REGISTER AGENT.
- Provide a Title and optionally a Description, then click REGISTER AGENT.
- Right-click the newly added Agent from the Agents Folder and select Download Agent.
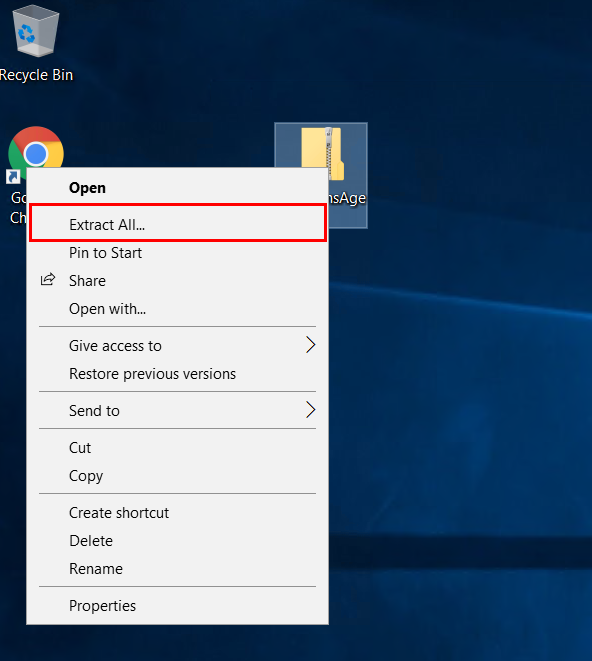
- Extract the contents of the .zip file.
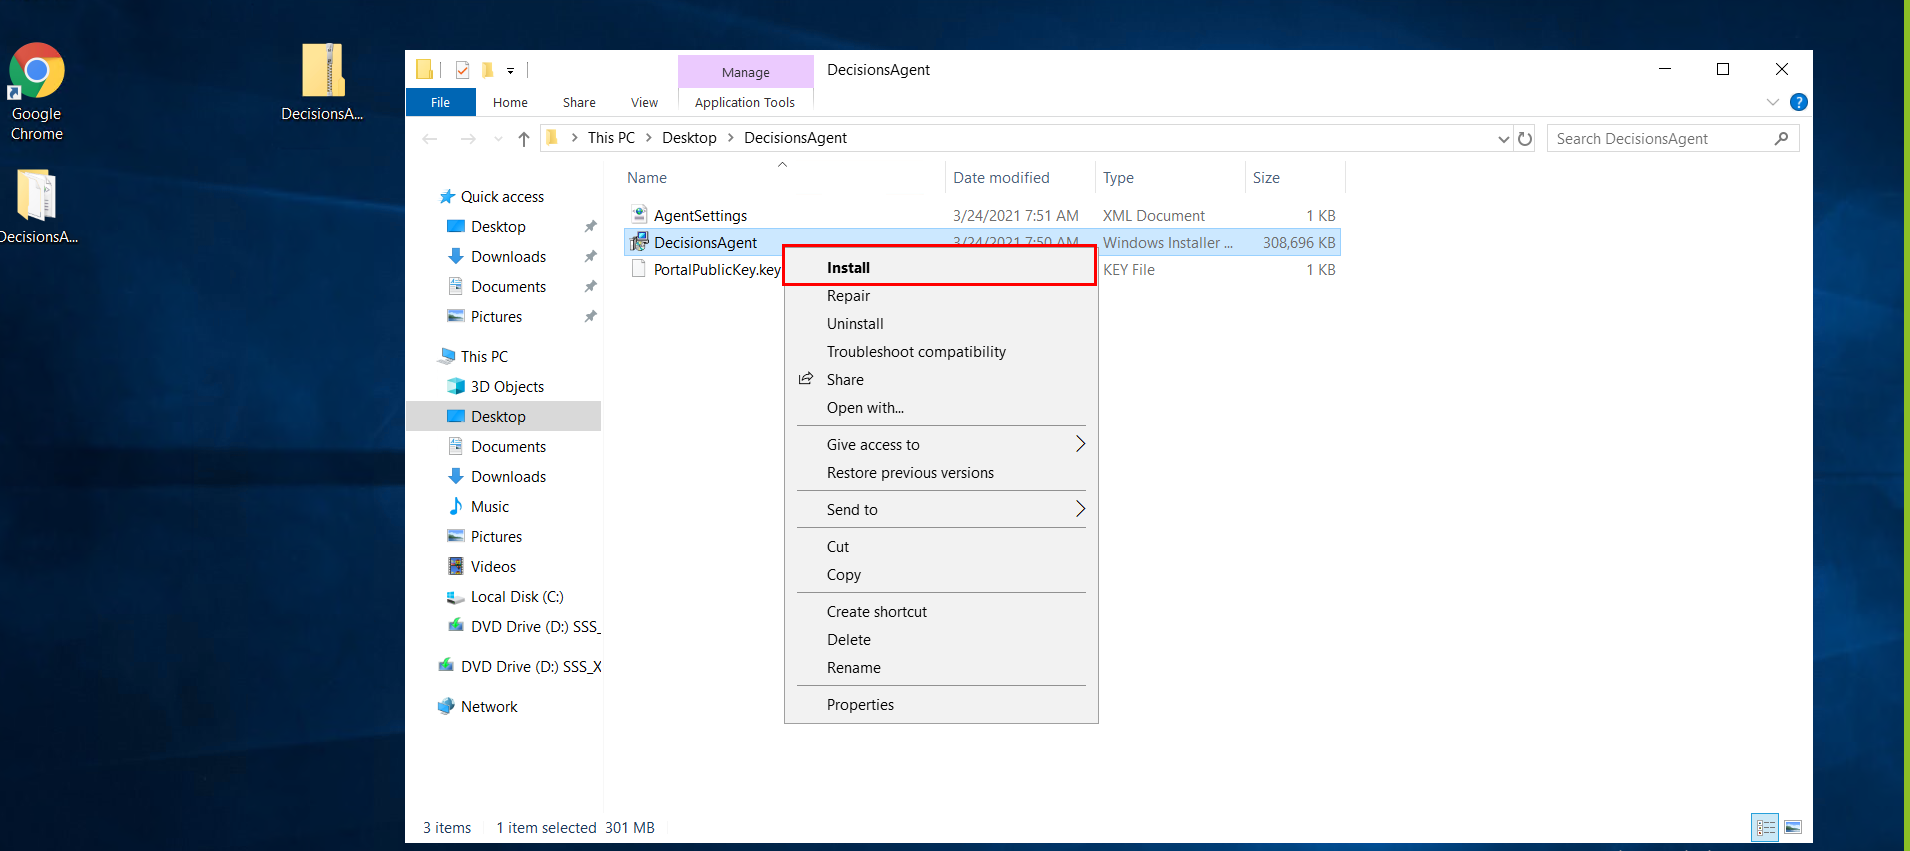
- From the extracted folder, install the DecisionsAgent.msi file. The agent will create all its files under C:\Program Files (x86)\Decisions Agent.
- After the Agent installs, from the extracted folder, copy over AgentSettings.xml and PortalPublicKey.key to
C:\Program Files (x86)\Decisions Agent.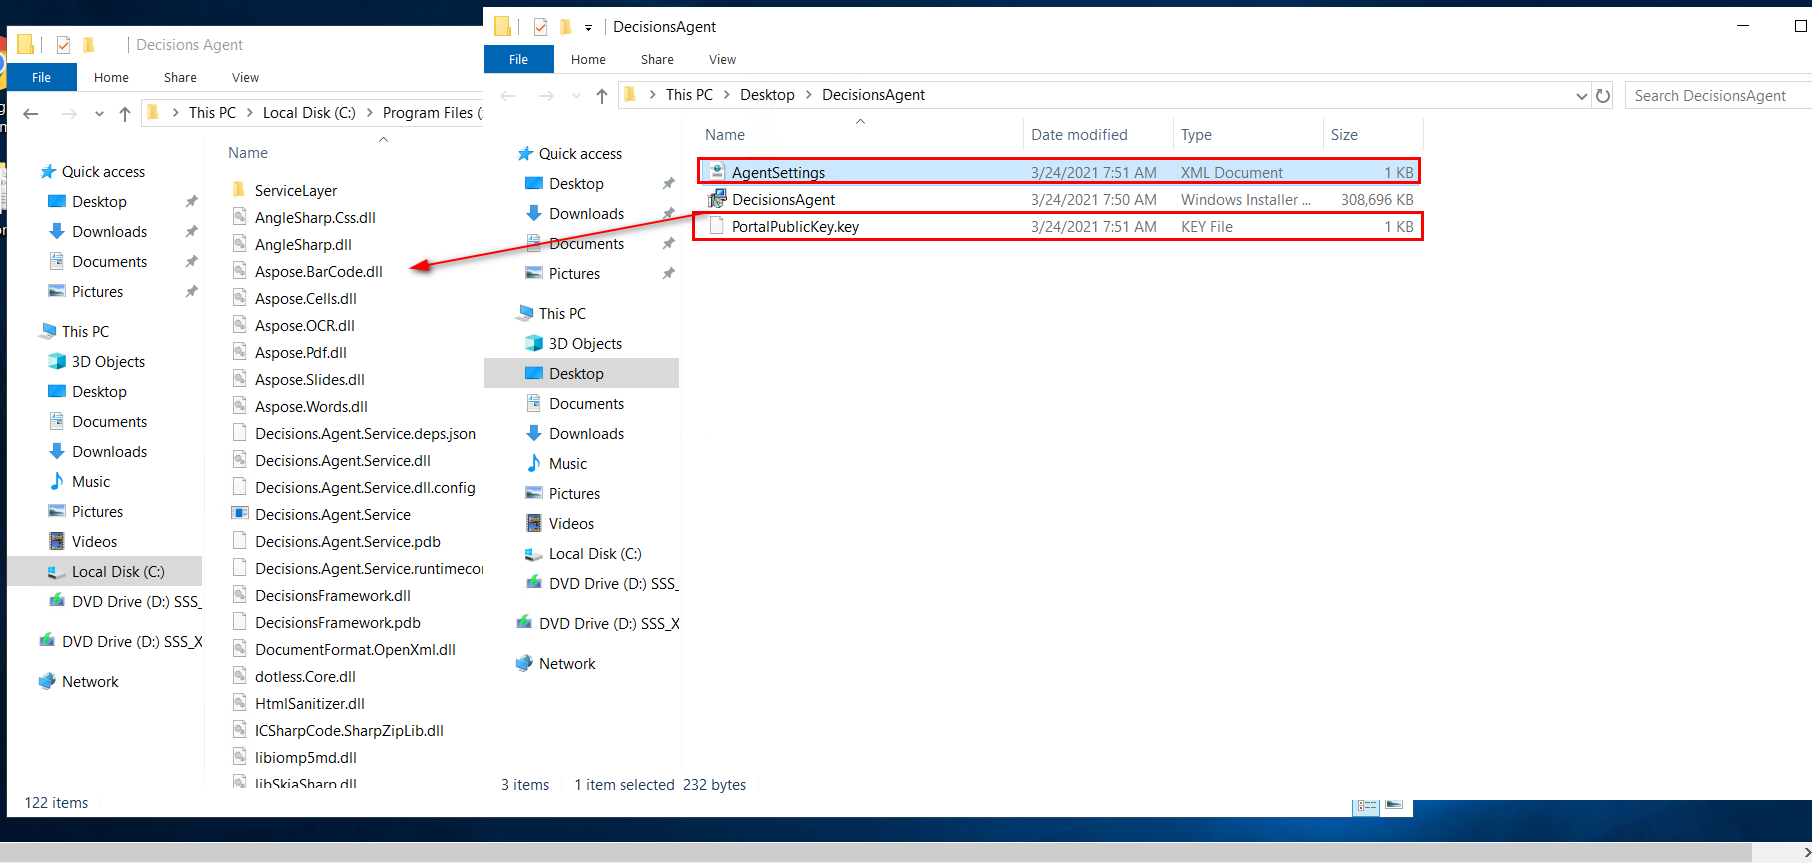
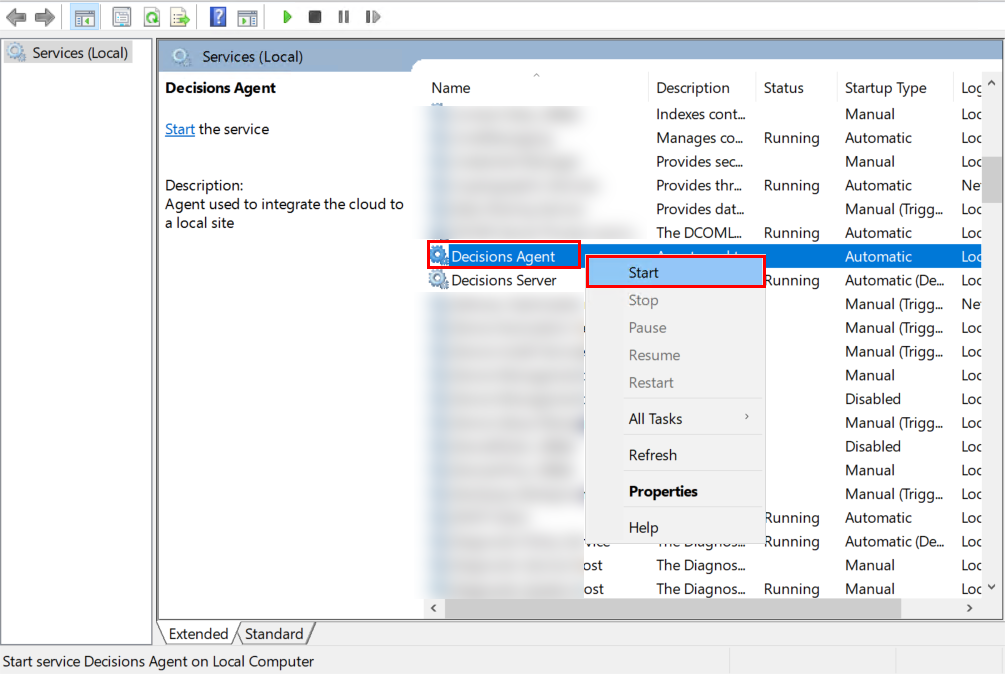
- On the local machine, search for and open Services.
- Locate the Decisions Agent Service, right-click, and select Start.
- If the agent does not start with a pop-up dialog Message, "Error-1064 Windows could not start the Decisions Agent service on Local Computer". Navigate to the
C:\Program Files (x86)\Decisions Agent. Open the AgentSettings.xml file and check the PortalBaseURL. Enter the IPv4 address with the port number on which the Decisions is installed.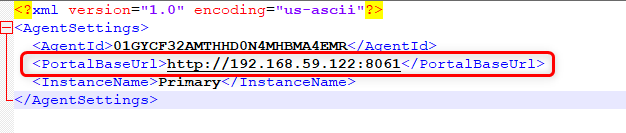
- Start the Decisions Agent Service.
Testing
The Agent Dashboard at System > Designers > Agents displays all Deployed Agents and Recent Agent Actions. The Any Unknown Client entity suggests the client is not yet identified.
- Navigate to System > Designers > Agents > Test Agent. Ensure that the STATE of the Agent is Complete. A Complete status indicates the client has been identified and is ready for communication.
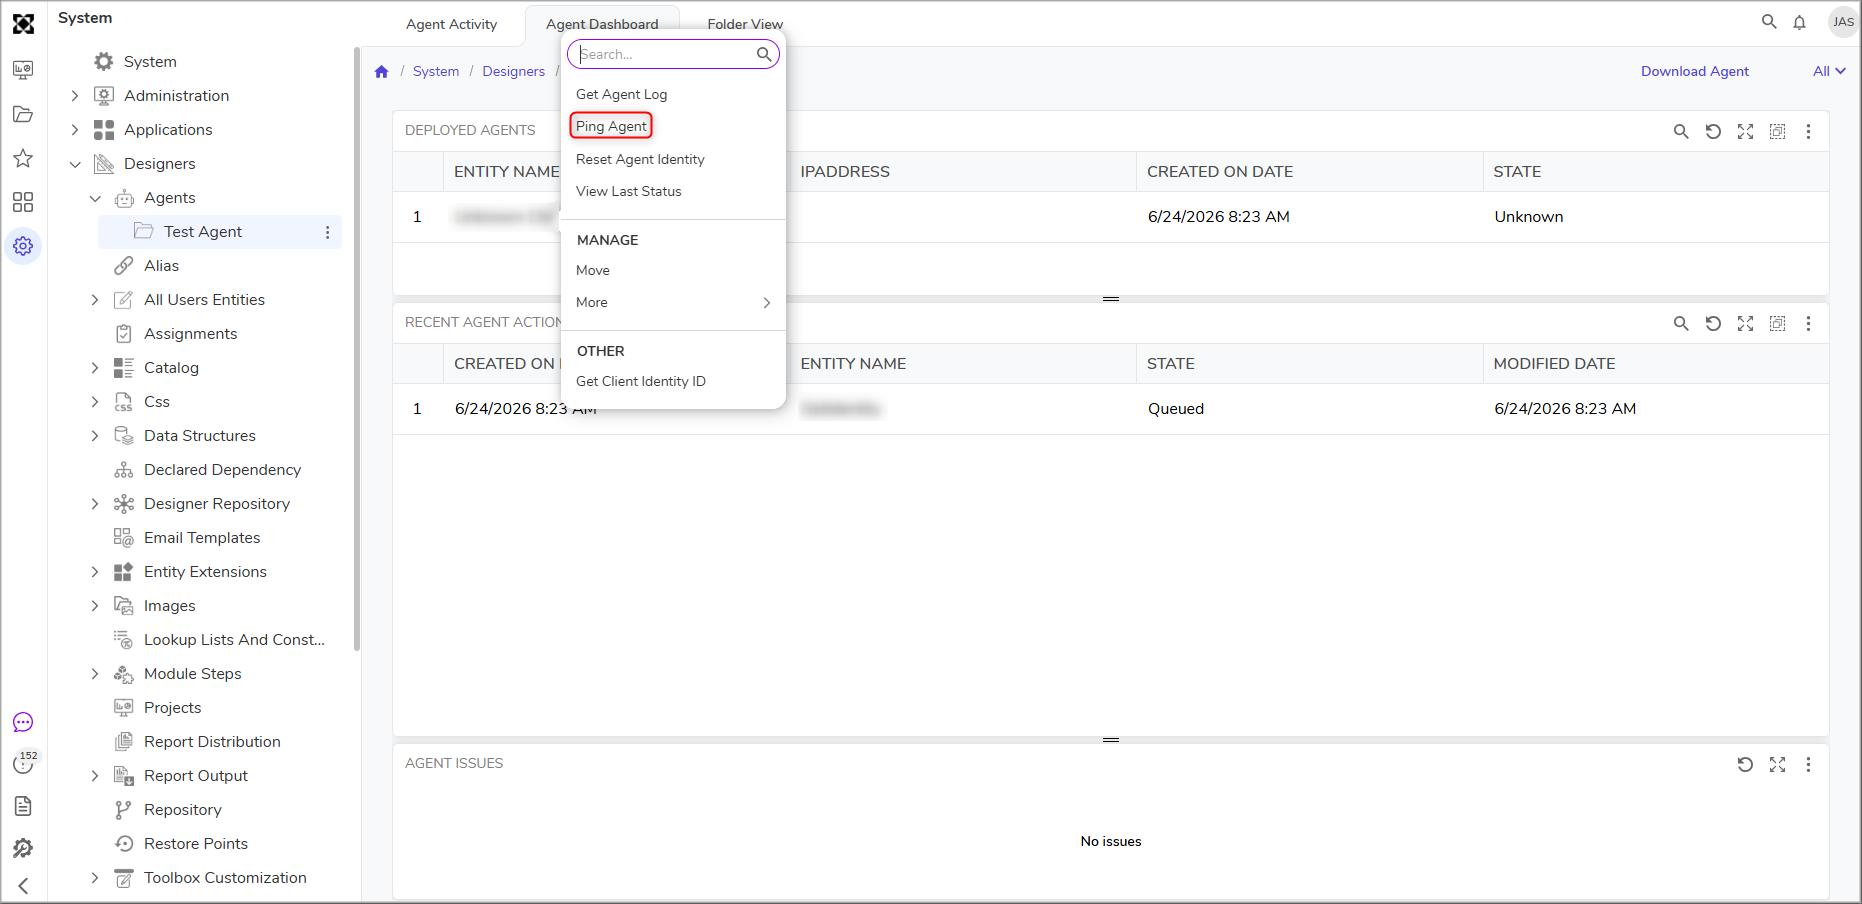
- Under Deployed Agents, right-click the Agent and select Ping Agent. Pinging the Agent checks to see if the Agent is available.
- After the notification displays, refresh the Recent Agent Actions to ensure the Ping action is executed.
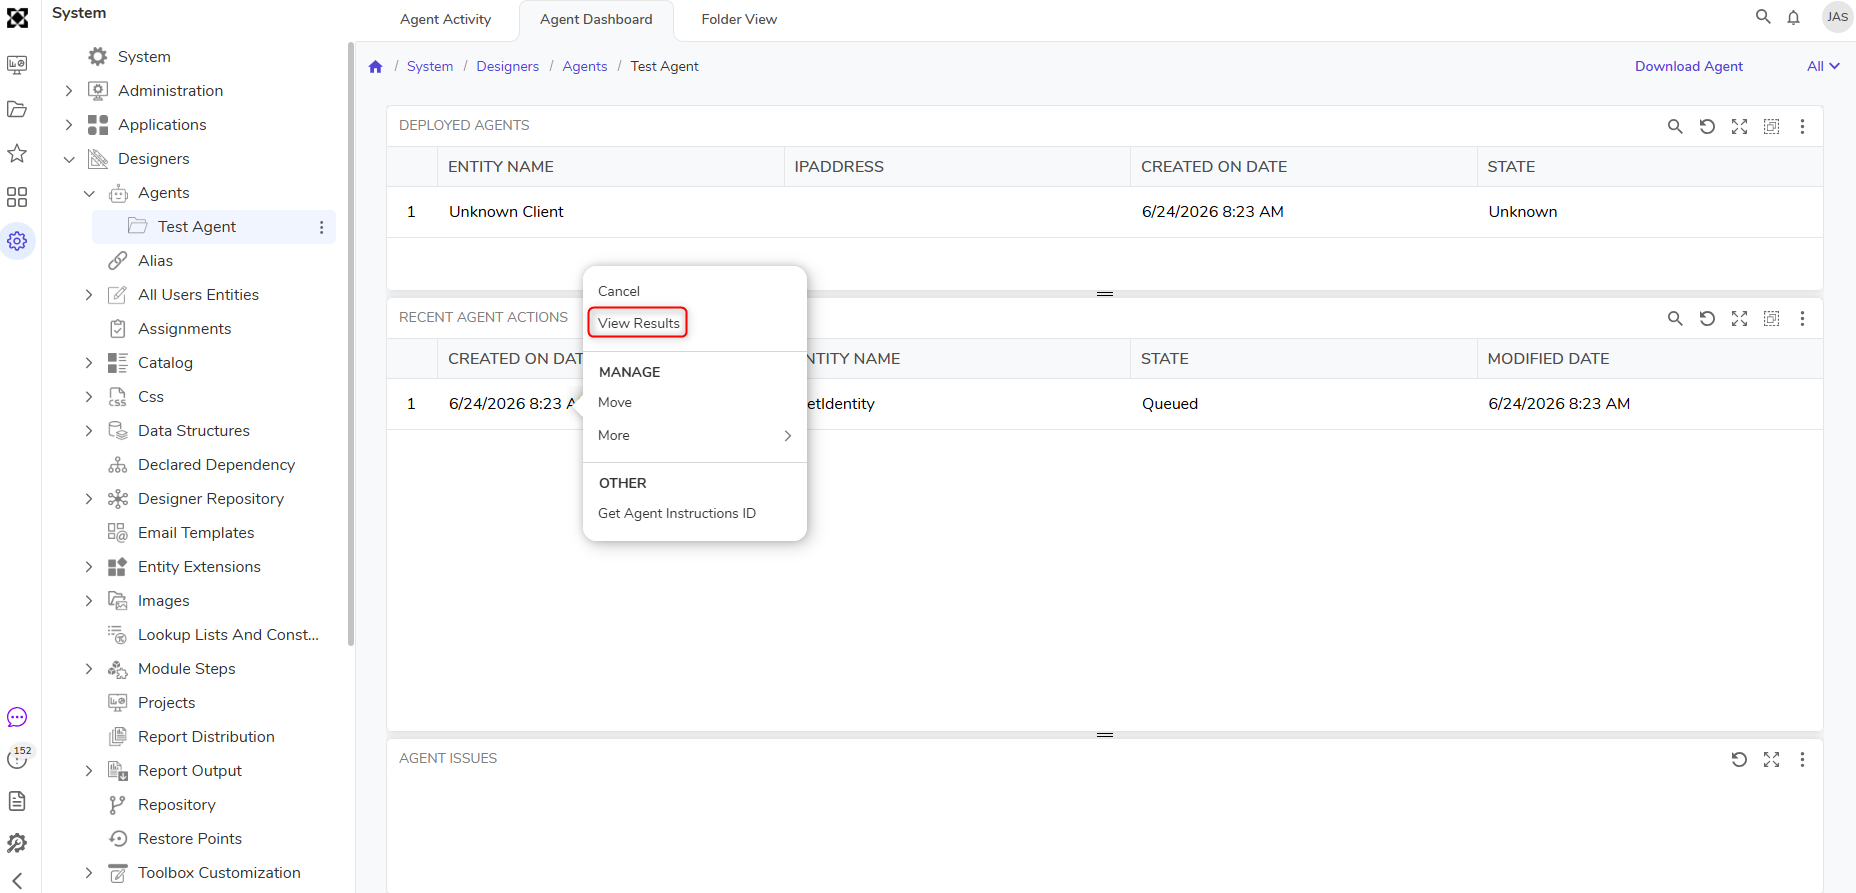
- Right-click the Ping Action and click View Results. If applicable, the resulting data from the Agent Action will display.
Agent Instructions Status
To check the agent activity, users can navigate to the agent folder to view the Agent Activity Dashboard. The following table describes all the states of Agent.
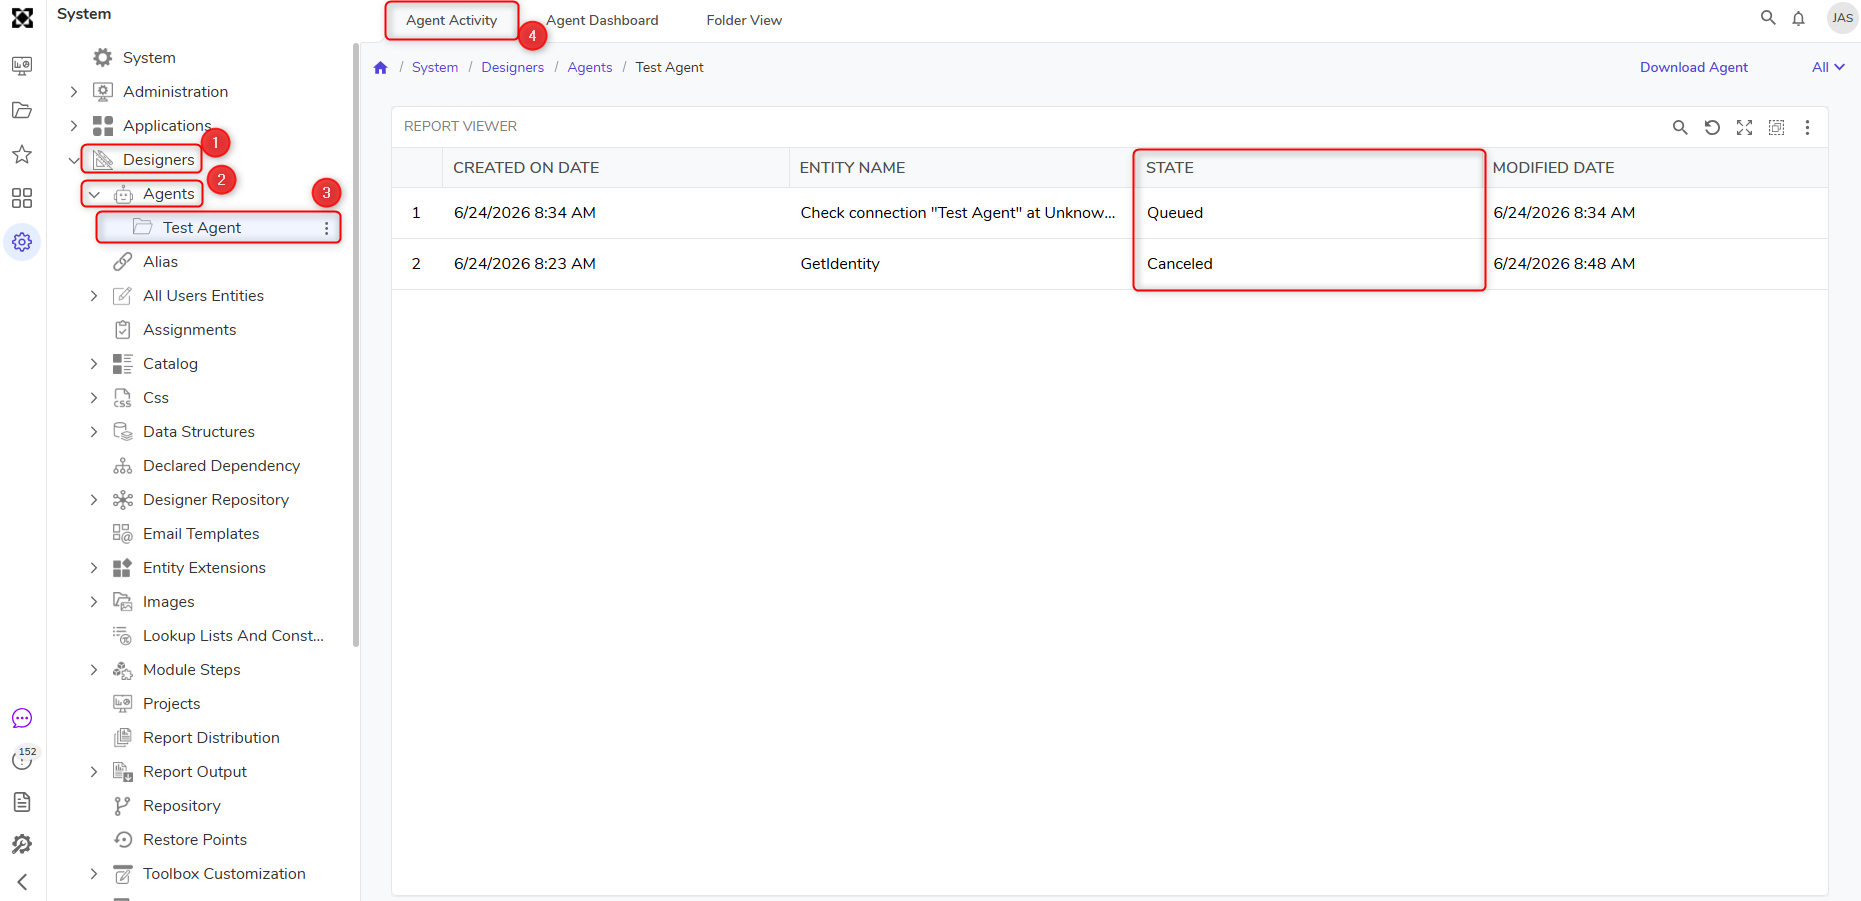
| State | Description |
|---|---|
| Queued | The Instructions are queued for delivery to the Agent. |
| Sent to Agent | The Instructions have been received by the Agent. |
| Complete | The agent has completed the request, and the results have been posted to the server. |
| Failed | Agent encountered an error when processing the instruction. |
| Forwarded | Agent Sent result for specific server {0}, but was received by this node instead and had to be forwarded to another node. |
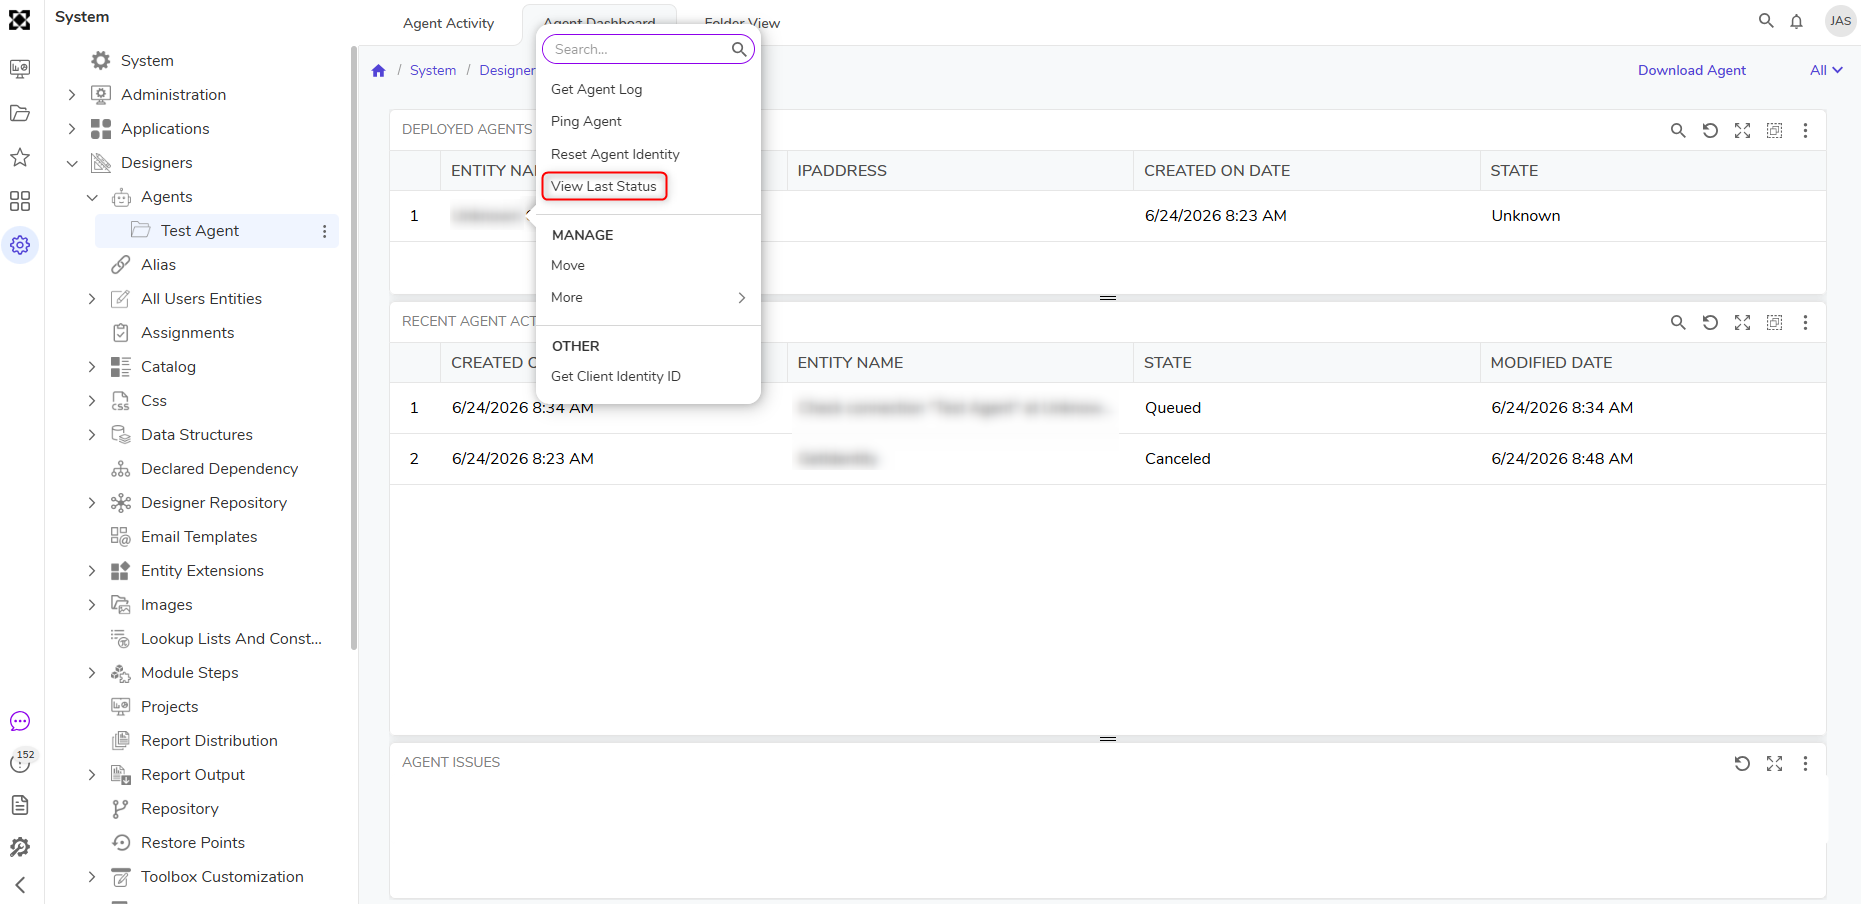
Confirming if an Agent is in Polling Mode
Agents can enter polling mode if no ports are available, leading to performance issues.
- Right-click on a Deployed Agent and select View Last Status. If the agent is properly configured, View Last Status will display Live Connection: True. The Agent is currently in polling mode if this message is not shown.
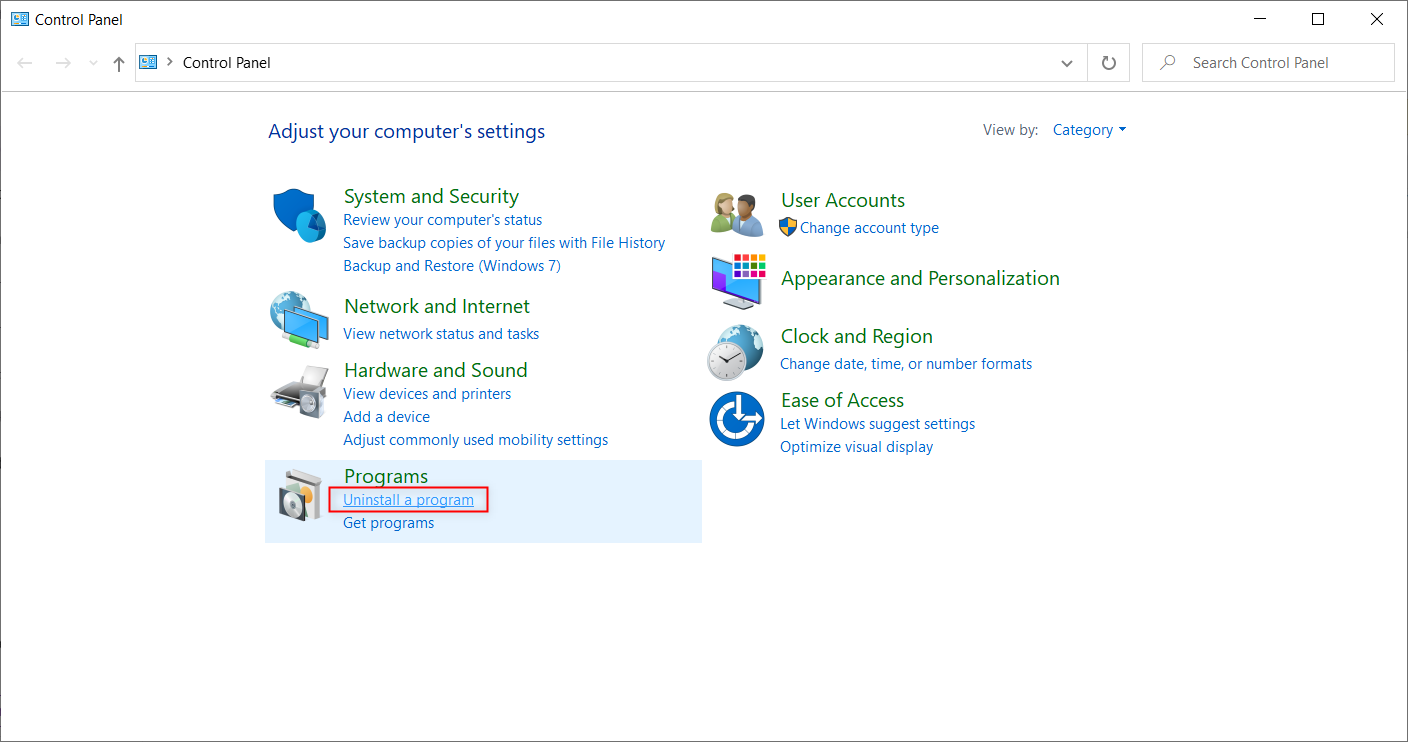
Uninstalling and Removing an Agent
If a user needs to remove an Agent or the Agent needs to be updated and replaced with a new version, Agents in Decisions can be uninstalled from the File System.
- From the File System, open the Control Panel. Under Programs, select Uninstall a Program.
- From the Programs and Features window, locate Decisions Agent, select it, then click Uninstall.
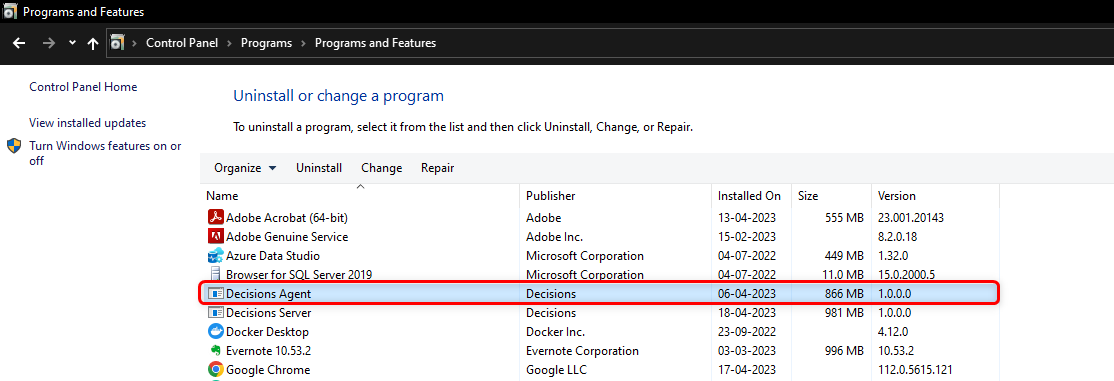
- Confirm the uninstall by selecting Yes. This will remove the Decisions Agent from the windows.
- To remove the agent from the Decisions, navigate to Settings > Designers > Agents. Navigate to the Agent, Right-click > Manage > Delete Folder. This will remove the agent from the Decisions server permanently.