Overview
A Repository Action Flow is a Flow built with the intent of performing a specific action either Before or After the Project Creation or Project Checkin. Repository Action Flows can be accessed from a Decisions Repository environment by:
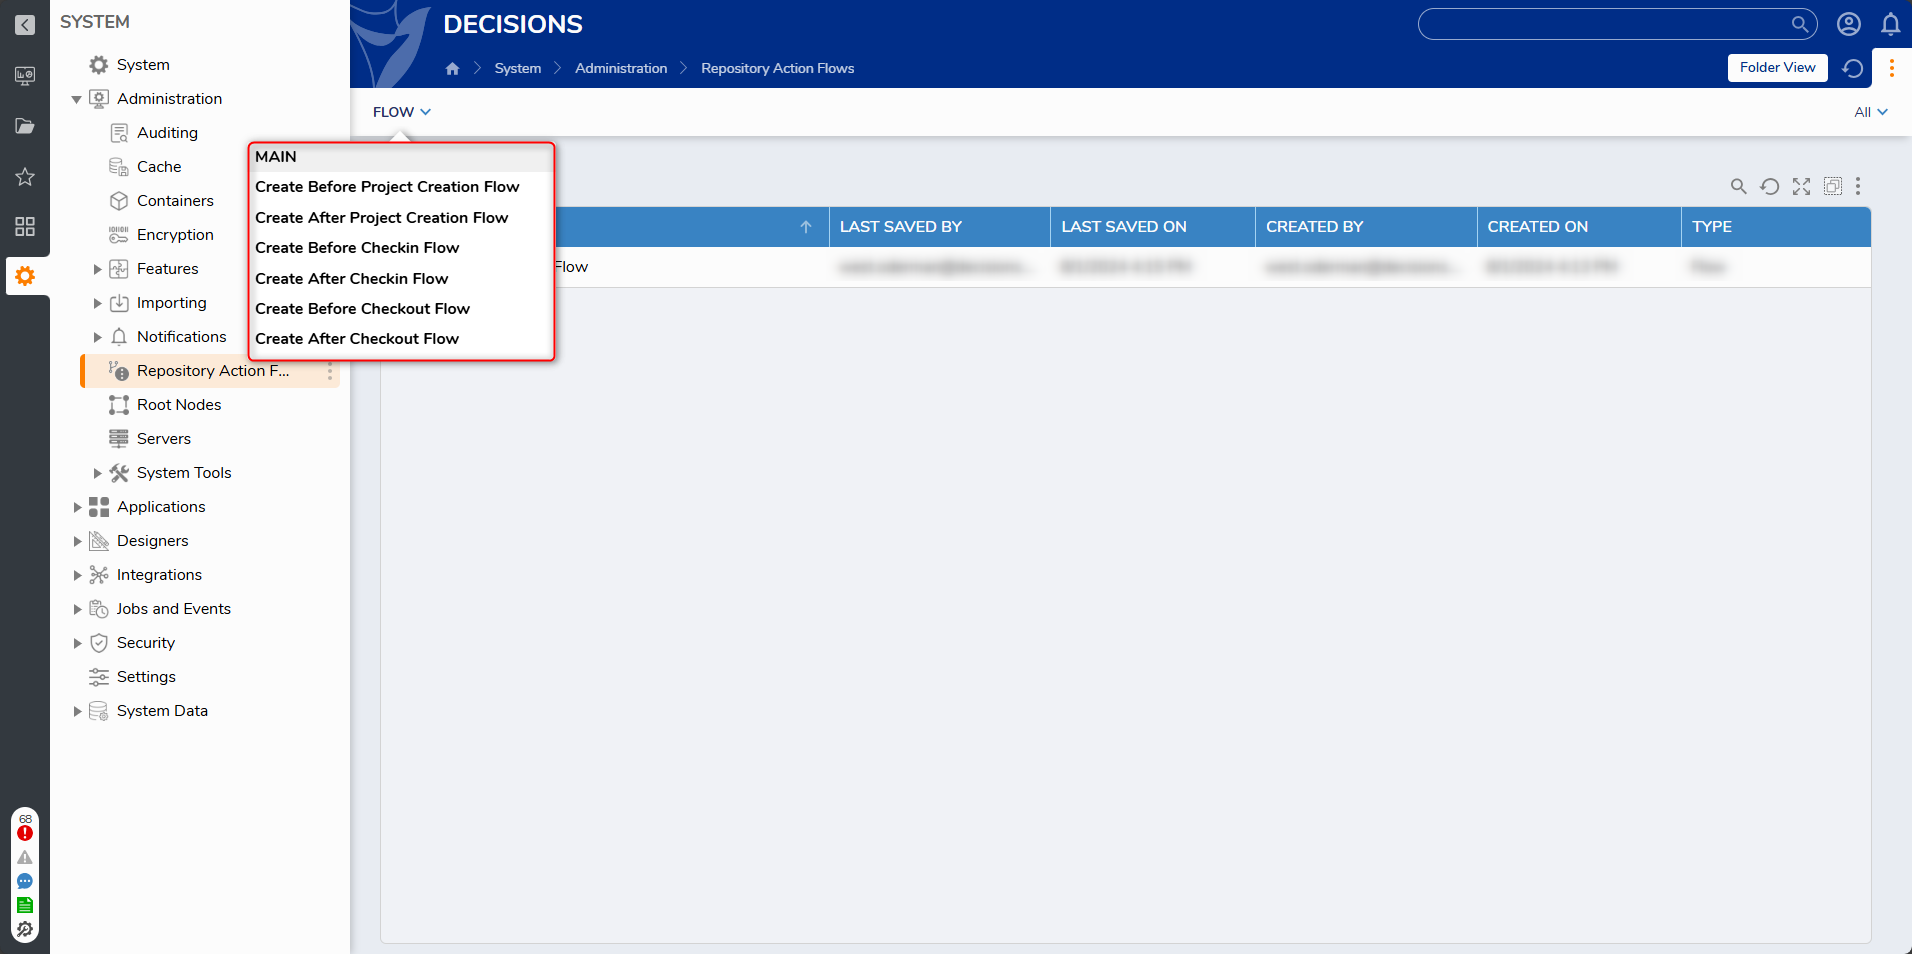
- Navigating to System > Administration > Repository Actions Flows.
- Expanding the FLOW option from the top Action Bar and selecting which type of Action Flow to create.
Action Flow Types
| Action Flow Type | Description | Example |
|---|---|---|
| Before Project Creation Flow | Executes before a Project is created on the Repository. Contains two Endpoints (End steps): Allowed and Not Allowed, enabling two logic paths to determine whether creation criteria are met. Only supports synchronous steps (so Tasks, Forms, and Assignments cannot be used). | Verify that a Project name follows the required naming conventions before allowing the Project to be created. |
| After Project Creation Flow | Executes after a Project is created on the Repository. Contains one End step. Used to perform Repository Action logic using synchronous Flow steps. | Apply standard setup actions after creation, such as validating metadata or preparing the Project for repository use. |
| Before Checkin Flow | Executes before a Project is Checked in to the Repository. Contains two Endpoints (End steps): Allowed and Not Allowed, enabling two logic paths to confirm criteria are met before check-in. Only supports synchronous steps (so Tasks, Forms, and Assignments cannot be used). | Check whether the Project meets required validation rules before allowing it to be checked into the Repository. |
| After Checkin Flow | Executes after a Project is checked into the Repository. Contains one End step. Used to perform Repository Action logic using synchronous Flow steps. | Confirm that the check-in completed successfully and record information about the updated Project version. |
| Before Checkout Flow | Executes before a Project is checked out from the Repository. Contains two Endpoints (End steps): Allowed and Not Allowed, enabling two logic paths to ensure criteria are met before checkout. Only supports synchronous steps (so Tasks, Forms, and Assignments cannot be used). | Verify that the required project management approval is in place before allowing a Project to be checked out. |
| After Checkout Flow | Executes after a Project is checked out from the Repository. Contains one End step. Used to perform Repository Action logic using synchronous Flow steps. | Display a successful checkout message and identify which Designer Elements were updated, including version changes. |
Example
Once an Action Flow is selected in the Designer Repository Settings, it will be available for all Projects associated with the Repository.
Since these Flows are specific to the Repository, they automatically contain Branch Name and Project Name as Flow Data. This can be accessed from the Data Explorer tab in the Flow Designer or by using the Select From Flow input mapping type when defining an Input value.
Repository Action Flows are not limited to rule evaluation. They can include any Flow Designer steps (for example: logging, notifications, approvals, integrations, or creating records) while using Branch Name and Project Name Flow Data to drive the behavior.
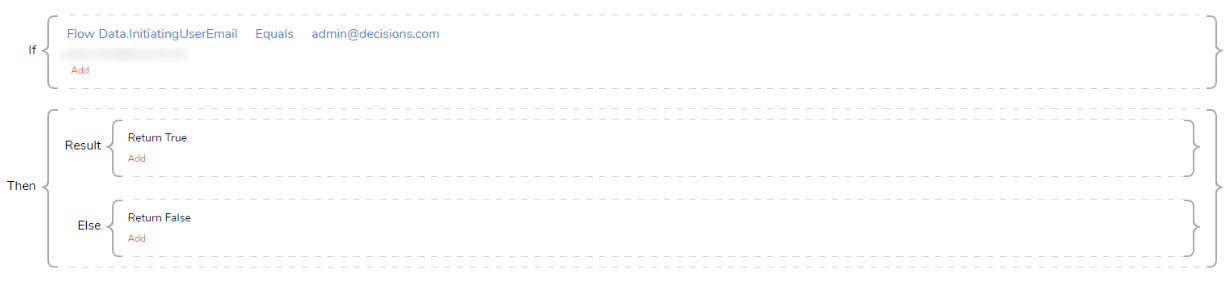
Example 1: Basic Before Checkin Validation
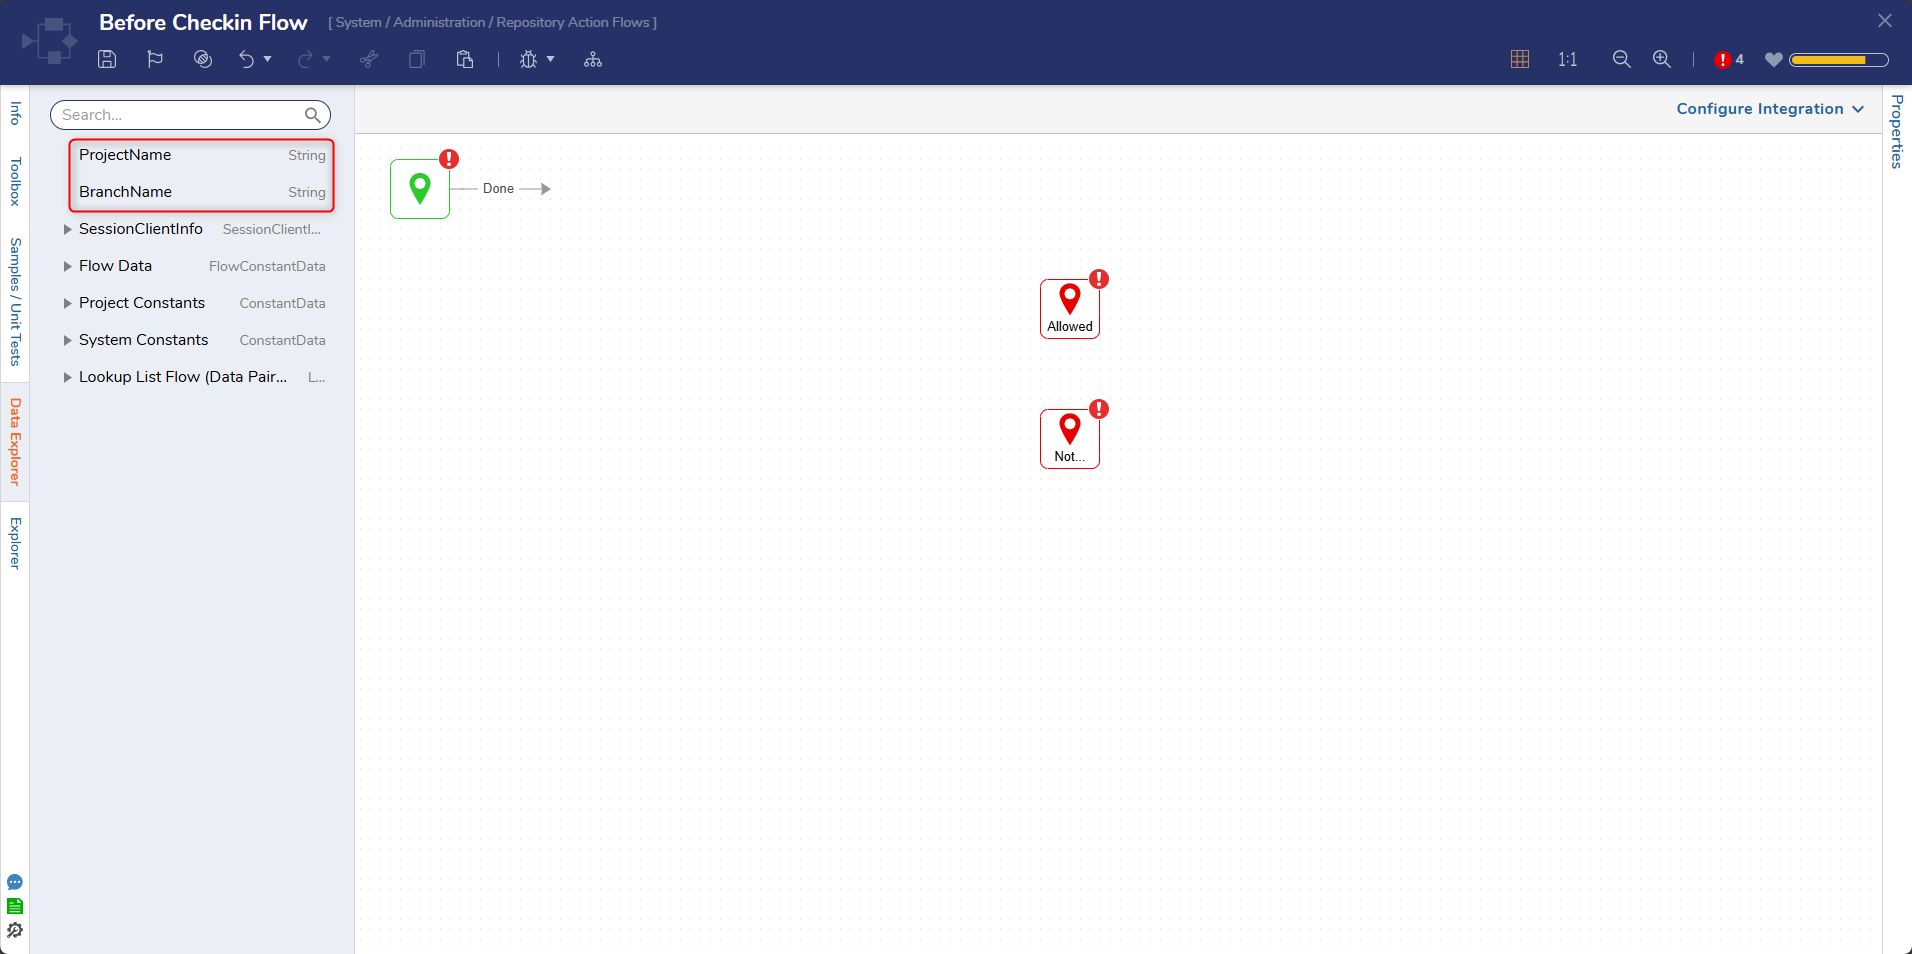
Using the provided Flow Data, the Action Flow can validate Branch or Project values and route to Allowed or Not Allowed. Rules are one way to implement validation logic, but additional steps (such as logging or notifications) can also be included.
Example 2: Validate + Log + Notify
In addition to allowing or blocking an event, a Repository Action Flow can run supporting steps as part of the same process. For example, a Before Checkin Flow can:
- Check whether the Branch Name is a restricted branch (for example, the default branch, such as Main, or a designated Release branch).
- If the check-in is against a restricted branch, write an audit log entry with the Project Name and Branch Name.
- Notify the appropriate team (for example, send an email or message) so the check-in can be reviewed.
- Optionally create a tracking item (for example, a work item or ticket) for follow-up.
- Then route to Not Allowed (or Allowed) based on the validation result.
After the Action Flow is created, it must be applied to the Repository environment.
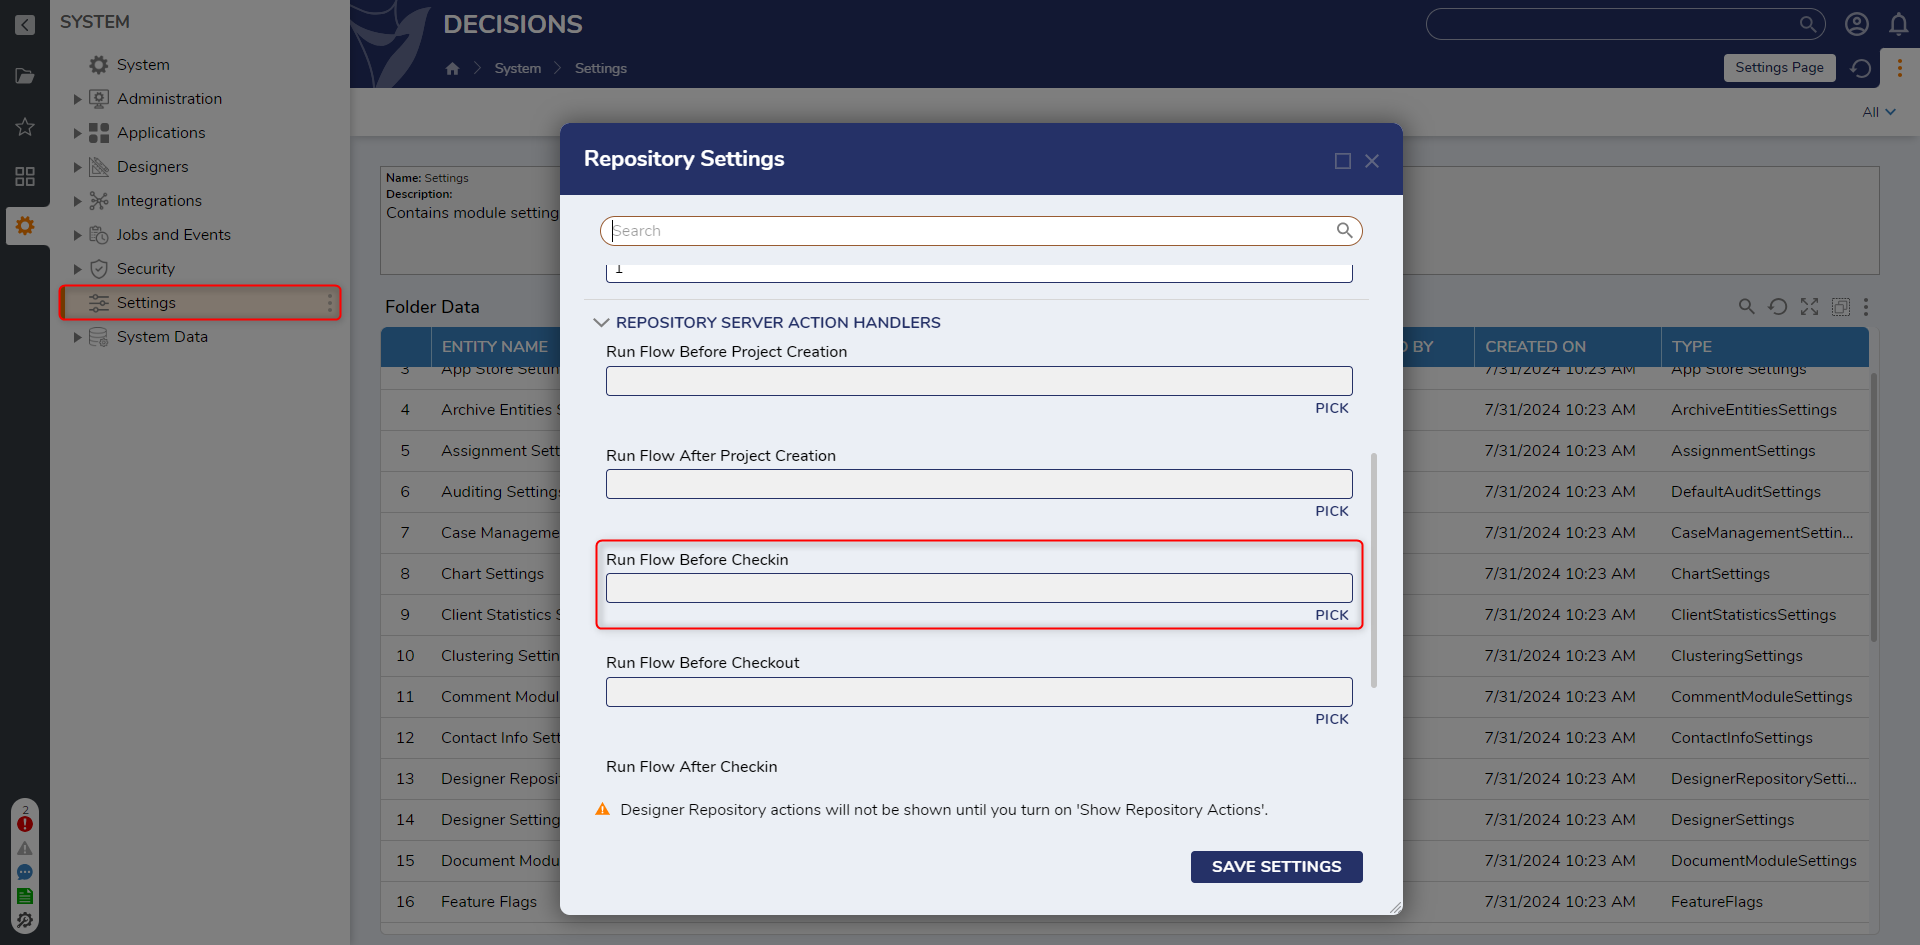
- Navigate to System > Settings > Designer Repository Settings.
- In the Repository Settings window, under Repository Server Action Handlers, click Pick under the desired Action Handler Type.
- PICK the desired Repository Action Flow.
- Click SAVE SETTINGS to save the configuration.The chosen Flow will execute when the corresponding event happens in the Repository.