Overview
Users can create a Notification Flow to deliver custom notification alerts. Once a Notification Flow is created, it is added as a Notification Mode when configuring Notifications for a Folder and can perform similar functions to an Email or Pop-Up alert.
Example
The following example demonstrates how to create a Notification Flow that adds a comment to a Designer Project when a document is added and how to create a notification that uses the Notification Flow as a Notification Mode.
Part 1 - Create the Notification Flow and Set it to Add Comments
- In the Designer Studio, right-click on a Designer Project and navigate to Manage > Get Designer Folder ID. Click Copy Text and click DONE.
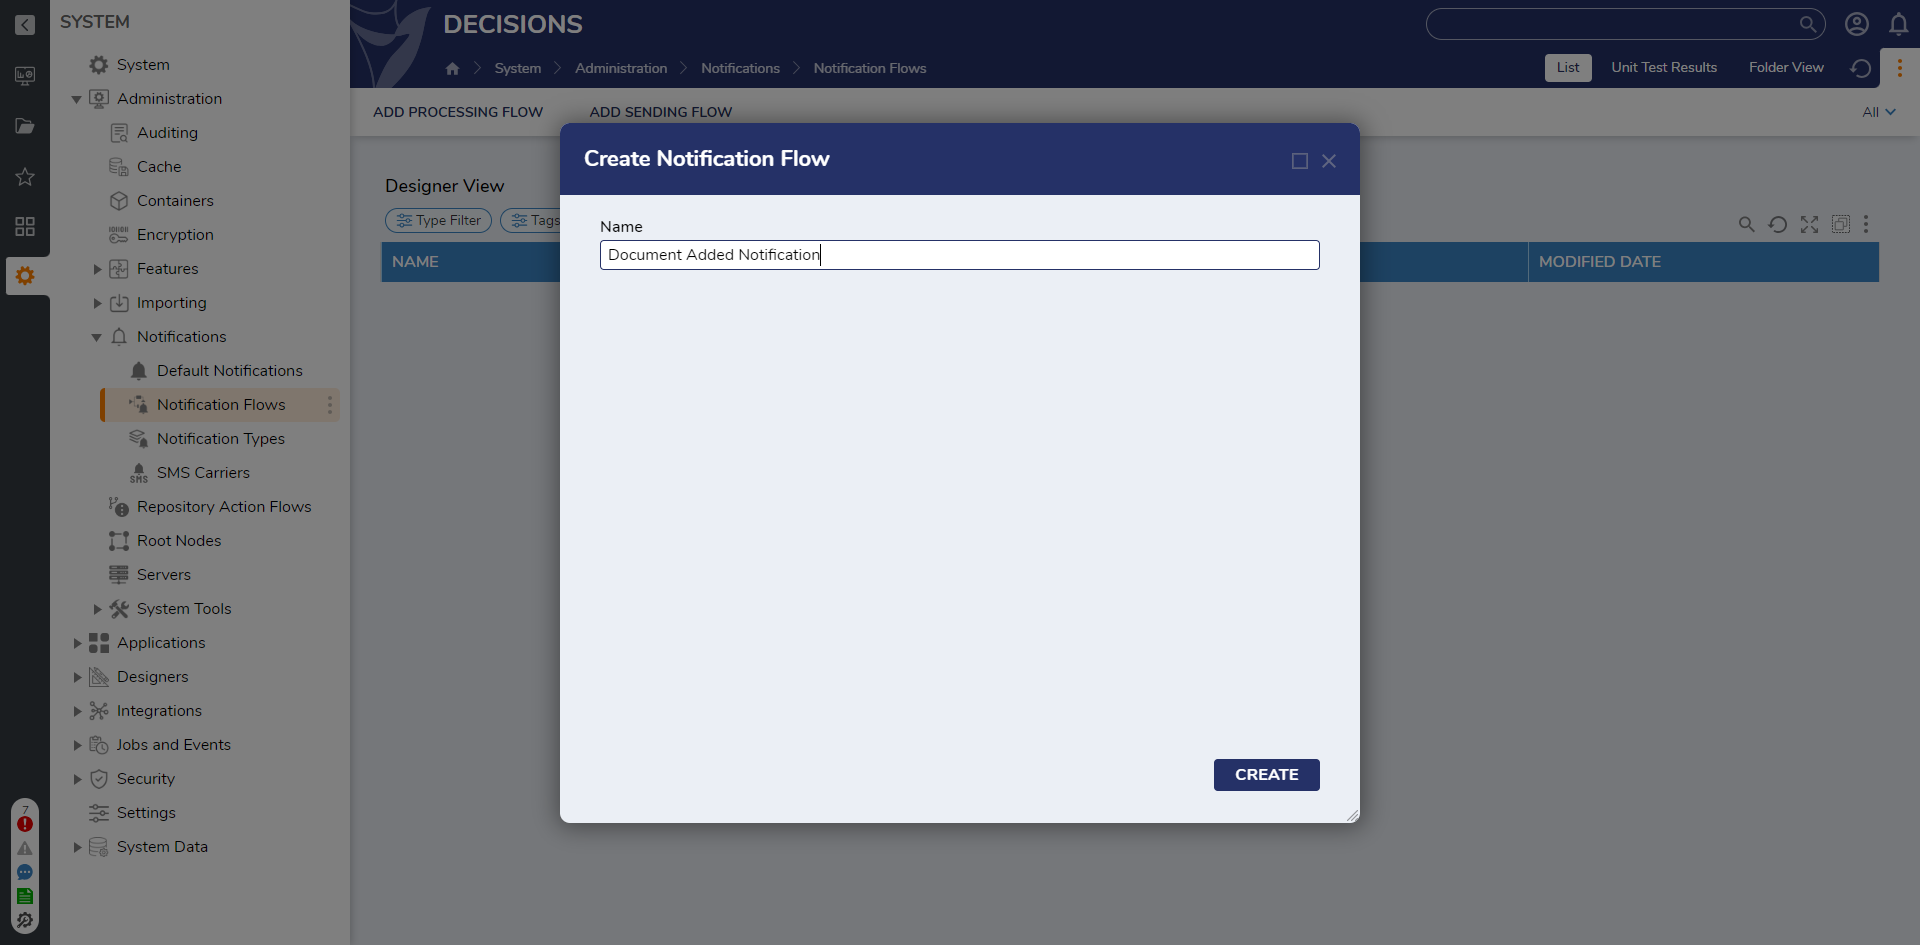
- Navigate to System > Administration > Notifications > Notification Flows. Click ADD PROCESSING FLOW.

- In the Create Notification Flow window, provide a Name for the Notification Flow then click CREATE.
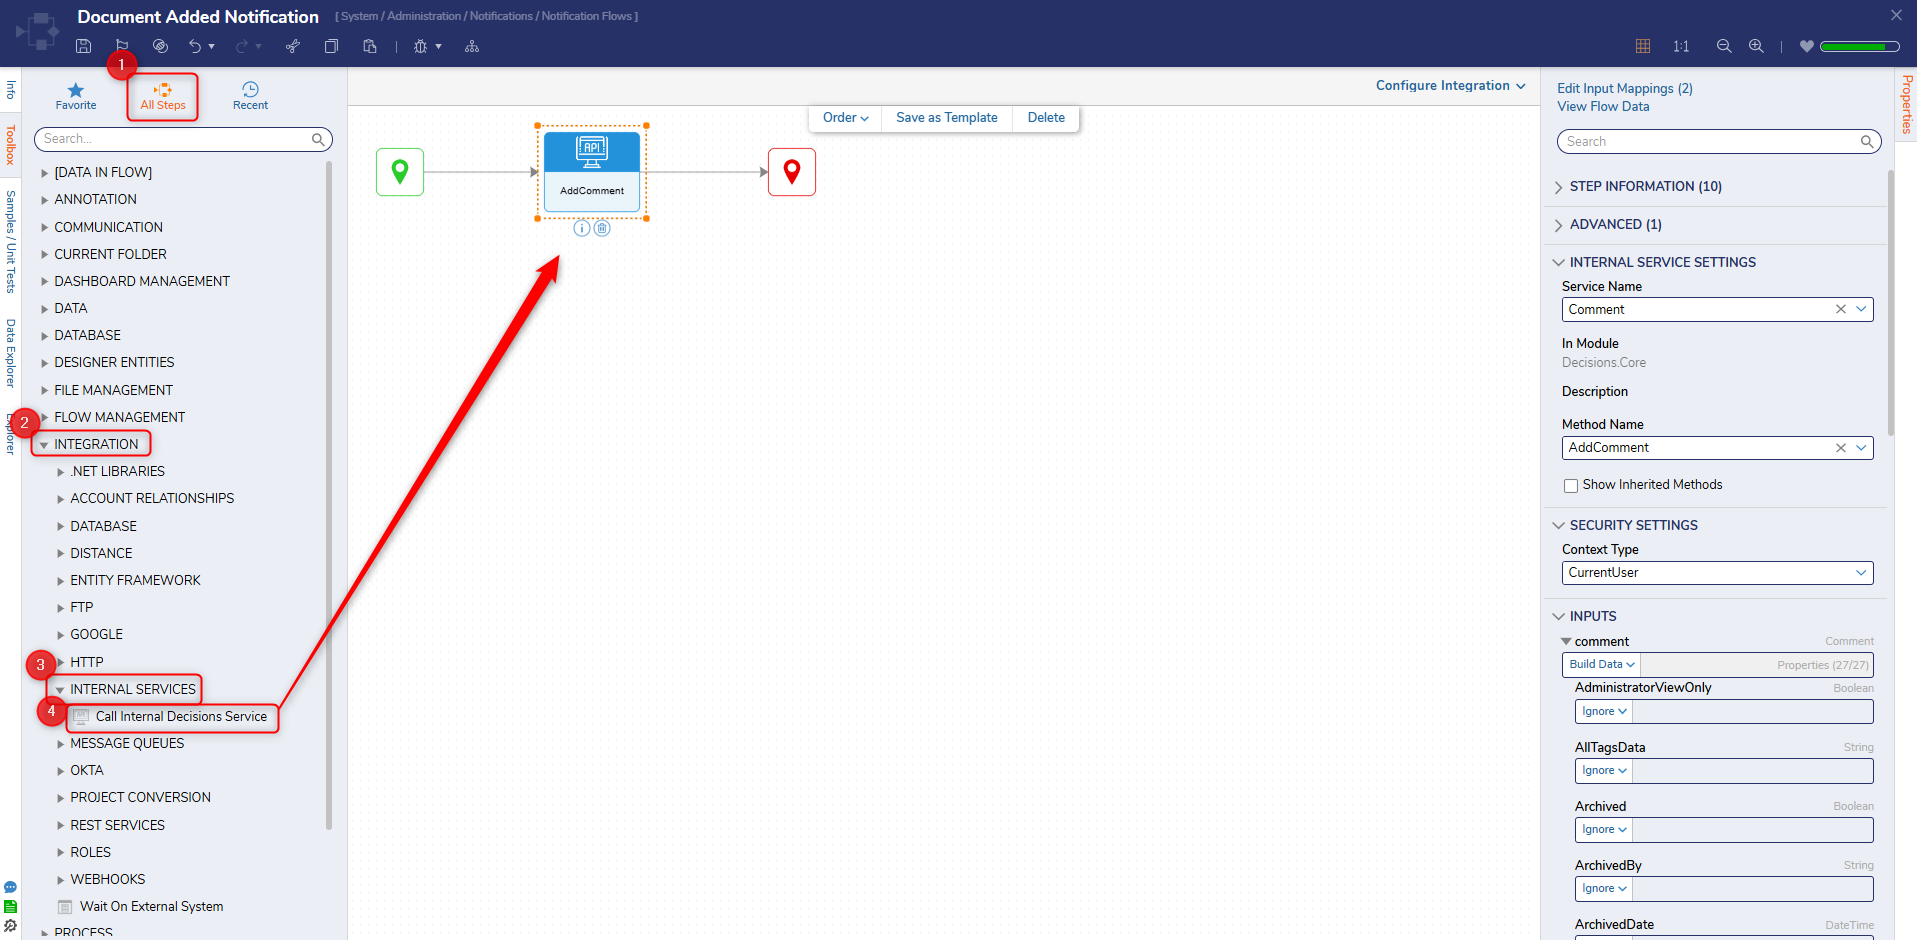
- In the Toolbox panel, navigate to INTEGRATION > INTERNAL SERVICES. Drag the Call Internal Decisions Service step between the Start step and End step. Set the Service Name to Comment and the Method name to AddComment. On the Properties panel, click Edit Input Mappings.
- Set the comment field mapping to Build Data. Then press Edit Input Mappings. On the left side, expand Notification Message and map Subject to Comment Name and Text to Comment Description.
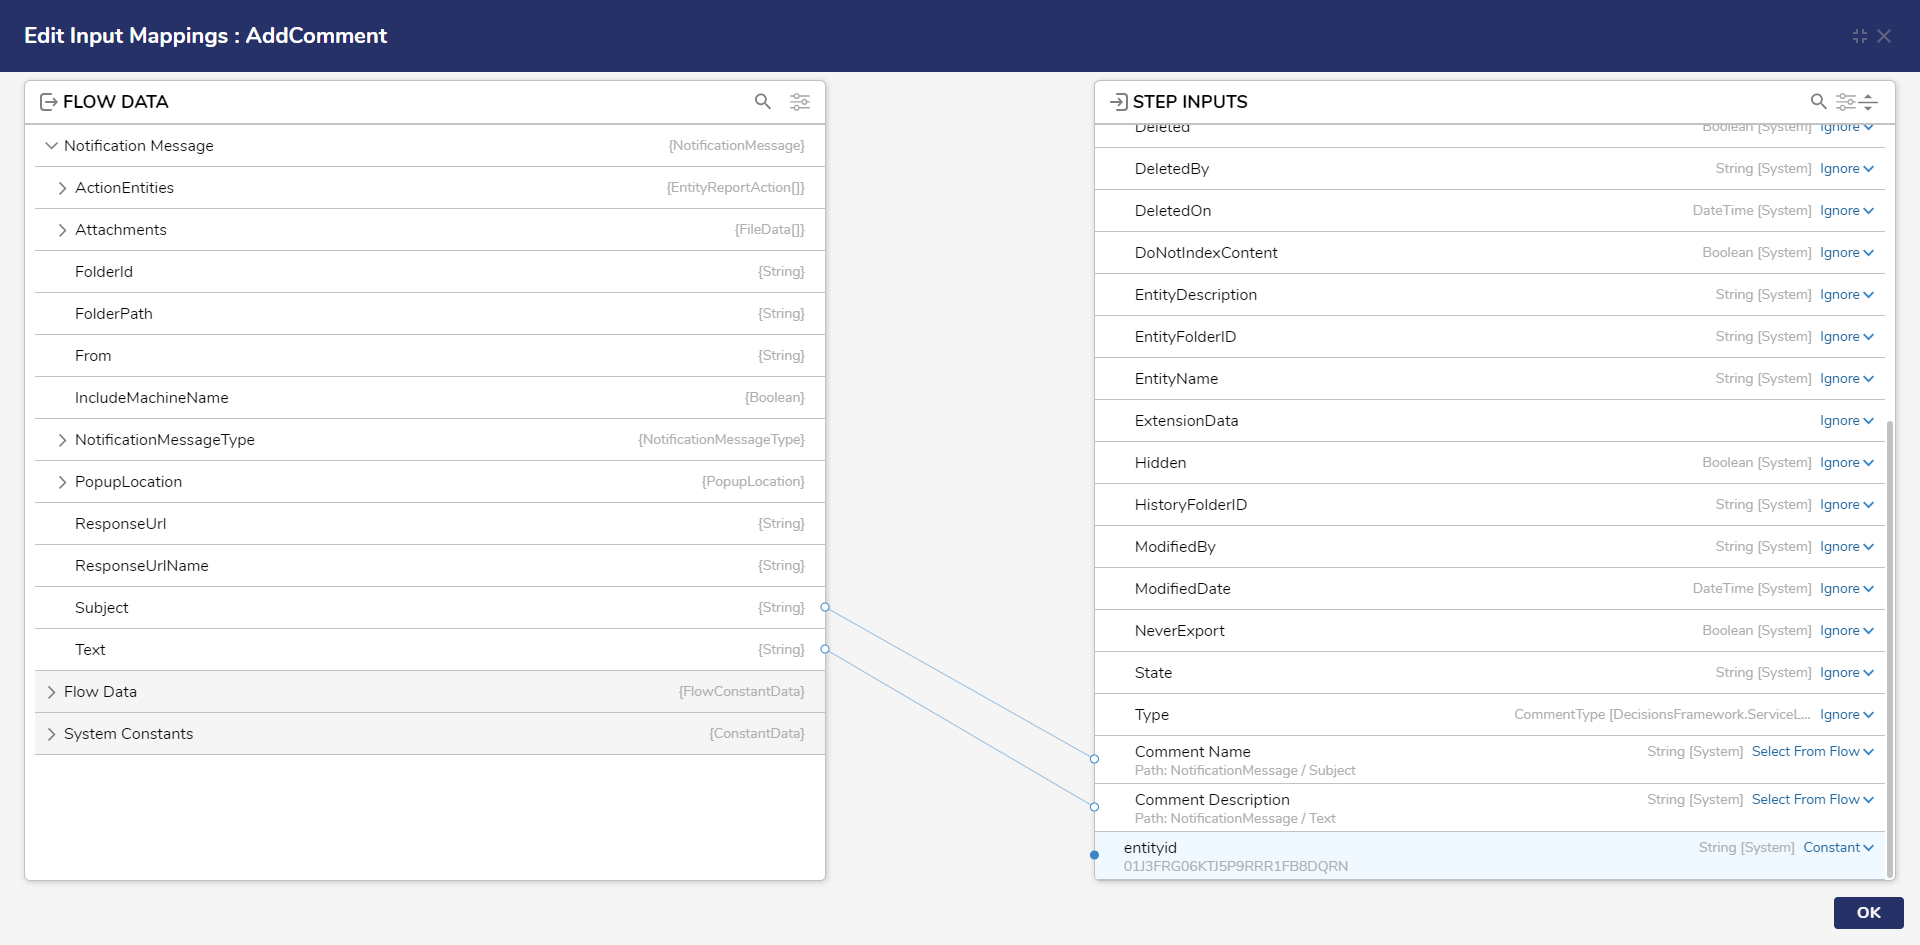
- Add the entityid field to Constant mapping. Click OK.
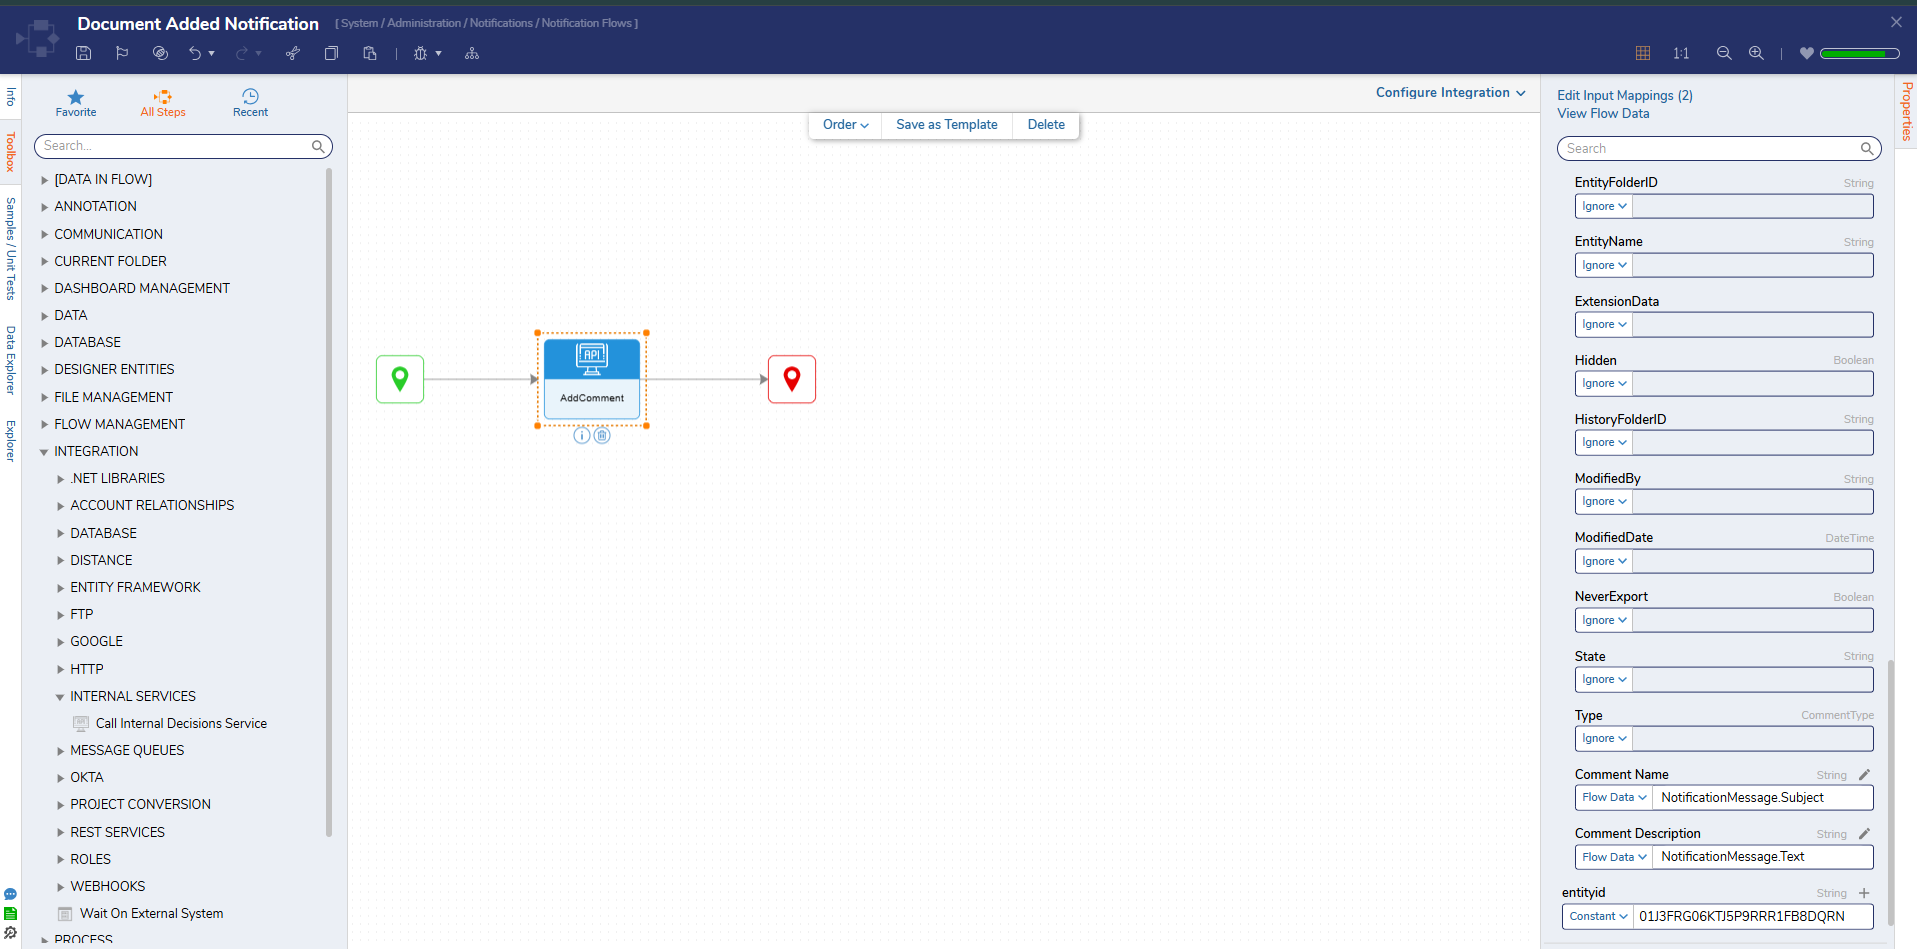
- Set the entityid field to Constant mapping and paste in the Folder ID of the Folder that the comments will be sent to. Click Save to save changes and close the Flow.
Part 2 - Set the Notifications to Occur
- Navigate to the Project associated with the Folder ID used in the Processing Flow.
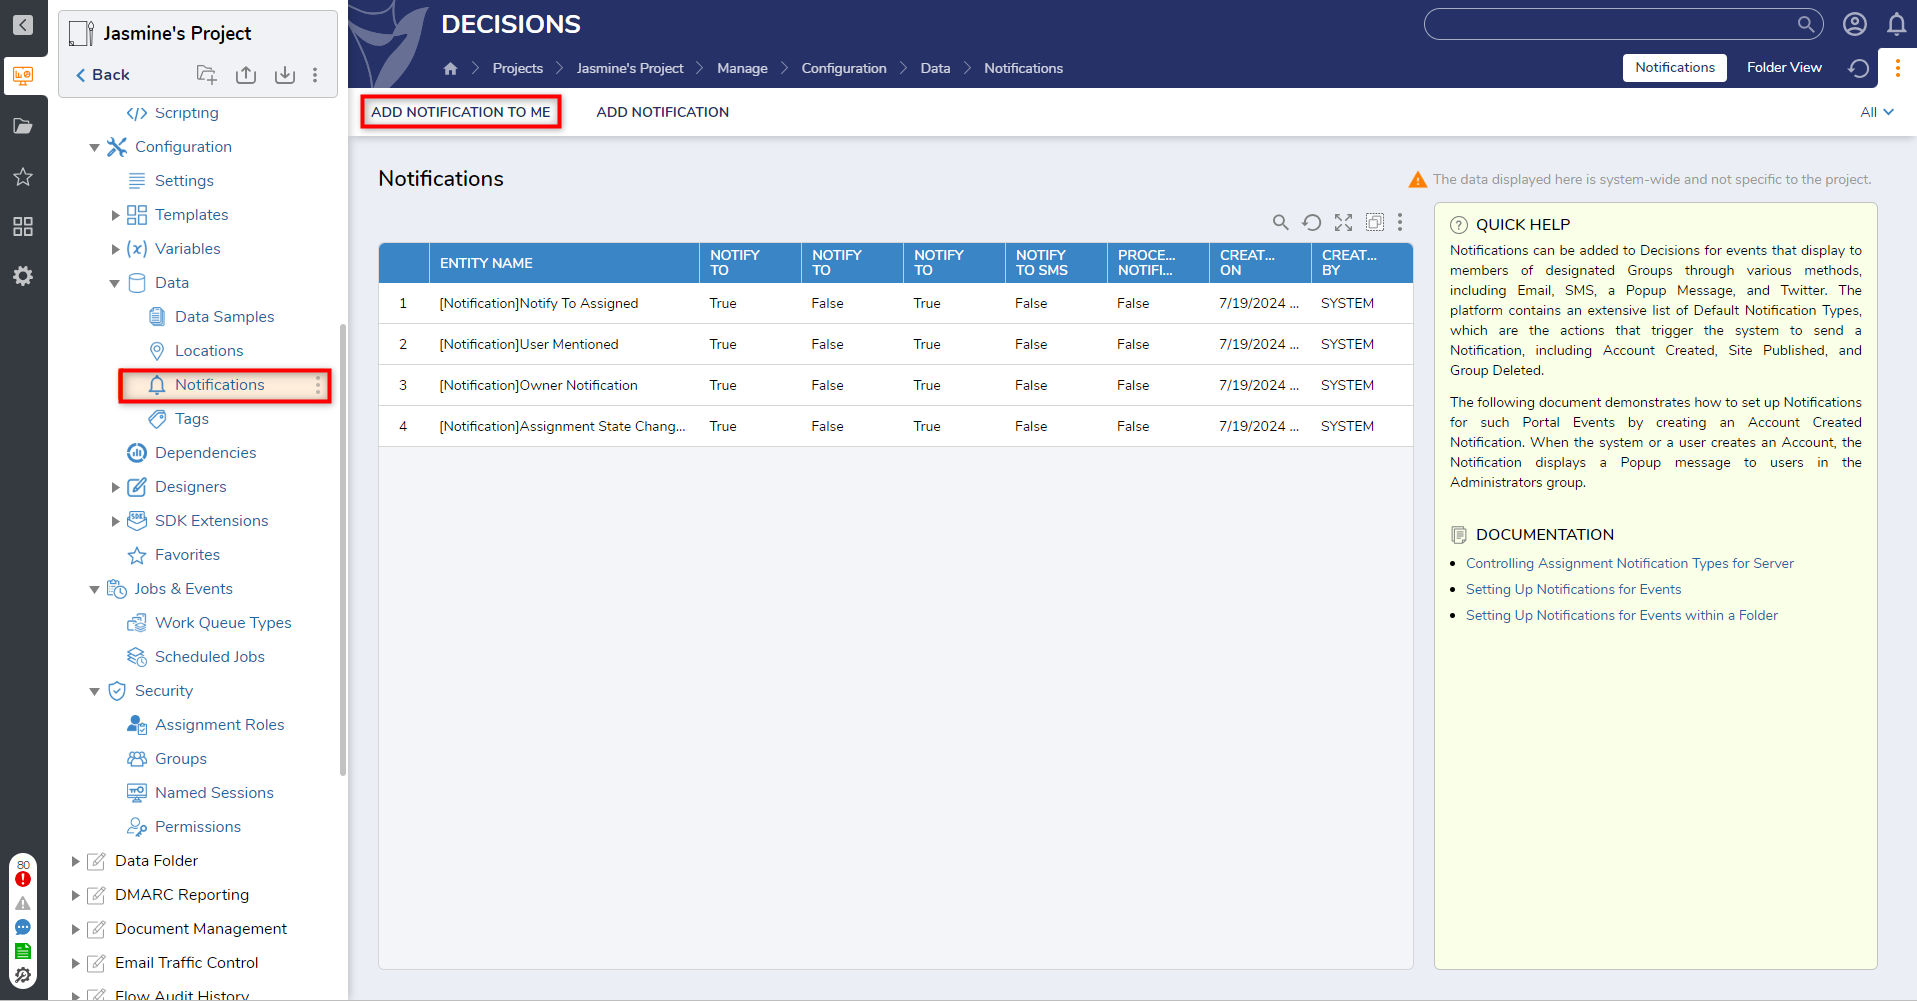
- Navigate to Data > Notifications and select Add Notification to Me.
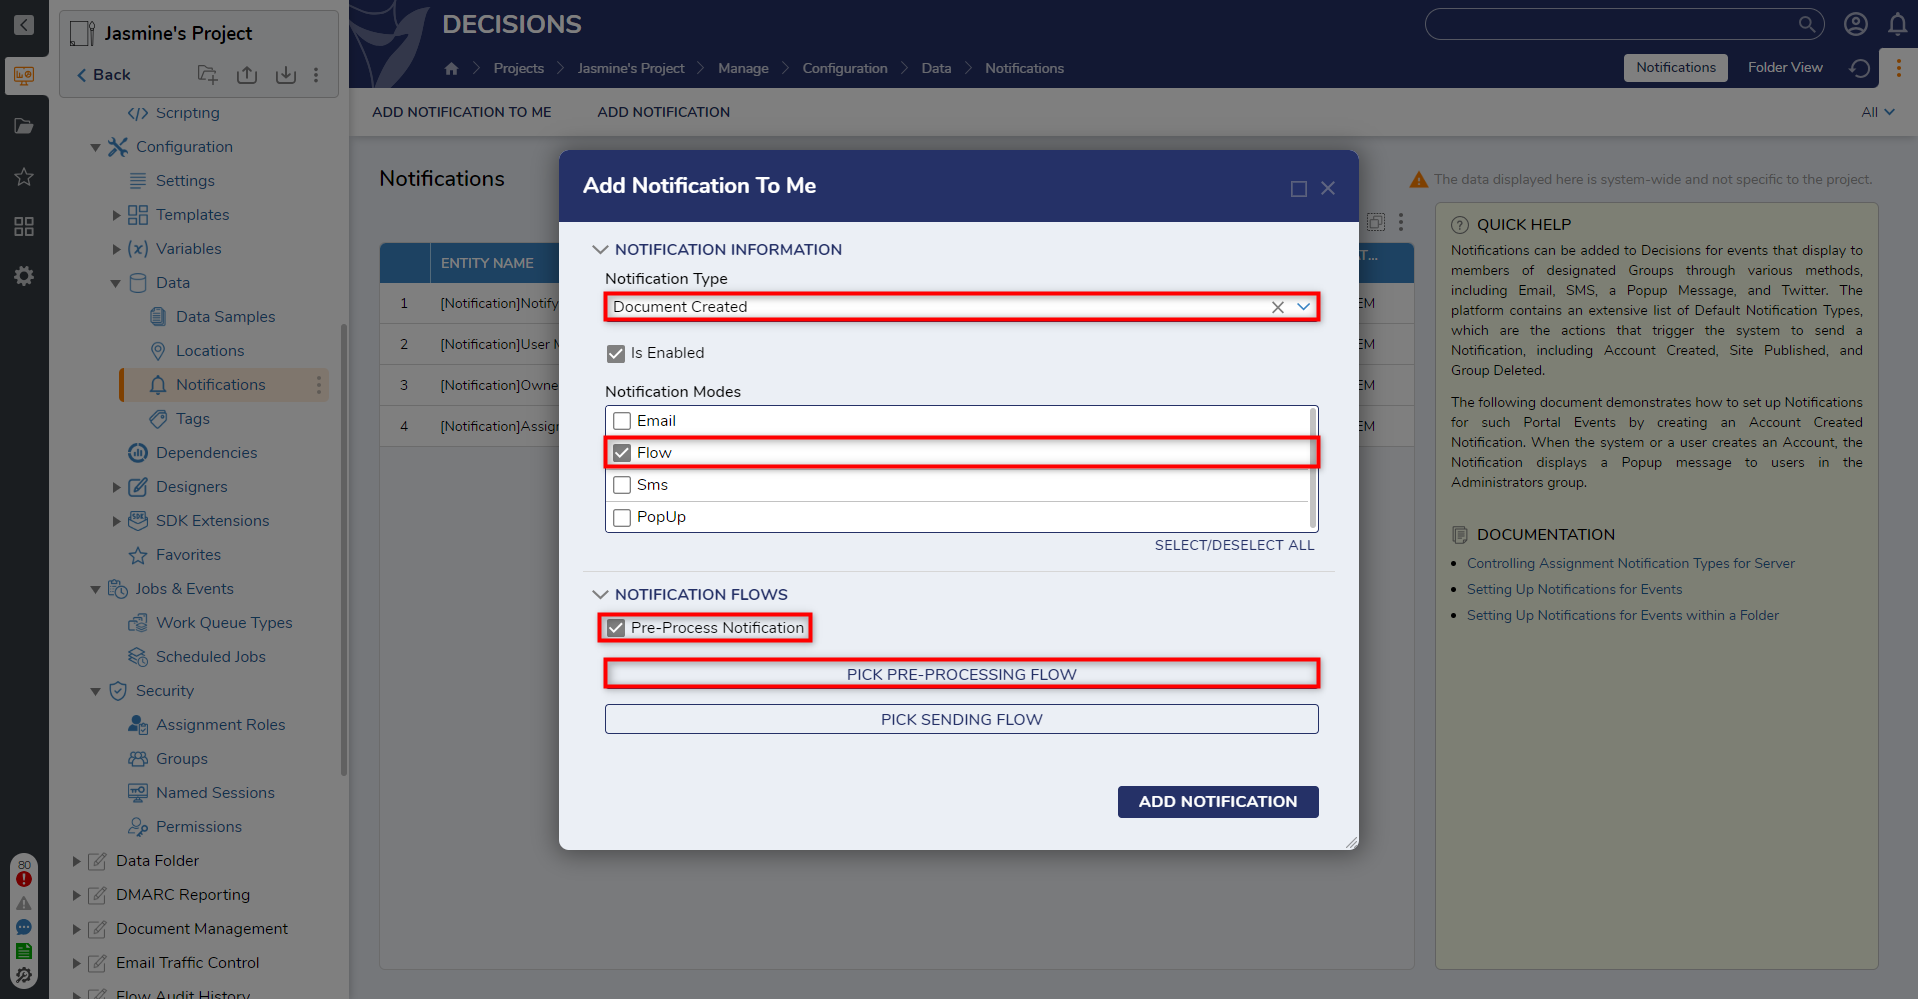
- Under NOTIFICATION INFORMATION, from the Notification Type dropdown, select Document Created.
- Select Flow under Notification Modes and check the Pre-Processing Flow box. Click PICK OR CREATE PRE-PROCESSING FLOW.
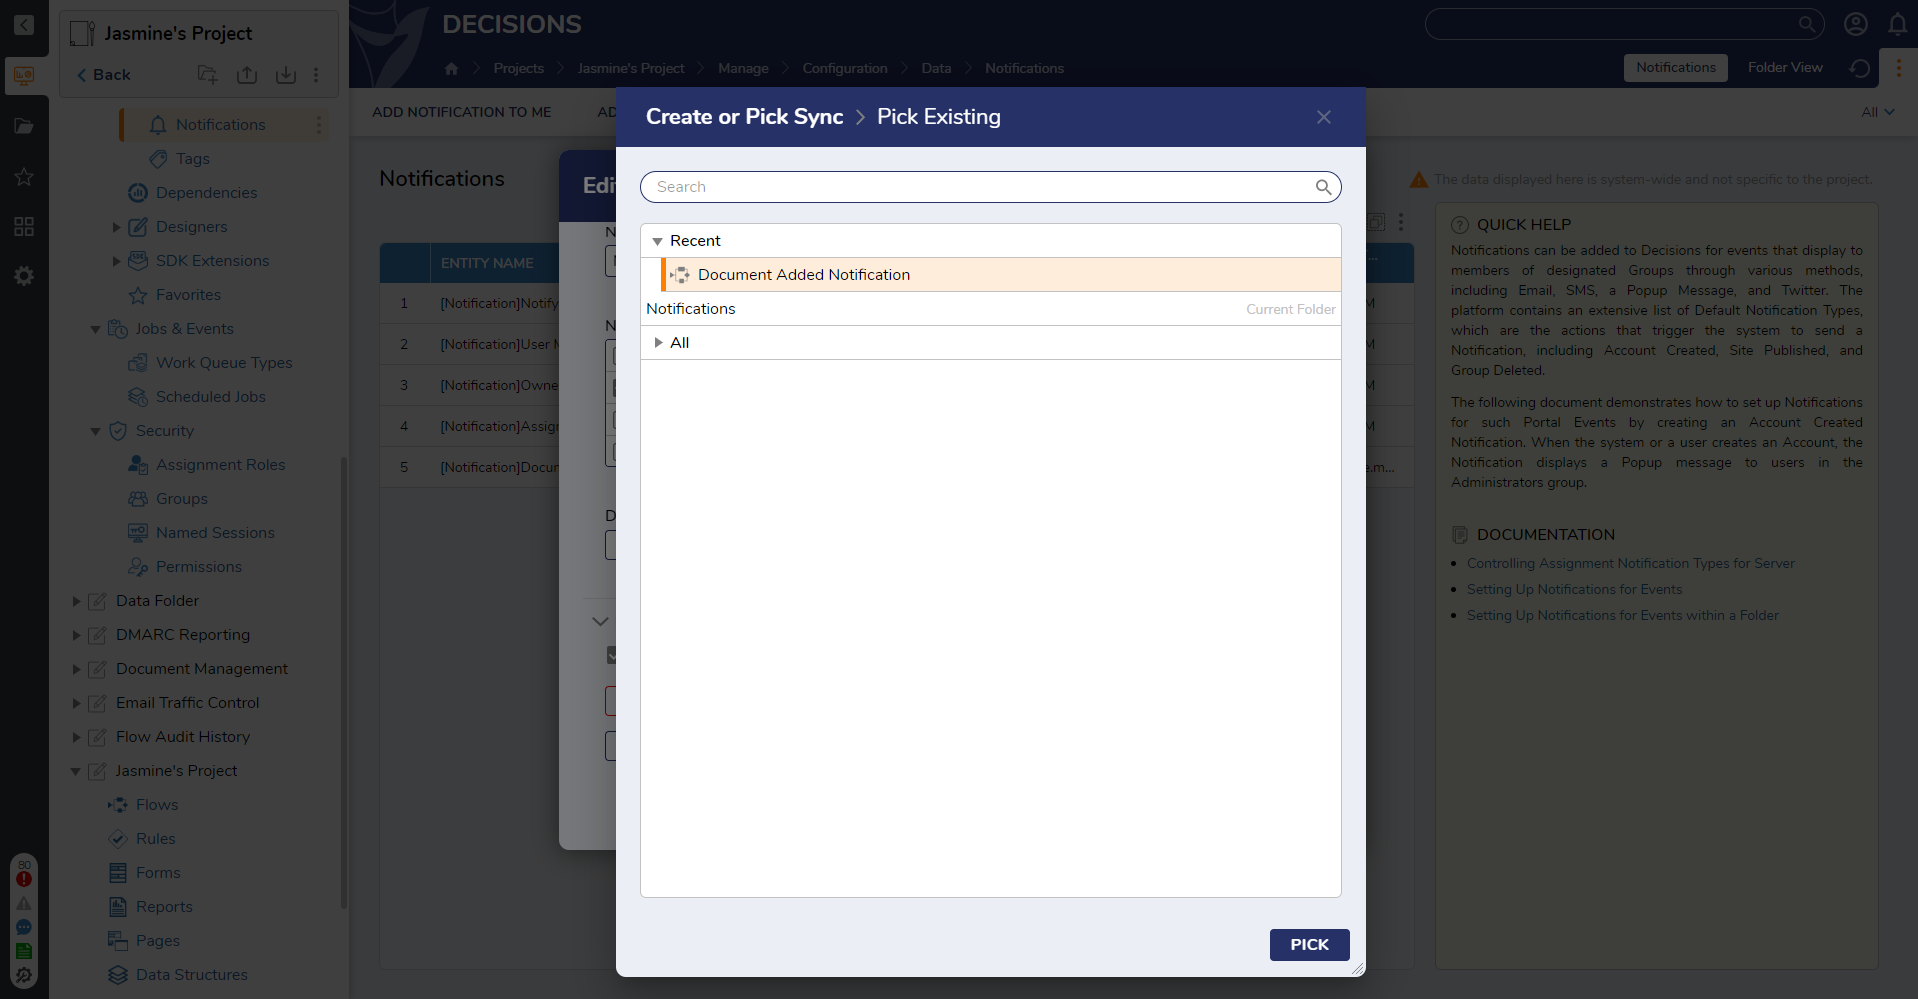
- Click PICK and choose the created Notification Flow. Click PICK.
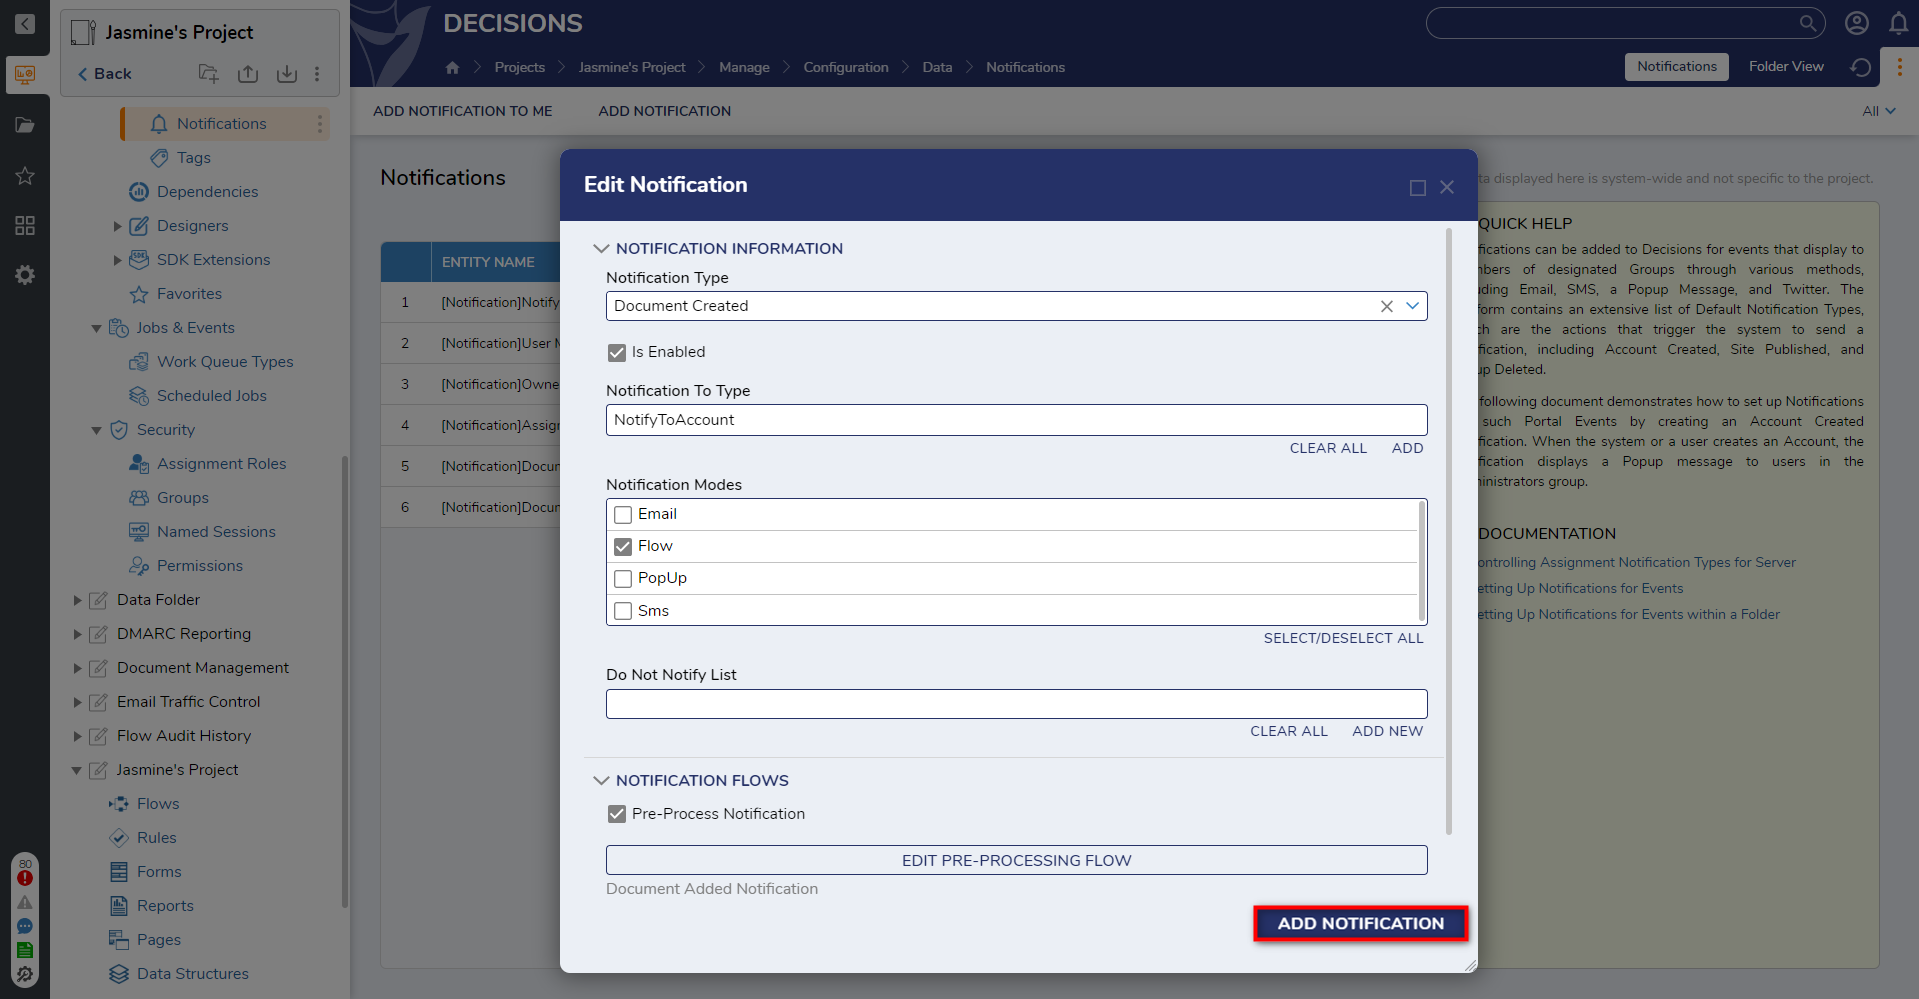
- Click ADD NOTIFICATION.
- Drag any file from the desktop onto the the opened Designer Folder.
- Click ADD AS DOCUMENT.
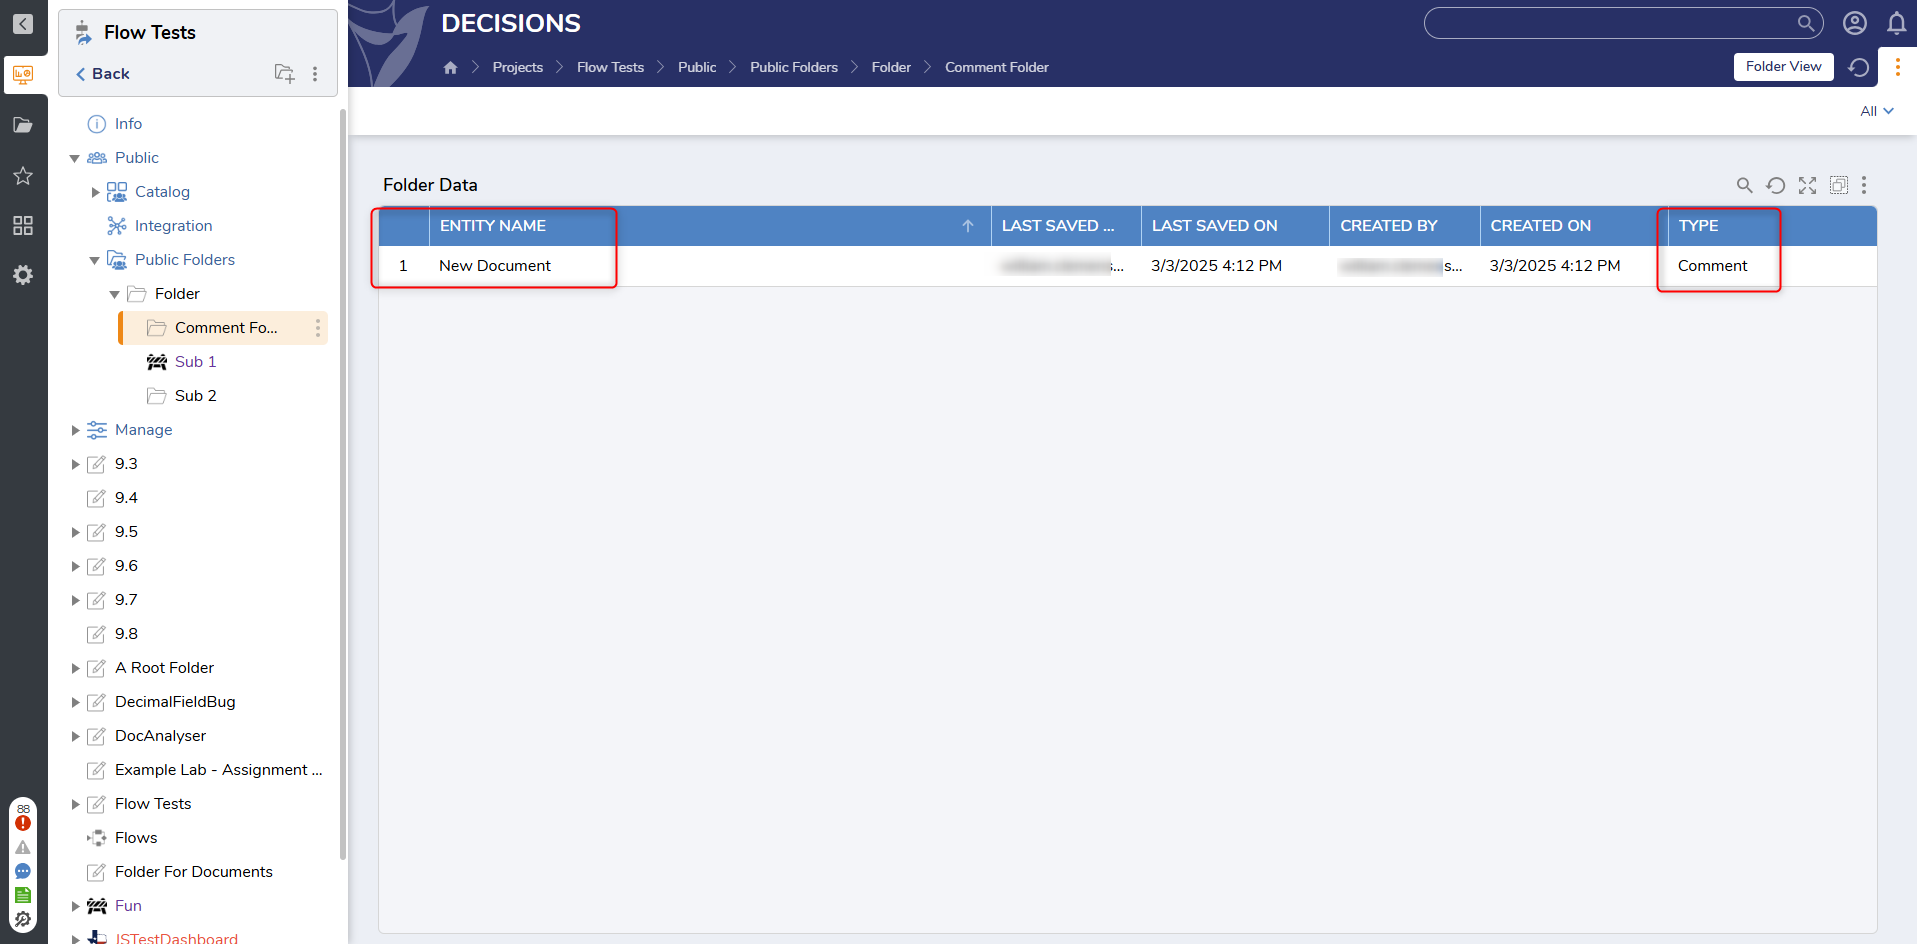
- After the document is added, the comment that was configured will also appear in the list.
Project Level Notification Flows
Notification Flows can also be created within Projects. There are two ways of doing this.
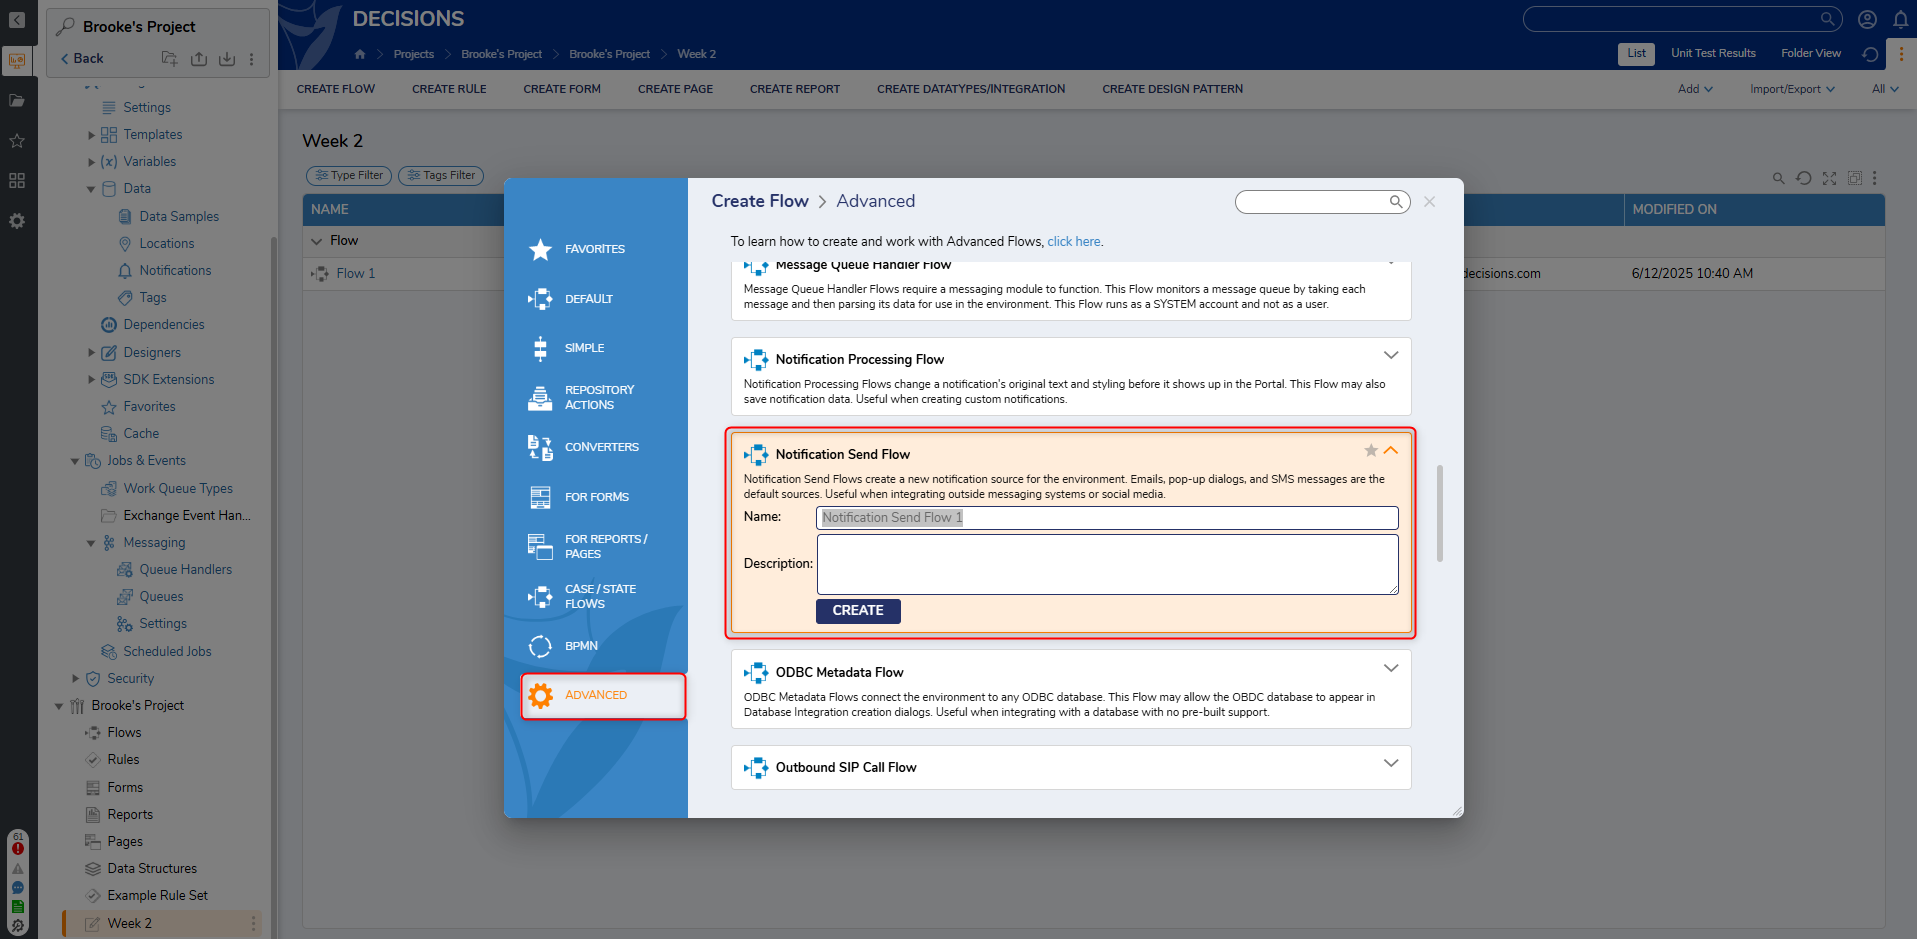
Method 1
Create a new Flow. On the Create Flow Menu, choose Advanced, then pick Notification Send Flow.
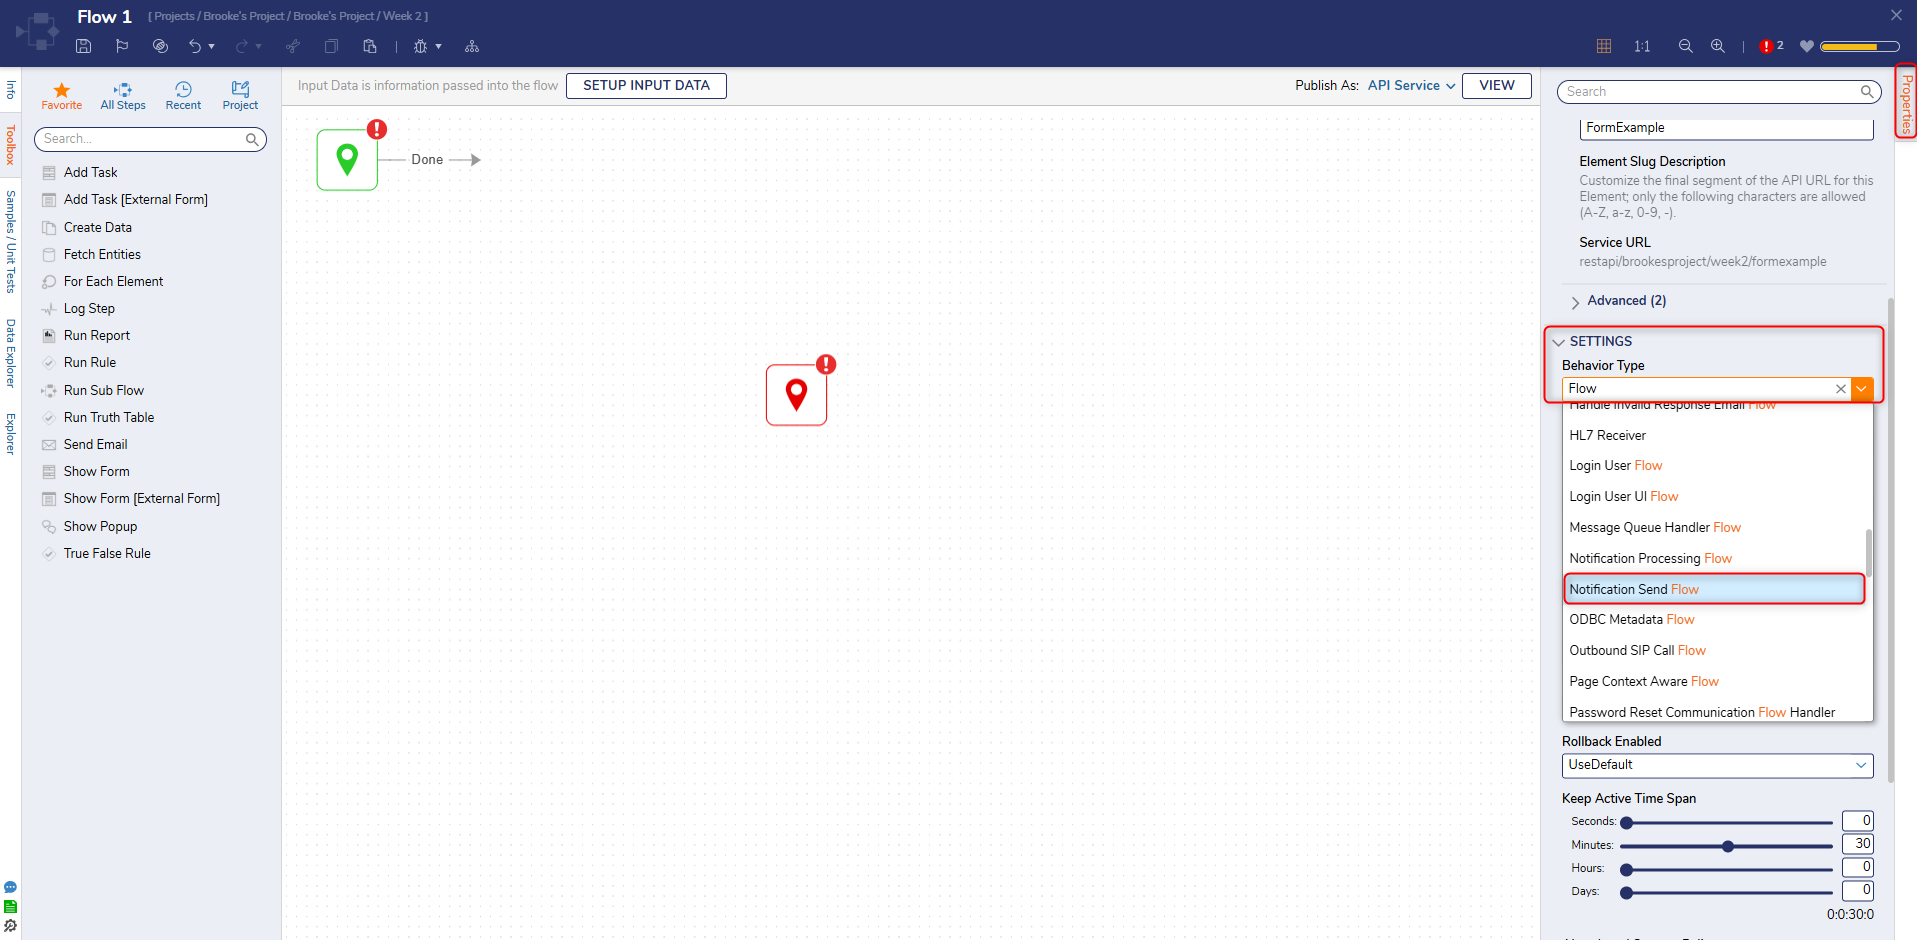
 Method 2
Inside of an existing Flow, open the Behavior Type drop down list under SETTINGS and select Notification Send Flow.
The Flow will still use the Internal Service step as detailed in Part 1 steps 4-7 above. Rather than mapping the inputs to the step, however, set Comment Name and Comment Description to constant and input the text as you would like it to appear when the Comment is created.
Feature Changes
| Description | Version | Release Date | |
|---|---|---|---|
| Notifications created in Projects can now be used as default notifications. | 9.8 | March 2025 | [DT-043382] |