After applying a tag to an object, the tag and its objects can be searched for at the Folder level.
Tags can be searched from the Studio, within a Designer Project, or with Flow logic.
Searching in the Studio
Tags appear in the Global Search Bar as a TagList object. From here, users can perform actions on the tag itself such as renaming, editing, deleting, etc the tag.
Objects within the tag are not found this way. Instead, refer to the other methods.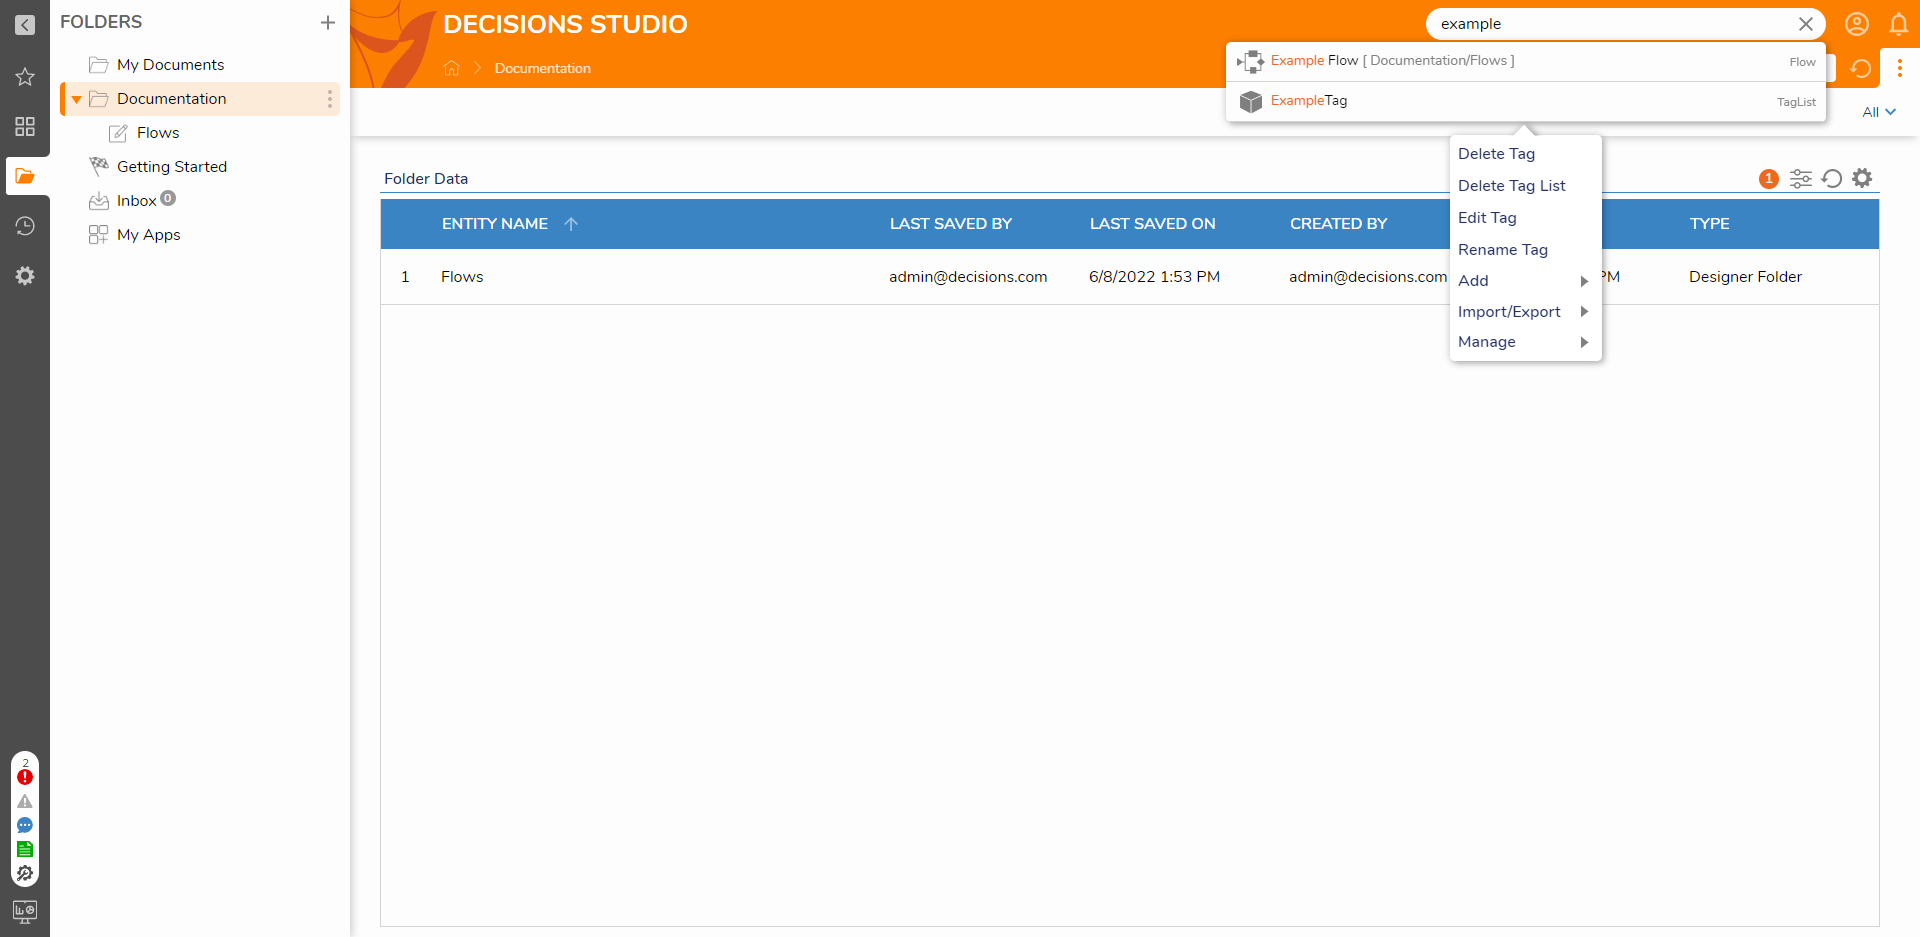
Searching in a Designer Project
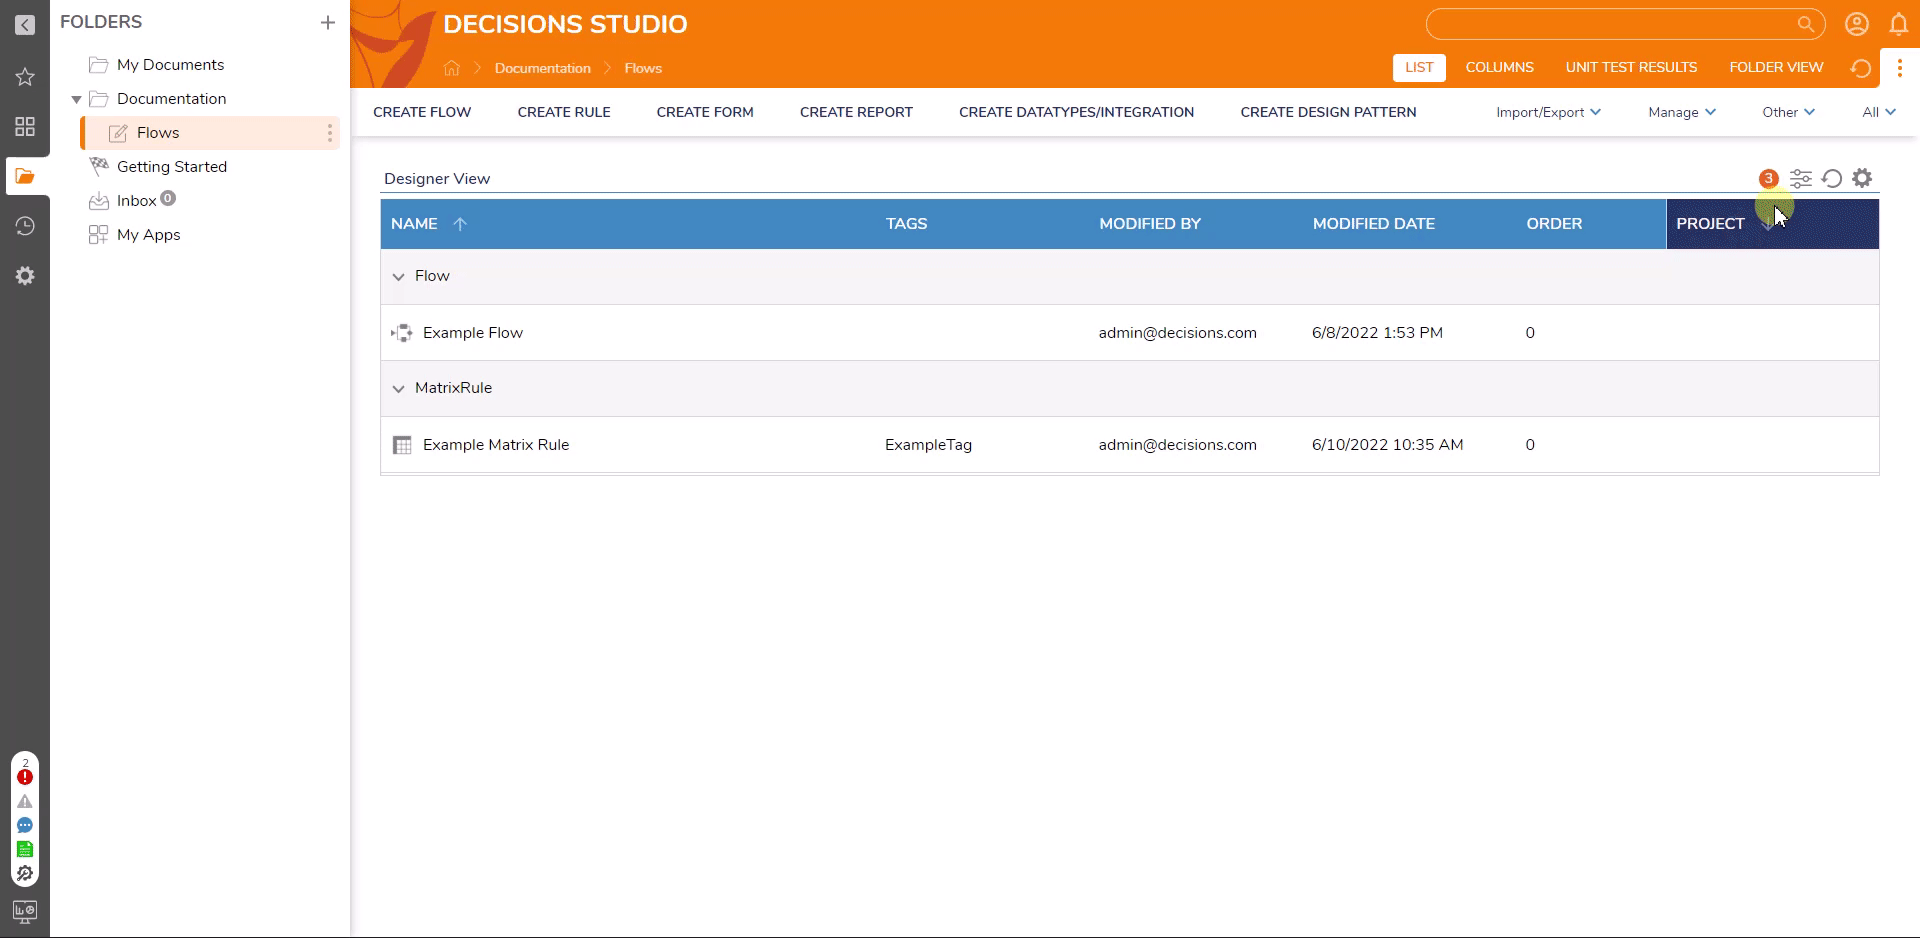
To find objects by their tag, search within their containing Designer Project.
Select the  filter icon at the top right of the Designer View. Under the ALL FILTERS section, a tags dropdown menu appears once tags are present in the Designer Project.
Select one or more tags and then select APPLY to only show the objects within the Designer Project containing all selected tags.
Searching with a Flow
Tagged objects may also be searched for within a Flow for dynamic logic based on tag organization.
This is accomplished with the AllTagsData object property that stores all applied tag values.
- Apply a tag to an object. Navigate to System > Security > Account. Right click on an account then select Add > Setup > Manage Tags and either select a preexisting tag or enter a new one.
If using an account without System folder access, create a Data Structure in a Designer Project such as an Entity.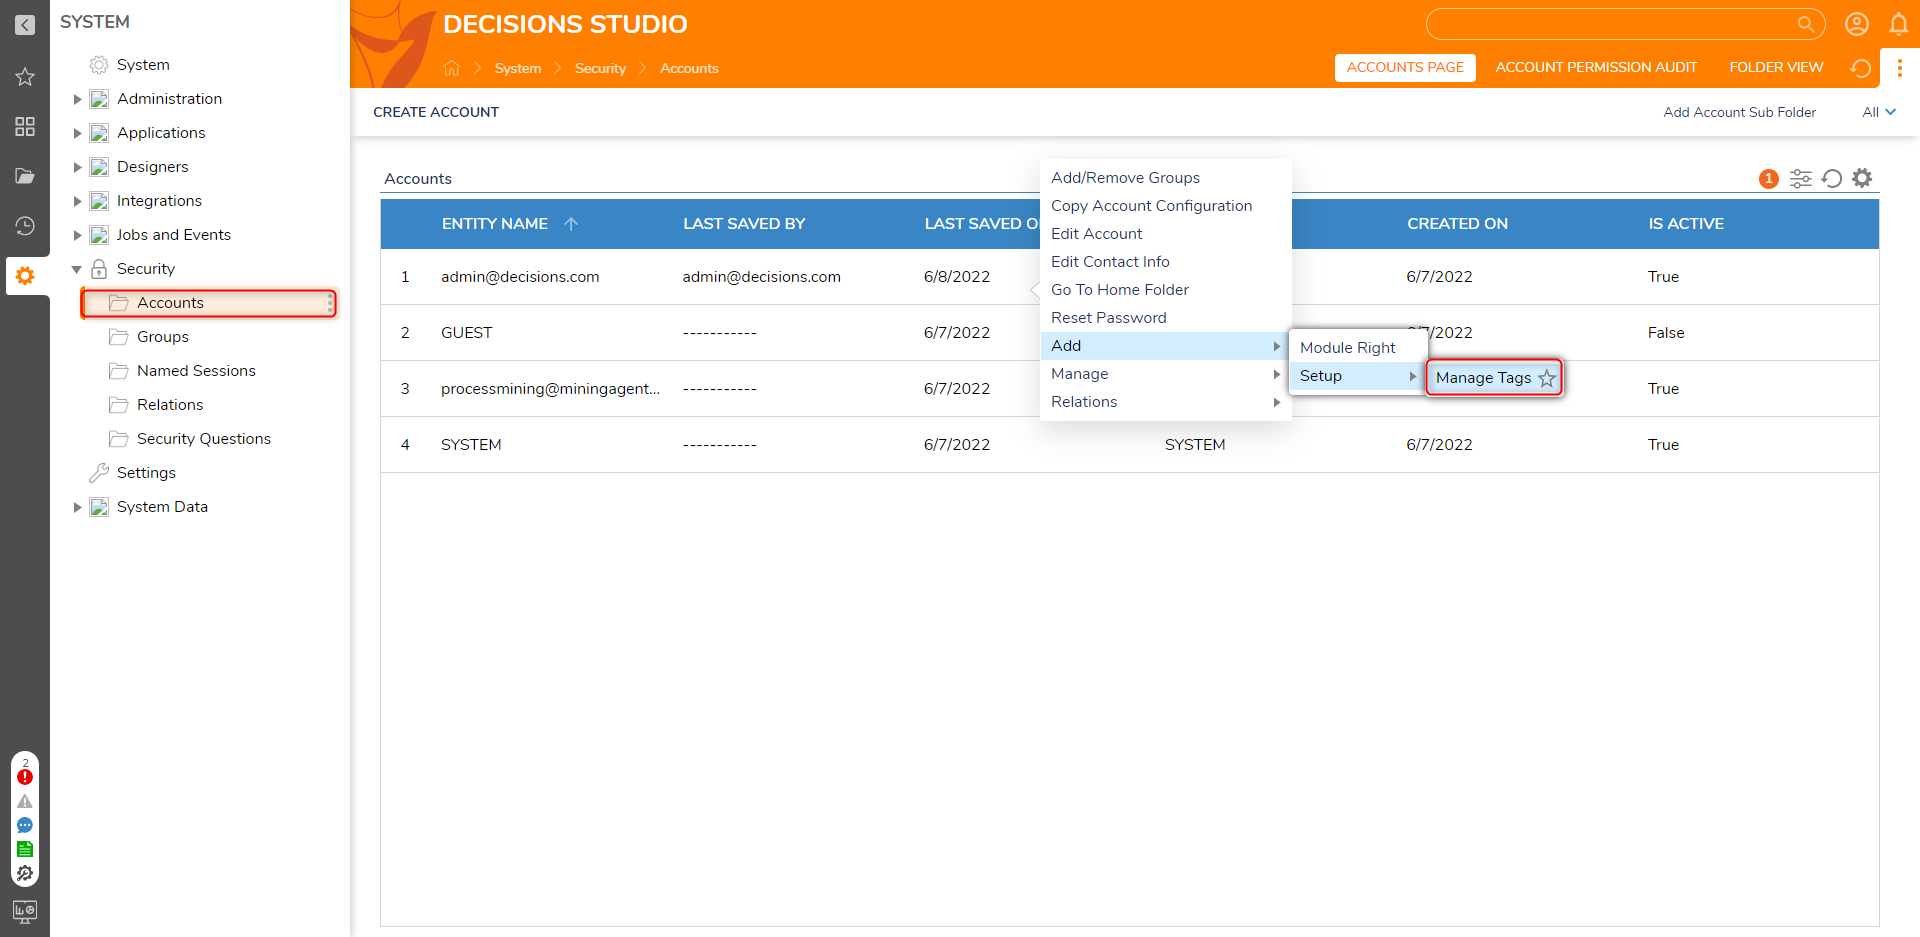
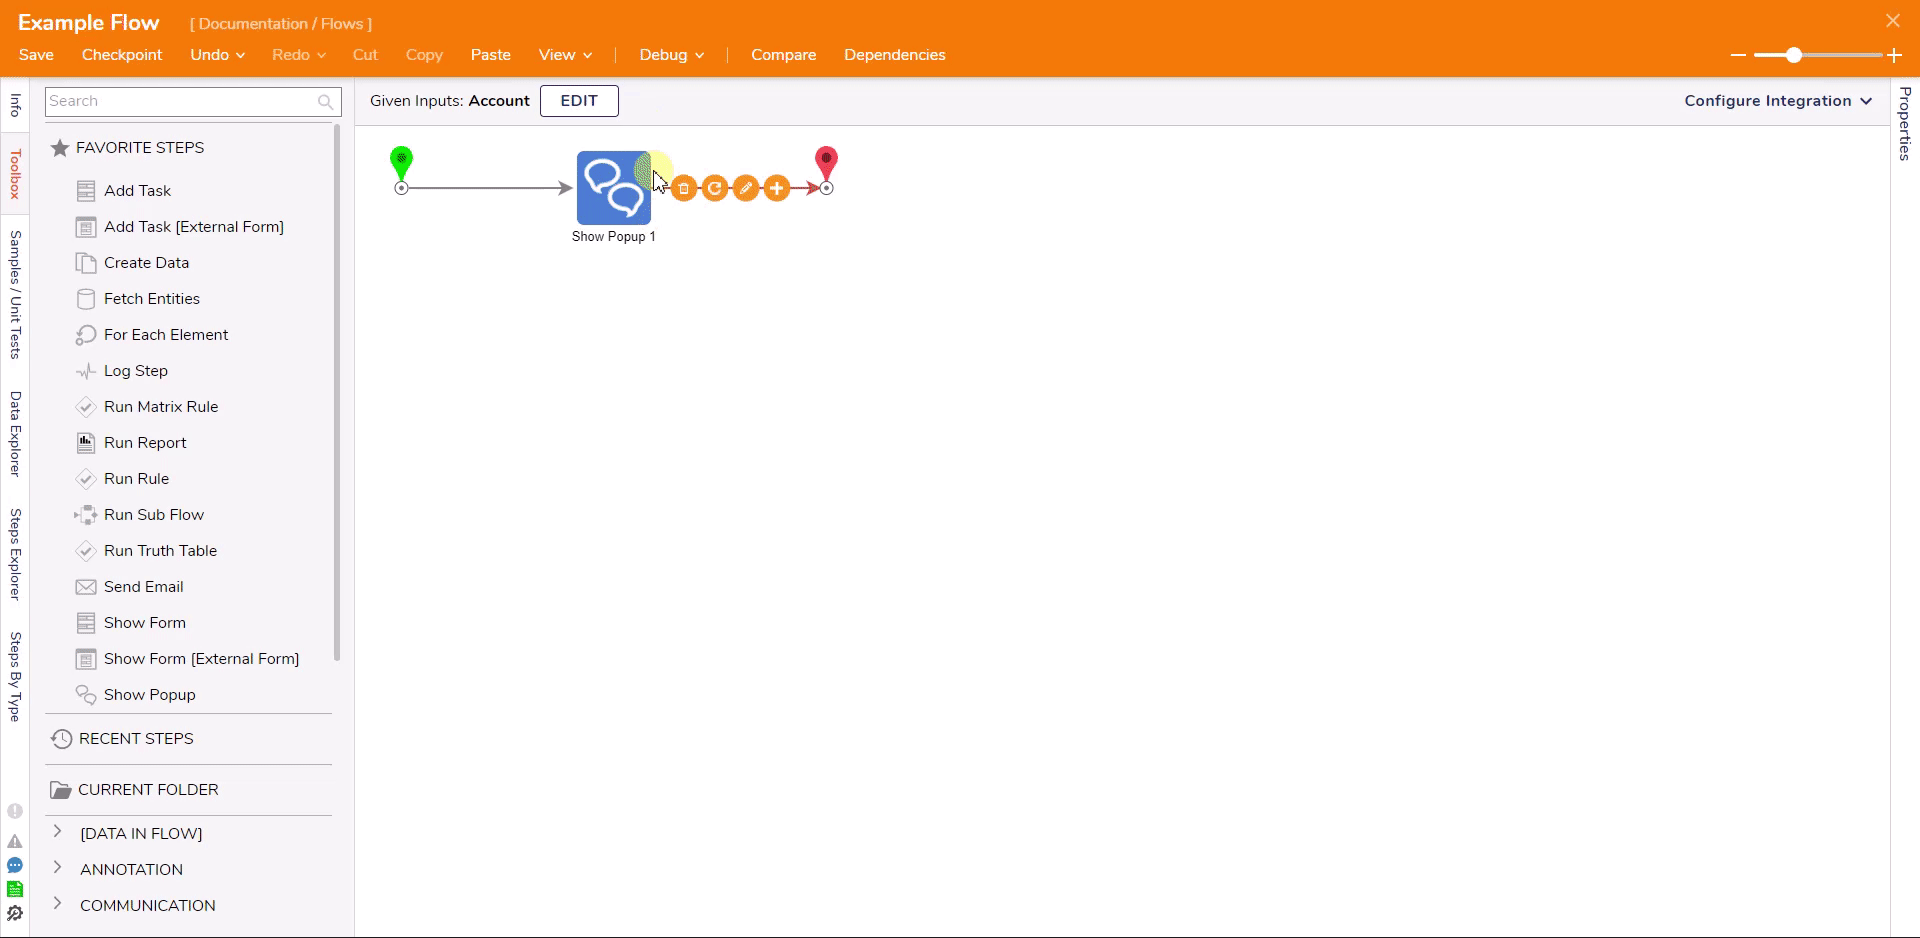
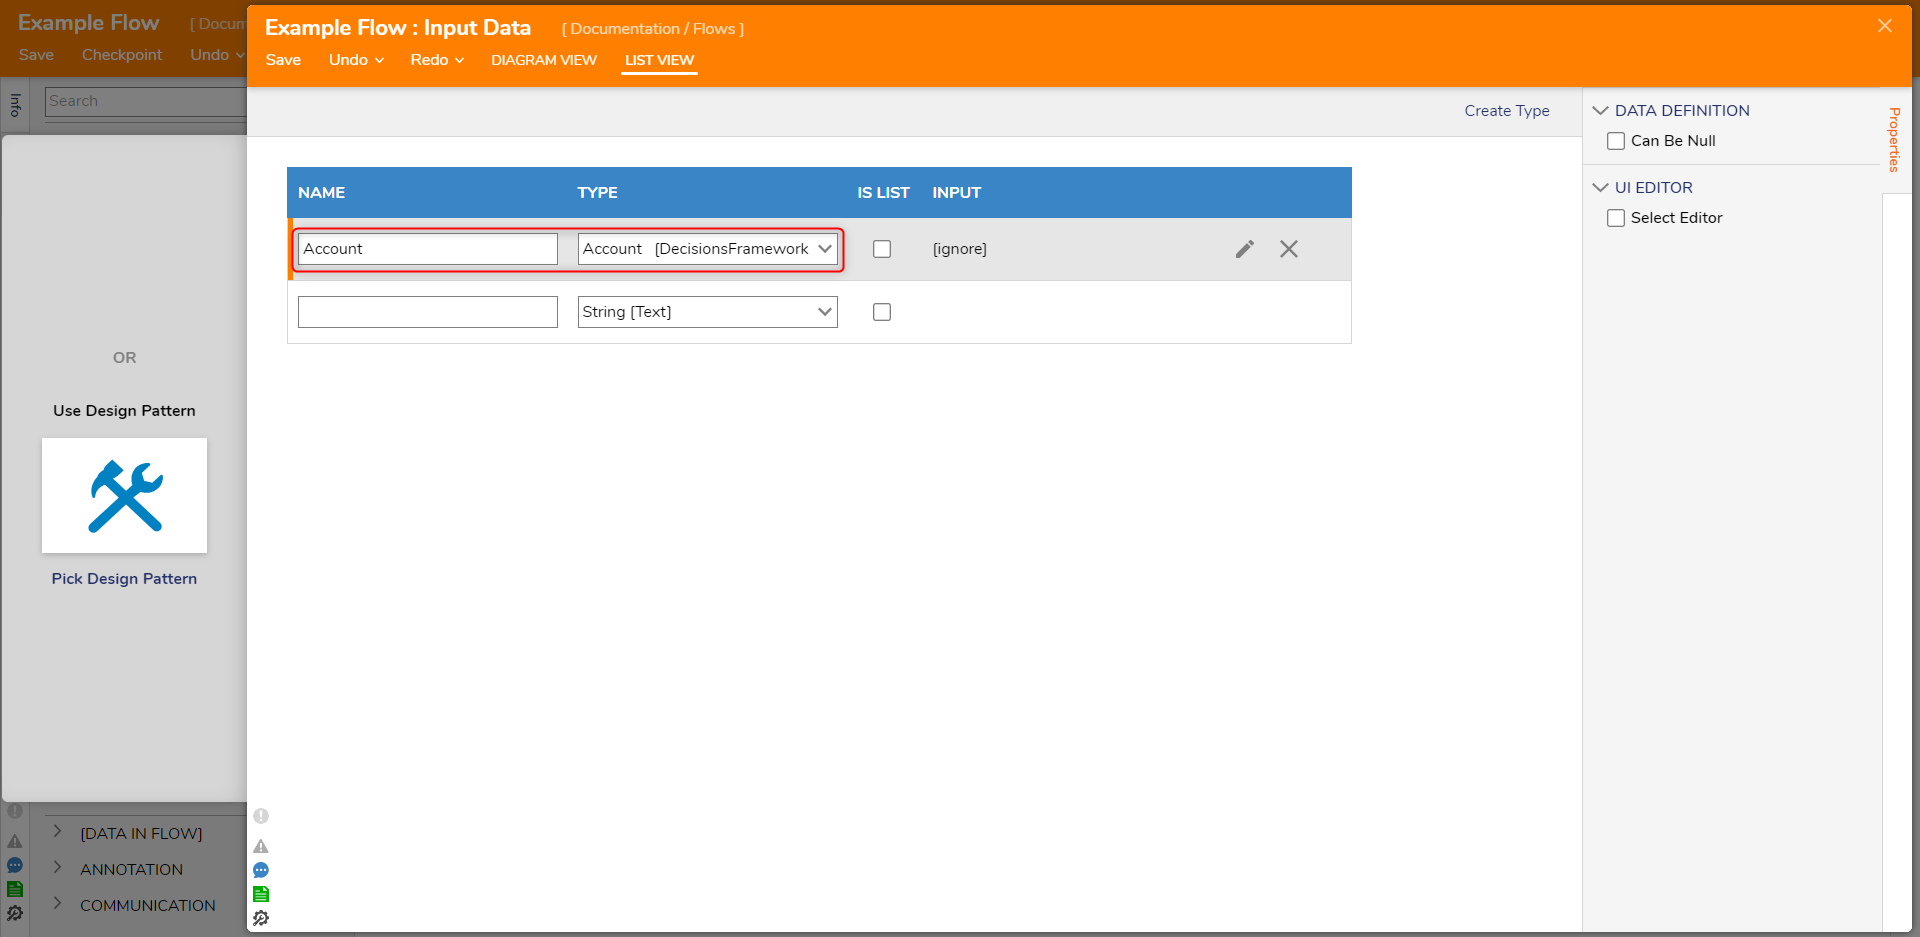
- In a Designer Project, select create a Flow.
- In the Flow Designer, click SETUP INPUT DATA.
- Enter a name and select the created Data Structure for the TYPE. Save and close the window.
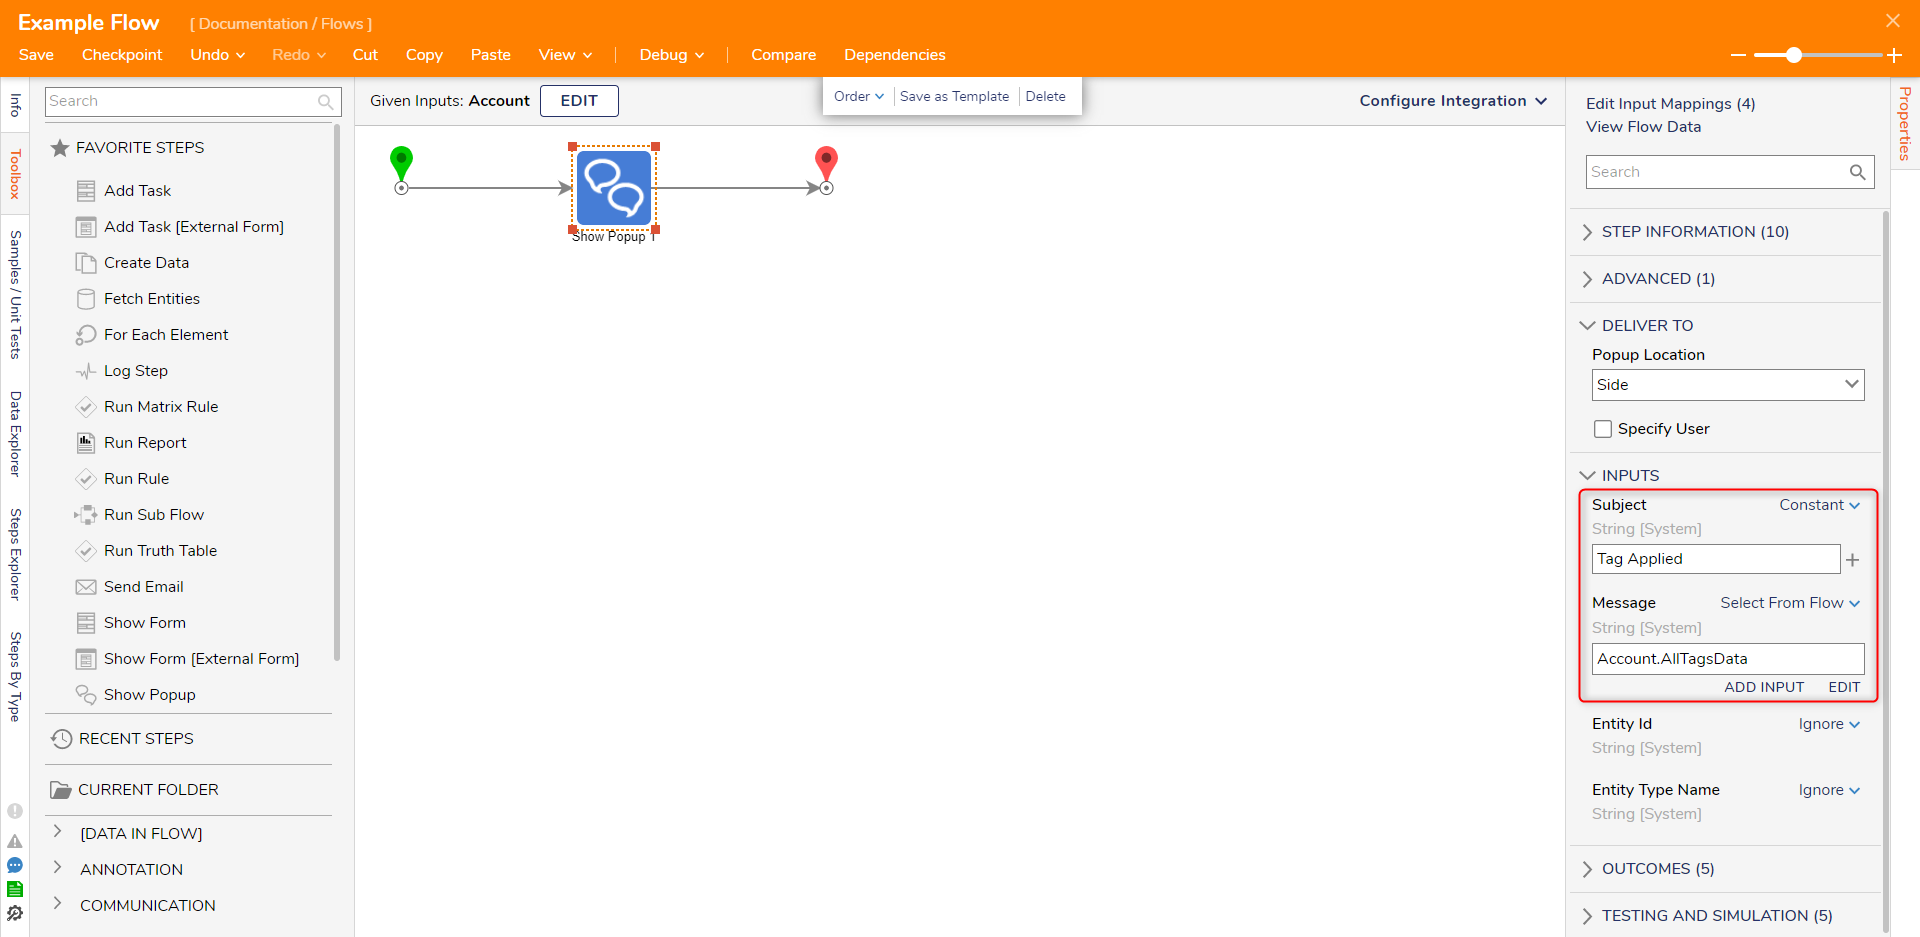
- From the FAVORITE STEPS category of the Toolbox tab, add a Show Popup step and connect it to both the Start and End steps.
- Select the Show Popup step to view its Properties tab. Change the Subject's mapping type to Constant "Tag Applied" and then map AccountData.AllTagsData to Message.
- Save the Flow, then if desired, close via X.
Debug
- From the Flow Designer click the Debug link on the top action bar.
- Select the Edit Icon and PICK the Account that contains the added Tag.
- Click START DEBUGGING.
The AllTagsData property introduced the tags into the Flow as a String value and can then be defined as a later step's input.