Overview
The SDK allows users to customize Designer Elements. It also allows users to modify the default Portal login Page with custom styles and designs. Users can integrate the login page according to their preferences, allowing them to incorporate SAML, OpenID, or any other desired authentication method. For more information, refer to Software Development Kit (SDK) Overview.
Note:
- Decisions will not support or assist in developing the Custom Login Page. The customization process for the login page remains the responsibility of the customers. However, to seek assistance solely for deploying/configuring, contact support@decisions.com.
- Once the application is configured with a Custom Login Page, it will override the Dual Authentication Settings. As a result, only the Custom Login Page will be loaded for the login, disregarding the Dual Authentication Settings.
- Breaking Changes for v8.15:
Customers who are upgrading to Decisions Version 8.15 should be aware that Custom Modules have transitioned from Module.Build.xml to Module.Build.json. As a result, it is necessary to perform a rebuild of their Custom Module. For more information, refer to SDK: Building a Module (Advanced). - Breaking Changes for v8.9:
Customers who are upgrading to Decisions Version 8.9 and above should be aware that their CustomLoginLayout.cshtml file will need to be updated by loading the login.utils.js script to avoid a dpComponents console error.
Prerequisite:
- Create a Module with SDK
- Download the pre-built module below referenced in this article:
Configuration
- Navigate to the SDK Examples on Github to check out the Decisions.CustomLogin.Example project.
- Open folder Decisions.CustomLogin.Web and open the Decisions.CustomLogin.web.csproj in an IDE.
- Navigate to Decisions.CustomLogin.Example/Decisions.CustomLogin.Web/Controllers and open CustomLoginController.cs. This login controller example includes the following:
using Decisions.Web.Core.CustomLogin; using Decisions.Web.Core.Models; using Microsoft.AspNetCore.Authorization; using Microsoft.AspNetCore.Mvc; namespace Decisions.UnitTests.Web.Core.Controllers { public class CustomLoginController : Controller, ICustomLoginPageProvider { public string LoginLayoutPath { get => "~/VIEWS/CUSTOMLOGIN/CUSTOMLOGINLAYOUT.CSHTML"; set { } } [AllowAnonymous] public IActionResult RedirectToCustomLogin(LoginViewModel loginViewModel) { return View("CustomLogin", loginViewModel); } } }- The login controller must extend Controller and implement CustomerLoginPageProvider.
- The String variable LoginLayoutPath refers to the customized login page layout file CustomLoginLayout.cshtml that is created under the Views folder.
- The RedirectToCustomLogin method directs the user to the custom-styled page CustomLogin.cshtml in the Views folder. This method triggers when the user logs out or navigates to log into the environment.
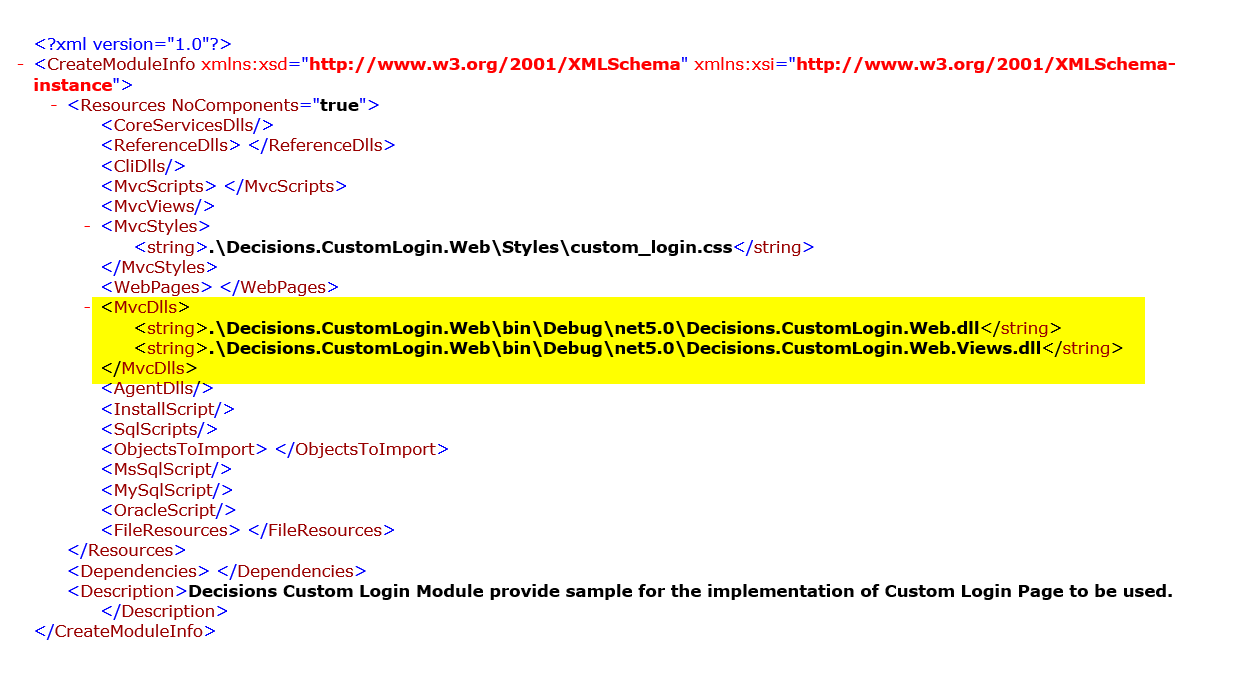
- Navigate to [Custom Login Module Example]\Decisions.CustomLogin.Example\Decisions.CustomLogin.Web\ and open the Module.Build.xml file. This file includes references to two MVC .dlls: the project and Views.
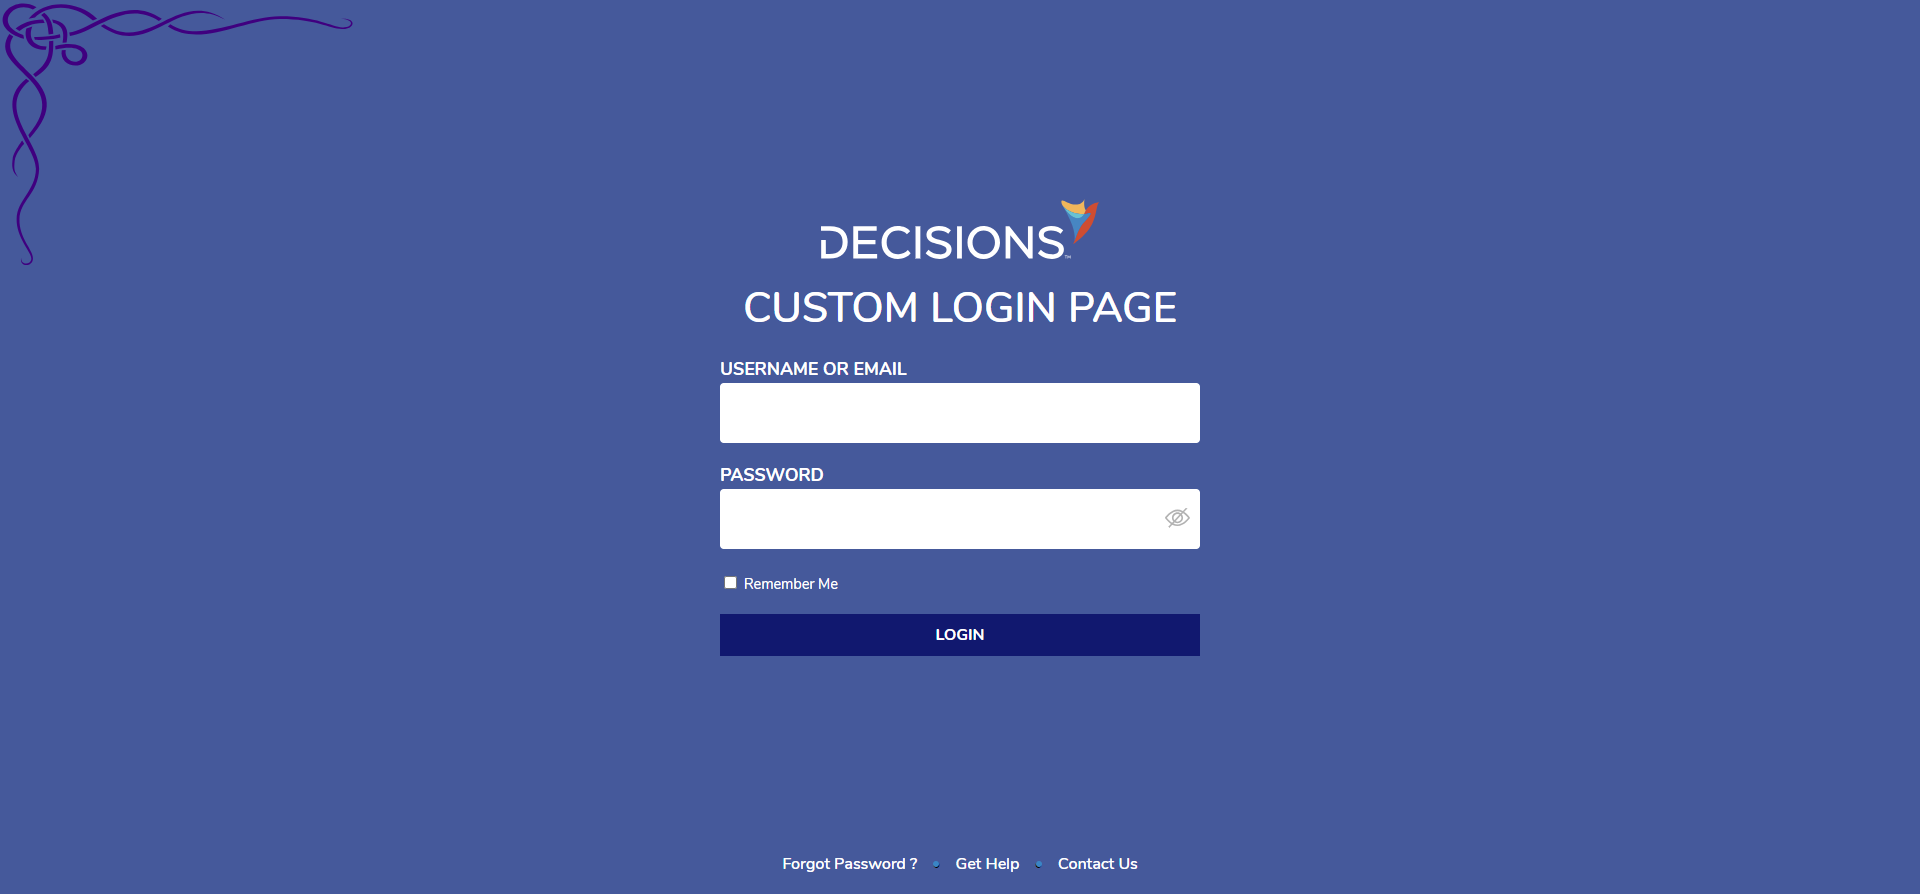
- Below is how the Custom Login Page example will be displayed to a user logging in.
Important Considerations
When using a custom layout in CustomLogin.cshtml, there are a couple of mandatory sections that need to be rendered or ignored.
To Render:
@RenderSection("loginmodal", false)

@RenderSection("loginfooter", false)
To Ignore it:
@{

    IgnoreSection("loginfooter");

    IgnoreSection("loginmodal");

}
For further information on SDK, visit the Decisions Forum.