Using Swim Lanes
- 23 May 2022
- 1 Minute to read
- Print
- DarkLight
Using Swim Lanes
- Updated on 23 May 2022
- 1 Minute to read
- Print
- DarkLight
Article summary
Did you find this summary helpful?
Thank you for your feedback!
Overview
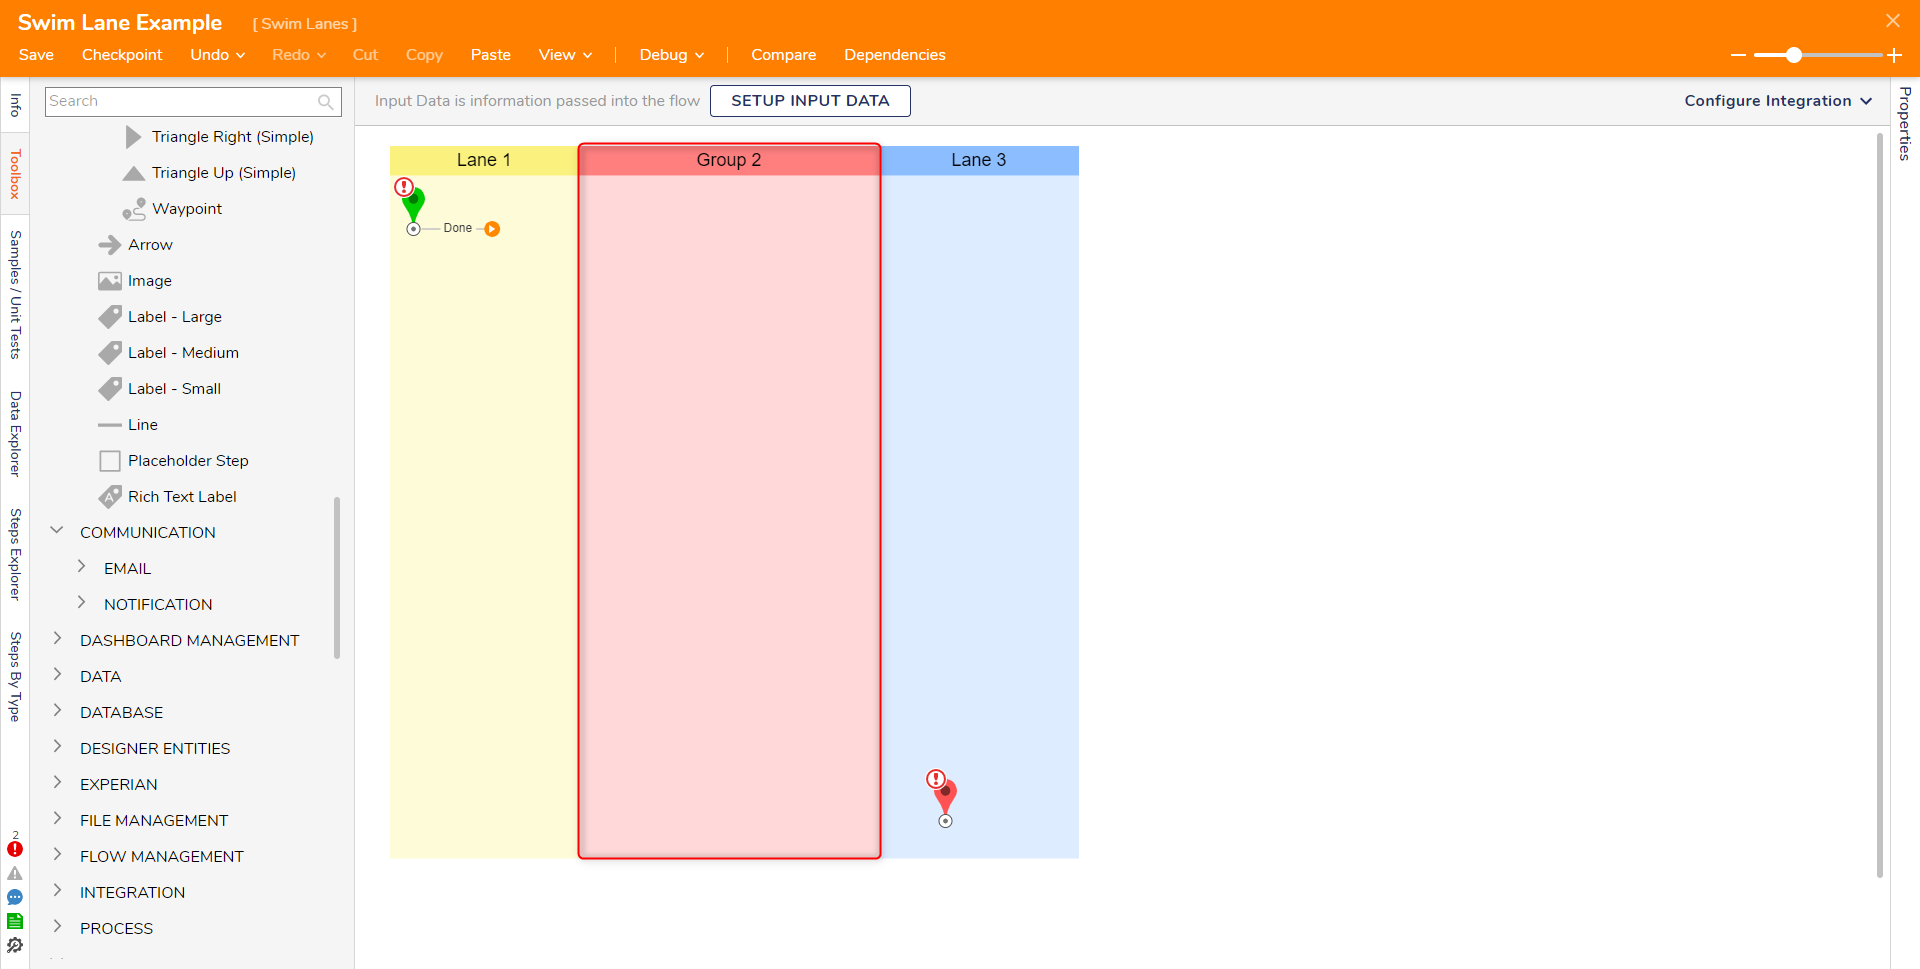
A Swimlane is an element used in Flows to visually distinguish job sharing and responsibilities for a business process. Swim lanes are organized and divided into sections labeled as Lanes, with each Lane representing a person, group, or subprocess in a Flow.
Adding Swimlanes
- From a Designer Project click CREATE FLOW and create a new Flow.
- In the Properties panel for the Flow, expand the Advanced > Swimlanes categories.
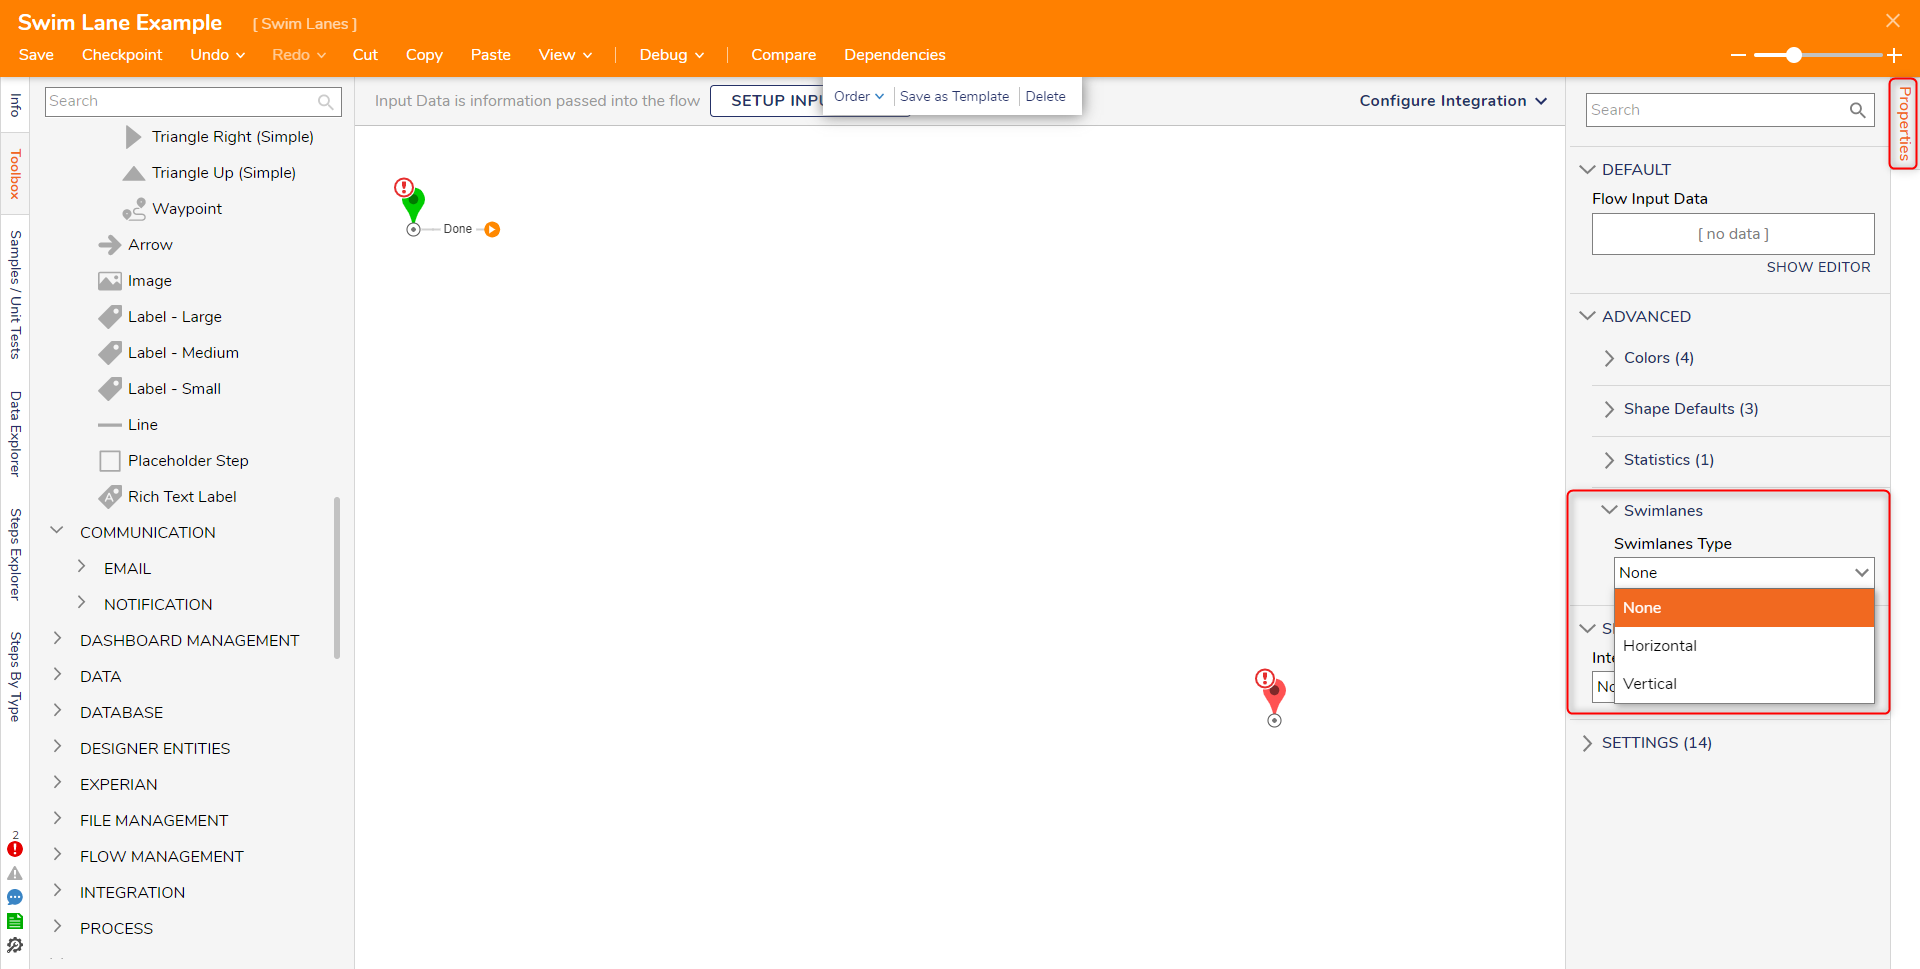
- Under Swimlanes Type, select Vertical from the dropdown menu. Below is a breakdown of the different options available for a Swimlane.
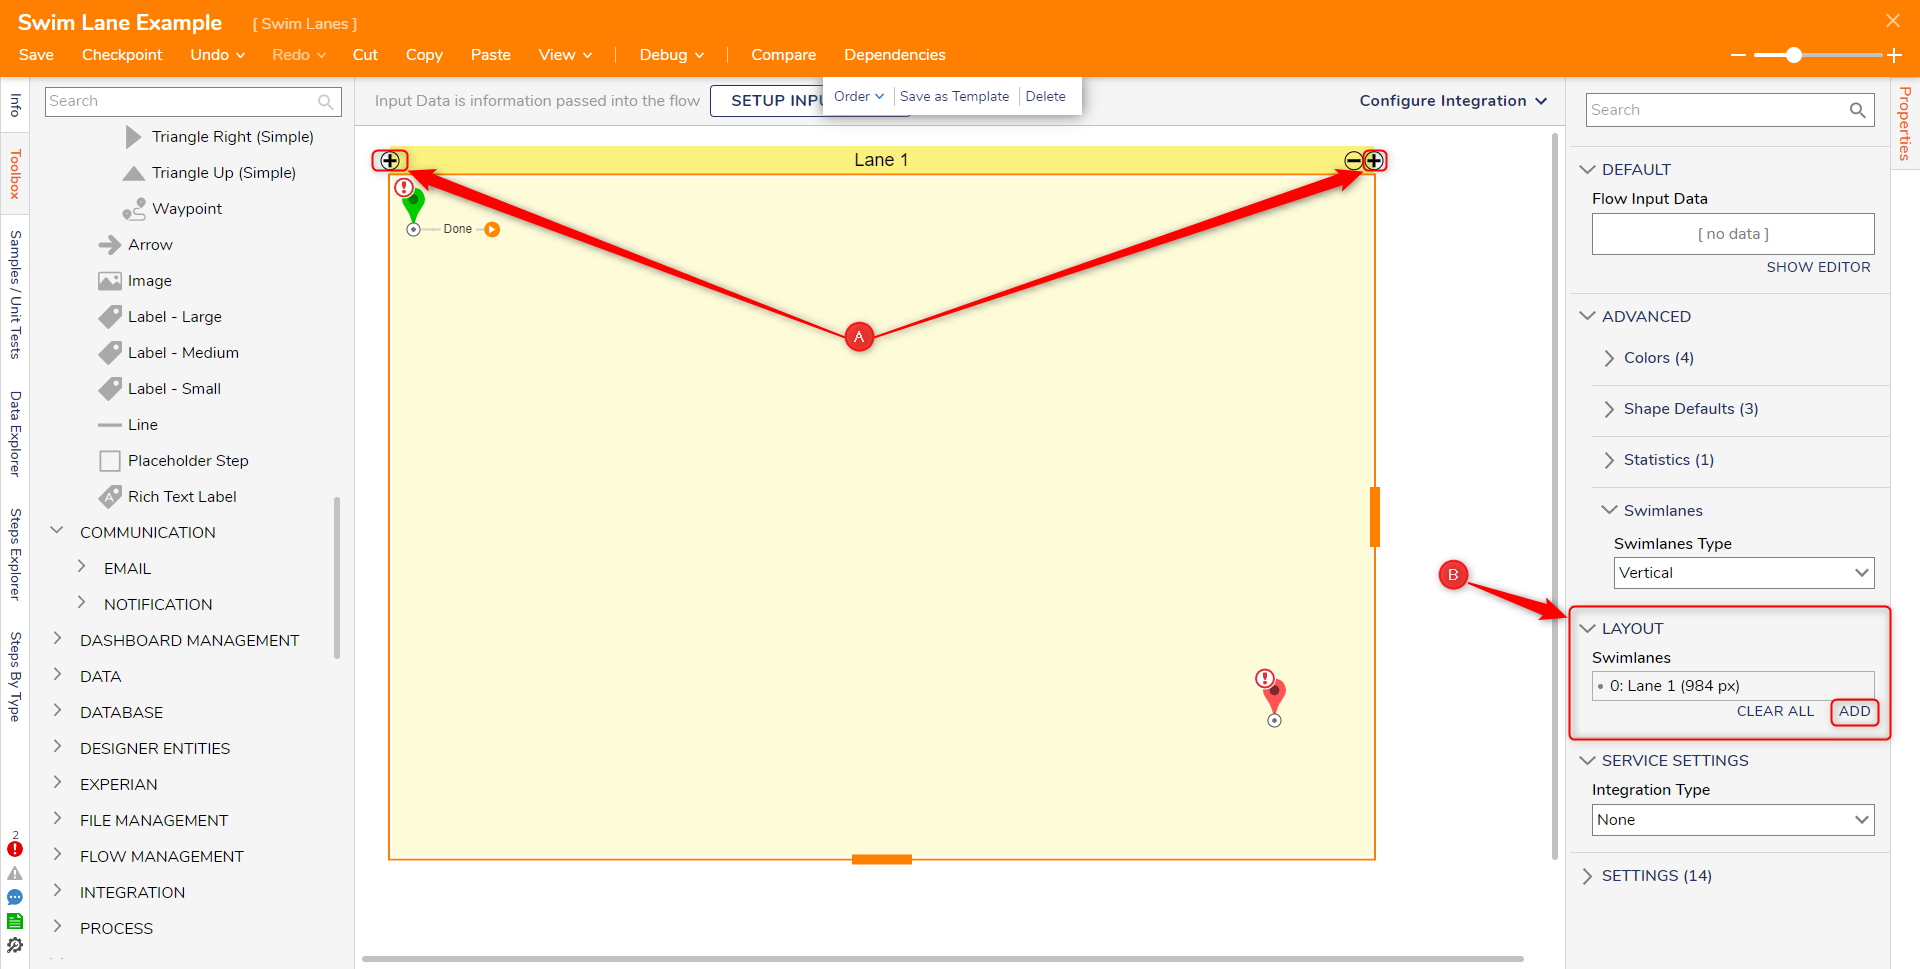
Option Description None Disables Swimlanes from appearing in a Flow. Vertical Creates Swimlanes in a vertical layout. Horizontal Creates Swimlanes in a horizontal layout. - The Swimlane will appear. To add a new Swimlane:
- Hover over the label for the control and select the plus icon.
- In the Properties panel, expand the Layout section, under Swimlanes, click Add
Editing Swimlanes
Once Swimlanes have been enabled, each lane's size, color, and name can be adjusted.
- In the Properties panel for the Flow, expand the Layout category.
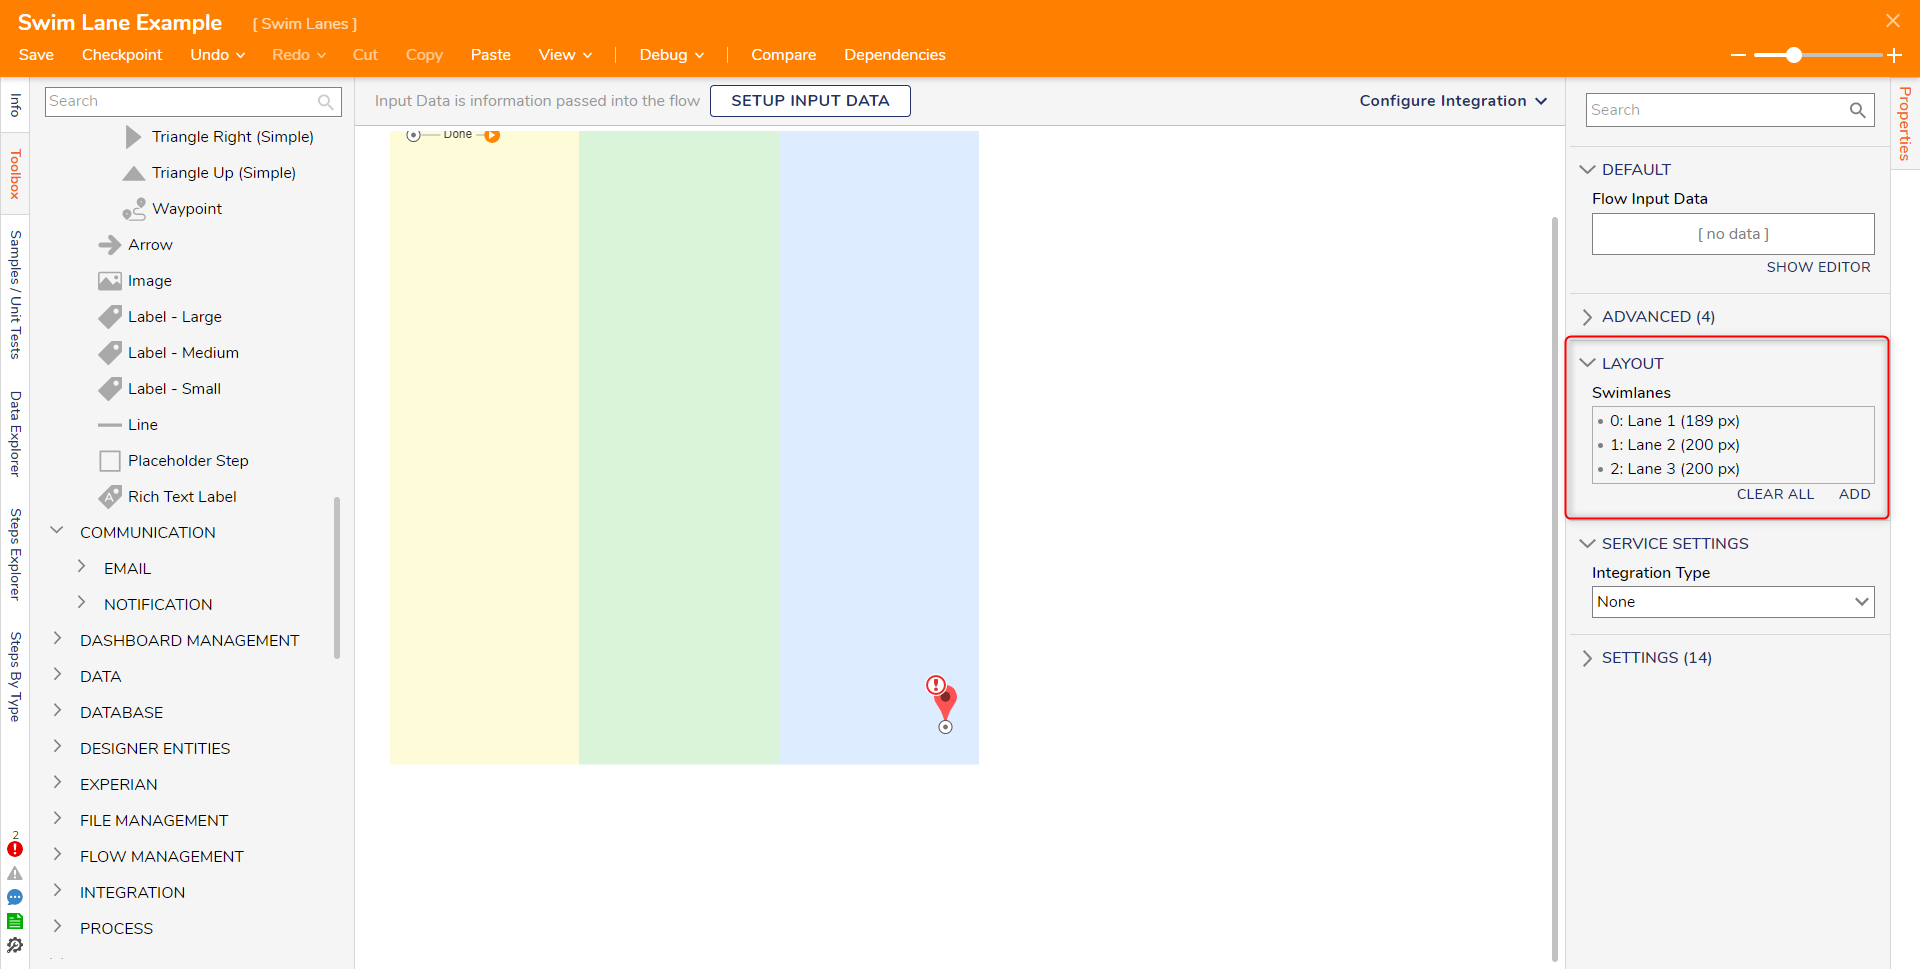
- Under Swimlanes, hover over and select the pencil icon next to the lane that needs to be adjusted.
- The Edit Swimlanes menu will appear. Edit the Label, Background, and Size, then click OK.
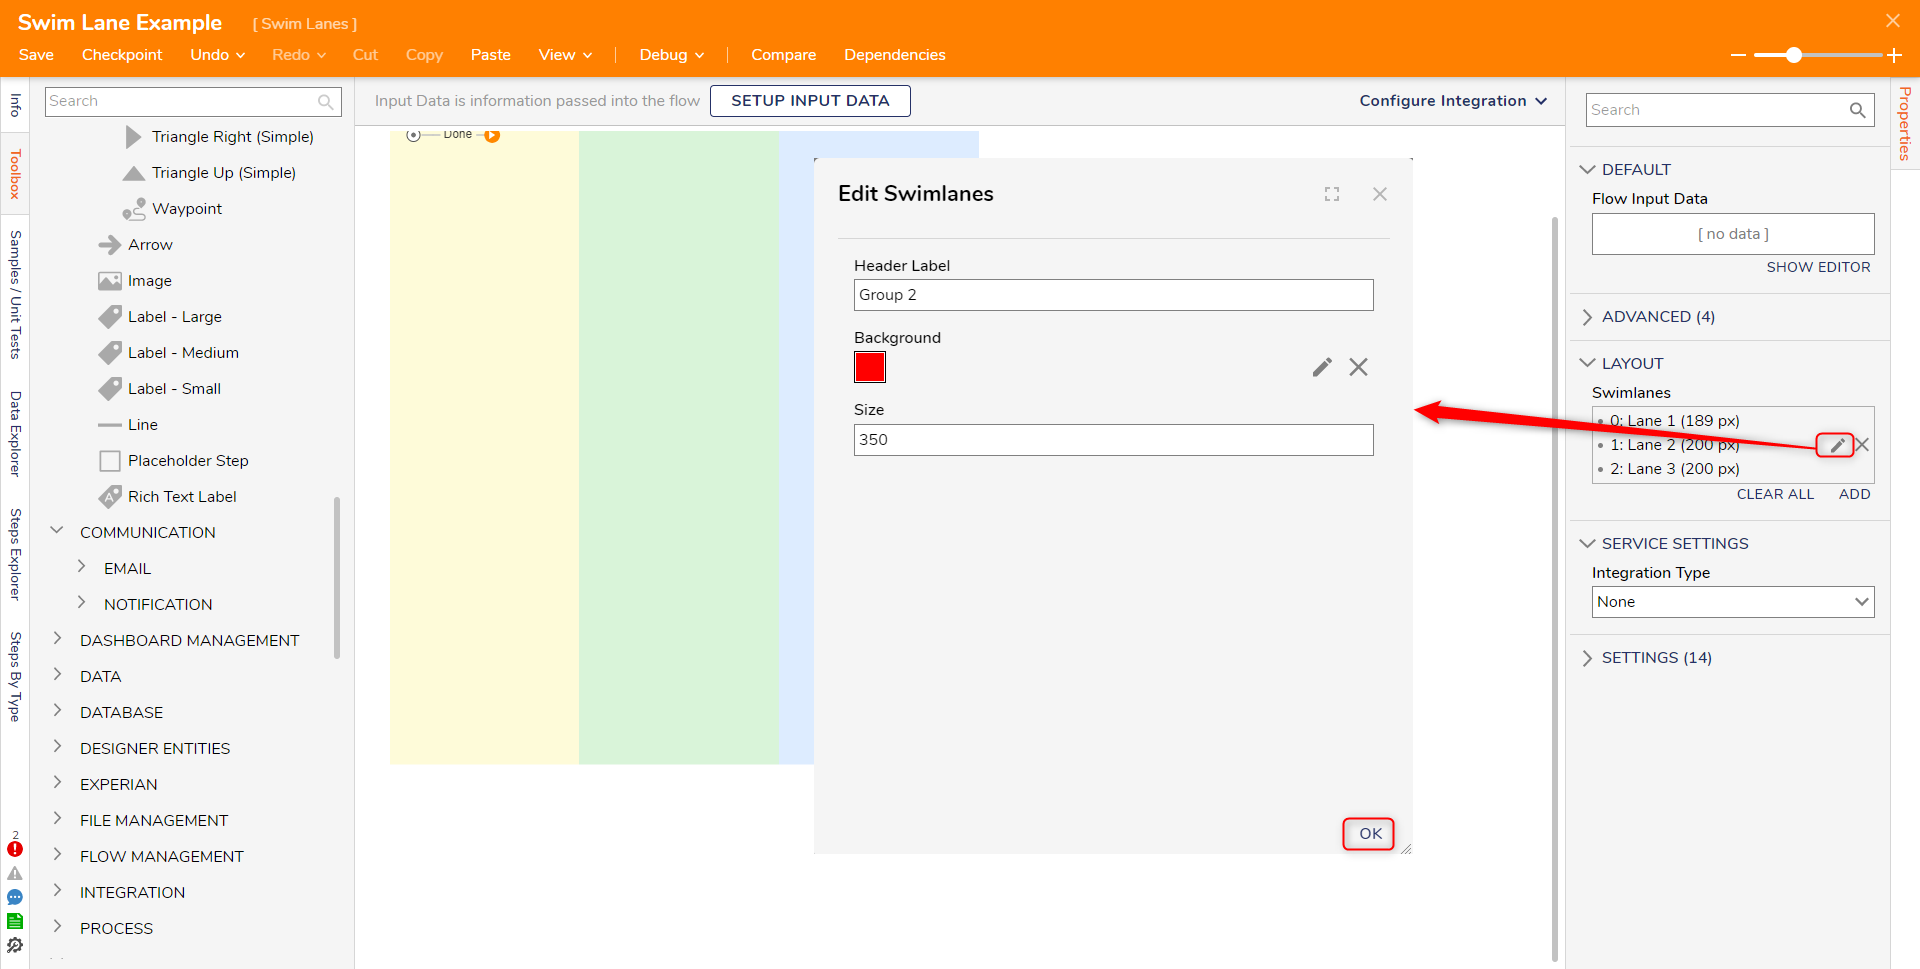
- The Swimlane will reflect the changes.
For further information on Flows, visit the Decisions Forum.
Was this article helpful?


