Using the Log Step
- 04 Apr 2022
- 2 Minutes to read
- Print
- DarkLight
Using the Log Step
- Updated on 04 Apr 2022
- 2 Minutes to read
- Print
- DarkLight
Article Summary
Share feedback
Thanks for sharing your feedback!
Overview
Logs provide a record trail for any issues encountered within the environment.
It is a best practice to include logging within a process in case any users/end-users are to occur an error during runtime.
The Log step is main step used to create logs when a Flow reaches a particular outcome path. The following example demonstrates how to use and configure the Log step within a Flow.
Configuration
The Log step comprises of three main settings: Type, Category, and Value input aka the log's Message.
Types
Also known as Levels, this setting declares the level of importance and severity of the error described in the log. The following default types are as follows:
| Type Name | Description |
|---|---|
| Info | This provides information to the user on an occurrence and is typically used outside of error tracking. |
| Debug | This catches most exceptions that do not fall under the other categories. |
| Warn | This tracks potential issues that do not impede the process from running. These are typically less critical issues. |
| Error | This tracks when a process cannot complete properly. |
| Fatal | This is an environment breaking level warning that stops a process (or multiple processes) from running. |
Fatal and Error types are also logged as Windows events for monitoring by external tools.
Category
This setting prompts for the log category that the log and its error may fall under. It recommended to make a log's category as easily identifiable as possible.
For example, default System log categories denote errors in specific logic within Decisions such as Forms, Rule Engine, ORM, etc.
Users may enter one of these pre-defined categories or create their own custom log categories. This is recommended for extensive processes name the Log step's category after the Flow producing the error such as "Payment Verification Flow".
Message
This setting prompts for the message the log provides once generated. The more descriptive message the better for any future troubleshooting. As with any other text input, information here may be set statically, dynamically, or with merge plain/HTML texts according to their appropriate mapping types.
Example
- From a Designer Project, click the CREATE FLOW button on the top Action bar, select Flow, provide a Name, and click CREATE.
- From the Flow Designer, attach a Log step found either from the Favorites section or from the ERROR HANDLING category in the Toolbox tab after the Start step but before the End step.
- Click the Log step to navigate to its Properties tab. From the Type dropdown menu under SETUP LOG, select Fatal.
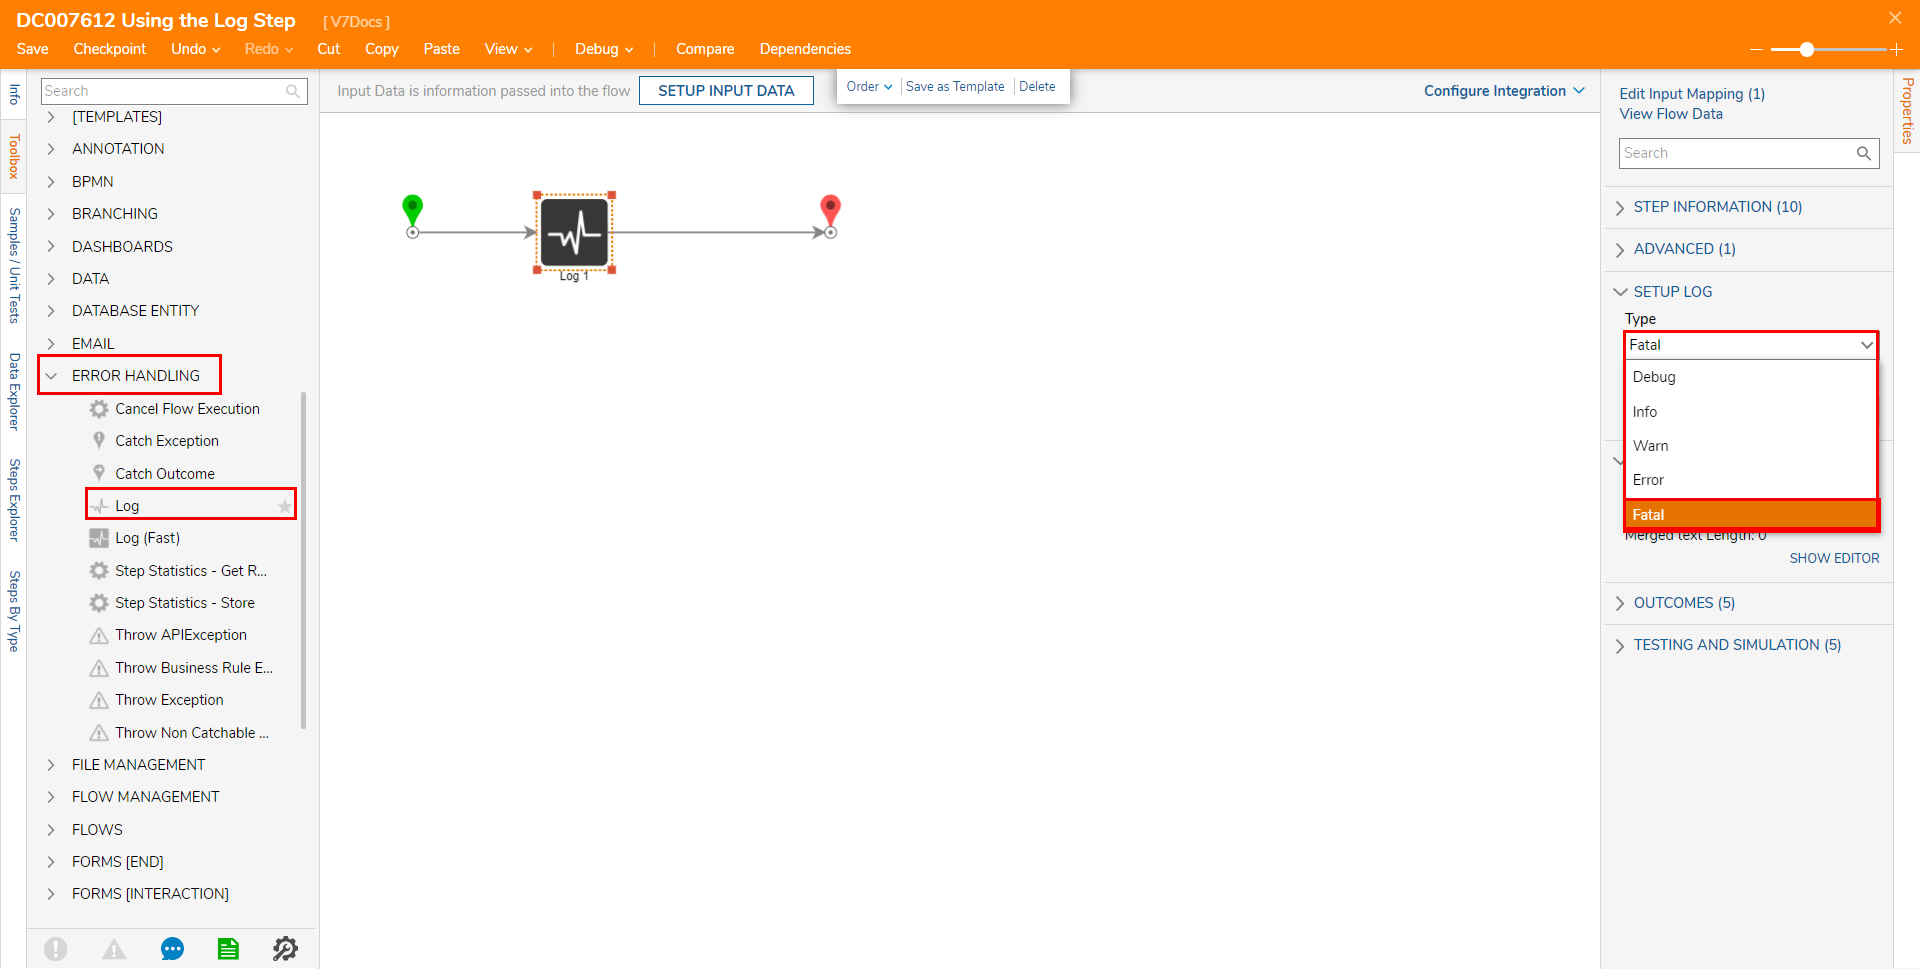
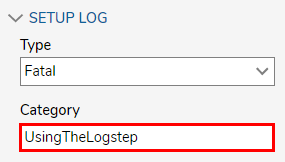
- Define the Category input with an easy identifier.
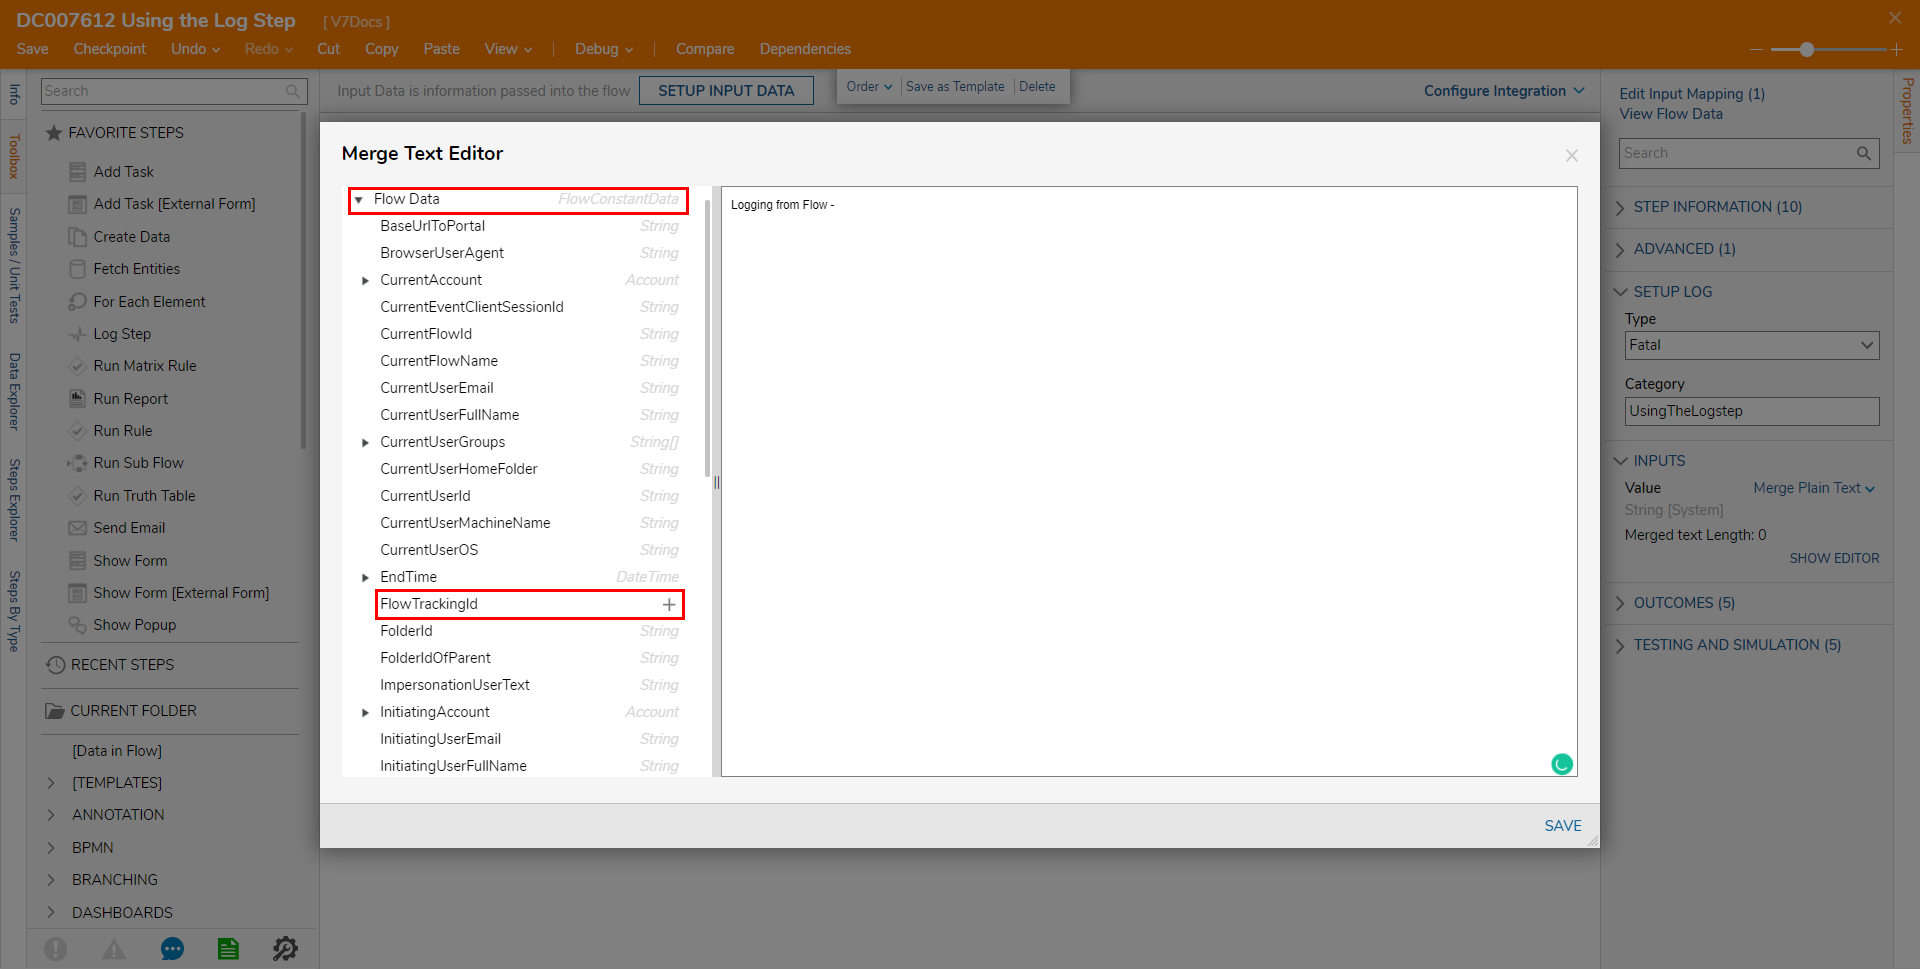
- Under INPUTS, select SHOW EDITOR for the Value input. Configure the message in the Merge Text Editor as "Logged from Flow"
- Then expand the Flow Data tree on the left and add FlowTrackingId by clicking the plus sign beside its text value. Click SAVE to save the message and return to the Flow Designer.
- Save the Flow, then close with X.
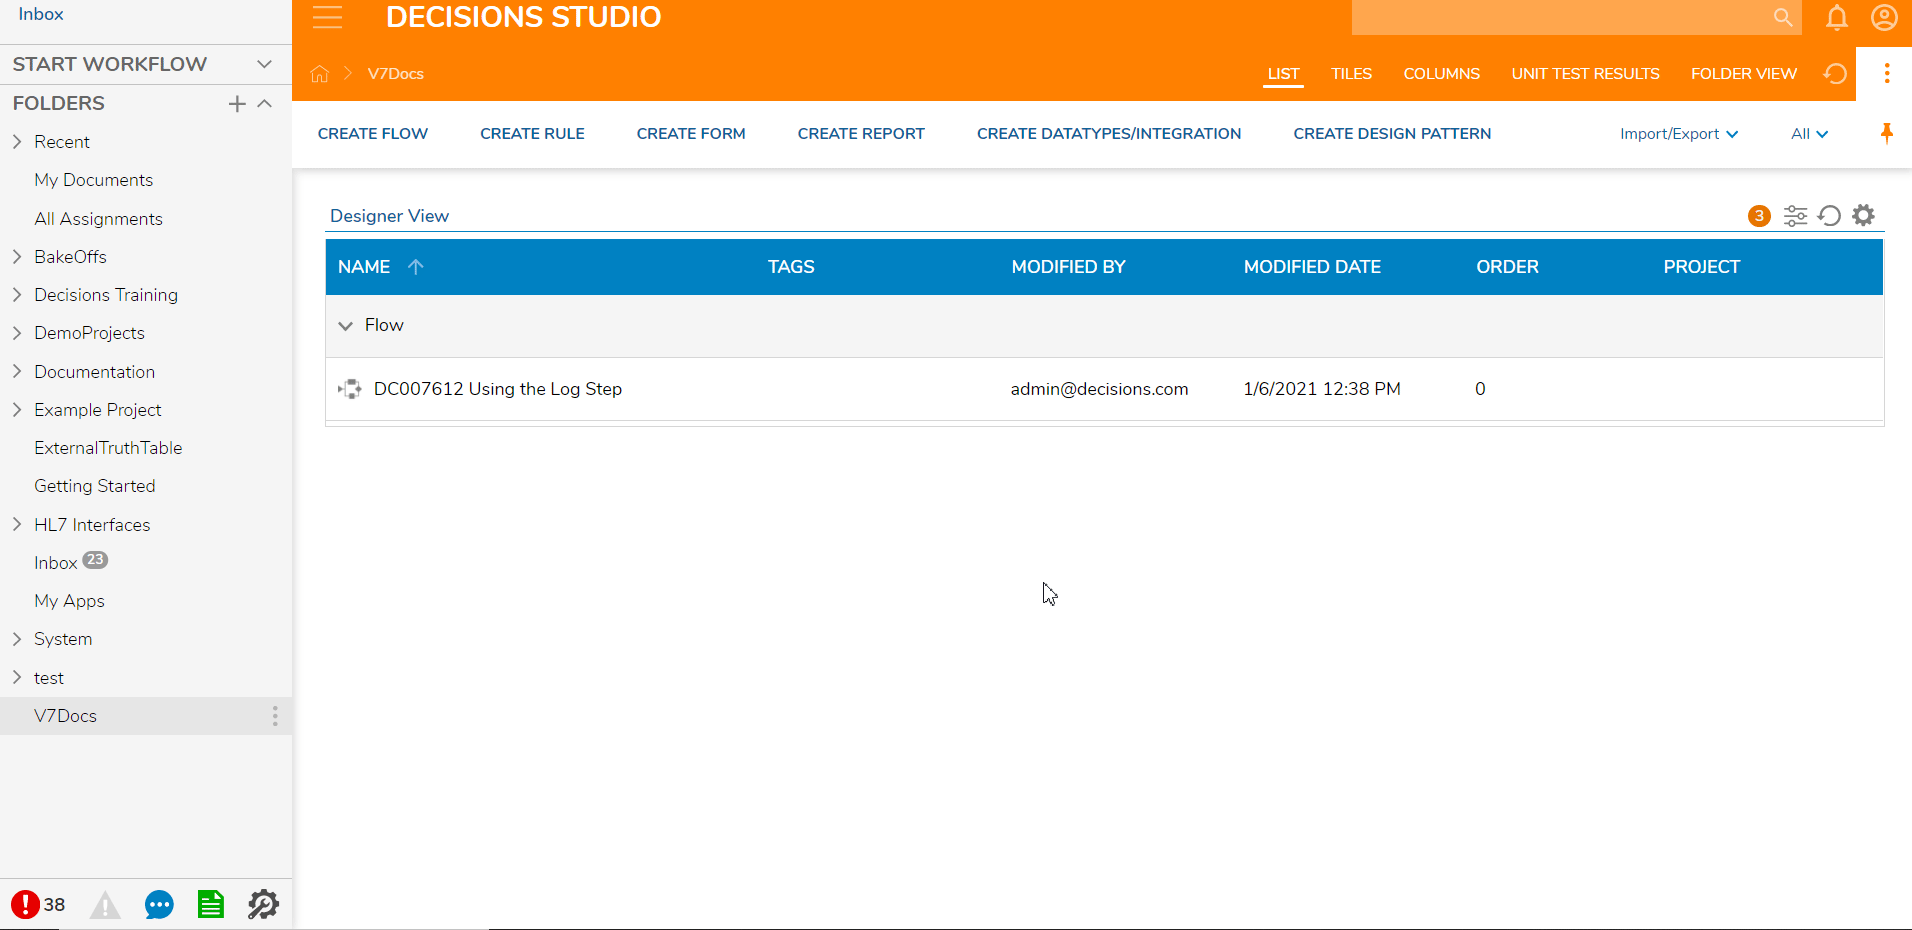
- From the Designer Studio, right-click the Flow and select Run Flow. Running the Flow will display a Notification in the upper right corner to indicate that it ran successfully.
- Navigate to System > Administration > System Tools > Logging and view the Log of the Flow. The same log is also recorded in the File System at C:\Program Files\Decisions\Decisions Server\Logs, in the Primary.txt file. Upon opening this file with a text editor, notice that the Log added when the Flow was executed has the same Category, Level, and Message as configured in the Log Step.
Note that the location of this file may differ as it is based on the defined default Decisions installation.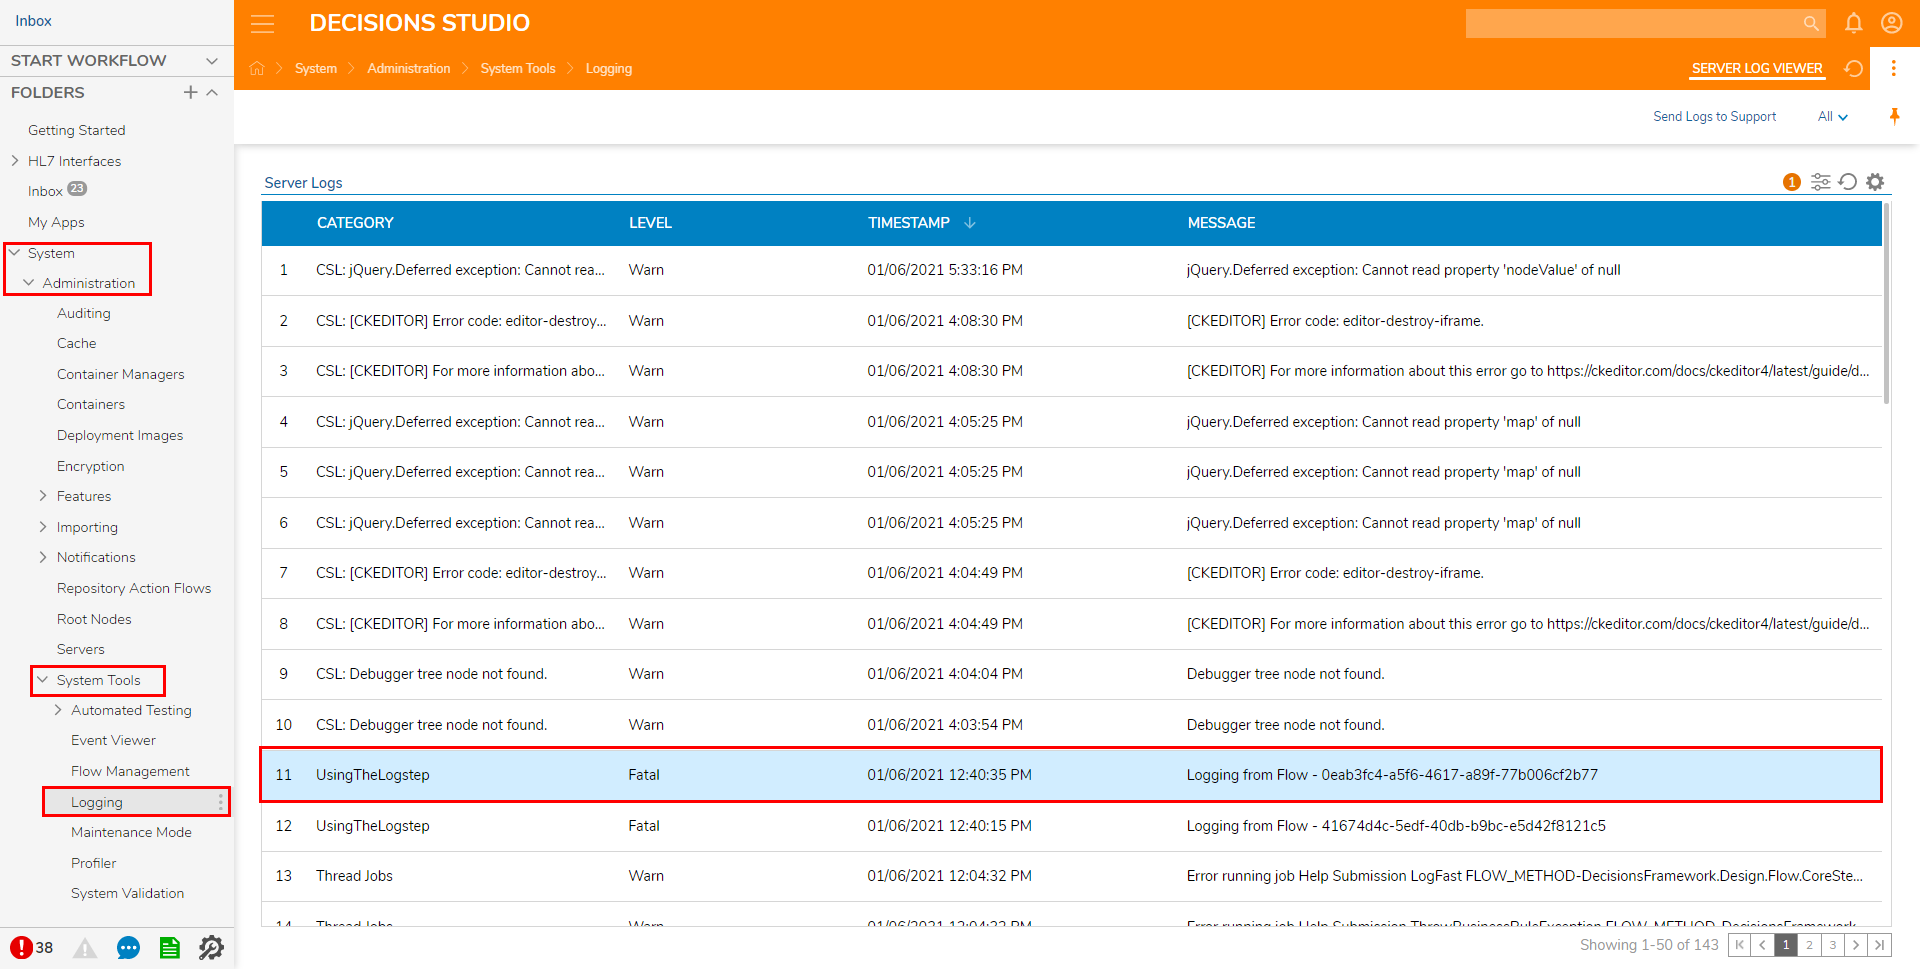 For further information on Settings, visit the Decisions Forum.


Was this article helpful?