Using Run Flow For CSV Step
- 12 Mar 2021
- 2 Minutes to read
- Print
- DarkLight
Using Run Flow For CSV Step
- Updated on 12 Mar 2021
- 2 Minutes to read
- Print
- DarkLight
Article summary
Did you find this summary helpful?
Thank you for your feedback
Overview
The Run Flow For CSV step allows designers to build custom logic for each row in a CSV/Excel file. In this tutorial, the Run Flow For CSV step will be used to change a CSV field into an account.
Example
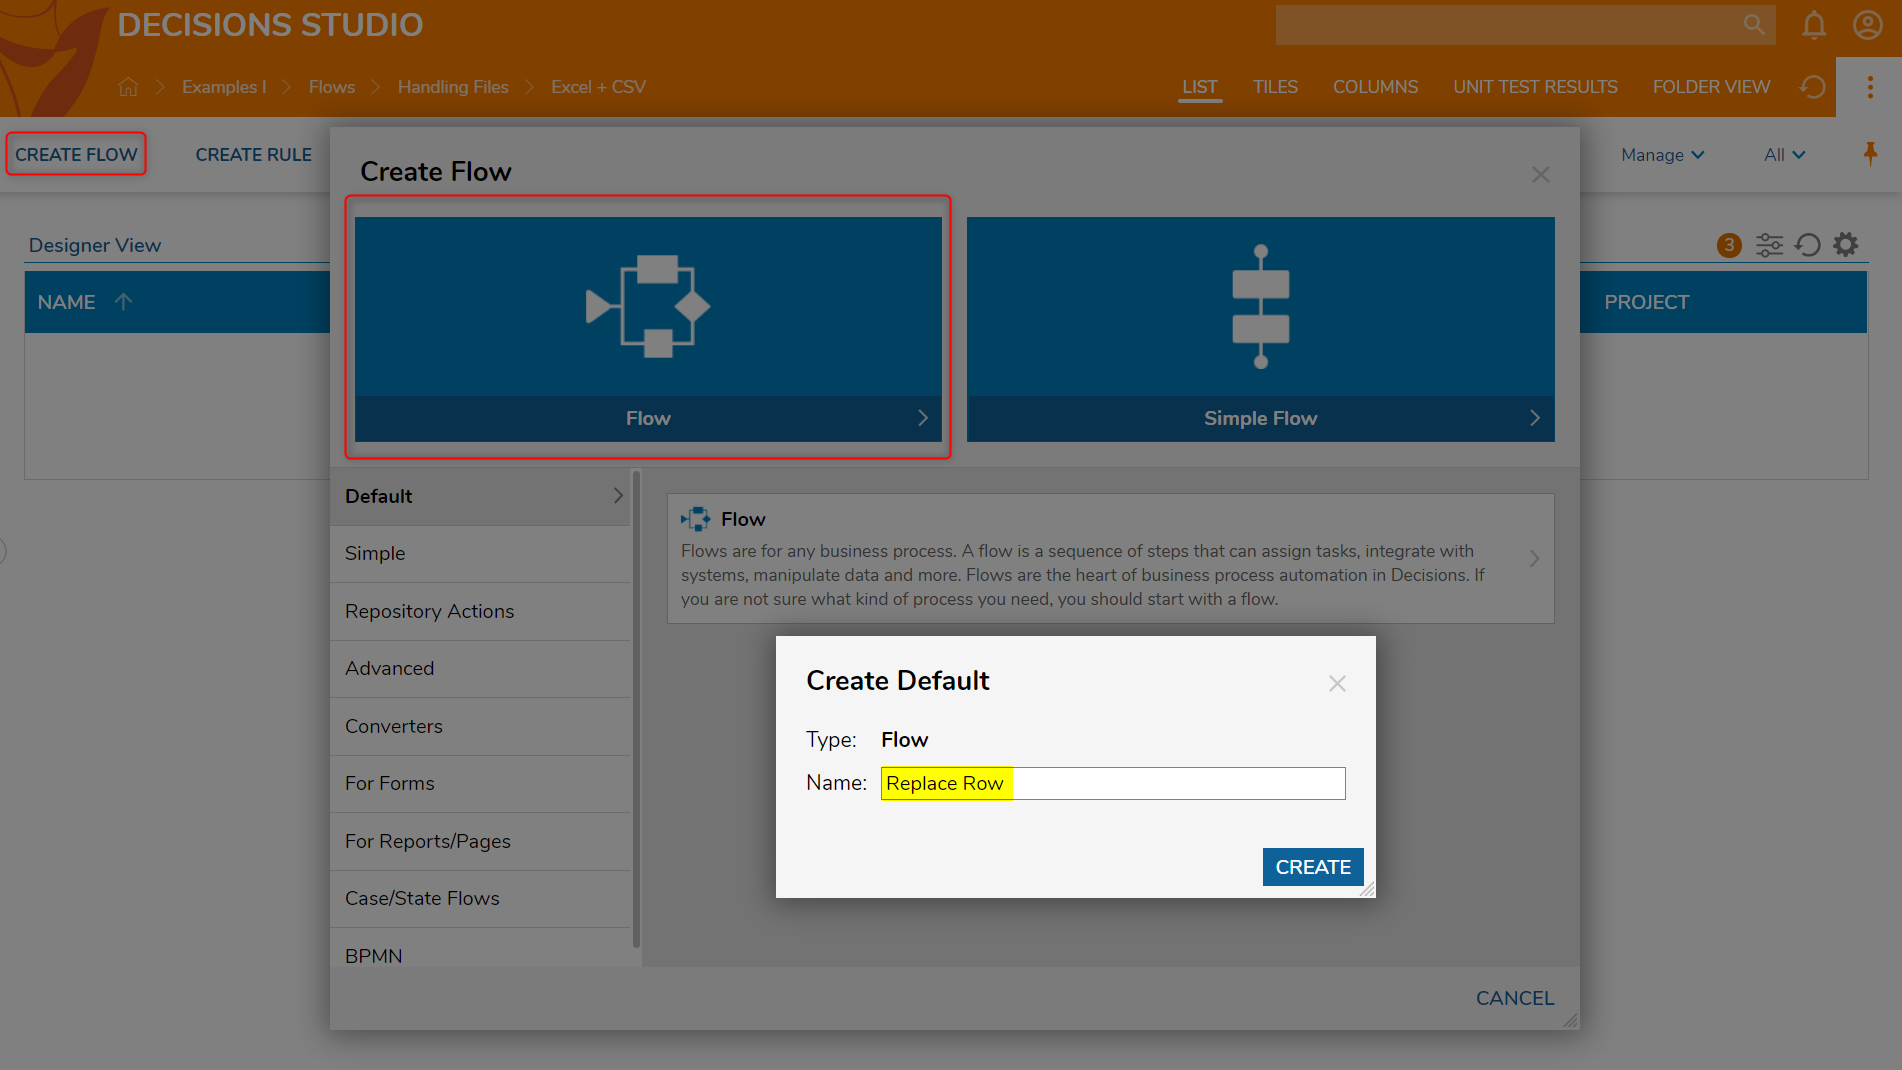
- Begin in a Designer Folder, select CREATE FLOW from the Global Action Bar.
- In the Create Flow dialog window, select the default Flow, name it Replace Row, and select CREATE to proceed to the Flow Designer.
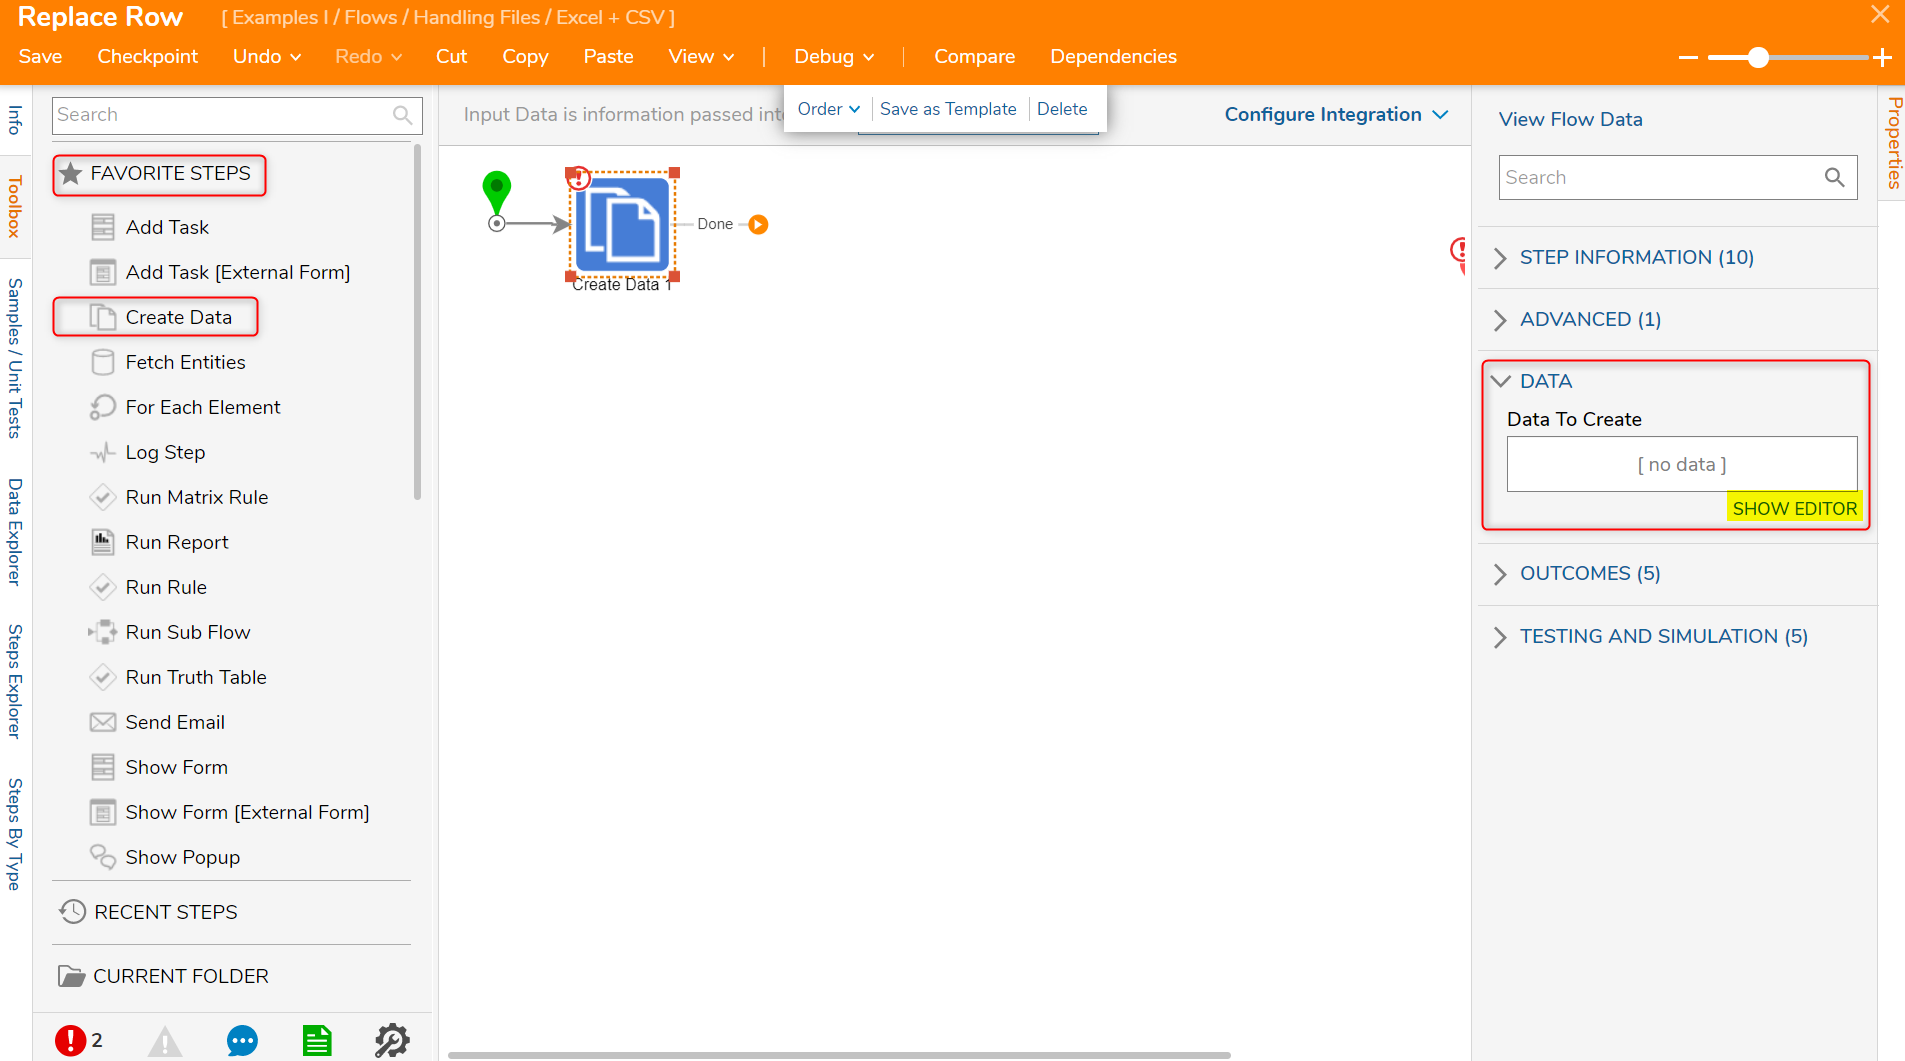
- In the Flow Designer, from the Toolbox > FAVORITE STEPS drag and drop a Create Data step to the workspace and connect it to the Start step.
- In the Properties panel of the Create Data step, under DATA > Data to Create, select SHOW EDITOR.
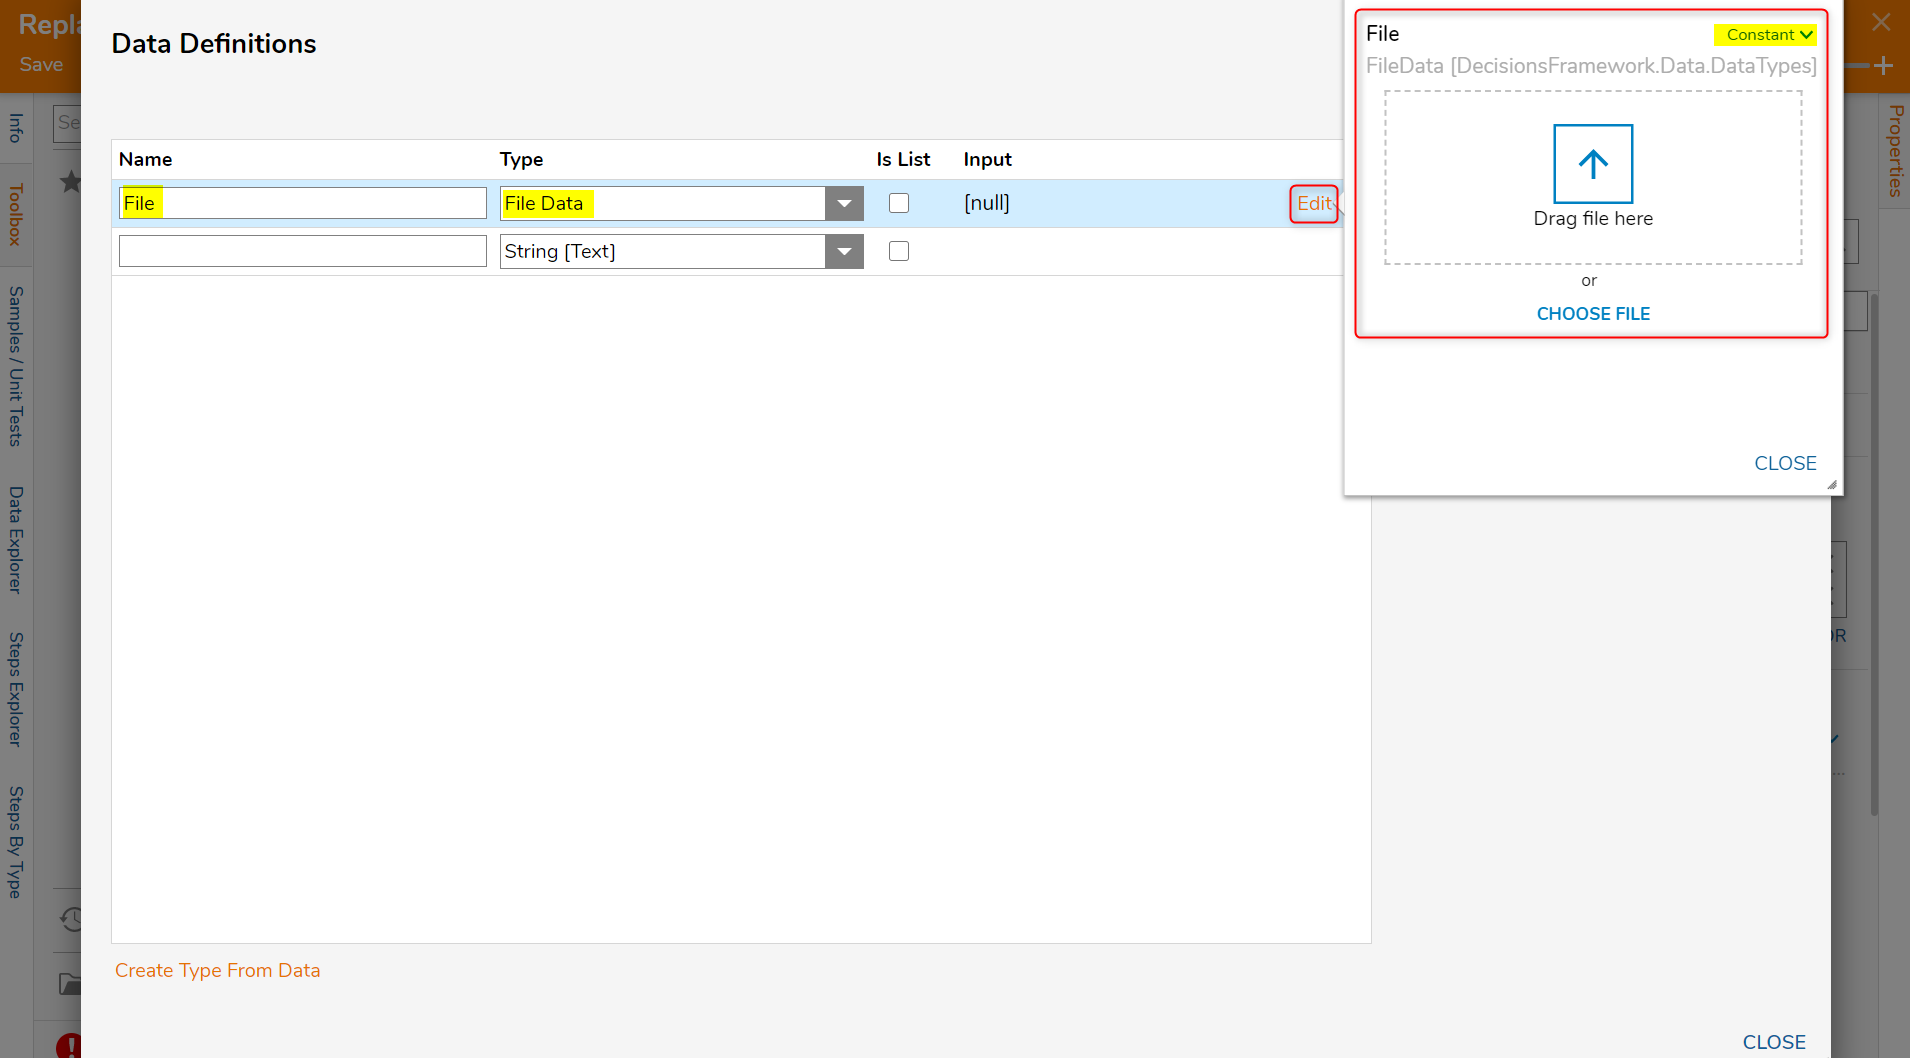
- In the Data Definitions window, input a data definition with the Name [File] and the Type [FileData].
- Select Edit and upload a relevant CSV file with a Constant input mapping. Select CLOSE when complete.In this example, the example CSV file can be found below:
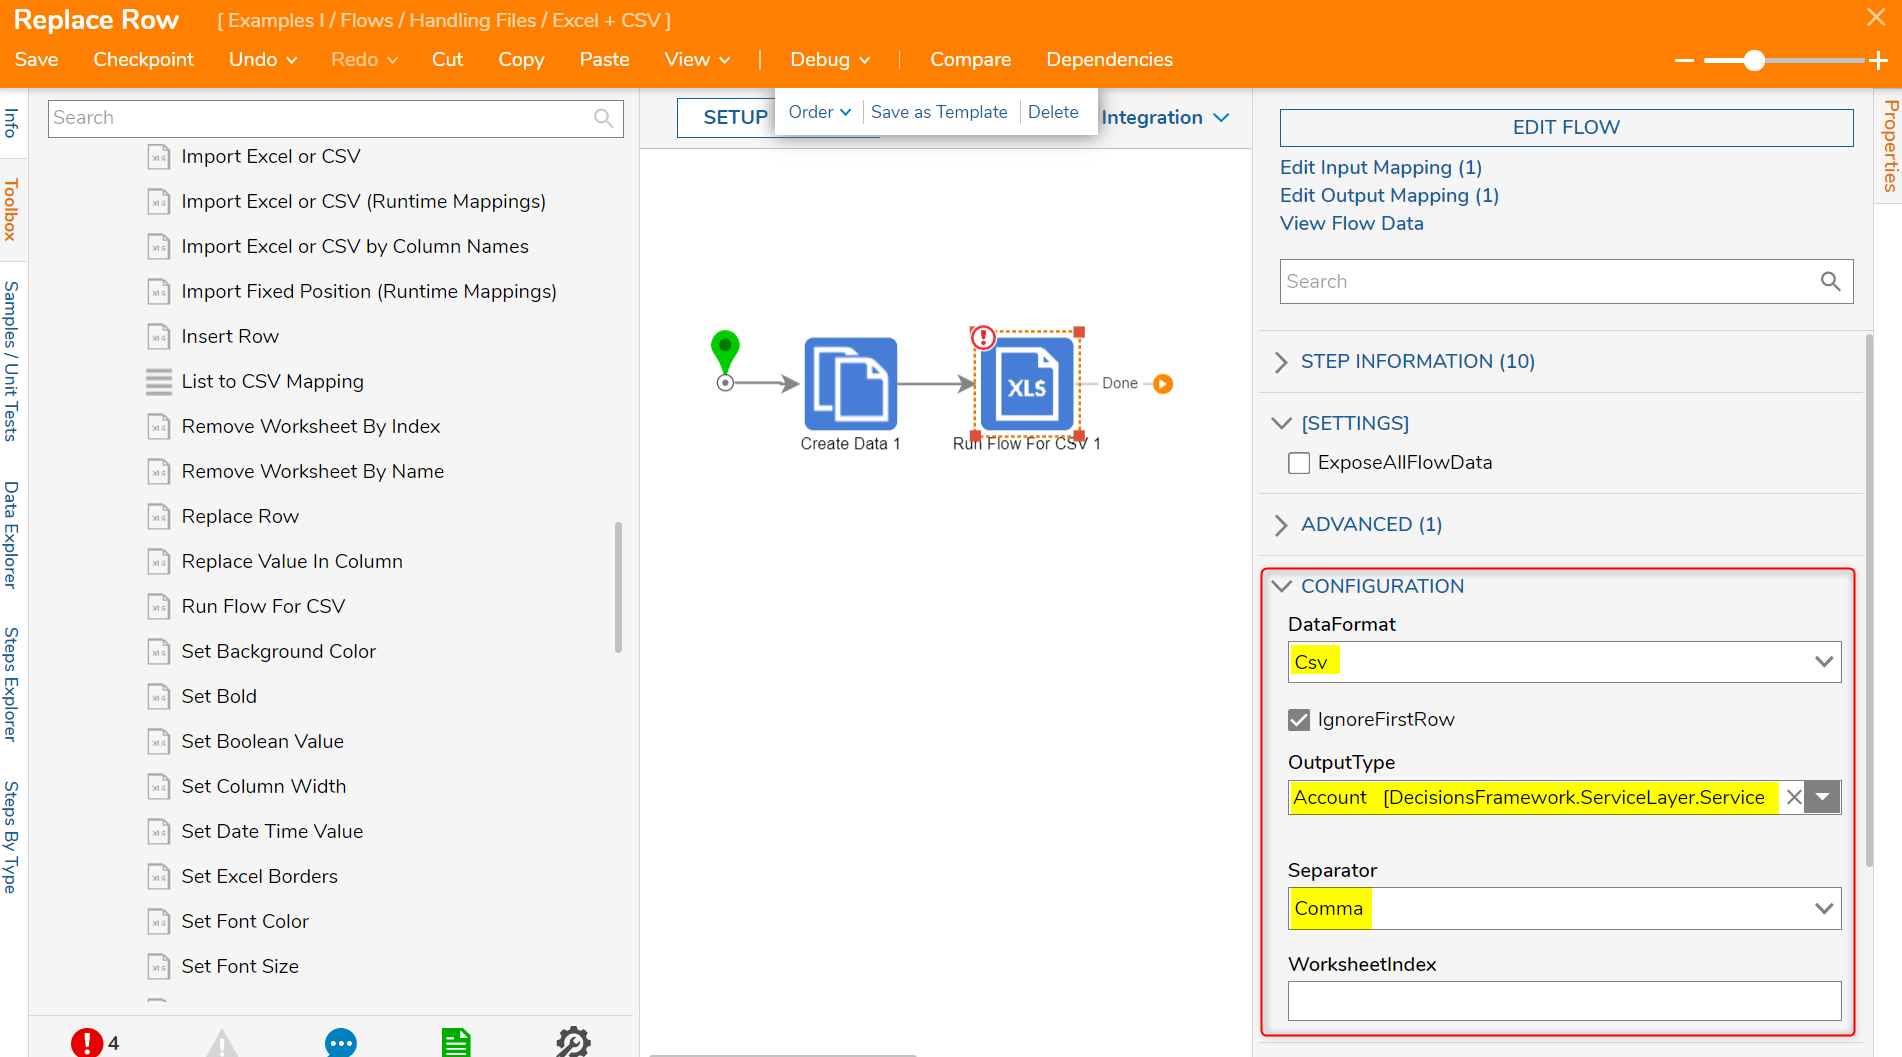
- From the Toolbox > DATA > EXCEL & CSV category, drag and connect a Run Flow For CSV step to the Create Data step.

- Navigate to the Properties panel > CONFIGURATION > DataFormat drop down list, select Csv, then check the IgnoreFirstRow boolean.
- In the OutputType drop down list, select All/Search... and type in Account. Select DecisionsFramework Account. Leave the Separator as Comma.
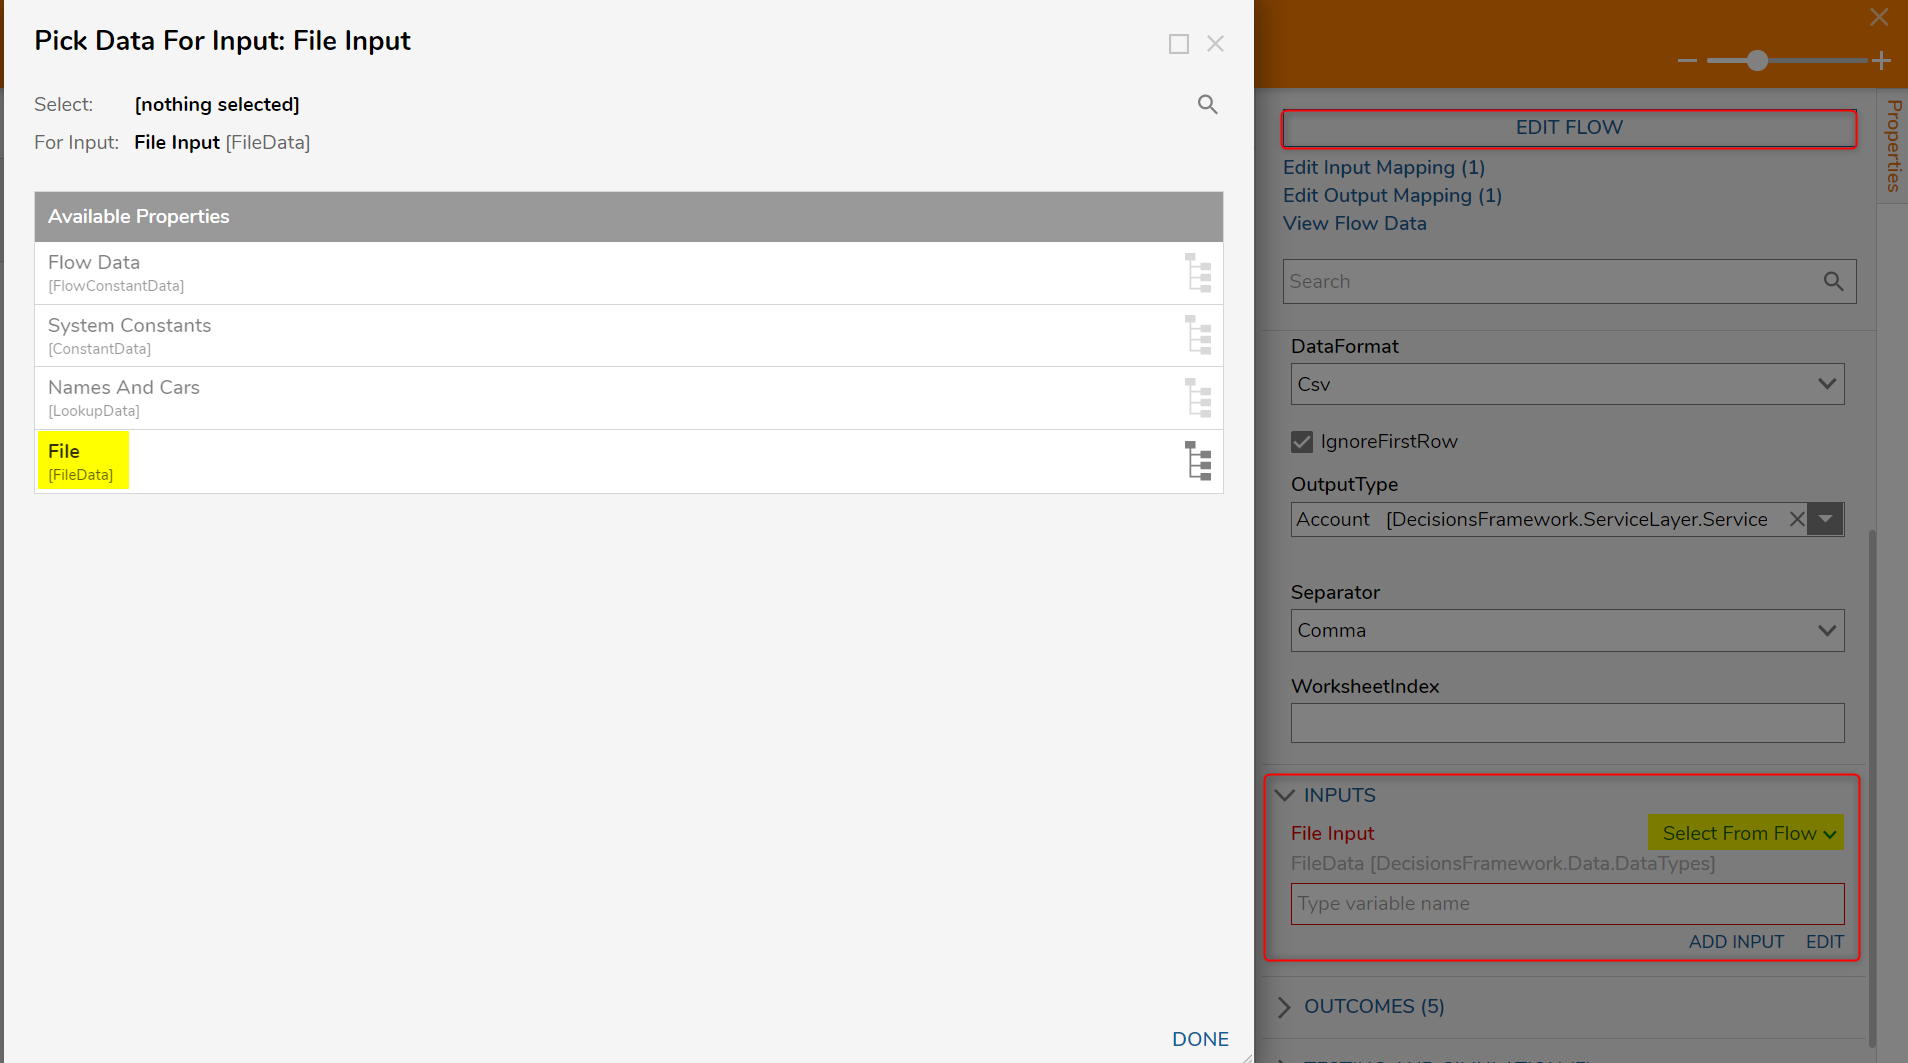
- Navigate to INPUTS > File Input, change the input mapping to Select From Flow and select the output of the Create Data step. Click DONE.In this example, the output of the Create Data step is named File.
- Click EDIT FLOW to continue configuring this step.
- In the new Flow Designer, connect the Start step to the End step.
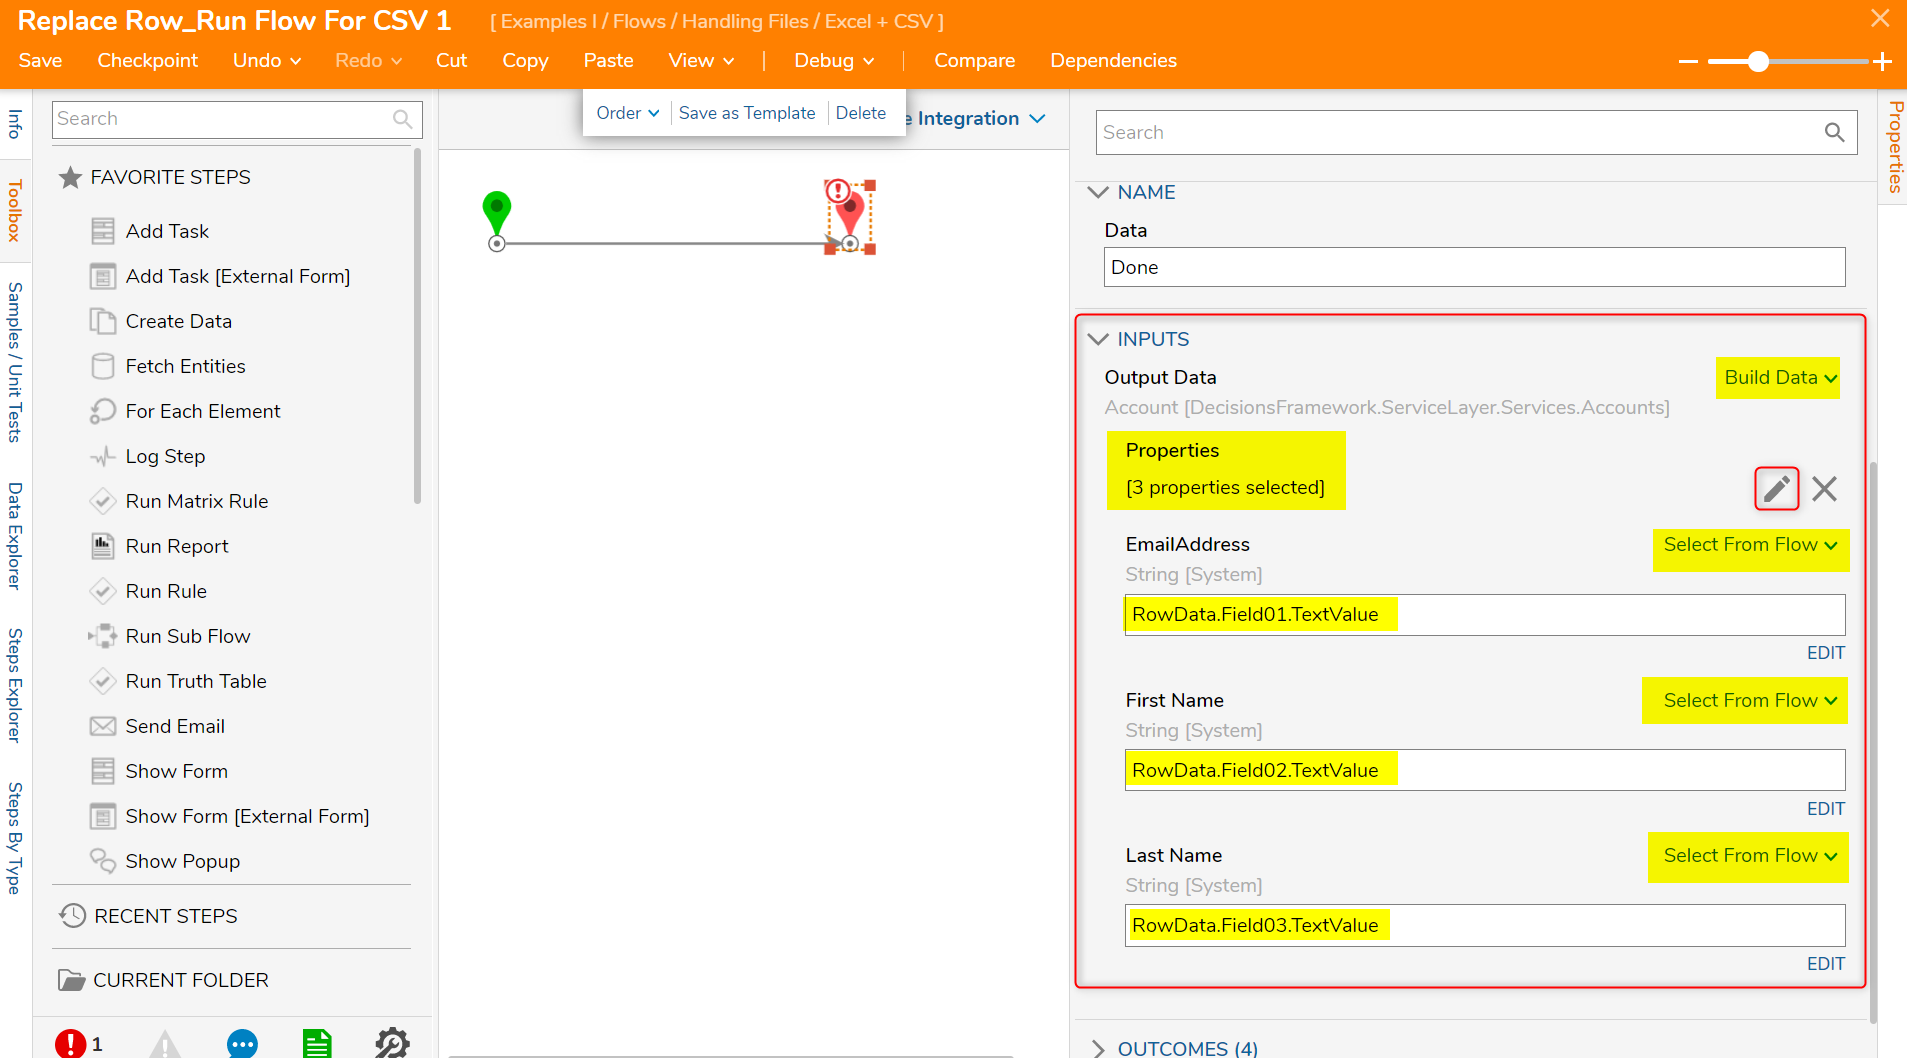
- Select the End step. Under INPUTS > Output Data, change the default Unknown mapping to Build Data.
- Notice the appearance of Properties, select the Pencil icon to choose properties relevant to the CSV file. In this example, EmailAddress, First Name, and Last Name are the selected properties.
- For each new property, change the mapping type to Select From Flow and select the corresponding RowData.For the CSV file used in this example, First Name is the first field, so the input for "First Name" should be RowData.Field01.TextValue, the input data for "Last Name" is RowData.Field02.TextValue, and the input data for "EmailAddress" is RowData.Field03.TextValue.
- Notice the appearance of Properties, select the Pencil icon to choose properties relevant to the CSV file.
- Save and Close this Flow Designer.
- Connect the Run Flow For CSV step to the End step.
- Save the Flow.


Debug
- Select Debug from the Top Action Panel.
- Click START DEBUGGING.
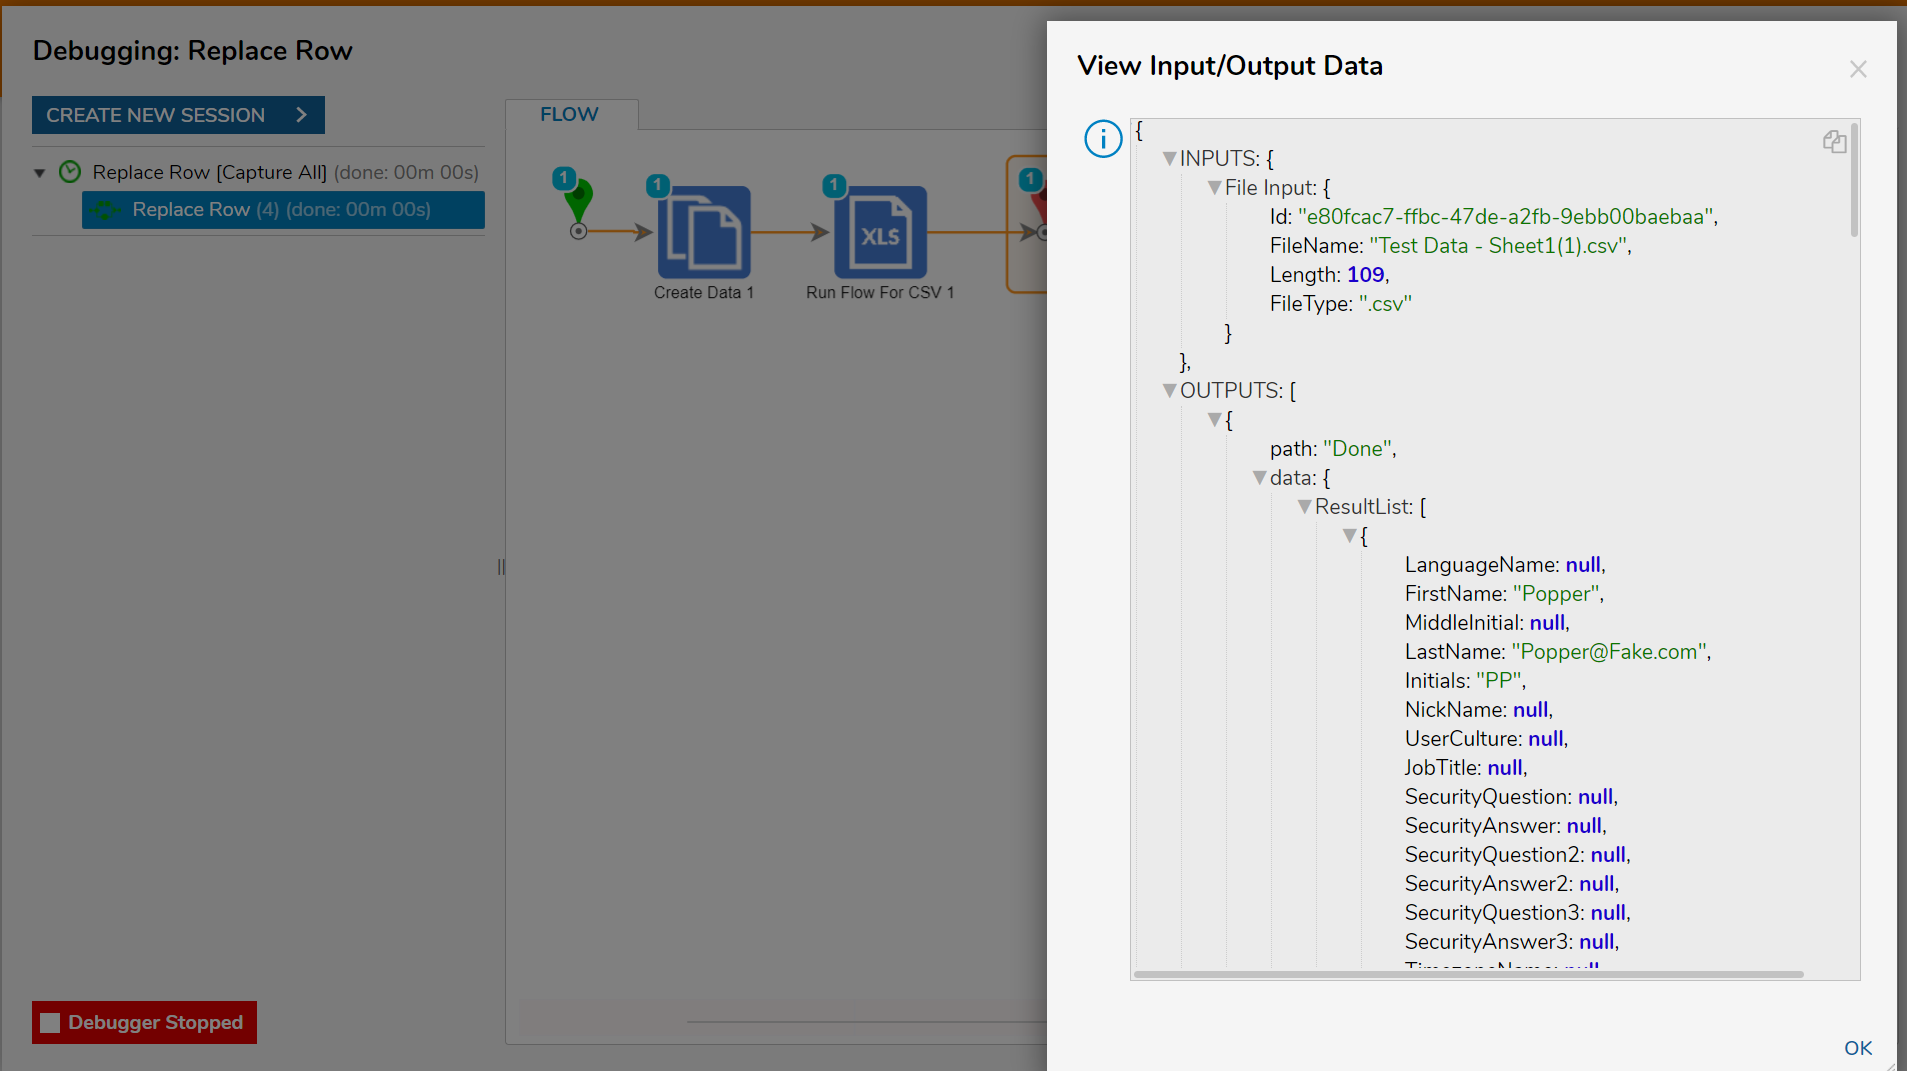
- Once the Flow is complete, select View Input/Output Data on the Run Flow For CSV step. Notice the input was a CSV file and for each row in the file, an Account has been passed out.

Was this article helpful?