Turning RichText/HTML into PDF
- 26 Jan 2022
- 2 Minutes to read
- Print
- DarkLight
Turning RichText/HTML into PDF
- Updated on 26 Jan 2022
- 2 Minutes to read
- Print
- DarkLight
Article Summary
Share feedback
Thanks for sharing your feedback!
Overview
The Html to PDF step in a Flow can convert text to PDF format. When used in a flow, this step reads an HTML or text file, then converts it to PDF. This step does not actually create the file; it works in conjunction with the Create File step; the Html to PDF step outputs a FileData type, which will be read by the Create File step, which creates the file itself.
Example
Prerequisite:
Users should be in v7.10+ when using the Custom Merge [NVelocity] step to avoid performance implications.
Users should be in v7.10+ when using the Custom Merge [NVelocity] step to avoid performance implications.
The following example will demonstrate how to use a Custom Merge [NVelocity] step to define an HTML value that will be converted via the Html to PDF and then sent to a Form for download.
- In a Designer Project, click CREATE FLOW from the Global Action Bar and select Flow. Name the Flow (HTMLtoPDF) and click CREATE.
- In the Flow Designer, from the Toolbox > DATA > TEXT, attach a Custom Merge [NVelocity] step to the Start step.
- From the Properties panel, define the desired HTML value for the document under MERGE SETUP > Template. About Custom MergeThe Custom Merge step is used to define the HTML for the Html to PDF step. Since the step utilizes .NET scripting, it is important to declare the document as HTML via the <!DOCTYPE HTML> opening tag.
For more information on HTML <!DOCTYPE> declaration, see W3 Schools HTML <!DOCTYPE> Declaration.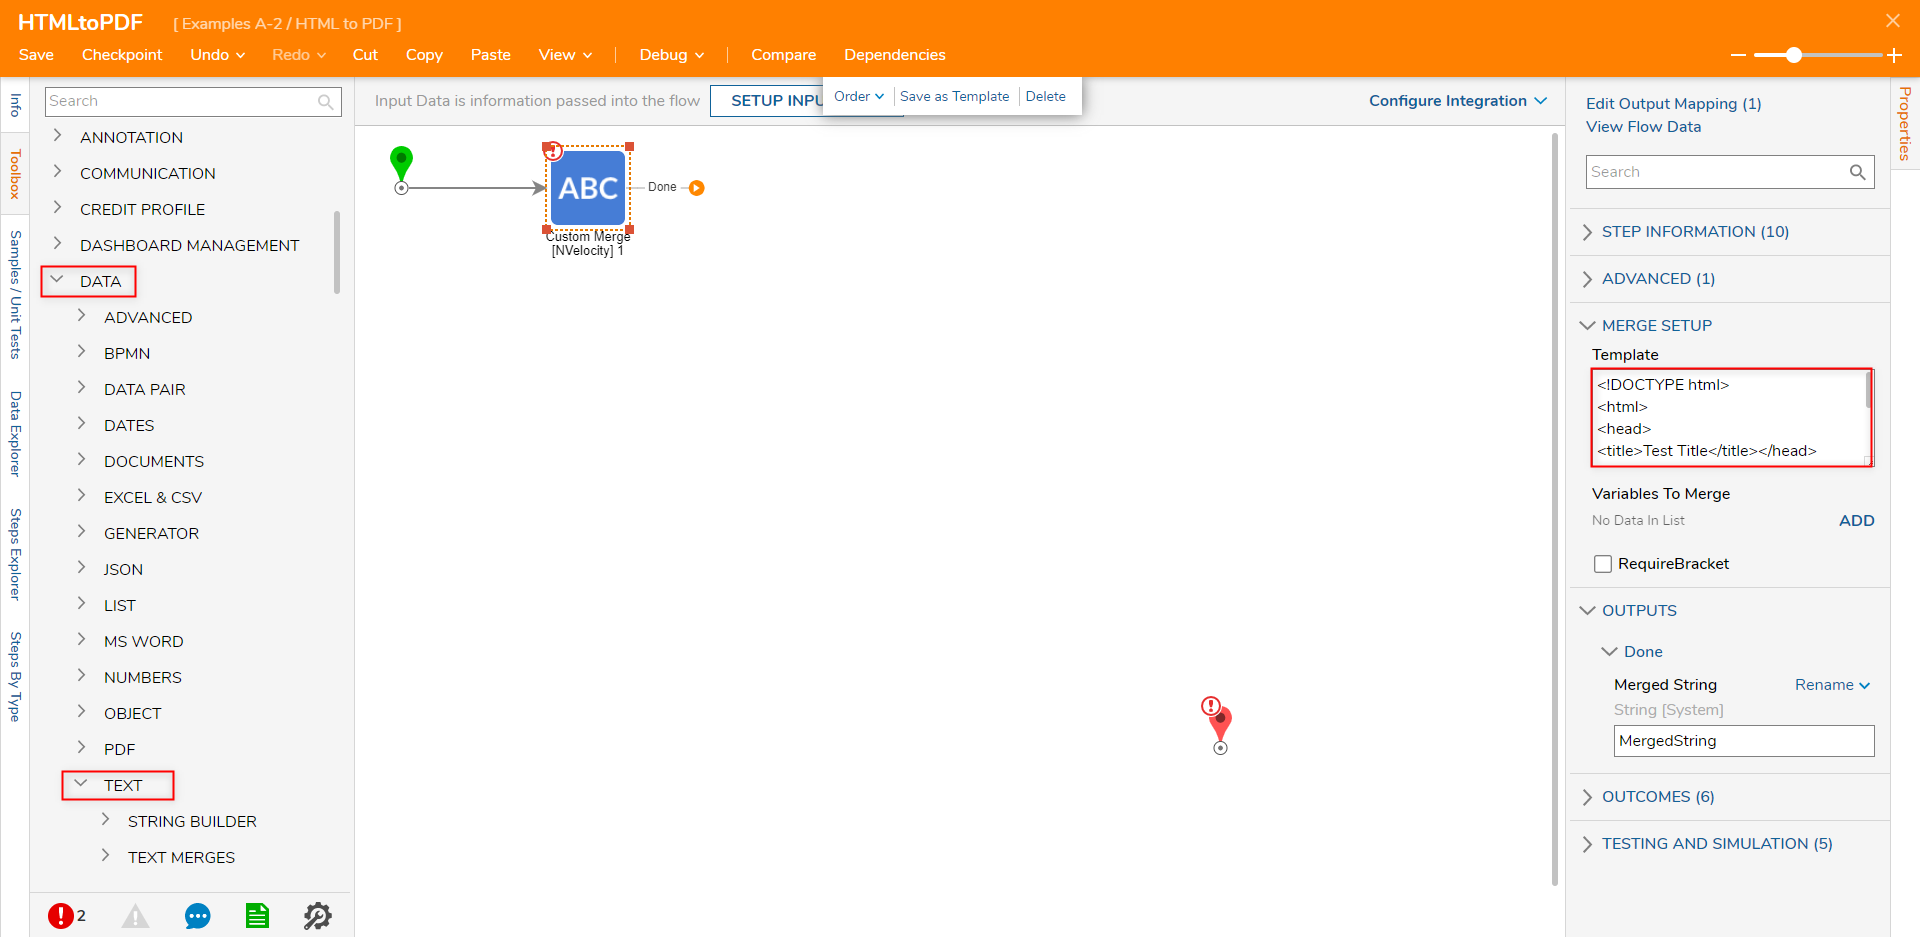
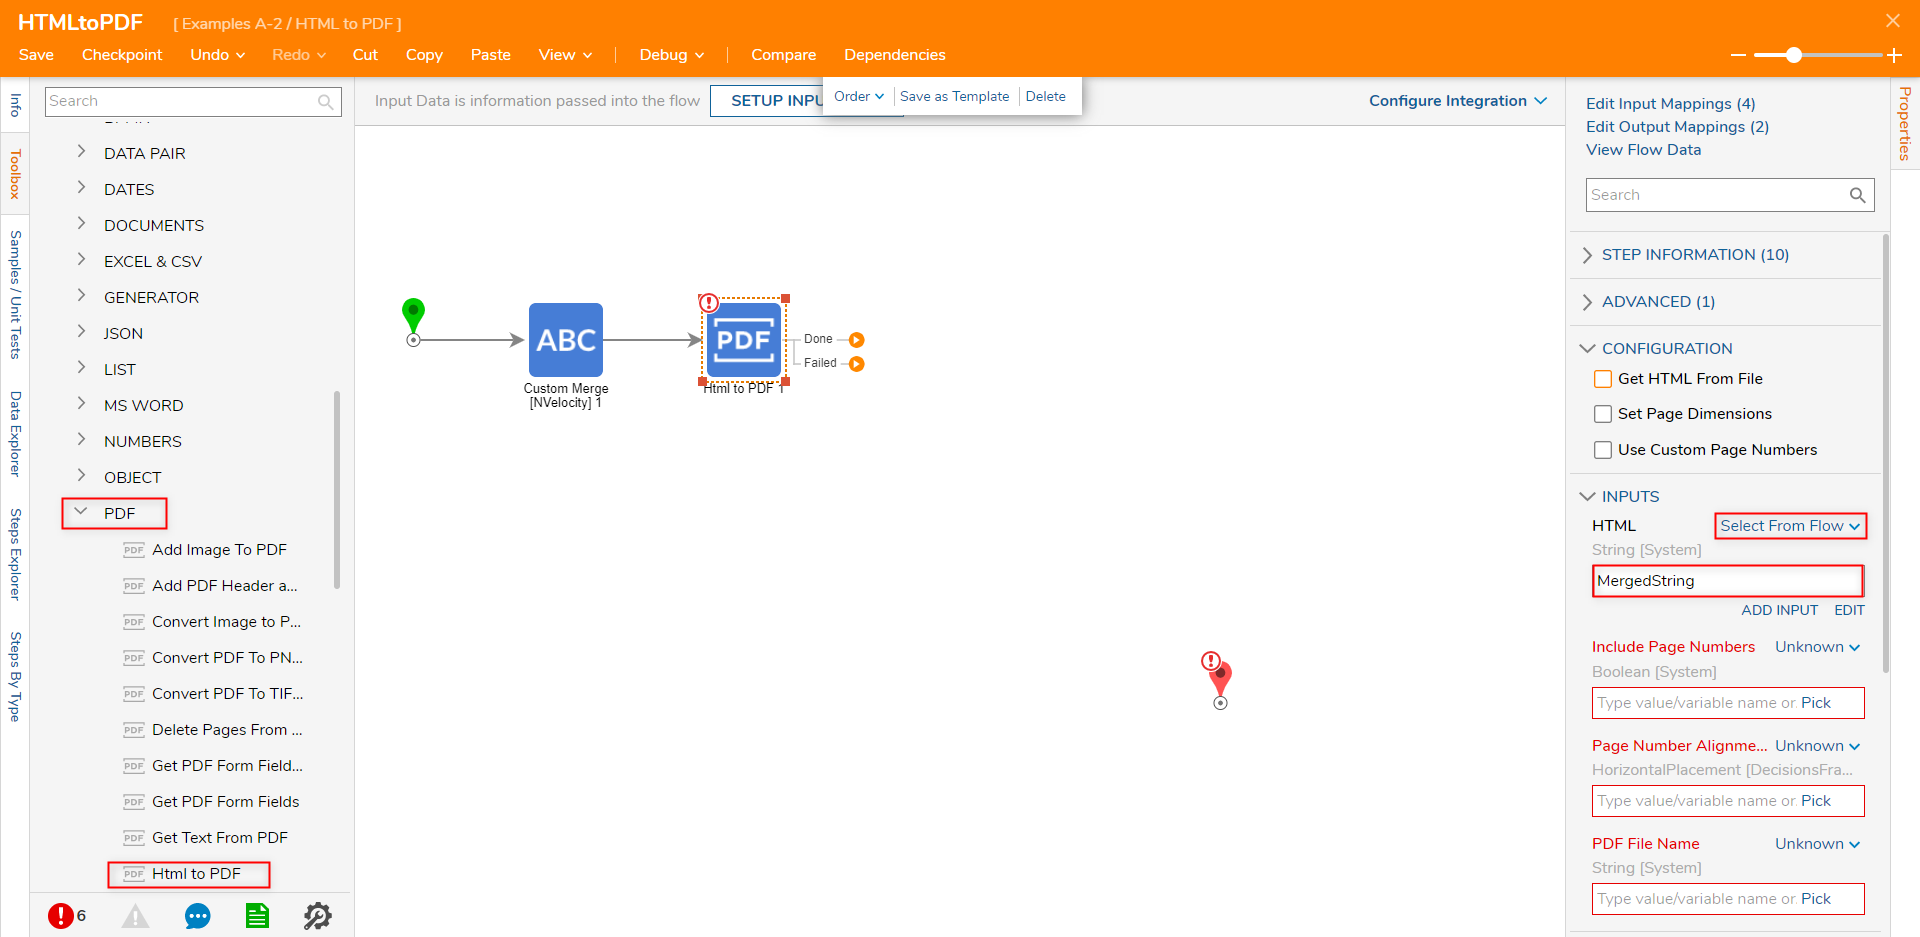
From the Toolbox tab, under DATA > PDF, attach an Html to PDF step to the Done path of the Custom Merge step.
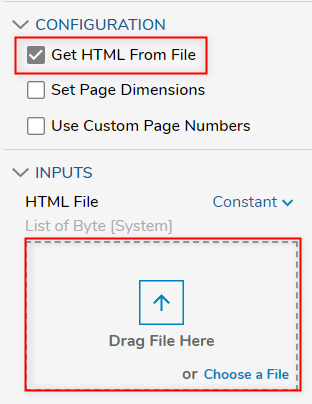
- In the Properties panel for the newly added step, Select Flow Map MergedString to INPUTS > HTML. Note on Alternate MappingTo map an Html File directly, from the Properties tab check the CONFIGURATION > Get HTML From File boolean. Then map the desired file via the HTML File INPUT.
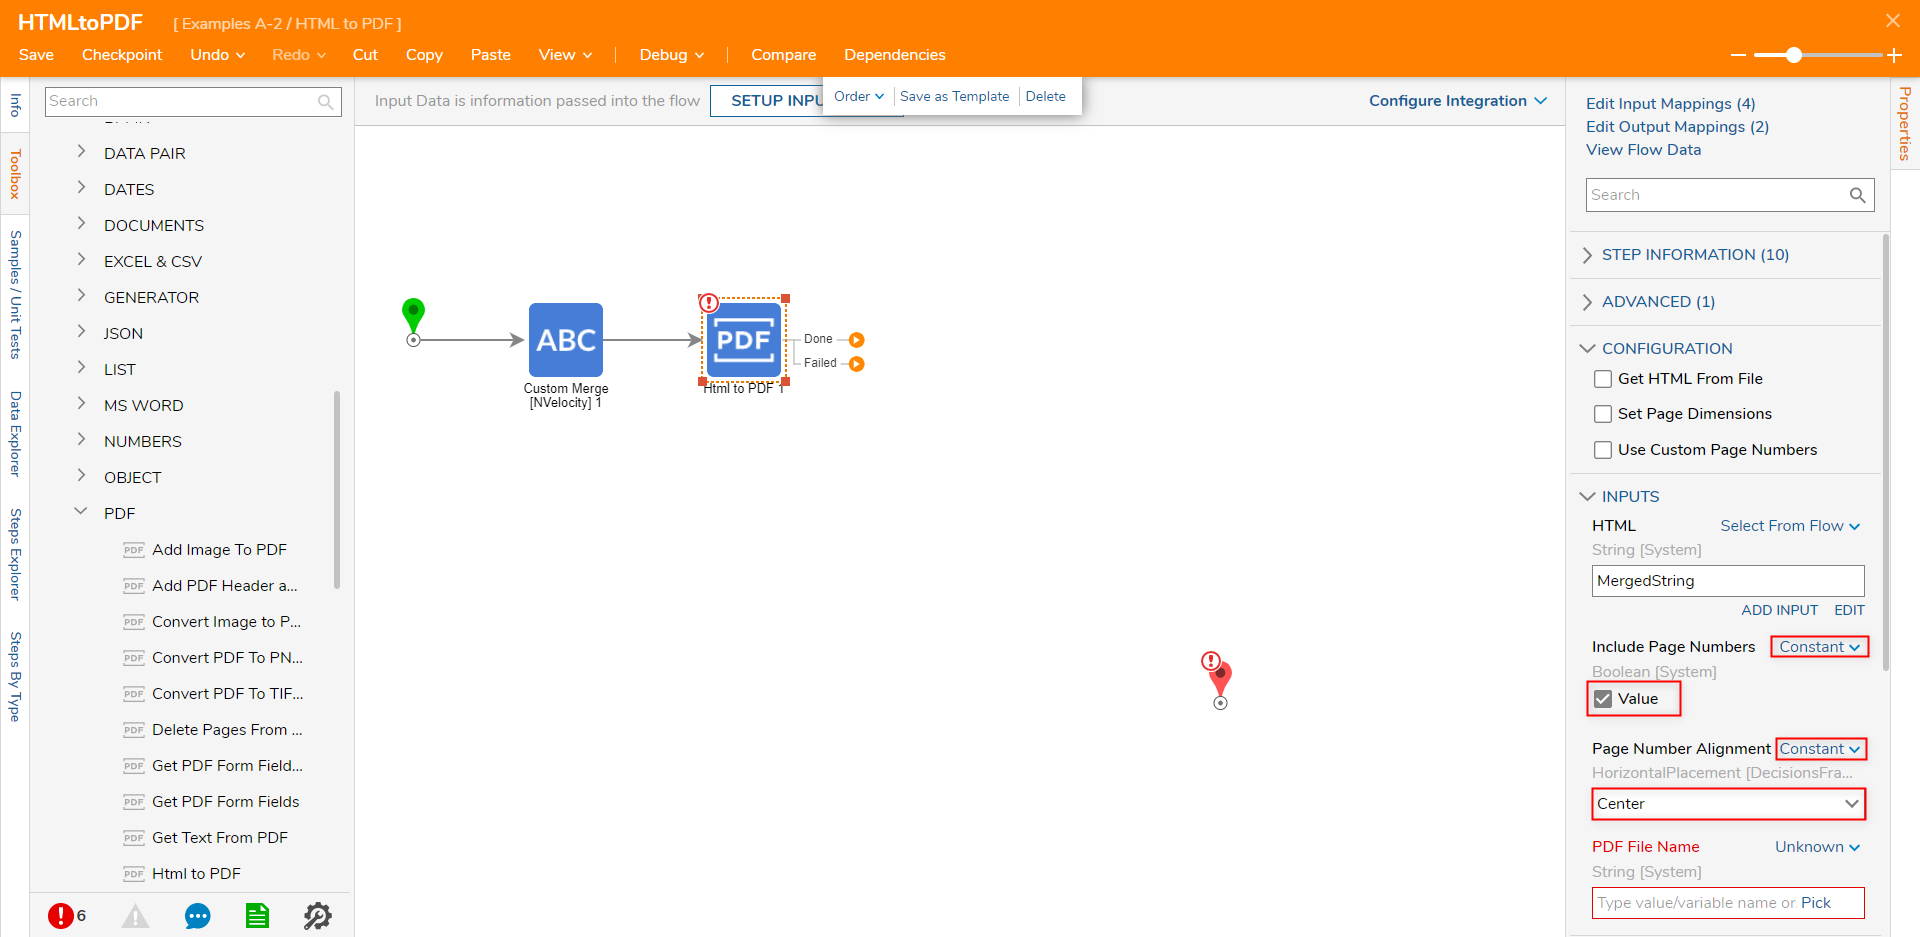
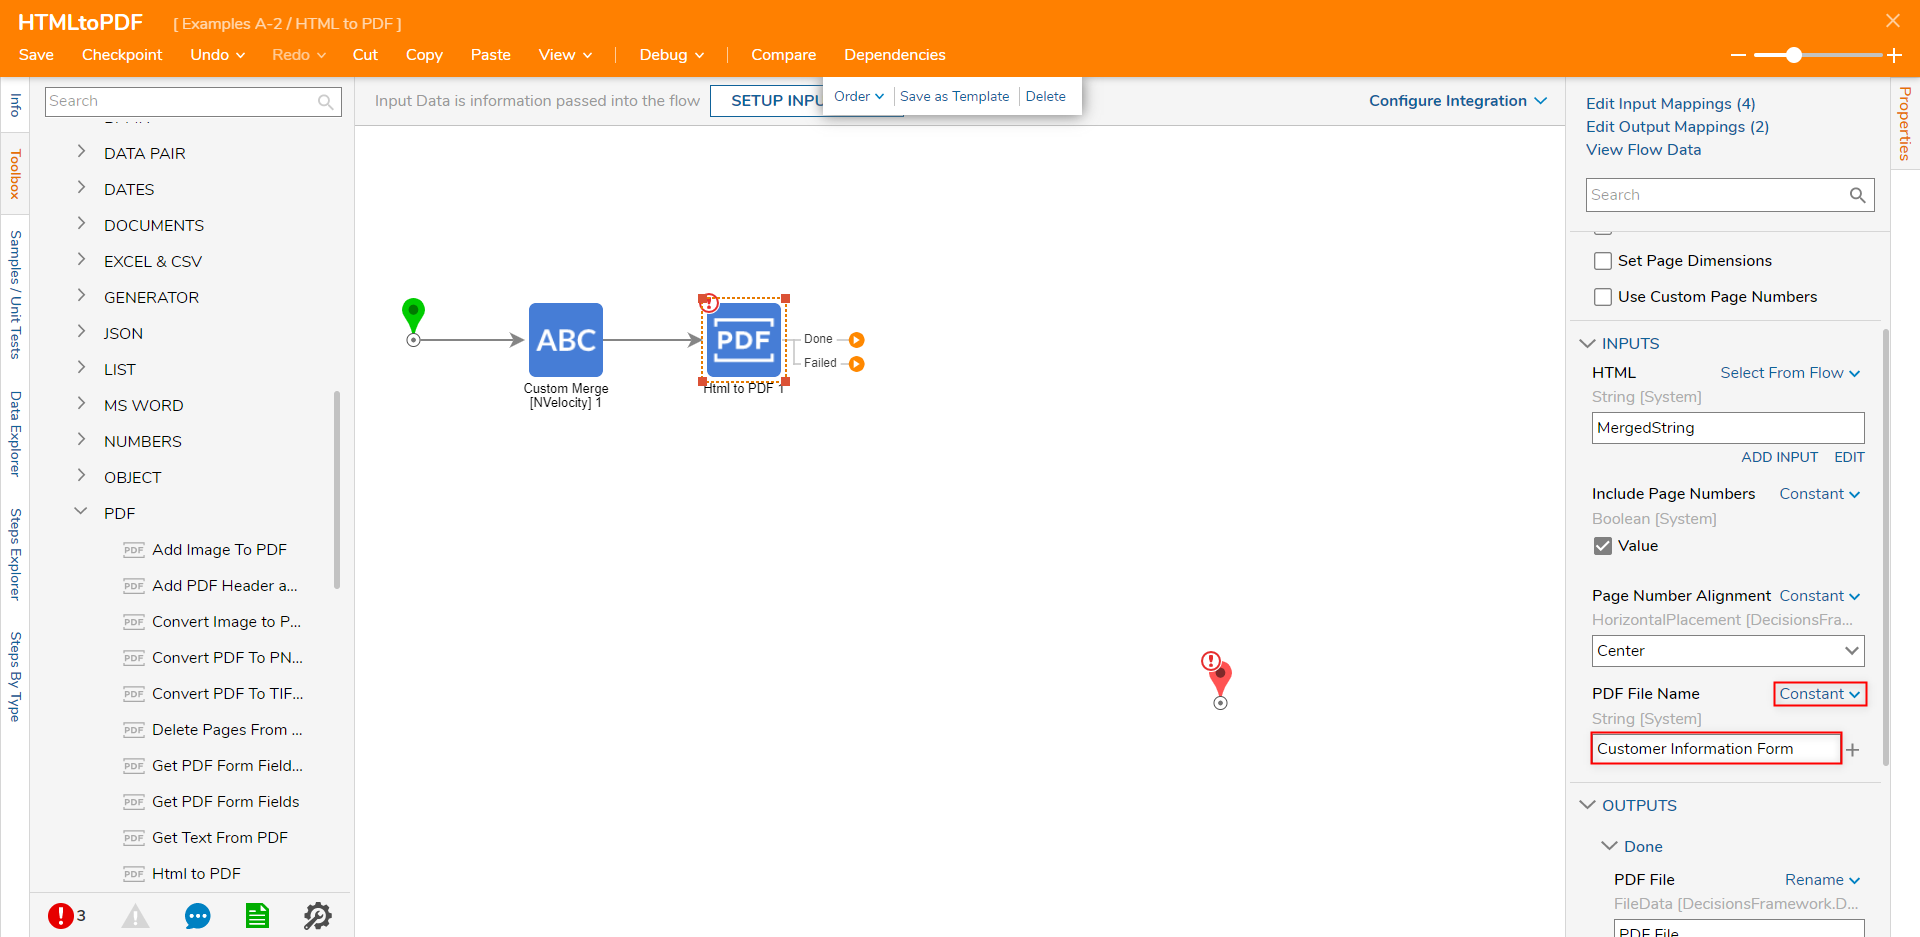
- In the INPUTS > Include Page Numbers value field, change the input mapping to Constant and set the Boolean to True. Then In the INPUTS > Page Number Alignment value field, change the Input Mapping to Constant, and choose the placement of the Page Numbers from the Page Number Alignment dropdown list.
- In the INPUTS > PDF File Name value field, change the input mapping to Constant and input the desired name of the HTML File.
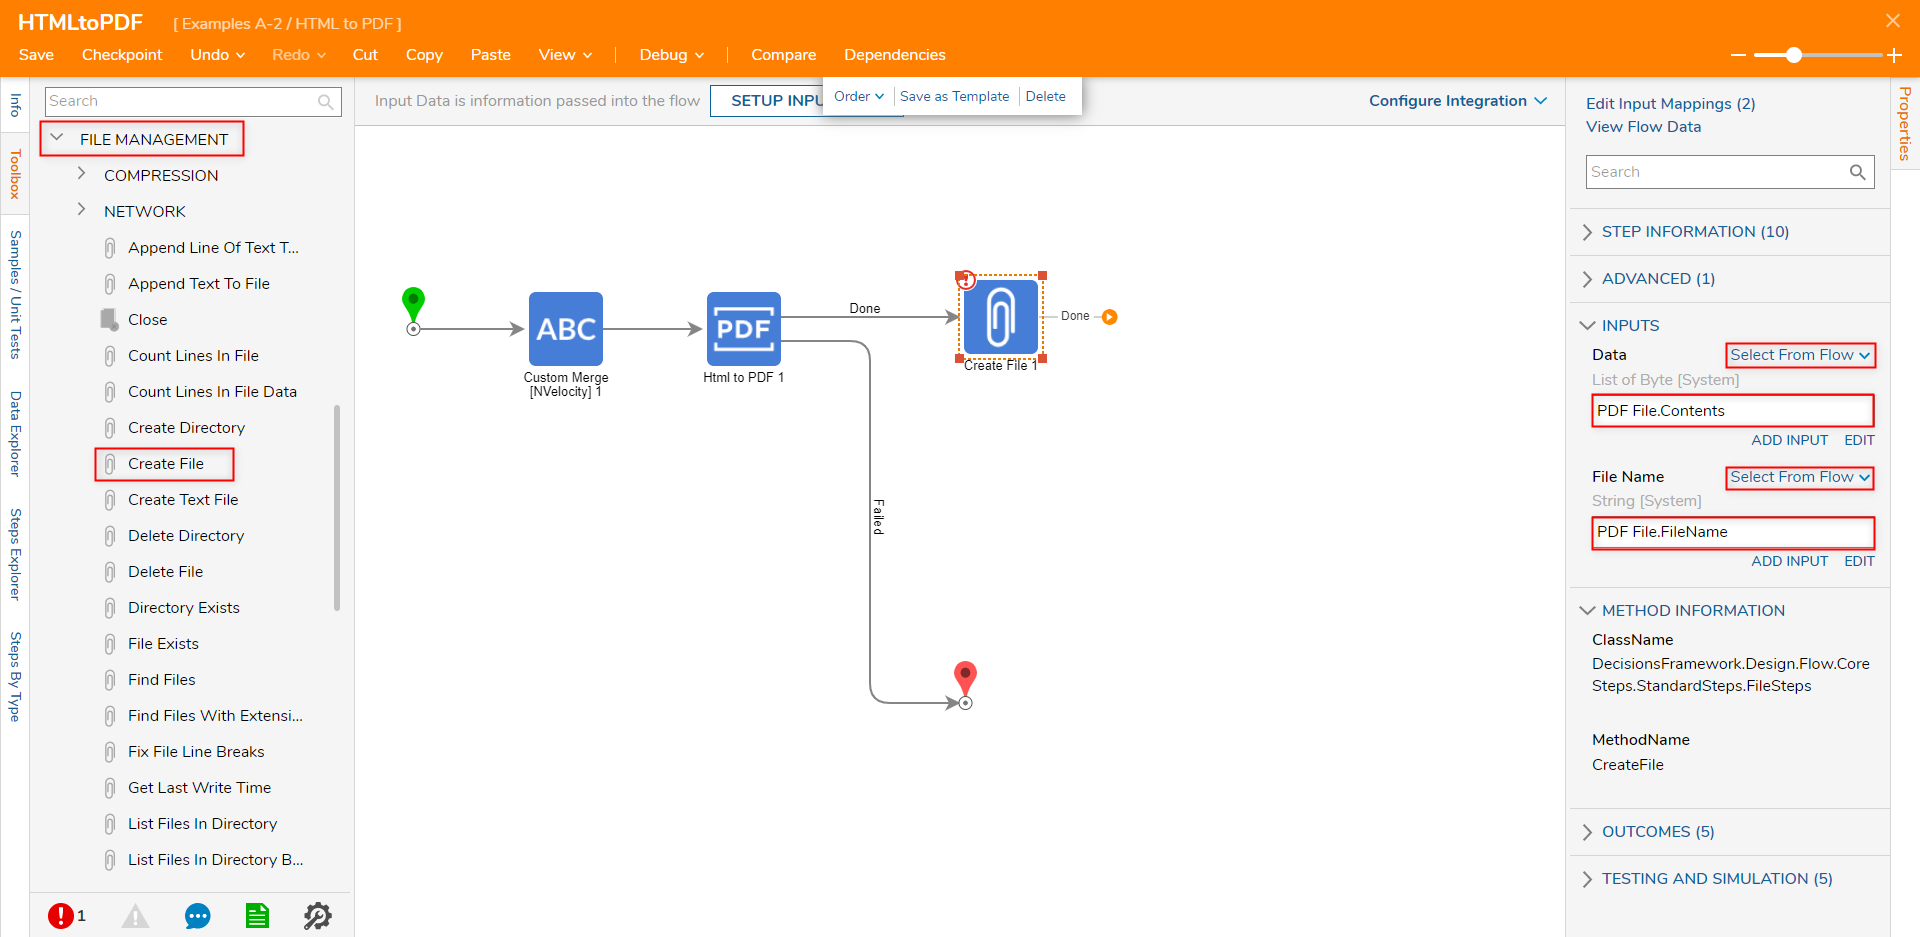
- From the Toolbox > FILE MANAGEMENT section, drag a Create File to the workspace and connect it to the Done outcome of the Html to PDF step. Then, connect the Failed path to the End step.
- From the Properties tab of the Create File step, Select From Flow map PDF File.Contents to INPUTS > Data. Then map PDF File.FileName to File Name.
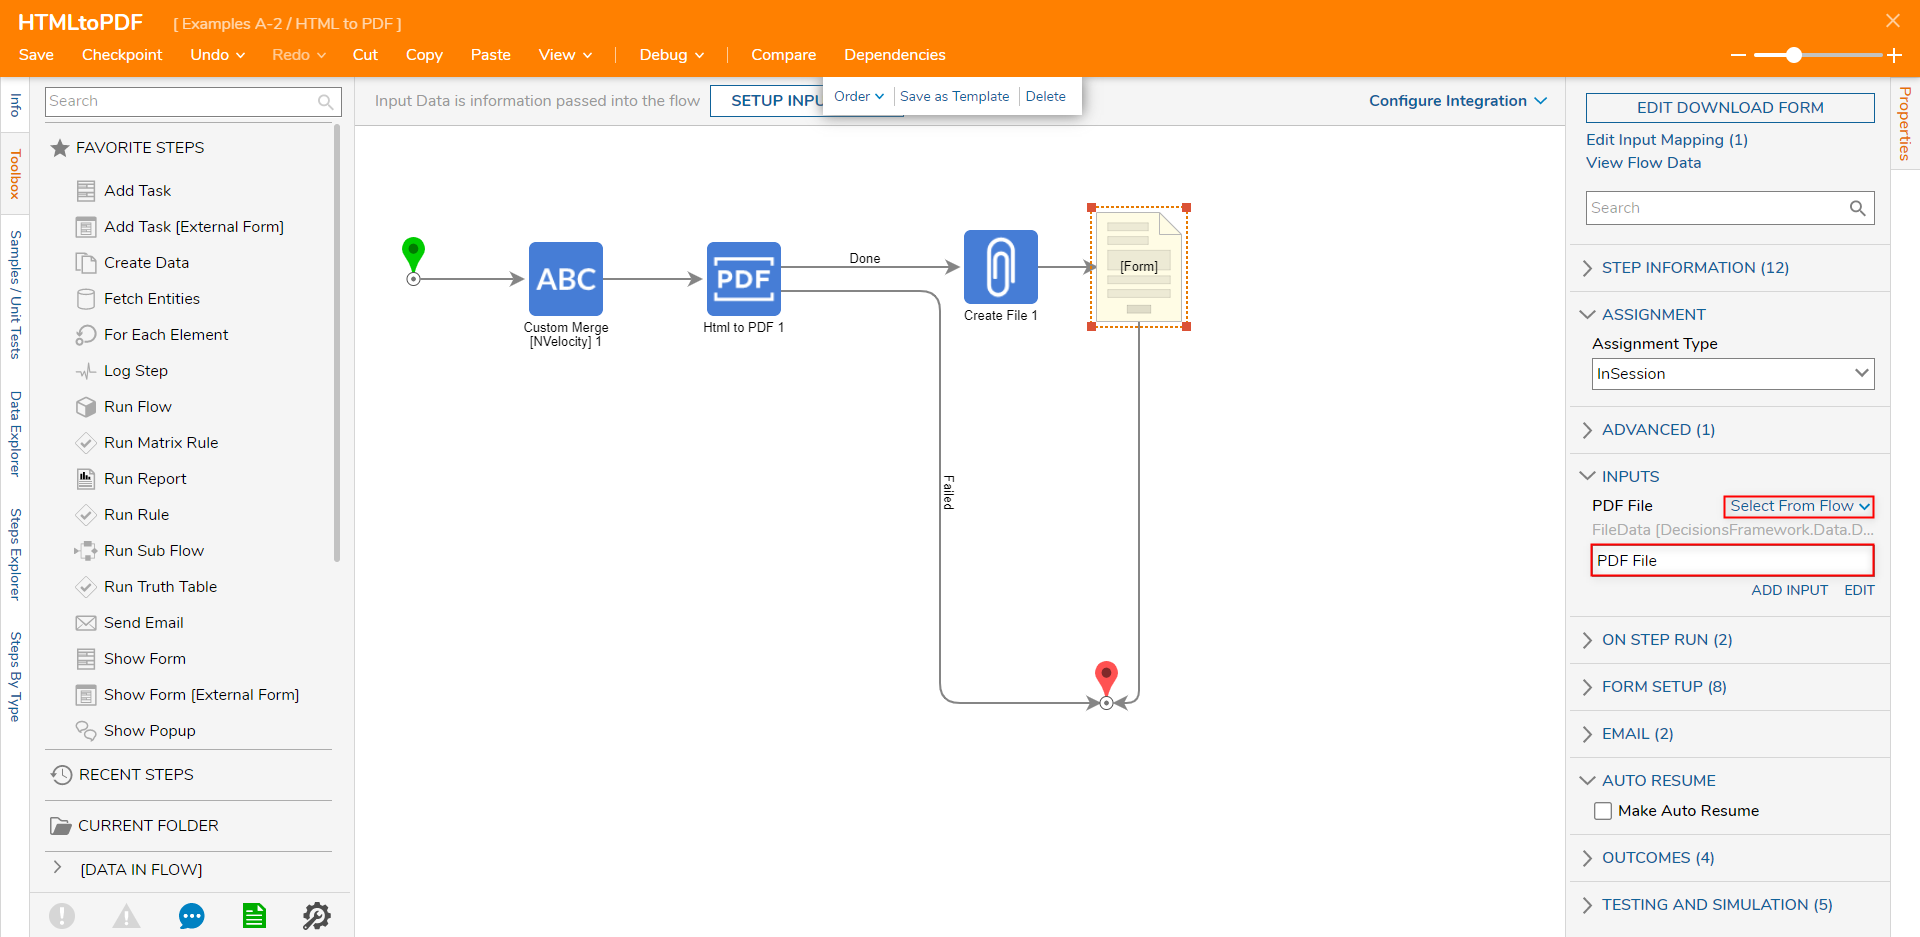
- From Toolbox > FAVORITE STEPS, attach a Show Form step to the Done path of the Create File step. From the Show Form step's Properties tab, select PICK OR CREATE FORM, then CREATE a new Form.

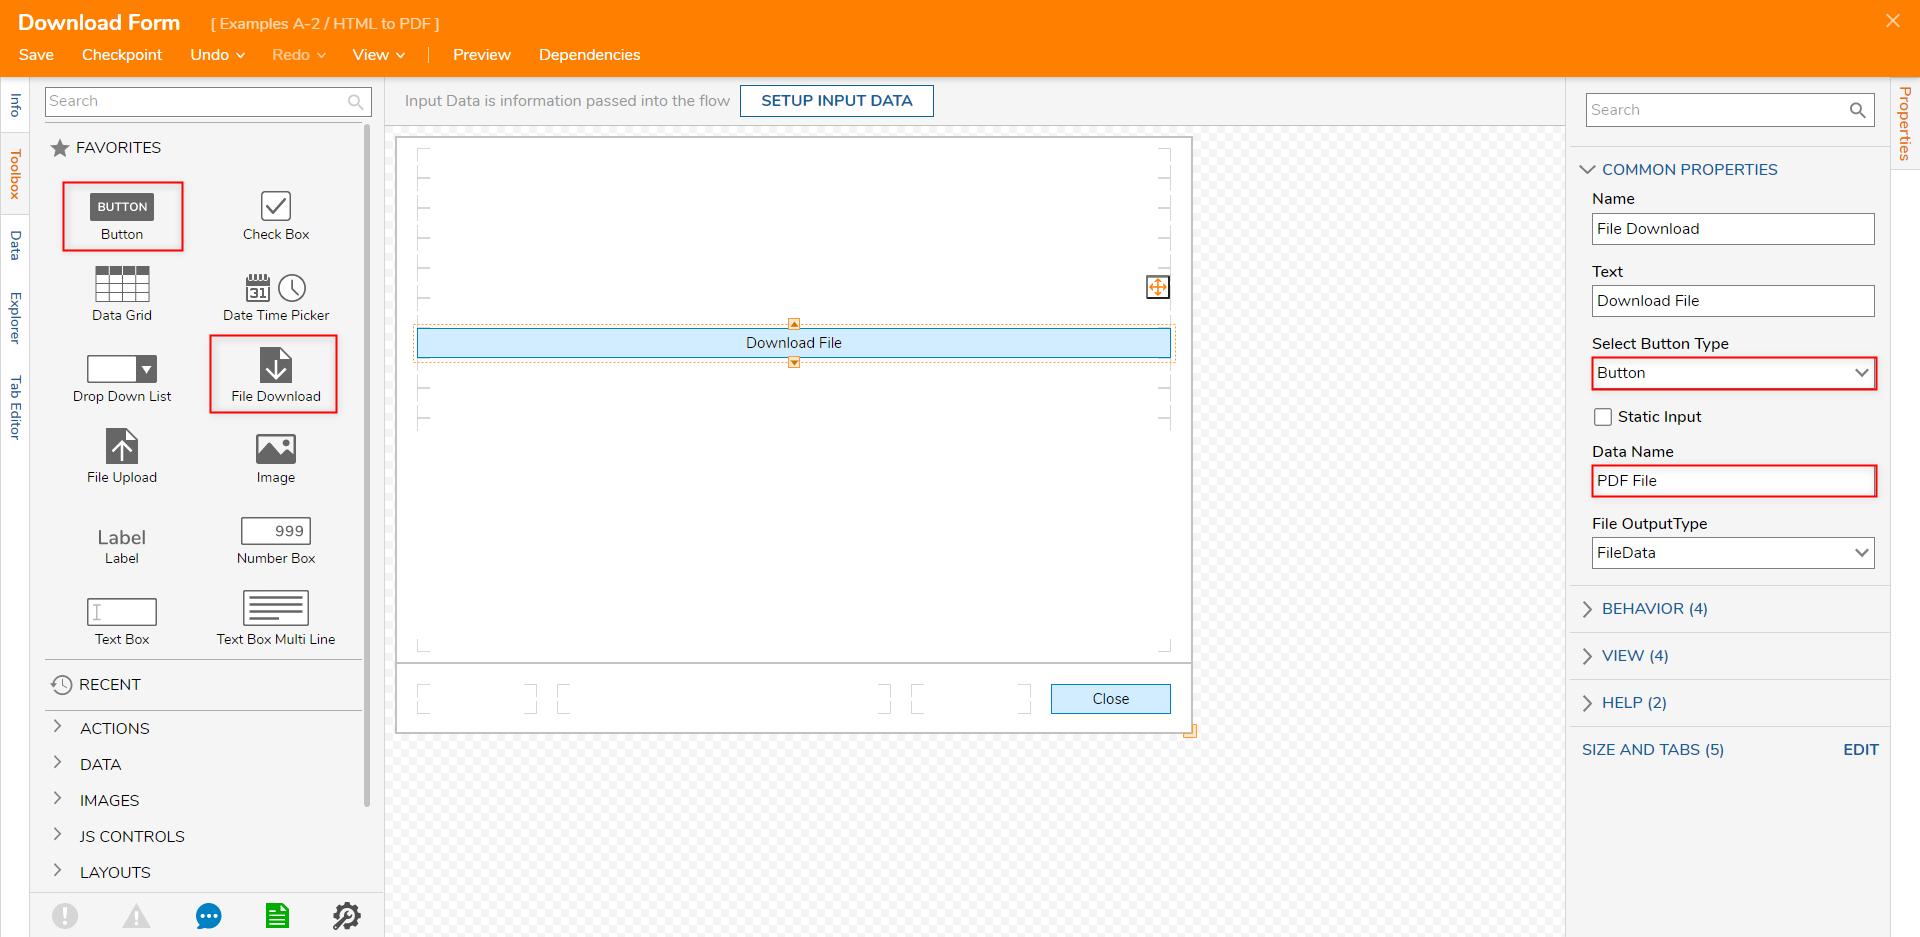
- From the Form Designer, design a Form that contains a Button component (labeled "Close") and a File Download component. From the Properties for the File Download component, select Button from the Select Button Type drop-down and provide a Data Name.
- Save the Form, then close via X.
- Back in the Flow Designer, map PDF File to its respective Input. Then, connect the Close path to the End step.
- Save the Flow.


Debug
- Select Debug from the top action panel. Click START DEBUGGING.
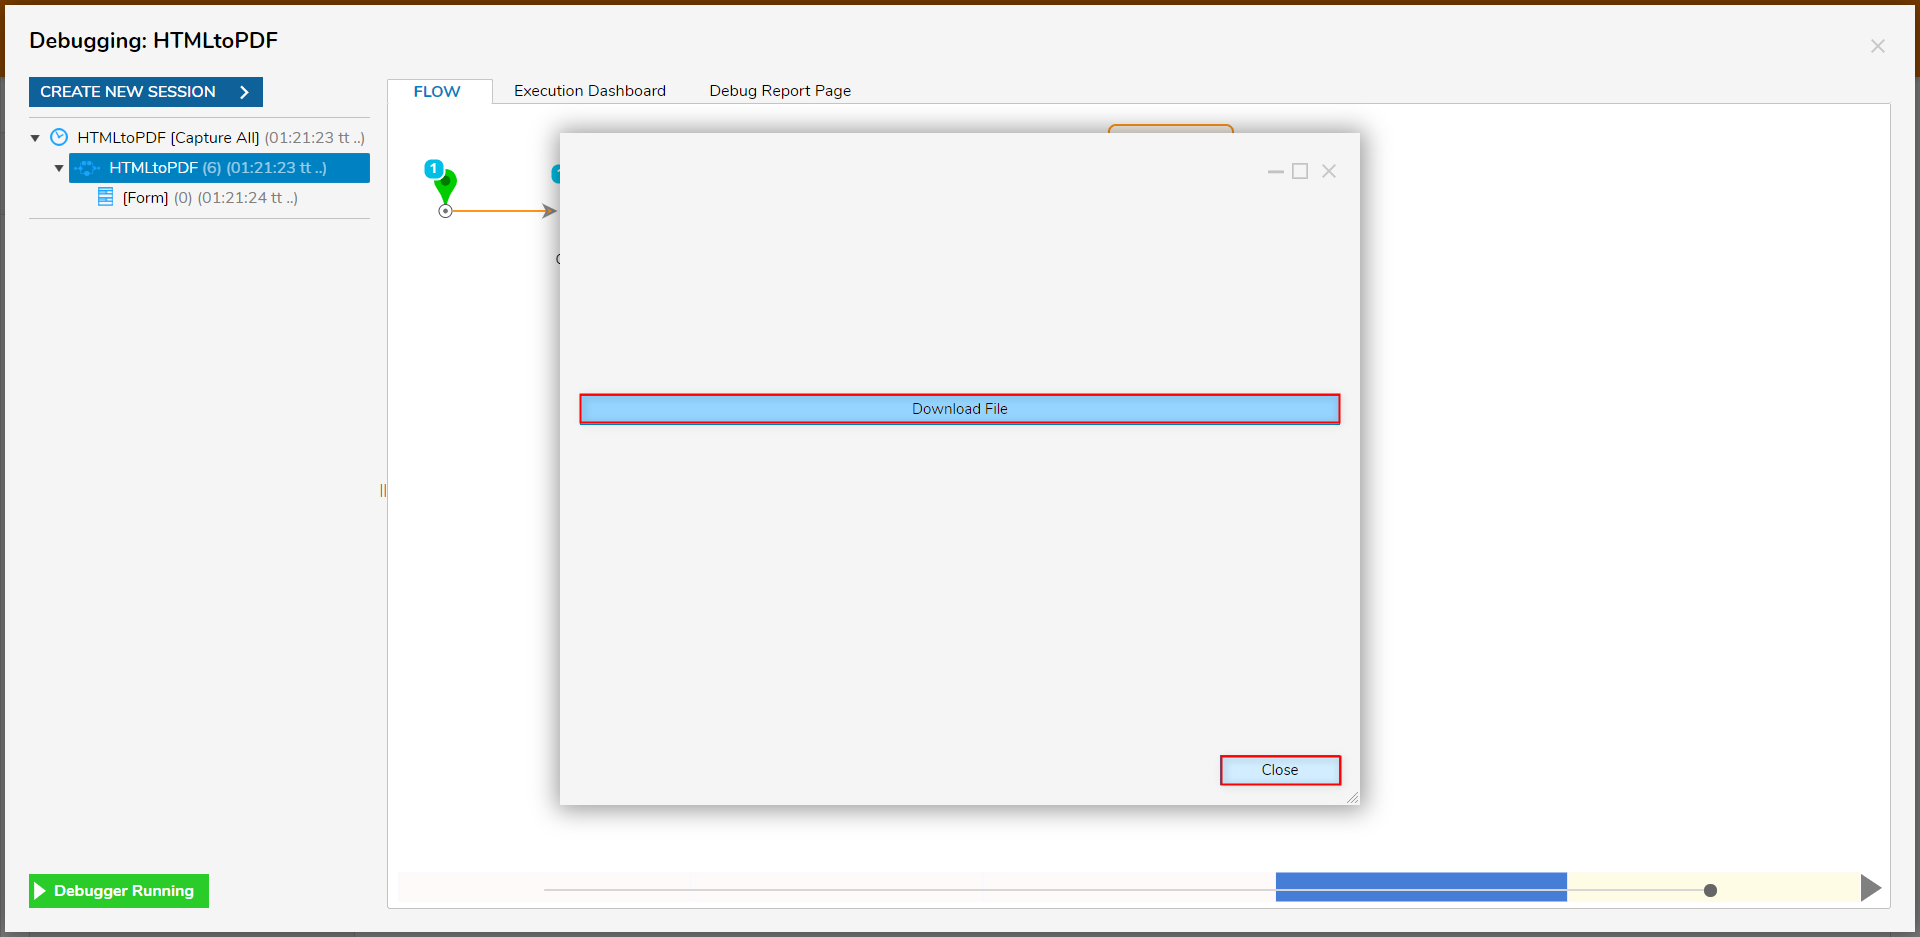
- When the Flow reaches the Form step, click Download File. Click Close.
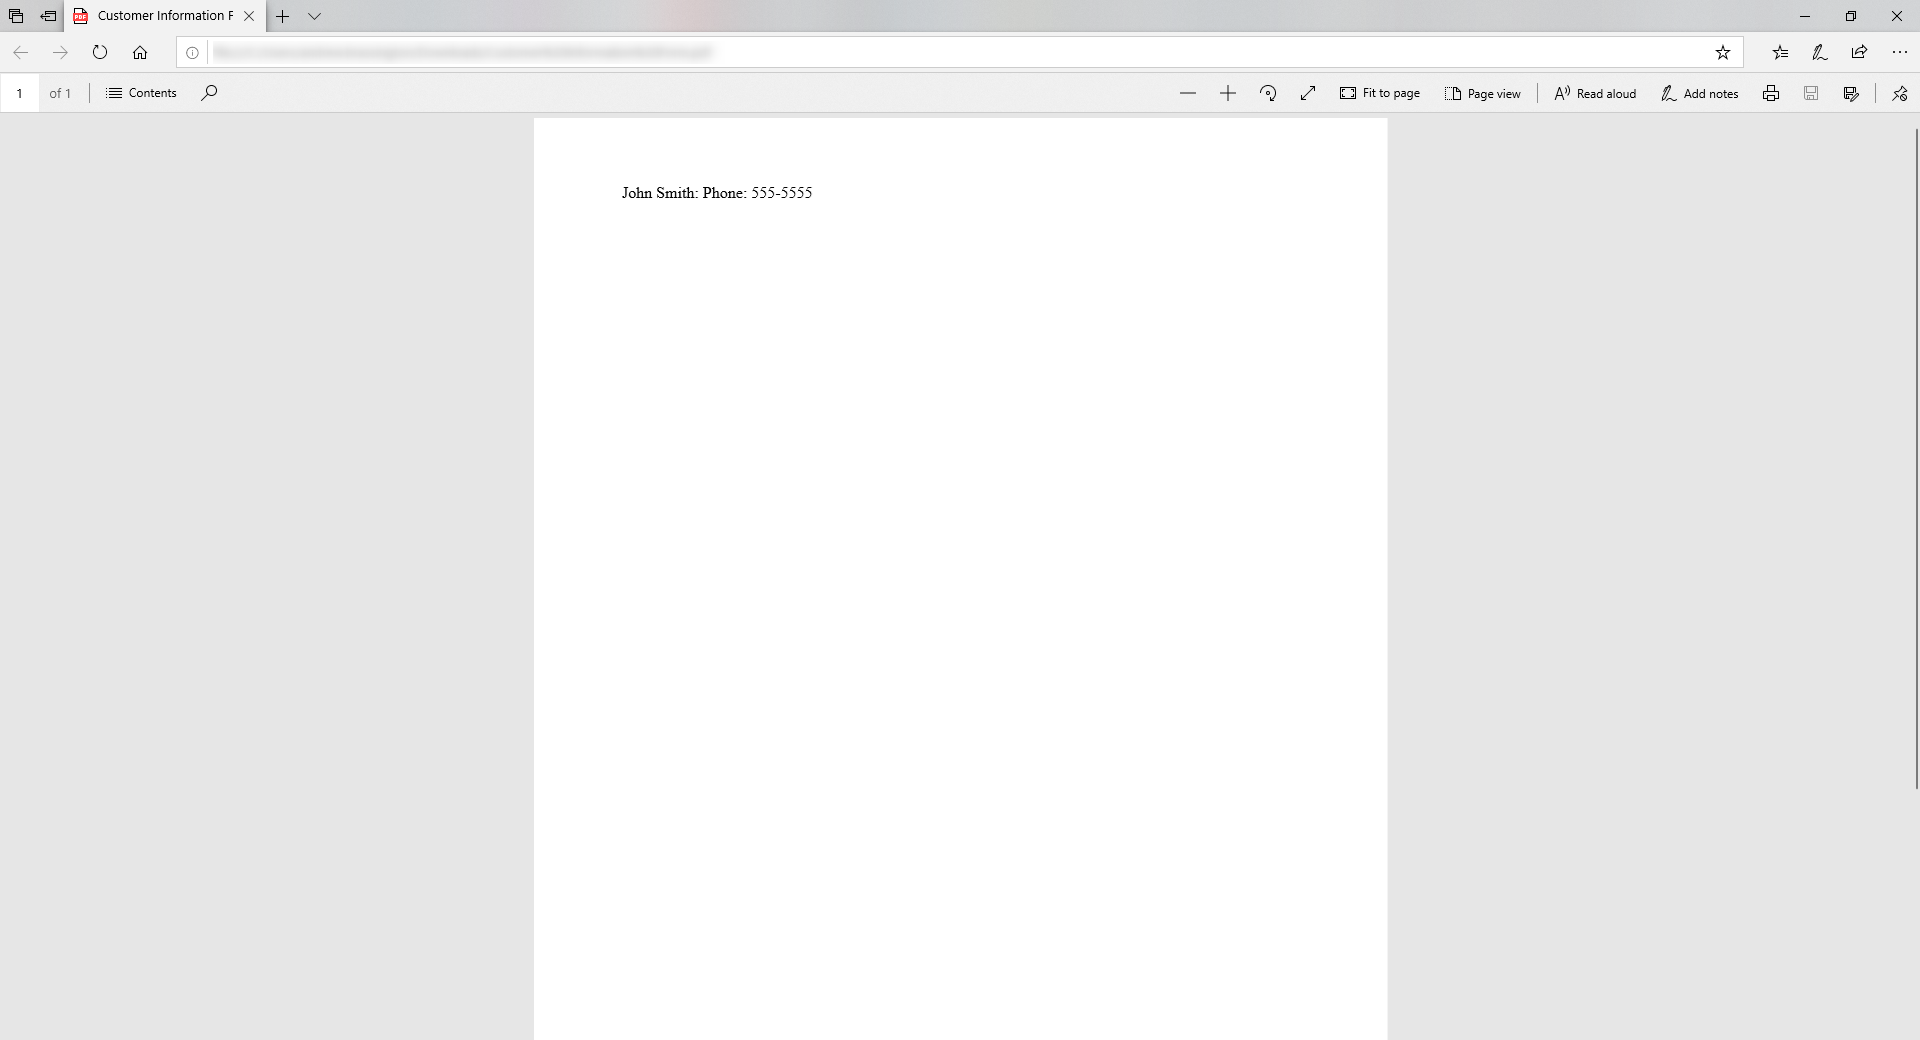
- After the File downloads, open it to verify its contents/that it is configured as expected.


Was this article helpful?