Passing Data to External Forms
- 08 Jul 2022
- 1 Minute to read
- Print
- DarkLight
Passing Data to External Forms
- Updated on 08 Jul 2022
- 1 Minute to read
- Print
- DarkLight
Article Summary
Share feedback
Thanks for sharing your feedback!
Overview
The External Form step allows users to interact with Forms using HTML methods or Service Calls. This method can also pass data into, or retrieve data from the External Form.
This will not work in a cross-domain environment.
For example, if Portal Base URL in format [machine name]/decisions/Primary and the Form is called on localhost.
For example, if Portal Base URL in format [machine name]/decisions/Primary and the Form is called on localhost.
Example
In this example, the user passes data from Decisions to an external ASP.NET Web Form and display this data as Form Labels.
The External Form used in this tutorial can be downloaded below:
The External Form used in this tutorial can be downloaded below:
This External Form was designed in ASP.NET. Please navigate to Basic External Form Process, to learn about setting up the External Form in IIS.
- Download the External Form and create a Virtual Directory for it in IIS Manager.
- Navigate to a Designer Project in the Decisions Studio, click CREATE FLOW on the Global Action Bar, select Flow, provide a Name, and click CREATE.
- From the Flow Designer, under Toolbox > FORMS [INTERACTION] attach an External Form step to the Start step.
- From the Properties tab for the External Form, navigate to SERVICE DEFINITION > Service Outcomes and click ADD.
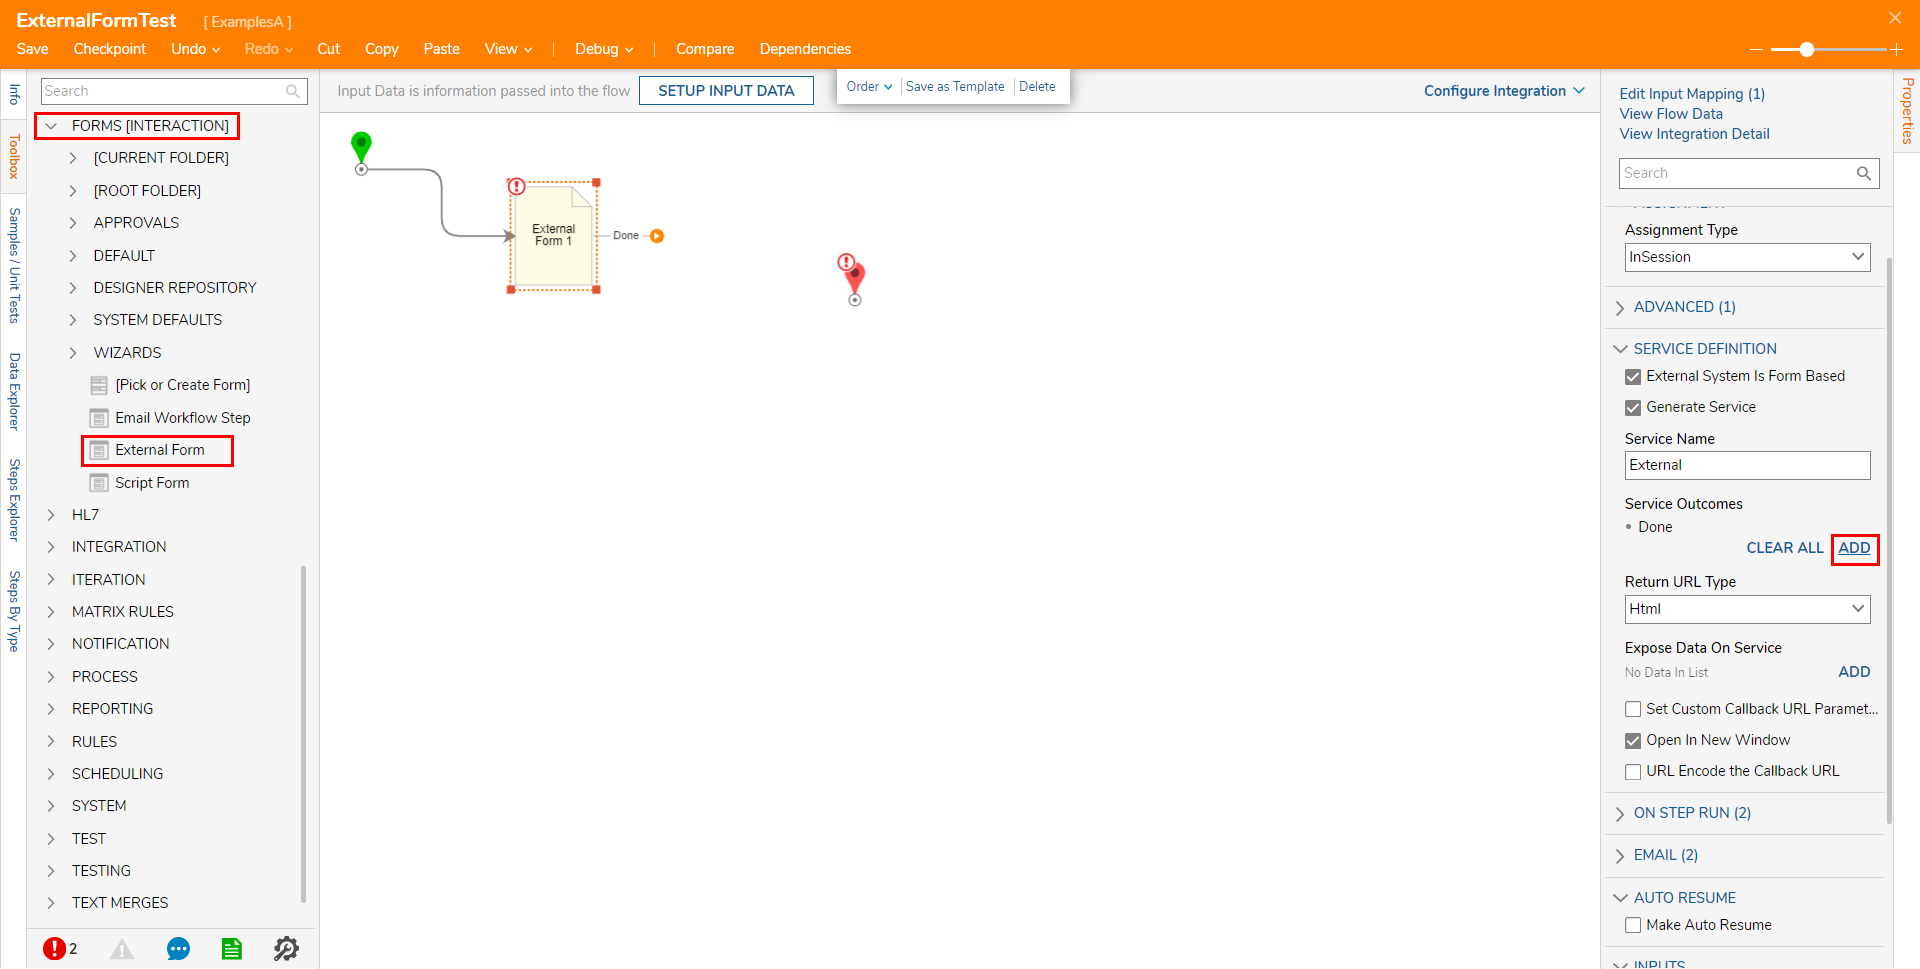
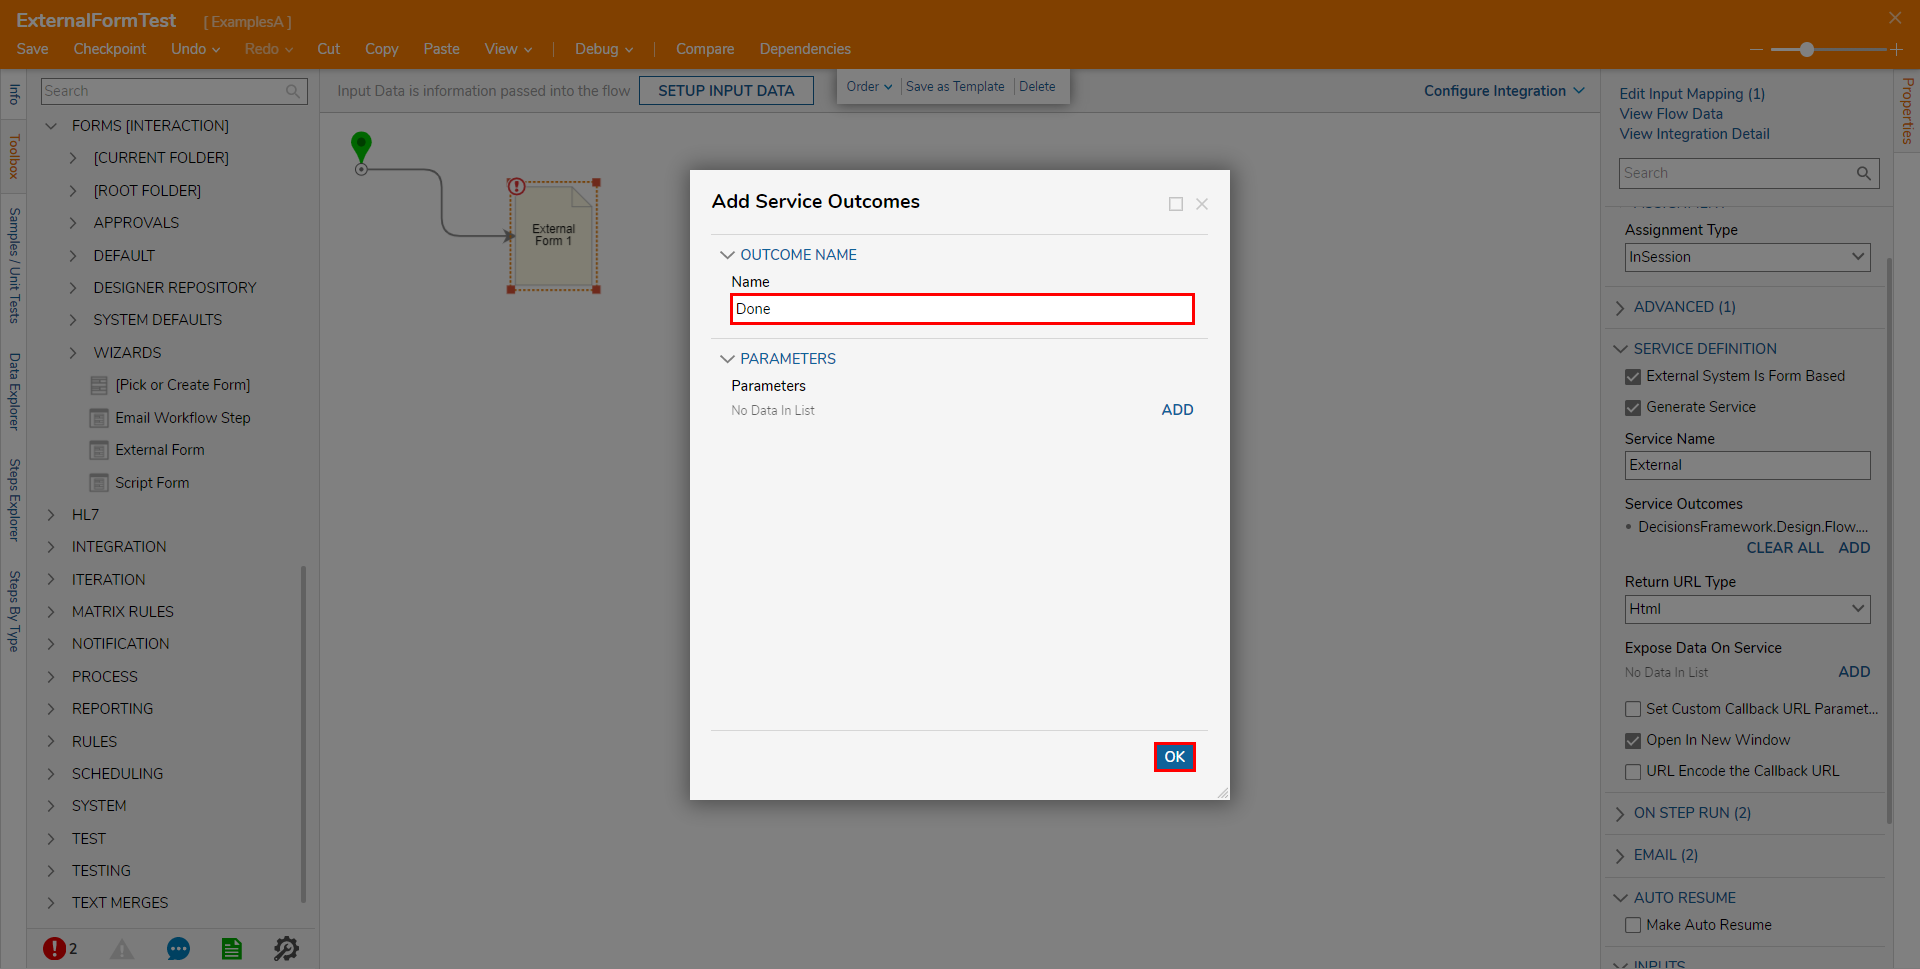
- From the Add Service Outcomes window, define OUTCOME NAME > Nameas "Done". Then click OK.When applicable where a Data return is expected of the External Form, Parameters may be defined in this window.
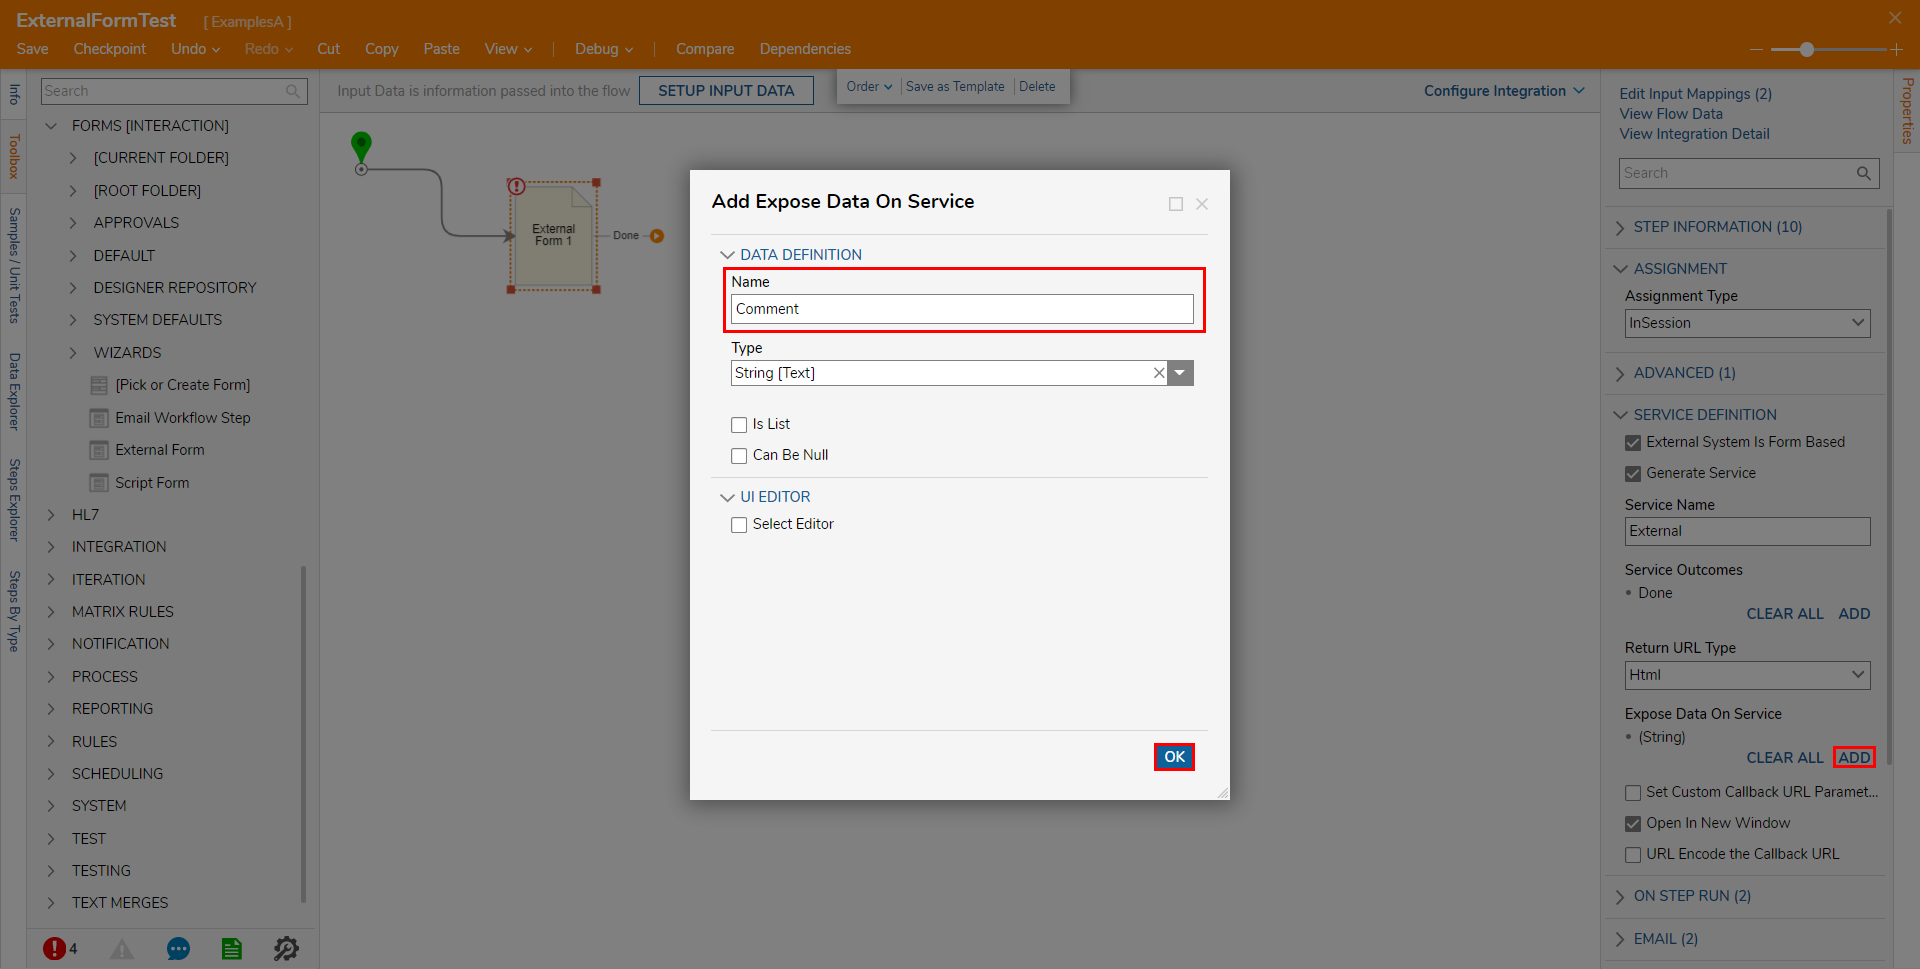
Under SERVICE DEFINITION > Expose Data On Service, click ADD. Map DATA DEFINITION > Name as "Comment", leave Type selected as String [Text] then click OK.
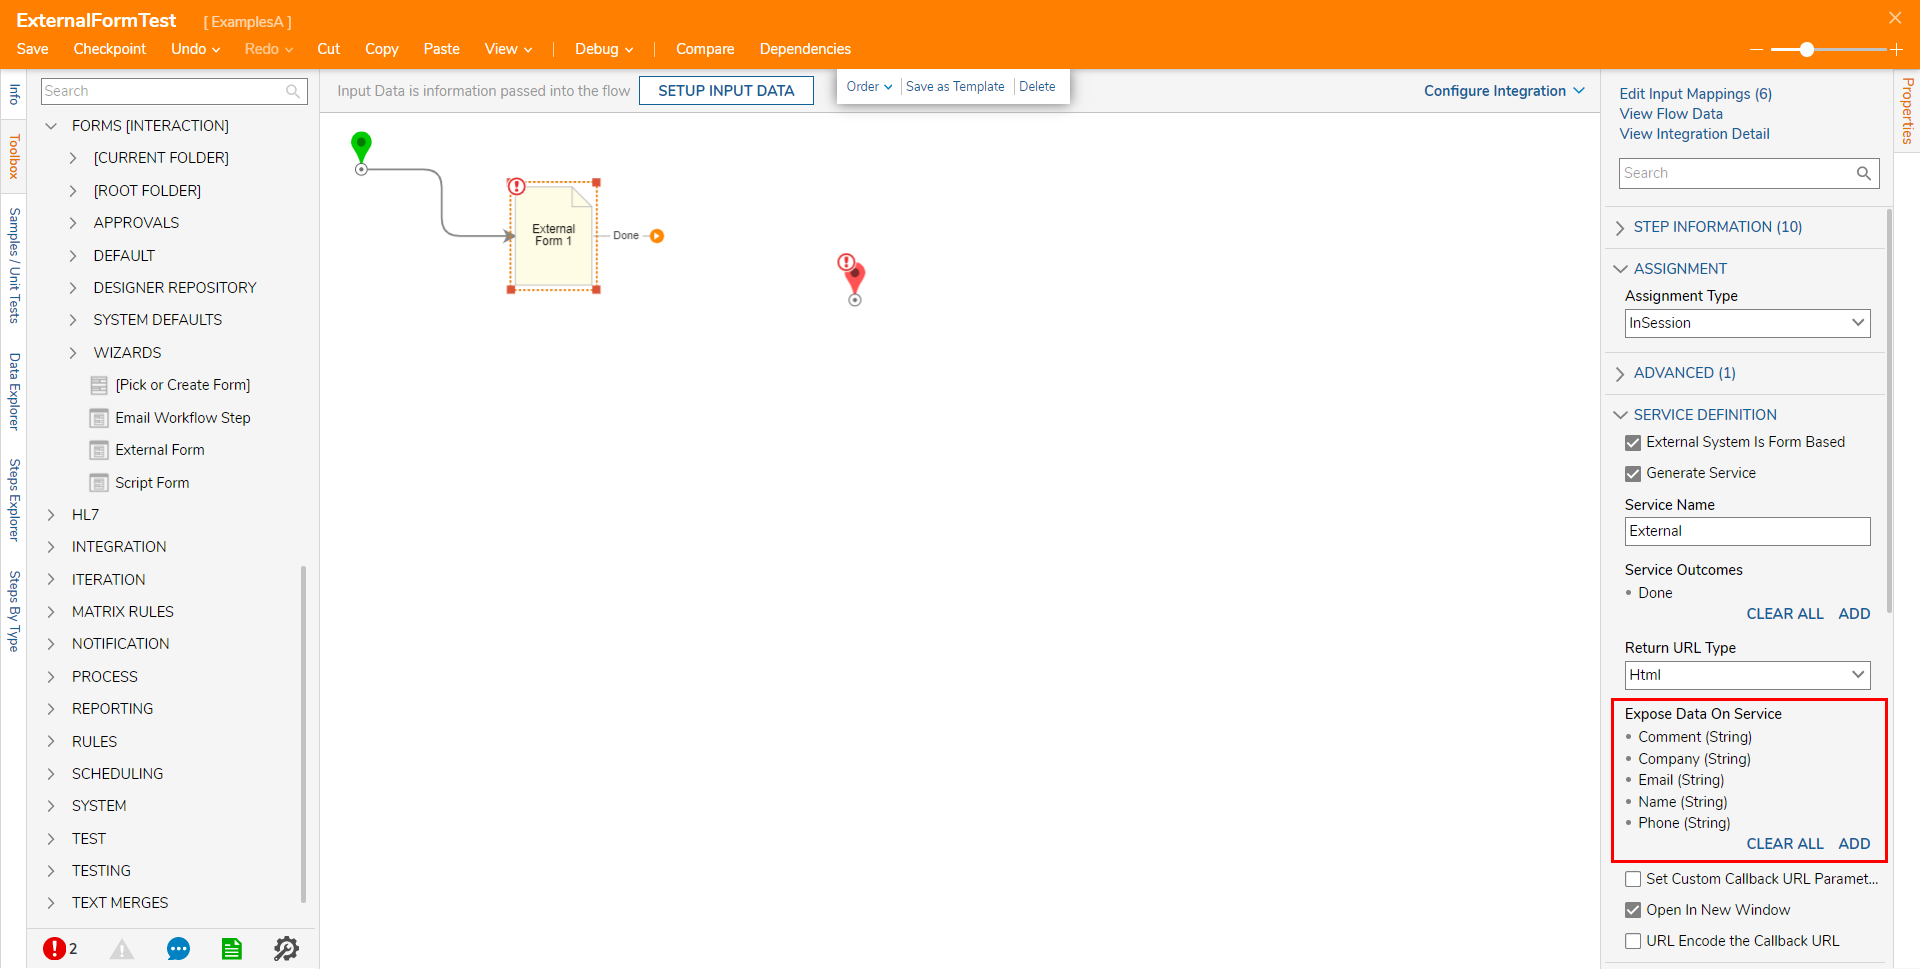
ADD four more pieces of Data under Expose Data on Service, and leave each Type set to String; "Company, Email, Name, and Phone."
Scroll down to INPUTS and Constant map each respective value for the Expose Data On Service values. Then, map Url with the value of the URL set up while creating the Virtual Directory in IIS. Then connect the Form's Outcome path to the End step.

Save the Flow, then if desired close via X.


Debug
- From the Flow Designer, select the Debug link from the top action bar.
- Click START DEBUGGING.
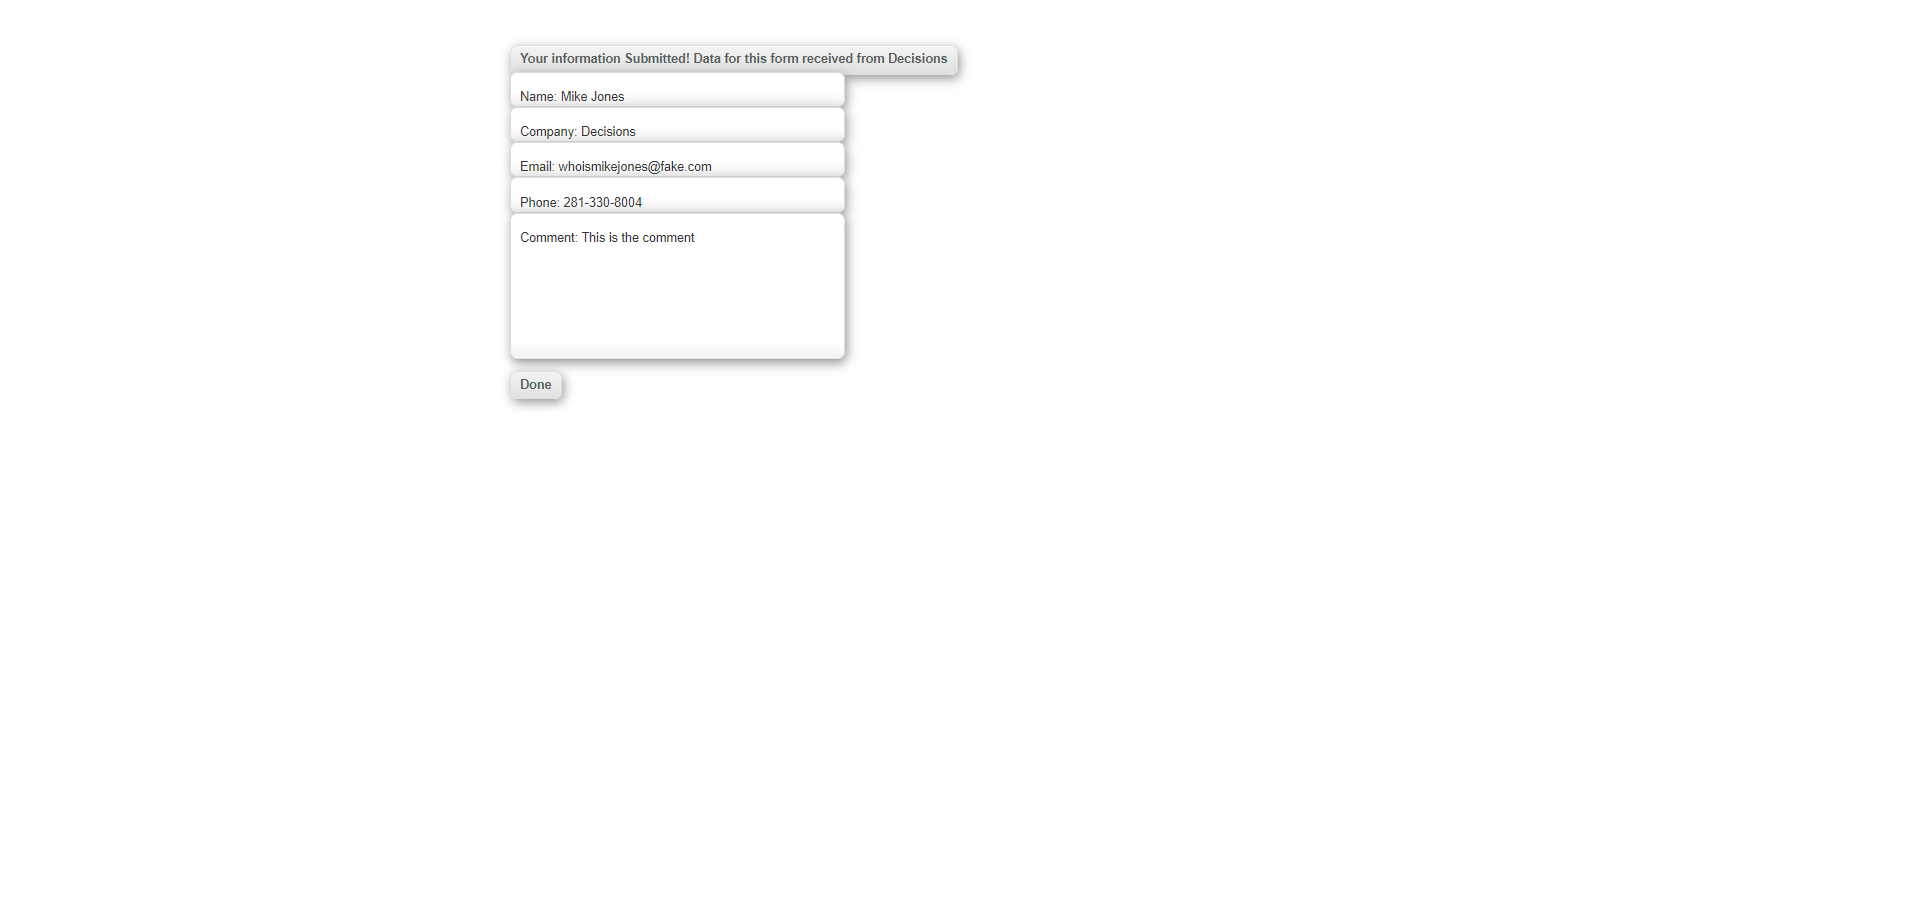
- Verify that the information displayed on the Form matches the INPUTS in the Flow. Then click Done.
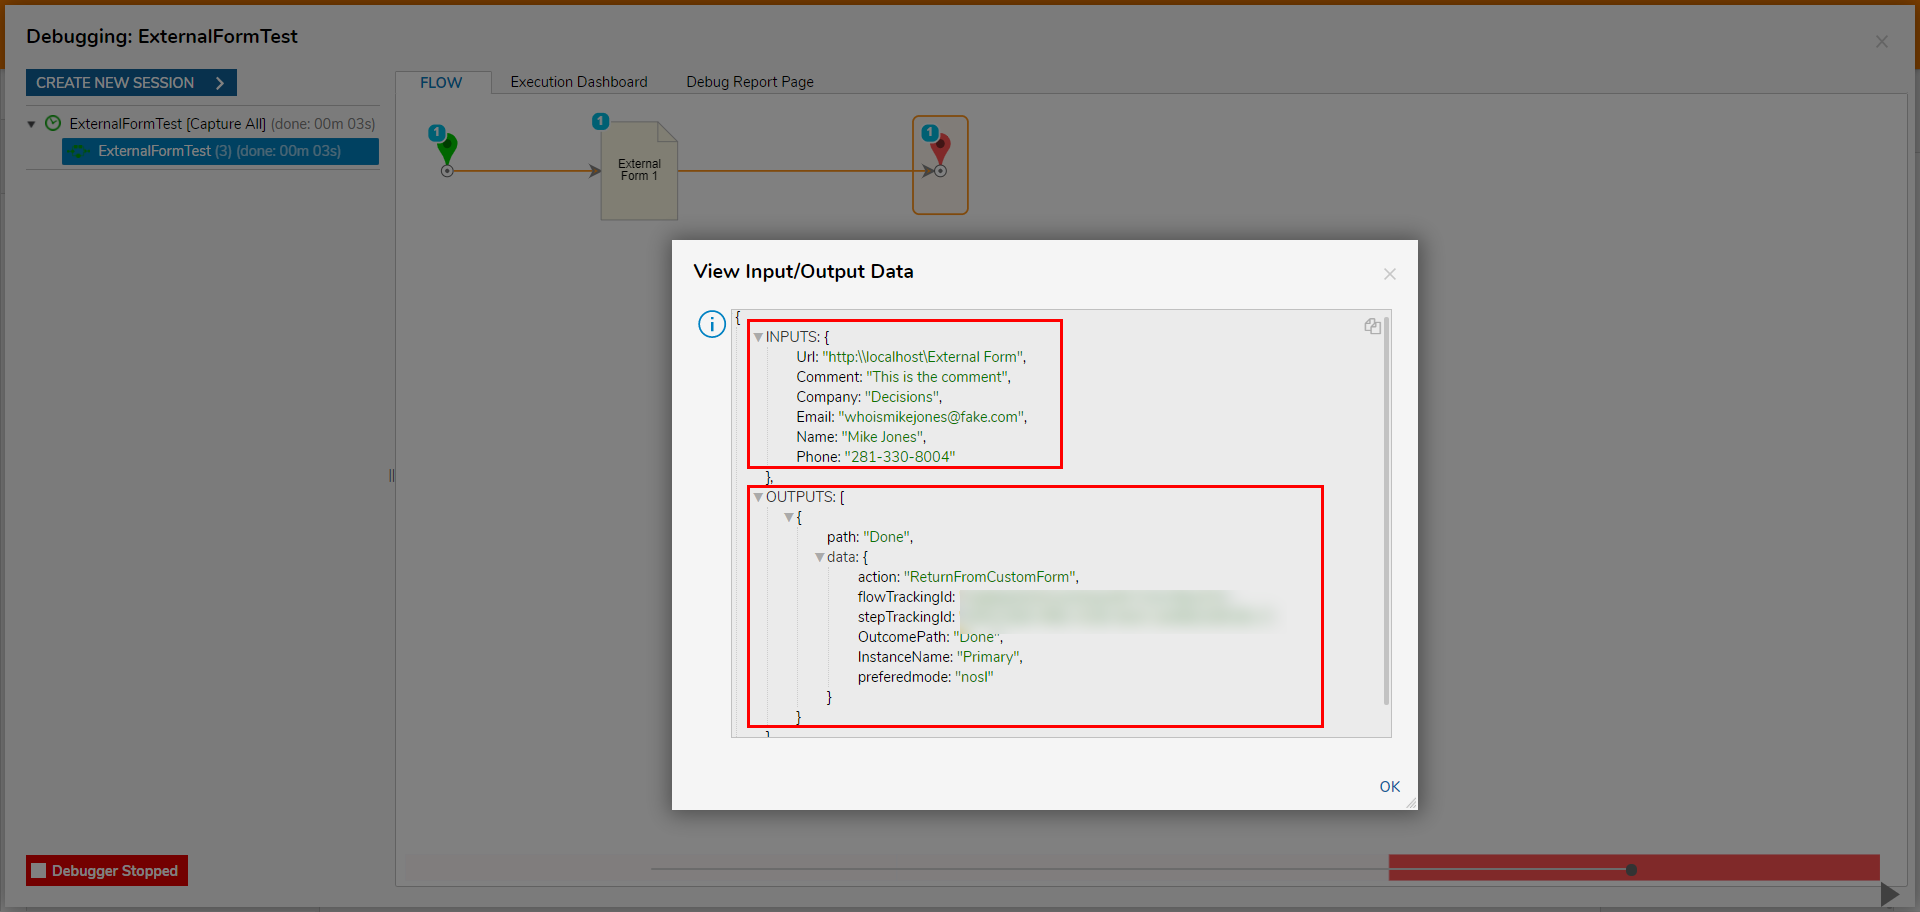
- Navigate back to the Debugger and verify that the Flow completed as expected. Select External Form > Execution 1 > View Input/Output Data and view the Form's INPUTS via the Flow, as well as its OUTPUTS. The Form Outputs the name of the action, the flowTrackingId, stepTrackingId, OutcomePath name, InstanceName, and the preferedmode.


Was this article helpful?