Merging PDF Documents
- 28 Jul 2022
- 2 Minutes to read
- Print
- DarkLight
Merging PDF Documents
- Updated on 28 Jul 2022
- 2 Minutes to read
- Print
- DarkLight
Article Summary
Share feedback
Thanks for sharing your feedback!
Overview
The Merge PDFDocuments step allows users to combine two separate PDF Documents into a single file Output. This step can be used within a Flow to Merge Constant mapped Files or the results of other PDF handling steps. Additionally, to help with the organization of these files, users may utilize an Add PDF Header and Footer step to add their desired Page Header and Footer. The example below demonstrates how to use the provided example Project to import and merge two PDF Documents.
Example Project
Import the following Project file to follow along with the rest of the document. For more information on importing files in Decisions, see:
Import and Export Overview.
Import and Export Overview.
Example
- From a Designer Project, select CREATE FLOW on the Global Action Bar, then CREATE a new Flow.
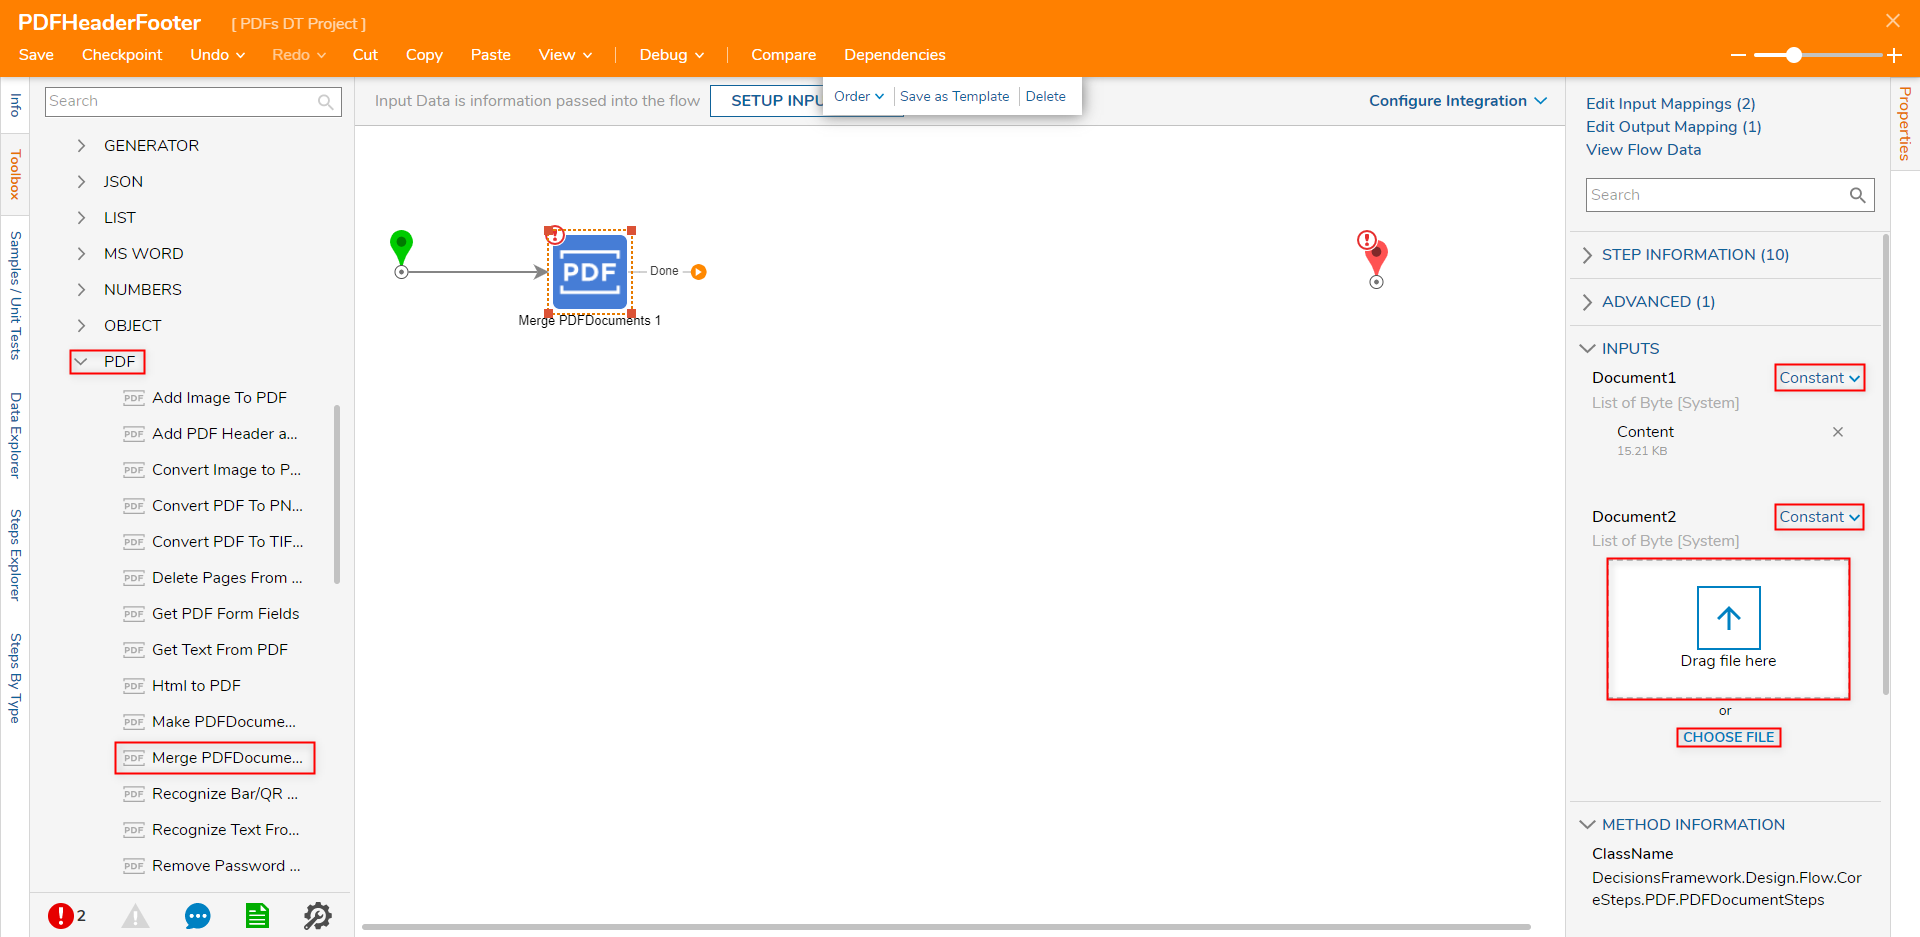
- From the Toolbox in the Flow Designer, navigate to DATA > PDF and attach a Merge PDFDocuments step to the Start step.
- Select the Merge PDFDocuments step to navigate its Properties tab; under INPUTS, Constant map the desired files to Document1 and Document2 by dragging them into the Drag file here field or clicking CHOOSE FILE.
From the same PDF category in the Toolbox, attach an Add PDF Header and Footer step to the Done path of the Merge PDFDocumentrs step.
From the Properties tab of the Add Header and Footer step, set the mapping for Footer Alignment to Constant, then select the desired option from the dropdown menu.

If desired, adjust the Page Footer, then Constant map a Page Header. Afterward, Select From Flow map MergePDFDocuments1_Output to PDF File, and Constant map the desired PDF File Name.
Input ConfigPage Footer: By default, the Page Footer is set up to display the Page number along with the total number of Pages.
PDF File Name: Include ".pdf" at the end of the mapped File Name to ensure that file will save and output properly as a PDF file.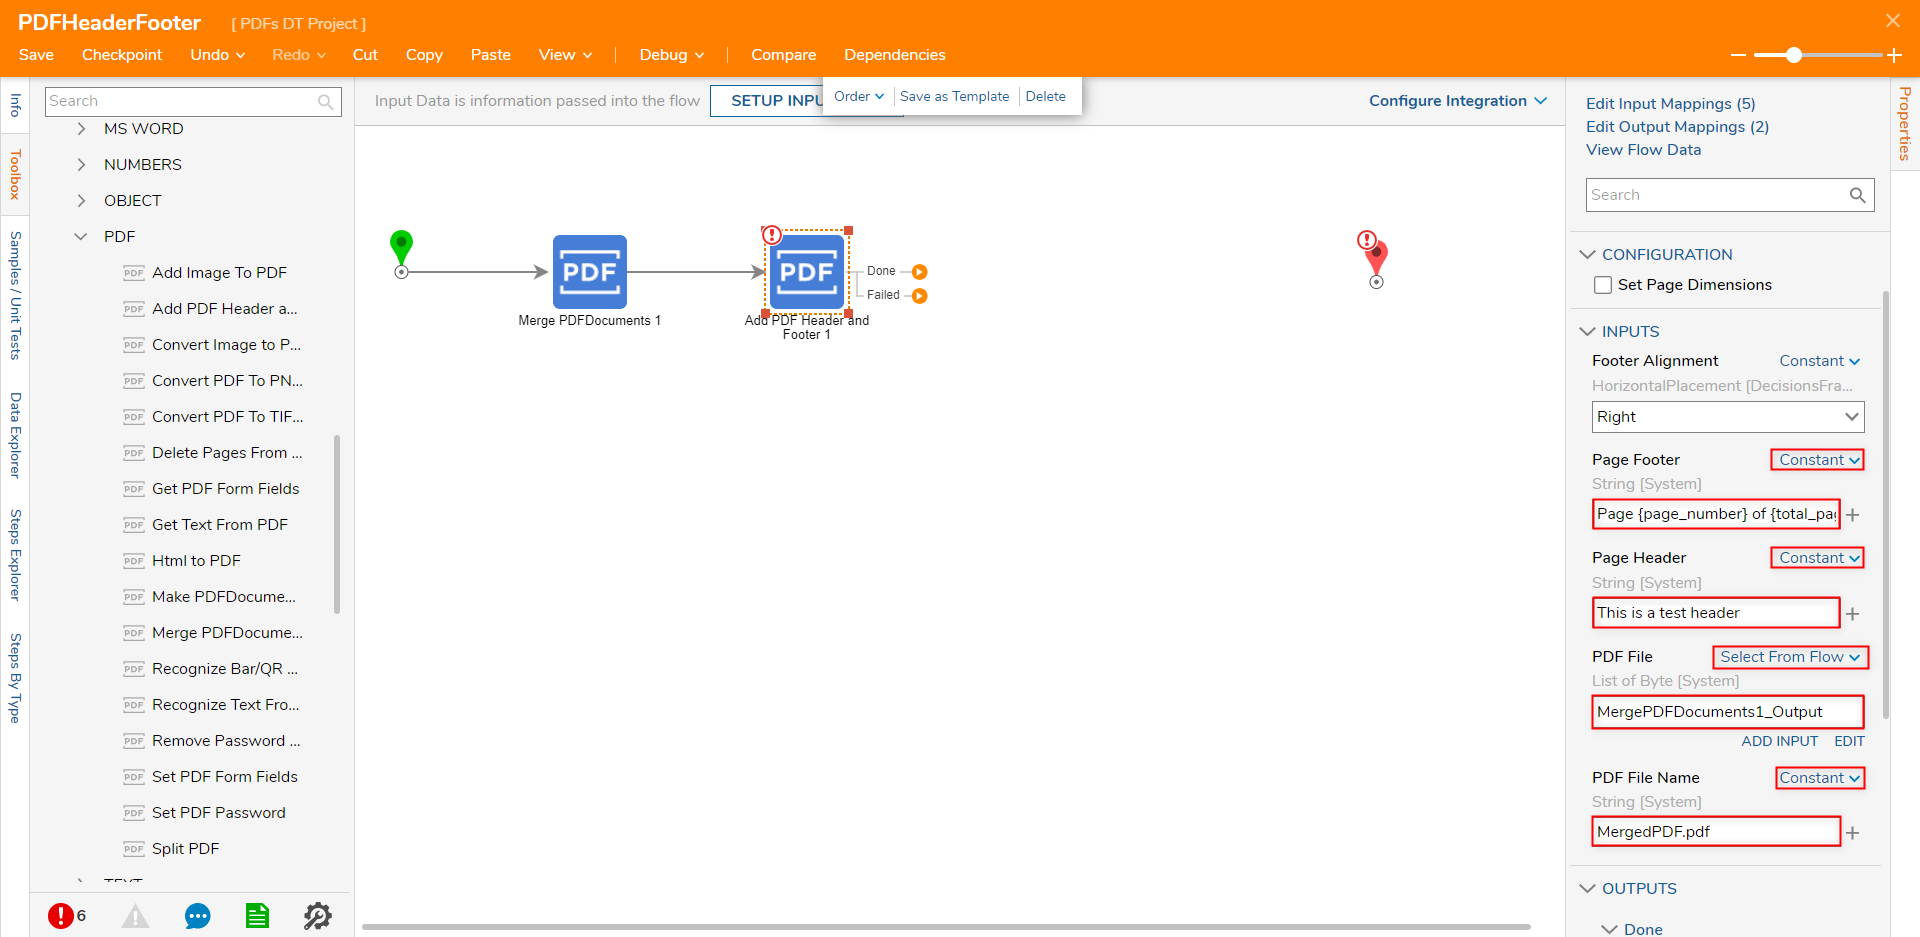
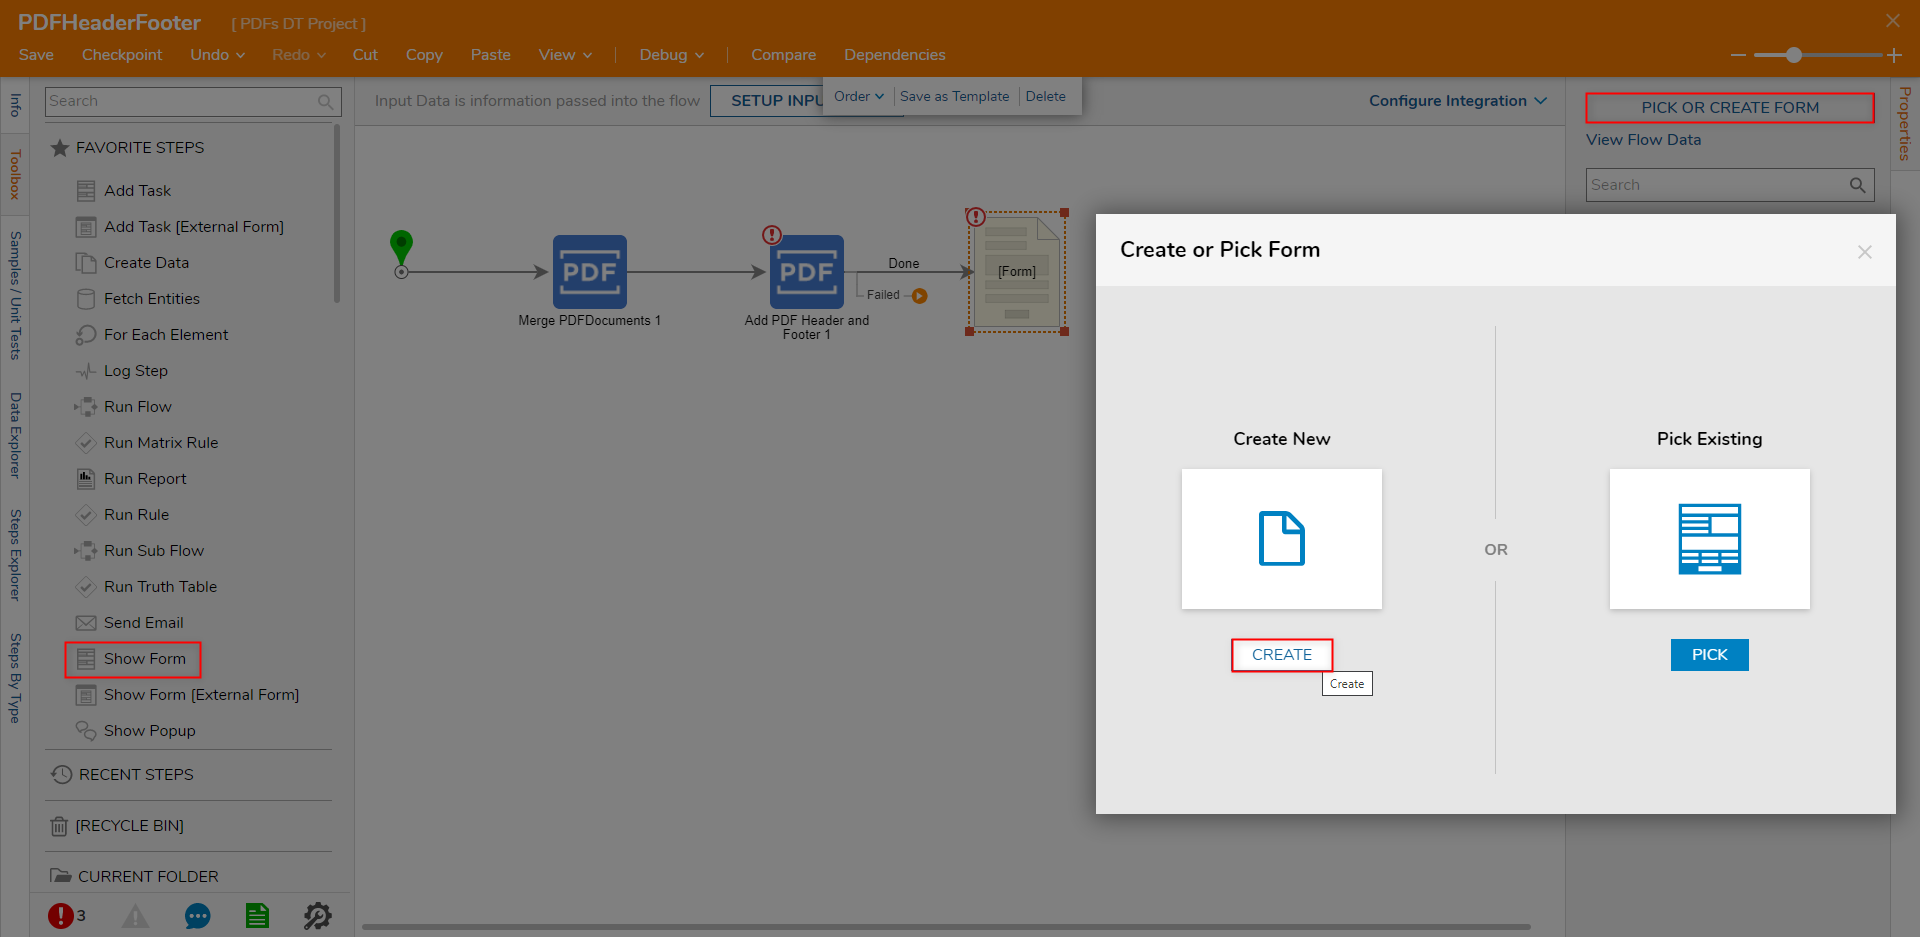
Under Toolbox > FAVORITE STEPS, attach a Show Form step to the Done path of the Add PDF Header and Footer step. From the Show Form step's Properties, select PICK OR CREATE FORM, then CREATE a new Form.
From the Form Designer, design a Form using a File Download Component and a "Close" Button component from Toolbox > FAVORITES. Save the Form, then close via X.
Component PropertiesAfter adding the File Download component from its Properties, select Button from the Select Button Type dropdown to change the Download File link into a Button.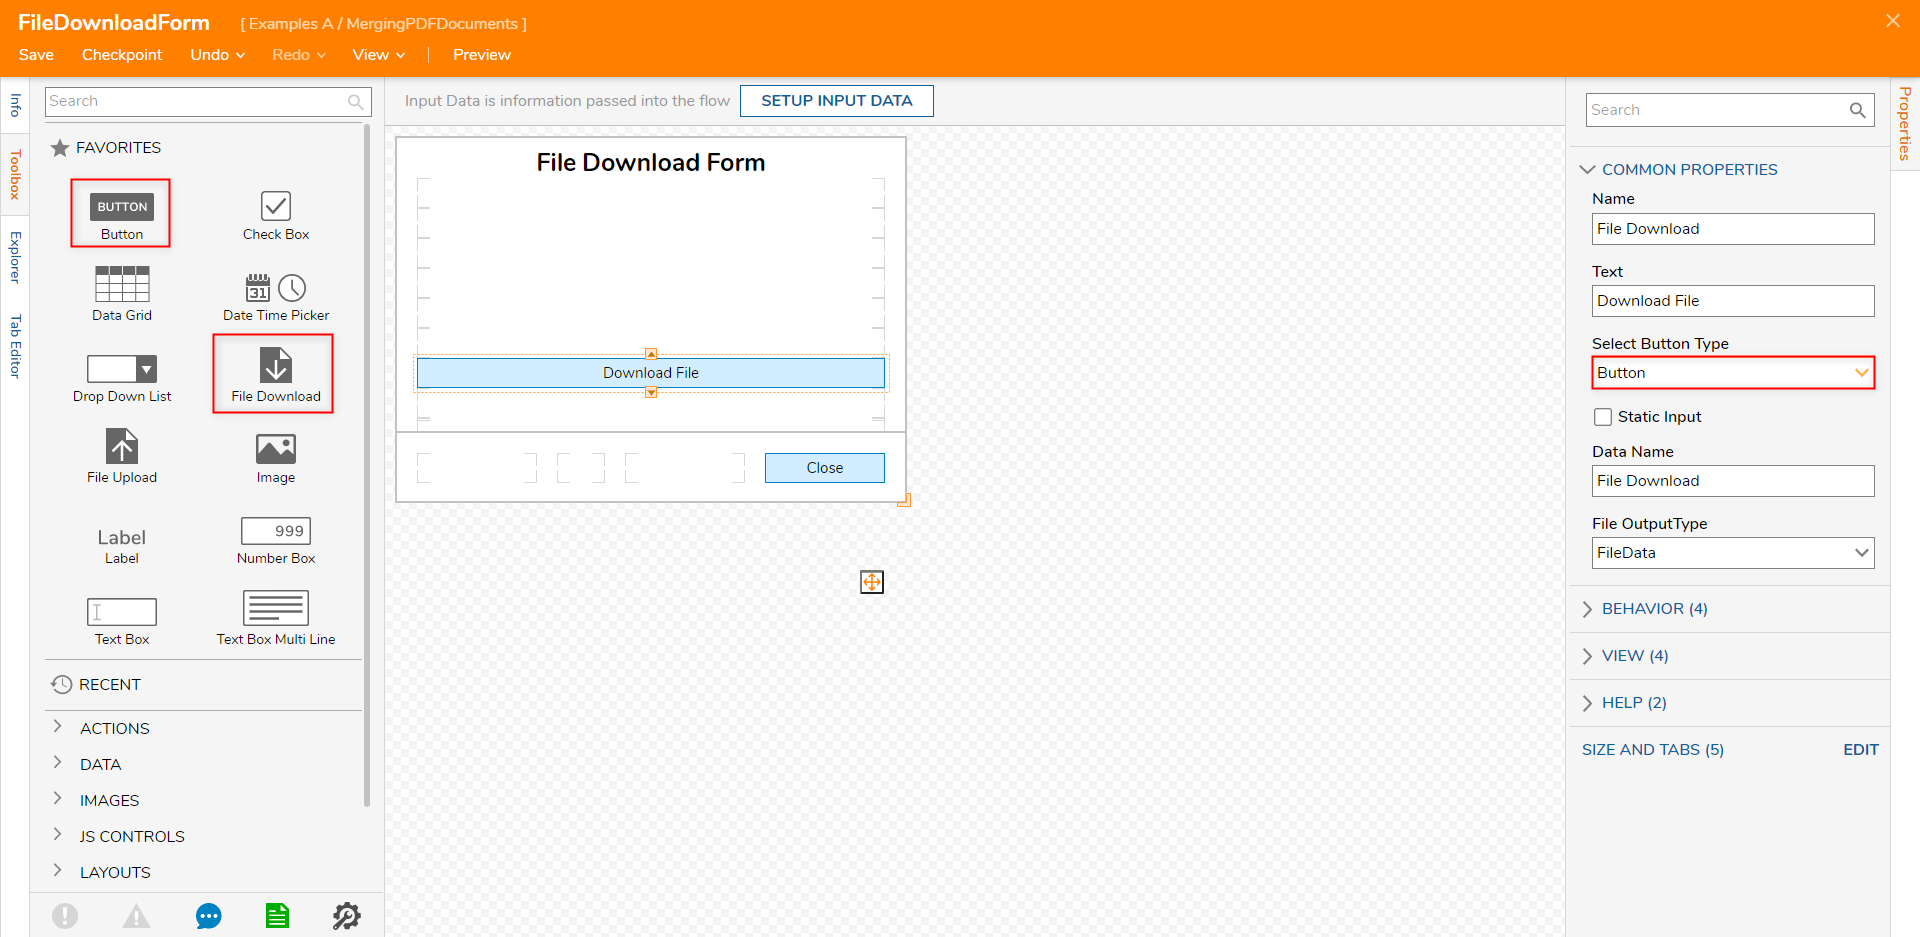
Back in the Flow Designer, navigate the File Download Form's Properties and map Select From Flow PDF File to File Download. Then, connect the Failed path from the Add Header and Footer step and the Outcome path from the File Download Form to the End step.
.png)
Save the Flow, then if desired, close via X.


.png)
Debug
- From the Flow Designer, select the Debug link from the top Action bar, then click START DEBUGGING.
- Upon reaching the File Download Form, click the Download File Button.
.png)
Open the downloaded File and confirm that the Header and Footer match the expected format.

.png)

Was this article helpful?