Login Page Customization
- 19 Jul 2022
- 1 Minute to read
- Print
- DarkLight
Login Page Customization
- Updated on 19 Jul 2022
- 1 Minute to read
- Print
- DarkLight
Article Summary
Share feedback
Thanks for sharing your feedback!
Overview
The following document demonstrates how to customize the Login Page in Decisions via the Portal Settings within the Decisions Studio.
Example
- In the Decisions Studio, navigate to System > Settings and select Portal Settings.

- In the Edit Portal Settings window, Search for Login.

- Under LOGIN, configure the Login User Flows by selecting PICK and choosing a Flow, or by selecting EDIT to edit a current one. These Flows can be configured to run Before or After a User Login Event.
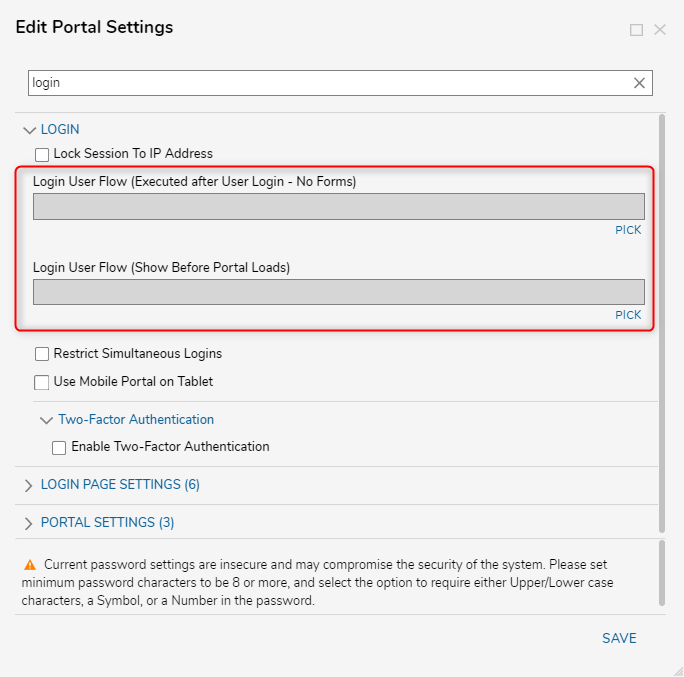
- If desired, check Restrict Simultaneous Logins and/or Use Mobile Portal on Tablet. Restrict Simultaneous Logins prevents Accounts from logging in at the same time.Use Mobile Portal on Tablet enables the Mobile Portal Page.
- Navigate to LOGIN PAGE SETTINGS; customize the default Get Help URL or Contact Us URL, by inputting the desired value in each respective text field. Toggle the Hide Forgot Password Link box on or off.
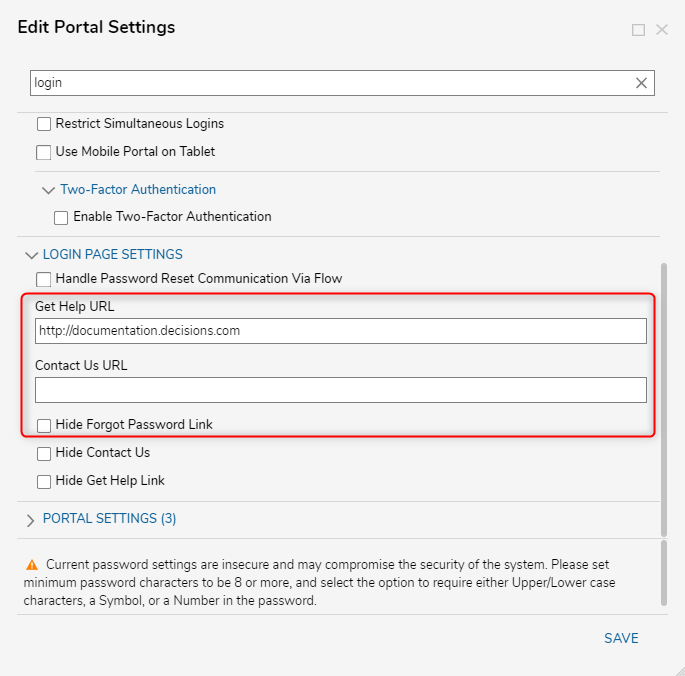
If desired, users may enable the Handle Password Reset Communication Via Flow box and PICK the handling Flow as well as hide the Get Help and Contact Us links altogether by toggling their checkboxes to False.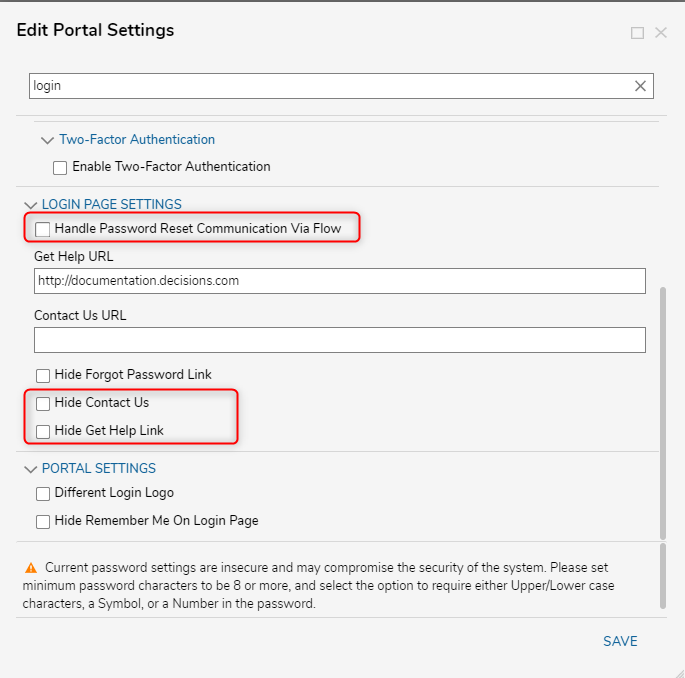
- Under PORTAL SETTINGS, check the Different Login Logo box. Then, select the CHOOSE FILE link or drag and drop in the desired Logo.
Additionally, toggle Hide Remember Me On Login Page. Enabling this allows the instance to remember login values of the most recent user.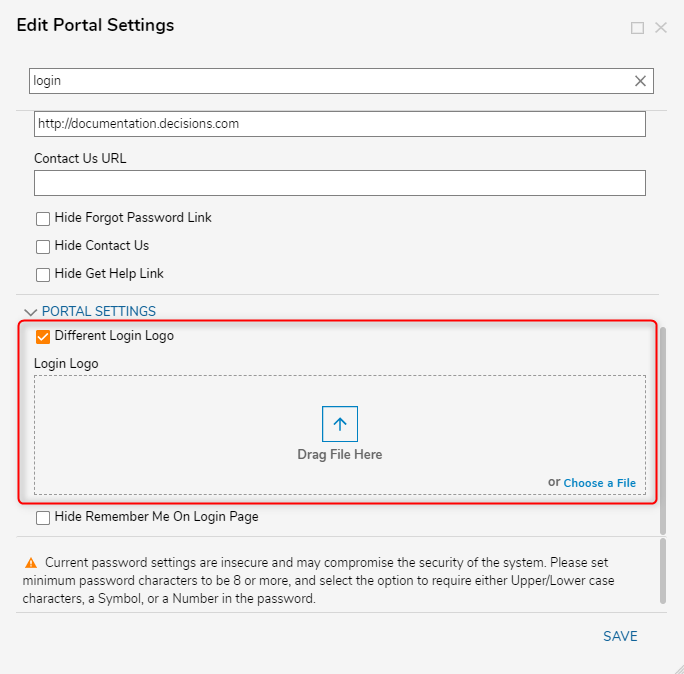
- Once desired changes have been made, click SAVE to save changes and exit the Portal Settings window.

- Navigate to the Login Page and verify that all changes have been properly applied. If the settings don't display properly, restart the Decisions instance by opening DecisionsServerInstaller.exe and selecting RESTART SERVICE.
 For further information on the Portal, visit the Decisions Forum.


Was this article helpful?