HTML to Word Document Step
- 13 Apr 2021
- 2 Minutes to read
- Print
- DarkLight
HTML to Word Document Step
- Updated on 13 Apr 2021
- 2 Minutes to read
- Print
- DarkLight
Article Summary
Share feedback
Thanks for sharing your feedback!
Overview
This tutorial shows how to use the Html To Word Document step. This step can be found in the Toolbox > DATA > MS WORD category within the Flow Designer. This step can be used to convert an HTML document into a Microsoft Word document.
Example
A simple HTML document was created with the following code:
<html>
<head>

<title>
HTML to Word Document
</title>

</head>

<body bgcolor="white"| text="blue"

<h1>
My First Page
</h1>
<center>
<p style="font-size:10px;">I am small - size 10</p>

<p style="font-size:20px;">I am medium - size 20</p>
<p style="font-size:50px;">I am large- size 50</p>
</center>
</body>
</html>
Notice that in this simple HTML document example, font sizes have been defined as 10px, 20px, and 50px. Microsoft Word measures size using "pt" instead of "px", this will result in a smaller font size within the document upon conversion. If an exact font size is desired when converting an HTML document to a Word document, the font size attribute should use "pt" instead of "px".
When opened in a web browser, the simple HTML code will display a document with "HTML to Word Document" as the document title, "My First Page" as the header, and "I am small - size 10, I am medium - size 20, I am large - size 50" in the center of the body portion. The background of the page is white and the text is blue. 

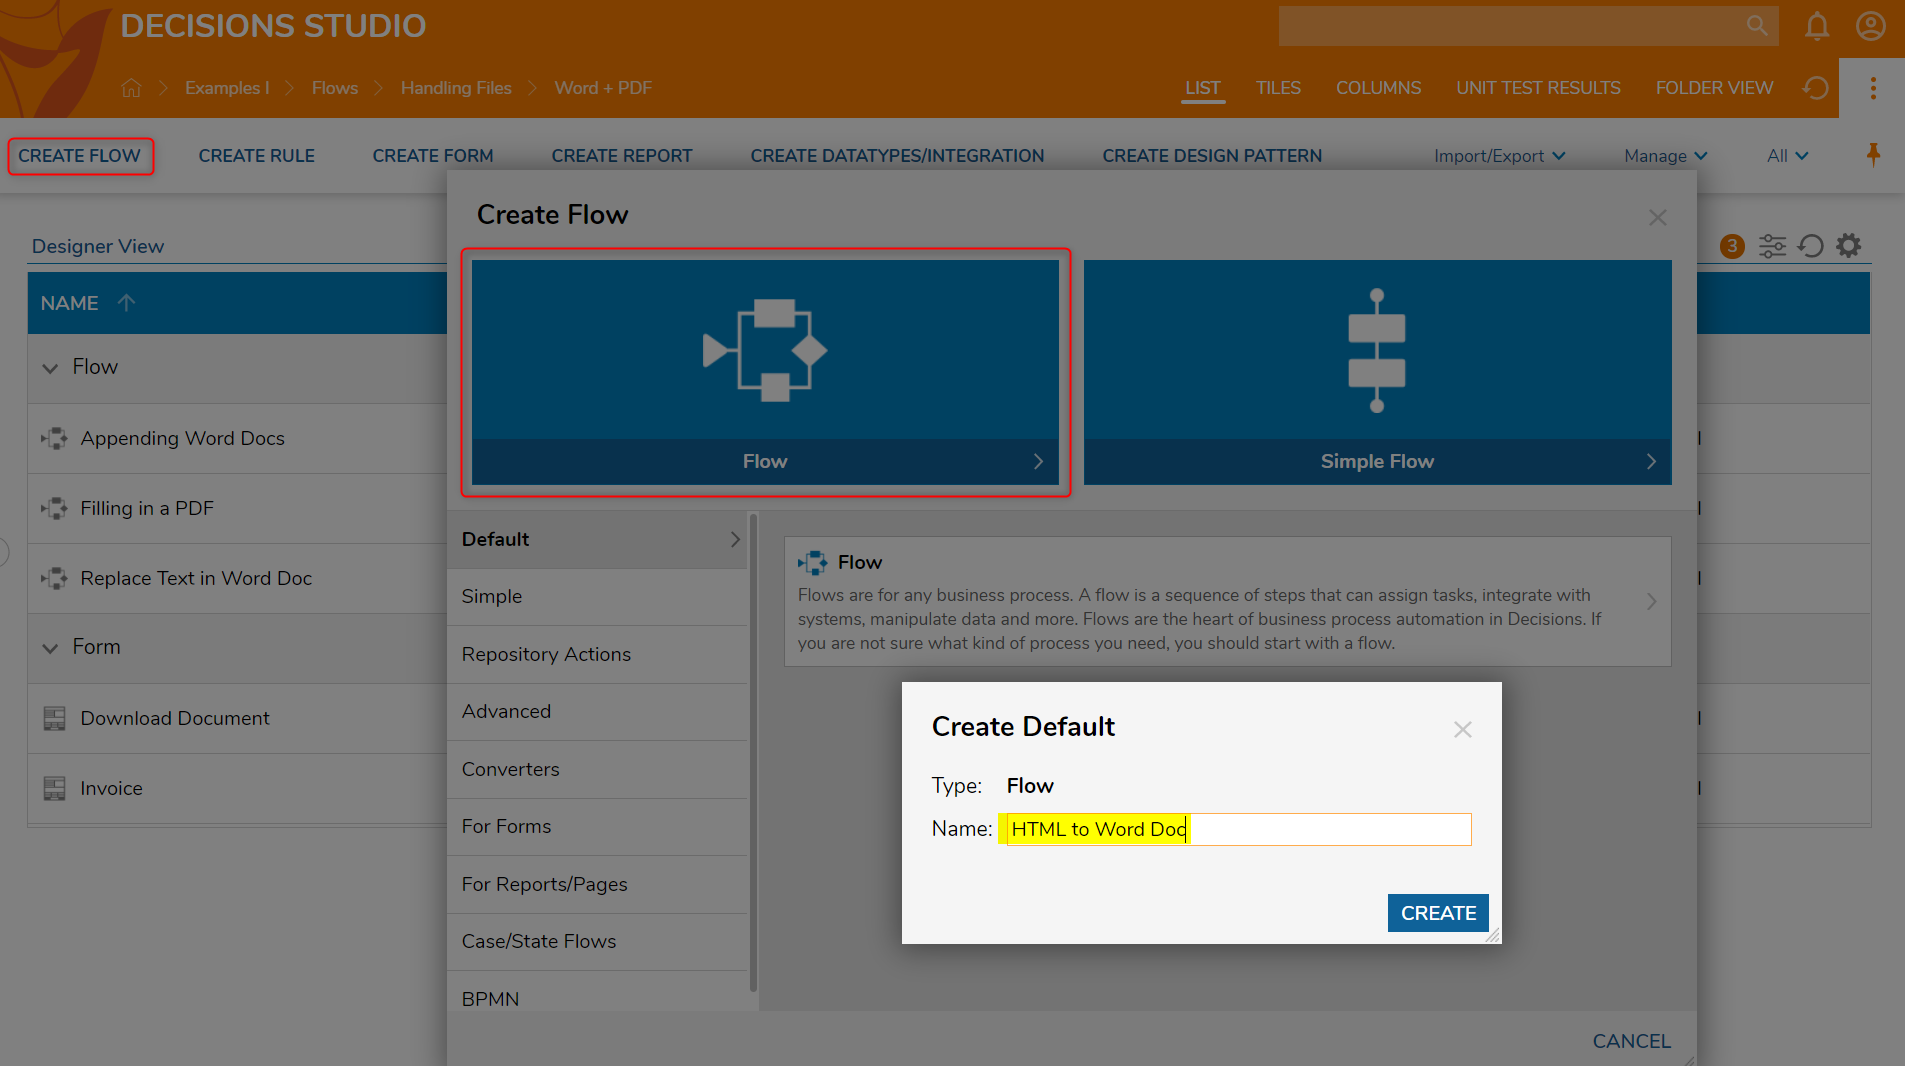
- Begin in a Designer Folder and select CREATE FLOW from the Global Action Bar.
- In the Create Flow window, select the default Flow, name it HTML to Word Doc, and click CREATE.
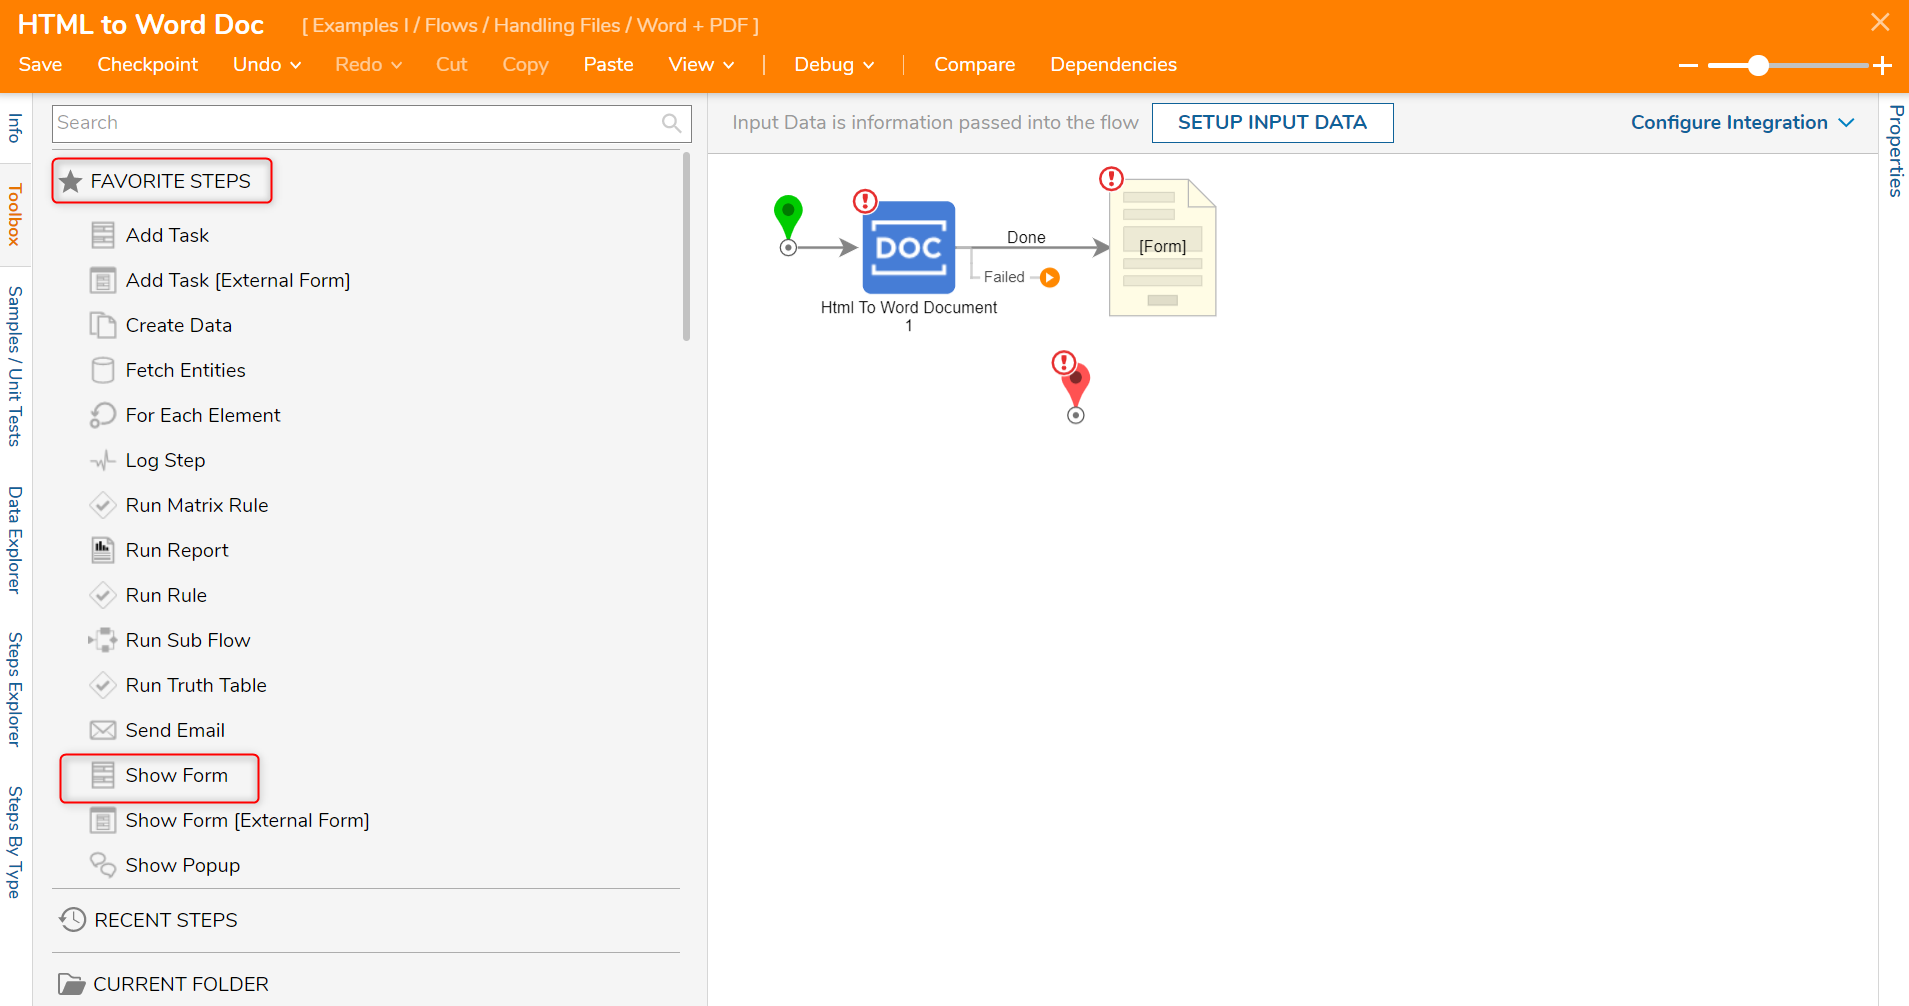
In the Flow Designer, from the Toolbox > DATA > MS WORD category, drag an Html to Word Document step to the workspace and connect it to the Start step.

- Next, from the Toolbox > FAVORITE STEPS category, drag and drop a Show Form step to the workspace and connect it to the Done outcome of the Html to Word Document step.
- In the Properties panel of the Show Form step, select PICK OR CREATE FORM.
- Click CREATE to create a new Form.
- Select the default Form, name it Download HTML Document, and click CREATE.
- In the Form Designer, drag a File Download [OutputFileDocument] and a Button [Done] component to the Form from the Toolbox > FAVORITES category.

- Save and Close the Form to return to the Flow Designer.
- In the Flow Designer, connect the Show Form step outcome [Done] and the Html to Word Document step outcome [Failed] to the End step.
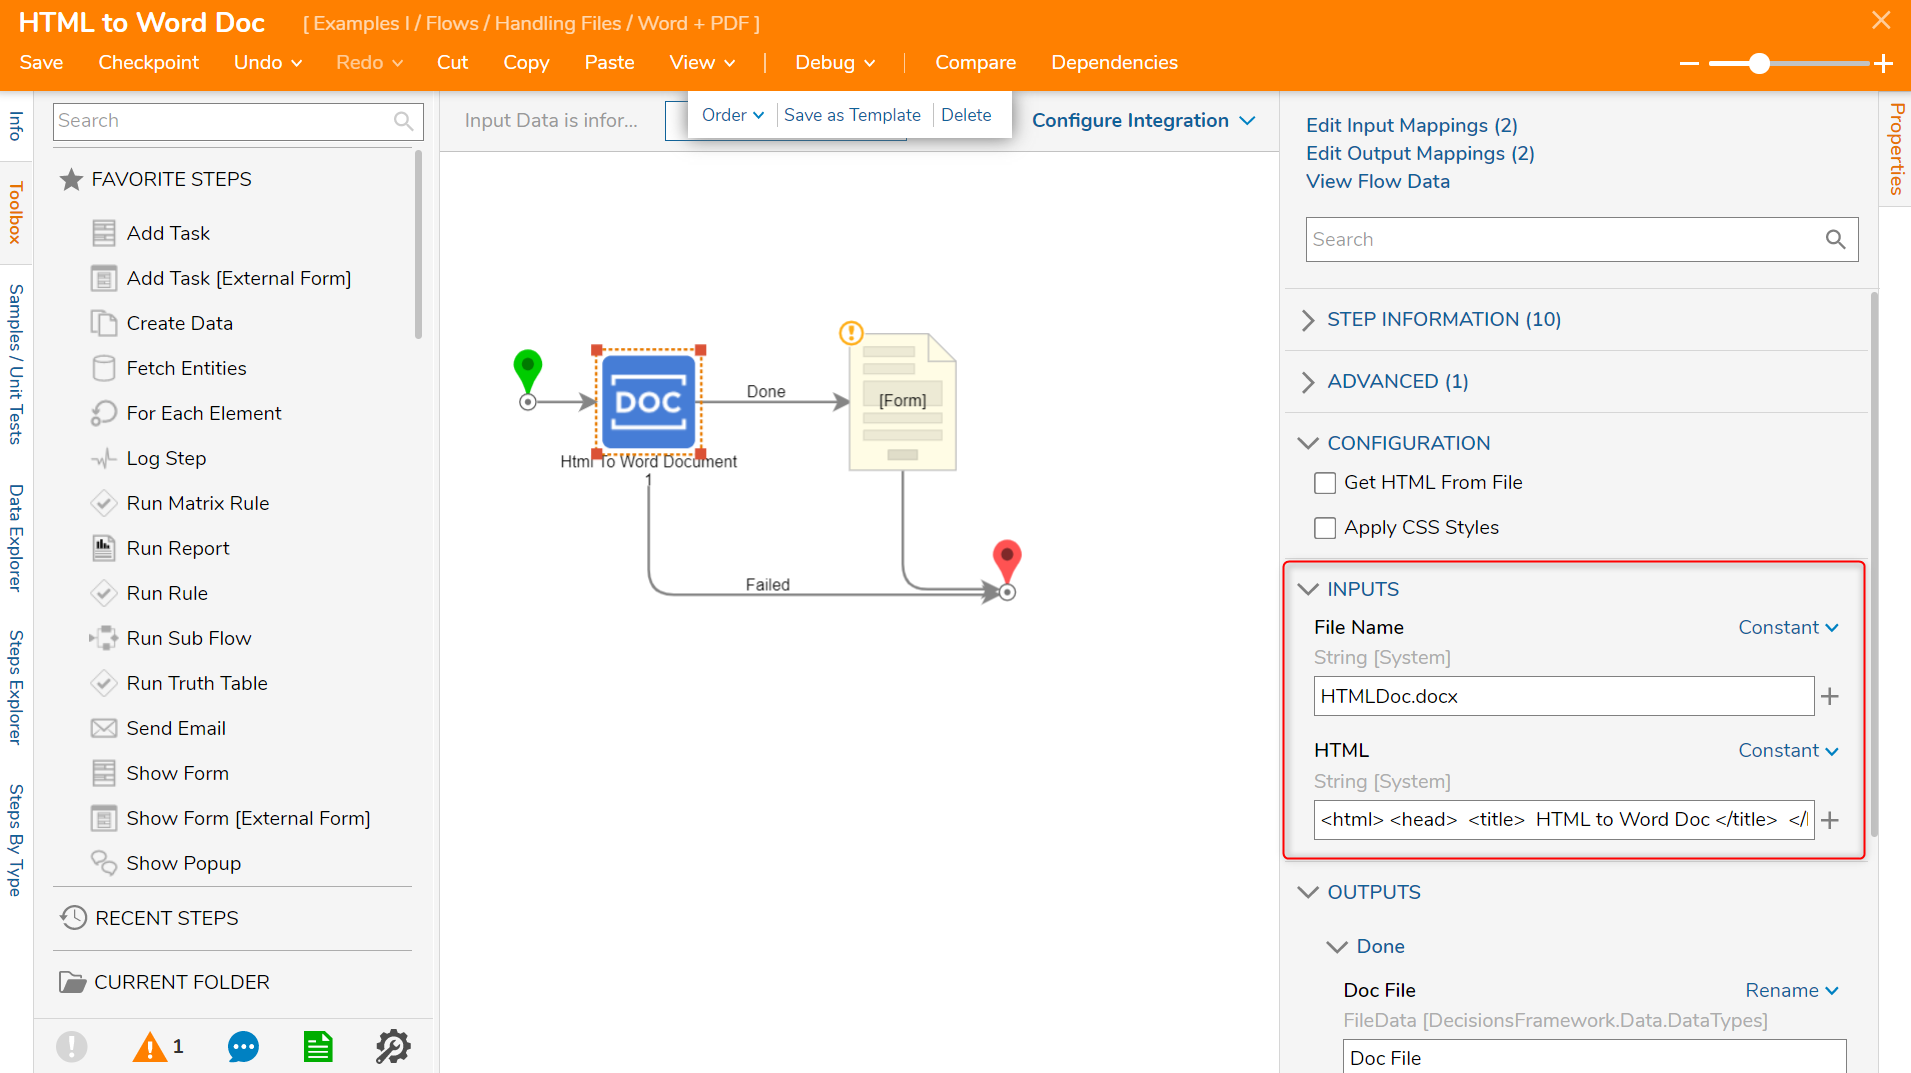
- With the Html to Word Document step selected, under the Properties panel > INPUTS > File Name will have a Constant input mapping and HTMLDoc.docx will be inserted into its value box.
Under INPUTS > HTML, the HTML code mentioned above will be inserted in the value box and the input mapping will be changed to Constant.
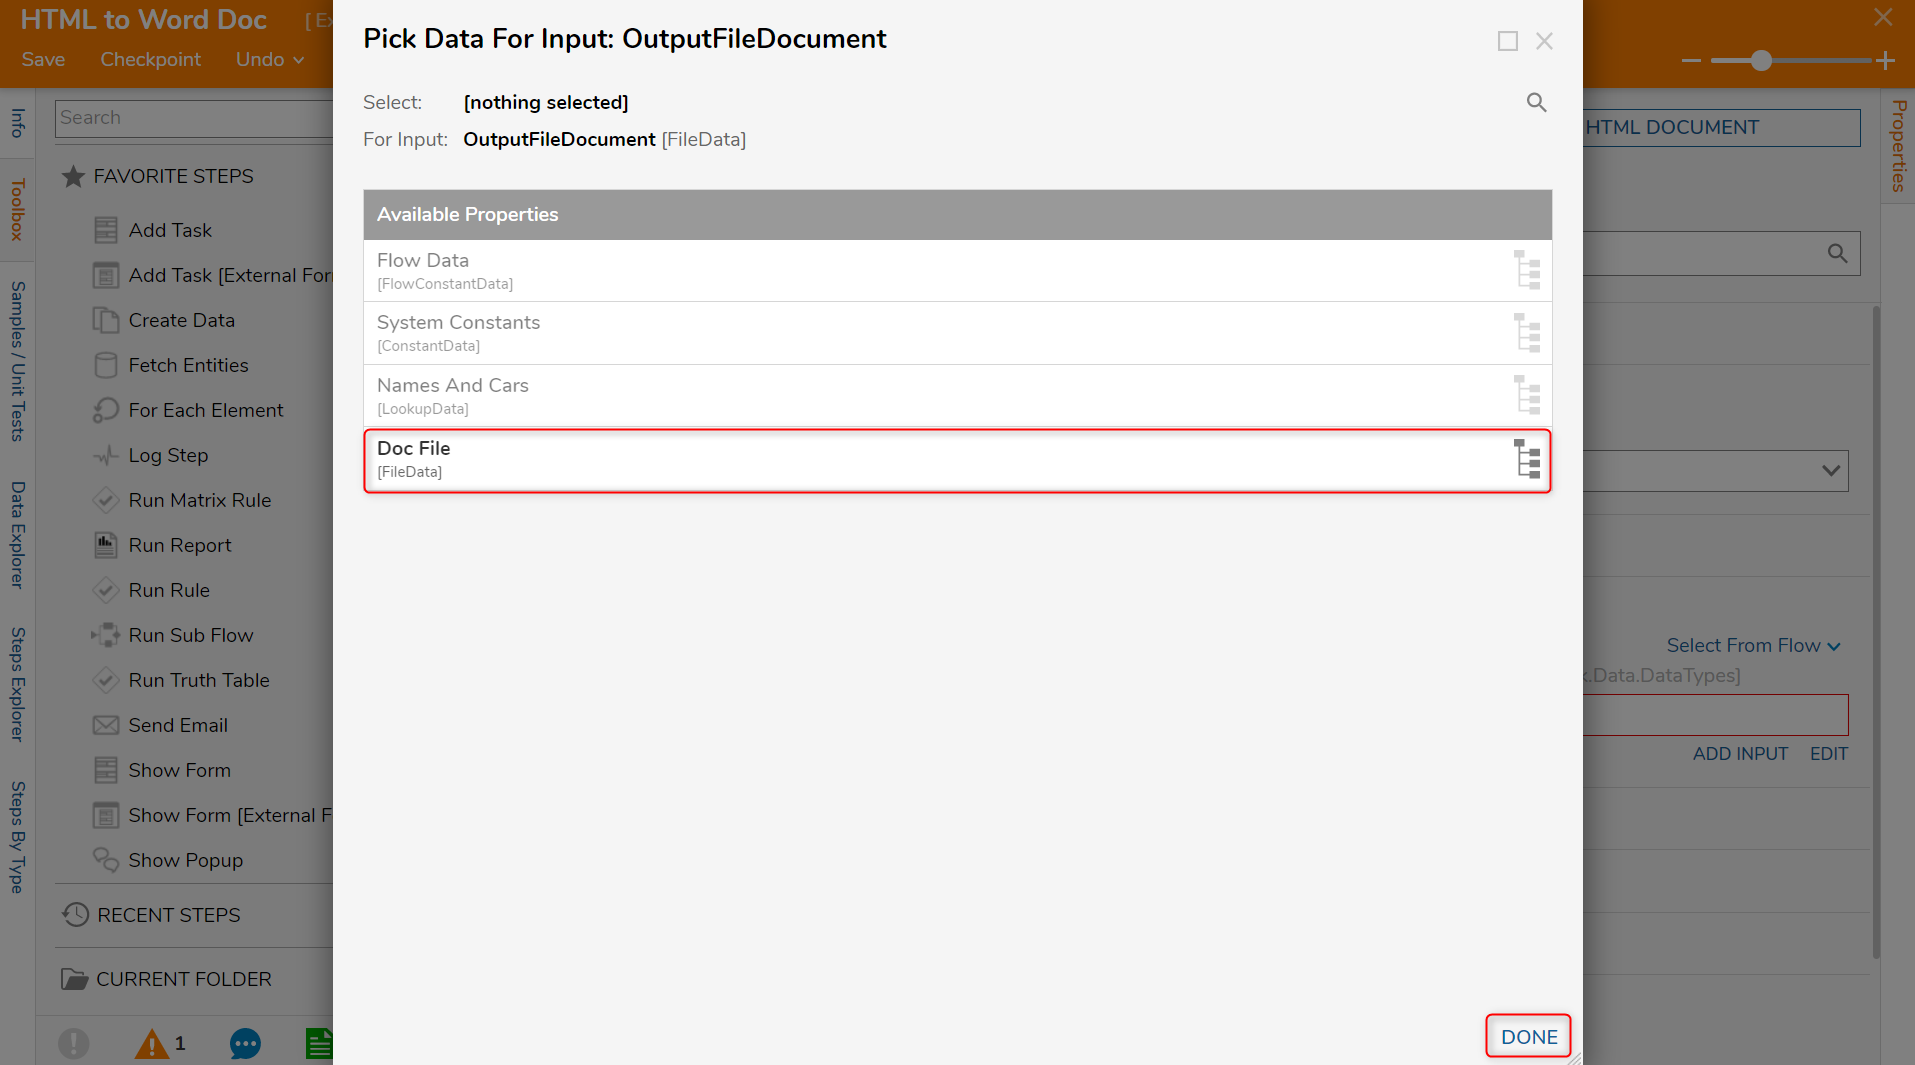
Select the Show Form step and change the input mapping to Select From Flow; select the FileData output from the Html to Word Document step. Click DONE.
The Flow is complete. Click Save.
Debug
Select Debug from the Top Action Bar.
Click START DEBUGGING to begin testing the Flow.
Select Download File and select the file to observe the converted Word Document. Notice the document looks similar to the web document mentioned above.


Was this article helpful?