Respond to Inbound Telephony Conversation
- 28 Jun 2021
- 4 Minutes to read
- Print
- DarkLight
Respond to Inbound Telephony Conversation
- Updated on 28 Jun 2021
- 4 Minutes to read
- Print
- DarkLight
Article Summary
Share feedback
Thanks for sharing your feedback!
Overview
When using a Telephony service like Twilio or Plivo, Decisions can respond to inbound calls using IVR (Interactive Voice Response) Flow.
To set up Telephony service to use the steps below, go to Registering Telephony Service in Portal and Creating a Telephony Handler.
Example
This example will demonstrate steps to configure Decisions to respond to inbound Telephony requests.
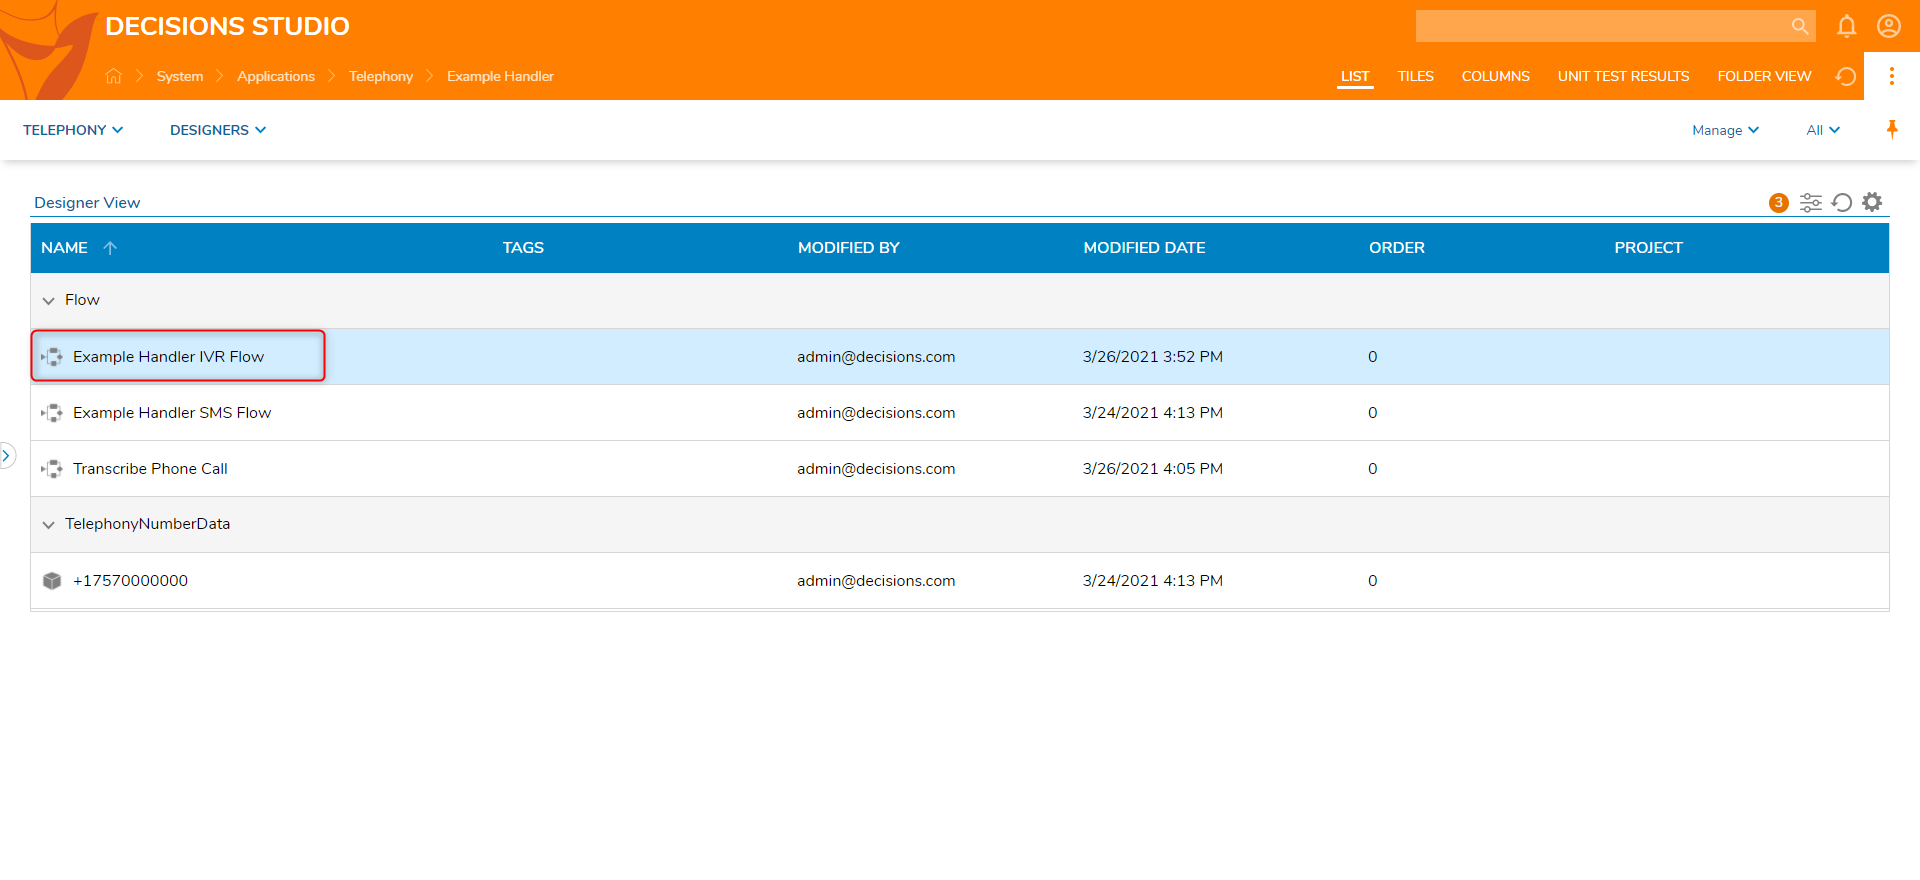
- Navigate to a Telephony Handler and select the IVR Flow. This Flow will run when a number in the Telephony Handler is called.
 The Handler IVR Flow uses CallInitiated type data as input data. This variable will contain all the data received from an inbound IVR request.
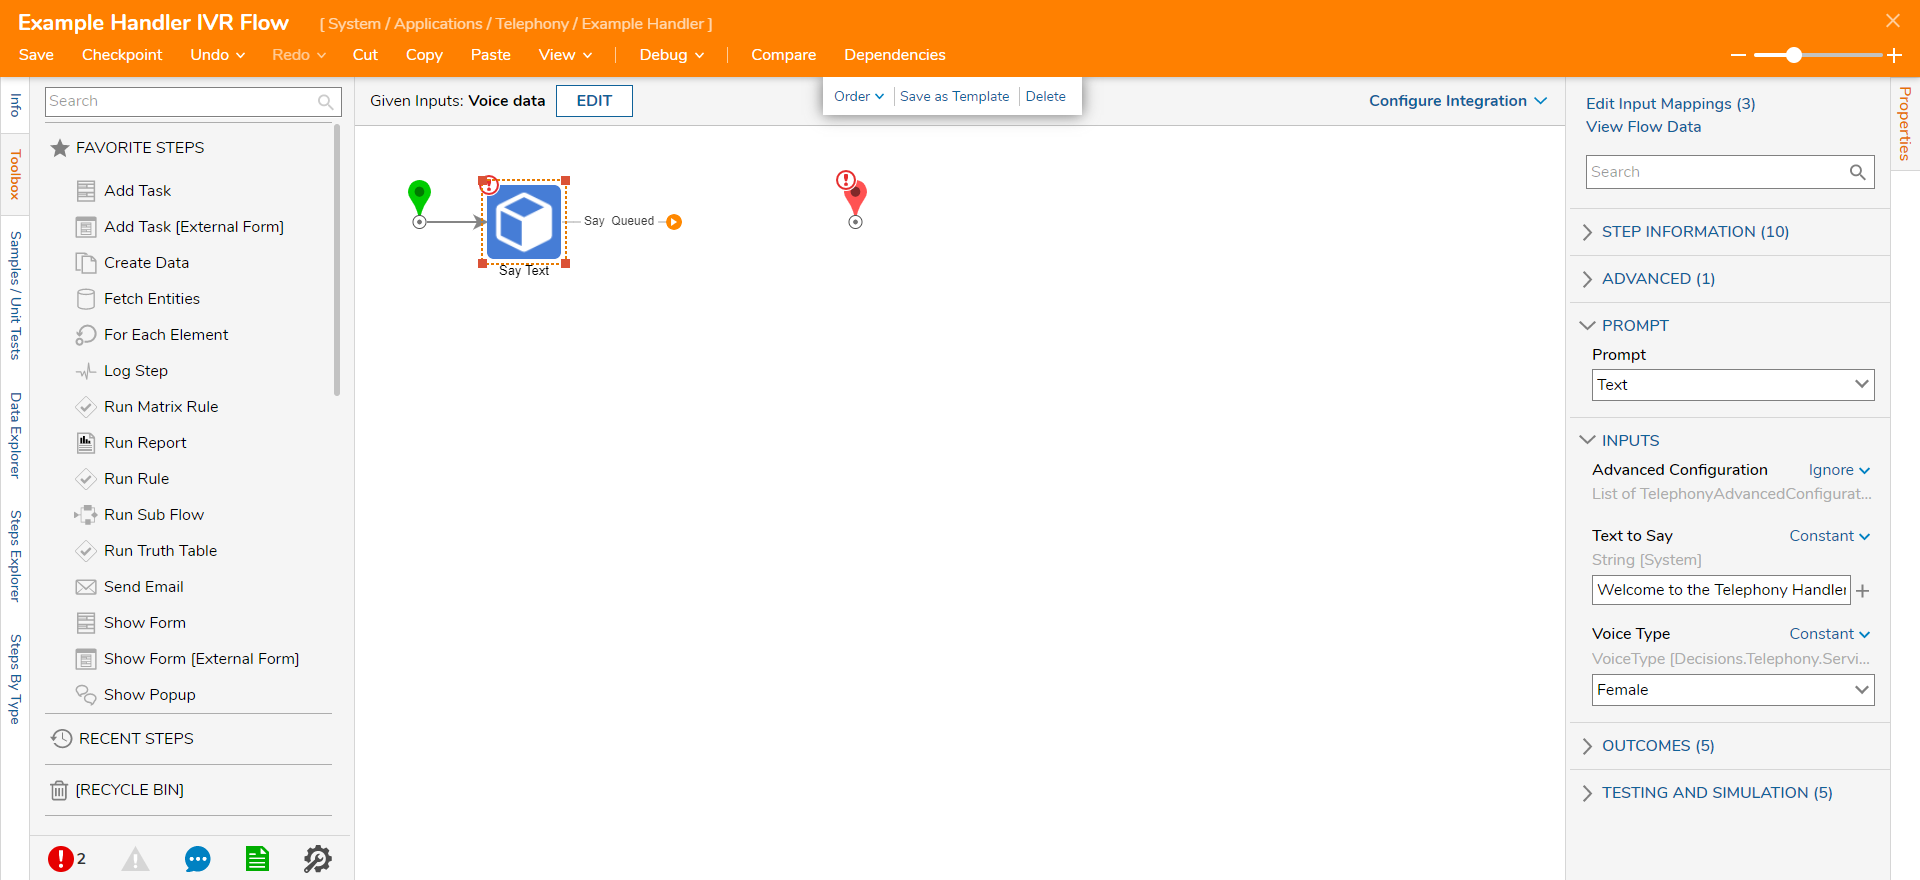
 - On the Start step, click the Done path. Navigate to All Steps [Catalog] > Integration > Twilio > Phone and select the Say Textstep. Then, click ADD. This step can be used to explain the IVR menu to the caller.
Configuration options:
- Prompt: provides a selection of None, RecordingURL (plays an audio file from the supplied URL), RecordingDocument (plays an audio file from the supplied Decisions Document id, ) and Text (will use an automated voice type to read text entered).
- Text to Say: This will use an automated voice to read the text entered.
- Voice Type: This will change the automated response to a Male or Female voice.
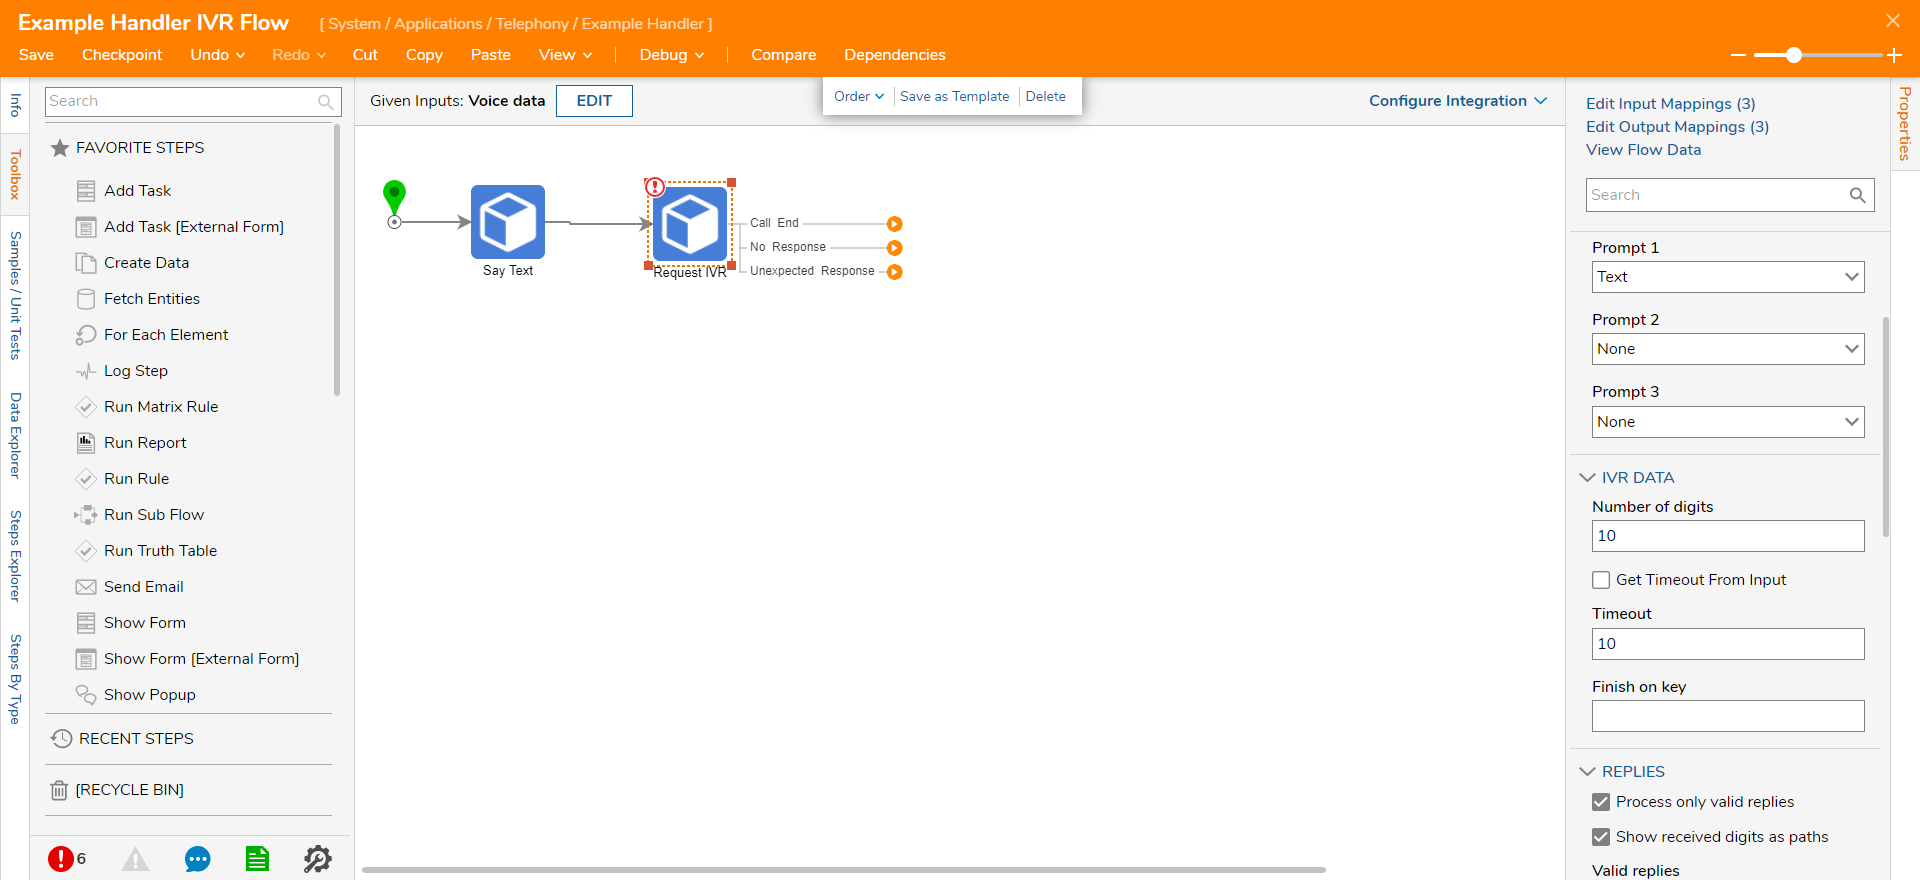
- Click the Say Queued path and navigate to All Steps [Catalog] > Integration > Twilio > Phone. Select Request IVR and click ADD. The Request IVR step can be used to gather IVR data from the caller. When a valid IVR response is received, this step will exit via the Digits Gathered path.Configuration options:
- Prompt 1: This property provides the same functionality as the Say Text step and can be used instead of it. The value of Prompt 1 is read first. If an invalid response is given, the value of prompt 2 is read and then prompt 3.
- Number of digits: The expected number of digits in the IVR response.
- Timeout: The number of seconds to wait for an IVR response. The checkbox “Get Timeout From Input” will let users map this value as input data. If the value is set to -1 the step will wait indefinitely for a response.
- Finish on key: The key to signal the end of an IVR response.
- Process only valid replies: This allows for specified responses to be entered. Any response not in this list will be considered invalid.
- Show Received Digits as Paths: This will create individual paths for the valid responses that are specified.
- Connect the Call End and No Response paths to the End step. Click the Digits Gathered path and navigate to All Steps [Catalog] > Integration > Twilio > Phone. Select Transfer Phone Call and click ADD. The Transfer Phone Call step is used to transfer a phone call to an external or internal Phone Number.Configuration options:
- Time Limit: The time limit in seconds of the phone conversation.
- Record Call: This allows for the conversation to be recorded (RecordFromAnswer, RecordFromRinging, RecordFromAnswerDual,RecordFromRingingDual) or not recorded.
- Timeout: The number of seconds the call rings before ending with No Response. The checkbox “Get Timeout from input” will let users map this value as input data.
- Prompt 1: This property provides the same functionality as the Say Text step and can be used instead of it. The prompt will play before the call is transferred.
- To Phone Numbers: The number or numbers the call will be transferred to.
End Call: This is the path the flow continues down if the call was ended by the caller.
Completed: This is the path that the flow continues down if the person transferred to hangs up the call.
Busy: The phone number the conversation is being transferred to is currently Busy.
No Response: The flow will continue down this path if the Timeout was reached.
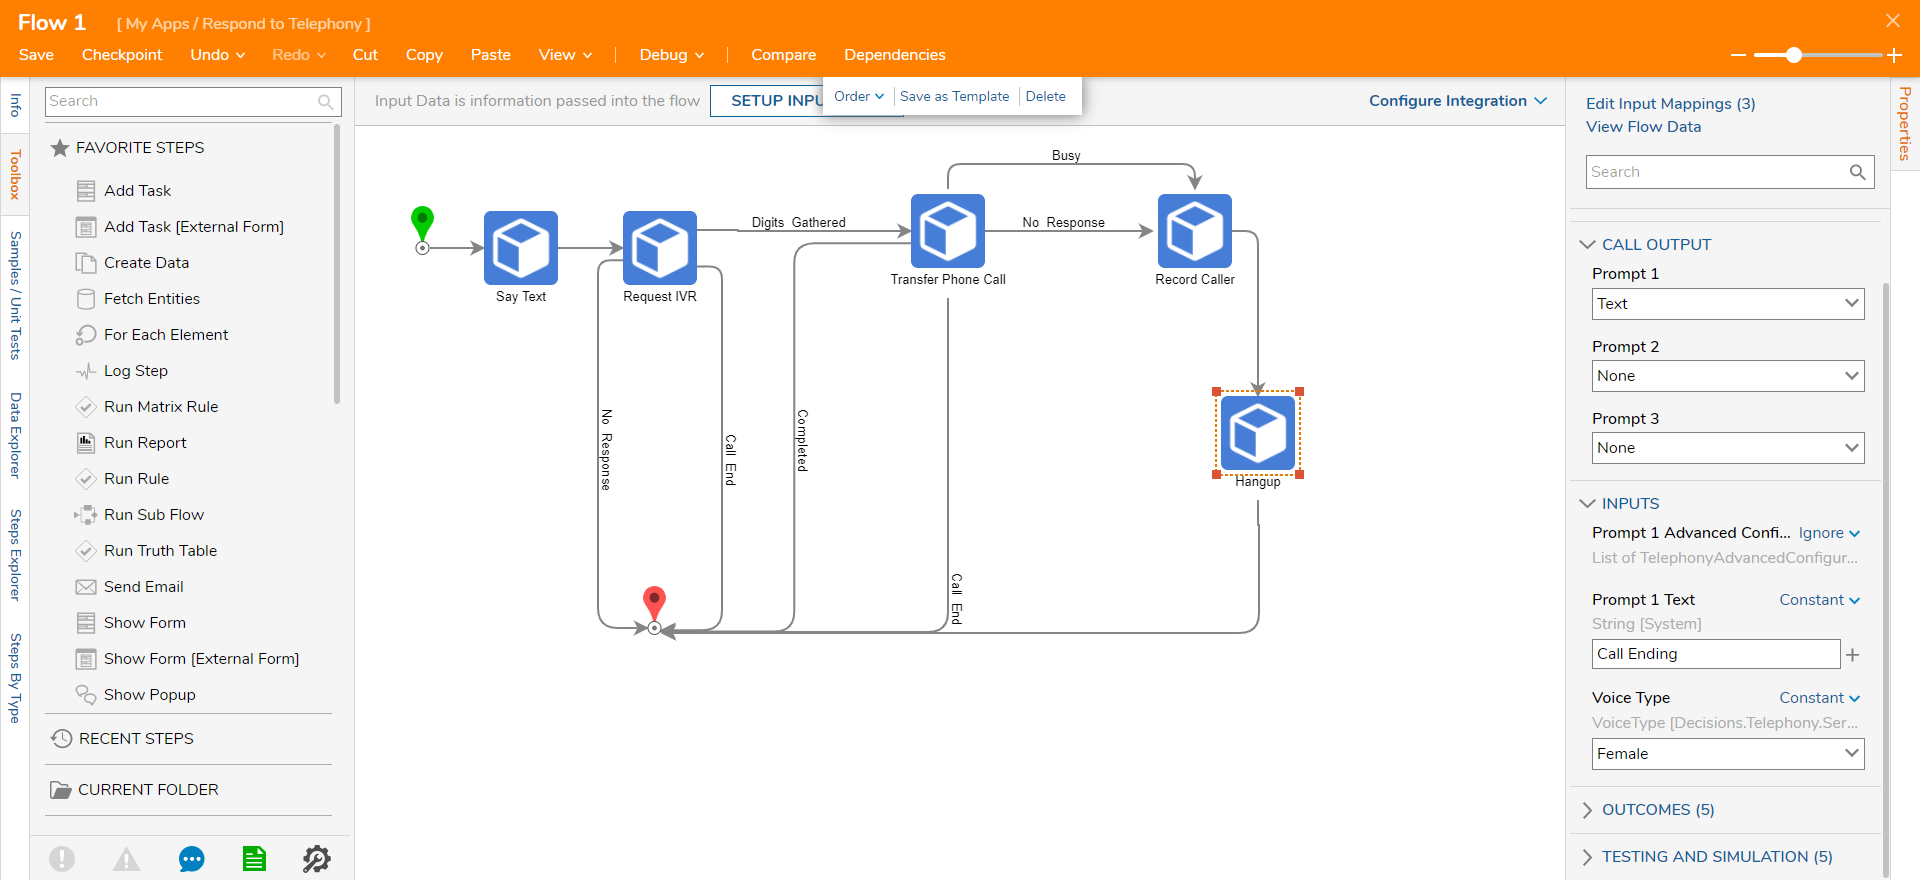
- Connect the Call End and Completed paths to the End step. Click the Busy path and navigate to All Steps [Catalog] > Communication > Telephony > Phone. Select Record Caller and click ADD. Connect the No Responsepath to the Record Caller step. The Record Caller step can be used to record the caller after a beep and/or prompt. Generally, this is used for voicemail type recording and will output a URL to the recording once it is completed.Configuration options:
- Prompt 1: This property provides the same functionality as the Say Text step and can be used instead of it. The prompt will play before the call is recorded.
- Finish Key: The key to signal the end of the recording.
- Timeout: The time limit of the recording in seconds.
- Play Beep: Option to play a tone or not after the prompt is finished.
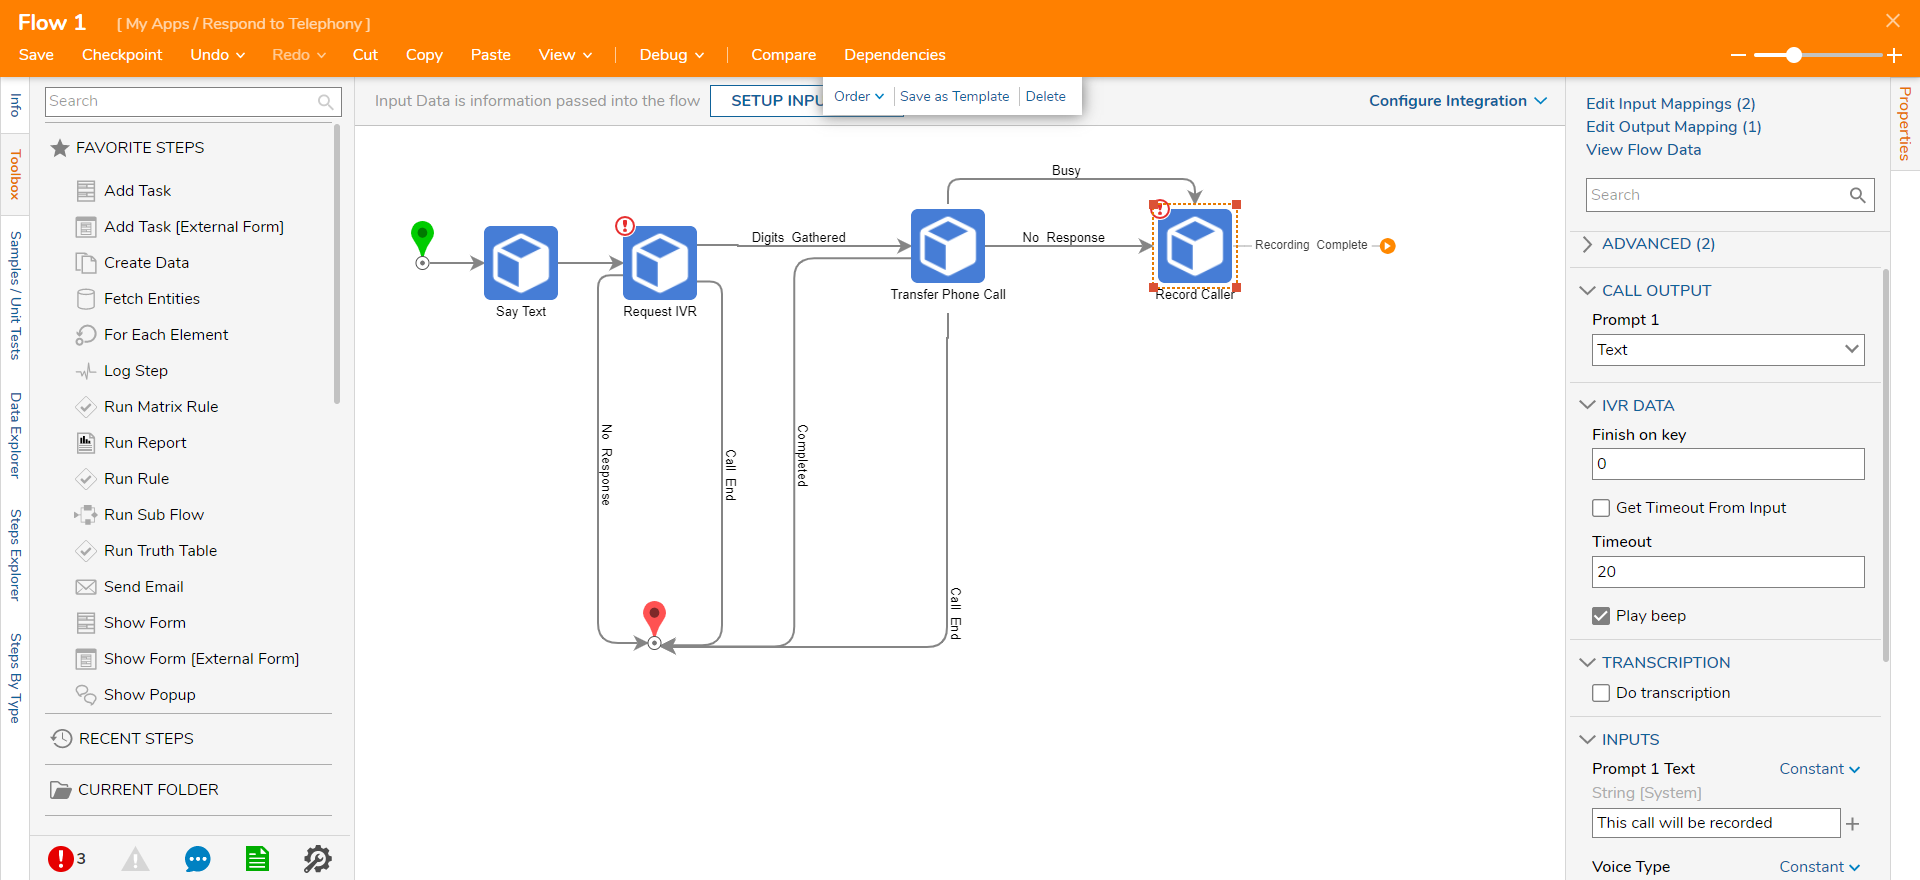
- Select the Recording Complete path and navigate to All Steps [Catalog] > Integration > Twilio > Phone. Select Hangup and click ADD. Then, connect the Hang Up path to the End step. Then, click Save to save changes to the Flow.The Hangup step has similar configuration options as the other steps above. After reading the Prompt value (if any) the step hangs up the call.


Was this article helpful?