Handling Large Drop Down Lists
- 16 Jun 2021
- 2 Minutes to read
- Print
- DarkLight
Handling Large Drop Down Lists
- Updated on 16 Jun 2021
- 2 Minutes to read
- Print
- DarkLight
Article Summary
Share feedback
Thanks for sharing your feedback!
Overview
The Decisions Form designer offers a multitude of tools that can be used to collect information via user input from a Form. One such method is the selection of data from a drop down component; these data options can be static values or dynamically populated via a Flow. The following article will explain how a Flow can be used to dynamically populate a drop down component with a large list utilizing user-typed Strings of text.
It is best practice to assume a large list contains more than 50 data options.
Example
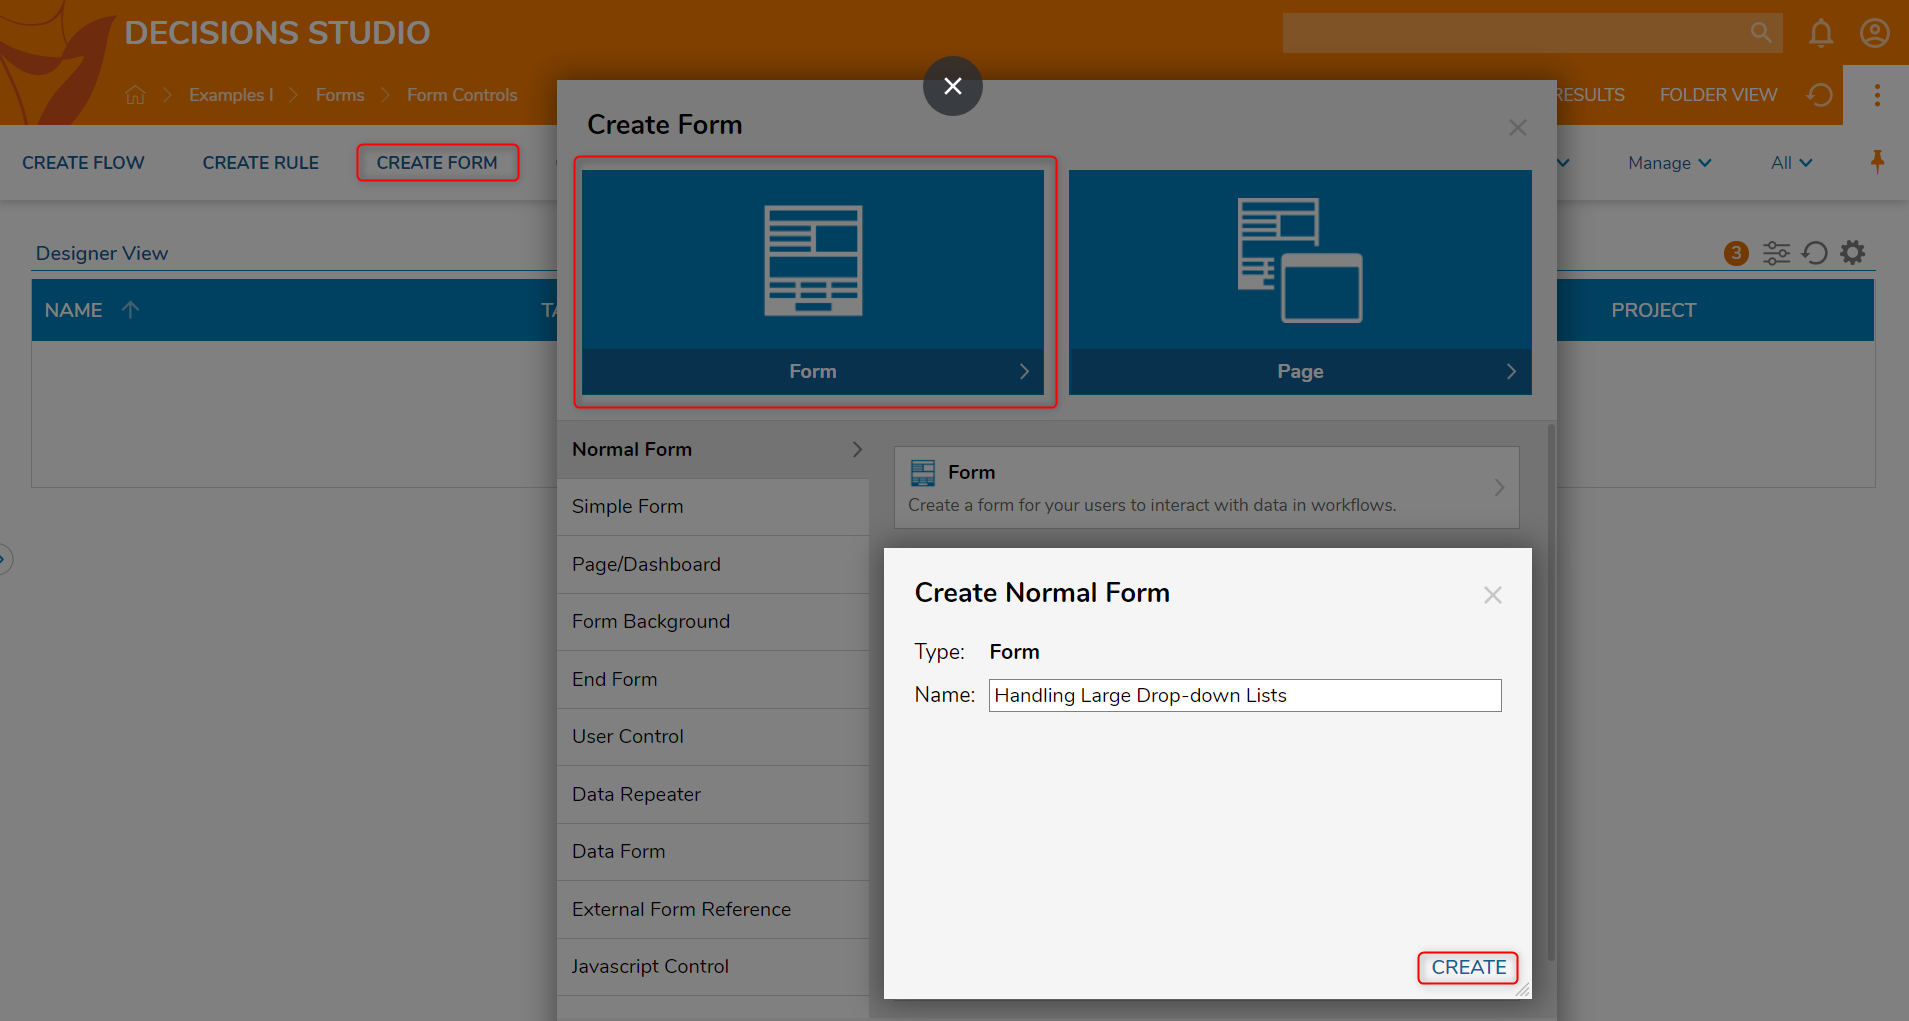
Navigate to any Designer Folder and select CREATE FORM from the top toolbar.
In the resulting Create Form dialog box, select and name the Normal Form.
Select CREATE to open the Form Designer.
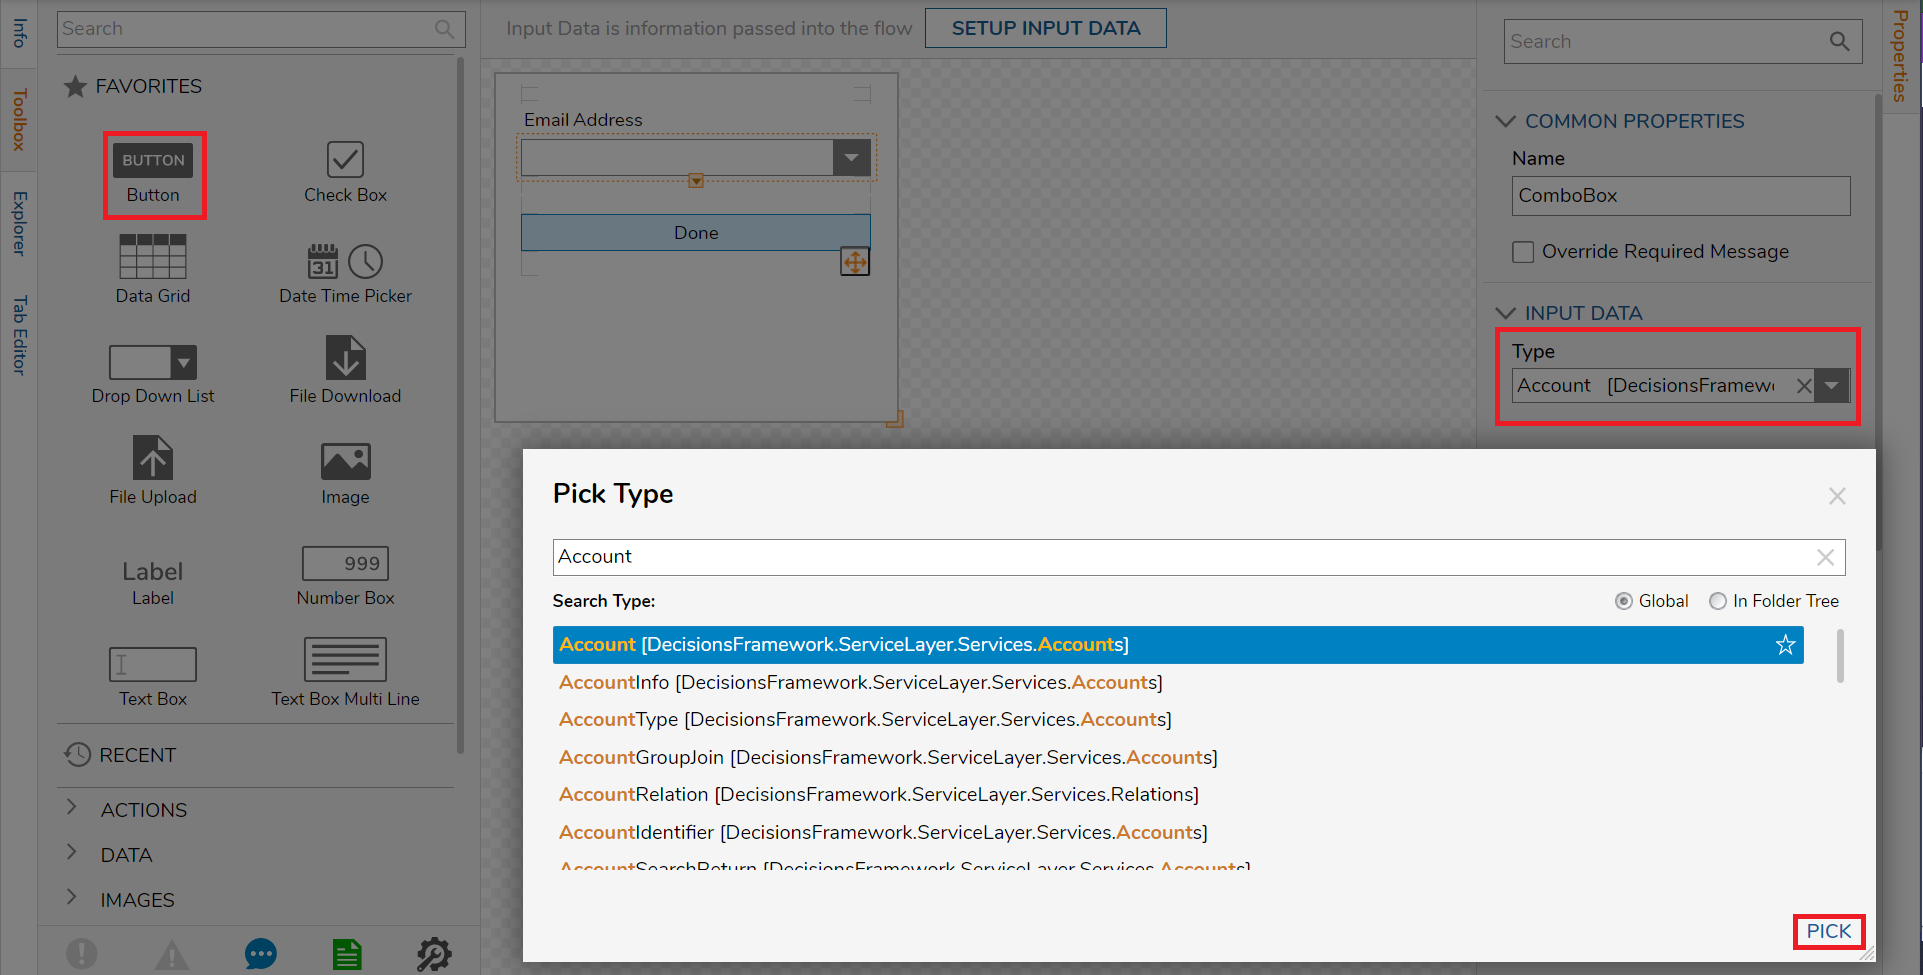
In the Form Designer, in the Toolbox tab located on the left side, select and drag Drop Down List from the FAVORITES section.
Drag and label a Button from the FAVORITES section, place it under Drop Down List.
Next, in the Input Data > Type drop down component select All/Search and search for "Account". PICK the first option.
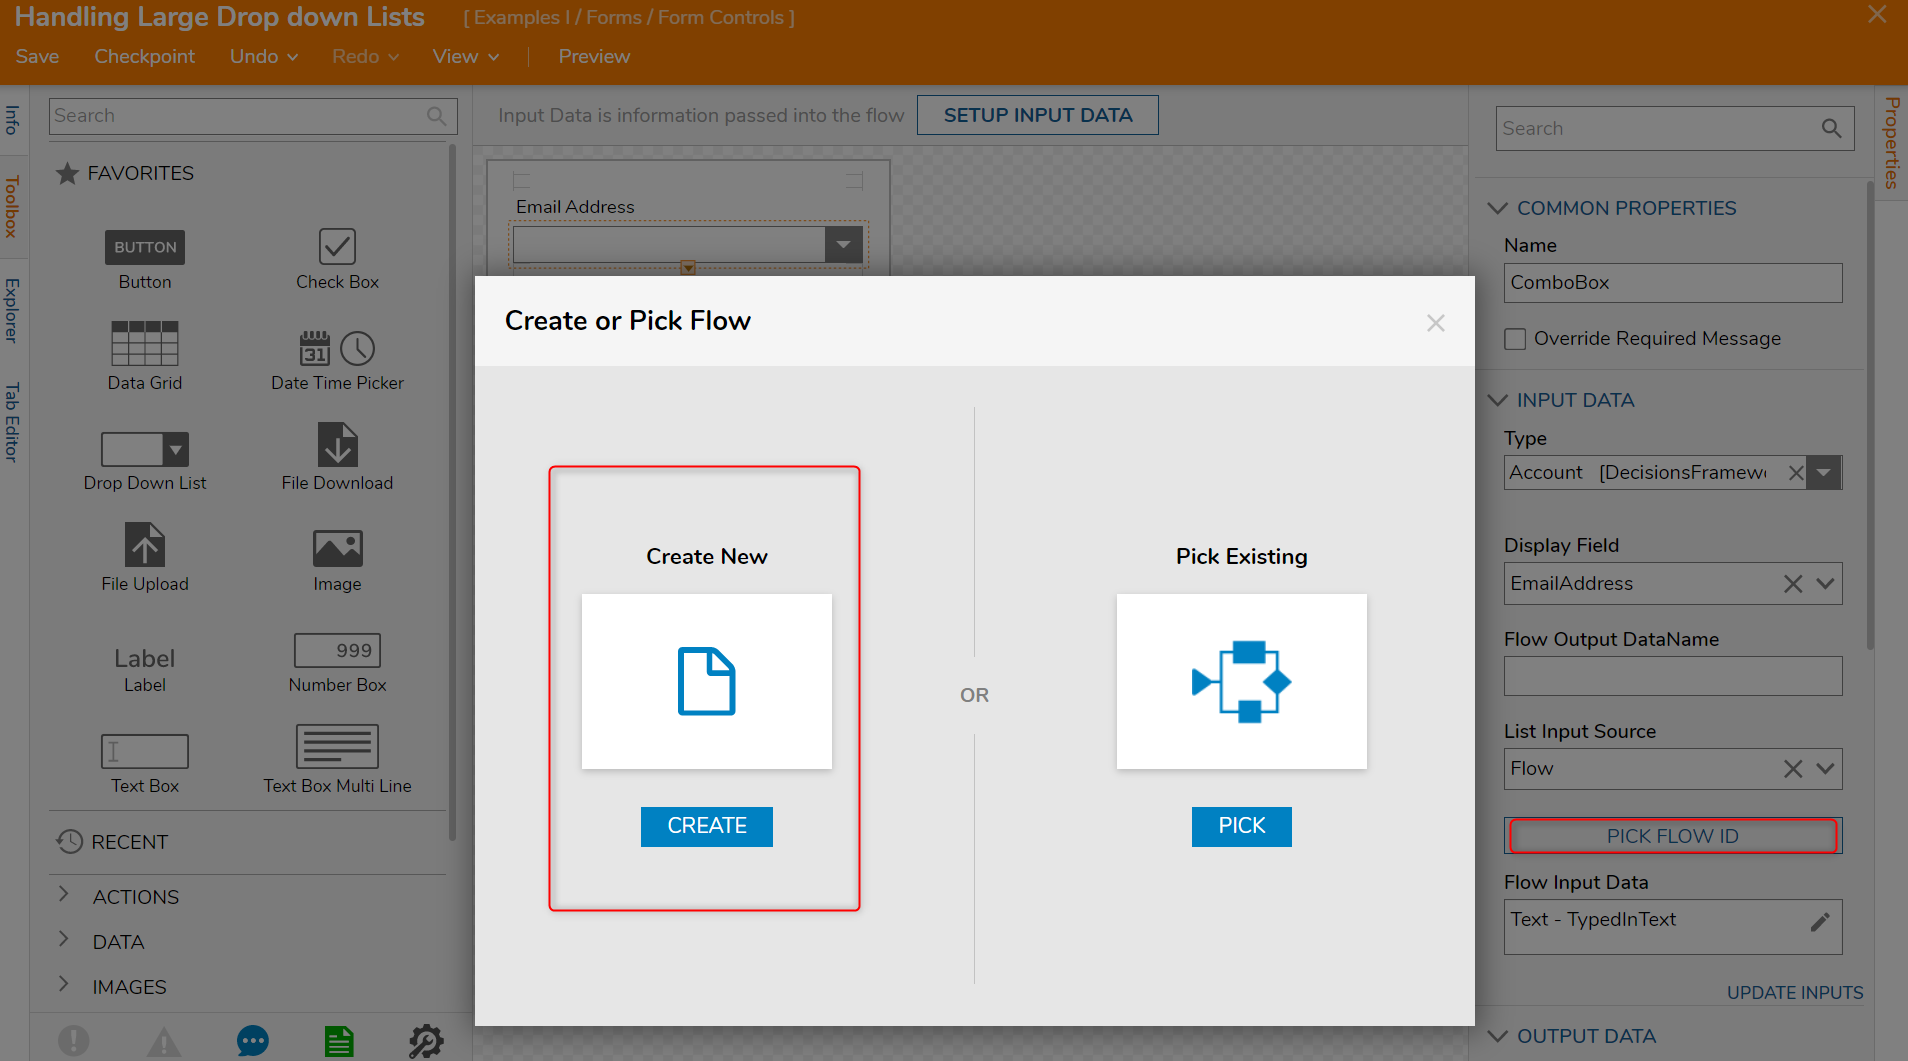
- Select EmailAddress from Input Data > Display Field.
Select Flow from Input Data > List Input Source.
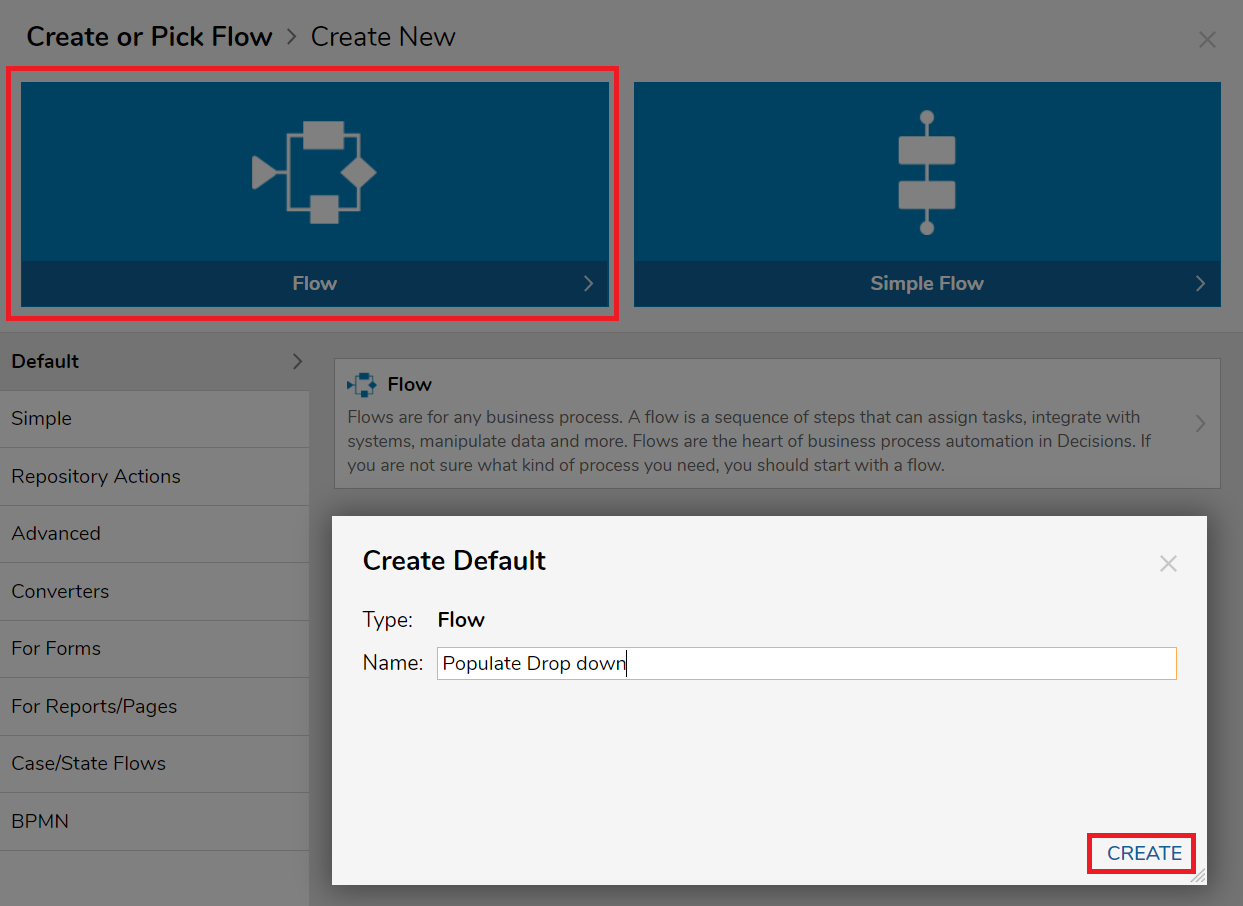
Next, after selecting the PICK FLOW ID box, click CREATE from the resulting CREATE or PICK FLOW dialog window.
Select and name the default Flow option. Click CREATE and this will open the Flow Designer.
Select the Start step to navigate to its Properties tab.
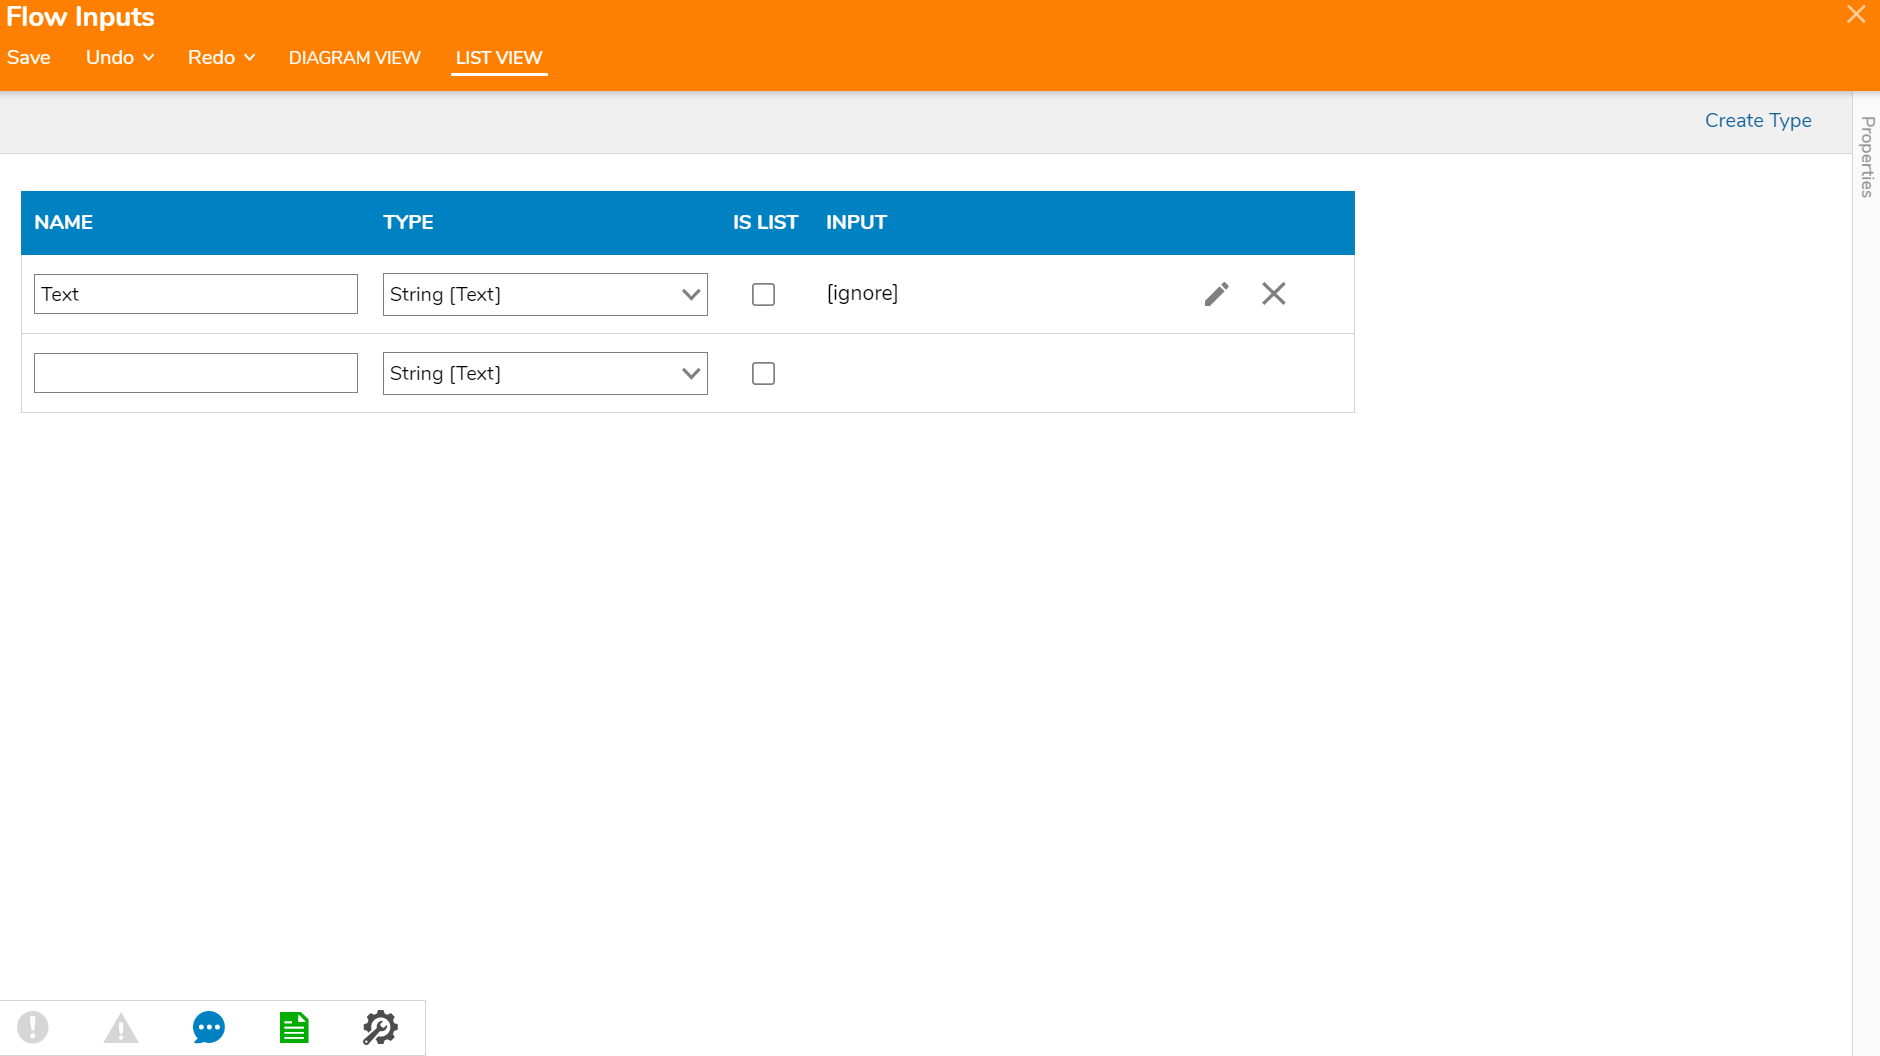
Under FLOW INPUTS > Flow Input Data, select SHOW EDITOR.
From the Flow Inputs window, configure one String [Text] type with the Name "Text" then click CLOSE.
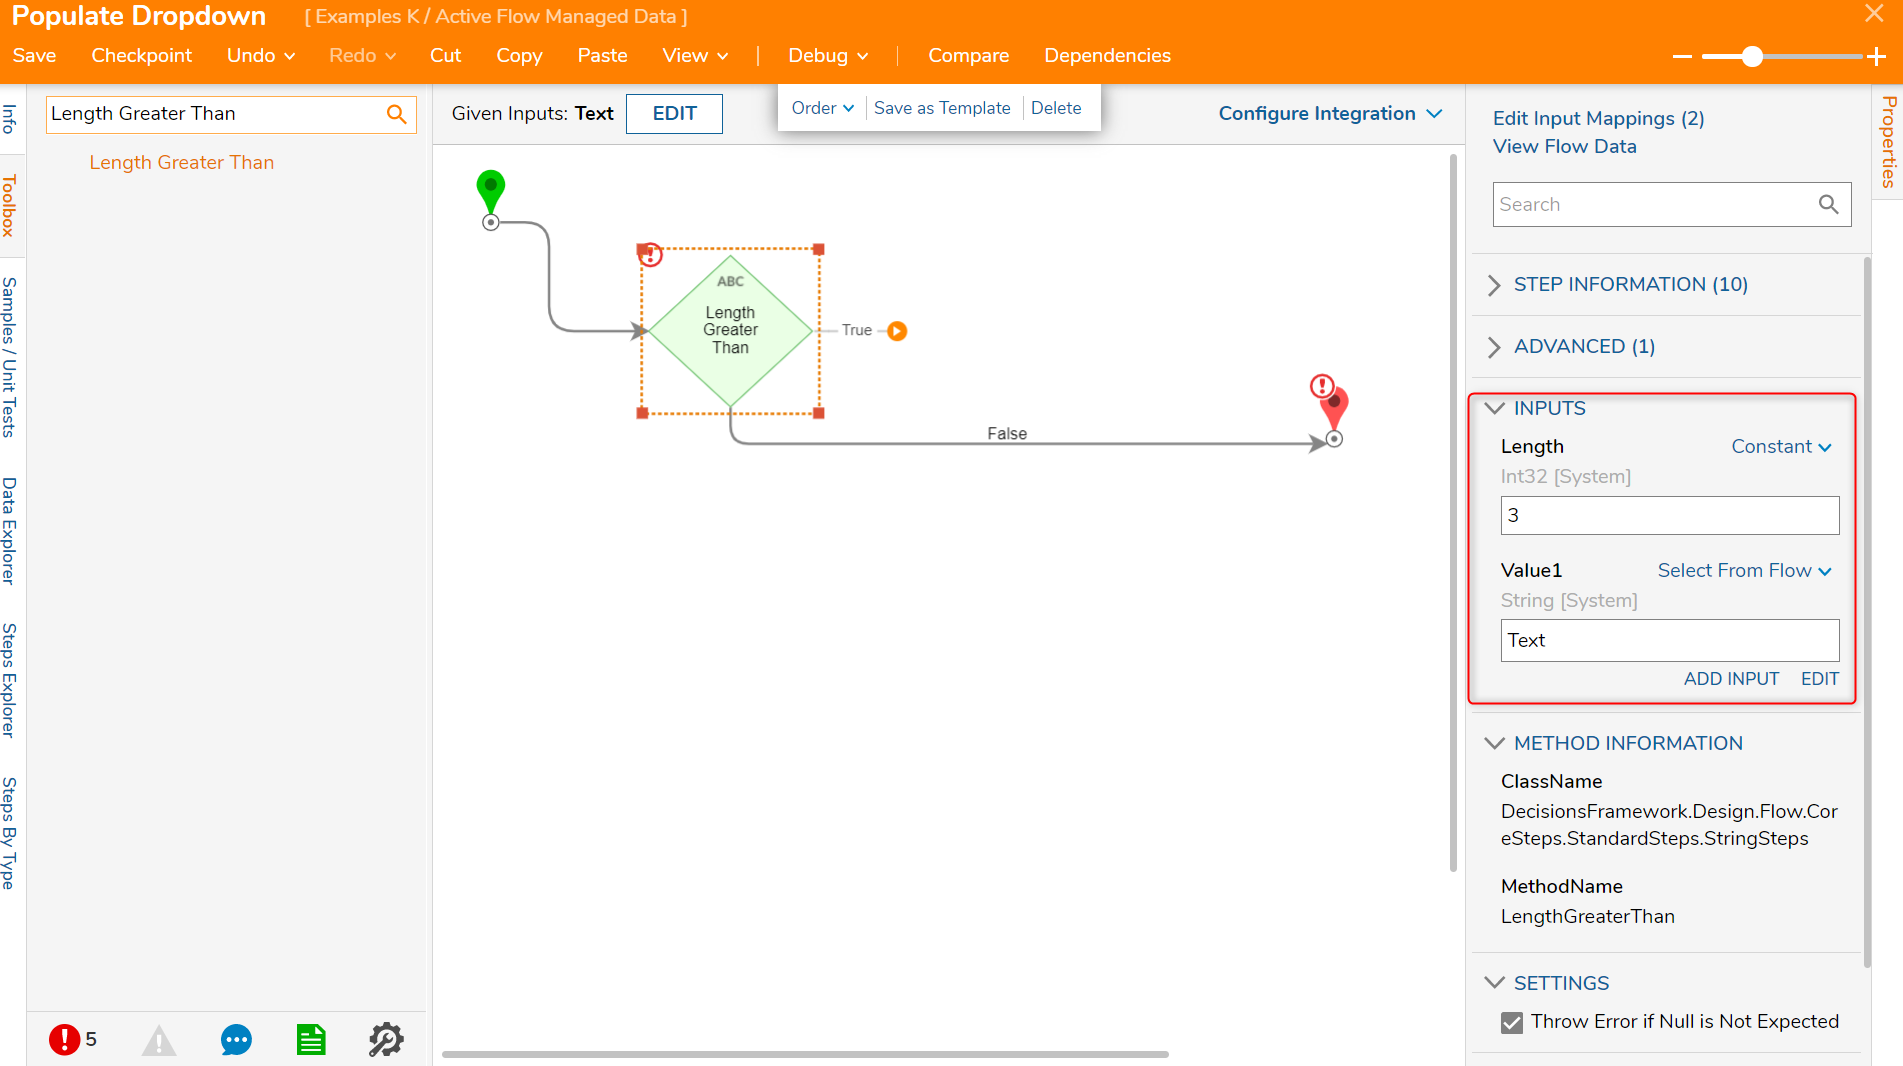
From the Toolbox panel, drag and connect a Length Greater Than step to the Start step.
Select the Length Greater Than step and use a Constant mapping of three under Inputs > Length.
Using the Select From Flow mapping on Inputs > Length, choose the String [Text] from the Start step.
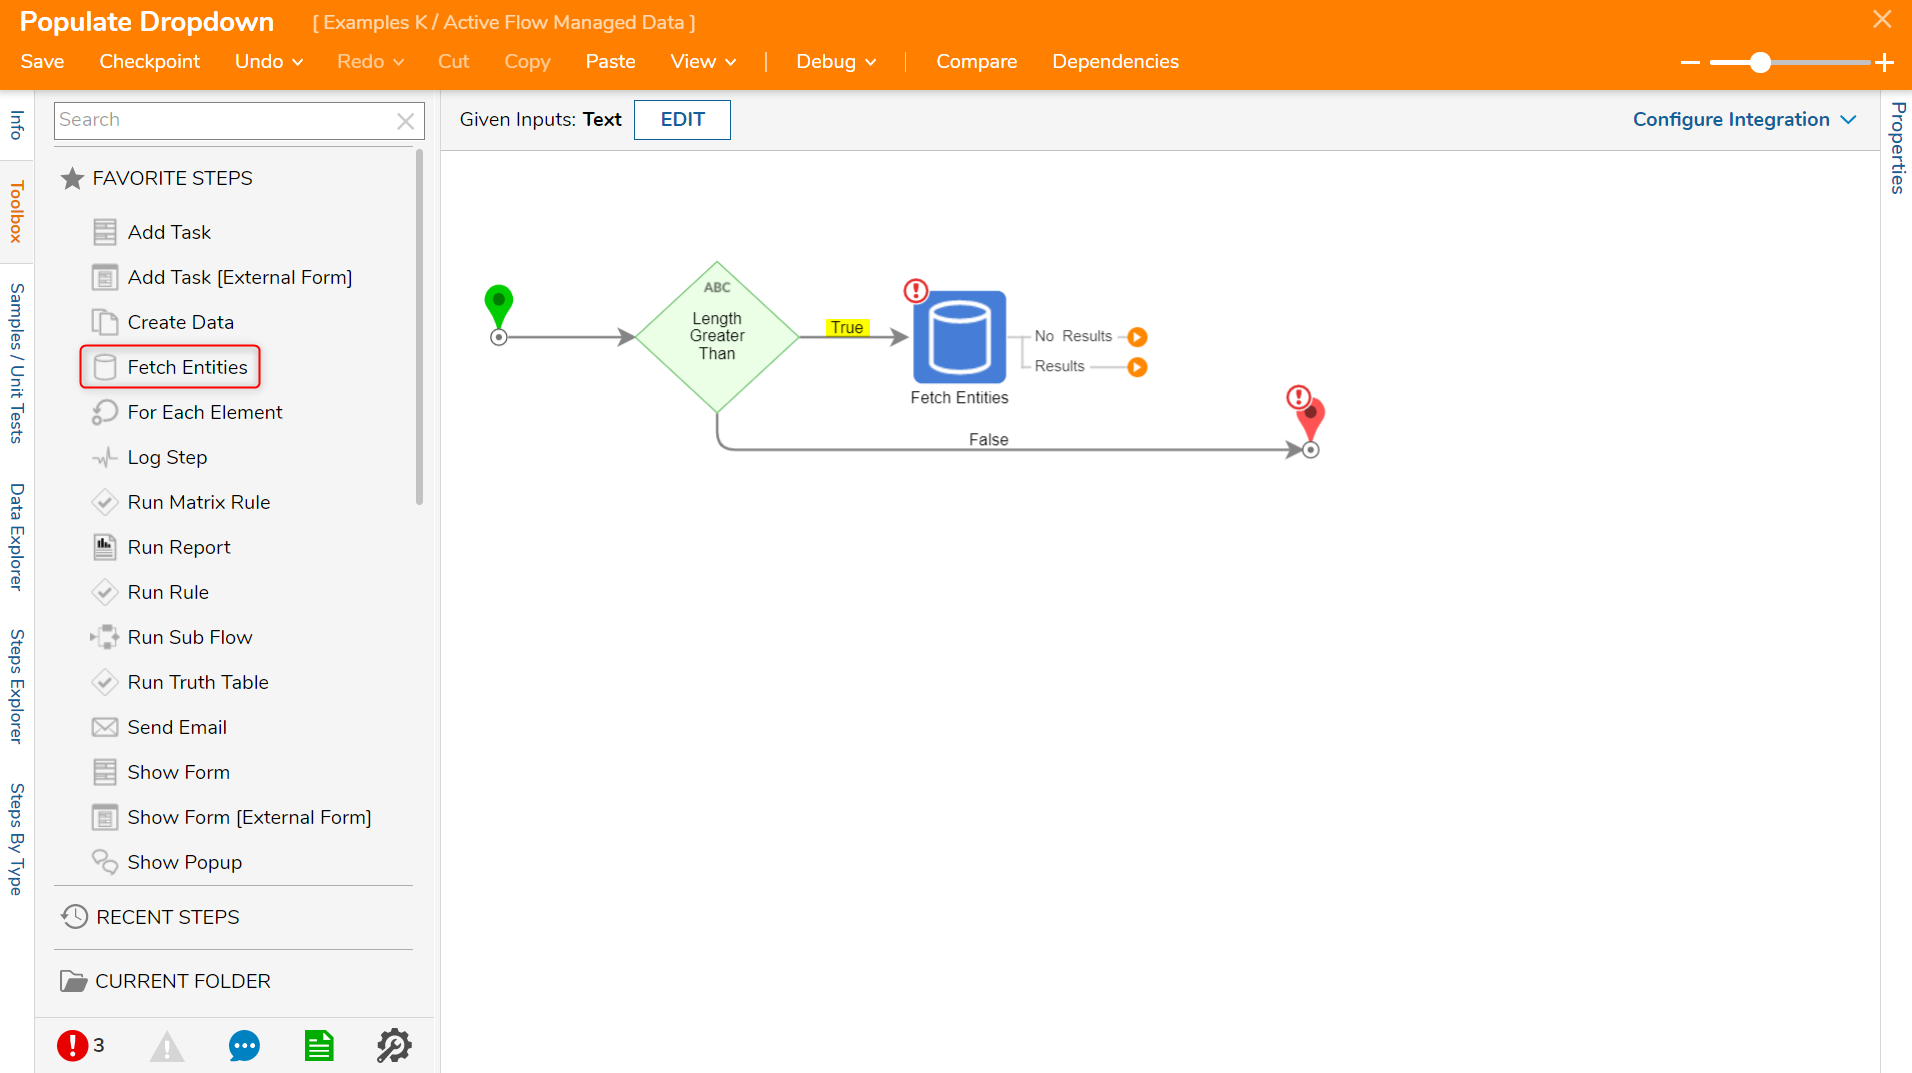
From Toolbox > FAVORITE STEPS, pull and attach a Fetch Entities step to the 'True' path from the previous step.
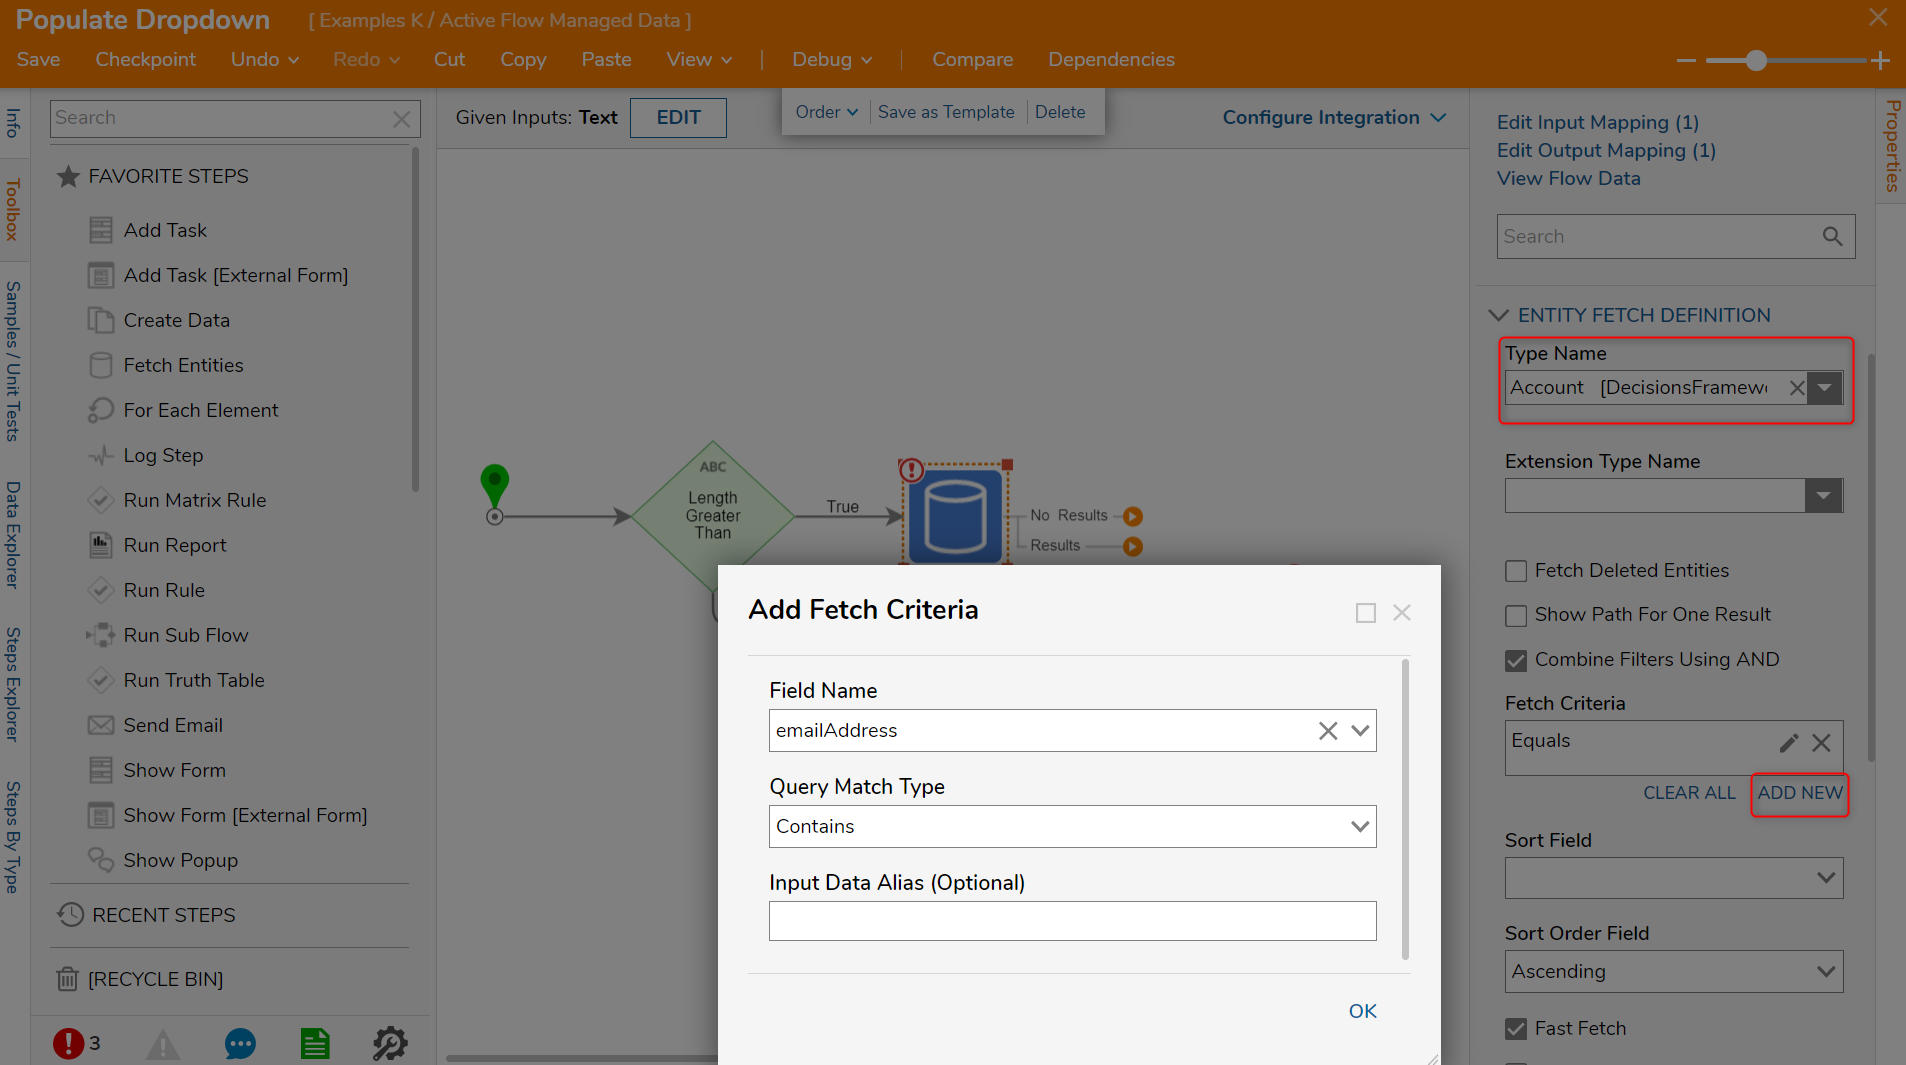
In the Properties panel, under ENTITY FETCH DEFINITION > Type Name select Account from the All/Search result.
Under ENTITY FETCH DEFINITION > Fetch Criteria select ADD NEW.
Under Add Fetch Criteria > Field Name select emailAddress.
Under Add Fetch Criteria > Query Match Type select Contains. Then click OK.
Using a Select From Flow mapping under Inputs > Email Address, select String [Text].
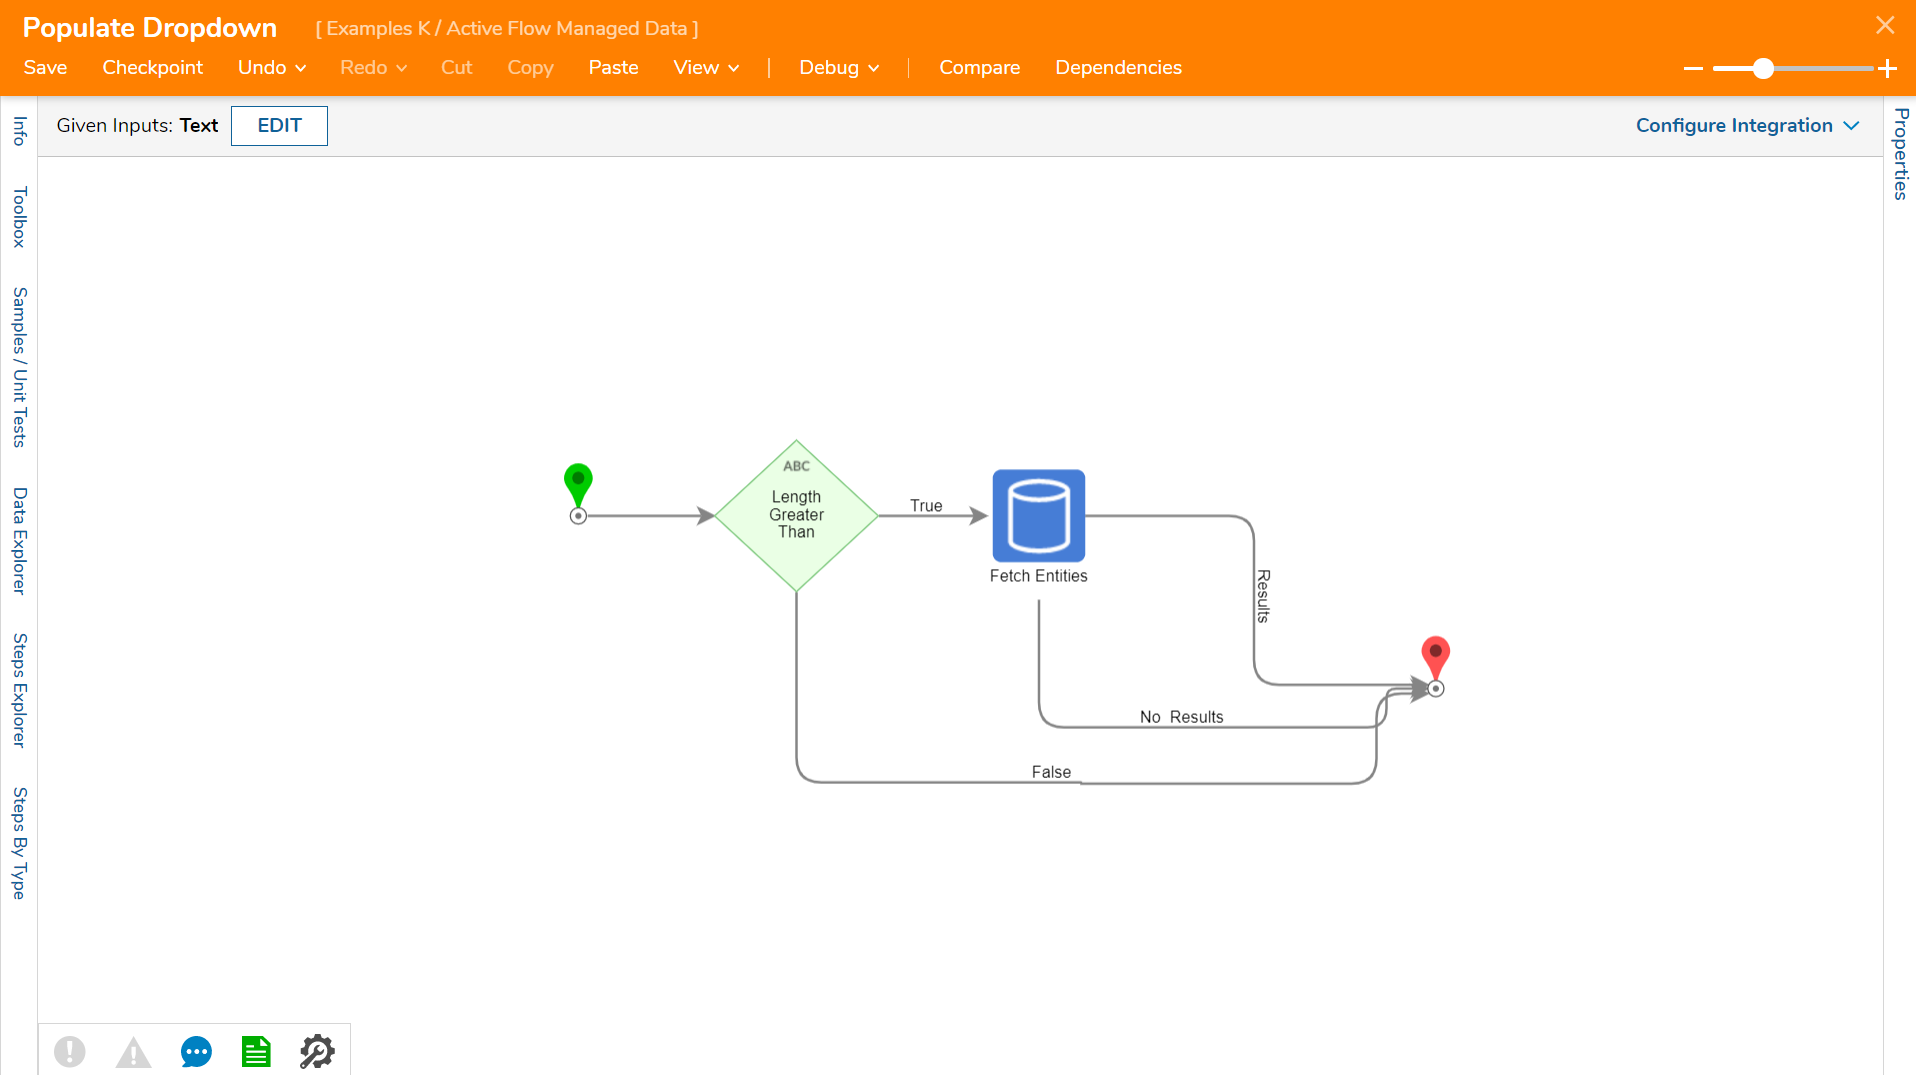
Connect the Results, No Results, and False lines to the End step.
- With the End step selected, navigate to the Properties panel > Pick From Current Data section and enable the EntityResults checkbox.
Save and Close Flow Designer.
Save and Close Form Designer.
Select CREATE FLOW from the top toolbar.
Choose and name Default Flow. Click CREATE.
From the Toolbox > FAVORITE STEPS drag and attach a Show Form step to the Start Step.
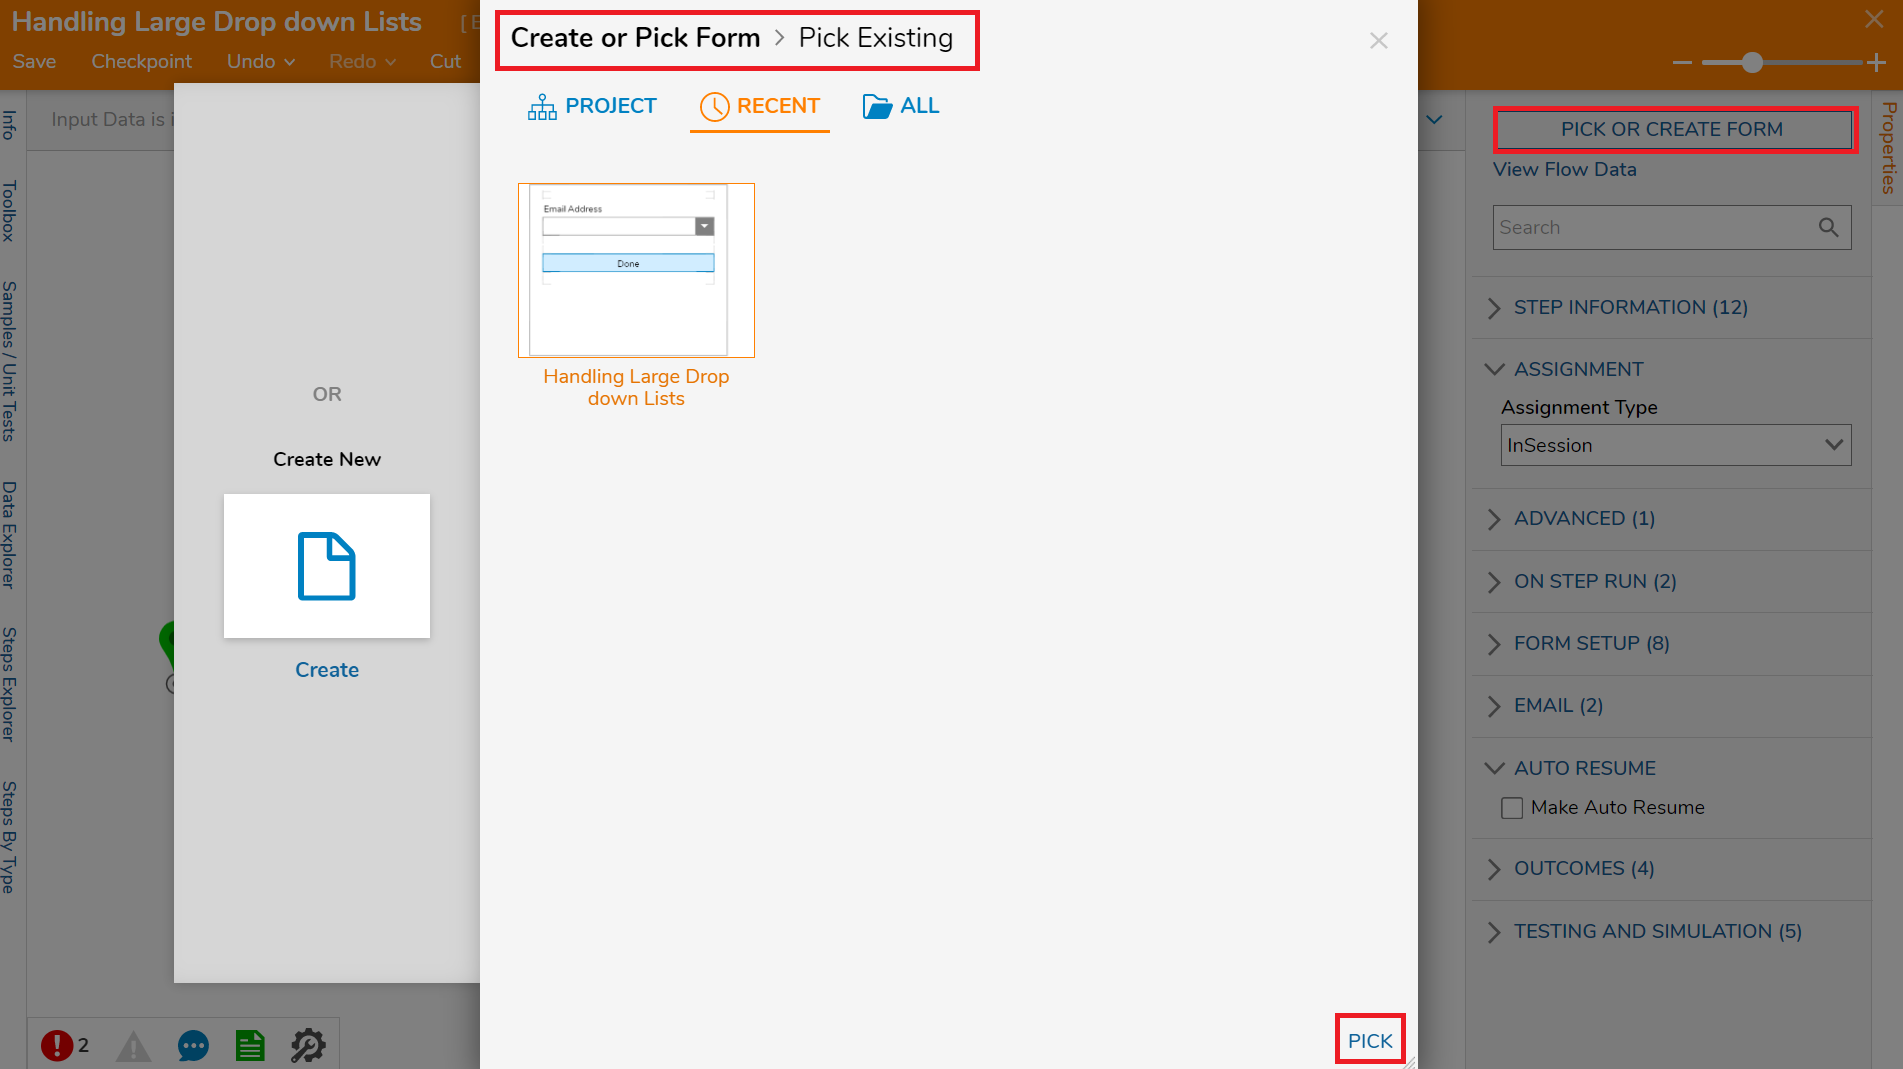
Click PICK OR CREATE FORM. Choose PICK.
Under Create or Pick Form > Pick Existing, select RECENT, and choose the appropriate Flow.
Under Inputs > Email Address, select the Ignore mapping.
Connect the Form Done step to the Flow End step.
- Save the Flow.


Debug
In the Flow Designer, select Debug in the top action panel. In the Debugger, click START DEBUGGING.
The Form will display, begin typing letters that correspond to an option in the list; these options will populate under the drop down component based on the number of letters entered.
Select Done to close the Form.

Was this article helpful?