Installing on PostgreSQL
- 25 Jan 2022
- 3 Minutes to read
- Print
- DarkLight
Installing on PostgreSQL
- Updated on 25 Jan 2022
- 3 Minutes to read
- Print
- DarkLight
Article Summary
Share feedback
Thanks for sharing your feedback!
Overview
This article demonstrates platform installations using a new PostgreSQL database.
Important Considerations
- PostgreSQL installations require starting with a new database (upgrades from SQL are not supported)
- PostgreSQL Versions 12 and 13 are supported
Version 7.x .NET Architecture Change:
Versions 7.0.1 - 7.1 require .NET Core 3.1
Versions 7.2 - 7.9 require .NET 5
Versions 7.10+ require .NET 6
Versions 7.0.1 - 7.1 require .NET Core 3.1
Versions 7.2 - 7.9 require .NET 5
Versions 7.10+ require .NET 6
Impact on Upgrades:
- ALL custom libraries will need to be recompiled for the new .NET architecture.
- Custom assemblies will need to be re-written.
- Modules may require reinstallation or design refactoring.
Self-Hosted Example
Prerequisites
- Remove prior platform versions
- Close Skype (if present) before opening the Installer
- Run the DecisionsServerInstaller.exe . Select INSTALL.
.png)
- After reading through and accepting the Decisions Software License Agreement, click the Next button.
While optional, Show Advanced Settings will be enabled for example purposes..png)
- From the Select Installation Type screen, select Personal Server. Then, click Next.
(1).png)
- Consult the table below to select the appropriate Settings options, then click Next.
Setting Name Description Use Settings File Allows the ability to select a previously saved Settings.xml file Install Emergency Password Reset Tool Installs a command prompt tool for resetting user Passwords Change Default System Administrator, Username and Password Changes the default Administrator Email and/or Password (admin@decisions.com / admin) Change Destination Folder for Installation Diverts from the default Install folder (C:\Program Files\Decisions) on the Local File System Pick Alternate Source Selects an alternate Installation File source via URL or File Directory Show the Service Settings Customizes the Service Account Username and Password Allow Dynamic Resource Loading (Local Module) Allows the system to store and load sources from local Modules Skip DB Connection Testing - Not Recommended Skips the Database Connection Test at the end of the Installation Wizard .png)
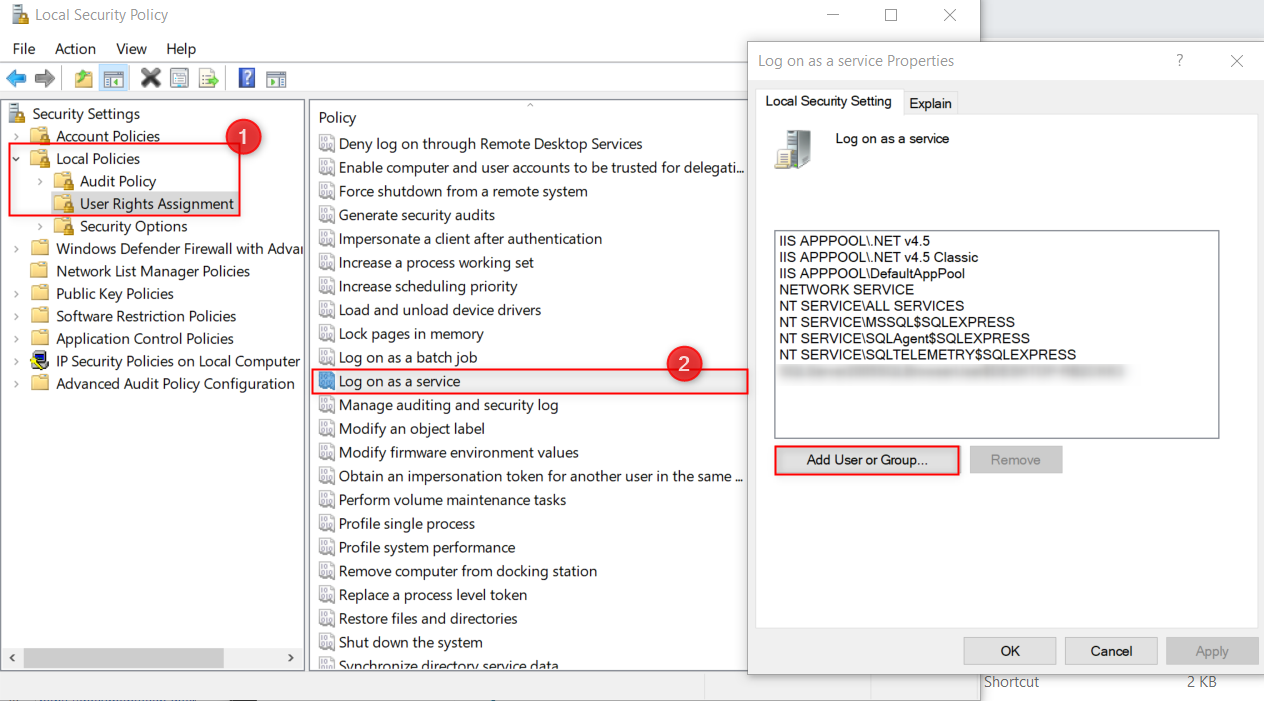
- Use the Service Settings tab to set the desired Service Account -- Local System Account (default) or Specify a different one -- then, click Next. Specified Accounts Must Have Proper Rights to Run as a ServiceTo add these rights from the Local File System:
- Locate and open Windows Administrative Tools > Local Security Policy.
- Open the Local Policies > User Rights Assignment folder.
- Edit the Log on as a service item and add a domain user via the Add User or Group button.
.png)
- When the Database Setup tab is visible:
A. Select the PostgreSQL option under Database Type
B. Under Connection Type, choose Basic to input the required fields: DB server, DB Database, and DB Port (default is "5432").
Choosing Custom Connection Stringaccepts Connection Type and Connection Settings parameters using the format below:ActionScriptHost=hostname;Database=databasename;Port=5432;Integrated Security=False;Username=postgres;Password=xxx;TrustServerCertificate=True
C. Under Connection Settings, select PostgreSQL Server Security, then provide the corresponding User ID and Password.
D. Click the Test button to test the connection, then close the Test Connection window.
E. Click Next to proceed.(1).png)
- When prompted by the SQL Full Text Warning tab, click Next.
.png)
- For this example, select Self Hosting from the Hosting Options; then click Next.
.png)
- From the Portal Base Url tab, set the Domain Name, Enable Http and/or Https, and provide the desired Port number. If applicable, provide the respective Certificate and Certificate Password. Then click Next, to proceed. Default Local Installation SettingsIf a new Domain Name is not provided by the user, then the Portal Base Url will default to localhost with an Http Port of 80, or an Https Port of 443.
.png)
- From the Outbound E-mail Server tab on the E-mail Server window, select the desired E-mail Server type; this example uses SMTP Direct Server with the local machine's default SMTP Server.
Select SMTP Server to specify E-Mail Server Address, Authentication Requirement, TLS/SSL, Implicit SSL, and SSL Port; click Test to verify a valid connection before proceeding..png)
- From the File Storage screen, provide the desired File Storage Path (default location is "C:\Program Files\Decisions\FileStorage"), then click Next.
.png)
- After a successful System Requirements Check, click Next.
If any errors or warnings occur, make appropriate corrections, then click Re-Run Checks.(3).png)
- Verify that the Review Install Options list displays the desired configurations, then click Next. If desired, check Save Install Settings To File to save an additional backup of these Settings.
.png)
- As the Installer downloads, registers, and configures any required third party elements, click Show Details to display a log of the installation as it takes place.
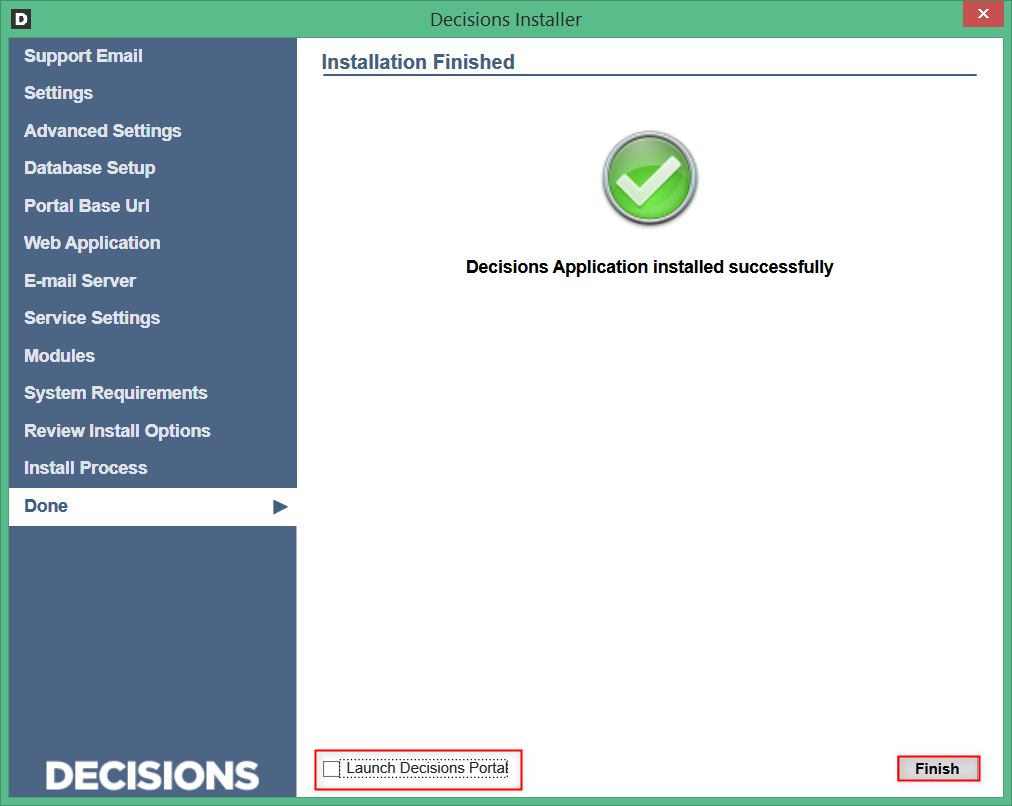
- Once installation completes, click Finish. If desired, enable Launch Decisions Portal to open the Portal after the Installer closes.
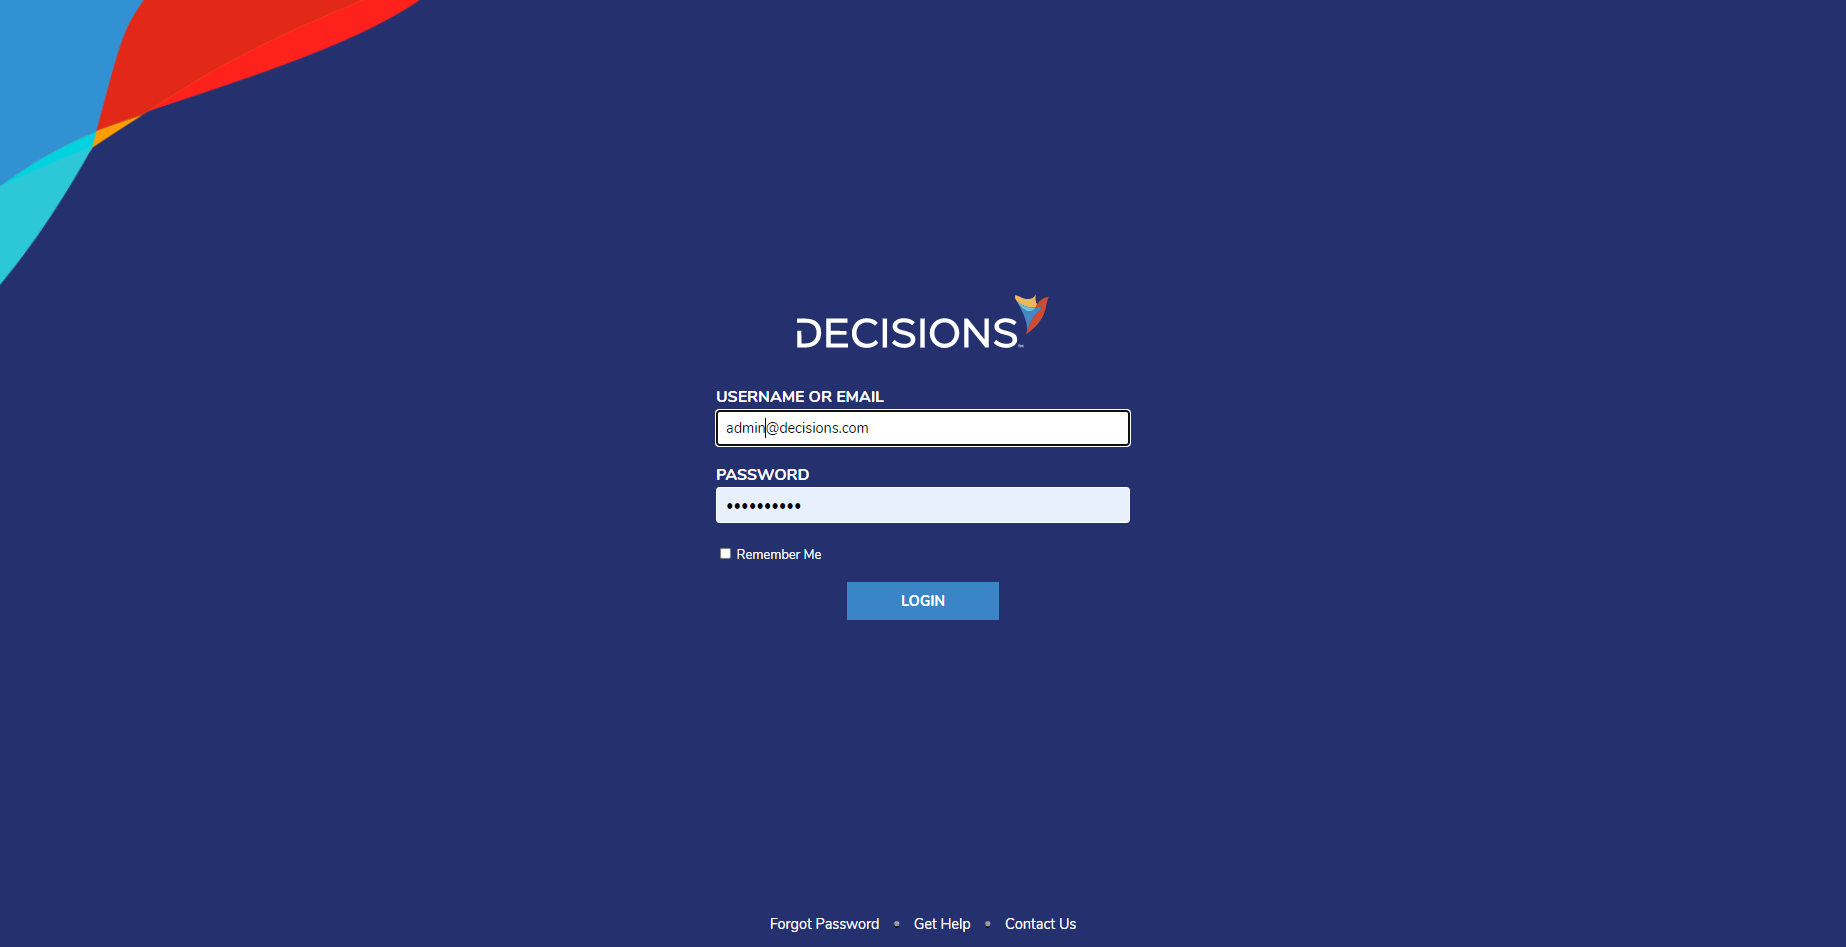
- Upon launching the Portal, LOGIN using the administrator USERNAME and PASSWORD defined during installation.
.png)
.png)
(1).png)
.png)

.png)
(1).png)
.png)
.png)
.png)
.png)
.png)
(3).png)
.png)


Was this article helpful?