Creating JavaScript Form Controls (Advanced)
- 03 Oct 2022
- 3 Minutes to read
- Print
- DarkLight
Creating JavaScript Form Controls (Advanced)
- Updated on 03 Oct 2022
- 3 Minutes to read
- Print
- DarkLight
Article Summary
Share feedback
Thanks for sharing your feedback!
Overview
This article demonstrates how to create a Form Control that receives an input and how to add CSS to the Control. For a basic overview of this topic, please visit the Creating Javascript Form Controls article.
For more examples regarding JavaScript Form Controls, please navigate to Sample JS Form Controls, JS Control Seed, and Example JS Control.
Example
In this example, the control will consist of two buttons: the main button, which increases the click count, and a reset button, which sets the click count back to zero. It'll output two pieces of data: The current click count (since the reset button was clicked), and the total click count (which isn't affected by the reset button). This control will also have two inputs: the ability to set the text on the main button, and also provide a starting count.
Creating the Control
- Paste the following code in a blank text document.
- Save as MyJsResetControl.js, and it's ready to be added as a new Form Control.JavaScript
function MyResetButtonControl() { }; MyResetButtonControl.prototype.initialize = function(host, component) { // Keep track of the host; we'll need it later. this.host = host; // Initialize our count data: this.currentCount = 0; this.totalCount = 0; // This one is important when we have input data. See 'consumeData' for details. this.lastConsumed = null; // We're going to put both buttons in a div, then append the div to the host: var control = document.createElement('div'); var button = document.createElement('button'); button.classList.add('myControlButton'); button.type = 'button'; button.textContent = 'Click me'; var thisControl = this; // To avoid 'this' problems inside the onclick event. button.onclick = function(e){ thisControl.currentCount++; thisControl.totalCount++; }; control.appendChild(button); var resetButton = document.createElement('button'); resetButton.classList.add('myControlButton'); resetButton.type = 'button'; resetButton.textContent = 'Reset'; resetButton.onclick = function(e){ if(thisControl.currentCount > 0){ thisControl.currentCount = 0; } }; control.appendChild(resetButton); host.append(control); // The two buttons appear too close together unless we add some css: var style = document.createElement('style'); style.type = 'text/css'; style.innerHTML = '.myControlButton{ margin: 5px; }'; document.head.appendChild(style); }; MyResetButtonControl.prototype.resize = function(height, width) { if (this.host && height && width && (height > 0) && (width > 0)) { this.host.css({ width: width, height: height }); } }; MyResetButtonControl.prototype.setValue = function(data) { // The lastConsumed variable, declared in 'initialize', is used to track changes in // input data. If data exists, we make sure it has changed since last time: if(data && JSON.stringify(data) !== JSON.stringify(this.lastConsumed)){ // Proceed only if the data is different than last time: this.lastConsumed = data; // Here, we treat StartingCount as optional, by using a value of 0 if no value // was given: var startingCount = data.StartingCount || 0; this.currentCount = startingCount; this.totalCount = startingCount; // We've decided that ButtonText should also be an optional input, // so check whether it exists before using it. (If the ButtonText input is // set to Ignore, we'll keep the default button text, 'Click me'.) if(data.ButtonText){ // Use JQuery's find function to find the first button on our control: this.host.find('button')[0].textContent = data.ButtonText; } } }; MyResetButtonControl.prototype.getValue = function() { return { CurrentClickCount: this.currentCount, TotalClickCount: this.totalCount }; }; - Navigate to a Designer Folder. Select CREATE FORM.
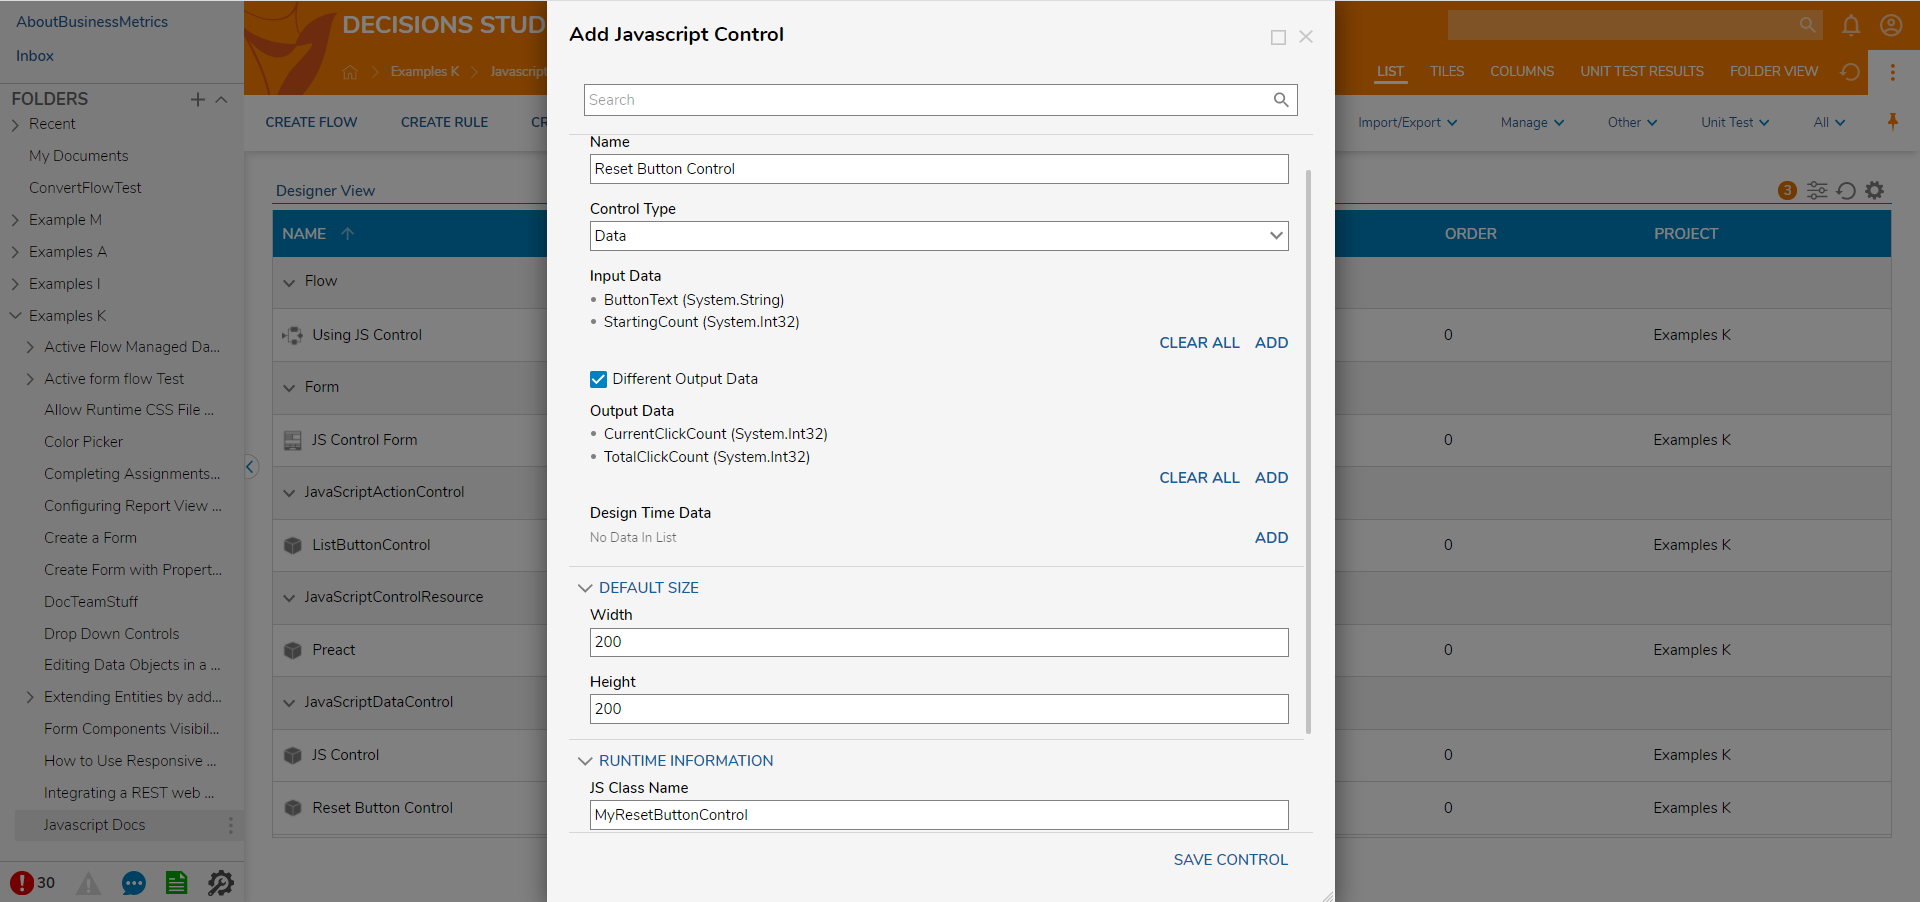
- In the Create Form dialog, choose the JavaScript Control menu, and select Add Data Control.
- Name the Control. Under Input Data select ADD. Add ButtonText(String) and StartingCount (Int32).
- Set the Different Output Data check box to true. Add CurrentClickCount(Int32) and TotalClickCount(Int32).
- Type "MyResetButtonControl" for the JS Class Name.Under the 'Runtime Information' the 'JS Class Name' must match the class name in the JavaScript file. If they do not match, the JS control will not function in the form.
- Drag and drop the JS file into the JS File section.
- Select SAVE CONTROL.

Use the Control in a Form
- Create a new Form.
- In the Toolbox panel, drag a Button onto the Form. Name it "Submit".
- Expand JS Controls >[Current Folder] drag the Reset Button Control to the Form. Save and close the Form Designer.
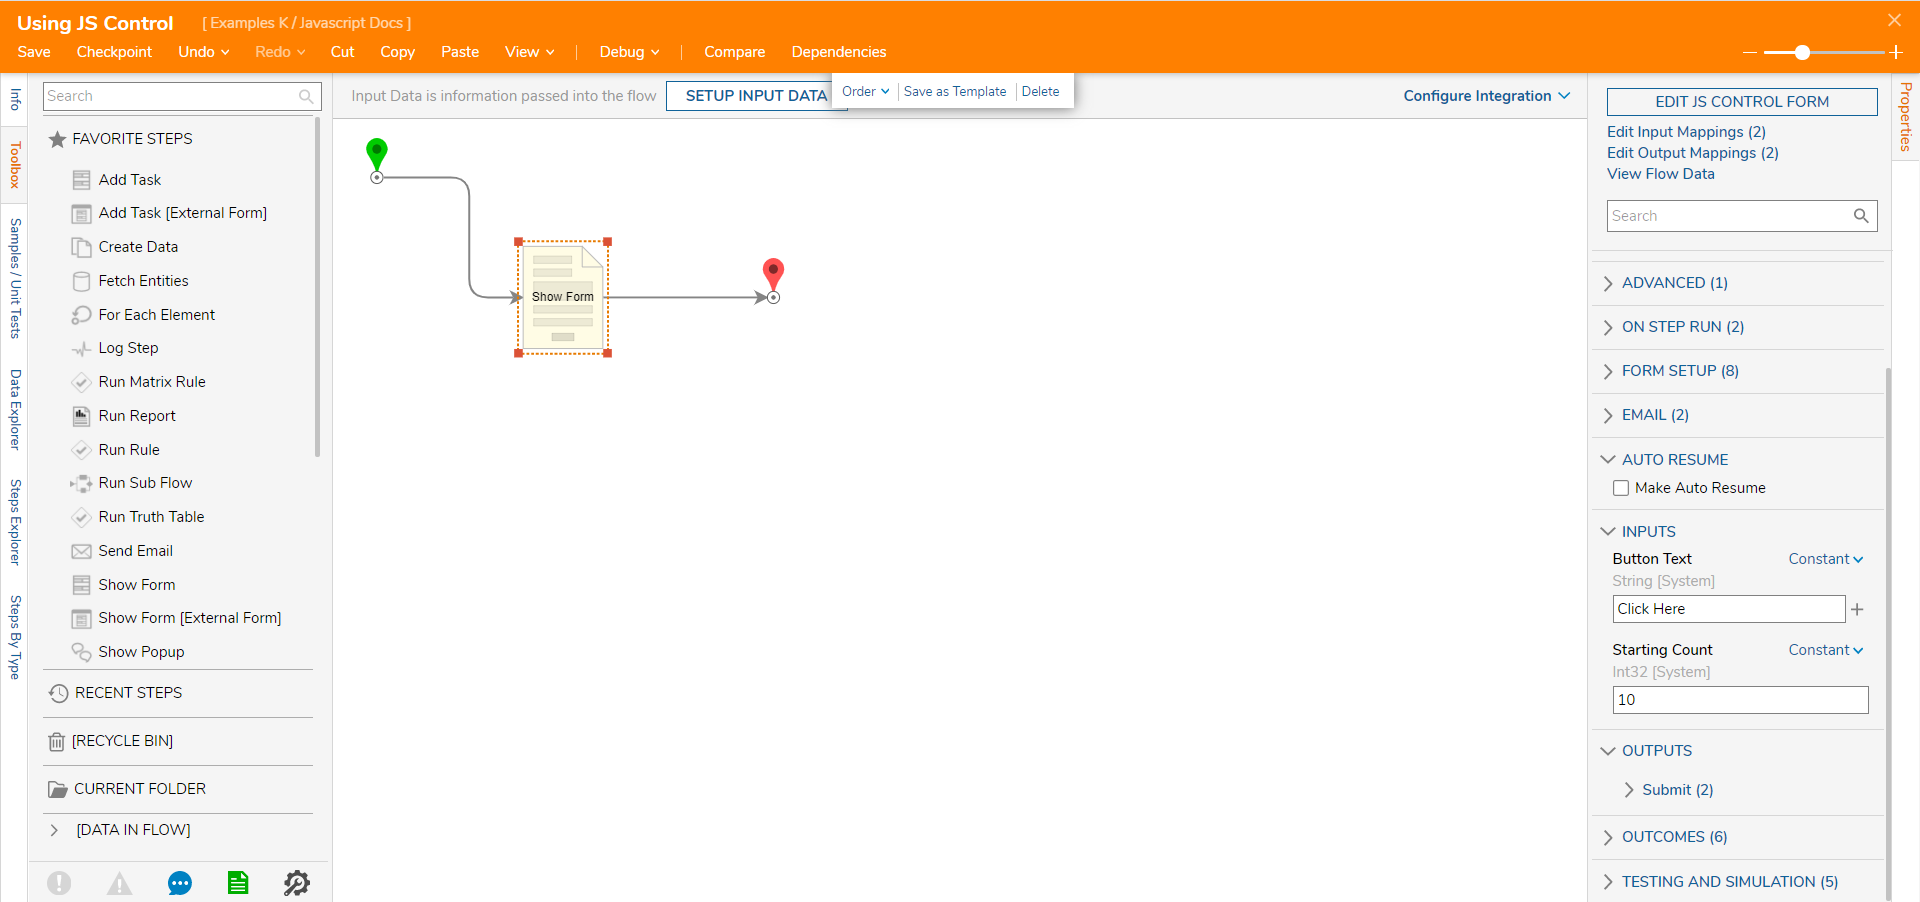
- Create a Flow to display the Form. Add a Show Form step, and select the Form that was just created. On the Forms Inputs, provide a constant Button Text and Starting Counts.
- Select Debug in the top action panel.
- Select the 'Click Here' button multiple times, then select Submit.
- Select the Show Form step, and then select View Output Data. Notice that the output from the Form includes the CurrentClickCount and TotalClickCount.


Was this article helpful?